Healing in WoW Forever means balancing your party’s health against your available mana. Choosing the right spell matters, but so does knowing when to wait, how to avoid pulling enemies off your tank, and how to prepare before entering a dungeon.
This guide covers the fundamentals shared across healing classes, including interface settings, leveling talents, gear, mana management, dungeon healing, and raid preparation.
For talent builds and abilities specific to your character, explore our WoW Forever class guides.
Leveling as a Healer
Choosing to play a healer does not mean spending your entire leveling journey healing other players. Unless you regularly play with a partner or group, much of your time will involve killing enemies and completing quests alone.
Leveling is a substantial part of the game, particularly on your first character. Your talent and gear choices need to support solo questing as well as the dungeons you heal.
Choose Talents That Support Solo Questing
You do not usually need to invest every talent point into healing to heal early leveling dungeons. With suitable equipment, trained spells, and an appropriate character level, damage-focused or hybrid builds can still handle these encounters.
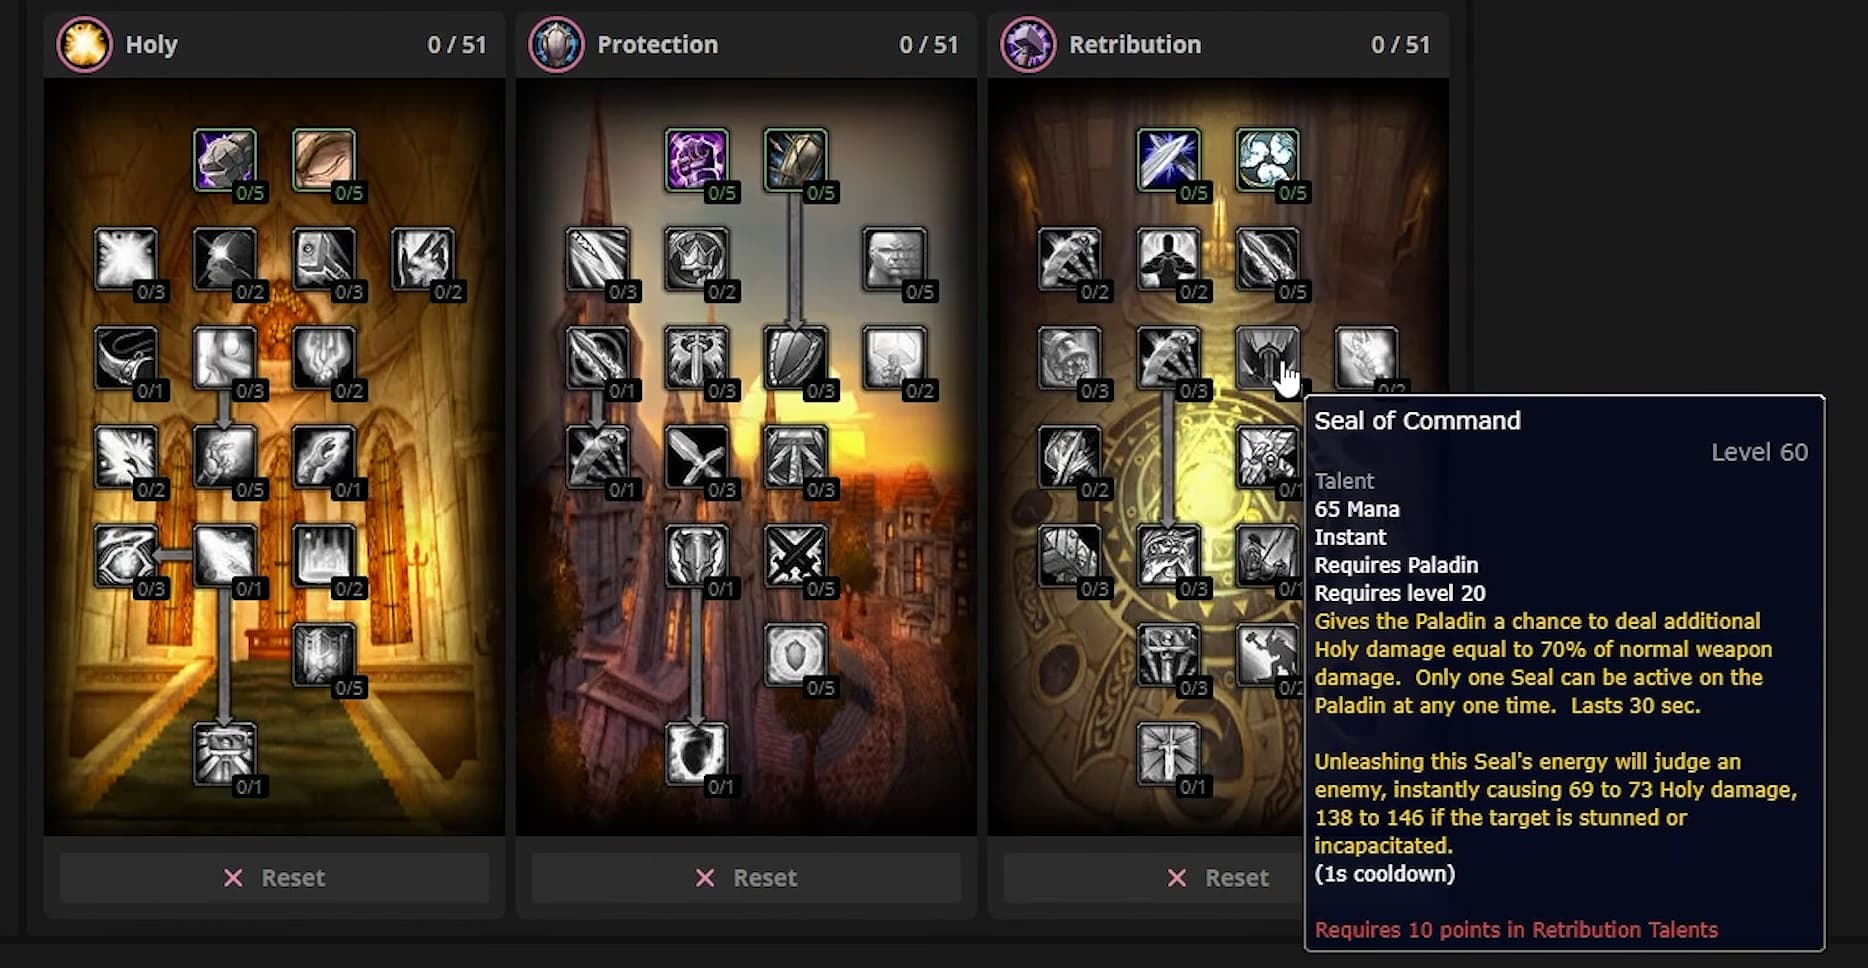
A Paladin provides a useful example. Investing entirely in healing can improve your mana pool, healing, and regeneration, but early Retribution talents offer benefits such as parry, critical strike chance, and Seal of Command to help you defeat enemies while questing.
The exact choices depend on your class. Look for valuable damage and efficiency talents that improve solo play while keeping your healing toolkit usable.
A dedicated healing build becomes more attractive if you consistently play with others or move into content that demands it. Our WoW Forever leveling guides cover the class-specific choices.
Keep Gear for Both Roles
Your healing equipment and solo equipment may serve different purposes. A piece that improves dungeon healing might do little for your questing damage, particularly on a melee-focused leveling build.
Keep useful pieces for both activities and switch when appropriate. Do not judge every quest reward solely by whether it improves your healing set.
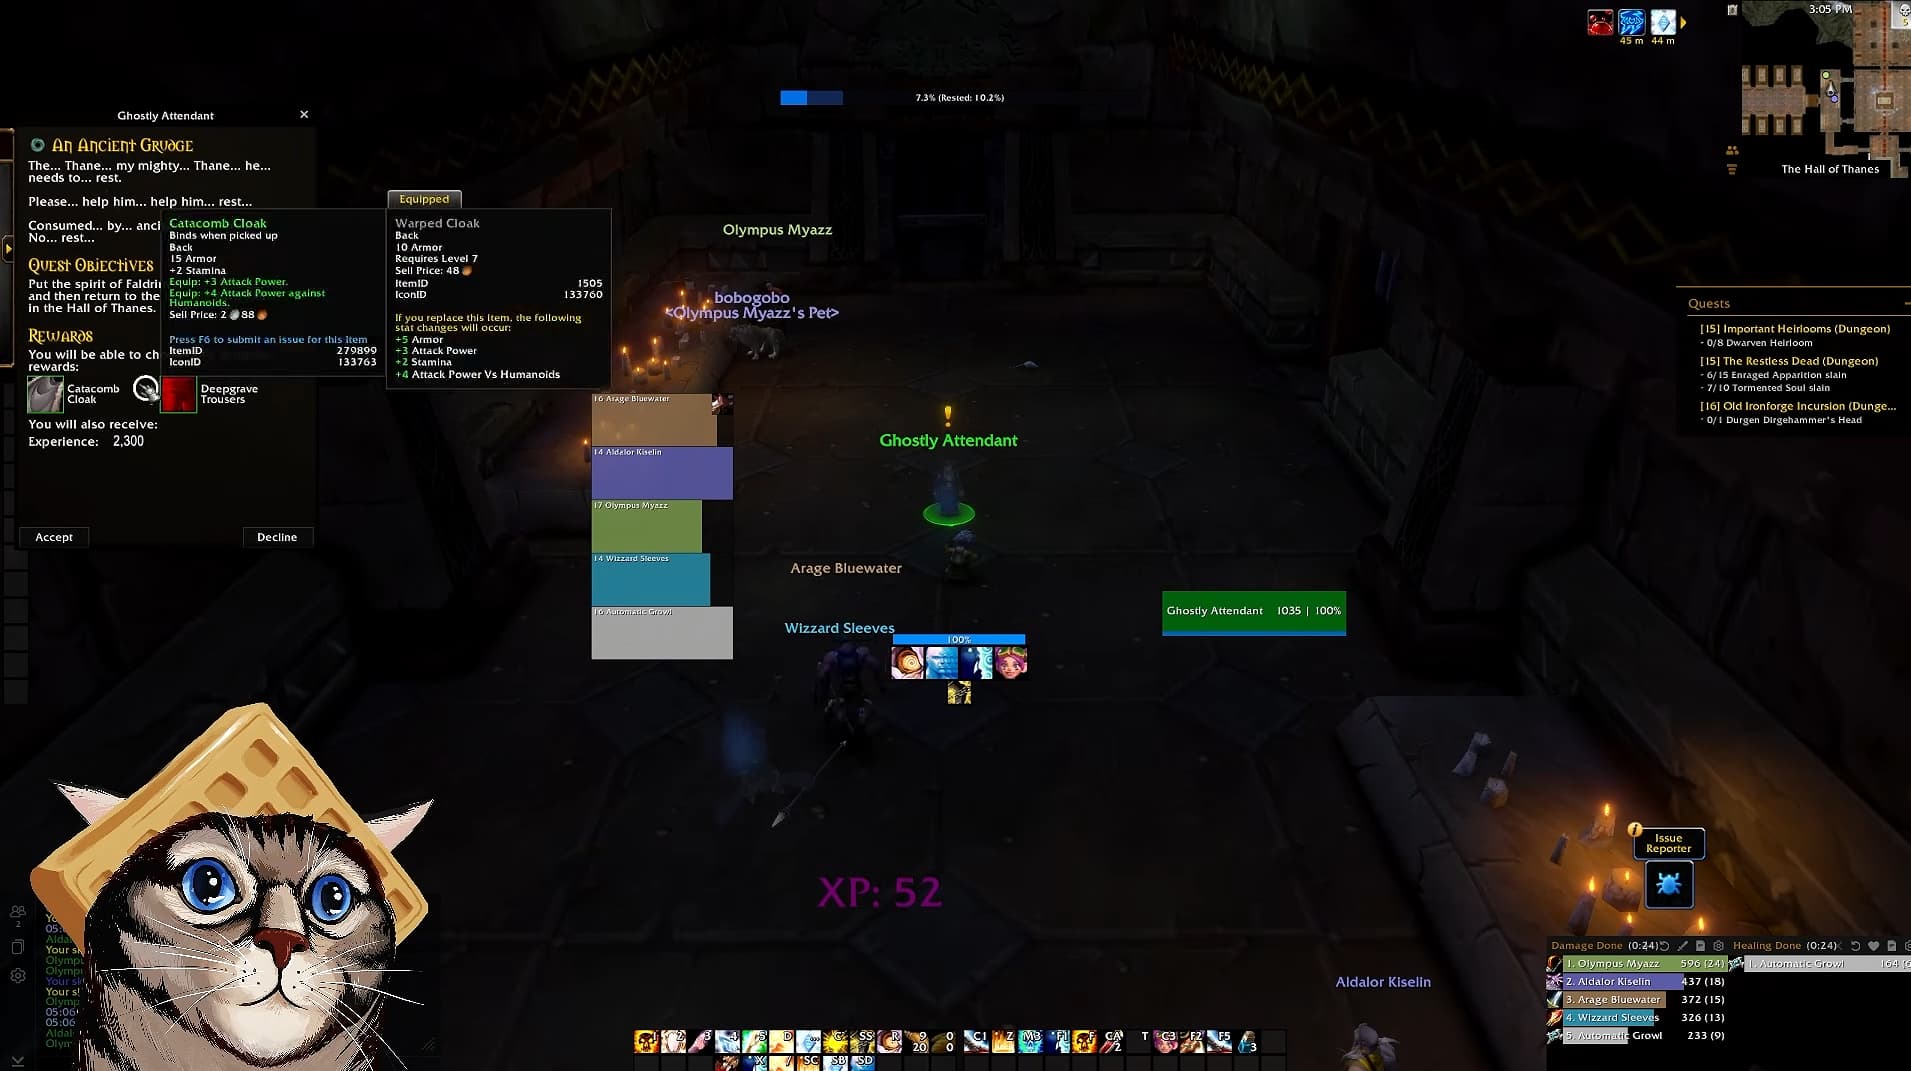
Check dungeon quests as well as boss drops, since their rewards can provide worthwhile upgrades for either role.
Agree on Loot Expectations
Healing a leveling dungeon does not remove your need for damage gear. However, another player may need the same item for the role they are currently playing.
Tell the group beforehand if you want to roll on upgrades for your questing set, and follow the loot rules everyone agrees to. This avoids surprises when an item drops.
Leveling equipment is temporary, but useful upgrades can still make a noticeable difference. Communicate what you need without assuming that healing the dungeon automatically gives you priority on every type of equipment.
Loot expectations can become stricter at maximum level, so check the arrangement when joining a new group.
Healer Stats and Weapon Upgrades
The main stats to understand are Healing Power, Intellect, Spirit, and mana per five seconds, commonly shortened to MP5.
They solve different problems: increasing the strength of your heals, expanding your mana pool, or helping you recover mana. Their exact value changes with your class, talents, equipment, and the encounter.
Healing Power
Healing Power increases the amount your healing spells restore and is a strong starting priority when comparing healing equipment.
However, a tooltip that increases healing “by up to” a certain amount does not mean every spell receives that full amount.
Different spells have different scaling coefficients. A heal over time spreads its bonus across its duration rather than receiving the full listed bonus on every tick. Fast heals and spells that affect multiple players can also scale differently from slower single-target heals.
Pay attention to how your actual spells change when you equip an upgrade. Exact coefficients and optimal gear combinations can change with tuning, so avoid assuming that one formula applies to every heal.
Intellect
Intellect increases your maximum mana and contributes to spell critical strike chance. Its most immediately useful benefit while leveling is usually the larger mana pool.
Intellect does not inherently increase the amount your heals restore. Any additional conversion through talents is a separate interaction.
A larger mana pool still matters. It gives you more room to respond to unexpected damage and sustain healing through a difficult pull.
Spirit
Spirit improves mana regeneration. Its usefulness depends partly on how much time you spend outside the five-second rule and whether your talents allow some regeneration to continue while casting.
As a broad early-level guideline, prioritize a comfortable mana pool before heavily investing in Spirit. Once you gain talents that preserve regeneration while casting, Spirit becomes more attractive.
That does not make Intellect and Spirit permanently equal. Consider whether your current problem is having too little mana available or recovering it too slowly.
Mana per Five Seconds
MP5 restores mana regularly and continues working while you cast.
It is less common on early leveling equipment and becomes more relevant as more gear options become available. Its value relative to Spirit depends on your class and how much uninterrupted casting the content requires.
You do not need a perfect stat calculation for every early upgrade. Build a useful balance of healing output, mana capacity, and recovery, then refine your priorities as you learn your class.
Keep Your Weapon Updated
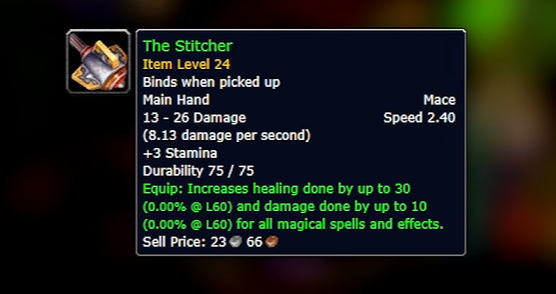
Weapons are important for healers and other casters, too. Forever adds more spell and healing bonuses to leveling equipment, making an appropriate weapon a meaningful part of your output.
Check weapon upgrades regularly and compare their relevant bonuses. For healing, focus on what the weapon contributes to your spells and mana rather than its physical damage alone.
A strong quest or dungeon weapon can improve your performance considerably, so do not overlook it simply because you are playing a healer.
Set Up Your Healer UI
A clear interface helps you watch your group without losing track of your character or the enemies around you. The default UI provides a useful starting point with a few adjustments.
Use Raid-Style Party Frames
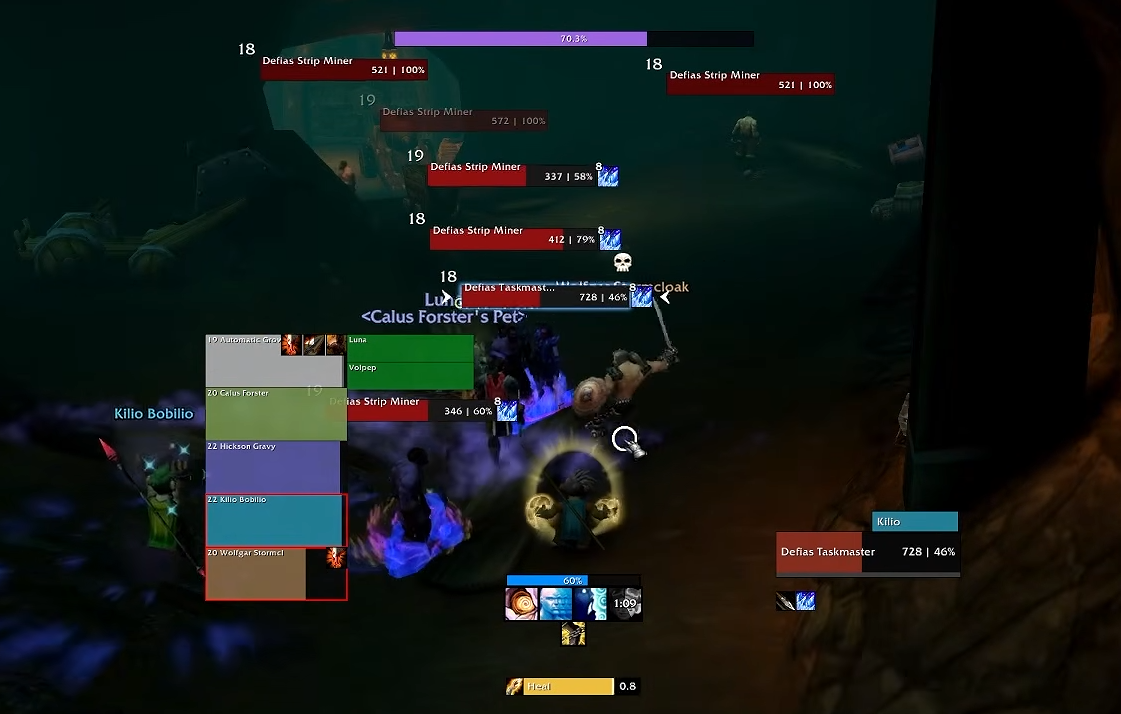
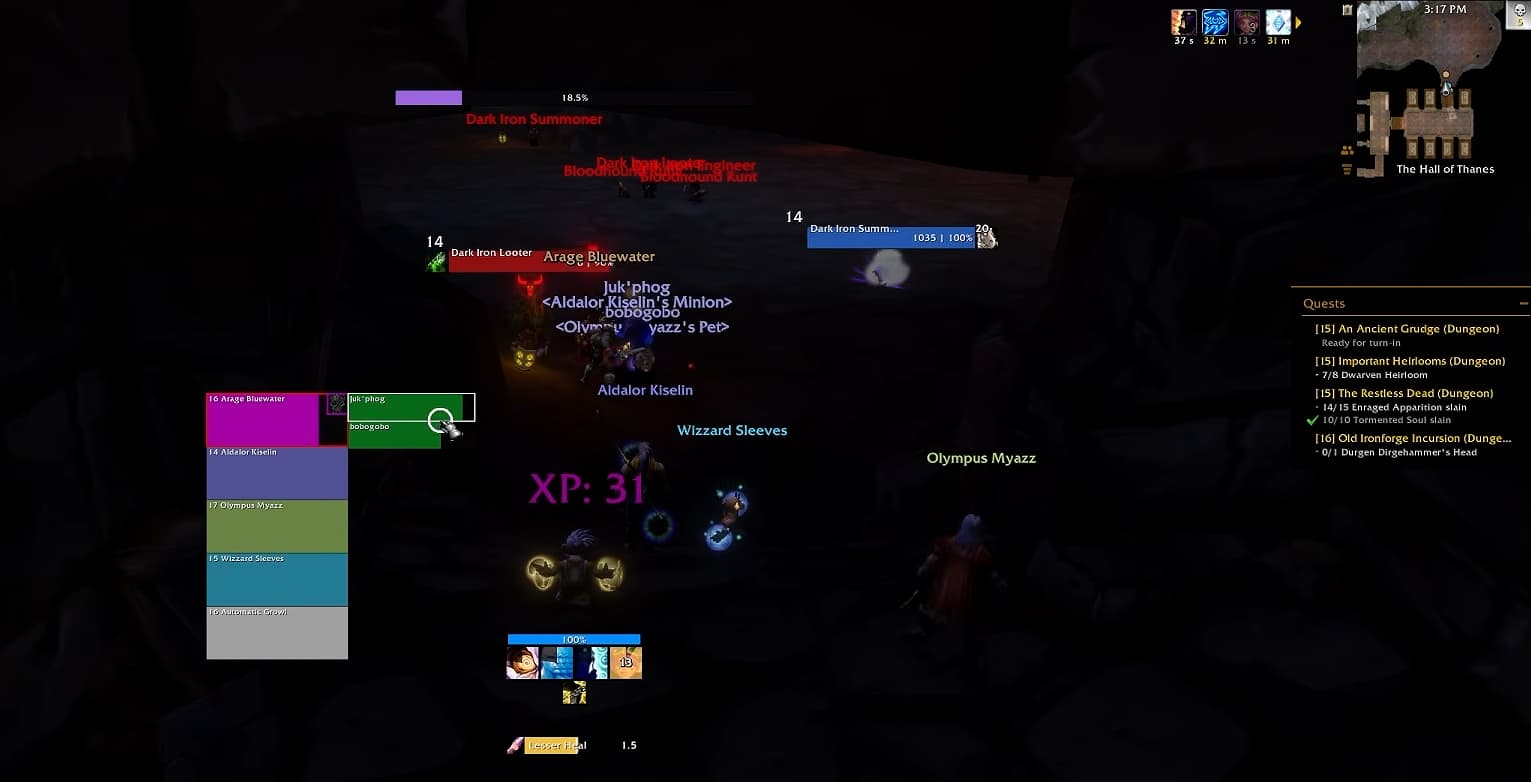
Open the game menu with Escape, enter Edit Mode, and select your party frames. Enable Raid-Style Party Frames, then move them closer to the middle of the screen.
Place them where you can comfortably watch both your party’s health and the action. If checking health bars means looking away from everything else, move them closer to your usual focus.
You can also adjust whether the frames run horizontally or vertically and configure the buffs and debuffs they display. Save your changes before leaving Edit Mode.
Enable Mouseover Casting
Open Options, search for Mouseover, and enable Mouseover Cast.
You can then place your cursor over a teammate’s party frame and press a healing keybind to cast on them without selecting that player first.
Removing this extra click makes switching between healing targets more efficient, especially in larger groups. Practice while leveling so the controls feel comfortable before encounters become more demanding.
Adjust Your Camera and Class Colors
For a clearer view of your surroundings and party members, consider these settings:
Set Camera Following Style to Never.
Set the maximum camera distance option to 2.6.
Enable Use Class Colors.
These are preferences rather than requirements. A wider camera view helps you track enemies, while class colors make party members easier to identify quickly.
Prepare Before Entering a Dungeon
Bring more drinking water than you expect to need. Running out halfway through a dungeon slows the entire group, while stronger water appropriate to your level reduces the time spent recovering.
Carry level-appropriate mana potions as well. An emergency potion can provide enough mana for the extra heals that prevent a wipe.
Food buffs and alchemy consumables, including suitable flasks where available, can help outside raids. You do not need an expensive consumable package for every leveling run, but useful supplies are worth keeping available.
Before leaving town, check for missing buffs. Arcane Intellect improves your mana pool, while Power Word: Fortitude provides additional survivability. Ask nearby players politely if they can help with a missing class buff.
Campfires can also provide useful benefits. Our campfire guide explains the available buffs and which ones overlap with class buffs.
Finally, tell your group when you need to drink. Clear communication gives the tank a chance to adjust before starting a pull you cannot support.
Manage Your Mana Efficiently
Mana management is one of the biggest adjustments for players coming from modern WoW. Repeatedly casting expensive spells can leave you short of resources well before the fight ends.
Spend enough mana to keep the group safe while avoiding casts that add little useful healing.
Learn Your Healing per Mana
Compare your available heals by looking at their mana cost and the amount of health they restore. For a basic comparison, divide the healing amount by the mana cost.
This helps identify efficient spells, but efficiency is only useful if the heal arrives in time. A slower heal can be a good default when damage is predictable; a fast heal may be necessary when somebody is close to dying.
Learn roughly how much each spell restores so you can match your casts to the damage taken.
Avoid Unnecessary Overhealing
Overhealing is the portion of a heal that exceeds the target’s missing health.
If a player has lost only a small amount of health, a large heal may waste much of its output. However, waiting is only sensible when that player can safely survive the next incoming damage.
Consider the situation rather than treating every incomplete health bar as an emergency. A tank facing several enemies needs a different response from a damage dealer who has taken one hit and is now safe.
Understand the Five-Second Rule
After you spend mana, your normal Spirit-based regeneration is restricted for five seconds, subject to talents and other effects that allow regeneration during that period.
Spending mana again restarts the timer. MP5 continues working independently.
An unnecessary spell can therefore cost you both its listed mana and the regeneration you delay.
When the group is safe, allow useful gaps between casts. When healing is needed, handle the necessary healing and other mana-based actions together where practical, then look for another opportunity to pause.
For example, if several players need healing, restoring them during the same active casting period can give you a longer recovery window afterward than spacing unnecessary small heals throughout the fight.
Never delay a necessary heal simply to maintain a regeneration window.
Use Cancel Casting When Helpful
For ordinary cast-time heals, mana is generally spent when the spell completes. Starting a heal and canceling it before completion lets you prepare for damage without committing the mana.
Imagine your tank starts a boss fight while you have around three-quarters of your mana:
Begin casting a substantial, efficient heal.
Watch the tank’s health during the cast.
Let the spell finish if the healing is needed.
Cancel it before completion if the tank remains safe.
Your mana can continue recovering until a spell actually spends it.
This is useful when you are uncertain how much damage is coming. You remain ready to deliver a large heal without automatically spending mana whenever you begin casting.
You do not need to constantly start and cancel spells when there is no realistic reason to prepare a heal.
Evaluate Lower Spell Ranks
Downranking means using a lower rank of a spell instead of its highest available rank.
Its usefulness depends on the spell’s mana cost, base healing, scaling, and your equipment. Stronger healing bonuses can make lower ranks more attractive, but that does not automatically make them the right choice at every level.
While leveling, focus first on understanding your current heals. Compare their actual performance before adding lower ranks to your regular toolkit.
Repeatedly casting small heals can keep you inside the five-second rule, even if each individual cast is cheaper. A larger, well-timed heal followed by a recovery window may serve you better.
There is no single downranking rule that works for every class, spell, and stage of gearing.
Add Damage Without Wasting Your Recovery
Offensive spells also cost mana and can restart the five-second rule. If the damage contribution is small, spending that mana may simply create more downtime afterward.
When your mana is low or the next pull looks demanding, recovering can be the most useful thing you do. If your mana is comfortable and the group is safe, you have more room to contribute damage.
Damage that costs no mana can still help. A Priest can use a wand, while an appropriate melee attack can contribute without spending mana or restarting the five-second rule.
Only do this when positioning is safe and you can respond to healing needs. Moving into danger for a few weapon swings is not worthwhile.
Manage Healing Threat and Stay Alive
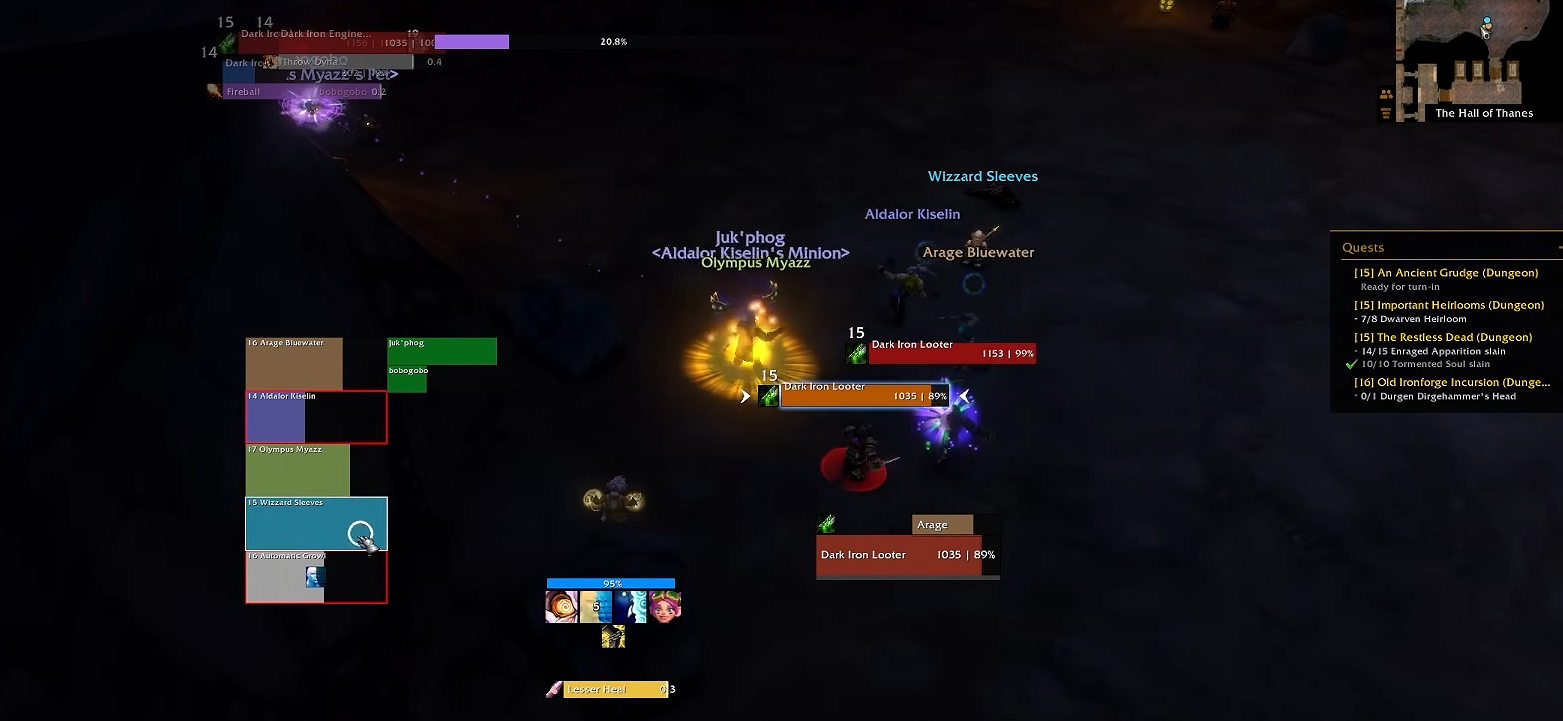
Healing can generate threat against enemies involved in the fight. If your tank has not established enough threat on a particular enemy, a heal can cause it to turn toward you.
This is especially important at the beginning of a pull, when the tank may still be gathering enemies or working through the pack.
Give the Tank Time to Establish Threat
Avoid opening with a large heal before it is necessary. When the tank is safe, a slightly delayed heal gives them more time to secure enemies and gives you more time to regenerate mana.
Cancel casting can help here. Prepare a heal, watch the incoming damage, and let it finish when the tank actually needs it.
If the tank is in danger, heal them. Threat management should inform your timing, not prevent a necessary save.
Keep an eye on enemies that have not yet been picked up. They are particularly likely to become a problem when your healing starts.
Use Pre-Pull Healing and Shields Deliberately
A heal over time or shield applied before the pull can provide protection during the opening moments, potentially giving you more time before your first direct heal.
Use these effects with a purpose, taking their mana cost and the expected damage into account. Pre-pull preparation does not remove the need to watch for loose enemies or manage healing threat.
For Priests healing Warriors, an important Forever change is that Power Word: Shield no longer reduces Rage gained from incoming damage. The old concern about starving a Warrior of Rage through damage absorption does not apply in the same way.
That makes shields a usable part of your preparation, although they still need to be worth their mana cost.
React Quickly When Enemies Reach You
Taking hits while casting can cause spell pushback, delaying your heal. Several enemies attacking at once can make it difficult to finish a cast at all.
Getting those enemies off you is often more effective than trying to keep casting through their attacks.
Use the tools available to your character:
Priest — Fade: Temporarily reduces threat and can help enemies return to another target.
Night Elf — Shadowmeld: Can temporarily discourage enemies from attacking you while active. Use the opportunity for your group to regain control; it is not a permanent threat wipe.
Paladin — Blessing of Protection: Can protect you from physical attacks.
Paladin — Divine Shield: Provides a stronger defensive option when available.
These abilities buy time, but your group still needs to regain control of the enemies.
Move Toward Your Team
If an enemy is chasing you, avoid running away from everyone who can help.
Move toward your tank so they can reach the enemy and pick it up. Stay aware of nearby packs and dangerous ground effects while doing so.
Other teammates can also help. Moving enemies through a Frost Mage’s slowing effects, for example, can create enough space for you to survive until the tank regains control.
Watch the battlefield as well as the party frames. Seeing an enemy approach gives you more time to respond than noticing it only after your casts start being delayed.
Get Ready for Raid Healing
Raid healing builds on the same fundamentals, but you also need to coordinate with other healers. Your responsibilities may change from one encounter to the next.
Follow Your Healing Assignment
Before a fight, check whether you have a specific assignment.
You may be responsible for a particular group, general raid damage, or a tank who requires sustained attention. Some encounters need multiple healers dedicated to keeping one tank alive.
Ask the healing lead or raid leader if your role is unclear. Abandoning an important assignment to heal an easier target can leave the group exposed.
Use Healing Meters in Context
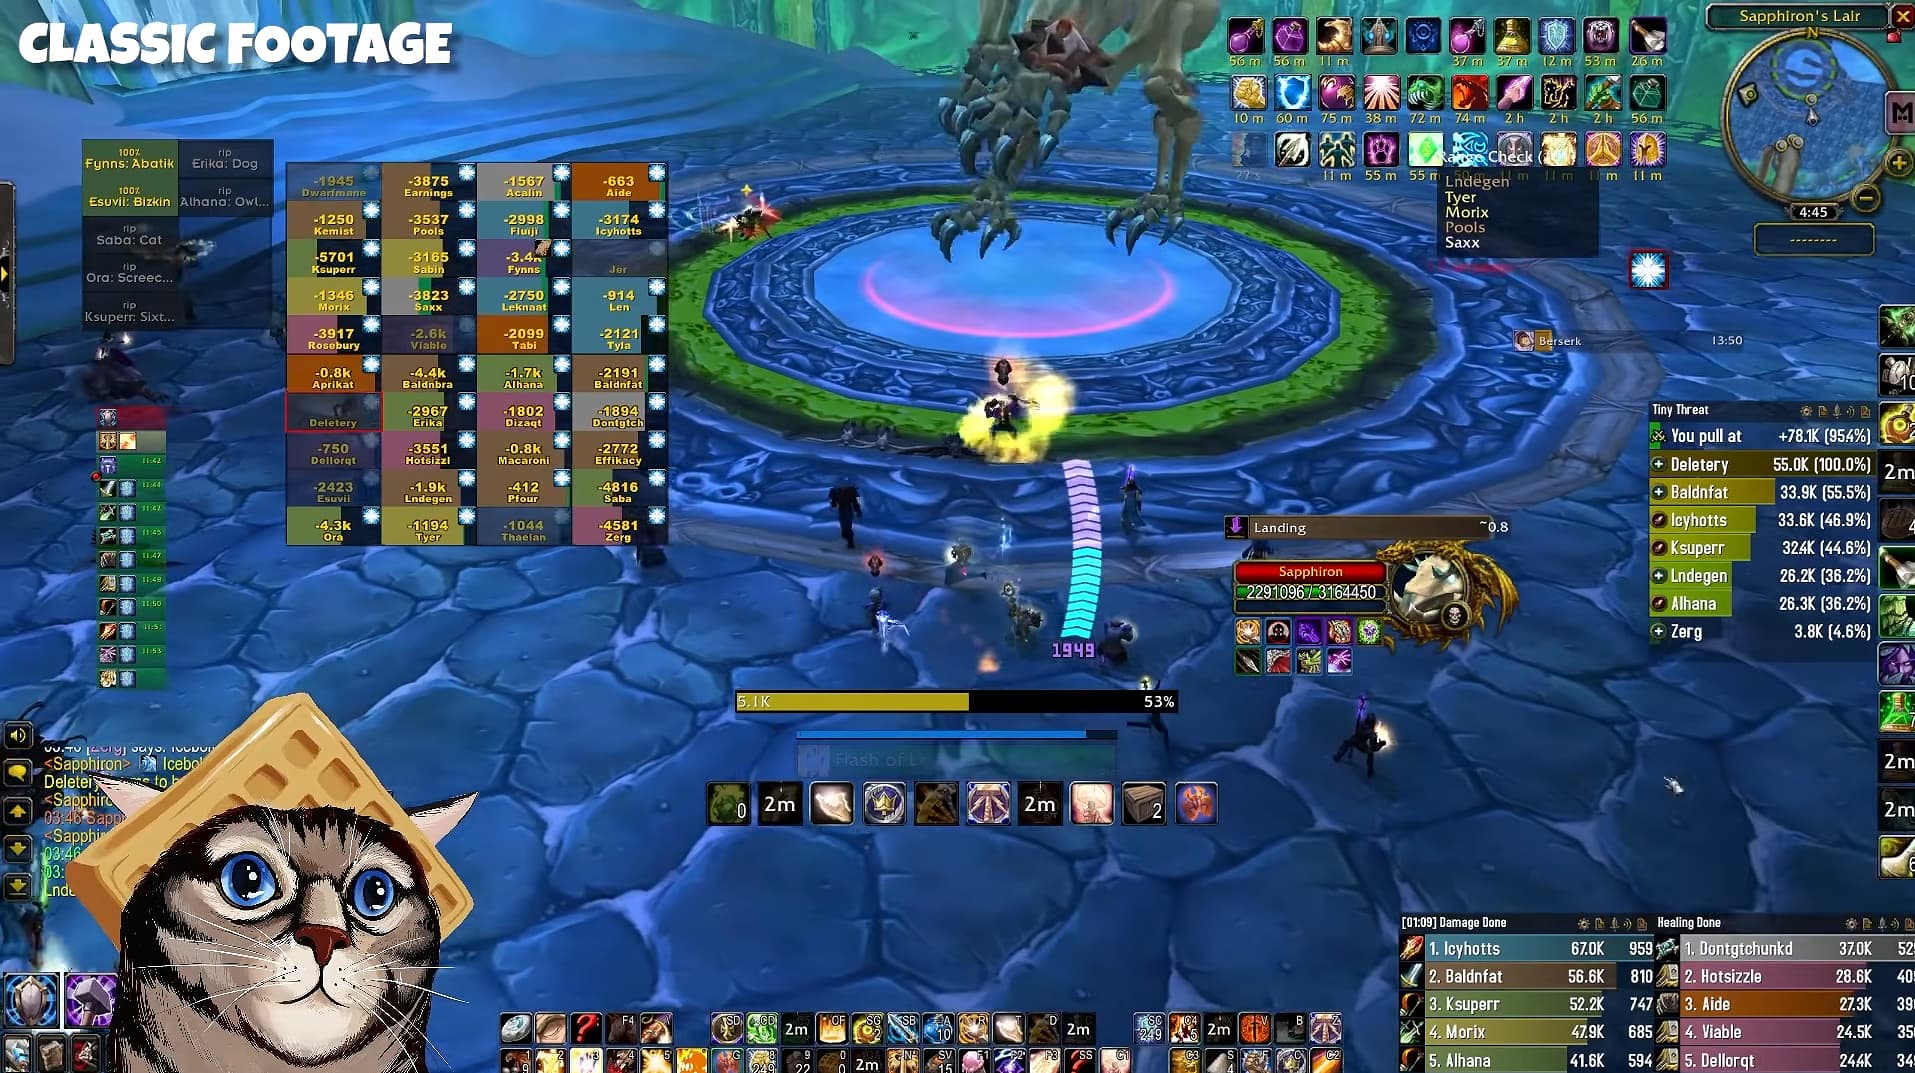
A raid has a limited amount of damage that needs healing. When another healer restores that health first, there is less left for you to heal.
Raw healing totals therefore do not tell the whole story. Assignments, damage patterns, and timing all affect your numbers.
Use meters to investigate your play, but judge your decisions against the encounter’s needs. Keeping your assigned tank alive and retaining enough mana for the dangerous phase can matter more than producing the highest total.
Avoid spending resources or neglecting your assignment simply to land a heal before someone else.
Anticipate Damage and Pace Your Mana
Ask yourself where the next damage will come from and when it will arrive.
As you learn an encounter, you can begin casts early enough for the healing to land when needed. You can also identify which sections require heavy spending and which allow you to conserve resources.
On an easier fight, several healers may be competing to heal small amounts of damage. On a longer encounter, the challenge may be keeping enough mana for the final phase.
Plan your spending around the fight’s dangerous moments rather than treating every encounter the same way.
Keep Your Raid Interface Clear
Raid frames need to show the information relevant to your job without becoming difficult to read.
Make health, important effects, and your assigned targets easy to track. Mouseover casting, mouseover macros, or a comfortable click-casting setup can reduce the steps needed to deliver a heal.
Use a setup you understand and can operate reliably. Add complexity when it solves a specific problem, and remove elements that distract you from important information.
Prepare and Build Experience
Arrive with suitable equipment, consumables, and an understanding of your assignment. Listen to feedback and learn how your class fits alongside the other healers.
You do not need to master every advanced technique before joining your first raid. Familiarity develops through practice: seeing damage patterns, learning when your spells are most effective, and understanding how your group handles each encounter.
Being prepared, communicating clearly, and following instructions give you a strong foundation to improve.
Key Healing Takeaways
Keep these priorities in mind as you learn:
Keep players safe without automatically topping off every health bar. Consider how much damage they are likely to take next.
Use efficient heals when time allows. Faster or more expensive options are useful when somebody needs immediate help.
Leave room for mana regeneration. Unnecessary spells cost mana and can delay your recovery.
Give the tank time to establish threat. Watch for enemies they have not picked up.
Move toward help if enemies attack you. Your tank and teammates need to be able to reach them.
Follow your assignment in raids. Keeping the right players alive matters more than topping a healing meter.