This is IN DEPTH Guide for my Unarmed Hollow Palm Monk Build for 0.5
If you have questions - hit me on Twitch (twitch.tv/ronarray), I will help!
If you wanna League Start Martial Artist - use this build guide and swap to SPEED later when you farm enough currency.
▬▬▬▬▬▬▬▬▬▬▬▬▬▬▬▬▬▬▬▬
In 0.5 the Hyper Speed Build is BACK! Now we can use Martial Artist Ascendancy for Monk to boost the build speed and get up to 18+ attacks per second with decent investment like in the good old times.
For the cheaper versions you can still get 9-12 Attacks as well.
▬▬▬▬▬▬▬▬▬▬▬▬▬▬▬▬▬▬▬▬
This guide will explain how you can build a Hyper Speed Monk and will cover everything you need to do to setup it from Hollow Palm to required gear.
In the Endgame we are going to utilize  Tempest Flurry to FLY through maps at HYPER SPEED +
  Staggering Palm which provides great clear with projectiles. Check the video to see how it works.
We can also use  Hollow Focus + Living Lightning II + Culmination II to generate Power Charges to fuel both -
  Charged Staff for even better clear and
  Falling Thunder to almost one shot bosses. Tech will be explained in the Skill section down Below.
▬▬▬▬▬▬▬▬▬▬▬▬▬▬▬▬▬▬▬▬
Campaign Rewards
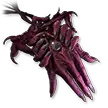
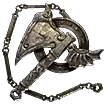
Venom: Stun Threshold
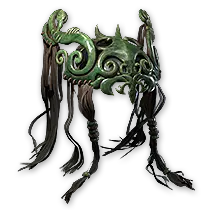
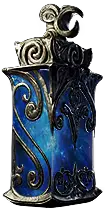
Tattoos: Resistances
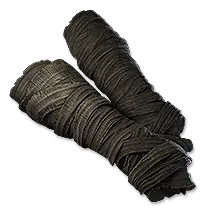
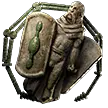
Pillars: Global Defense
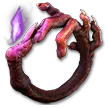
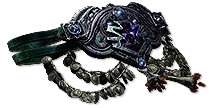
Shark Fin: 30% Evasion/ES/Armour (Kaoms)