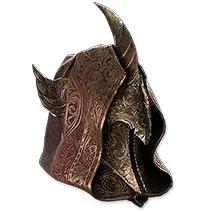
Decree of Acuity (Helmet)
This is an incredible defensive helmet, there are other offensive options but I would highly recommend you run this. I do have a  Raven-Touched Shard version giving
  Thaumaturgic Generator to generate power charges, you can also anoint this on your amulet or get it from a
  Megalomaniac
BOW
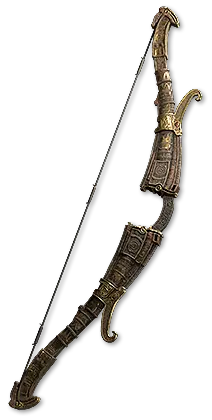
You're looking for a high dps weapon with attack speed, crit chance and levels to projectile/attack skills. Make sure to use a  Countess Seske's Rune of Archery.
Do not use an 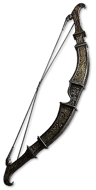 Obliterator Bow the mirage archer's don't like the reduced projectile range.
Quiver
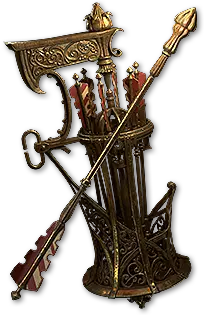
 Cadiro's Gambit is the choice for all content except for Pinnacle bosses. You can run a rare quiver with ranks to projectile skills and flat damage rolls for Pinnacle content.
TALISMAN
Talisman in your weapon set 2 so that we gain access to  Pounce and
  Rend.
Rend.
RINGS
- Flat Damage
- Resists
- Rarity
- Attributes
Get whatever mix of these stats that you need, if you are set on resists and attributes then prioritize flat damage and rarity.
AMULET
I am currently running an  Eternal Rage Amulet, this is a luxury item and I would recommend you craft it yourself if you are going to run it.
You want the following stats:
- Levels to Projectile Attacks
- Spirit
- Increased quality of all skills(Desecration)
Anoint:  Paragon or Thaumaturgic Generator
BODY ARMOUR
 Morior Invictus with resists and global defense per socketable. The third stat is whatever you can afford. Chaos Res, Spirit, life and attributes are all good.
GLOVES
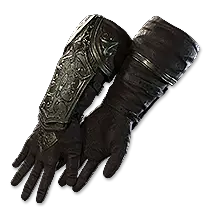
Attack speed and deflection rating are the most important stats.
I would recommend using a  Cadigan's Epiphany for an additional Jewel socket.
BELT
 Mageblood for general mapping. I would recommend the following Mage's Legacies:
After that its up to personal preference any of the following are great:
- Silver
- Diamond
- Granite
- Any resists to fix your character
- Gold
- Double up for additional effect
BOOTS
You can either buy these or craft them yourself. You will need a  Uhtred's Sidereus to allow chronomancy mods to be rolled.
The most important stats are the following:
- Movement speed
- Cooldown Reduction
- Skill Effect Duration
JEWELS
The  Time-Lost Emerald's have the crafted "Very Large Radius". The most important stat is "cooldown recovery per notable". I would recommend that you craft these, there are tons of great videos out there with instructions for this craft.
 From Nothing allows us to allocate passives around
  Hollow Palm Technique, this overlaps with the Time-Lost Emerald in that area so that we can efficiently allocate notables in that area.
 Heart of the Well most important stats are cooldown recovery and skill effect duration.
 Prism of Belief with levels to Snipe. I am currently running a +2 because the +3 is very expensive.
Megalomaniac is allocating  Prism Guard and
  Tides of Change but don't feel you need to copy this 1 for 1.
For normal rare jewels, prioritize cooldown recovery and critical hit chance/damage.


 Mercenary
 Gemling Legionnaire
 Mirage Archer can now use channeled skills such as
  Snipe. Paired with the Gemling Legionnaire and quality stacking,
  Tornado Shot can be used right on top of bosses or tanky rares, while mapping I normally cast Tornado shot right in front of the mirage archers.