As a hybrid support, Zero instantly slots in a lot of teams on the upper half of Esper Circle..
Blossom Team
 Nanally
  Jiuyuan
  Hotori
  Zero
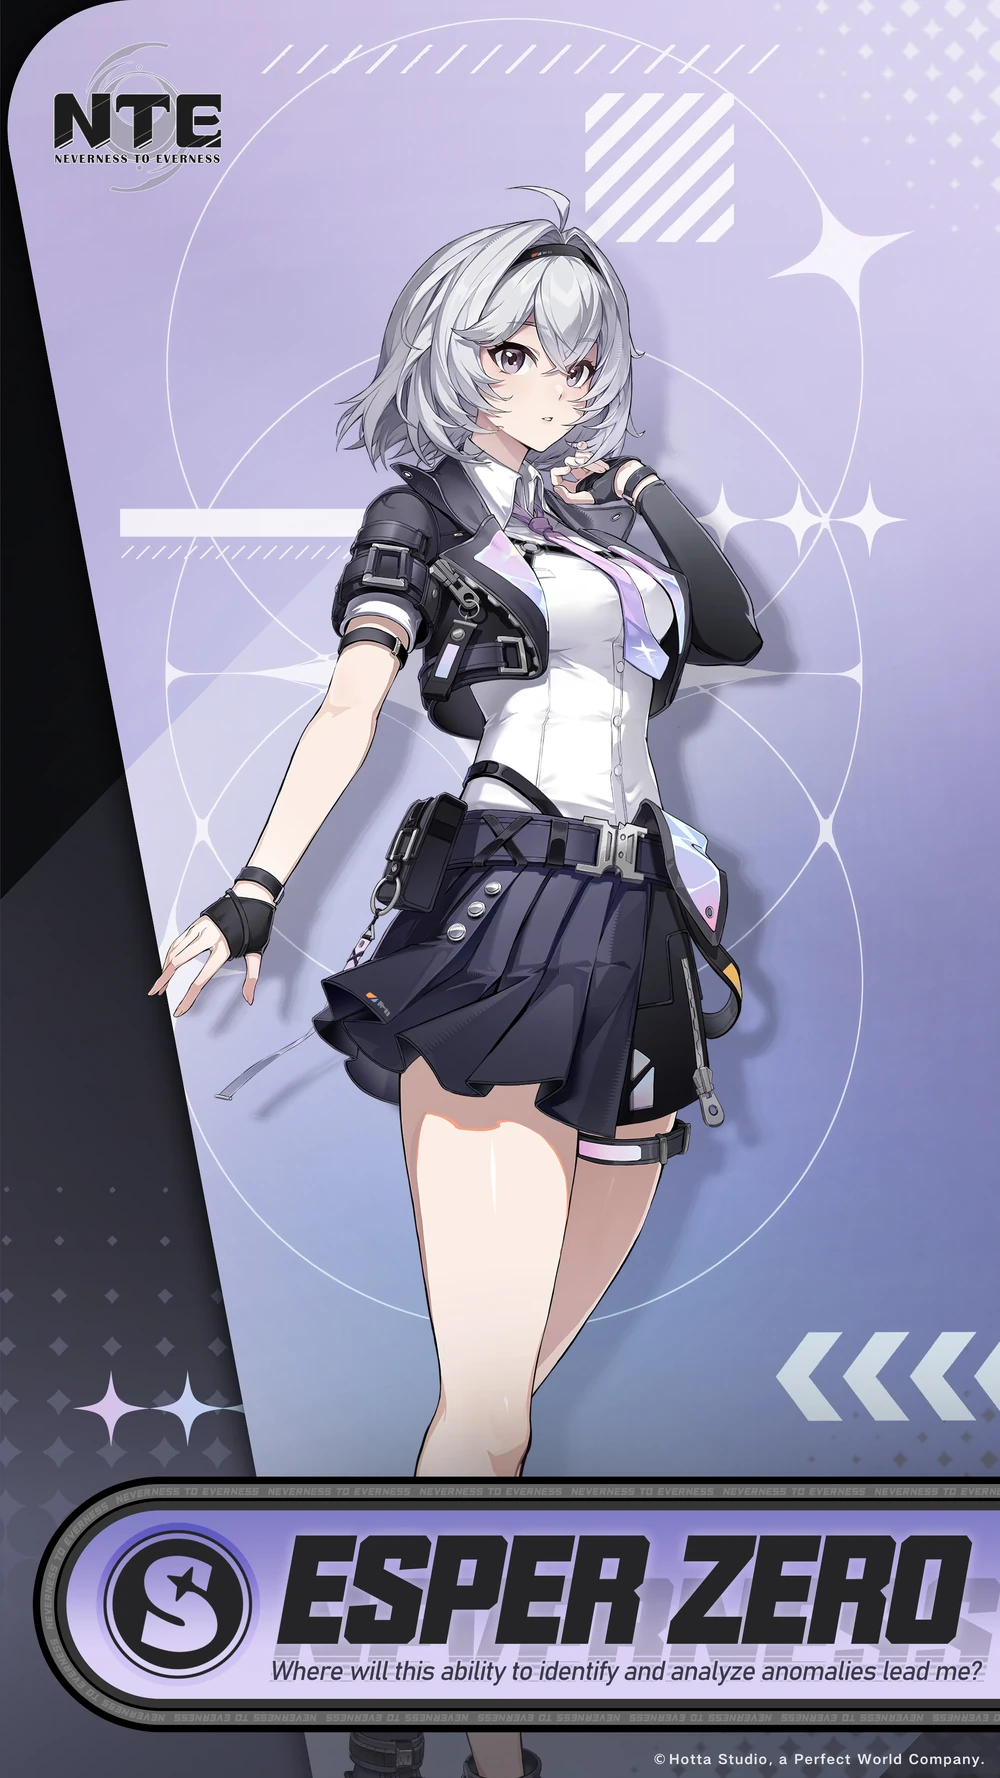
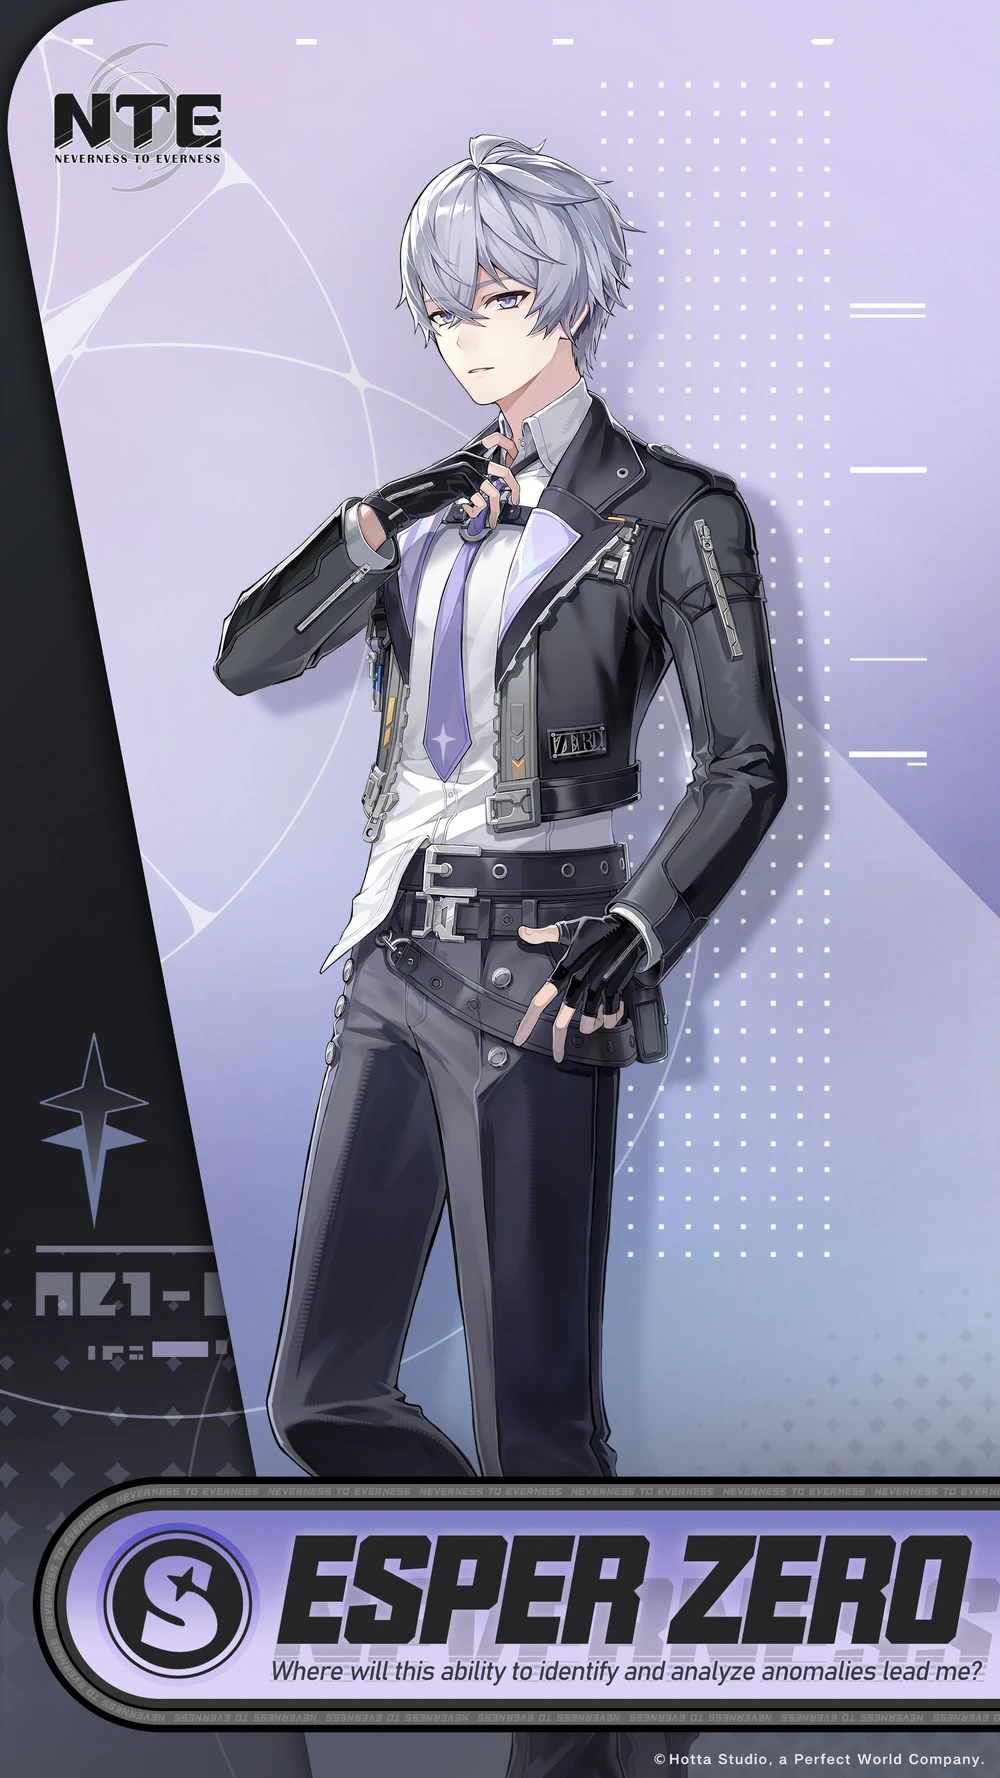
Zero
Nanally Jiuyuan  Sakiri Zero
The Famous Nanally team, with two Anima (Nanally and Jiuyuan) triggering Blossom, and Sakiri acting as ATK buffer, DEF shred, and adding Hexed to the mix. Or Hotori who replicates skills, doubles reactions, provides great DPS, and stops time.
You can build Zero with Cycle Intensity stat, and swap to or from Zero to for higher Blossom damage. That's especially strong with Hotori who enable the team to deal so many instances of Blossom, and Blossom to keep hitting enemies through the time stop
 Chiz Zero Jiuyuan
  Hathor
Doubling down on Cosmos element, this team gains Ultimate Energy so fast through Charged and Chiz passive. Switching from Zero or Chiz (Cosmos) to Hathor (Lakshana) proc Remora, and switching to Jiuyuan procs Blossom. Together, they proc Charged. Chiz is the main DPS, with Hathor and Zero as burst DPS, and Jiuyuan the support (and healer at A1)
Hathor Carry Team
Hathor Zero Jiuyuan  Haniel
This team leans towards the left side of the Esper Circle to add Haniel (Psyche) and trigger Stain with Hathor (Lakshana), which inflicts Psyche and Lakshana Vulnerability. Zero helps Hathor triggering Remora, as she has a passive to increase Remora duration and gain Crit Rate against targets affected by Remora. So always switch from Zero to Hathor, and from Hathor to Haniel for these reactions. Blossom is less of a priority in this team, so Charged is less frequent.
Aurelia Carry Team
 Aurelia Hathor Zero Jiuyuan
Similar structure to the previous team, but instead of main DPS Hathor, we switch to Main DPS Aurelia (Psyche single target DPS). Stain buffs both Aurelia and Hathor, as Hathor plays a Burst DPS. Follow a clockwise order of elements here, from Aurelia to Hathor, and from Zero to Jiuyuan.