Dire Marsh is a treacherous swamp with the mysterious "anomaly". (6 teams of 3)
Updated on June 2nd 2026
Dire Marsh is a treacherous swamp with the mysterious "anomaly". (6 teams of 3)
Updated on June 2nd 2026
The Dire Marsh is the second Marathon map that offers a noticeable ramp-up to PvP interactions in comparison to Perimeter. It features swamp wetlands, floating terrain, and a system of underground tunnels.
It was playable during the Server Slam free weekend and available on Marathon's launch day.
In Season 2, Dire Marsh was the first Marathon map to receive a Night Mode. Click here to jump to our dedicated guide section for it.
Getting into Dire Marsh, you're starting to understand something bad happened here and you're seeing signs of that in a way that wasn't apparent on Perimeter. On Dire Marsh, you've got the Anomaly, and it's this strange alien entity that has erupted up from out of the ground. You're really feeling signs that this is more of an epicenter where things went wrong on this colony.
It's got a different style of gameplay, there's more of a central complex that is rich with overlapping areas and regions that you can find yourself kind of bleeding from one encounter to another. It's a great map to go in when you just want some action, and you're gonna need somewhere to farm.
This guide by SiegeOC covers how to complete the Lockdown Event, which is difficult to to finish but provides access to high rarity loot.
Note that in order to attempt this, you'll need a solid supply of  Anti-Virus Packs.
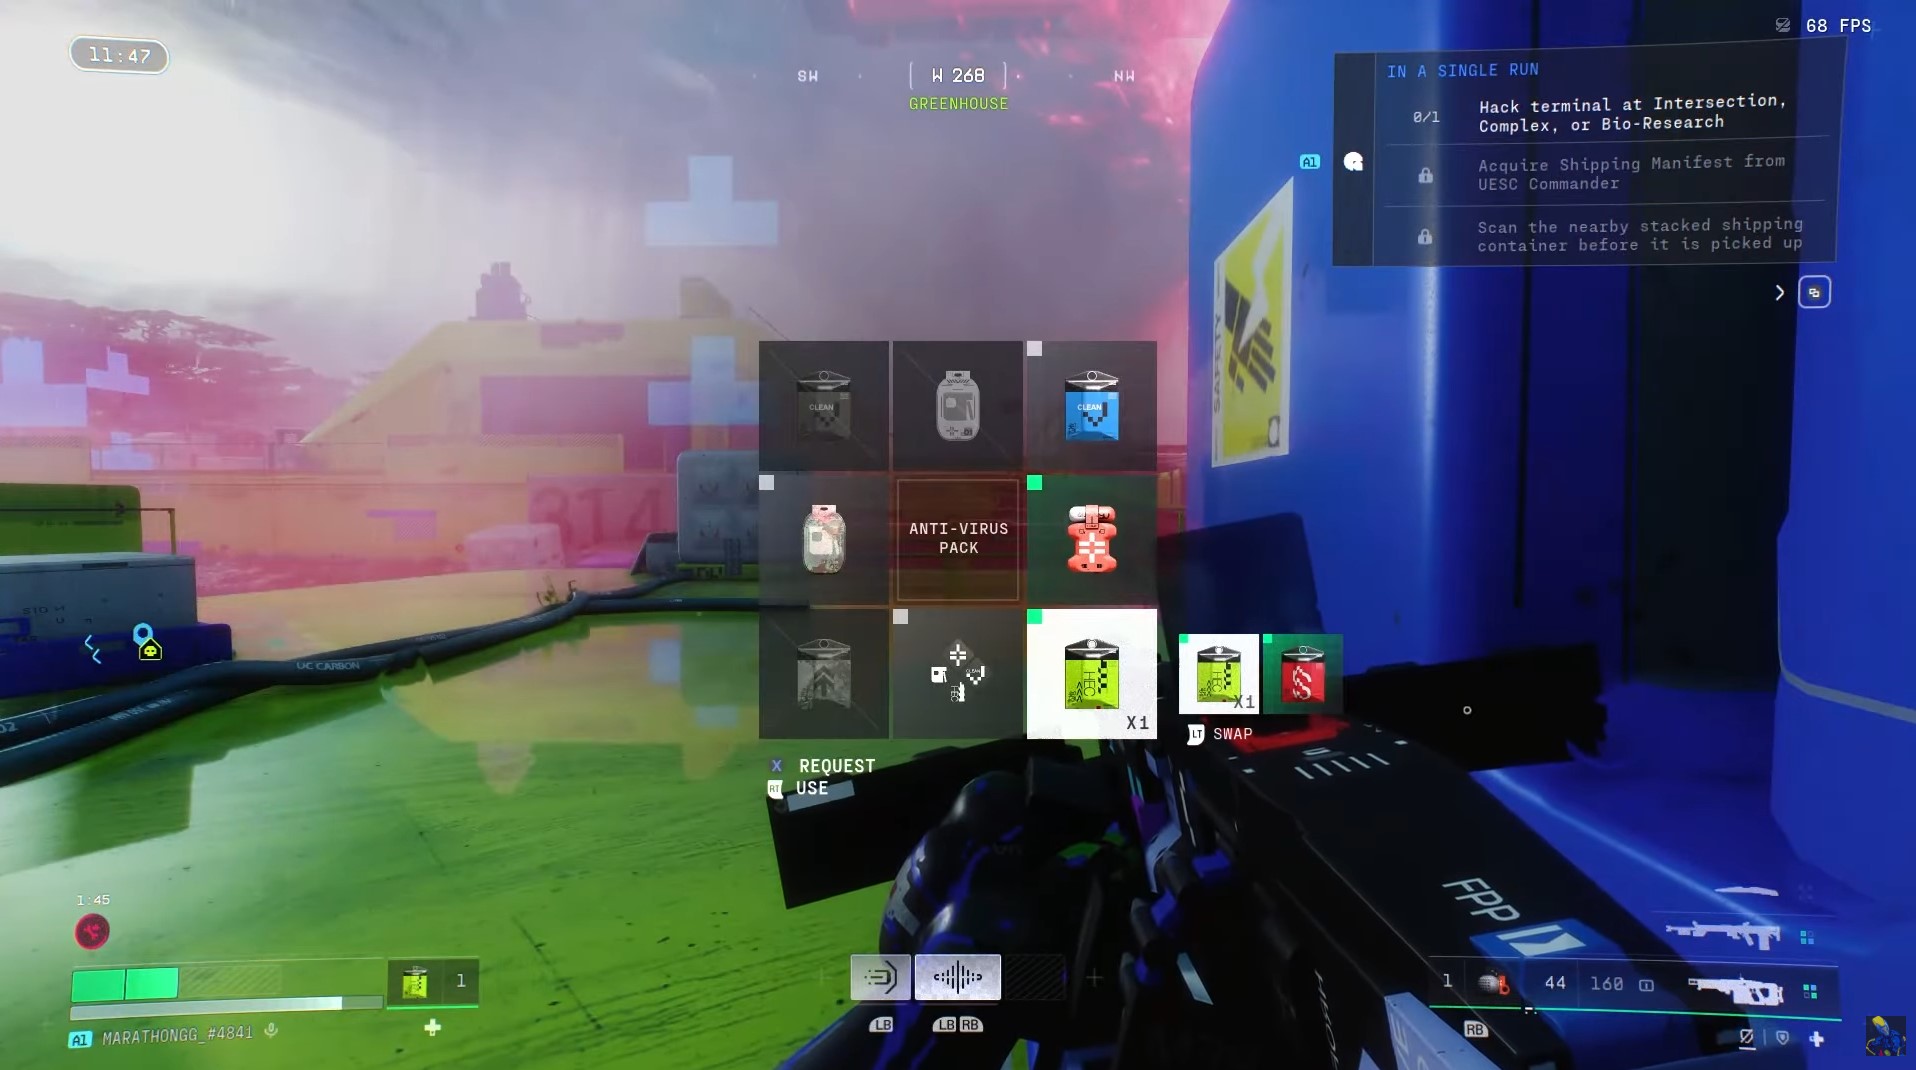
The Lockdown Event has a chance to happen after the first 10 minutes of a match, when it starts, it will be revealed on your map.
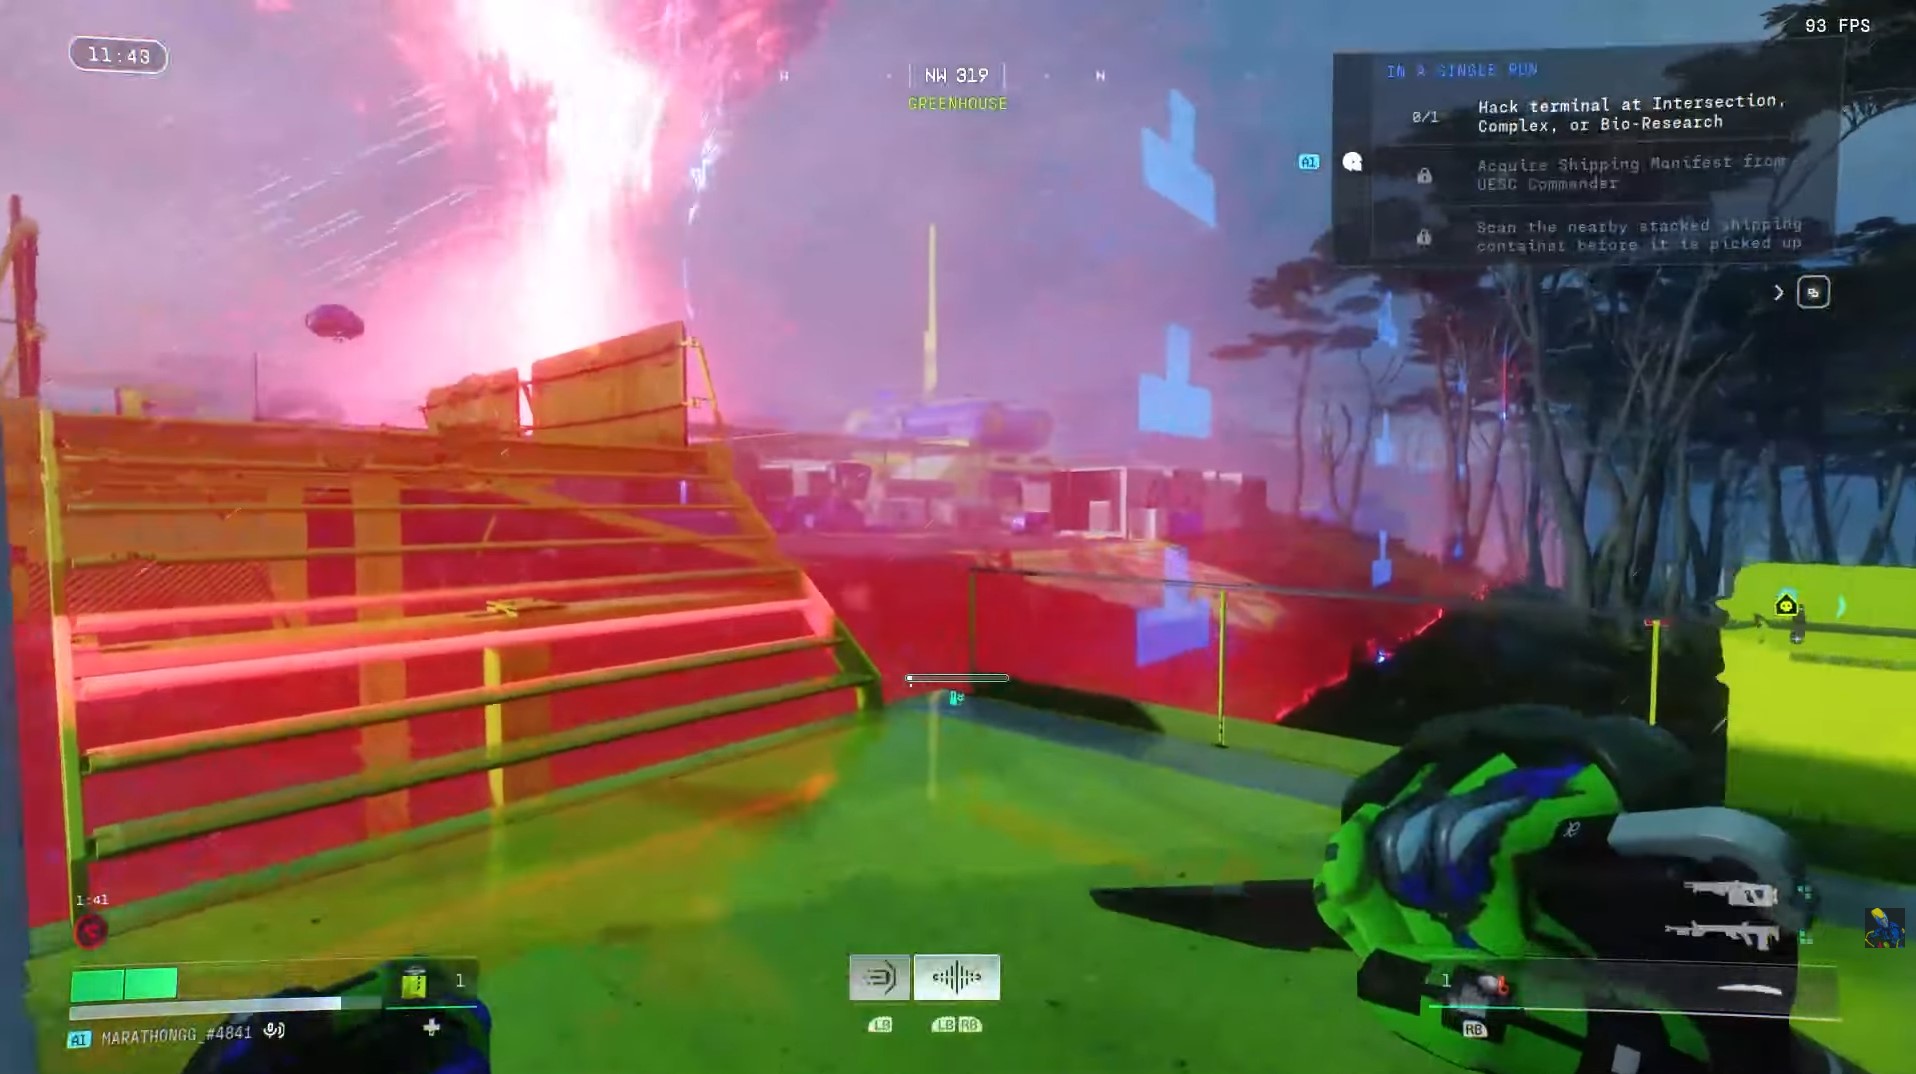
Once you arrive, pop your Anti-Virus Pack and head into the red barrier.
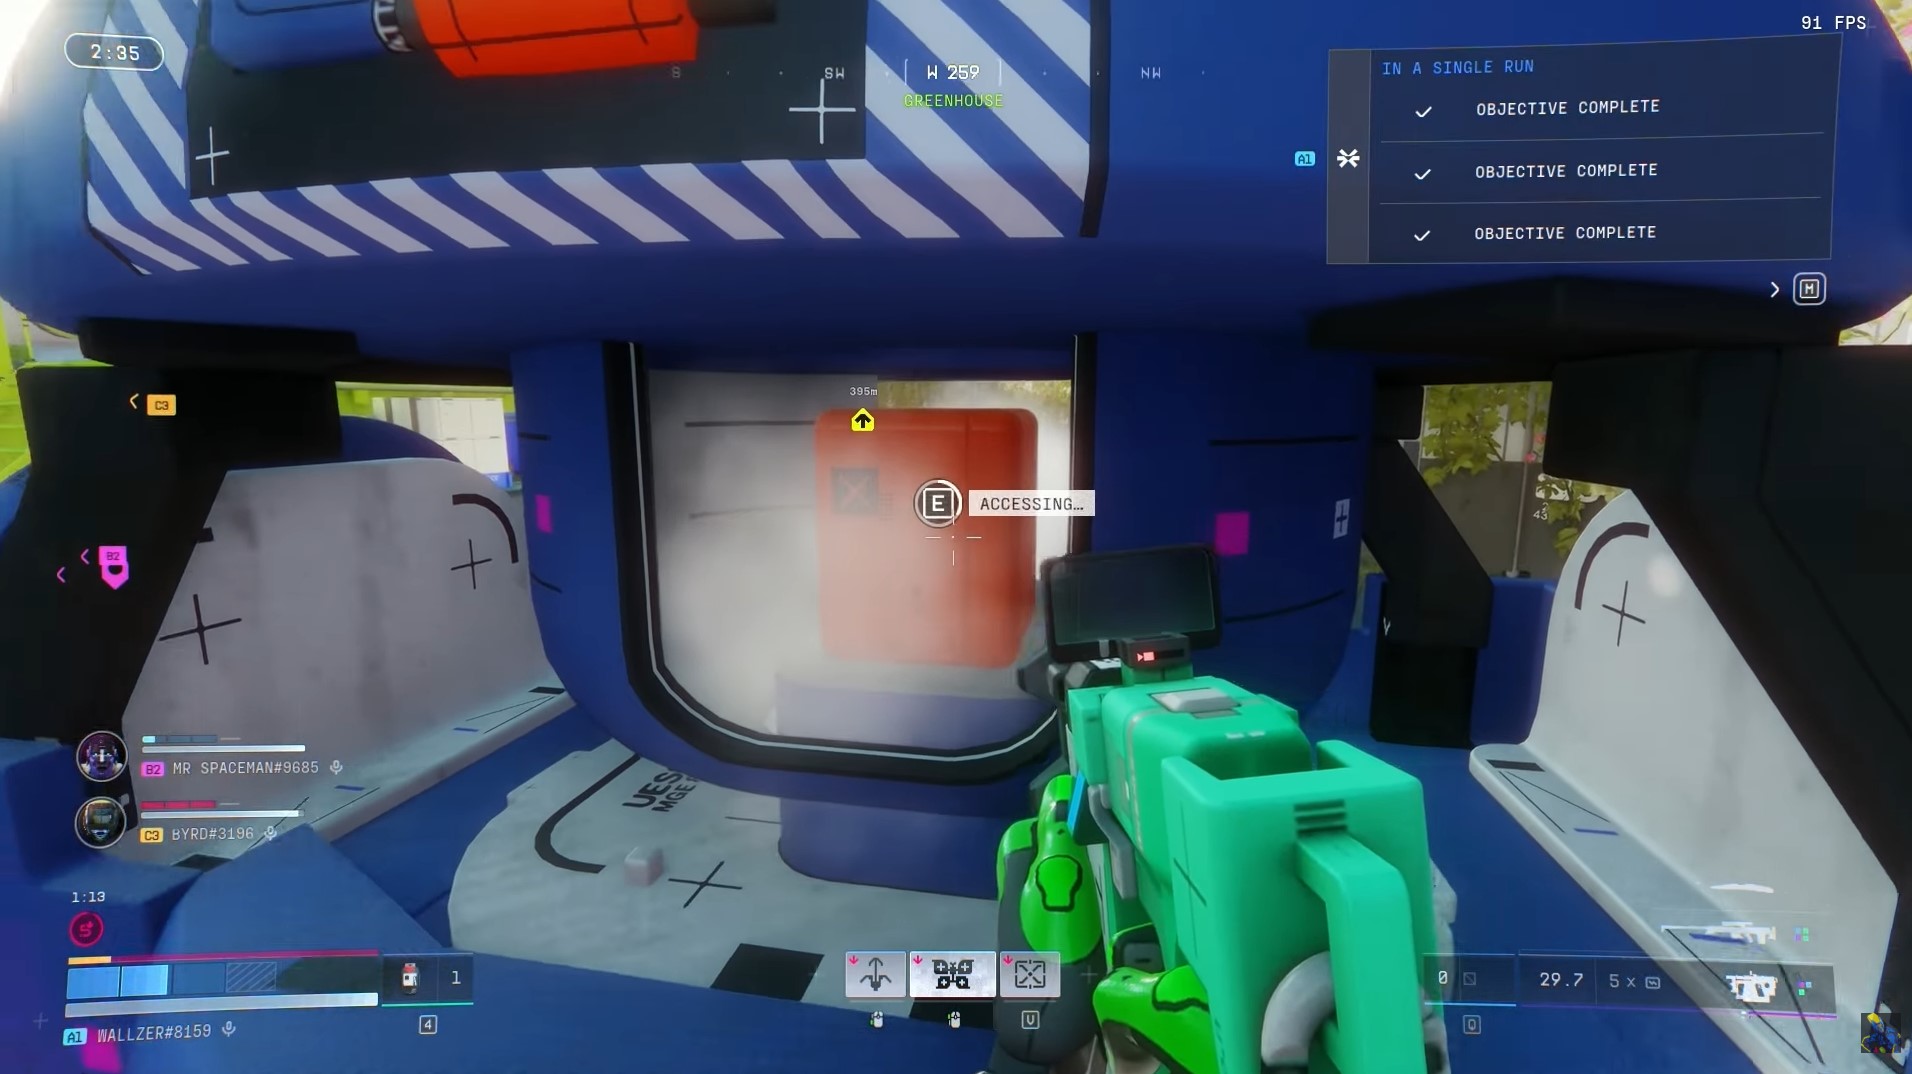
Inside, look for a Lockdown Drive.
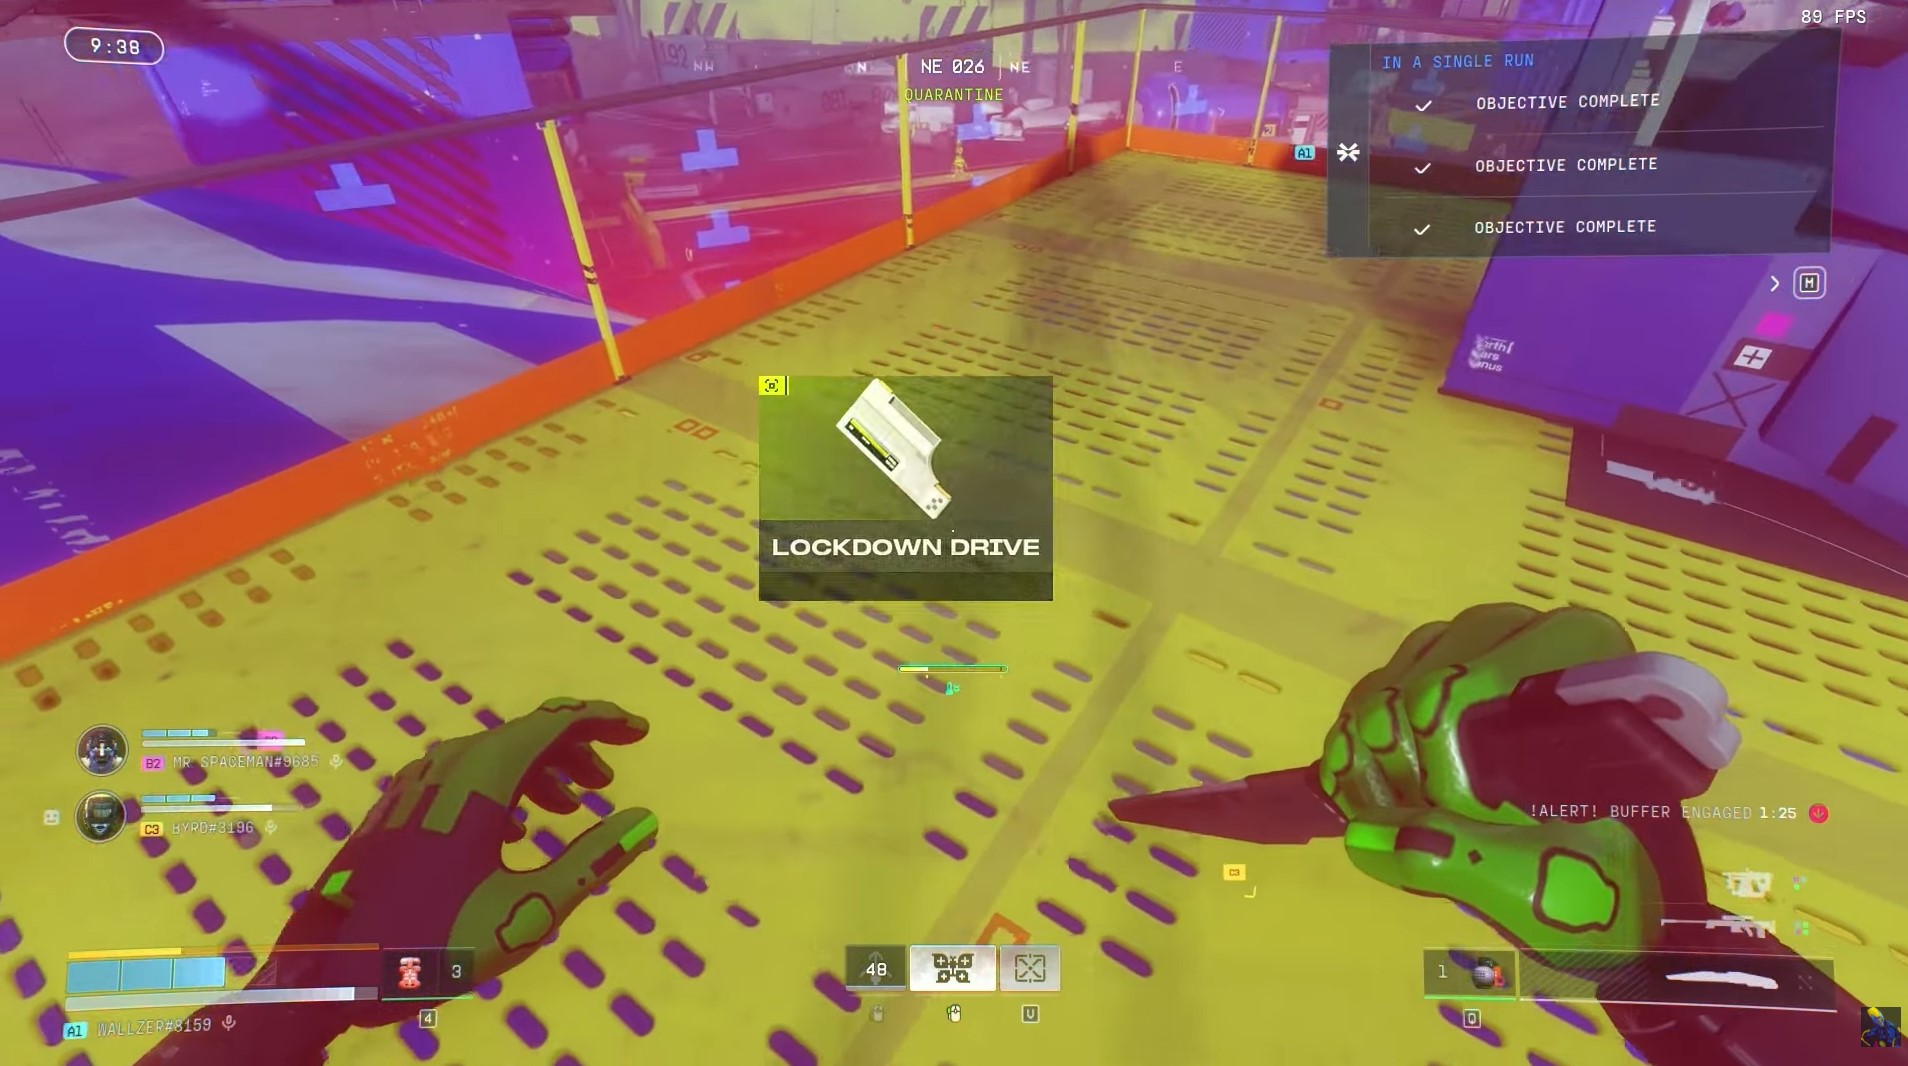
Then, insert the drive into a Blue Terminal.
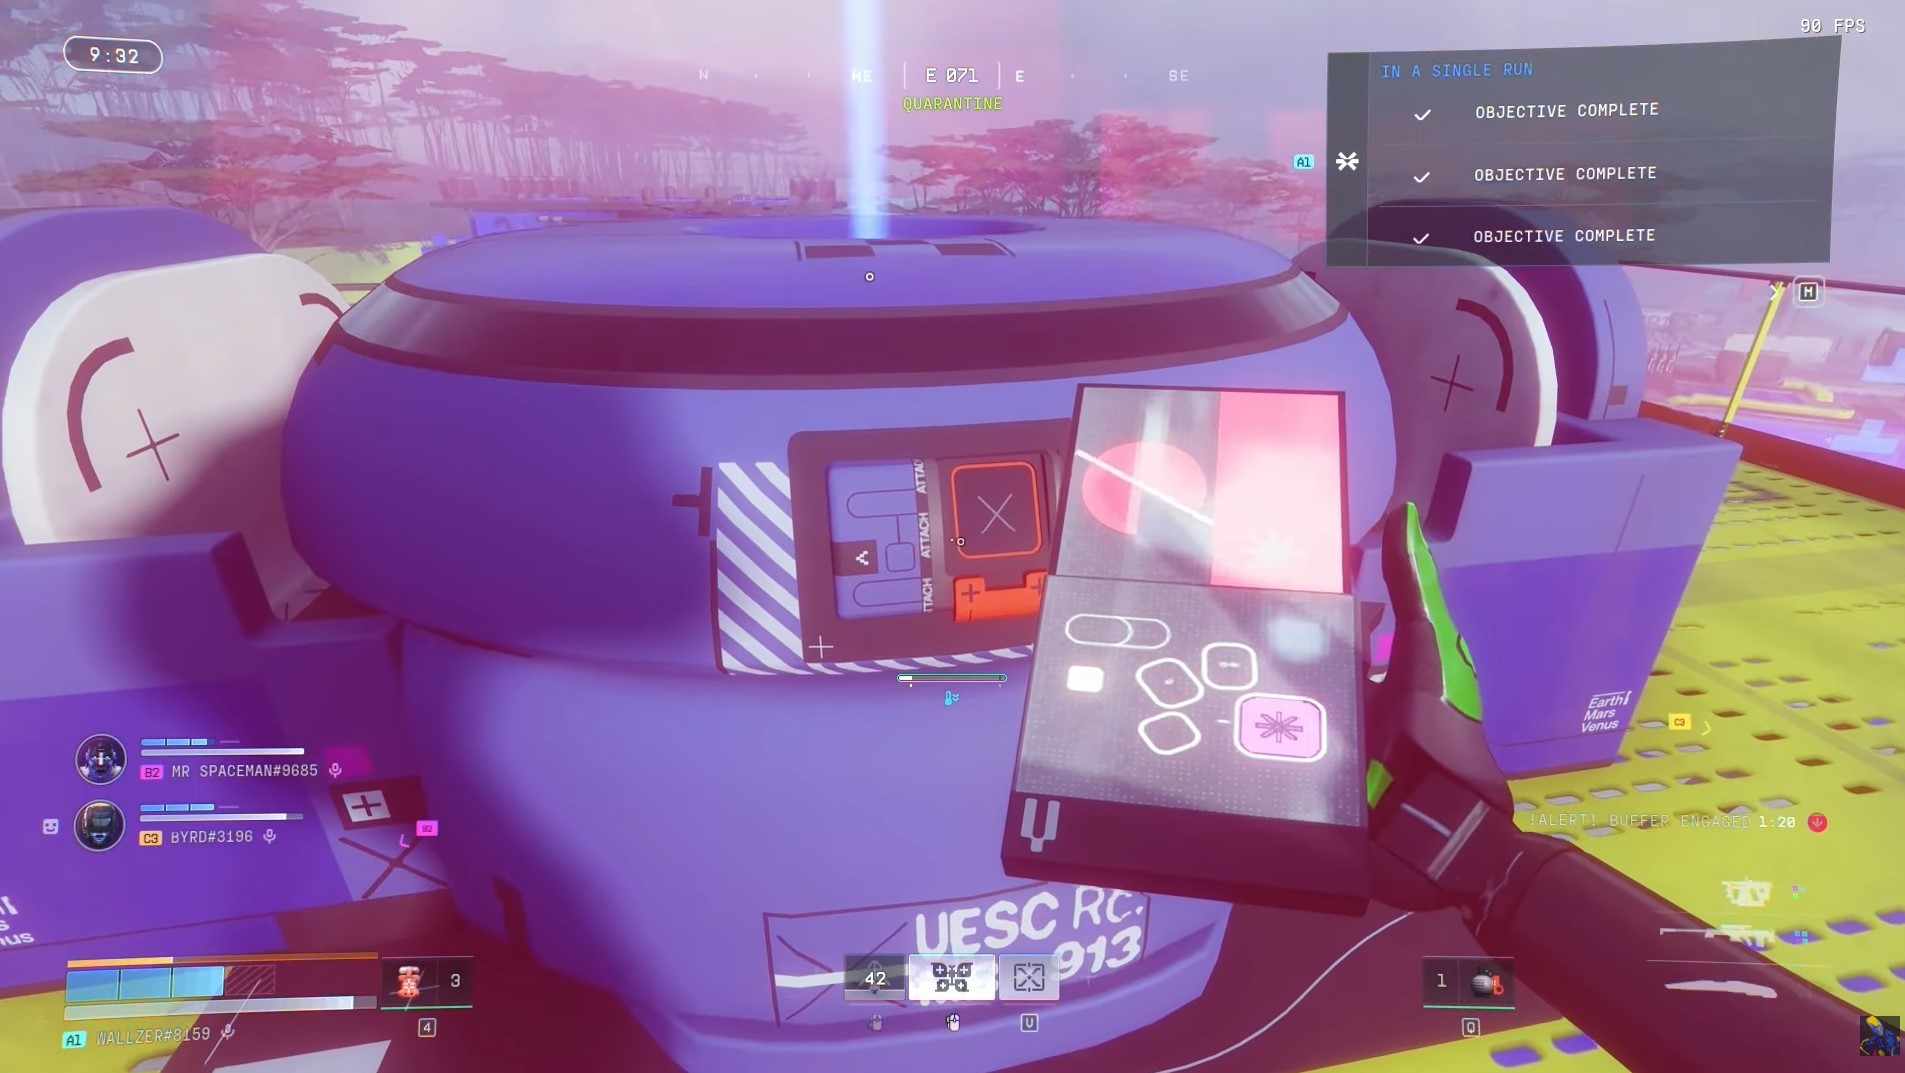
After inserting, you'll face incoming UESC enemies that upon defeating, will cause the red barrier to come down.
Head back to the Blue Terminal to collect your loot and then grab the new Lockdown Drive in the terminal.
Take this to the next Lockdown event and repeat the steps.
You can do this for a total of three times per Dire Marsh match!
In this guide by SiegeOC, find out how to complete the Anomaly Event which grants your team a total of 6k credits to split for 2k credits each.
Note that doing this involves high risk as you will be highlighted on the map for all players to see. There will also be intervals where the event takes time before you can move on to its next steps.
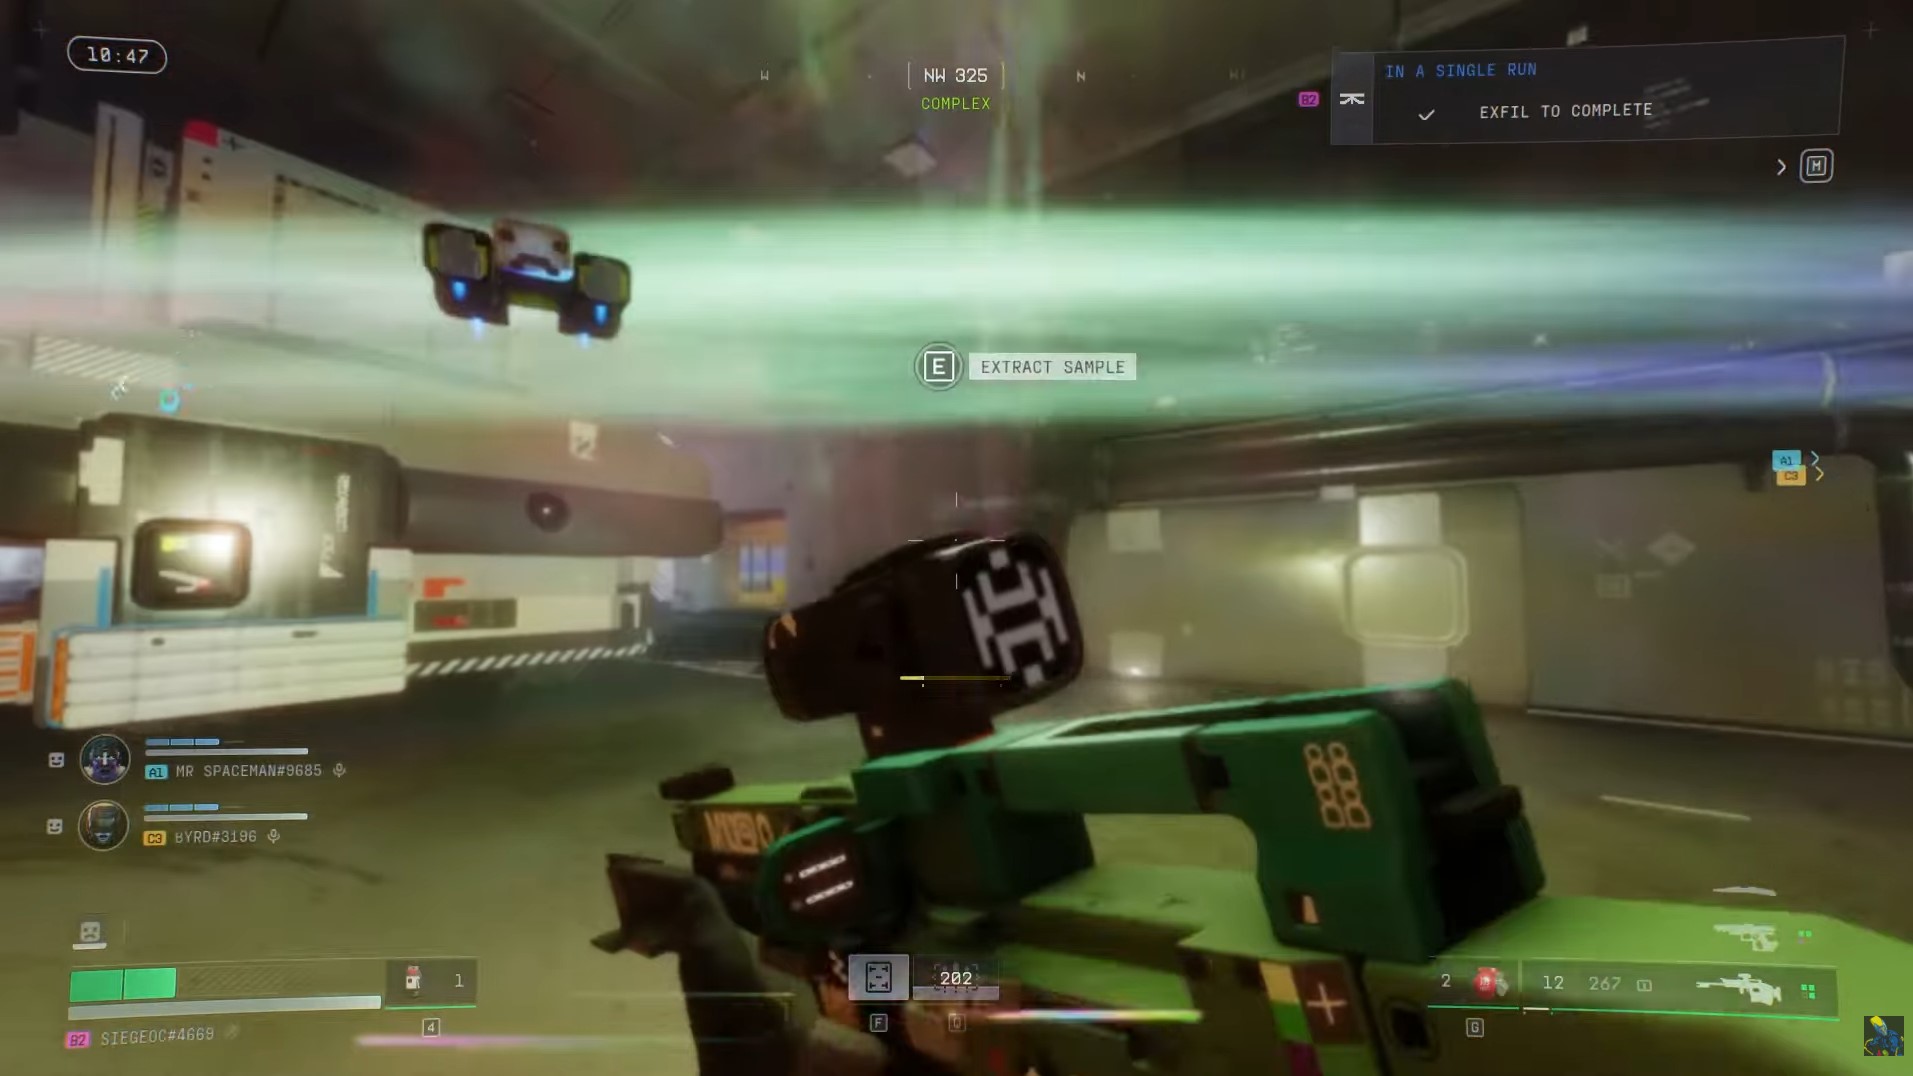
To begin the Anomaly Event, look for the blue icon on the map for a profit opportunity. This will appear about 15 minutes after a Dire Marsh run begins.

Once you arrive, you'll see the anomaly that you can interact with by extracting a sample. After interacting with it, you'll need to wait about 15 seconds and then you can pick up the Unstable Sample.
As soon as you pick it up, get moving to the next blue marker. Keep moving otherwise you and your teammates will take damage from the sample you're carrying.
Once you arrive, you will see a Purification Station where you can place the sample. This process takes another minute and makes a ton of noise so be on guard for enemy runners.
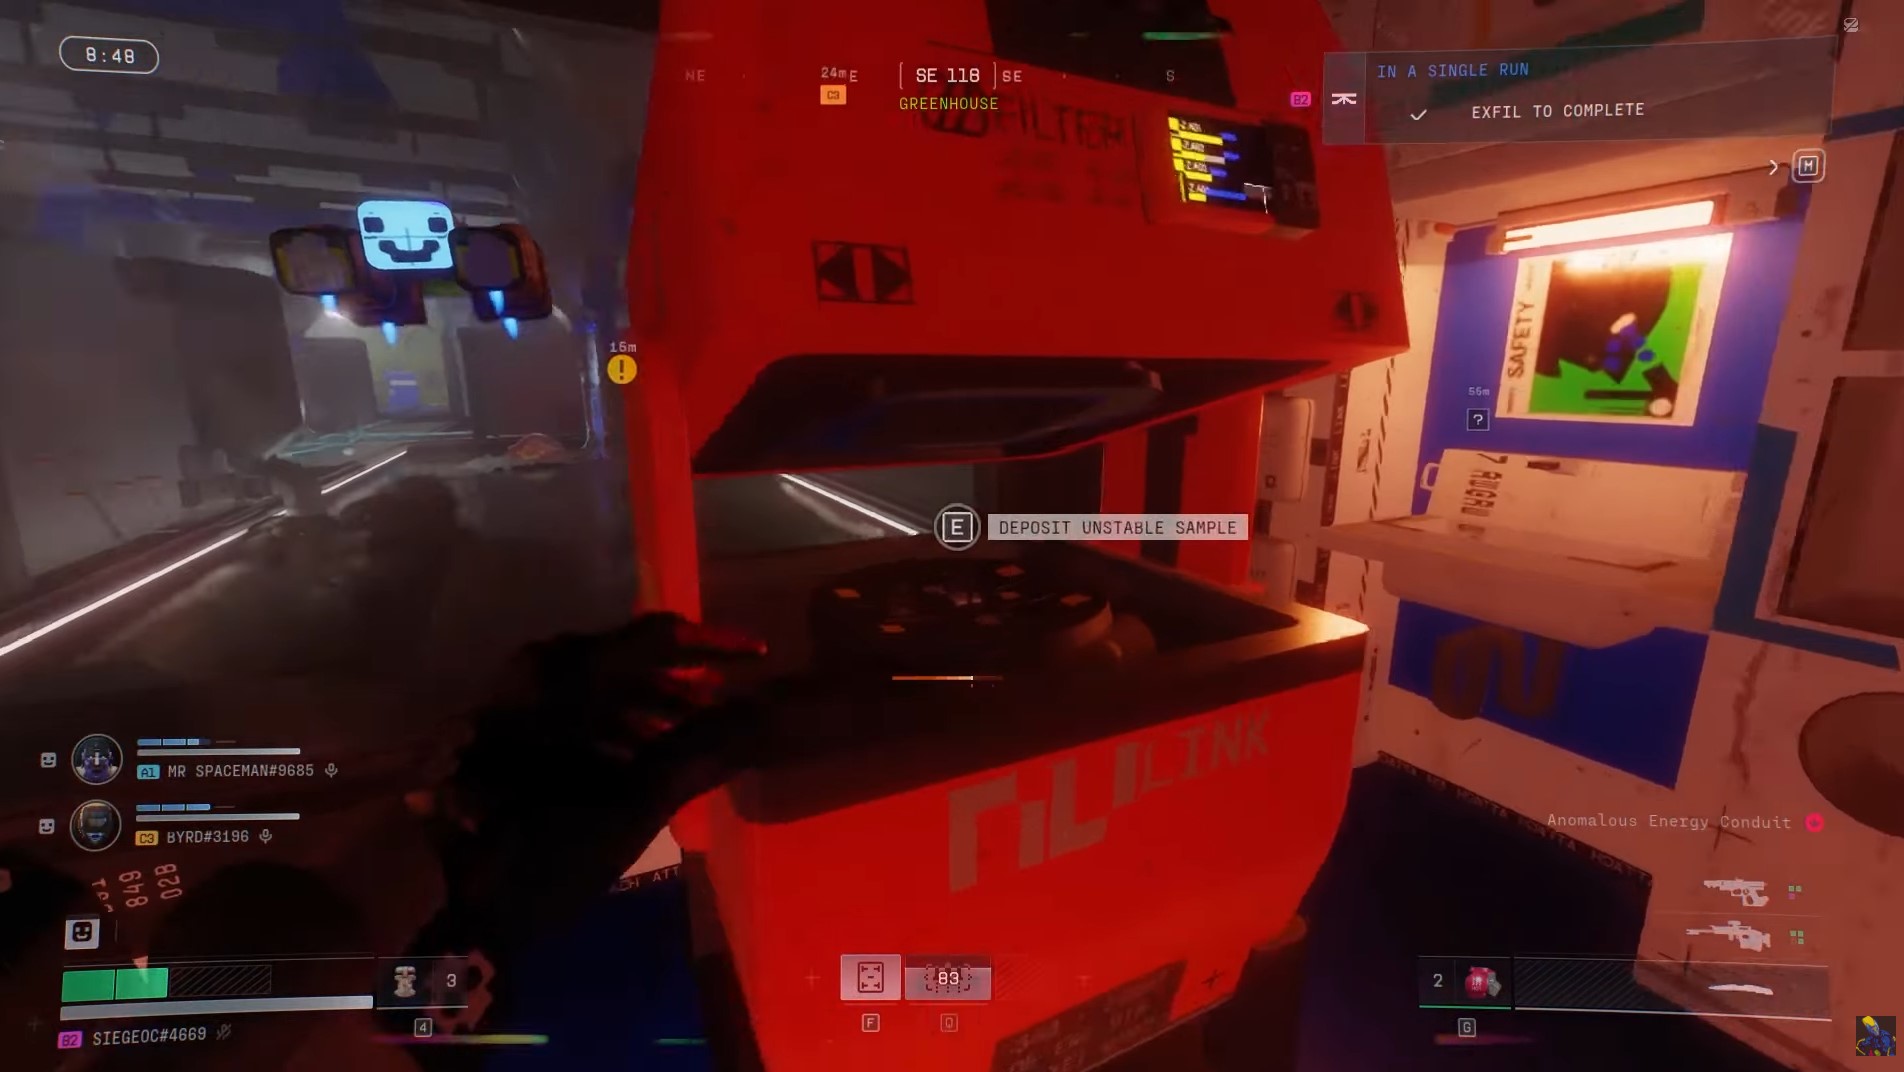
Once that's done, pick up the Temporal Fragment and then extract to finish the quest and earn your 6k credits for your squad.
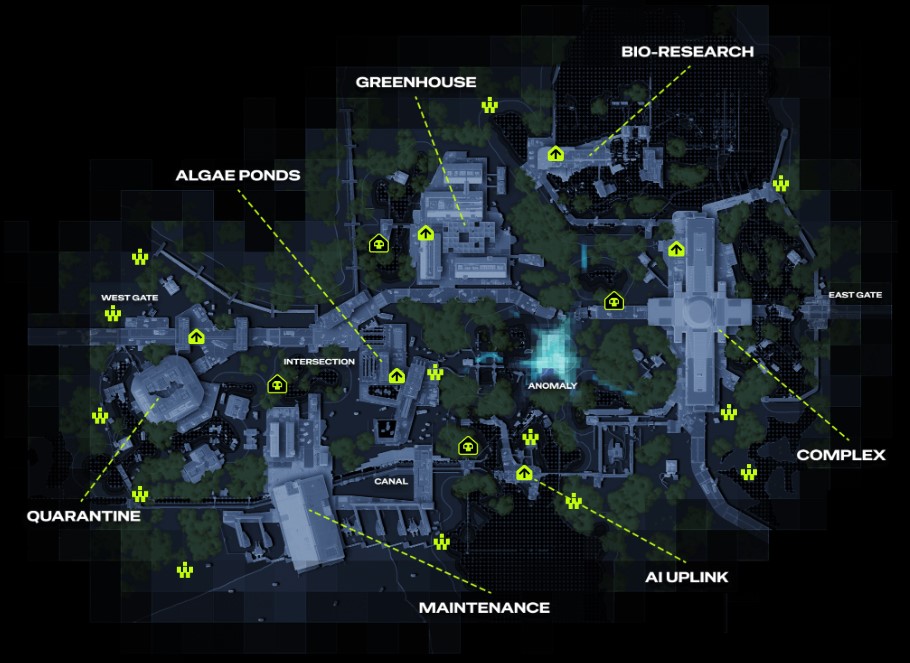
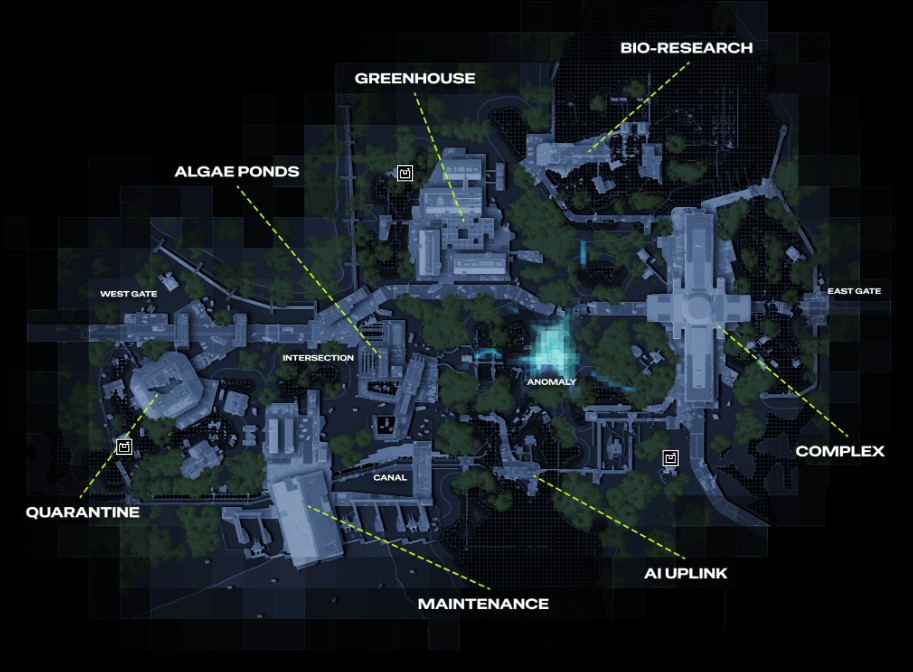
Press on the Map to see in full-screen
Map Legend | Number on the Map |
|---|---|
| 13 |
| 6 |
| 4 |
Press on the Map to see in full-screen
Map Legend | Number on the Map |
|---|---|
| 3 |
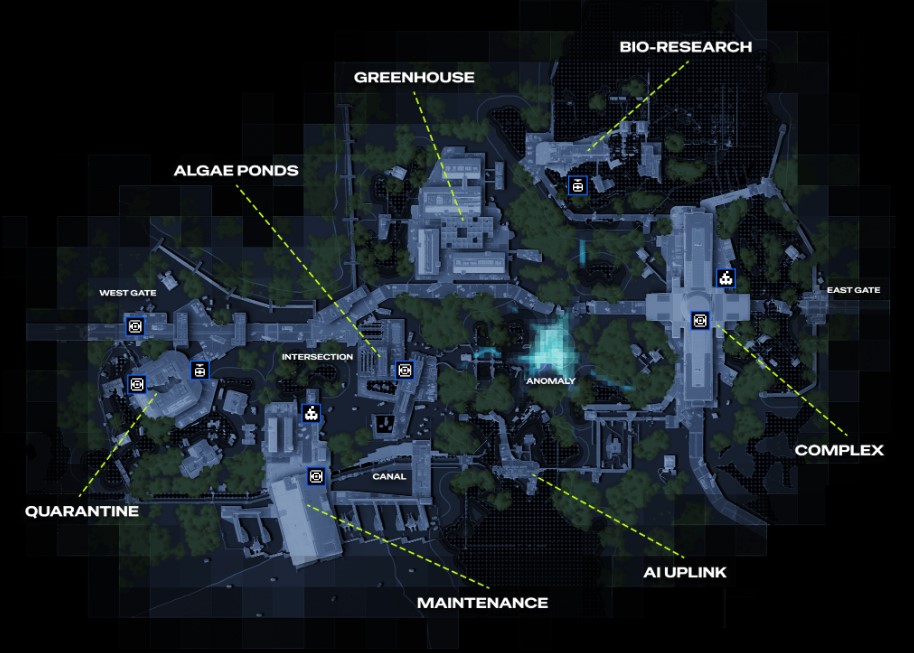
Press on the Map to see in full-screen
Map Legend | Number on the Map |
|---|---|
| 2 |
| 2 |
| 5 |
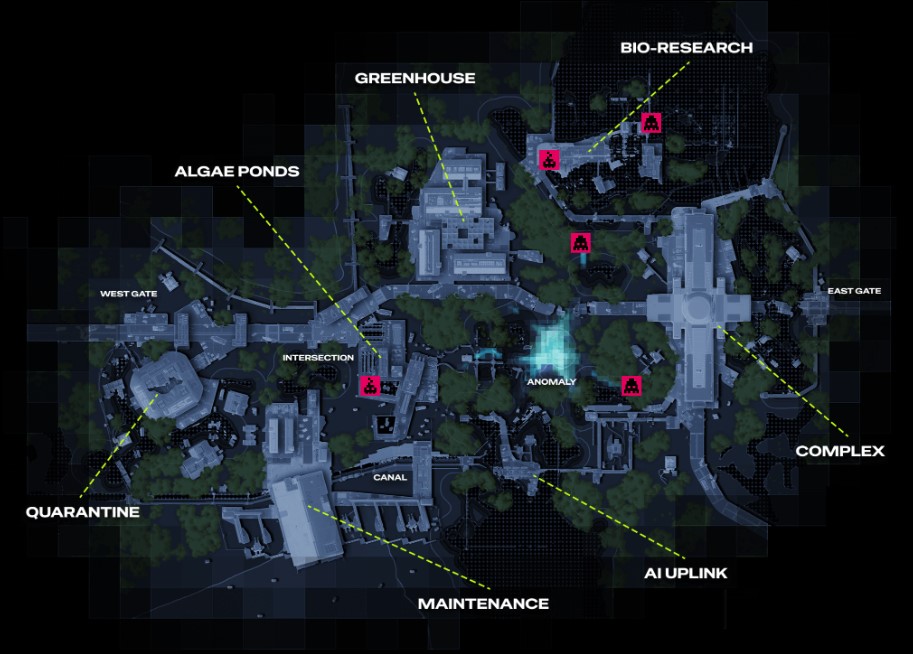
Press on the Map to see in full-screen
Map Legend | Number on the Map |
|---|---|
| 3 |
| 2 |
In Marathon's Season 2, Dire Marsh was the first map to receive a night mode version.
Known as "Night Marsh" in the community, it offers more dangers due to limited visibility and deadlier enemies in exchange for higher loot pools.
To make the most of a Night Marsh run, the best loot can be found in the Upper Complex Room that involves mechanics that are exclusive to the night mode.
Just like attempting any competitive content, make sure you have plenty of ammo and supplies before committing to it.
Here are the steps you should know:
As a side note, make sure to have 5 Certs to exfil.


