Amplifying Reaction teams:
Mavuika:
Vaporize:  Mavuika -
  Mona -
  Sucrose -
  Iansan
One of Mavuika’s strongest teams although particularly tricky to play at a high level, even by Mavuika standards. Mona's Hexerei Buffs and the  Celestial Gift set have made this team a more than viable alternative to Melt or Overload teams.
Example Rotation:
( Mavuika Skill for first rotation)
- Iansan Skill + Burst
→ - Mavuika Hold Skill + N1
→ - Sucrose Skill + Burst
→ - Mona Burst + N2 + Skill
→ - Mavuika Burst + Vaporize Combo
The above is a relatively simplified version of the rotation. For a more advanced rotation, check out the Mavuika guide.
Arlecchino:
Melt:  Arlecchino -
  Citlali - Sucrose -
  Bennett or
  Nicole
Sucrose functions as one of the best fourth slots here, competing mostly with  Xilonen. Sucrose's additional Cryo Application with Burst can certainly be made use of, although the rotation might have to change.
Example Rotation:
- Arlecchino Skill
→ - Bennett Skill + Burst
→ - Sucrose Skill
→ - Citlali Skill + Burst
→ - Arlecchino on-field combo
Vaporize: Arlecchino - Mona - Sucrose - Bennett
By far Arlecchino’s best Vape team. Mona’s Hexerei buffs and the Celestial Gift set have made it competitive with Melt, sometimes better with good enough play. Harder to play than Melt. Check out the Arlecchino guide for more advanced tips.
Example Rotation:
- Arlecchino Skill
→ - Bennett Skill + Burst
→ - Sucrose Skill
→ - Mona Burst + N1
→ - Arlecchino Charged Attack + 2 Vaporizes
→ - Mona N2 + Skill
→ - Arlecchino on-field until Skill cooldown is back
Mualani:
 Mualani - Sucrose - Mona - Mavuika
Typically Mualani's strongest team nowadays. Mona applies relatively little Hydro and at low enough uptime to not interfere with Mualani's Vapes. Sucrose's buffs get solid uptime in this team.
Example Rotation:
- Mona Skill
→ - Mavuika Burst + Skill + Normal Attack
→ - Mona Burst + N2 or N3
→ - Sucrose Skill
→ - Mualani on-field combo
There are many more such teams Sucrose can be great/good in. She forms a great duo with Mona, and she will be an at least competitive option in any Melt or Vaporize team. The above are a few of the examples in which she is the best choice in.
As an EM Buffer for EM-scaling teams:
Lunar Teams:
 Flins -
  Columbina -
  Ineffa - Sucrose
Sucrose is the best 4th slot for Flins teams. Other alternatives might come close to her, but none are better without 5* Constellations.
Example Rotation:
- Ineffa Skill ( + Burst )
→ - Columbina Skill ( + Burst )
→ - Sucrose Skill or N1 + Burst
→ - Flins on-field uptime
→ - Sucrose N1 + Burst or Skill
 Nefer - Columbina -
  Lauma - Sucrose
One of Nefer’s best 4th slots, typically the strongest purely in terms of DPS. Teamwide EM means buffing both Nefer and Lauma’s EM, which is more valuable than Nahida’s single-target EM. Sucrose can utilize either Deepwood or Instructor here, but the setups for both are different and the build requirements on the rest of the team change.
Example Rotation:
Open the first rotation with Nefer Skill
- Columbina Skill + Burst
→ - Lauma Hold Skill + Burst
→ - Sucrose Skill or Burst
→ - Nefer on-field combo
→ - Sucrose Skill or Burst
Stellar-Conduct:
 Sandrone or
  Wriothesley or
  Cyno or
  Traveler (Cryo) -
  Yae Miko - Sucrose -
  Odette
Although Sucrose comes with the ( occassionally significant ) drawback of not providing the team with any sustain, she will often be the undeniably strongest damage option for all of the above carries. She's most notable for the Cryo Traveler, who has to sacrifice nothing for their team to gain full uptime on all of Sucrose's buffing. She can be a little finnicky for the others, and might require certain modifications to make her truly stand out.
Both  Thrilling Tales of Dragon Slayers and
  Wandering Evenstar are excelelnt weapon options for her in these teams. TTDS often requires slightly different rotations and a minimum rotation length of 21 seconds, so Evenstar will often be better. Sacrificial Fragments is also a strong option, especially to provide extra Energy in Stygian Onslaught.
Example Rotation:
(Open the fight with Sandrone Skill)
- Yae Miko Skill x3
→ - Odette Skill + Enhanced Skill
→ - Sucrose N1 + Skill or Burst
→ - Sandrone Charged Attack + Skill + Burst
→ - Sucrose N1 + Skill or Burst
→ - Sandrone [Charged Attack + Skill] x2
Note that it is possible to swap the order of Yae Miko and Odette in the rotation and still be able to Swirl Cryo instead of Electro. This will allow for better buff uptime on Yae Miko and Odette and represent a modest DPS increase.
Stellar Swirl:
 Vesna or
  Yumemizuki Mizuki - Sucrose - Odette - Traveler (Cryo)
Sucrose's buffs will oftentimes be full uptime in these teams, and while very valuable, she faces real competition in  Faruzan for the Anemo SSW carries. She is exceptional and by far the strongest Anemo slot for Sandrone SSW teams though.
Example Rotation:
( Sandrone Skill + Sucrose N1 ( + Skill if SacFrags) first rotation)
- Odette Skill or Burst + Enhanced Skill
→ - SucroseN1 + Burst or Skill
→  Vodyanitsa SKill
→ - Sandrone Charged Attack + Skill + Burst
→ - SucroseN1 + Skill
→ - Sandrone Charged Attack + Skill + Charged Attack + Skill
Miscellaneous
Sucrose is also able to take on the role of an on-field Driver in a team like Columbina / Ineffa / Fischl. Teams like Xingqiu + Xiangling + Bennett used to make this role much more relevant, but they’ve fallen significantly out of favor.
Like mentioned in the overview, Sucrose can be a useful support for a team like  Varka or
  Lohen, as an Anemo and a Hexerei unit. Her own buffs however are hardly useful in such teams, making her an accessible alternative rather than a top tier option.


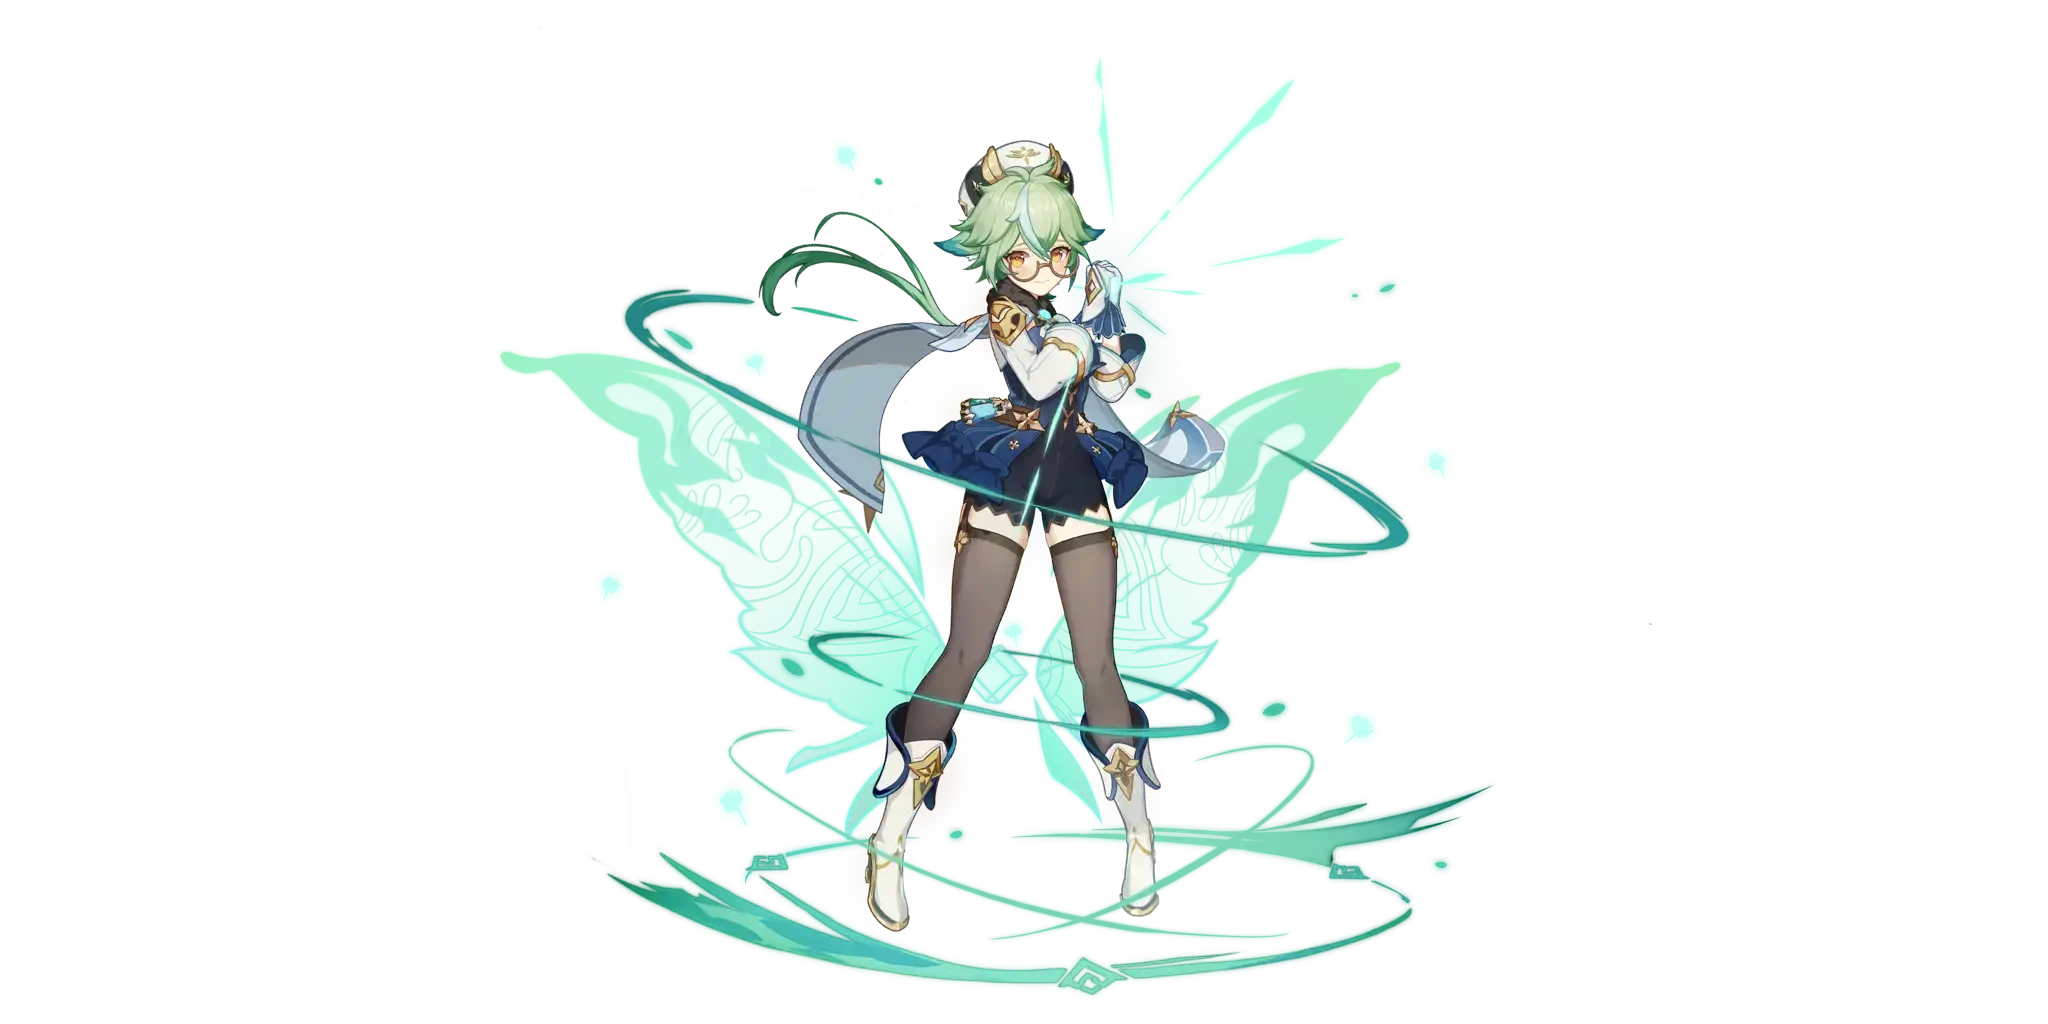
 Sucrose
 Viridescent Venerer set as an Anemo unit, strong teamwide
  Elemental Mastery buffs and several strong support weapons to choose from make her one of the best units in any team that utilizes EM, from Melt to Lunar to Stellar teams. She tends to be the strongest 4th slot in terms of damage for both


 Vodyanitsa
 Vesna
Vesna Skirk
Skirk Escoffier