menu
MobalyticsUse your favourite features in-game with our Desktop App
Genshin Character

Chevreuse Build Guide

presentationChevreuse
Updated on Jul 23, 2026
Jul 23, 2026

Character Profile

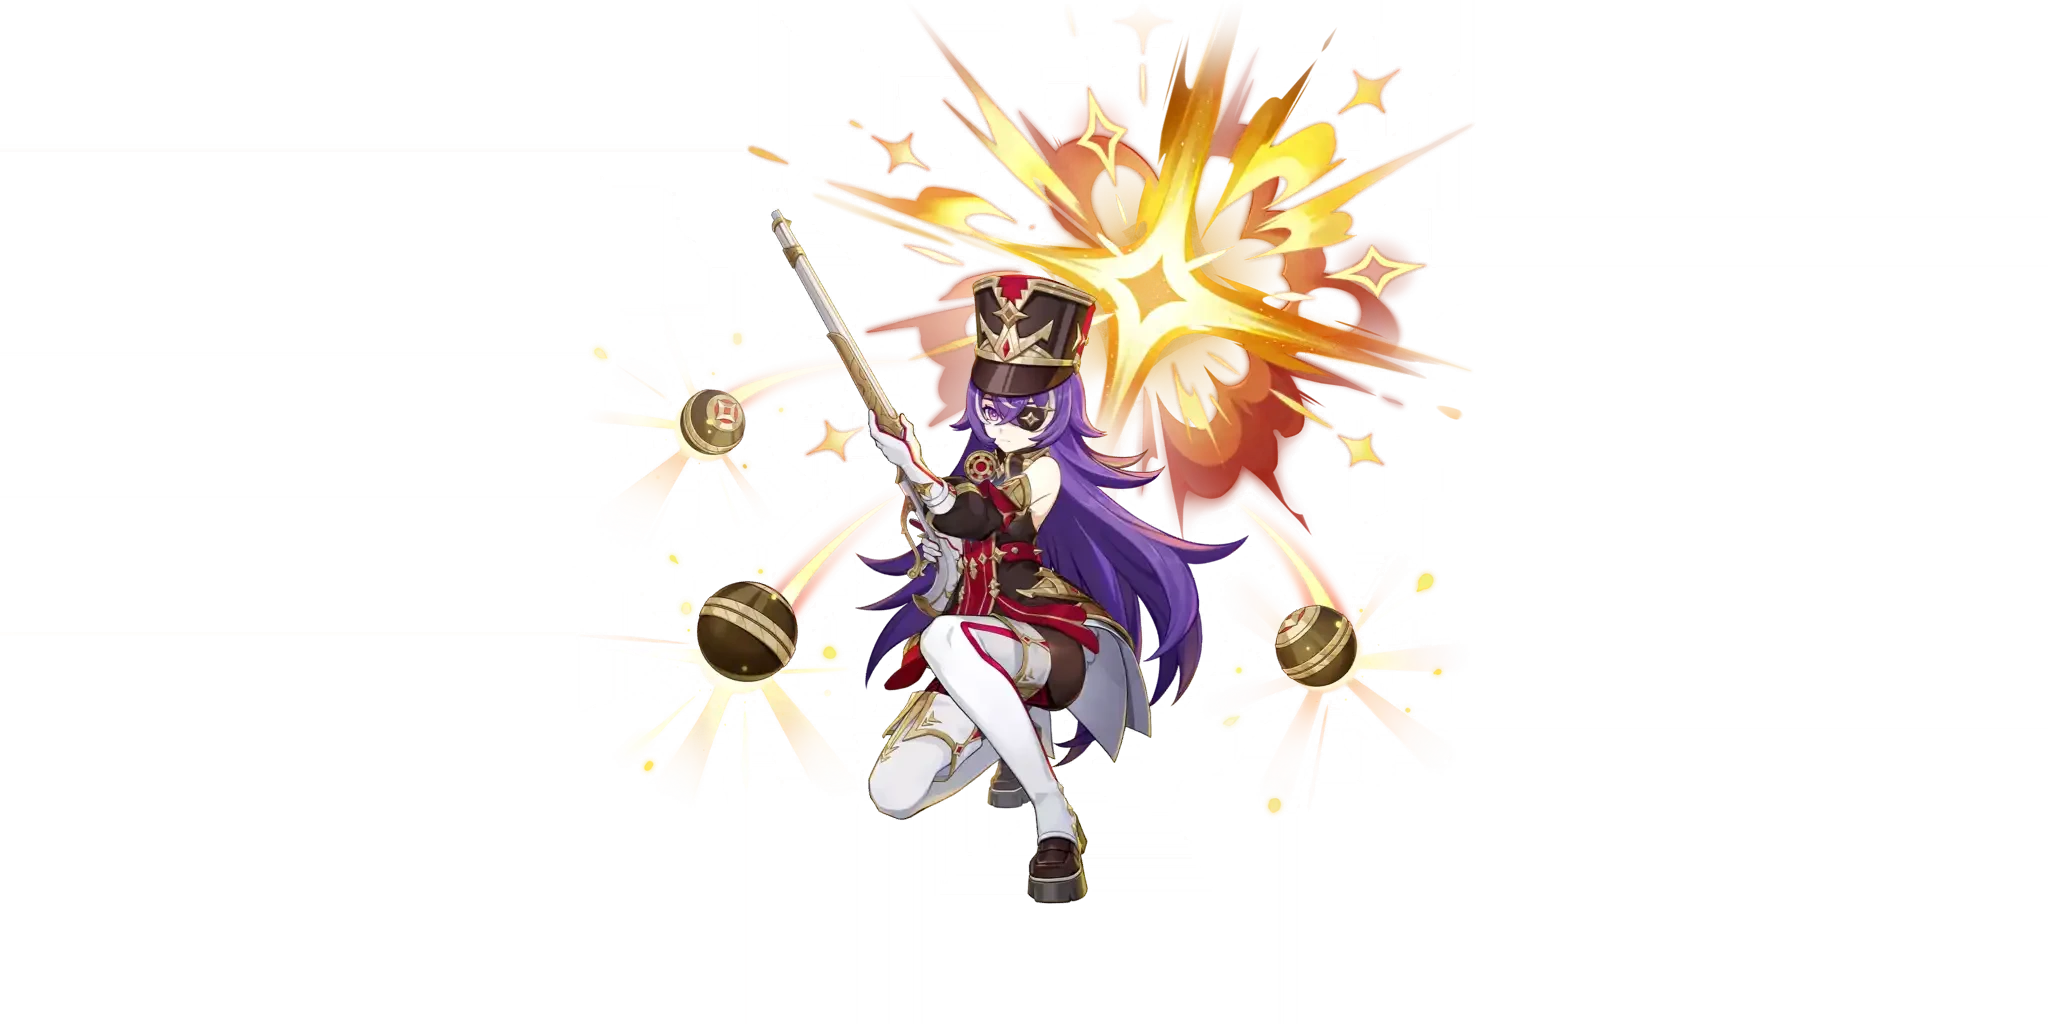
Chevreuse Chevreuse has one of the strongest 4* support kits in the game, particularly with her C6. She is the biggest and most important reason Overload teams are strong nowadays, especially compared to their fairly low power level before her release.

She provides easy access to a strong teamwide ATK% buff that is based on her Max HP, massive RES Shred that passively triggers on Overload if the team is made up of exclusively Pyro and Electro characters, and a very powerful stacking DMG% passive in her C6. She also has decent healing, low ER requirements and very fast animations; she can generally do it all.

With the advent of Hexerei, it is important to note that Chevreuse retains this level of power only at C6. Before C6, she is nowadays replaceable by strong buffers like Nicole and/or Durin. However, there are also limited use cases where C6 Chevreuse can be used outside of the Overload archetype itself.

Build Overview

Weapon
BiSSymphonist of Scents
F2PFavonius Lance
Artifact
Artifact SetNoblesse Oblige
Artifact Stats
SandHP %
GobletHP %
CircletHP %
Substats
1HP %
2Energy Recharge
3Crit Rate/DMG
4Empty

Energy Recharge Requirements: 150 - 220%

Sands: HP% or ER if needed
Goblet: HP%
Circlet: HP% or Crit Rate

Substat Priority: HP% until desired >= ER until requirement > Crit

Skill Overview

Talents
Basic AttackLine Bayonet Thrust EX
SkillShort-Range Rapid Interdiction Fire
BurstRing of Bursting Grenades
MiscEmpty
Passives
Ascension 1Vanguard's Coordinated Tactics
Ascension 4Vertical Force Coordination
UtilityDouble Time March
ResonanceEmpty

Best Teams

Overload Carries

Chevreuse ER Requirements: 150 - 220% (if using Burst)

Mavuika Chevreuse Iansan (Ororon / Nicole / Bennett)

One of Mavuika’s best 2 teams alongside Melt. C6 Chevreuse can also be used as a 4th slot in Mavuika Melt teams. Mavuika and Iansan will trigger Overload, so Chevreuse will give both 40 ATK% and up to 60 DMG% from C6.

Arlecchino Chevreuse Fischl Nicole

Similar to Mavuika, but arguably even better for Arlecchino comparatively. Chevreuse has low enough cooldowns for Arlecchino’s short rotations and very high buff uptime on C6 as a result of that. 

Varesa Chevreuse Iansan Durin/Mavuika

Varesa’s best team in almost all content. Chevreuse before C6 can be replaced by Nicole if Durin is on the team, but C6 Chevreuse is a different type of beast.

Clorinde Chevreuse (Iansan / Fischl) (Mavuika / Nicole)

Similar to Varesa. Chevreuse’s healing does not meaningfully contribute to Clorinde’s BoL build-up.

The carries listed above are the most prominent on-field DPS Chevreuse supports, but there are more carries for whom she is BiS. This includes Lyney, Klee, Raiden Shogun, and more.

Common Teammates

  • Fischl: She’s always been one of Chevreuse’s best pairings thanks to decent damage, short animations and consistent Electro applications, but she is much stronger post her Hexerei buffs. 
  • Nicole: Excellent with Fischl in particular; Chevreuse / Fischl / Nicole is one of the strongest buffing cores in the game. 
  • Bennett: Not quite as strong as he used to be thanks to the recent dominion of Hexerei, but still very strong. 
  • Durin: Most of Chevreuse’s buffs are team-wide, which Durin really appreciates. The extra RES Shred from Light form is a decent bonus. Chevreuse also generates a ton of Energy, great for his personal damage.
  • Iansan: A better alternative to Bennett for a lot of teams, and her being Electro means it is possible to do a solo Electro Iansan team with Chevreuse. This isn’t necessarily recommended due to the subsequent low RES Shred uptime, but it can be a great and sometimes even best option.

Best Weapons

Symphonist of Scents: Escoffier’s signature weapon that Chevreuse is able to make excellent use of. She provides consistent enough healing to maintain full uptime on its buff, at least for the on-fielder. While this will make it harder for her to Burst, it is well worth it to use this.

Favonius Lance: While Chevreuse herself is not particularly Energy hungry, the Fav particles will usually be of great value to the rest of the team. She also does still generally like using her Burst because of Noblesse Oblige, and Favonius Lance often lets her build more HP% in favor of Energy Recharge substats.

Dialogues of the Desert Sages: If Chevreus’s team doesn’t have Energy issues, this is a great alternative to focus on her own Energy while easily maxing out her ATK% buff.

Other Energy or HP Weapons: They’re fine. Use what you must.

Best Artifacts & Stats

Noblesse Oblige: Usually best if no one else in the team is holding. A lot of Chevreuse teams will run into downtime if Chevreuse doesn’t use her Burst at all (or rotations aren’t adjustable / don’t get adjusted), and the buff is good enough to end up worth using overall. Not necessarily better than Scroll in some teams.

Scroll of the Hero of Cinder City: Chevreuse isn’t a Nightsoul character, so she’s only able to use the first part of the passive. Nevertheless, there’s worse than easy to access 12% teamwide DMG Bonus. This is great if Chevreuse is already skipping her Burst, at least as long as she’s able to trigger it.

Song of Days Past: An okay set under the same conditions as Scroll, though usually not particularly better. Not worth farming for if you don’t already have one.

Constellations

C1Stable Front Line's Resolve
C2Sniper Induced Explosion
C3Practiced Field Stripping Technique
C4The Secret to Rapid-Fire Multishots
C5Enhanced Incendiary Firepower
C6In Pursuit of Ending Evil
  • C1: A bit of extra Energy for Chevreuse, does help her requirements by a decent bit in relevant teams.
  • C2: An extra couple damage hits, nothing particularly relevant nowadays. Building Chevreuse for her damage tends to be either not worth it or too small of an increase to matter.
  • C3: More healing is alright.
  • C4: The extra Skill casts do not generate Energy, they’re only used for damage or Pyro application. 
  • C5: Generally negligible.
  • C6: An exceptional Constellation. The stacking DMG% can be hard to quantify sometimes, but it can be up to 15-20% more team DPS in optimal scenarios. The additional teamwide healing instance makes high stack upkeep much easier than otherwise, particularly on a team like Arlecchino that has very short rotations. This Constellation incentivizes using Chevreuse later in the setup part of the rotation in order to stack as many healing instances on the on-fielder as possible.

How to Play

Ascension 1

Chevreuse’s kit is simple: when she’s in the team, the team is composed exclusively of Pyro or Electro characters and an Overload reaction is triggered on an enemy, all enemies struck by it will have their Pyro and Electro RES reduced by 40%. This effect is contained in her Ascension 1 passive and is always active while the first two conditions are met. This is Chevreuse’s first main method of buffing.

Ascension 4 & Skill

Chevreuse’s second main method of buffing is through her Ascension 4 passive and Elemental Skill. When an Overload Reaction is triggered, Chevreuse will gain one stack of Overcharged Ball, which enhances her Elemental Skill. When she next uses her Skill, she will consume it and grant the party ATK% scaling directly with her HP. This buff scales linearly and maxes out at 40000 HP and 40 ATK%. Chevreuse does not need to max this passive, but doing so will provide a nice bonus. Going from 35000 HP / 35 ATK% to 40000 HP / 40 ATK% can lead to a 2-3% team DPS increase,which is not negligible.

Talent Notes

  • Chevreuse’s Normal Attack talent is not used, as she does not want to play on-field and they don’t contain any relevant scalings. Chevreuse’s Elemental Skill can be either Tapped or Held – for all intents and purposes, Chevreuse essentially always wants to use the Hold version. 
  • If Chevreuse Taps her Skill, it will deal a little bit of damage based on her ATK and periodically heal the active character for an amount scaling with her HP. This effect lasts for 12 seconds. 
  • The Hold version will deal more damage and do the same healing, but has an added effect: if there was an Overload reaction triggered before Chevreuse uses it, she will fire an Overcharged Ball. This deals an added chunk of damage and will trigger her Ascension 4 Passive. Both versions will trigger an added Ousia hit.
  • Tap will never be able to trigger her Ascension 4. Additionally, the amount of time Chevreuse needs to Hold to activate is quite short, and the animation time even ends up shorter than Tap if done fast enough. 
  • Both versions of her Skill have a 15 second cooldown and will generate 5 Pyro Particles if they hit an enemy.
  • Chevreuse Elemental Burst has a cooldown of 15 seconds and an Energy Cost of 60. By itself, it will only deal ATK scaling Pyro AoE damage, with a few secondary smaller Pyro hits afterwards.
  • Because Chevreuse does not generally want to build ATK, Burst is only useful for triggering Overload for her Ascension 4 passive, specific setups that require its Pyro application, or to activate Artifact set effects like Noblesse Oblige.
Additional Info

Chevreuse is able to be used outside of dedicated Overload teams. This is because both her Ascension 4 passive buff and C6 buffs do not necessitate the team to be made up exclusively of Pyro / Electro like her Ascension 1 does. Her very fast animations and high Energy generation without having an Energy reliance herself make her an occasionally worthwhile support in something like a Mavuika Melt team over Bennett.

Release Date

Chevreuse was officially released as a playable 4-star Pyro character in Genshin Impact on January 9, 2024, during the Version 4.3 update.

Portrait

chevreuse


Table of Contents

Featured Characters

Odette Build Guide
By Mobalytics ∙Updated on Aug 10, 2026
presentationOdette
Featured
presentationOdette
Featured
Yumemizuki Mizuki Build Guide
By Mobalytics ∙Updated on Aug 10, 2026
presentationYumemizuki Mizuki
Featured
presentationYumemizuki Mizuki
Featured
Alyosha Pre-Release Guide
By Mobalytics ∙Updated on Aug 10, 2026
presentationAlyosha
Featured
presentationAlyosha
Featured
Traveler Cryo Build Guide
By Mobalytics ∙Updated on Aug 9, 2026
presentationTraveler Cryo
Featured
presentationTraveler Cryo
Featured