menu
MobalyticsUse your favourite features in-game with our Desktop App
Genshin Character

Bennett Build Guide

presentationBennett
Updated on Jul 20, 2026
Jul 20, 2026

Character Profile

The infamous Bennett is a 4 star ATK buffer and healer. One of the strongest supports in Genshin's history, Bennett has at last began to fall out of favor. This is primarily due to the release of Nicole and the expanding of the Hexerei archetype, who will typically occupy the same team slots as he will. Despite that, Bennett is still a formidable ATK buffer and a great teammate to any ATK-scaling carry. Bennett's ATK Buff is accessed through his Burst and scales on his Base ATK, meaning only on his Level and his equipped Weapon. His total ATK is unimportant. His healing is also accessed through his Burst, and both require the on-field unit to stay in the circle said Burst will create.


Bennett remains one of the strongest single-target ATK buffers in the game, but his flaws in his very difficult Energy Requirements and utter lack of mobility and flexibility have made him harder to use. This is especially true in Stygin Onslaught, where his relatively low uptime can also be a detriment. He remains a great option for carries like Mavuika or Arlecchino, but comes with many more caveats than before, particularly without being at high Constellation levels.

Build Overview

Weapon
Best buffing optionAquila Favonia
Energy 5 star optionSkyward Blade
Best 4 starThe Alley Flash
Best free optionSapwood Blade
Artifact
Artifact SetNoblesse Oblige
Artifact Stats
SandsEnergy Recharge
GobletEmpty
CircletEmpty
Substats
1Energy Recharge
2HP %
3Empty
4Empty

Energy Recharge Requirements: 200 - 270%

Bennett's Energy generation is remarkably bad by modern unit standards. Due to this, he typically requires extensive Particle feeding from other Pyro units and/or Favonius Weapons in his teams. Energy Weapon options can certainly alleviate him, but they will meaningfully affect his buffing compared to equivalent, higher Base ATK options.

Skill Overview

Talents
Basic AttackStrike of Fortune
SkillPassion Overload
BurstFantastic Voyage
MiscEmpty
Passives
Ascension 1Rekindle
Ascension 4Fearnaught
UtilityIt Should Be Safe...
ResonanceEmpty

Best Teams

On-field DPS that consistently use Bennett

Mavuika

Melt: Mavuika - Citlali - Iansan or Xilonen - Bennett

Bennett tends to be Mavuika’s best 4th slot, although Nicole is equally as good a lot of the time. Nicole with any amount of vertical investment will consistently outperform Bennett, and this is true for almostall teams.

Example Rotation:

  1. Mavuika Skill
    →
  2. Bennett Skill
    →
  3. Xilonen Skill + N2
    →
  4. Bennett Burst
    →
  5. Citlali Skill + Burst
    →
  6. Mavuika Burst + Melt combo

Switching into Bennett right after Mavuika Skill is done so Bennett can catch Mavuika's 5 Pyro Particles. With enough ER you can skip this step, but it is not recommended to do so generally.

Overload: Mavuika - Chevreuse - Iansan - Bennett

A competent replacement for Ororon, though not necessarily better. Offers Mavuika more buffs but with a lower uptime due to Chevreuse requiring consistent Overload triggers to maintain RES Shred.

Example Rotation:

  1. Mavuika Skill
    →
  2. Chevreuse Burst + Hold Skill
    →
  3. Bennett Skill + Burst
    →
  4. Iansan Skill + Attack + Burst
    →
  5. Mavuika Burst + Overload combo


Arlecchino

Melt: Arlecchino - Citlali - Xilonen - Bennett

Tends to be better than C0R0 for Arlecchino, and sometimes even C0R1 or C1R0 with the more advanced Arlecchino combos that swap in and out multiple times.

Example Rotation:

  1. Arlecchino Skill
    →
  2. Bennett Skill + Burst
    →
  3. Xilonen Skill + N2
    →
  4. Citlali Skill ( + N1 ) + Burst
    →
  5. Arlecchino Melt combo

Vaporize: Arlecchino - Mona - Sucrose - Bennett

Very similar to Melt, but Bennett tends to be even better here. This is thanks to Mona already holding Celestial Gift, hurting Nicole's buffing abilities.

Example Rotation:

  1. Arlecchino Skill
    →
  2. Bennett Skill + Burst
    →
  3. Sucrose Skill
    →
  4. Mona Burst + N1
    →
  5. Arlecchino Charged Attack + 2 Vaporizes
    →
  6. Mona 1-2 Normal Attacks + Skill
    →
  7. Arlecchino on-field until Skill cooldown is back up

Overload: Arlecchino - Fischl - Chevreuse - Bennett

Bennett is considerably less strong than even C0R0 Nicole here. Nicole activates Fischl's Hexerei buffs and brings Celestial Gift with her, outweighing what Bennett can do. Durin competes with Bennett in this team as well, especially against certain content like the Hydro Tulpa. Bennett is still a competent option though.


Carries that Can use Bennett

Varka - Prune - Nicole or Durin - Bennett

Worse than the other of Durin or Nicole if you have them, but Benentt tends to be one of the best alternatives to either of them.

Kinich - Emilie or Iansan - Bennett - Nicole or Durin

Nicole is usable here if there’s only 1 Boss enemy that you can consistently apply Dendro to in order to maintain Burning. Again, a good bit worse than either Durin or Nicole here.

Chasca

Bennett is one of Chasca’s better options in a lot of teams, but Iansan or Nicole will usually outdo him.

Lyney

Usually worse than Nicole, but the 2nd best option after her typically.

Miscellaneous

Bennett can generally be a strong slot for any ATK-scaling hypercarry, but has fallen behind Nicole and other Hexerei core teams. Characters like Gaming, Navia, Raiden Shogun and more can use Bennett decently enough, but they’ll see a rather significant reduction in damage compared to the Hexerei alternatives.

Best Weapons

5 star High Base ATK Weapons:

Aquila Favonia, Mistsplitter Reforged, Absolution, etc

These have the currently highest Base ATK for a Sword in the game, giving Bennett the best possible buffing. They don't give Bennett any Energy, which can be an issue.
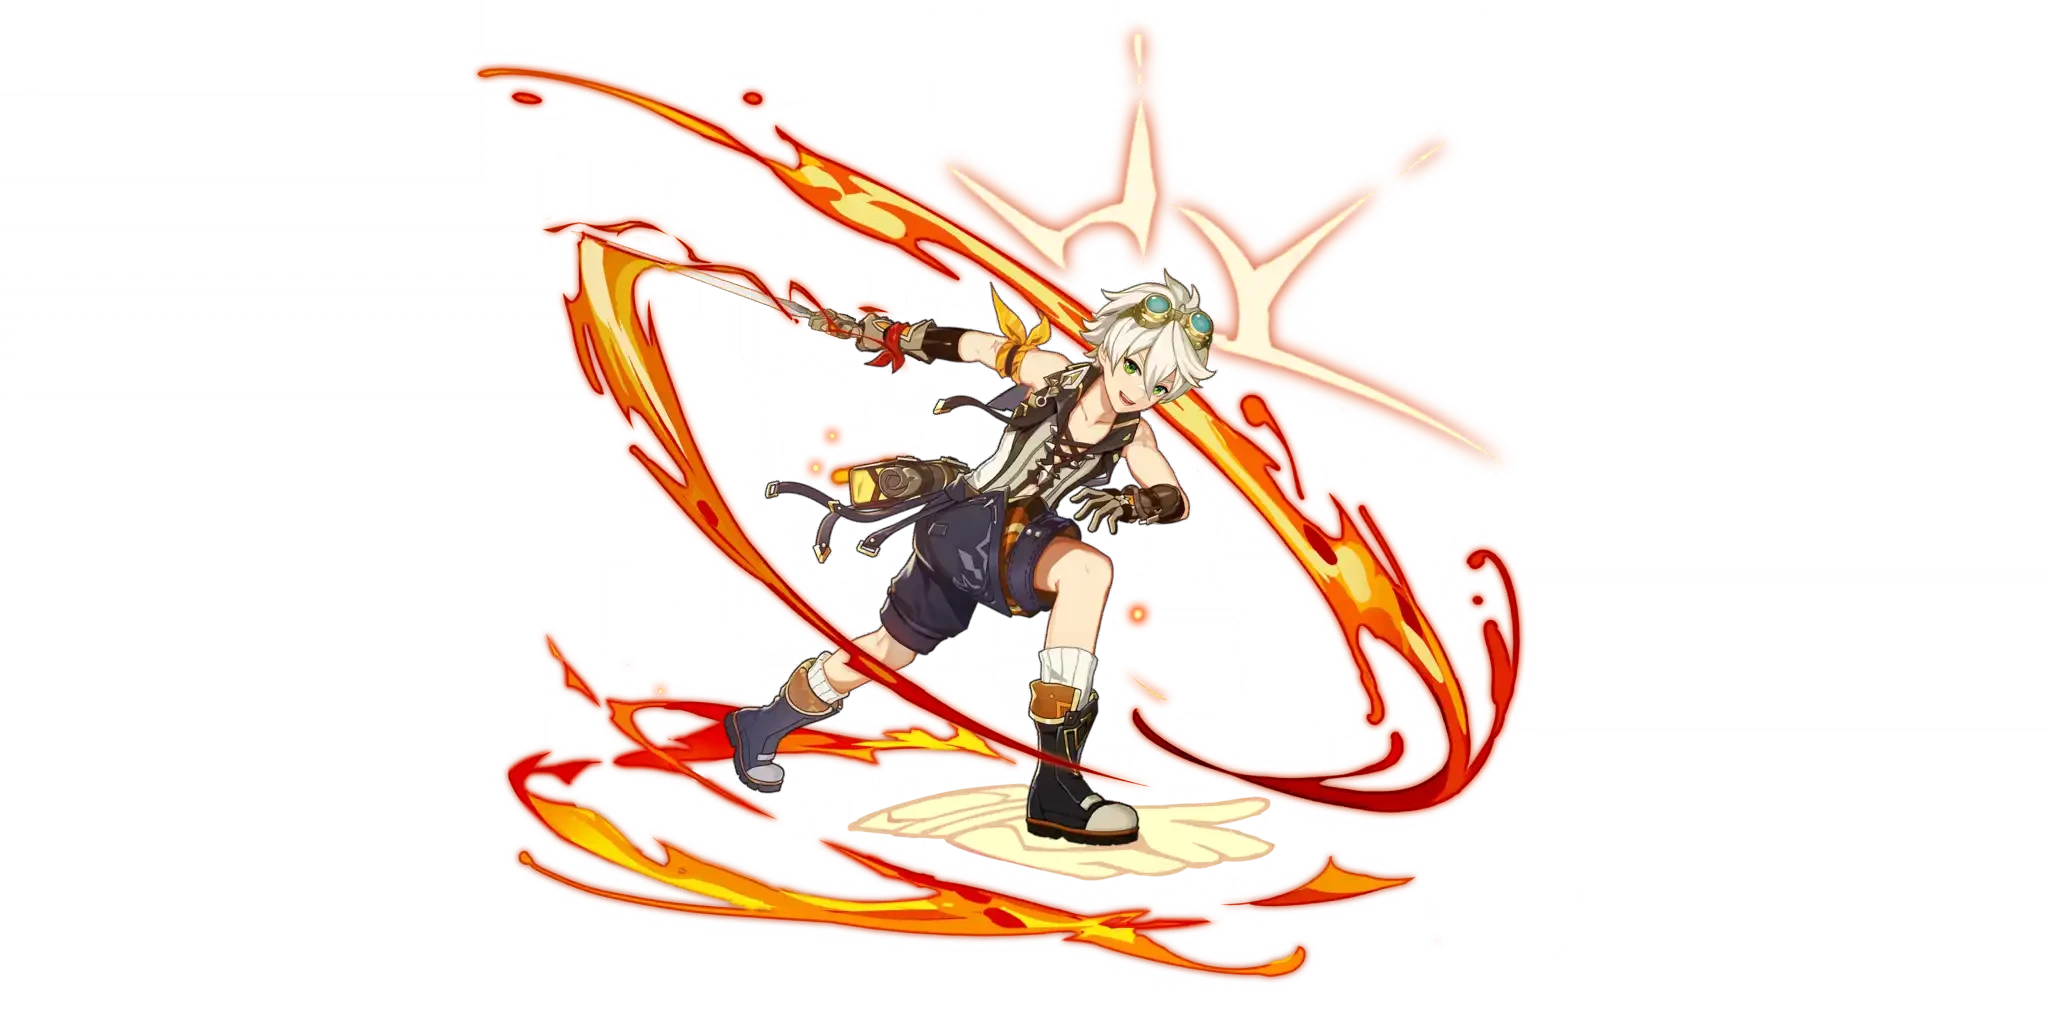
5 star Energy option: Skyward Blade

A Standard Banner Sword that will often be the best weapon to use. Bennett’s ER needs are typically through the roof, particularly in Stygian Onslaught. Not his best buffing option, but it has a high enough Base ATK to remain very good while being the best at fulfilling said ER needs.


Best 4 star Buffing option: The Alley Flash

This weapon has a higher Base ATK than most 5 star swords. However, it is a Weapon Banner exclusively weapon, and rarely available there. Worth using if you do have it and don't need an Energy focused weapon.


Best free option: Sapwood Blade

High Base ATK and an ER secondary stat make it able to be his best option besides Skyward Blade sometimes. Better than Alley Flash if the Energy Recharge is relevant.


Niche Energy option: Favonius Sword

Only use this if Bennett’s or the team’s ER requirements are particularly difficult to reach. Fav Sword’s Base ATK is very low, making it a very subpar buffing option.

Best Artifacts & Stats

BiS Option: Noblesse Oblige

Bennett’s best buffing set most of the time. Condition is very simple to fulfill, as Bennett is bursting every rotation anyway. Uptime is a bit shorter than his Burst, but it’s decent enough with where his position in the rotation usually is. Bennett can rarely make good use of other support sets, at least to this extent.

Energy Alternative: Scroll of the Hero of Cinder City

Can be strong if Bennett is triggering a Reaction in a team with Nightsoul characters, which is quite rare. That hardly matters, as its main use will be significantly helping with his Energy requirements in Nightsoul teams.


Niche Buffing alternative: Instructor

Requires a Reaction to be triggered, similarly to Scroll, which can be tricky to do in most of Bennett’s teams. It also makes his ER requirements even harder to reach as a 4 star set. Despite this, it certainly has its uses, and will be a strong option if able to be triggered.

Talent Priority

  1. Elemental Burst

Bennett's other Talents are mostly entirely useless, unless planning to use Bennett as an on-fielder. His Burst Talent levels scale his ATK Buff up, as well as its healing. Very worth leveling.

Constellations

C1Grand Expectation
C2Impasse Conqueror
C3Unstoppable Fervor
C4Unexpected Odyssey
C5True Explorer
C6Fire Ventures With Me

C1: Bennett’s C1 is nigh required to play him, especially in such a competitive environment. While certainly competent without it, C0 Bennett can feel quite lackluster. Having his buffing turn off if you take a little bit of damage can make it very difficult to maintain his otherwise full uptime at C1. The extra buffing is quite nice, too.

C2: Difficult to trigger outside of certain Furina teams, and those two no longer share many teams. If you can trigger it, it is certainly nice.

C3: Negligible.

C4: Negligible.

C5: Quite decent, it’s a buffing increase roughly equivalent to C1.

C6: The Pyro infusion is not very useful nowadays outside of certain niche scenarios, such as a few Raiden teams being able to sneak in an extra Overload to maintain higher Chevreuse RES Shred uptime, or Diluc plunge shenanigans. The 15 Pyro DMG% is certainly nice though, and can be 5% DPS or so for the recipient.

How to Play

Overview

Bennett is an ATK buffing Support and Healer. He relies on his Elemental Burst for both, and his utility comes wholly through the above; he does not deal relevant personal damage or apply Pyro off-field.

Elemental Burst & Base ATK

Bennett’s only important talent is his Elemental Burst, which is where all of his buffing is located. Fantastic Voyage has a cooldown of 15 seconds and an Energy cost of 60. While this might not look particularly expensive at a glance, Bennett’s Energy generation is quite bad, making it difficult to build him sometimes.

On cast, Bennett will deal a bit of AoE Pyro Damage and put down a zone called an Inspiration Field. When characters are in the Inspiration Field, Bennett will check whether they’re below 70% once per second. If they are, he will heal them for a good chunk of his own HP. If not, he will grant them a massive ATK buff based on his own Base ATK. With C1, Bennett will always grant the buff regardless of health percentage.

Bennett’s buff is entirely based on his Base ATK, meaning his own Base ATK stat plus the Base ATK of the weapon he is currently wielding. ATK% and Flat ATK mainstats and substats do absolutely nothing for this buff, and should not be considered.

The Inspiration Field has a duration of 12 seconds. However, Bennett’s ATK buff has a 2 second duration and can refresh once per second. This makes the ATK buff have an effective duration of 14 seconds, making it relatively easy to cover the majority (or even the entirety) of an on-fielder's uptime.

Elemental Skill

Bennett’s Skill has 3 different variations. The first is the Tap, which will deal a little bit of Pyro DMG in front of Bennett and generate 2 Pyro Particles, with a 25% chance for a third. This variation has a 5 second cooldown.

The shorter hold, Charge Level 1, will deal negligibly more damage and generate 3 Pyro Particles. It has a 7.5 second cooldown and a longer animation compared to Tap. The longer Hold of Charge Level 2 will deal still negligibly more damage and have an even longer animation, including knocking Bennett away, on a longer yet 10 second cooldown. This is not recommended for use in combat generally.

Passives

With his Ascension 1 passive, the cooldown of all of the above is reduced by 20%.

Through his Ascension 4 passive: if Bennett is the active character and within the Inspiration Field, all versions of his skills will have their cooldown reduced by another 50%. The above combined can make his Tap Skill cooldown extremely short. This can be useful to apply a lot of Pyro in quick succession, especially when combined with his C6 Pyro Infusion, but is not useful outside of that.

Additional Info

Elemental Skill Nuances

It can be worth to use Bennett’s Charge Level 1 Skill sometimes, particularly if the 2 Pyro Particles from his Tap Skill aren’t enough to get his Burst going. This can be especially useful in Stygian Onslaught. Similarly, due to his Energy issues, it is quite difficult for Bennett to be the solo Pyro in the team. He is already significantly incentivized to be in Pyro Resonance teams, but the Energy he loses in a team without at least 2 Pyro units is a major roadblock.

Pyro Application

Both Bennett’s Burst and Tap Skill apply 2 Units of Pyro on the enemy. This will make it harder to react with the entire Pyro Aura with Cryo or Electro, and it will take multiple Elemental Applications to do so. This can be a boon in certain teams and a detriment in others, but always needs to be taken into account in a team like Citlali Melt. It is easier to eat through the Pyro by using Crystallize with Xilonen or Overload with Iansan first for example, so Citlali doesn’t need to apply Cryo too many times to get through the Pyro.

Release Date

Bennett was officially released as a playable 4-star Pyro character in Genshin Impact on September 28, 2020, during the Version 1.0 update.

Portrait

bennett


Table of Contents

Featured Characters

Sandrone Build Guide
By Mobalytics ∙Updated on Jul 20, 2026
presentationSandrone
Featured
presentationSandrone
Featured
Columbina Build Guide
By Mobalytics ∙Updated on Jul 20, 2026
presentationColumbina
Featured
presentationColumbina
Featured