menu
MobalyticsUse your favourite features in-game with our Desktop App
Genshin Character

Beidou Build Guide

presentationBeidou
Updated on Jul 15, 2026
Jul 15, 2026

Character Profile

Beidouis a 4* Electro Support that deals a bit of off-field damage. Her Witch’s Revelation buffs have made her a competent defensive option and buffer for Stellar-Conduct teams at C6, at which point she can be competitive with other strong 3rd / 4th slots. She is currently best in Sandrone teams, as the other Stellar-Conduct carries are forced to also run Sandrone and are very pressed for team slots. Her Shield, albeit relatively small, is quite useful for all Stellar-Conduct carries alongside her Burst’s DMG reduction, and her Electro and Cryo RES Shred is difficult to come by in other units.


Beidou is generally not a worthwhile unit outside of her Witch’s Revelation buffs. As an Electro RES Shredder, she can sometimes be decent in Overload teams, but will rarely ever be a competitive option. There are parts of her buffed kit available outside of Stellar-Conduct, but they’re not enough to make her viable.

Build Overview

Weapon
BiSFavonius Greatsword
Best for her personal damageA Thousand Blazing Suns
Energy alternative"Ultimate Overlord's Mega Magic Sword"
Team buffing alternativeMakhaira Aquamarine
Artifact
Artifact SetNoblesse Oblige
Artifact Stats
SandsEnergy Recharge
GobletElectro DMG
CircletCrit Rate/DMG
Substats
1Energy Recharge
2Crit Rate/DMG
3ATK %
4Empty

Energy Recharge Requirements: 180 - 250%

Beidou deals overall quite little damage, so her Energy Recharge needs should always be prioritized over offensive substats. Crit Rate to proc Favonius reliable is also quite valuable.

If Beidou is using Makhaira Aquamarine, she should exchange non-Energy Recharge stats for Elemental Mastery whenever possible.

Skill Overview

Talents
Basic AttackOceanborne
SkillTidecaller
BurstStormbreaker
MiscEmpty
Passives
Ascension 1Retribution
Ascension 4Lightning Storm
UtilityConqueror of Tides
ResonancePolaris

Best Teams

Sandrone Stellar-Conduct:

Sandrone - Yae Miko - Beidou - Qiqi / Flex Cryo slot

  • Yae Mik is extremely imoprtant for any Stellar-Conduct team. If you don’t have Yae Miko, replace her with Escoffier or another Stellar-Conduct buffer like Diona. Yae Miko is particularly valuable with Beidou due to Beidou's Electro RES Shred and her forcing longer rotations, letting Yae Miko often get an extra Sesshou Sakura wave.
  • Qiqi is generally the best slot here. The value of Escoffier is diminished because of Beidou’s Cryo RES Shred, and having a second Cryo unit to feed Sandrone particles and activate Cryo Resonance is important. Diona can be similarly good, but applies less Cryo and gives less Energy to Sandrone.

Beidou ER Requirement: 180 - 240%, depending heavily on team details.

Example Rotation:

  1. Yae Miko Skill Yakan Evocation: Sesshou Sakura x3
  2. Qiqi Skill Adeptus Art: Herald of Frost
  3. Beidou Skill (Tap or Hold) + Burst
  4. Sandrone on-field combo


Other Stellar-Conduct carries

Wriothesley - Yae Miko - Beidou - ( Sandrone )

Beidou is an alright defensive option for Wriothesley teams. Because of the way Wrio plays, he is significantly incentivized to use Shields instead of healing. Beidou can also replace Yae Miko here if you don’t have her, which is a significant damage loss, but it can be decent with a few Wrio cons. Sandrone has to be used in this team currently to activate Stellar-Conduct, although this will most likely change with the release of 7.0 and Snezhnaya.

Beidou ER Requirement: 180 - 240%

Example Rotation:

Yae Miko Skill x3 → Beidou Skill ( held ) + Burst → Wriothesley on-field combo ( → Sandrone Charged Attack if Wriothesley isn't C1+)


Cyno - Beidou - Qiqi - ( Sandrone )

Because Sandrone has to be in the team and at least 1 more slot has to be Cryo to maintain Polestar Field uptime, Beidou has to replace Yae Miko here. She is a significant downgrade to her. This is likely to change with the release of 7.0 as we get more character able to enable Stellar-Conduct. Beidou is likely to be a decent option for Cyno if any of those characters are Cryo and able to maintain Stellar-Conduct.

Best Weapons

Usually BiS: Favonius Greatsword

Beidou is generally an Energy hungry unit, even with her buffs. The clear particles are particularly useful in Sandrone teams, but she might be able to get away with different weapons in Wriothesley or Cyno teams.

Damage BiS: A Thousand Blazing Suns

Mavuika's Signature weapon is generally one of the best offensive Claymores in the game. There are likely much better uses of it than it being put on Beidou.

Energy alternative: "Ultimate Overlord's Mega Magic Sword"

Gives Beidou some ER if Favonius’s clear particles aren’t needed. There are other Energy Recharge options, but this weapon is the best middle-ground.

Team buffing option: Makhaira Aquamarine

Beidou isn't a particularly strong user of this weapon, since building Elemental Mastery can be difficult for her. If you happen to have this weapon at a high refinement and don't need Energy options on Beidou, this is likely the best available option for team DPS.

Best Artifacts & Stats

BiS Option: Noblesse Oblige

The best buffing option Beidou has access to, and will far outweigh any personal damage option. There are really no other support sets Beidou can make good use of in Stellar-Conduct teams.

Alternative: Emblem of Severed Fate

The extra ER can be worthwhile if you’re struggling to reach her Energy requirements. Not a bad option for her personal damage, but will generally almost always be worse for team DPS than Noblesse Oblige.

Talent Priority

  1. Elemental Burst
  2. Elemental Skill
  3. Normal Attack

None of Beidou's Talents are particularly valuable in terms of team DPS. Burst and Skill both do a little bit of damage but not a whole lot, whereas Normal Attack is entirely useless.

Constellations

Overview

Generally, Beidou is assumed to be C6 to be a good option in Stellar-Conduct teams. Without her C6, she is mostly a dud and not worth using over any other option, even in Stellar-Conduct teams.

Constellation Details

C1: The Shield this Constellation provides is one of the most important aspects of Beidou’s utility in Stellar-Conduct teams. All SC carries really appreciate having one.

C2: Makes Beidou do a decent amount more damage in AoE. Beidou’s personal damage is ultimately not that important and AoE scenarios are deemphasized in current endgame, so this Constellation end up being not very important.

C3: Beidou’s Skill doesn’t do a lot of damage even by her standards. Mostly useless.

C4: Don’t on-field Beidou.

C5: Burst talent levels do increase her personal damage by a good amount, but said personal damage isn’t important.

C6: This is what makes Beidou a consideration in Stellar-Conduct. 15% RES Shred with decent uptime and 200 EM to the on-fielder are very decent buffs. Worth noting that the range of the RES Shred is actually fairly small – you don’t need to be hugging the enemy, but you need to be close.

How to Play

Overview

Beidou’s gameplay loop comes down to using her Elemental Skill, Elemental Burst, and swapping out into the on-fielder. Post her Witch’s Revelation buffs, her kit revolves around her ability to support Stellar-Conduct teams through her C6’s buffs and C1 shield. With those same buffs, she is able to Hold down her Elemental Skill for a little while to give herself extra Energy.

Stellar-Conduct & The Polestar Field

In order to access her C6 buffs, Beidou has to be in the Radiance: Stellar-Conduct state. This is done by being within the range of a Polestar Field.

  • A Polestar Field is generated when Stellar-Conduct is triggered. Stellar-Conduct is the modified version of Superconduct, which is triggered when applying Cryo on an Electro Aura or vice versa. Presently, only Sandrone is able to modify Superconduct into Stellar-Conduct.
  • The Polestar Field has a baseline duration of 6 seconds, which refreshes if Stellar-Conduct is triggered again within those 6 seconds. All enemies with a Polestar Field will have their Physical RES reduced by 40% while in it, though this is not relevant to current Stellar-Conduct teams, as they do not focus on Physical DMG.
  • The Polestar Field will record all Cryo and Electro applications within it and grant an accordingly stacking buff. This happens in intervals of 4 seconds, with the buff refreshing every time the recording phase refreshes its duration.

For more detailed information, visit the Sandrone Guide.

Elemental Skill

Beidou’s Elemental Skill is able to either be cast as a Tap or as a Hold. As a Tap, it will deal a bit of damage around her and generate 2 Electro Particles upon hitting an enemy. If this hit lands at the same as the opponent hitting Beidou, this Skill instance will gain the same properties as a fully Held Skill.

If Beidou holds her Skill, it will generate a Shield for her and her alone, based on her Max HP, and enters her into a blocking stance. If Beidou is hit during this stance, she will deal additional damage for this Skill instance. Getting hit twice or Holding for the full duration will net her the maximum additional damage. If Beidou is hit once, she will generate 1 additional Electro Particle, and 2 additional Particles if hit twice or if hitting a ‘perfect’ parry with a Tap Skill.

With her Witch’s Revelation Passive, while Beidou is Holding her Skill, she will gain a stack of ‘power’. For each stack she has at the time of release, she will gain additional damage akin to being hit, even if she isn’t hit. This effect and the blocking effect don’t stack. She will also gain 8 Energy per stack upon release.

Elemental Burst

Beidou’s Elemental Burst is on a 20 second cooldown and costs 80 Energy. Upon casting, Beidou will deal a bit of Electro damage around her. Additionally, for the next 15 seconds, when allied Normal or Charged Attacks hit enemies, Beidou will cause a lightning arc that jumps between enemies, dealing some Electro damage to them. It will also reduce the DMG the active character takes.

If Beidou has her C6 unlocked, she will also reduce the Electro and Cryo RES of nearby enemies by 15% – the range of this effect is relatively small. She will also give a buff of 200 EM to the active character. These buffs are fairly good for Stellar-Conduct teams.

Additional Info

Because Beidou can’t access her extra Energy from her new passive without holding, trying to time a ‘perfect’ parry with her Skill Tap is less incentivized than before, depending on the rotation. Because most modern characters will generally run shorter rotations – including Sandrone, who wants to run rotations of about 18 seconds at C0 – and Beidou’s Burst cooldown is 20 seconds, she generally will have time to afford the extra Holding time.

This new Hold is particularly useful in Stygian Onslaught’s 0 Energy start. Alongside her 4 Elemental Particles and a Favonius proc, Beidou has a much easier time getting access to her Burst on the first rotation.

Release Date

Beidou was officially released as a playable 4-star Electro character in Genshin Impact on September 28, 2020, during the Version 1.0 update.

Portrait

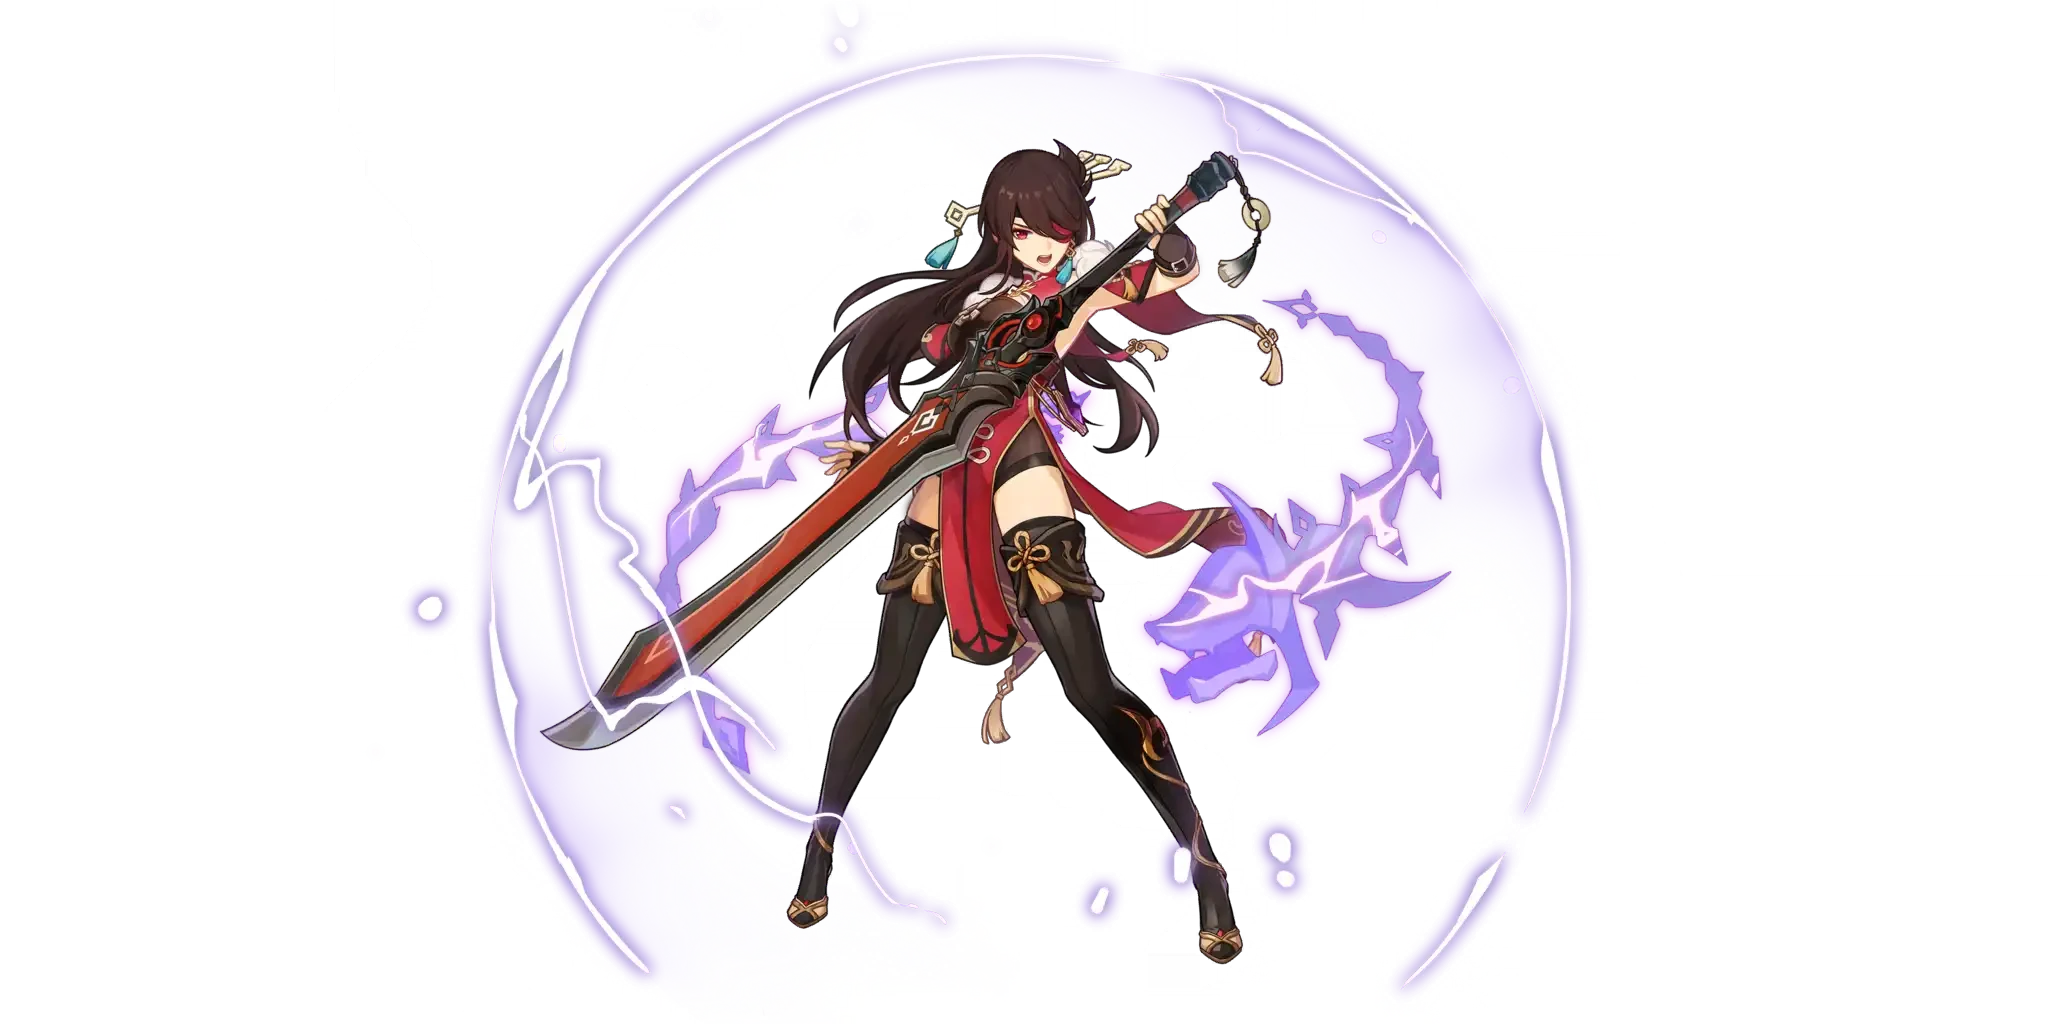
beidou


Table of Contents

Featured Characters

Sandrone Build Guide
By Mobalytics Updated on Jul 20, 2026
presentationSandrone
Featured
presentationSandrone
Featured
Columbina Build Guide
By Mobalytics Updated on Jul 20, 2026
presentationColumbina
Featured
presentationColumbina
Featured