Sailing opens up the islands, biomes, and resources beyond your starting area in Valheim. A good boat lets you explore further and bring valuable materials home, but understanding the wind is just as important as choosing the right ship.
This guide covers every boat and its crafting requirements, sailing controls, wind direction, travelling against the wind, and using Moder’s Forsaken Power to make longer journeys easier.
If you’re still establishing your first home, our Valheim beginner’s guide covers food, shelter, and getting started in the Meadows.
Choosing and Building Your Boat
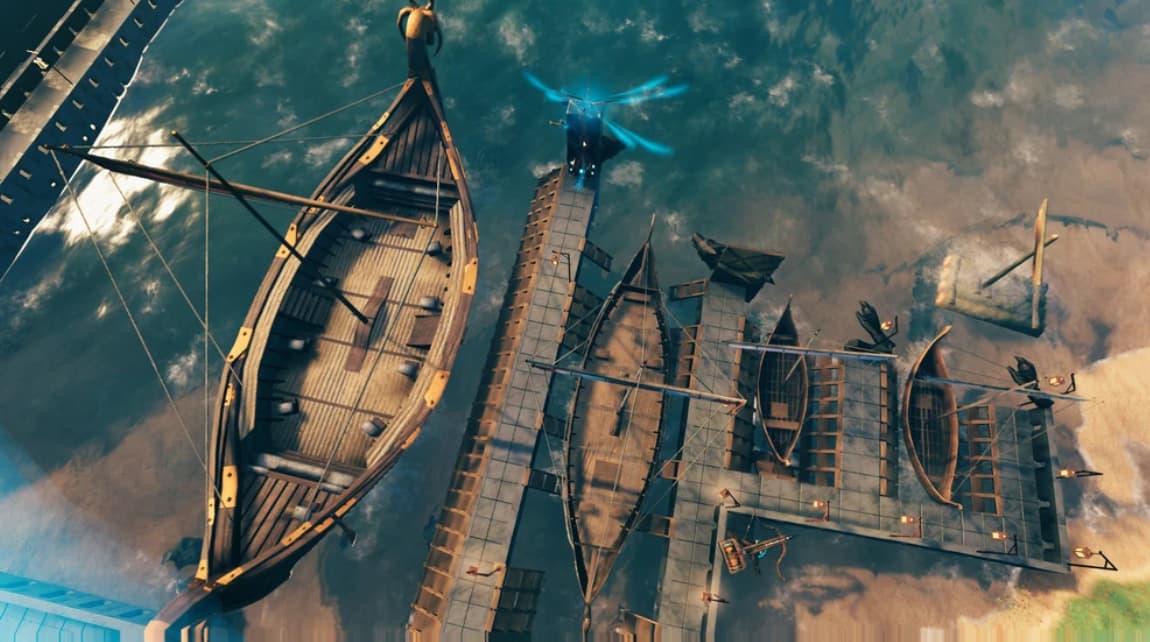
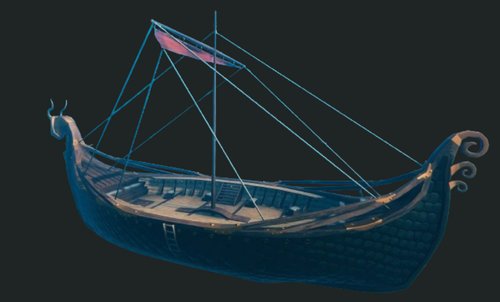
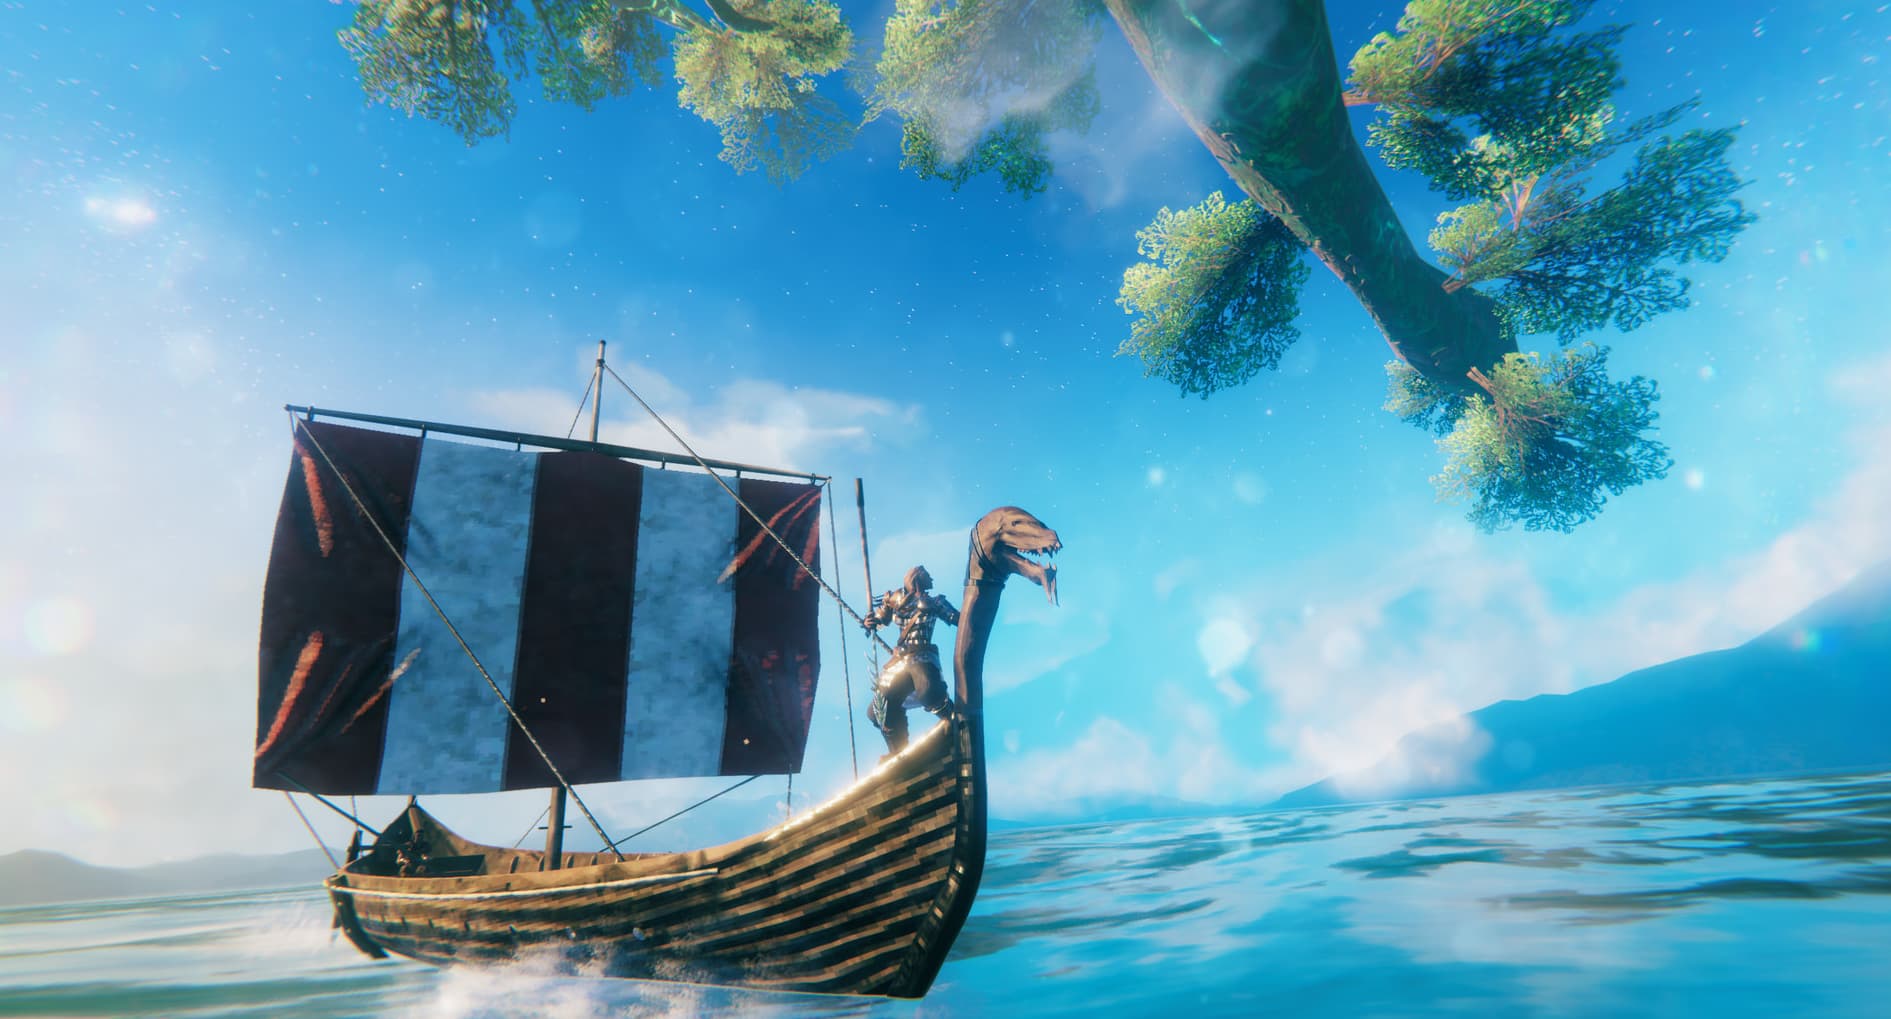
Valheim has four boat types: the Raft, Karve, Longship, and Drakkar. Each offers a different balance of cost, cargo space, and handling.
Build boats with your Hammer while within range of a Workbench, placing them in suitable water. More advanced boats require materials produced at other crafting stations, but you still construct the boat itself through the Hammer’s build menu.
Boat
Materials Required
Health
Cargo Slots
Raft
20 Wood, 6 Leather Scraps, 6 Resin
300
None
Karve
30 Finewood, 10 Deer Hide, 20 Resin, 80 Bronze Nails
500
4
Longship
40 Finewood, 40 Ancient Bark, 10 Deer Hide, 100 Iron Nails
1,000
18
Drakkar
50 Finewood, 25 Yggdrasil Wood, 30 Ceramic Plates, 100 Iron Nails
3,000
32
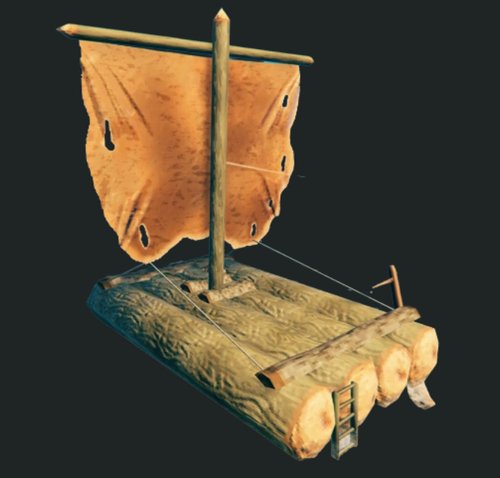
Raft: Short Crossings and Emergencies
The Raft uses basic materials and does not require metalworking, making it available early. However, it is slow, has no built in cargo storage, and offers little protection if a Serpent attacks.
Use it for short river crossings or recovering belongings from nearby water. Avoid taking it into the Ocean for a long expedition, where its limited speed and durability leave very little room for mistakes.
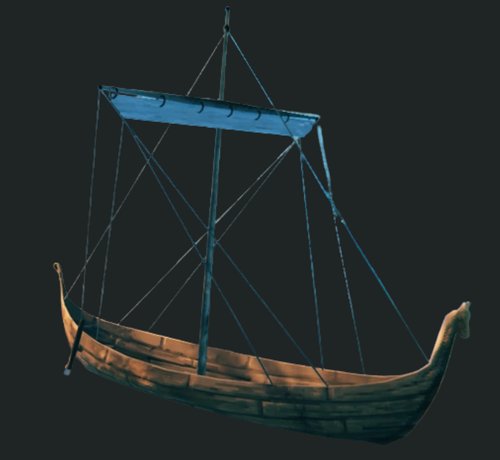
Karve: Your First Ocean Voyages
The Karve is a substantial upgrade for early exploration. Its Bronze Nails require a Forge, tying it to your Black Forest metalworking progression.
It is faster than the Raft, has space for a small resource haul, and is easier to manoeuvre through narrow waterways than the larger ships. Use it to find new islands or bring your first loads of ore home.
With favourable wind, a Karve can escape a Serpent. However, its limited health means you should avoid letting an encounter turn into a prolonged attack on your boat.
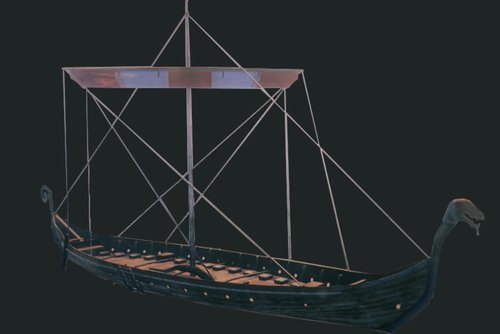
Longship: Transporting Larger Resource Hauls
The Longship becomes available once you can obtain Iron and Ancient Bark during Swamp progression. Make the Iron Nails at a Forge before heading to the shore to build it.
Its increased speed, health, and cargo space make it a major improvement for longer voyages. It is especially useful for transporting Iron, Silver, and Black Metal between islands, reducing how many journeys you need to make.
The Longship is a stronger choice for exposed ocean travel than the Karve, but rough conditions, collisions, and enemies can still damage it. Its larger size also means you need more room when approaching a landing spot.
Drakkar: Reaching the Ashlands
The Drakkar is the largest boat, with the most health and cargo space. Its defining advantage is surviving the boiling waters around the Ashlands, which damage the other boats.
The Drakkar requires Ceramic Plates, crafted from Black Marble at a level 2 Artisan Table. Upgrade the table with an Artisan Press, which requires the Majestic Carapace dropped by the Queen. This places the Drakkar after the Mistlands in normal progression.
Use the Drakkar when preparing to reach the Ashlands, and allow plenty of space to turn and dock. The Longship remains a useful option for ordinary journeys where you do not need the Drakkar’s resistance to boiling water.
Sailing Controls and Wind Direction
To take control of a boat, interact with the rudder at its rear. On the default PC controls, use E to interact, W to increase the movement setting, S to decrease it, and A/D to steer. If you use a controller or custom bindings, follow your on-screen prompts.
Tap the forward and backward controls to move between settings. You do not need to hold the forward input continuously.
Steering adjusts the rudder’s angle, which stays in place when you release the key. After a turn, use the opposite steering input to bring the rudder indicator back towards the centre. Keep making small adjustments as wind and waves affect your course.
Setting
Movement
When to Use It
Reverse (-1)
Paddle backwards without relying on wind
Backing away from shore or adjusting your position
Neutral (0)
No active paddling or sail propulsion
Slowing down before a stop
Forward rowing (1)
Paddle forwards with the sails furled
Headwinds, narrow channels, and careful docking
Half sail (2)
Sail at a lower speed, depending on the wind
Travelling with more time to react to obstacles
Full sail (3)
Use the fastest sail setting when the wind allows
Covering open water
Boats retain momentum, so selecting neutral does not stop you instantly. Slow down before reaching rocks or a dock, and use rowing for the final approach.
While steering, check the circular wind indicator below the minimap. The boat symbol indicates your heading, while the wind pointer shows the wind direction.
The dark sector ahead of the boat marks the headwind area to avoid, spanning roughly 90 degrees. If you point too directly into the incoming wind, your sails cannot provide useful forward movement.
You do not need a perfect tailwind to sail. Wind from the side can also move the boat, so watch the indicator and adjust your heading as conditions change.
How to Sail Against the Wind
If the wind is blowing from the direction you want to travel, you have two main options: row directly towards your destination or tack across the wind.
Row Directly Towards Your Destination
Select the first forward setting, with the sails furled. Your character uses the rudder to paddle, allowing you to move forwards even when the wind is against you.
Rowing is slow but reliable. It is particularly useful for short journeys, narrow channels, and situations where changing direction would send you into rocks or an unsafe coastline.
Tack Across Open Water
Tacking means sailing a zigzag route towards a destination that is upwind.
Start by pointing the boat roughly 45 degrees to one side of the incoming wind, using the wind indicator to keep your sails working. Sail along that course, then turn across the wind and continue at an angle on the other side.
Switch to rowing if you lose sail power during the turn, then return to sailing once the wind is useful again. Each leg should bring you closer to your destination overall.
Tacking needs space and adds distance to your journey. It can help in strong winds, but it is not automatically faster than rowing. In lighter winds, taking the direct route under paddle can be quicker.
Using Moder’s Forsaken Power
Moder, the fourth boss in the normal progression order, is found in the Mountains. After defeating her, hang her trophy at the Sacrificial Stones and select her Forsaken Power before your next voyage.
Activate the power with F on the default PC controls, or your assigned Forsaken Power input. While it is active, the boat you are steering receives a tailwind, even as you change direction.
Duration: 5 minutes.
Cooldown: 20 minutes.
Additional bonuses: 300 increased carry weight, 10% increased movement speed, and 50% Frost resistance.
Save the activation for a stretch where the wind is slowing your journey. Finish manoeuvring away from shore first so you can spend more of the duration travelling.
The carry weight increase also helps when loading or unloading heavy resources, but remember that it is temporary. If you exceed your normal allowance, you will need to unload before the effect expires.
Preparing for Longer Voyages
Repair Your Boat and Prepare for Landing
Check the boat’s condition before leaving. To repair it, bring it within range of a Workbench and use the Hammer’s repair function. Keep some Wood with you so you can place a temporary Workbench on shore if repairs become necessary during the journey.
Eat before departing and refresh Rested, especially if you plan to explore after landing. Our Comfort and Rested guide explains how to make the buff last longer.
Approach unfamiliar shores slowly and check for nearby enemies before getting out. A landing spot should give you room to disembark and leave again if the area proves dangerous.
Plan Cargo and Your Return Route
On default settings, ordinary wooden Portals cannot transport most ores and metal bars. This is why boat storage matters so much when collecting resources on another island.
Later, Stone Portals allow these restricted materials to be transported, and changing your world’s Portal settings can also change the rules. Boats still let you discover new places before you have a Portal connection.
Use the ship’s cargo hold for heavy materials and plan what you actually need for the expedition. Our inventory management guide covers packing, carry weight, and organising resource hauls.
When exploring a new island, leave a Portal ready at home and bring materials for its matching connection. Establish it somewhere safe after landing and test it before relying on it. Mark your boat’s location on the map so you can find it again after exploring.
For a route you expect to use regularly, a small shore base with storage, a Workbench, and somewhere to rest makes repeat journeys easier. Our building guide covers the basics of putting that outpost together.