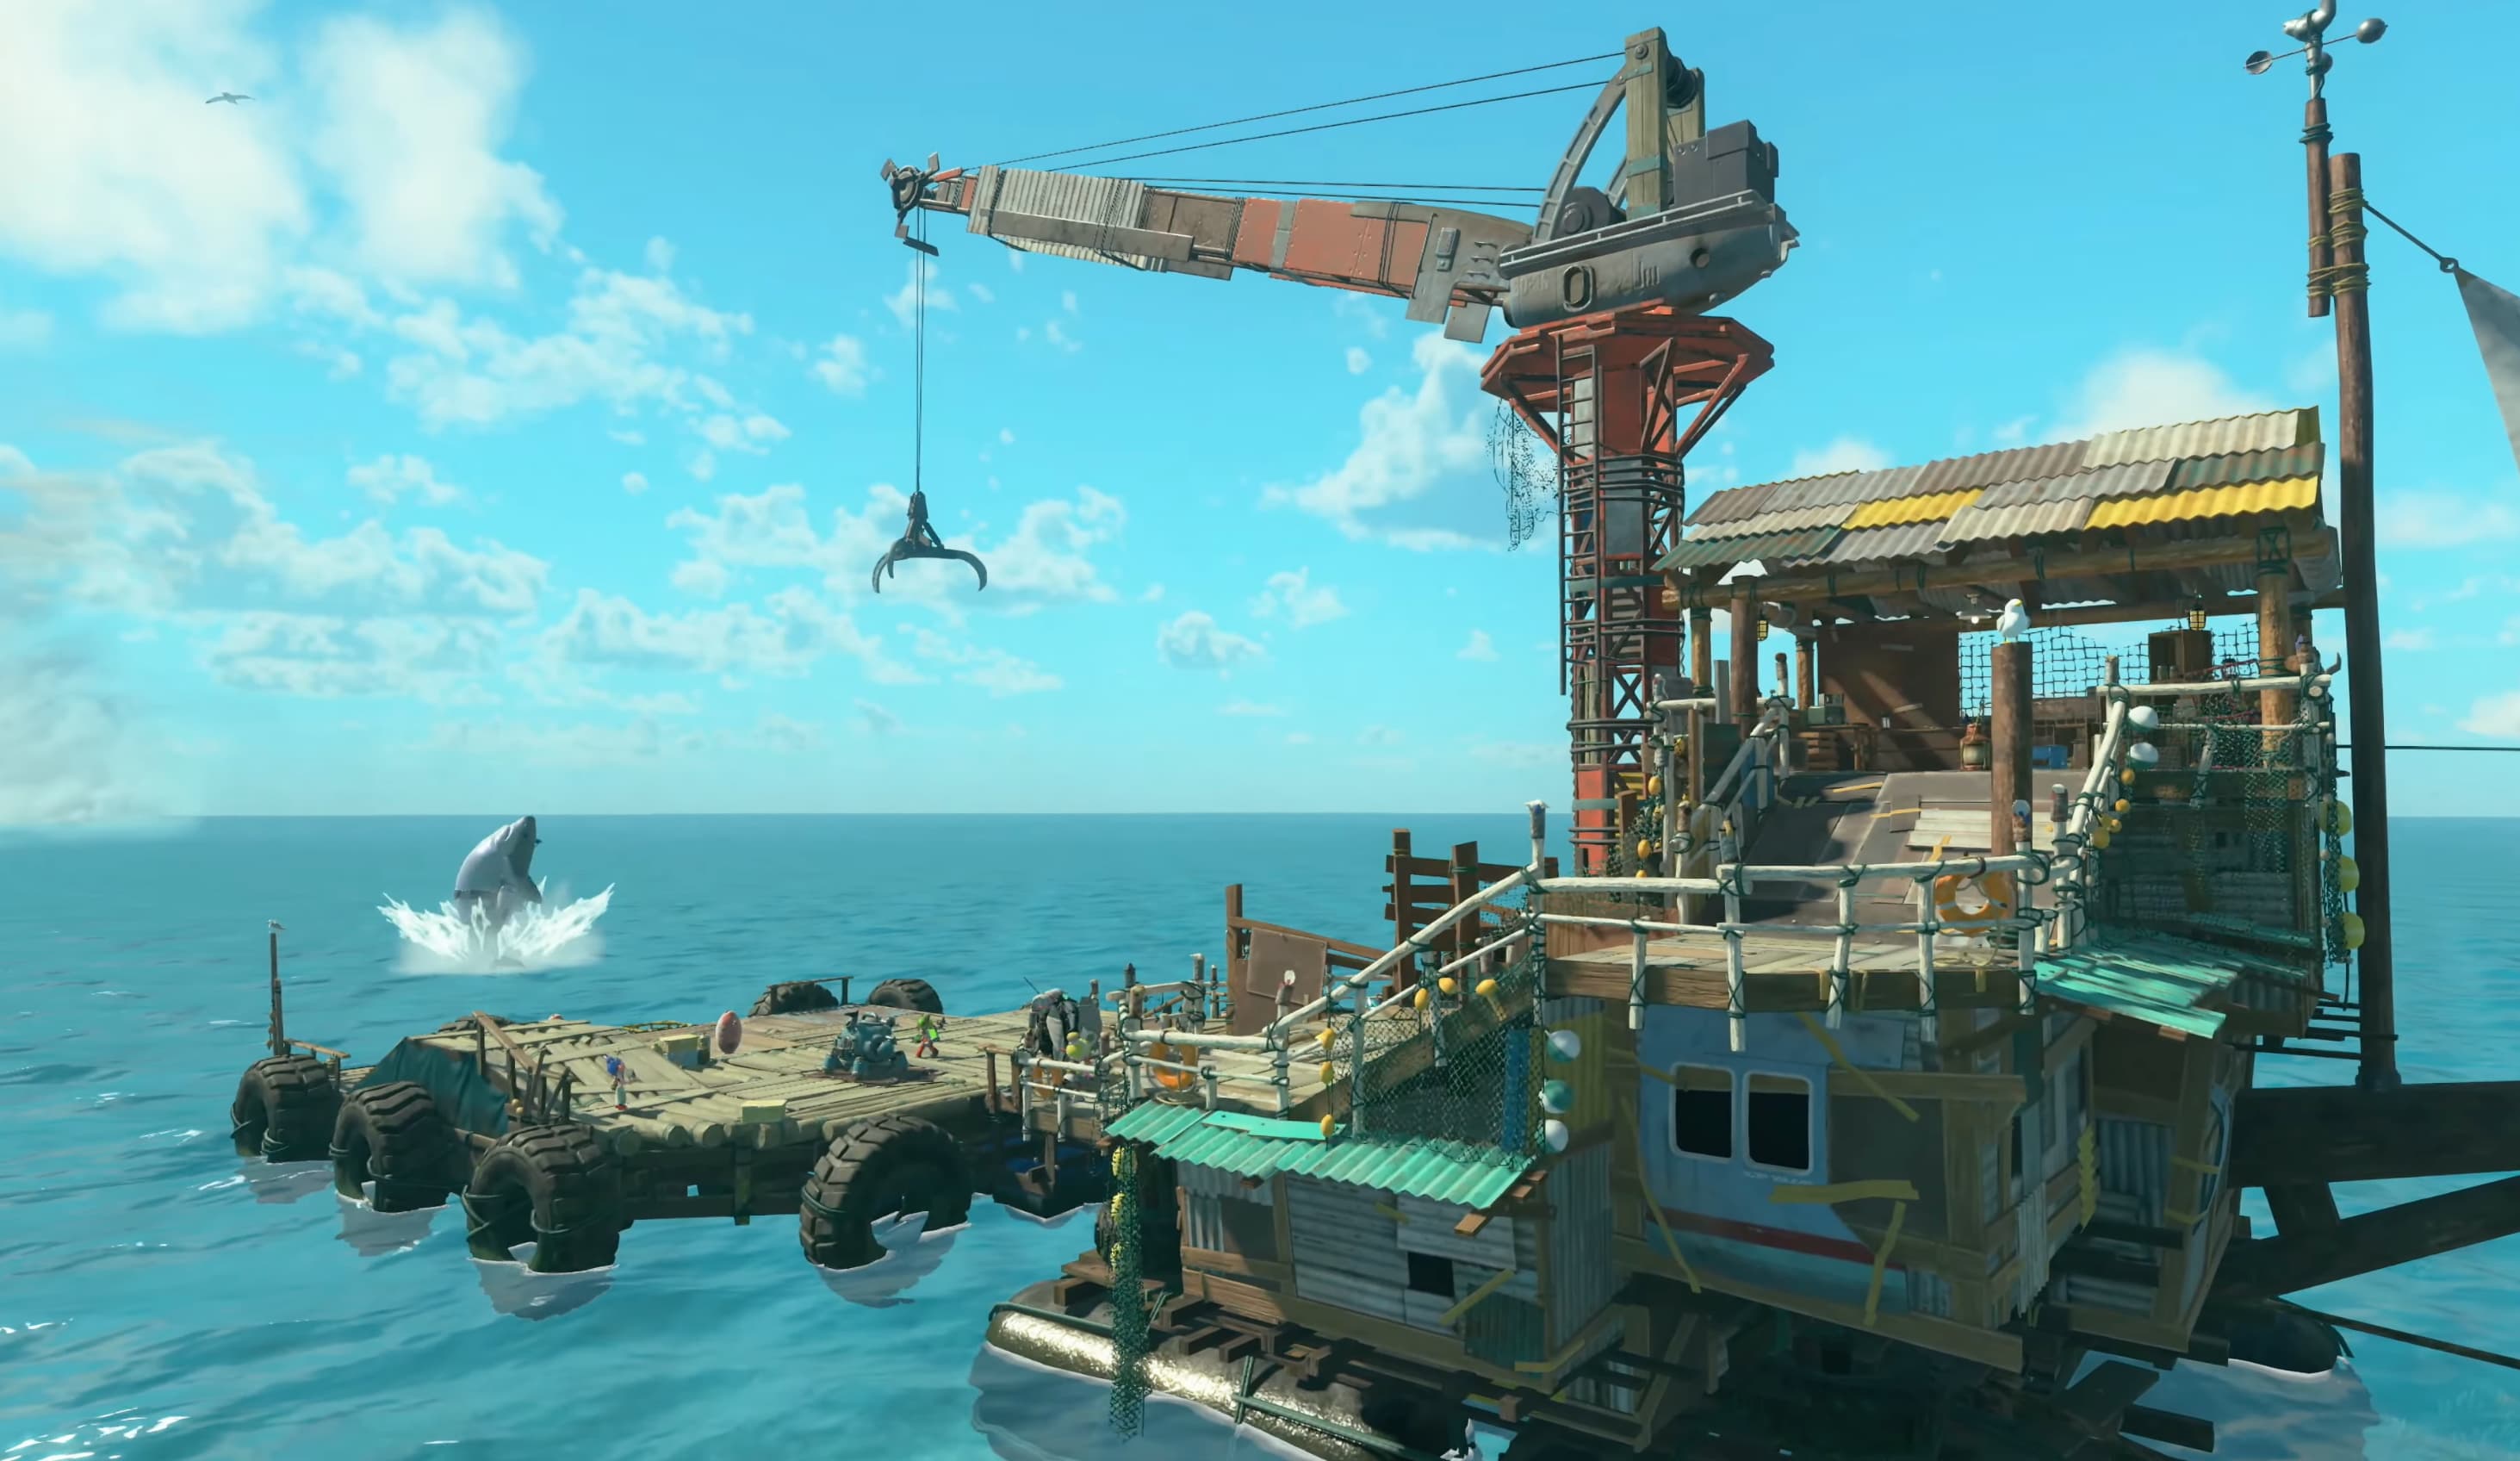
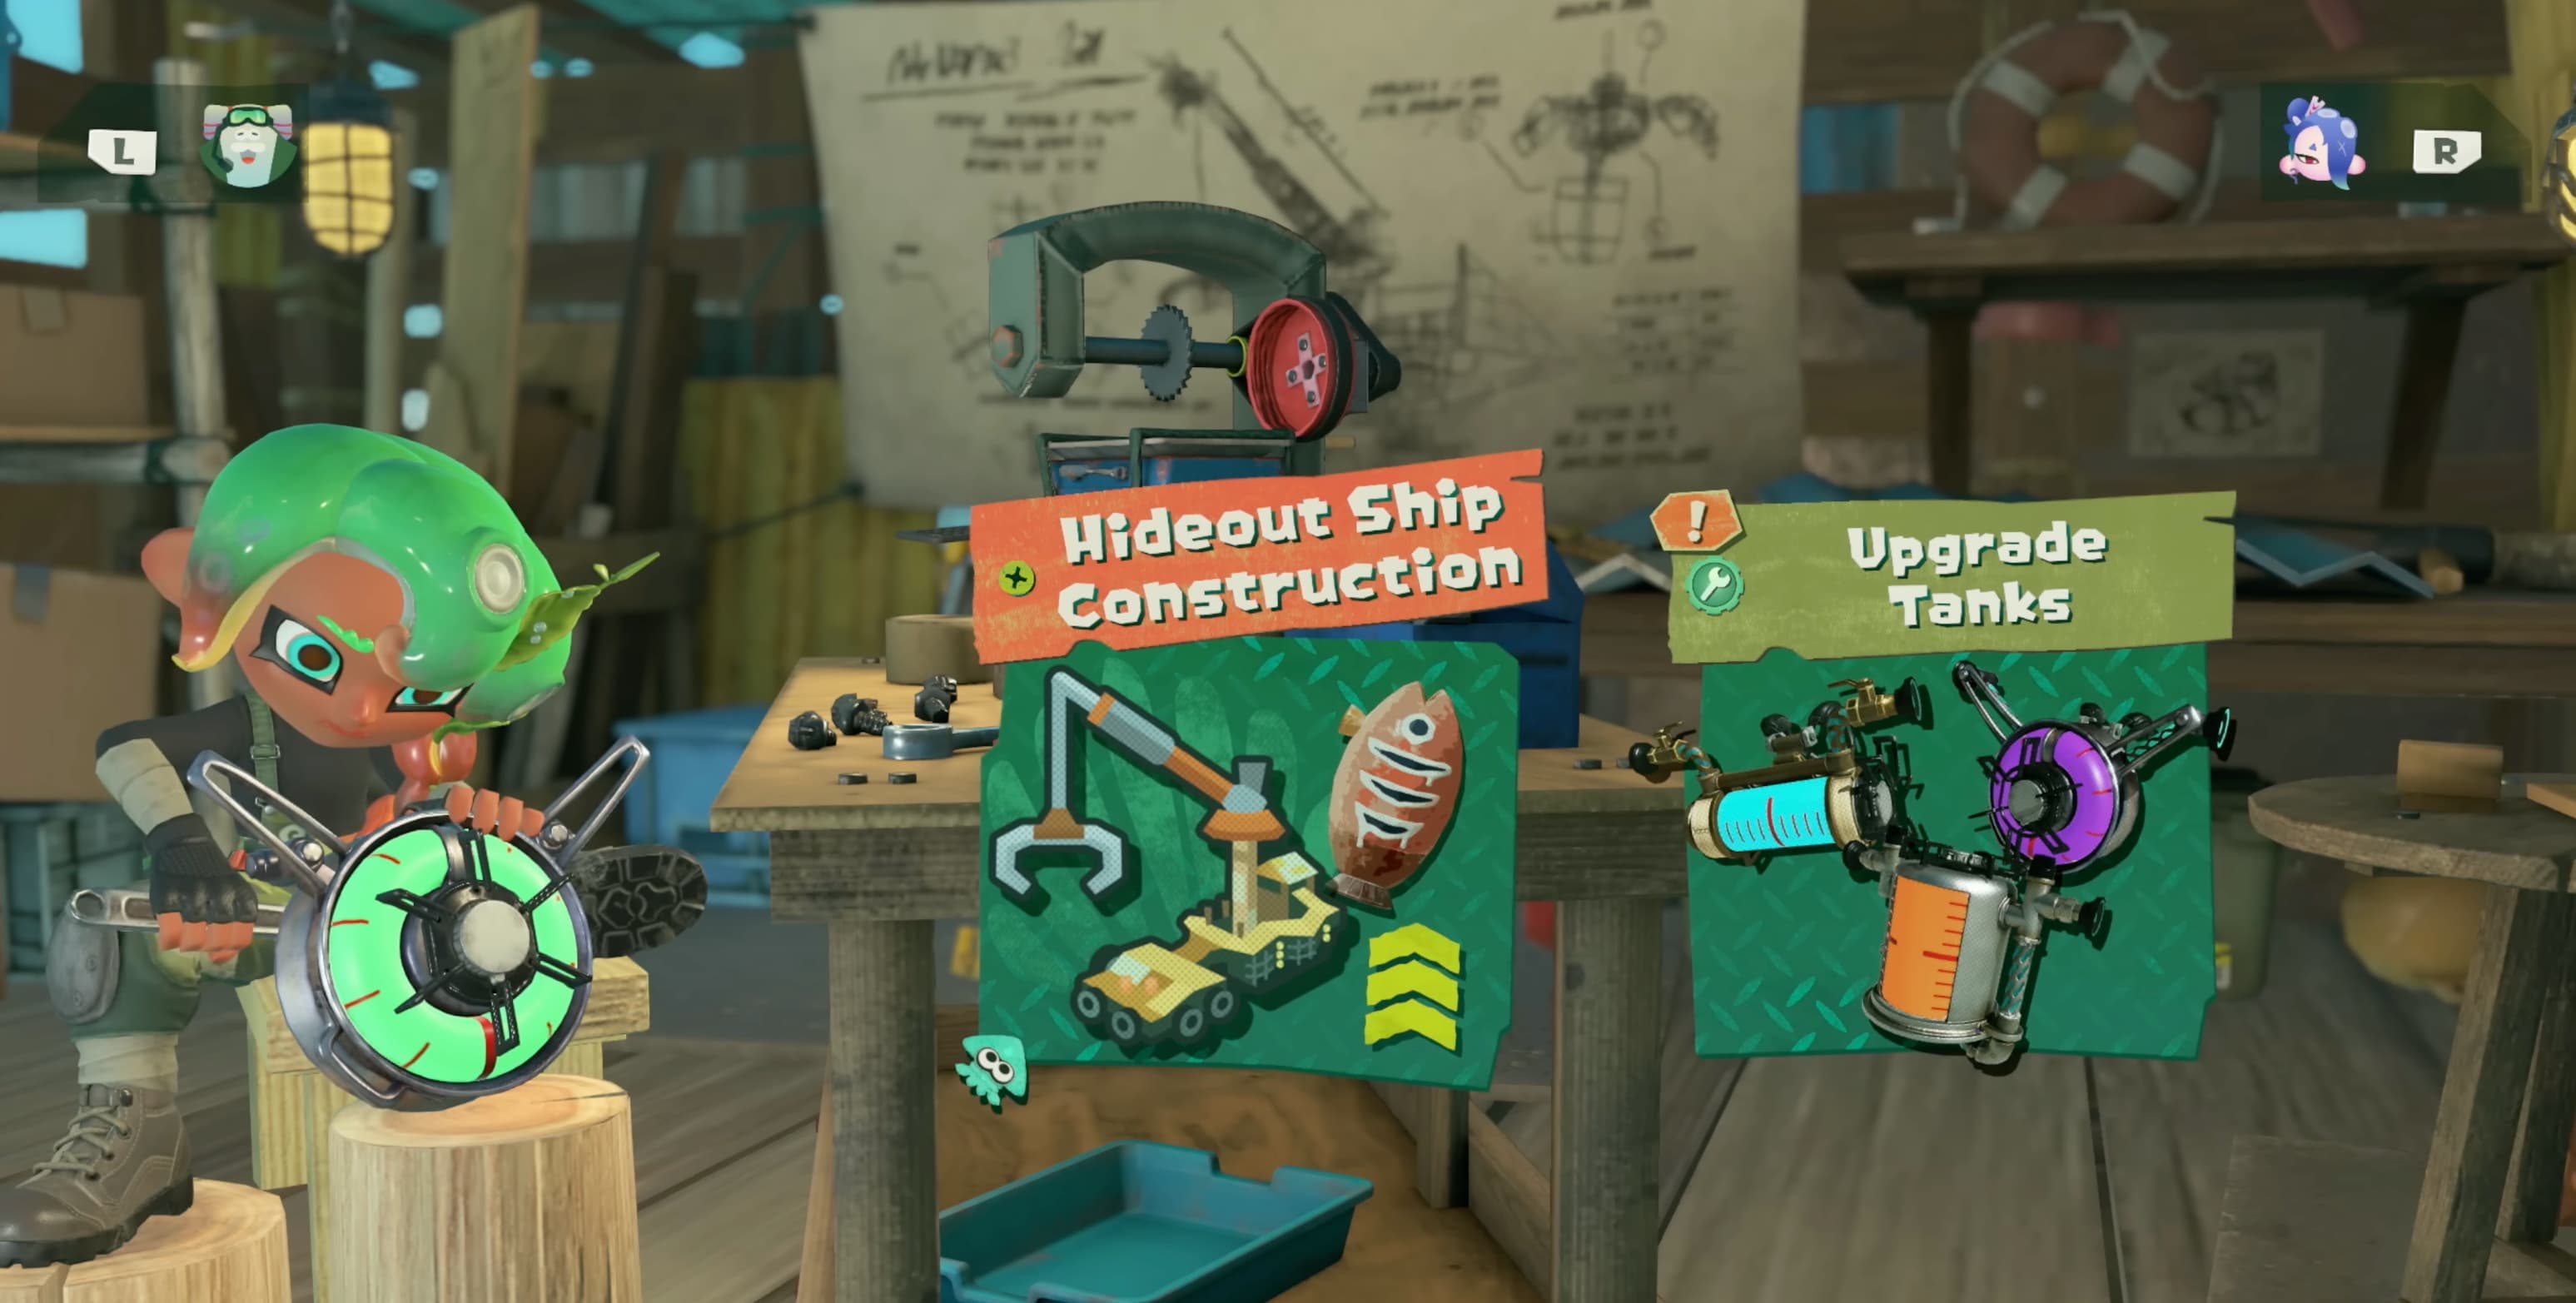
The Hideout Ship is your go-to hub for everything outside of raids. After returning from the Spirhalite Islands, you can check out your loot, manage your weapons, upgrade your abilities, or whatever else you need before diving into the next dungeon.
Needless to say, you'll be spending a good amount of time here. So allow us to give an an introduction to each of the facilities it has to offer.
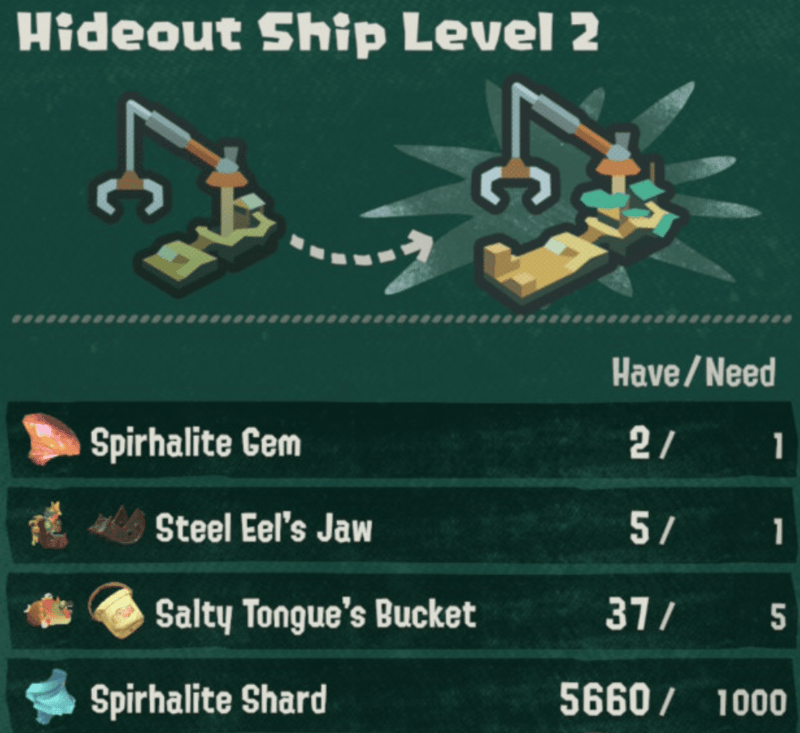
In Splatoon Raiders, you will need to farm and save up materials in order to unlock the various facilities. The opening few should come quickly, but eventually you will need to progress further into the story.
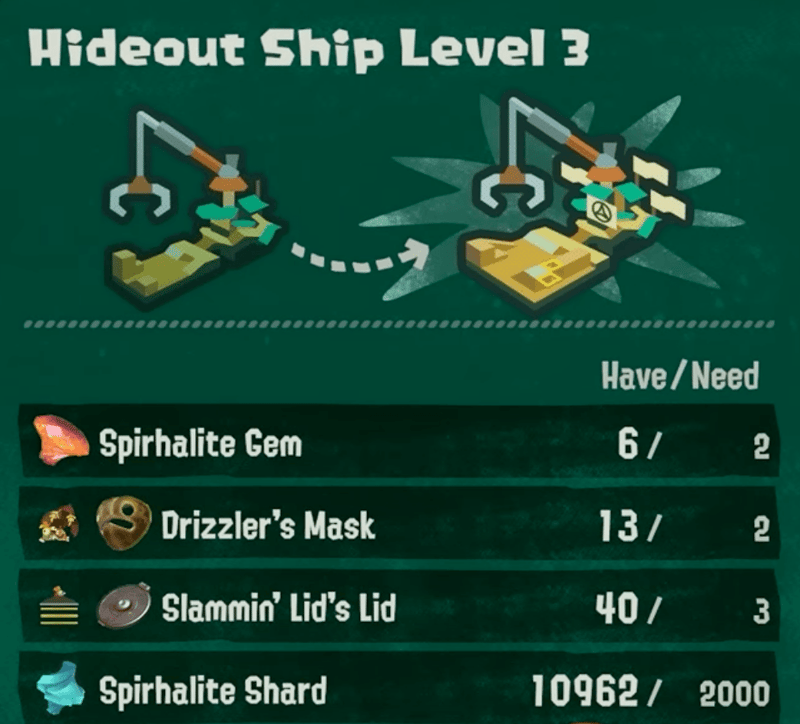
Here's a list of the material costs and conditions for each Hideout Ship Facility.
This section is a work in progress, more info coming soon.
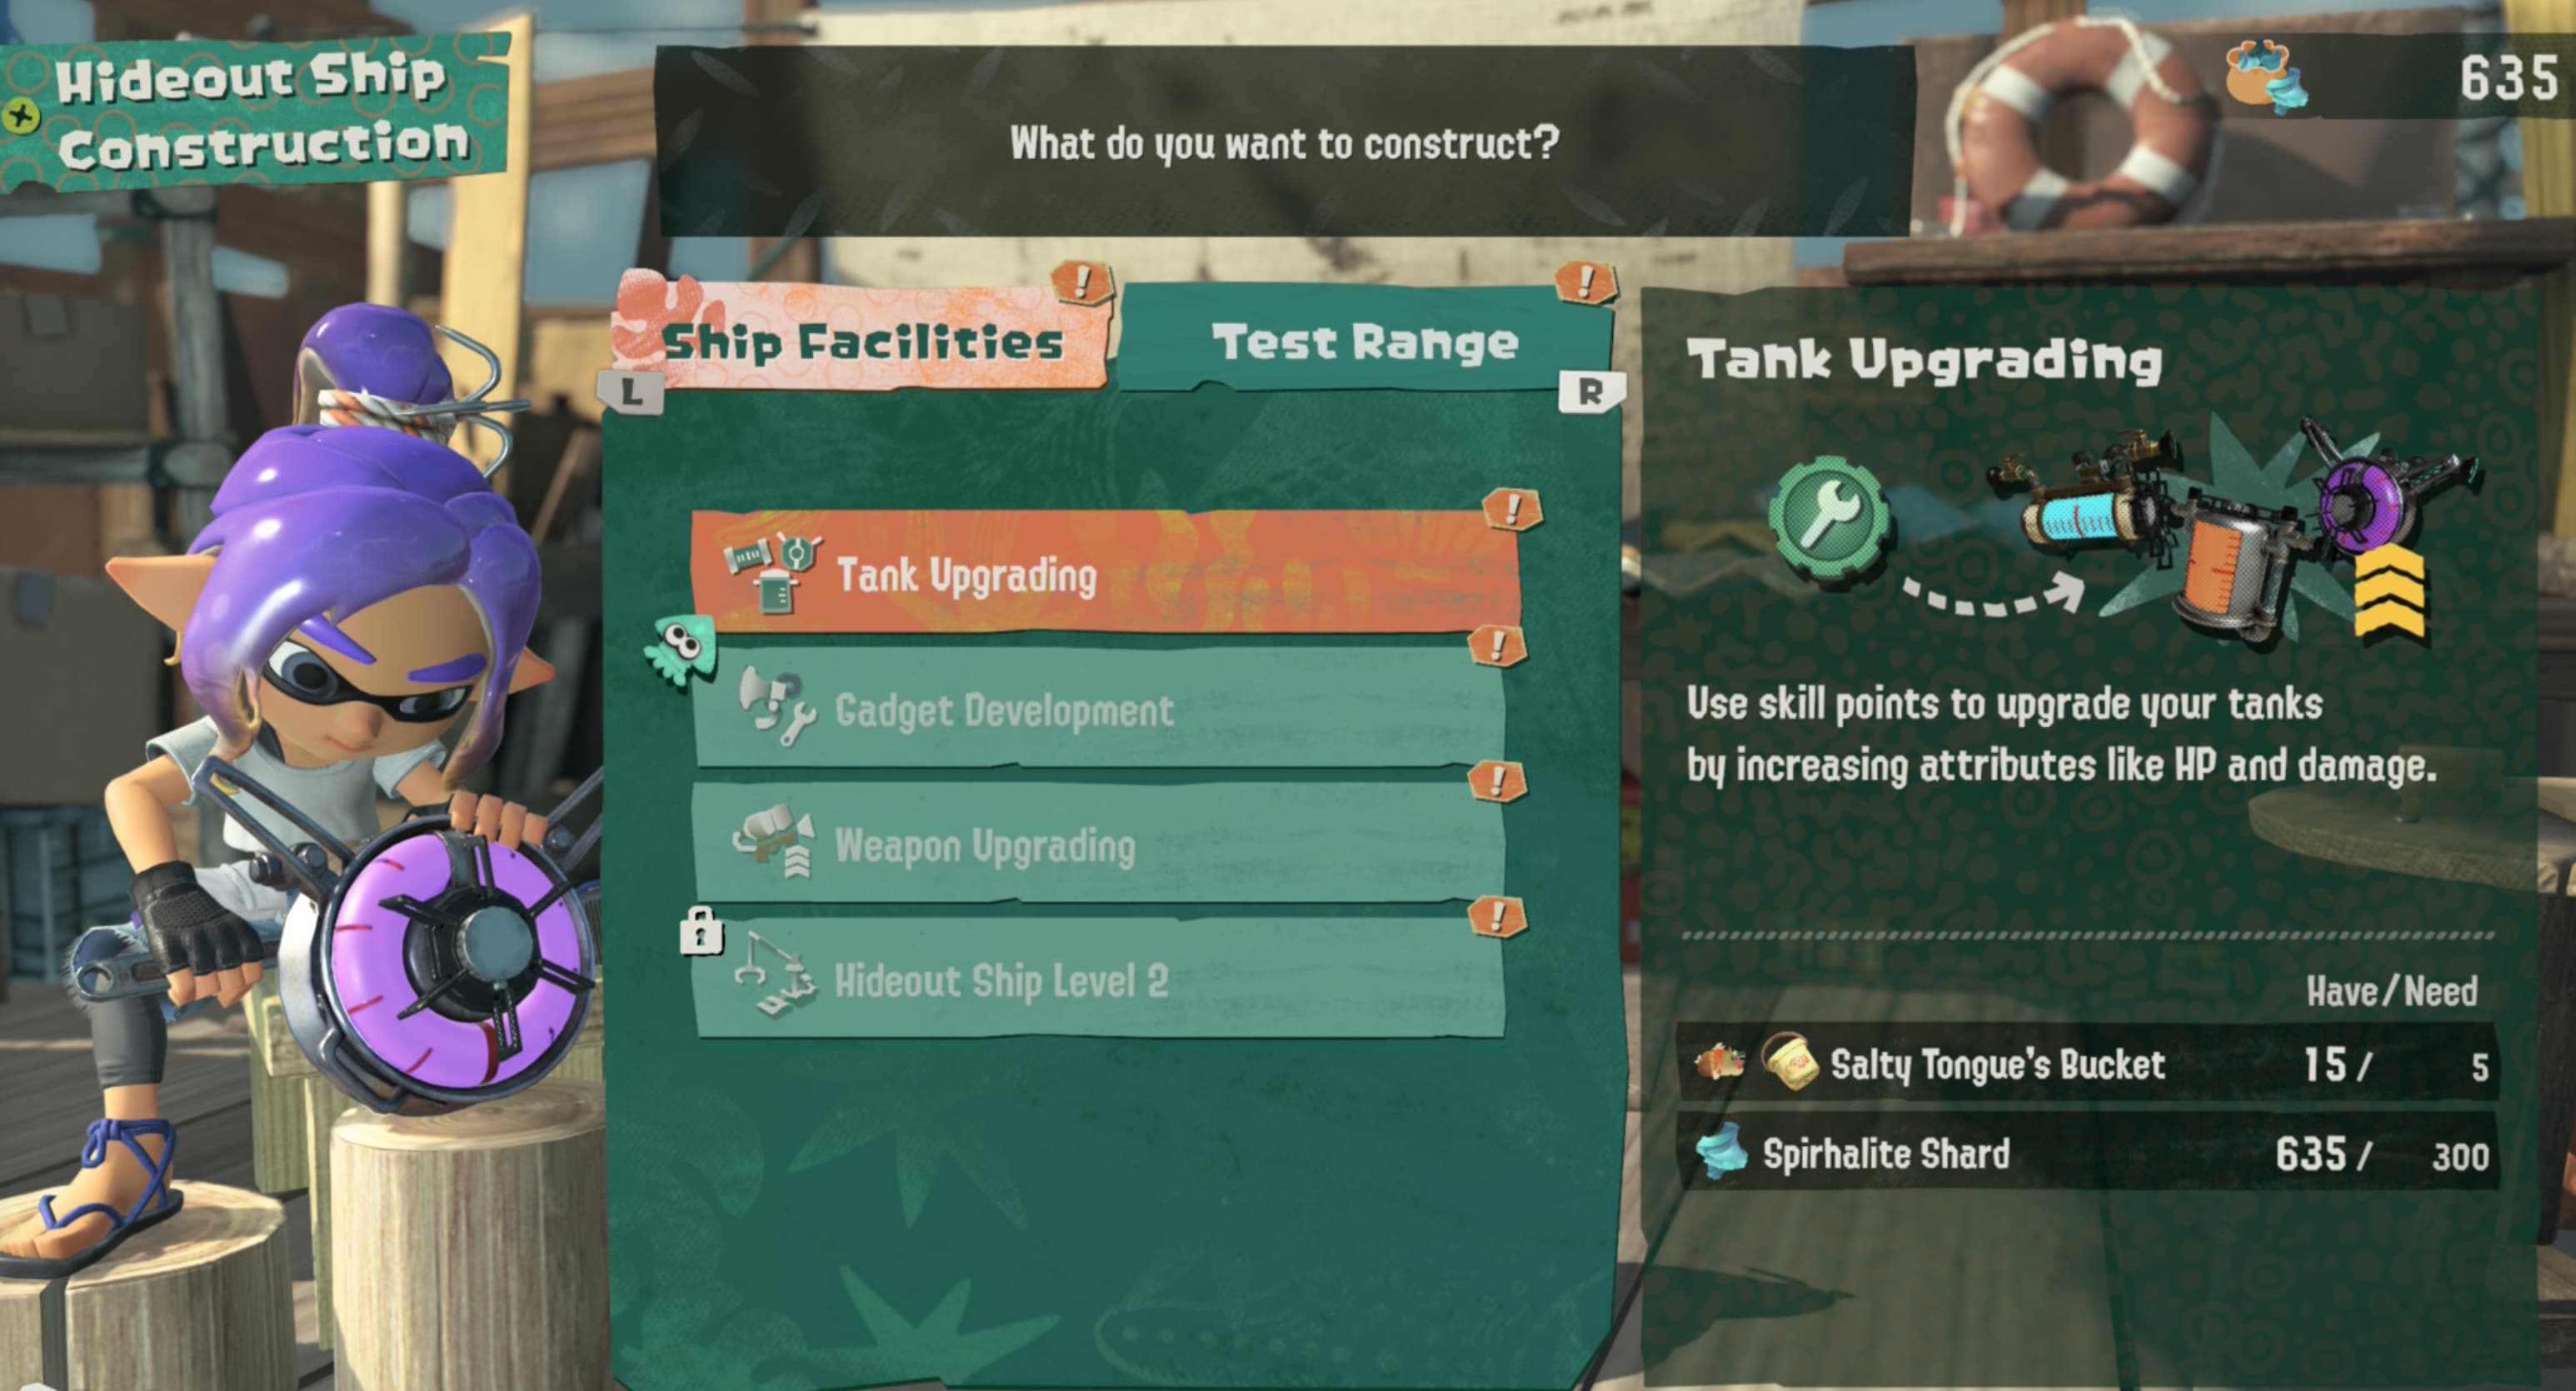
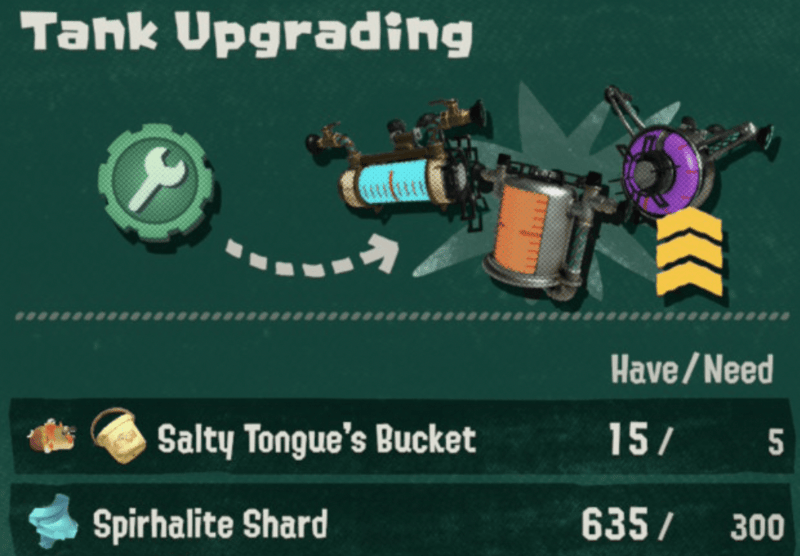
Tank Upgrading
Unlock Conditions: Available for construction by default.
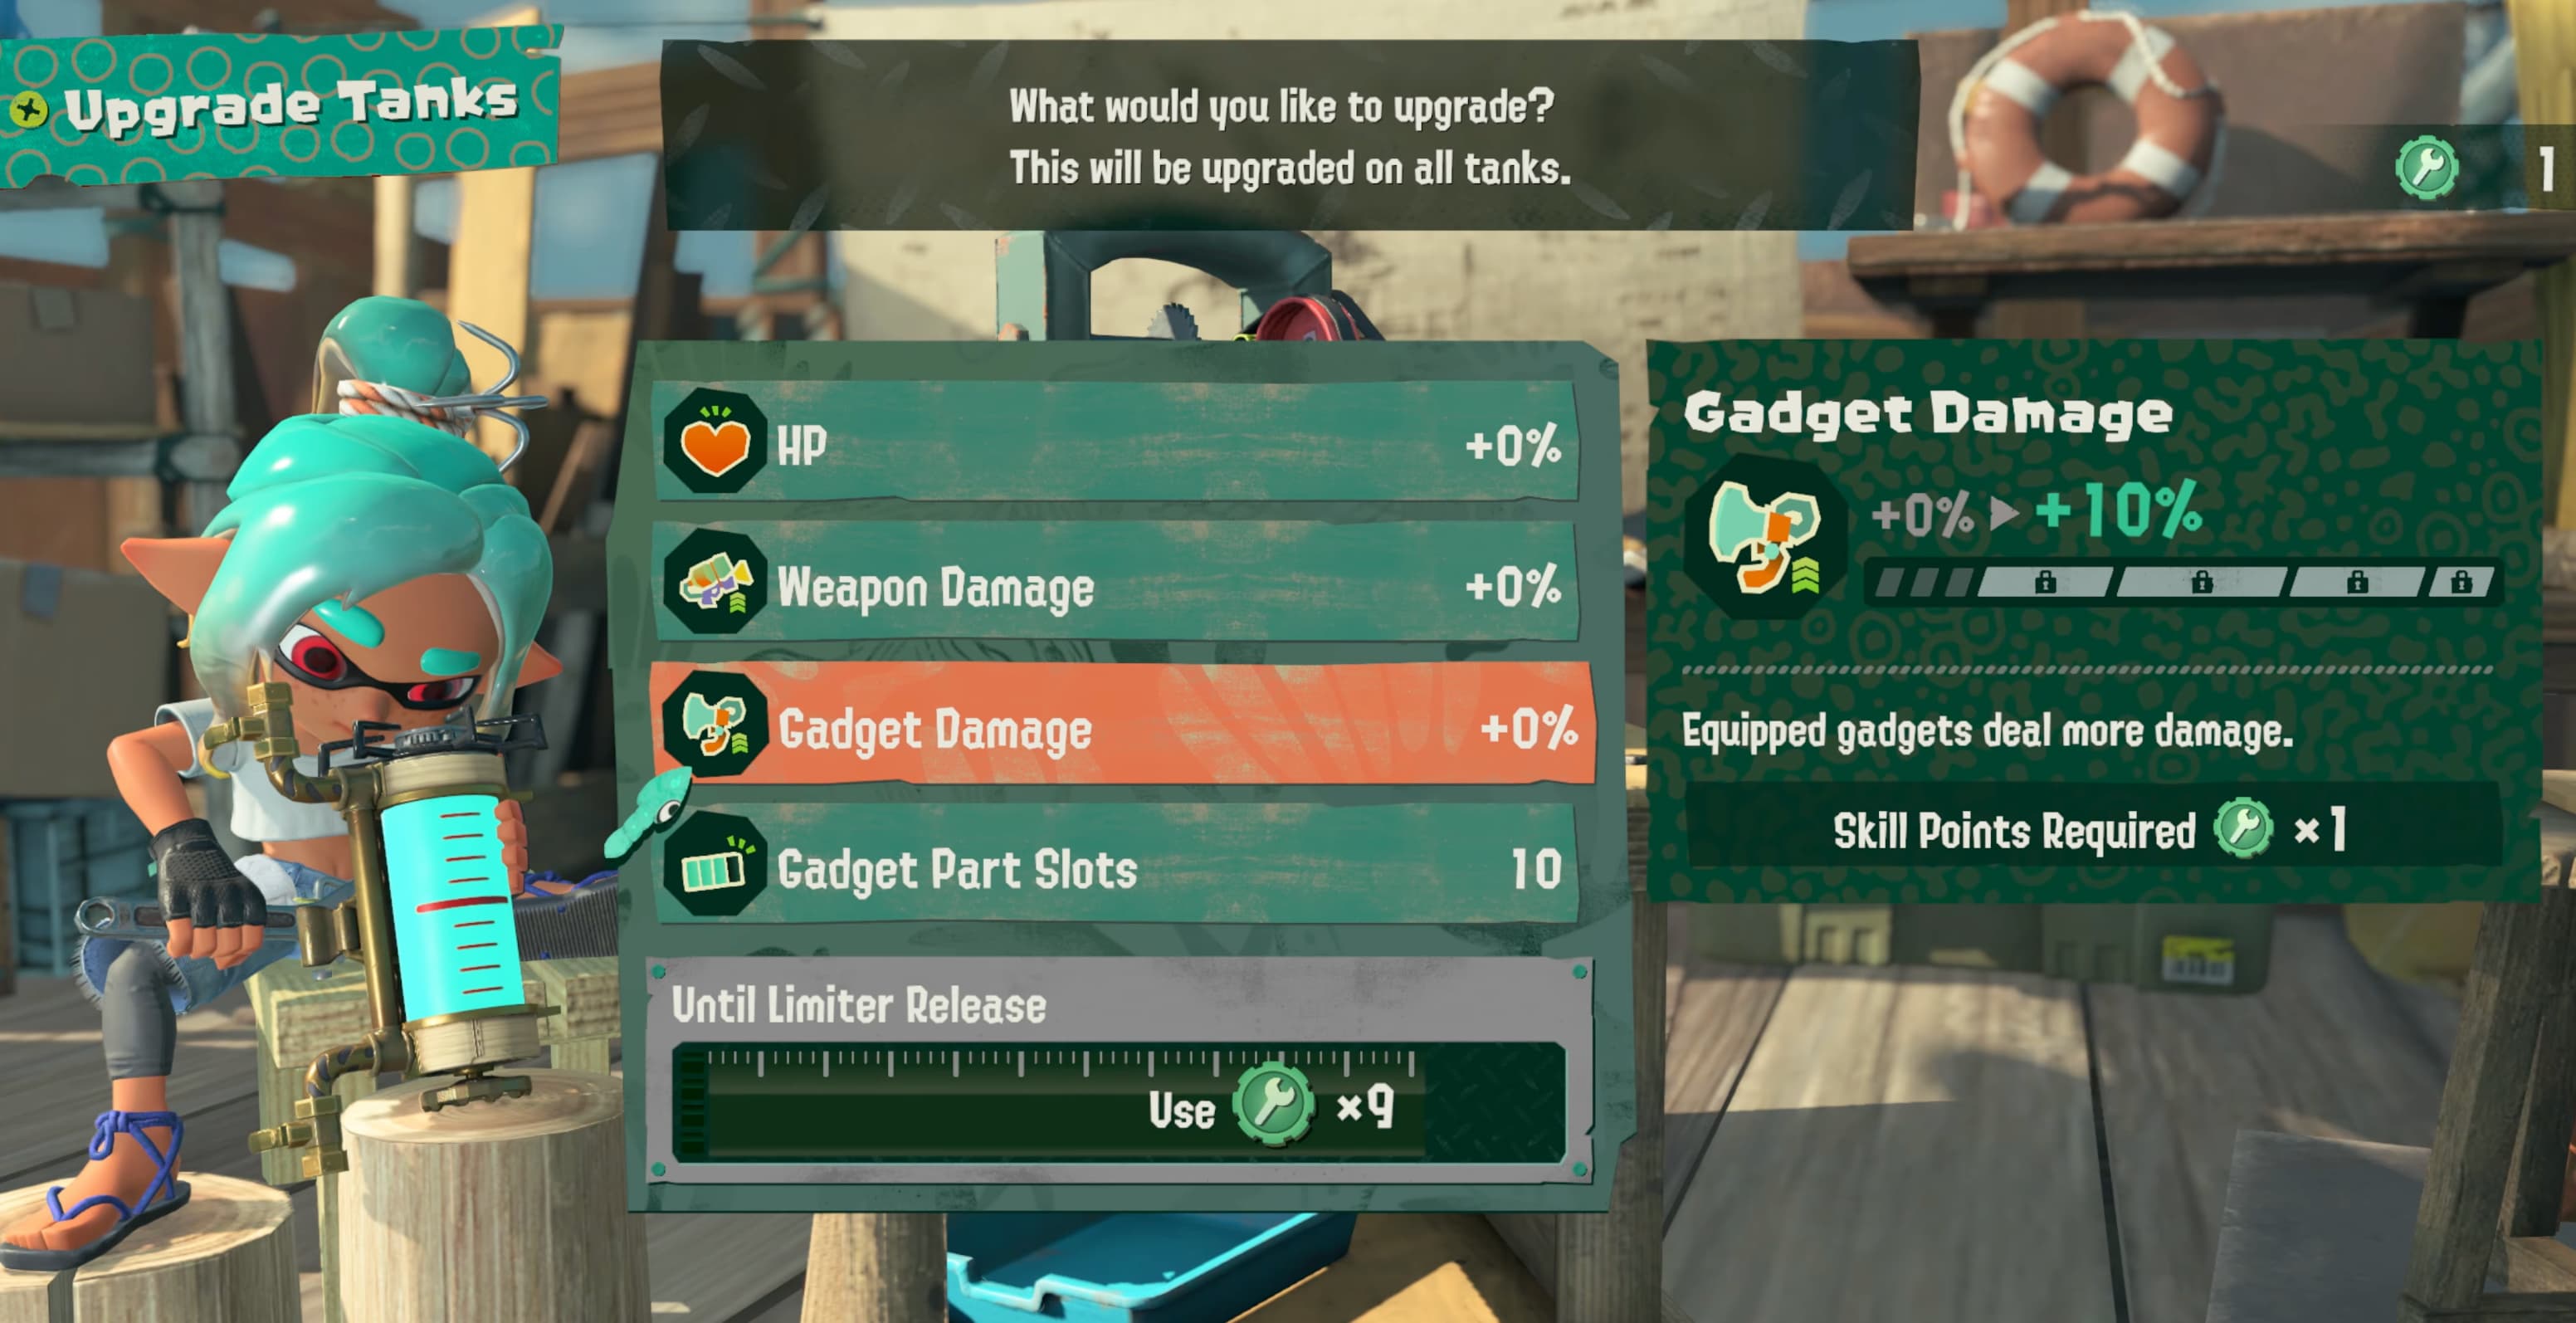
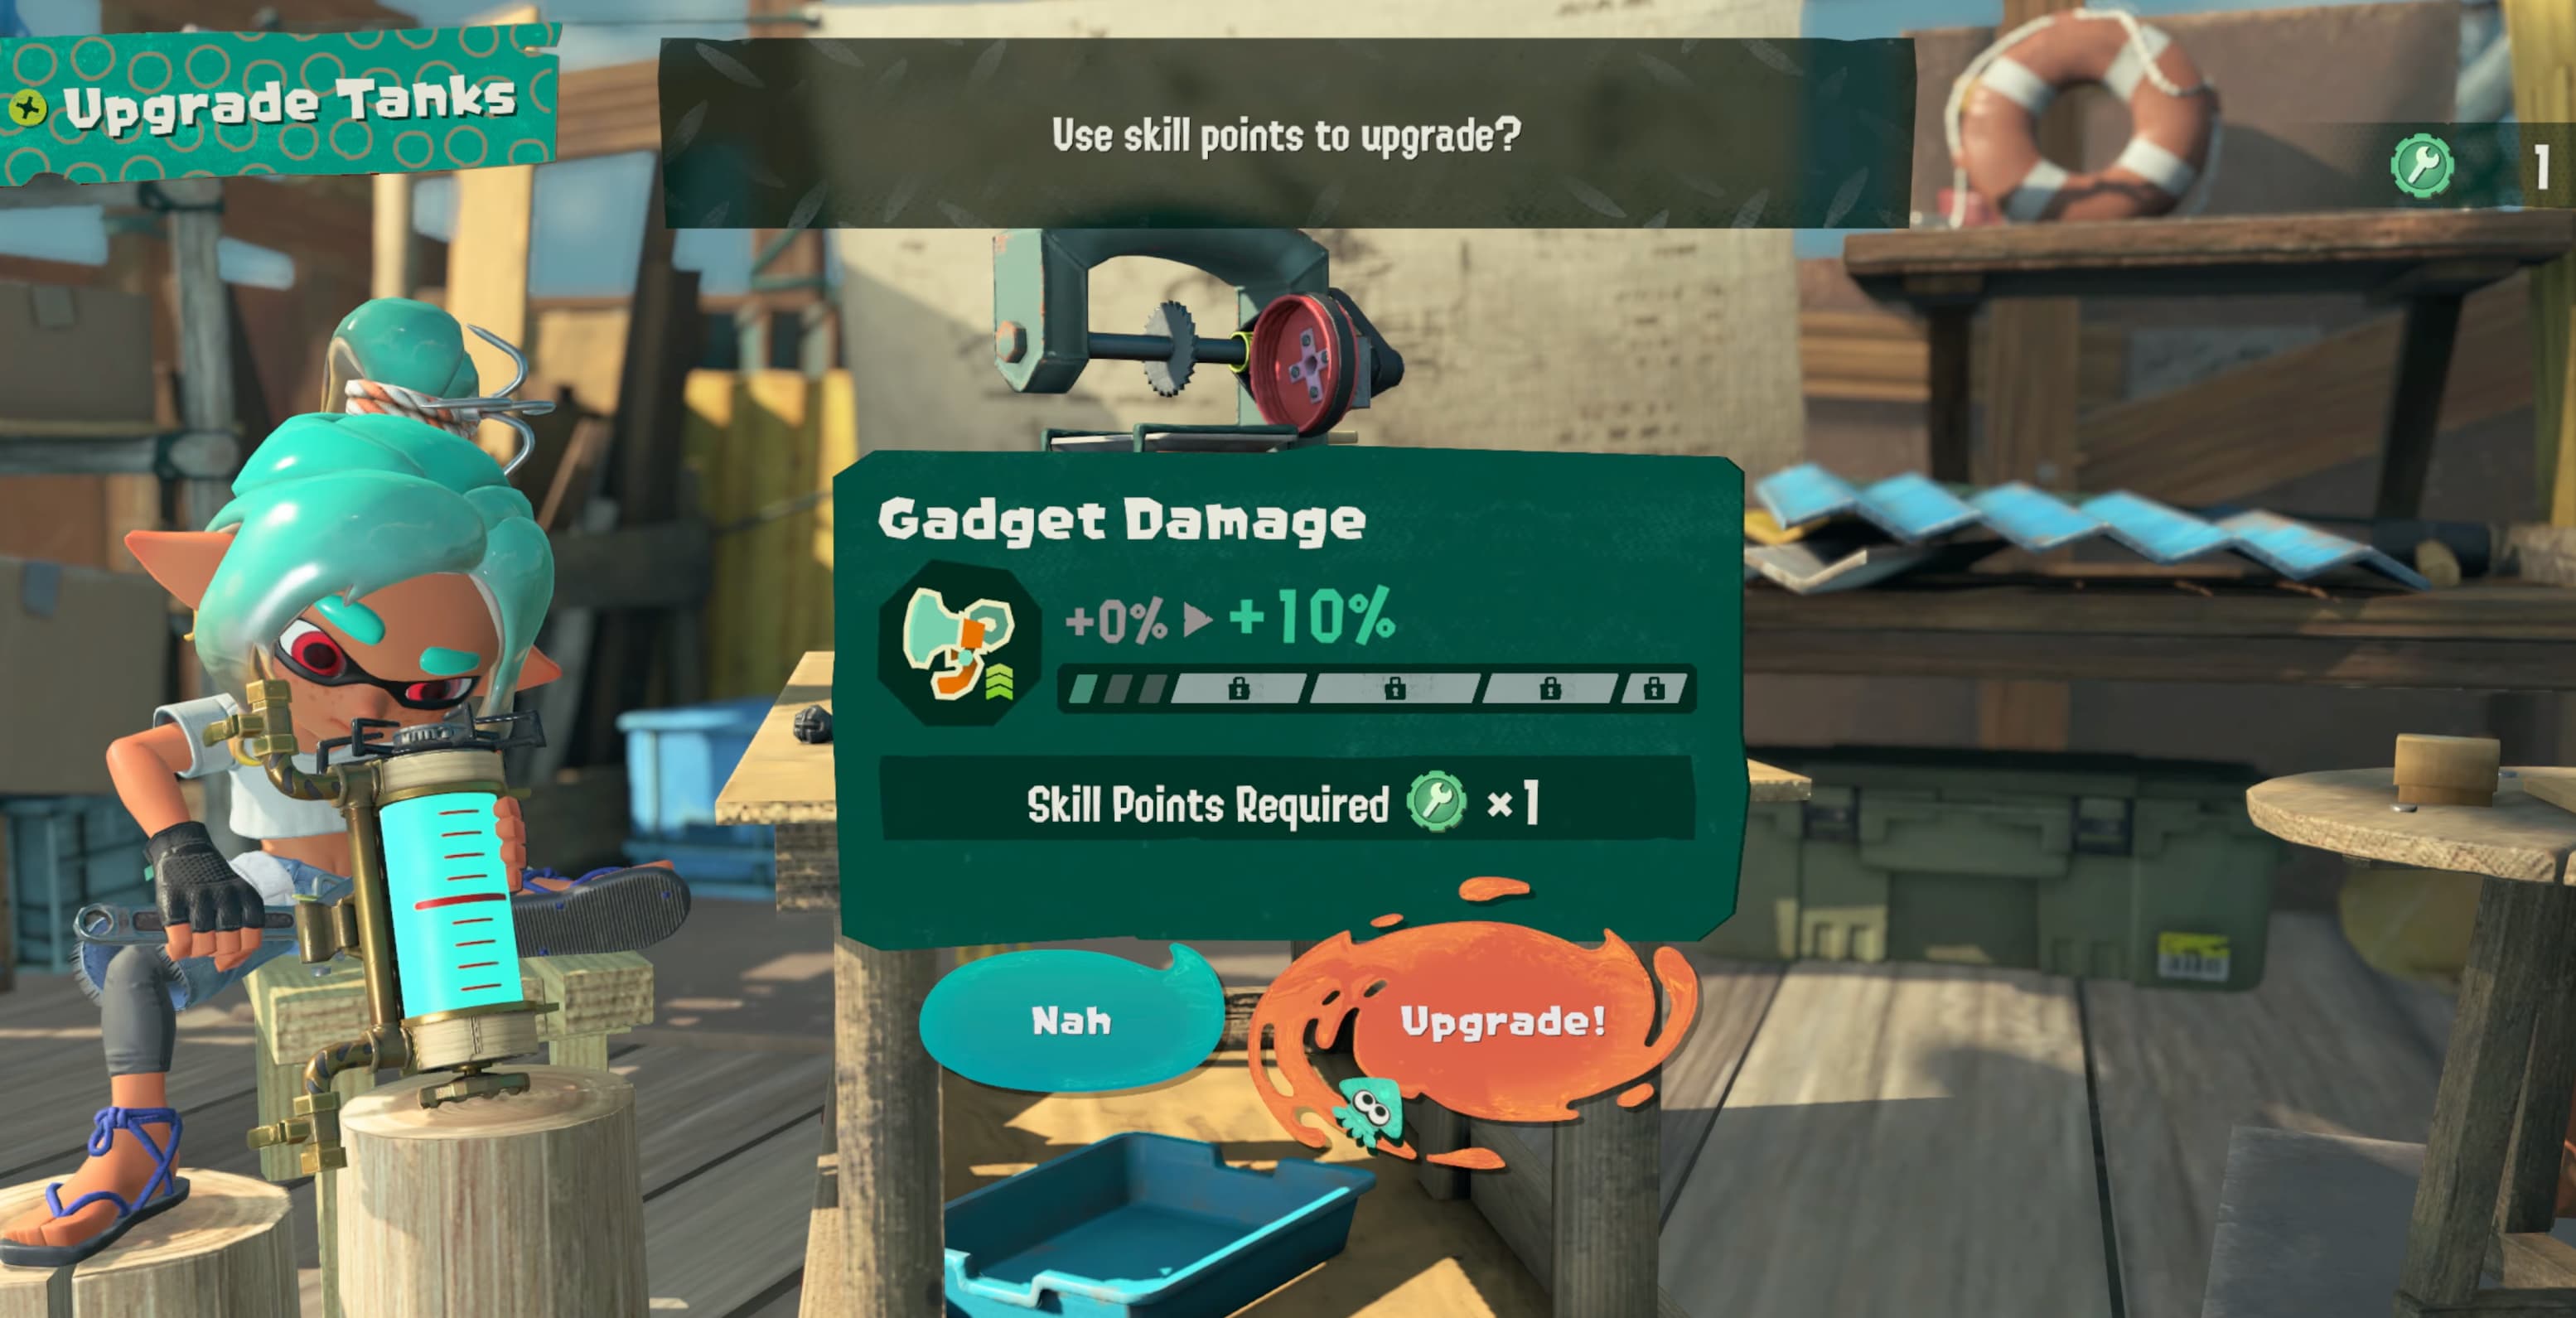
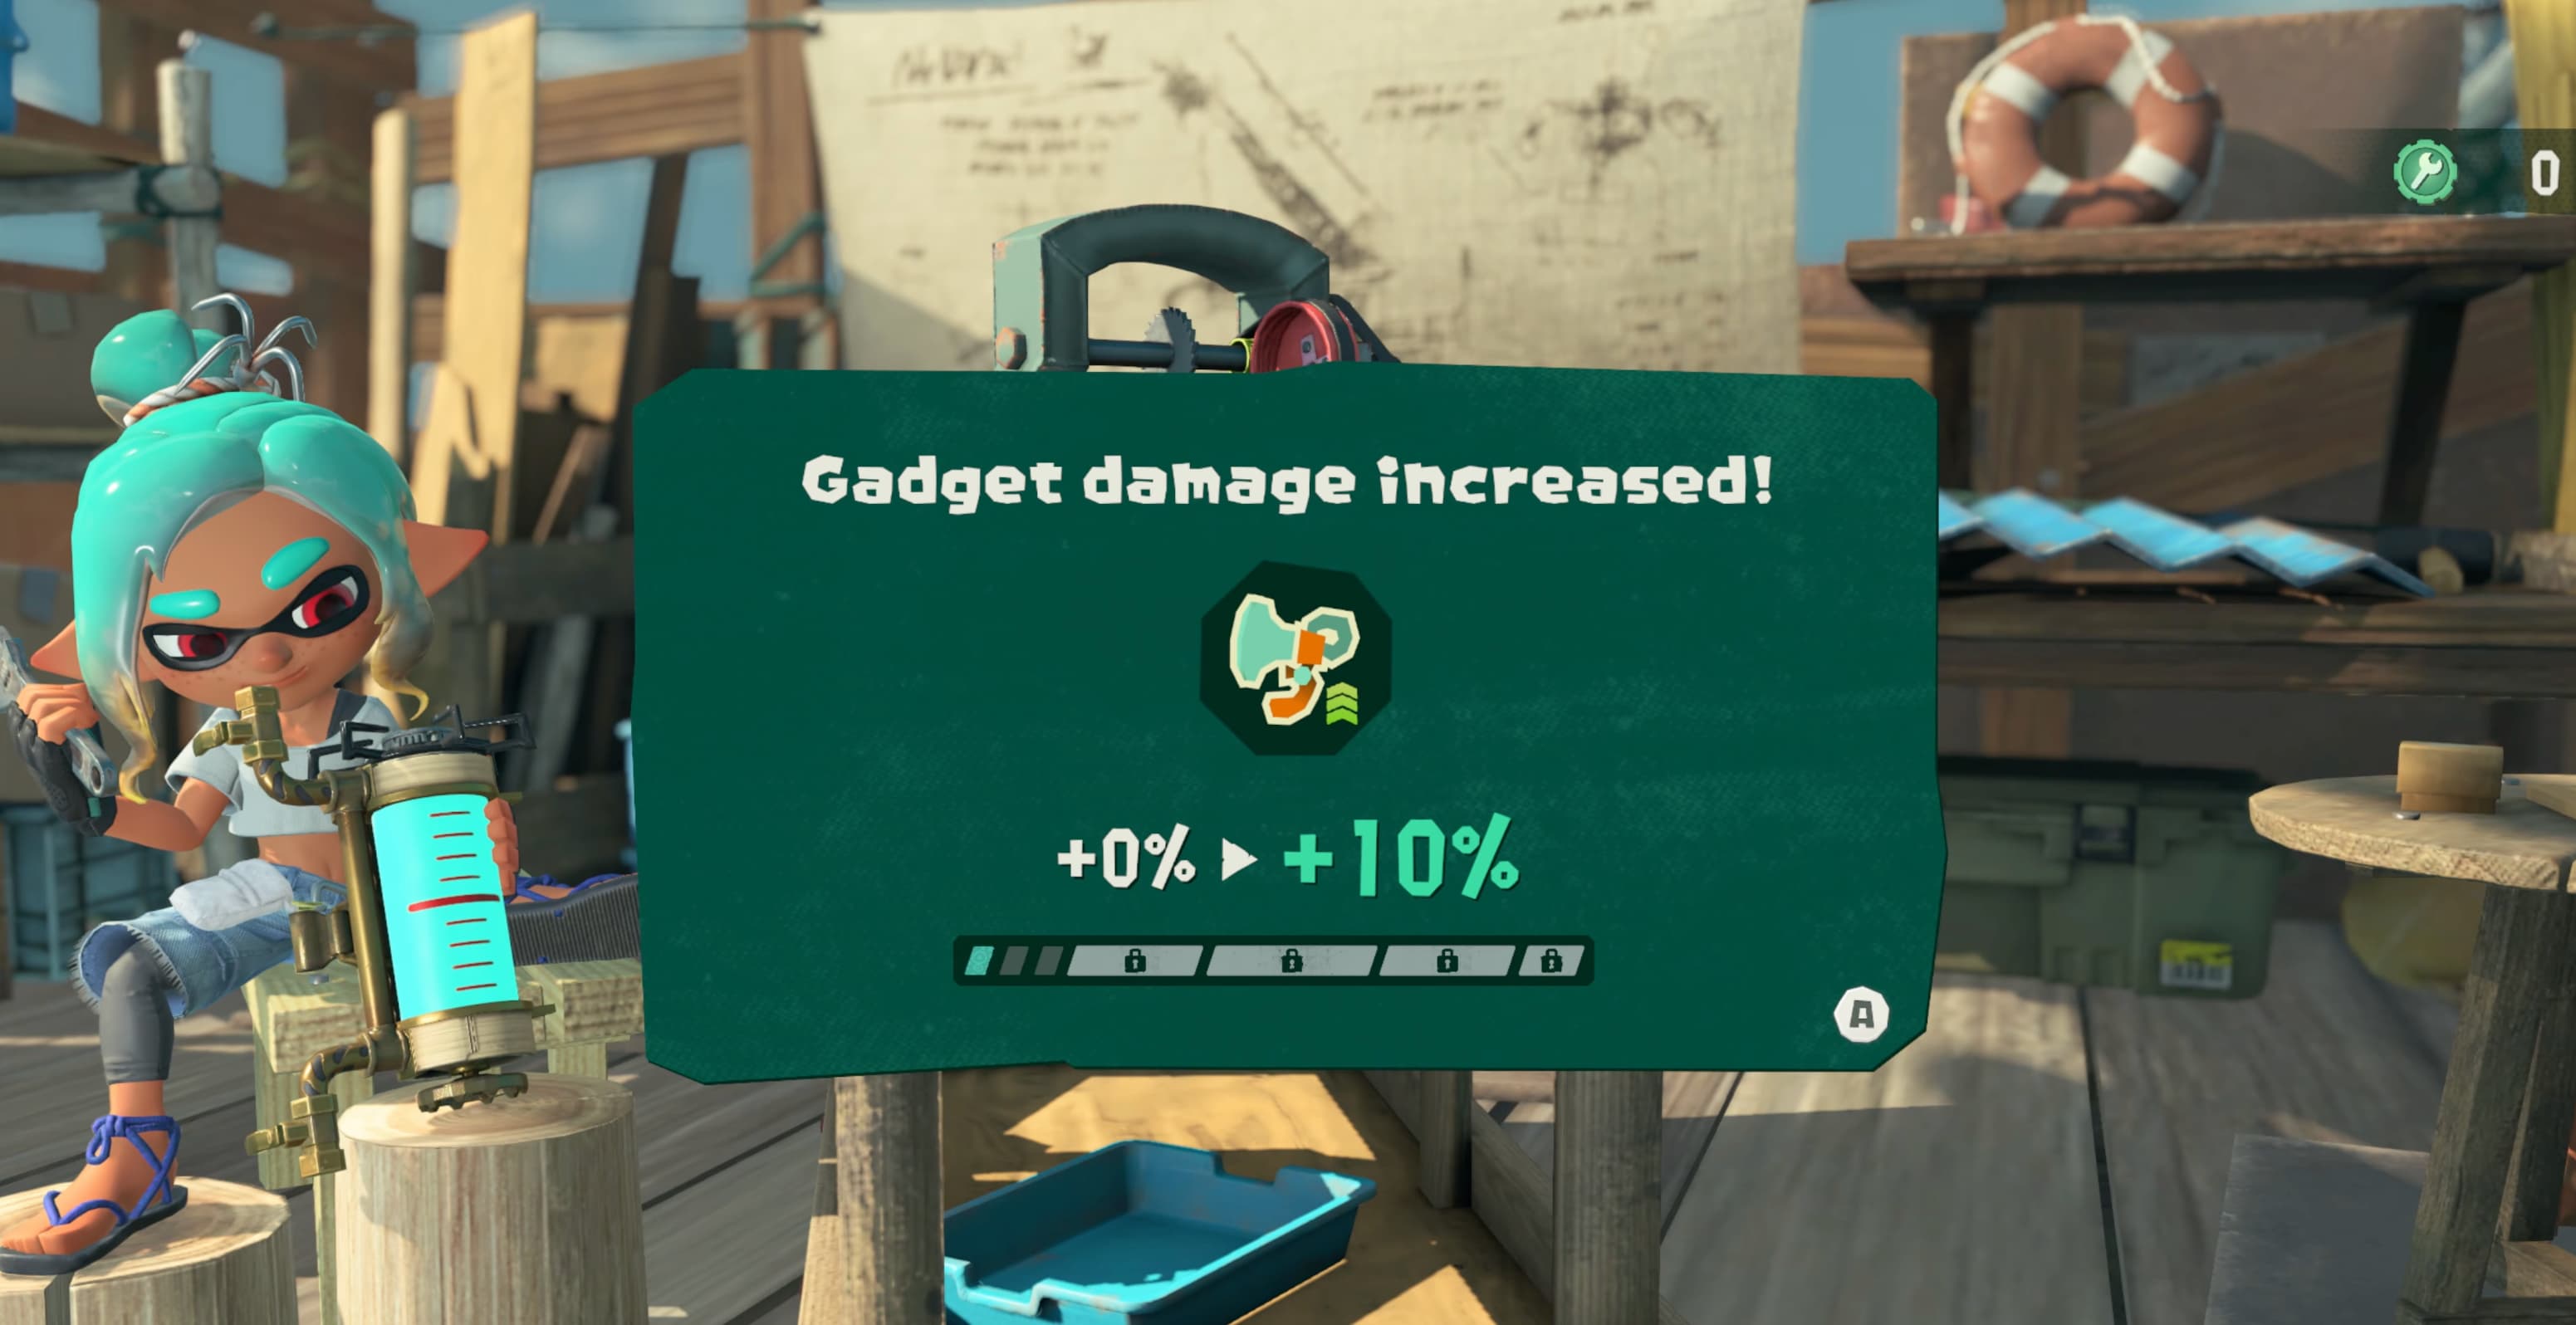
When you level up in Splatoon Raiders you'll be rewarded with a Skill Point. These can be spent to upgrade your Tanks, providing a nice stat boost, or increasing your Gadget capabilities.
Any Skill Points that you invest apply to all Ink Tanks (Speed, Power, Tactical), so you don't need to worry about allocating them to just one type of build.
Limiter Release
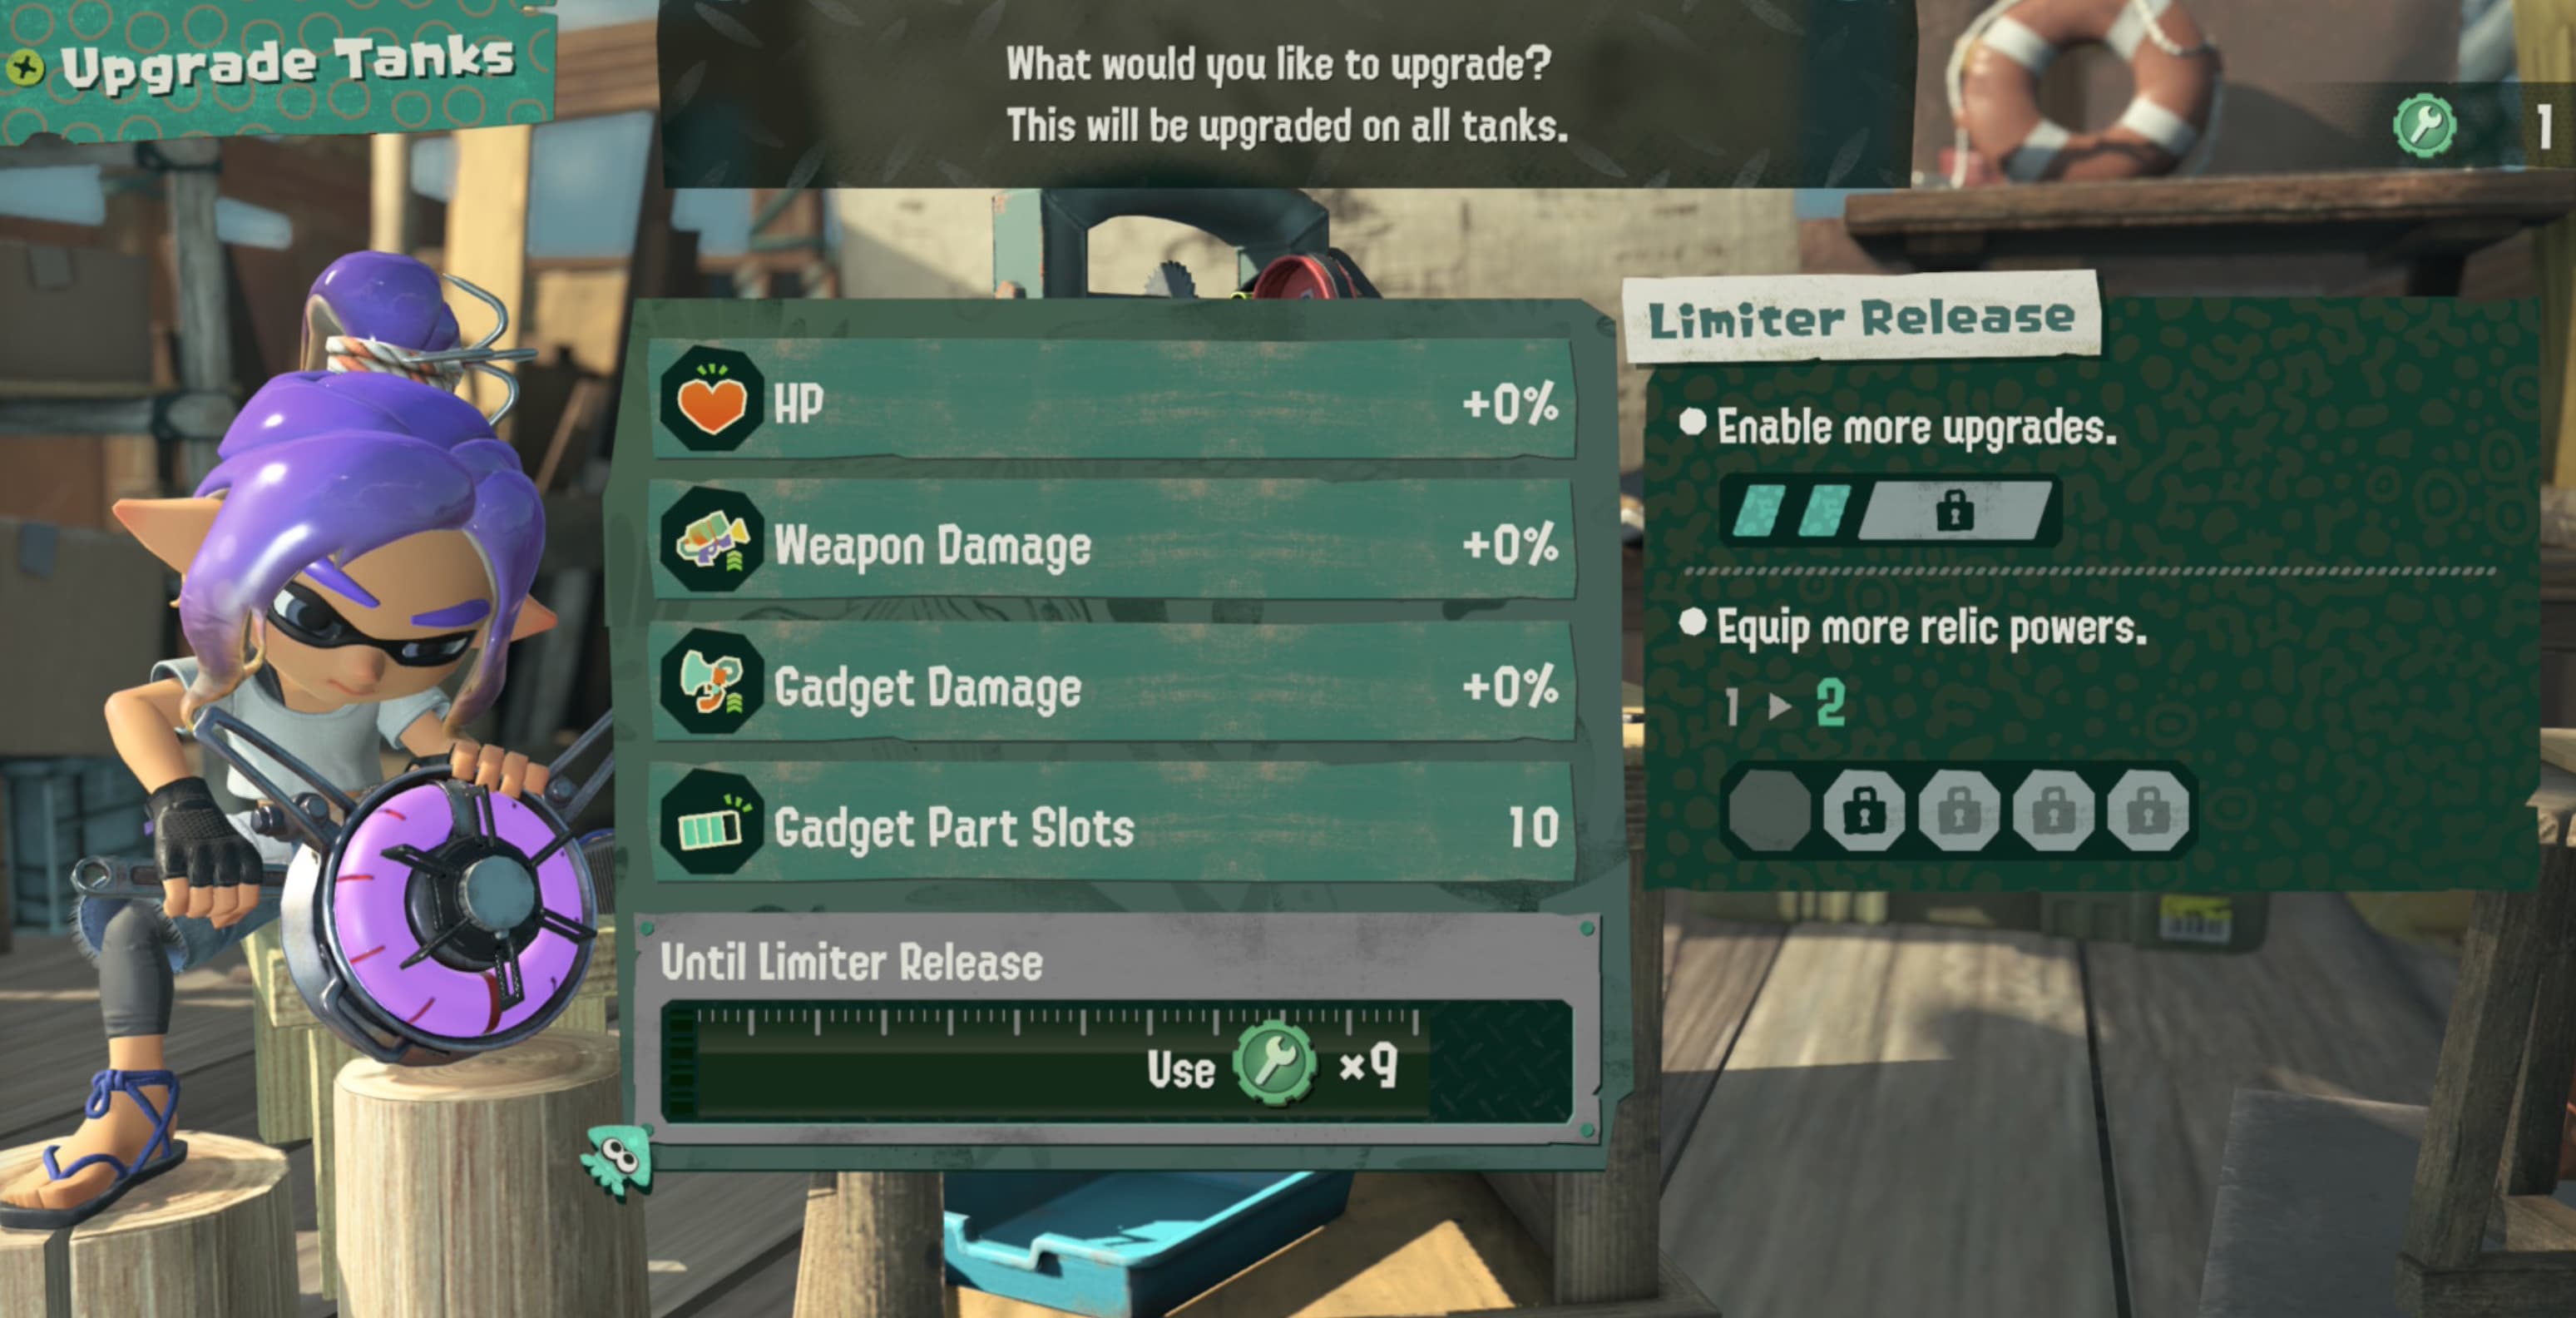
If you've been paying attention to the previous images, you may have noticed the little lock icons on the meter. As you invest more Skill Points into the same stat, you'll eventually reach a point where you can't upgrade it anymore. That is, until you reach the Limiter Release.
This is all a part of the natural progression, so just keep playing until you've used enough Skill Points. After triggering the Limiter Release, you'll be free to invest more points into the same stats once again (up until the next limit). But best of all, you will also unlock another slot for Relic Powers!
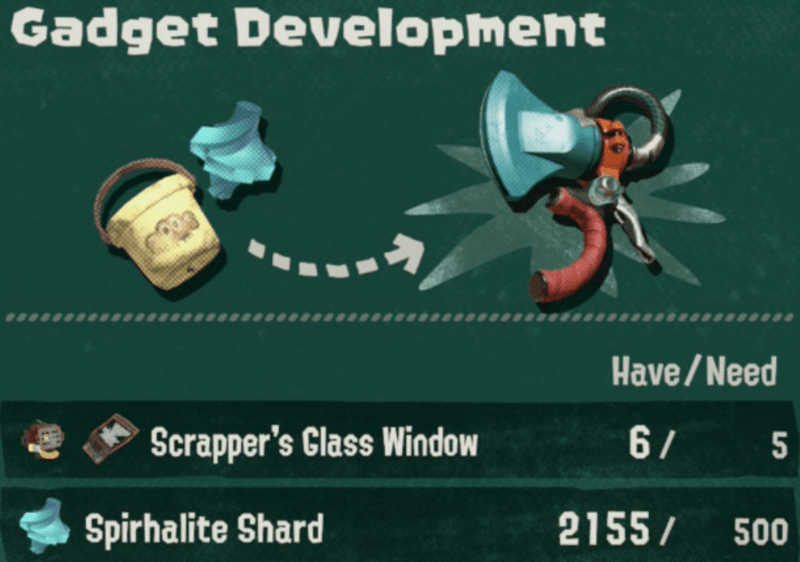
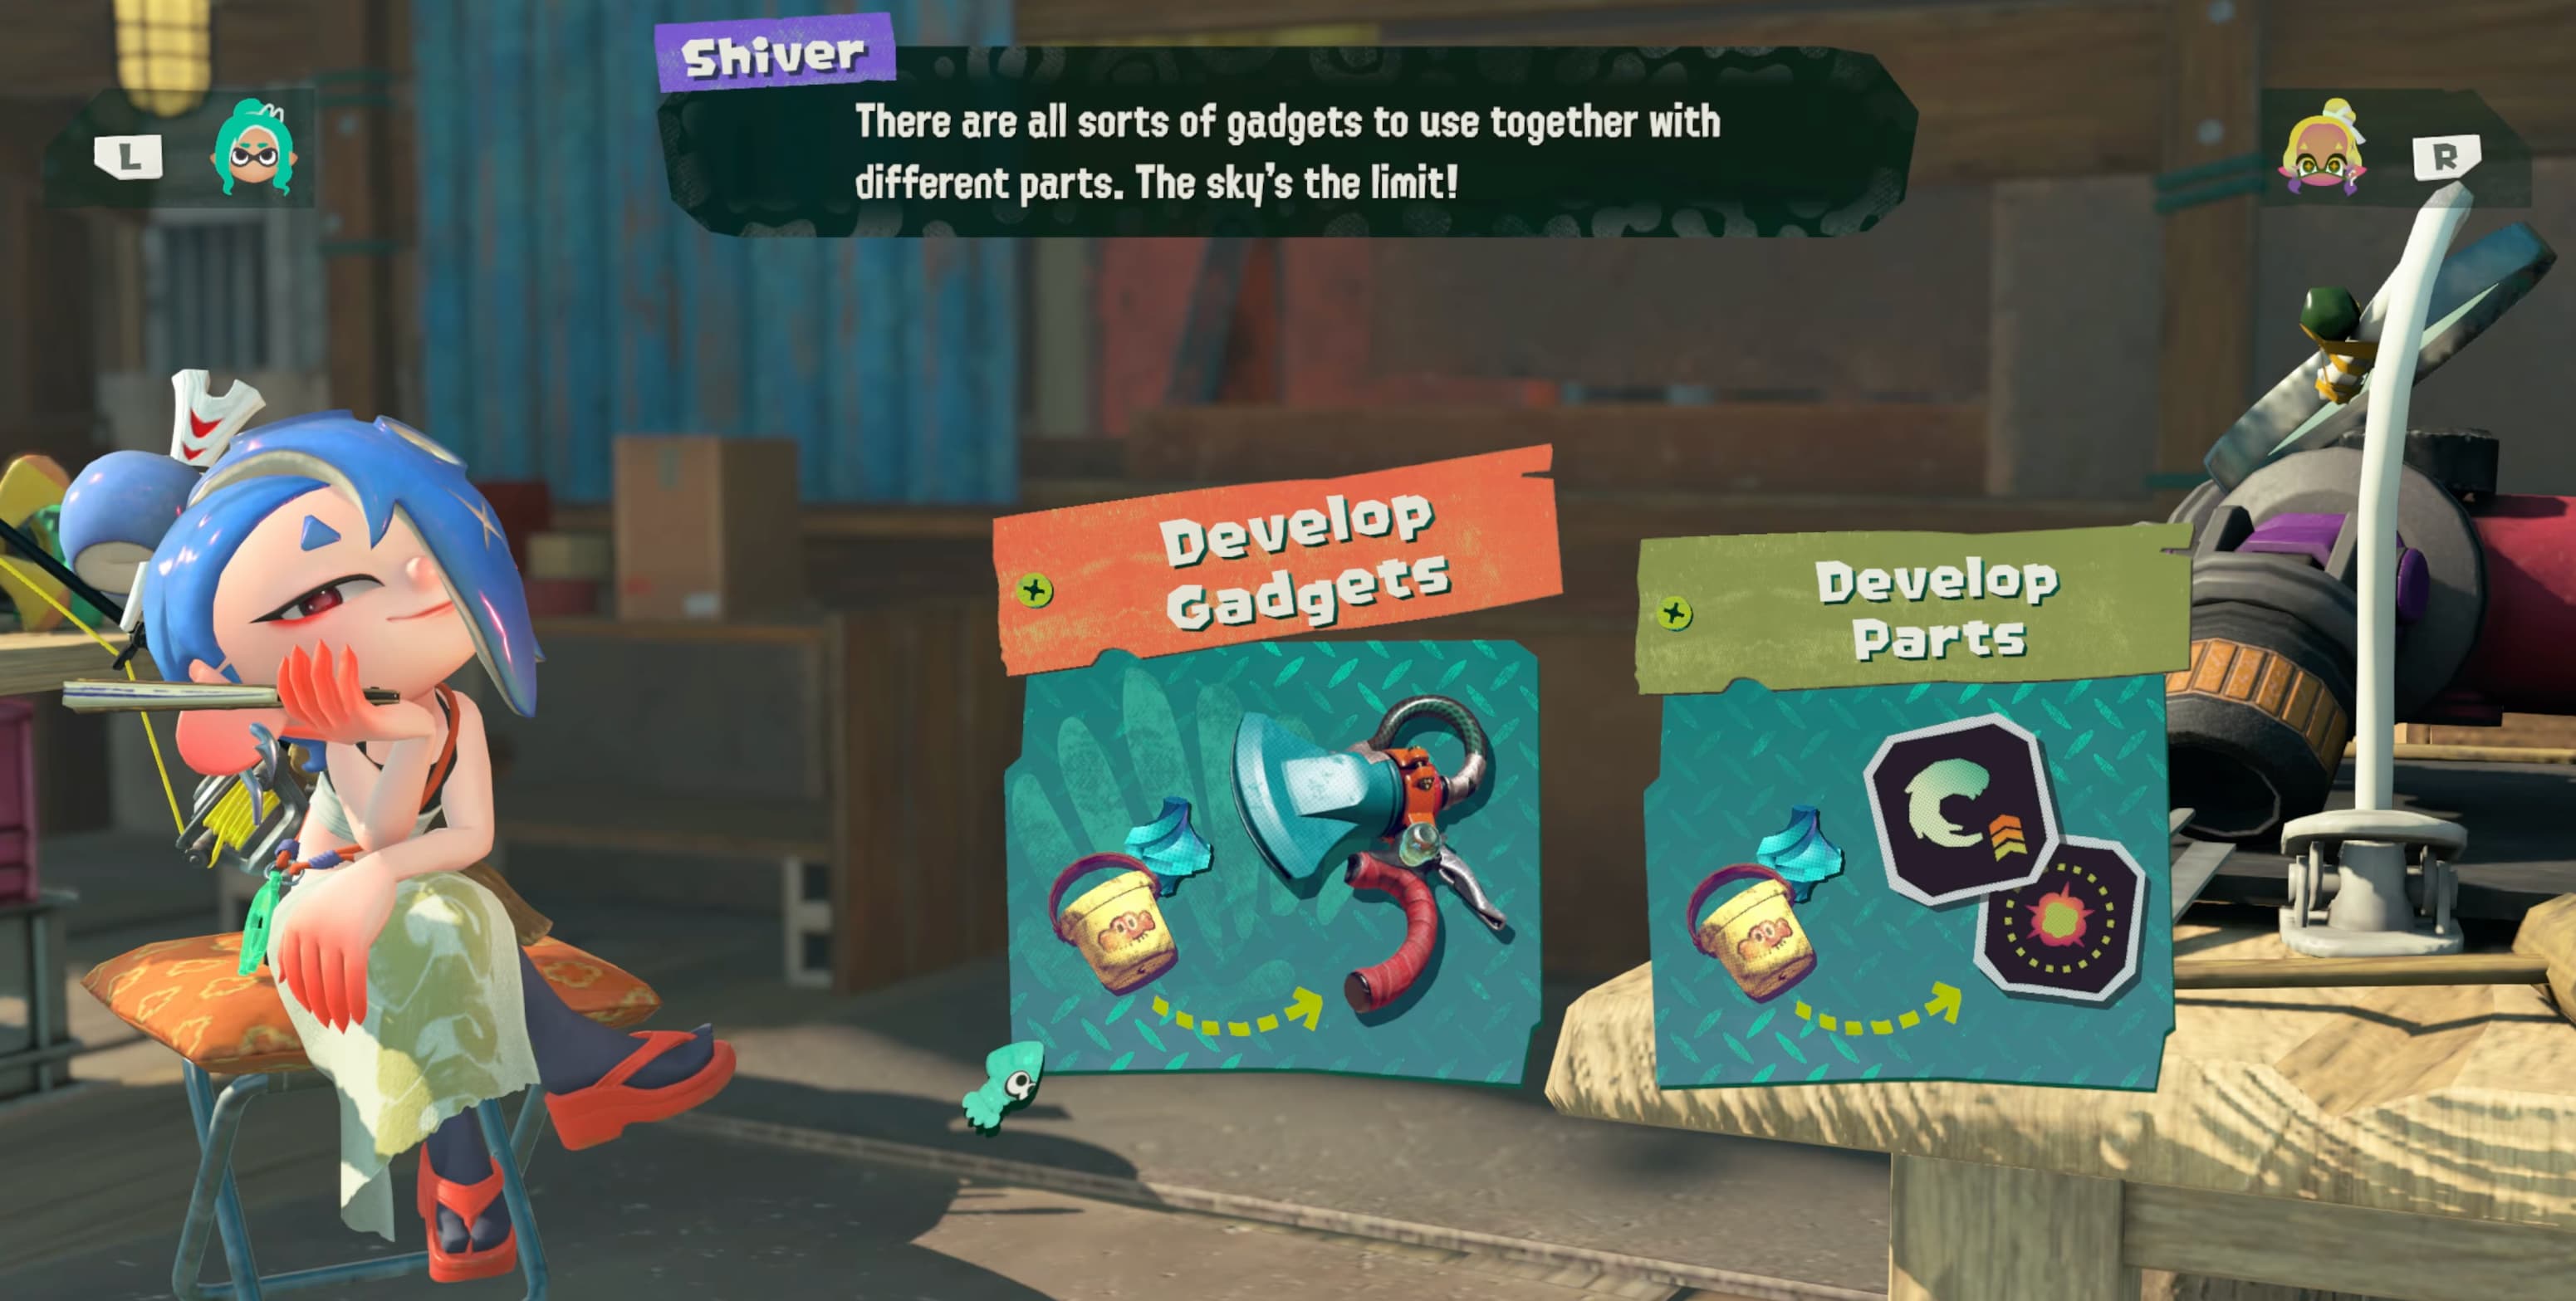
Develop Gadgets
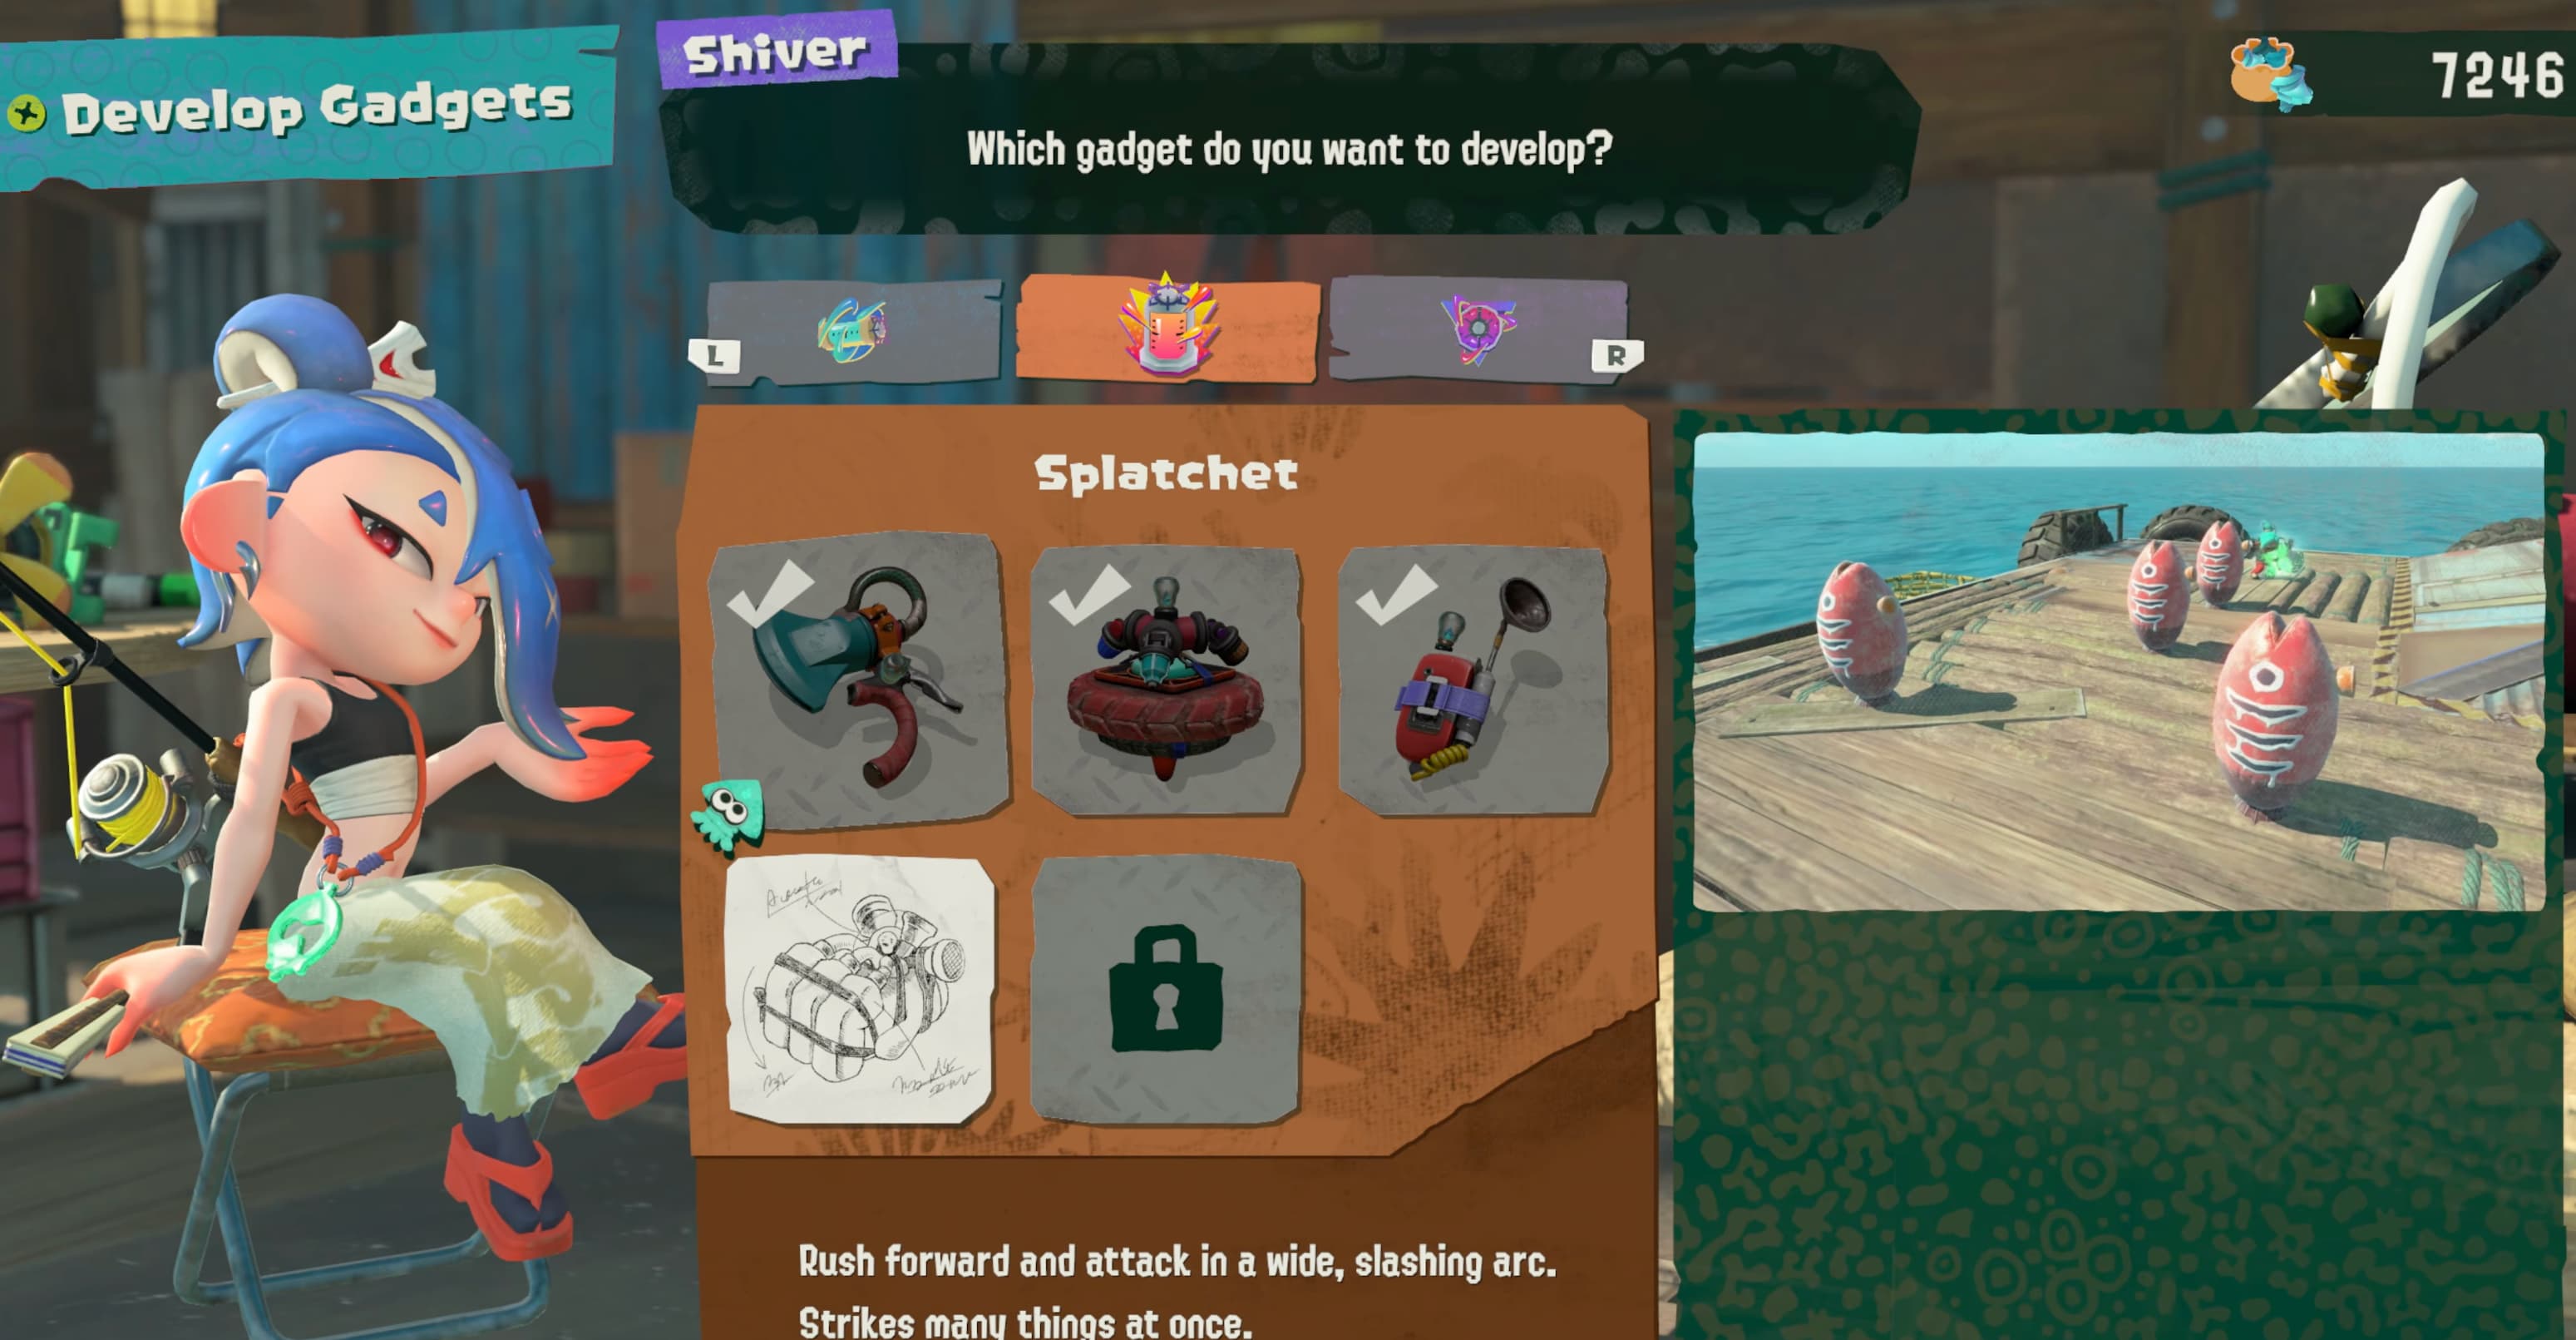
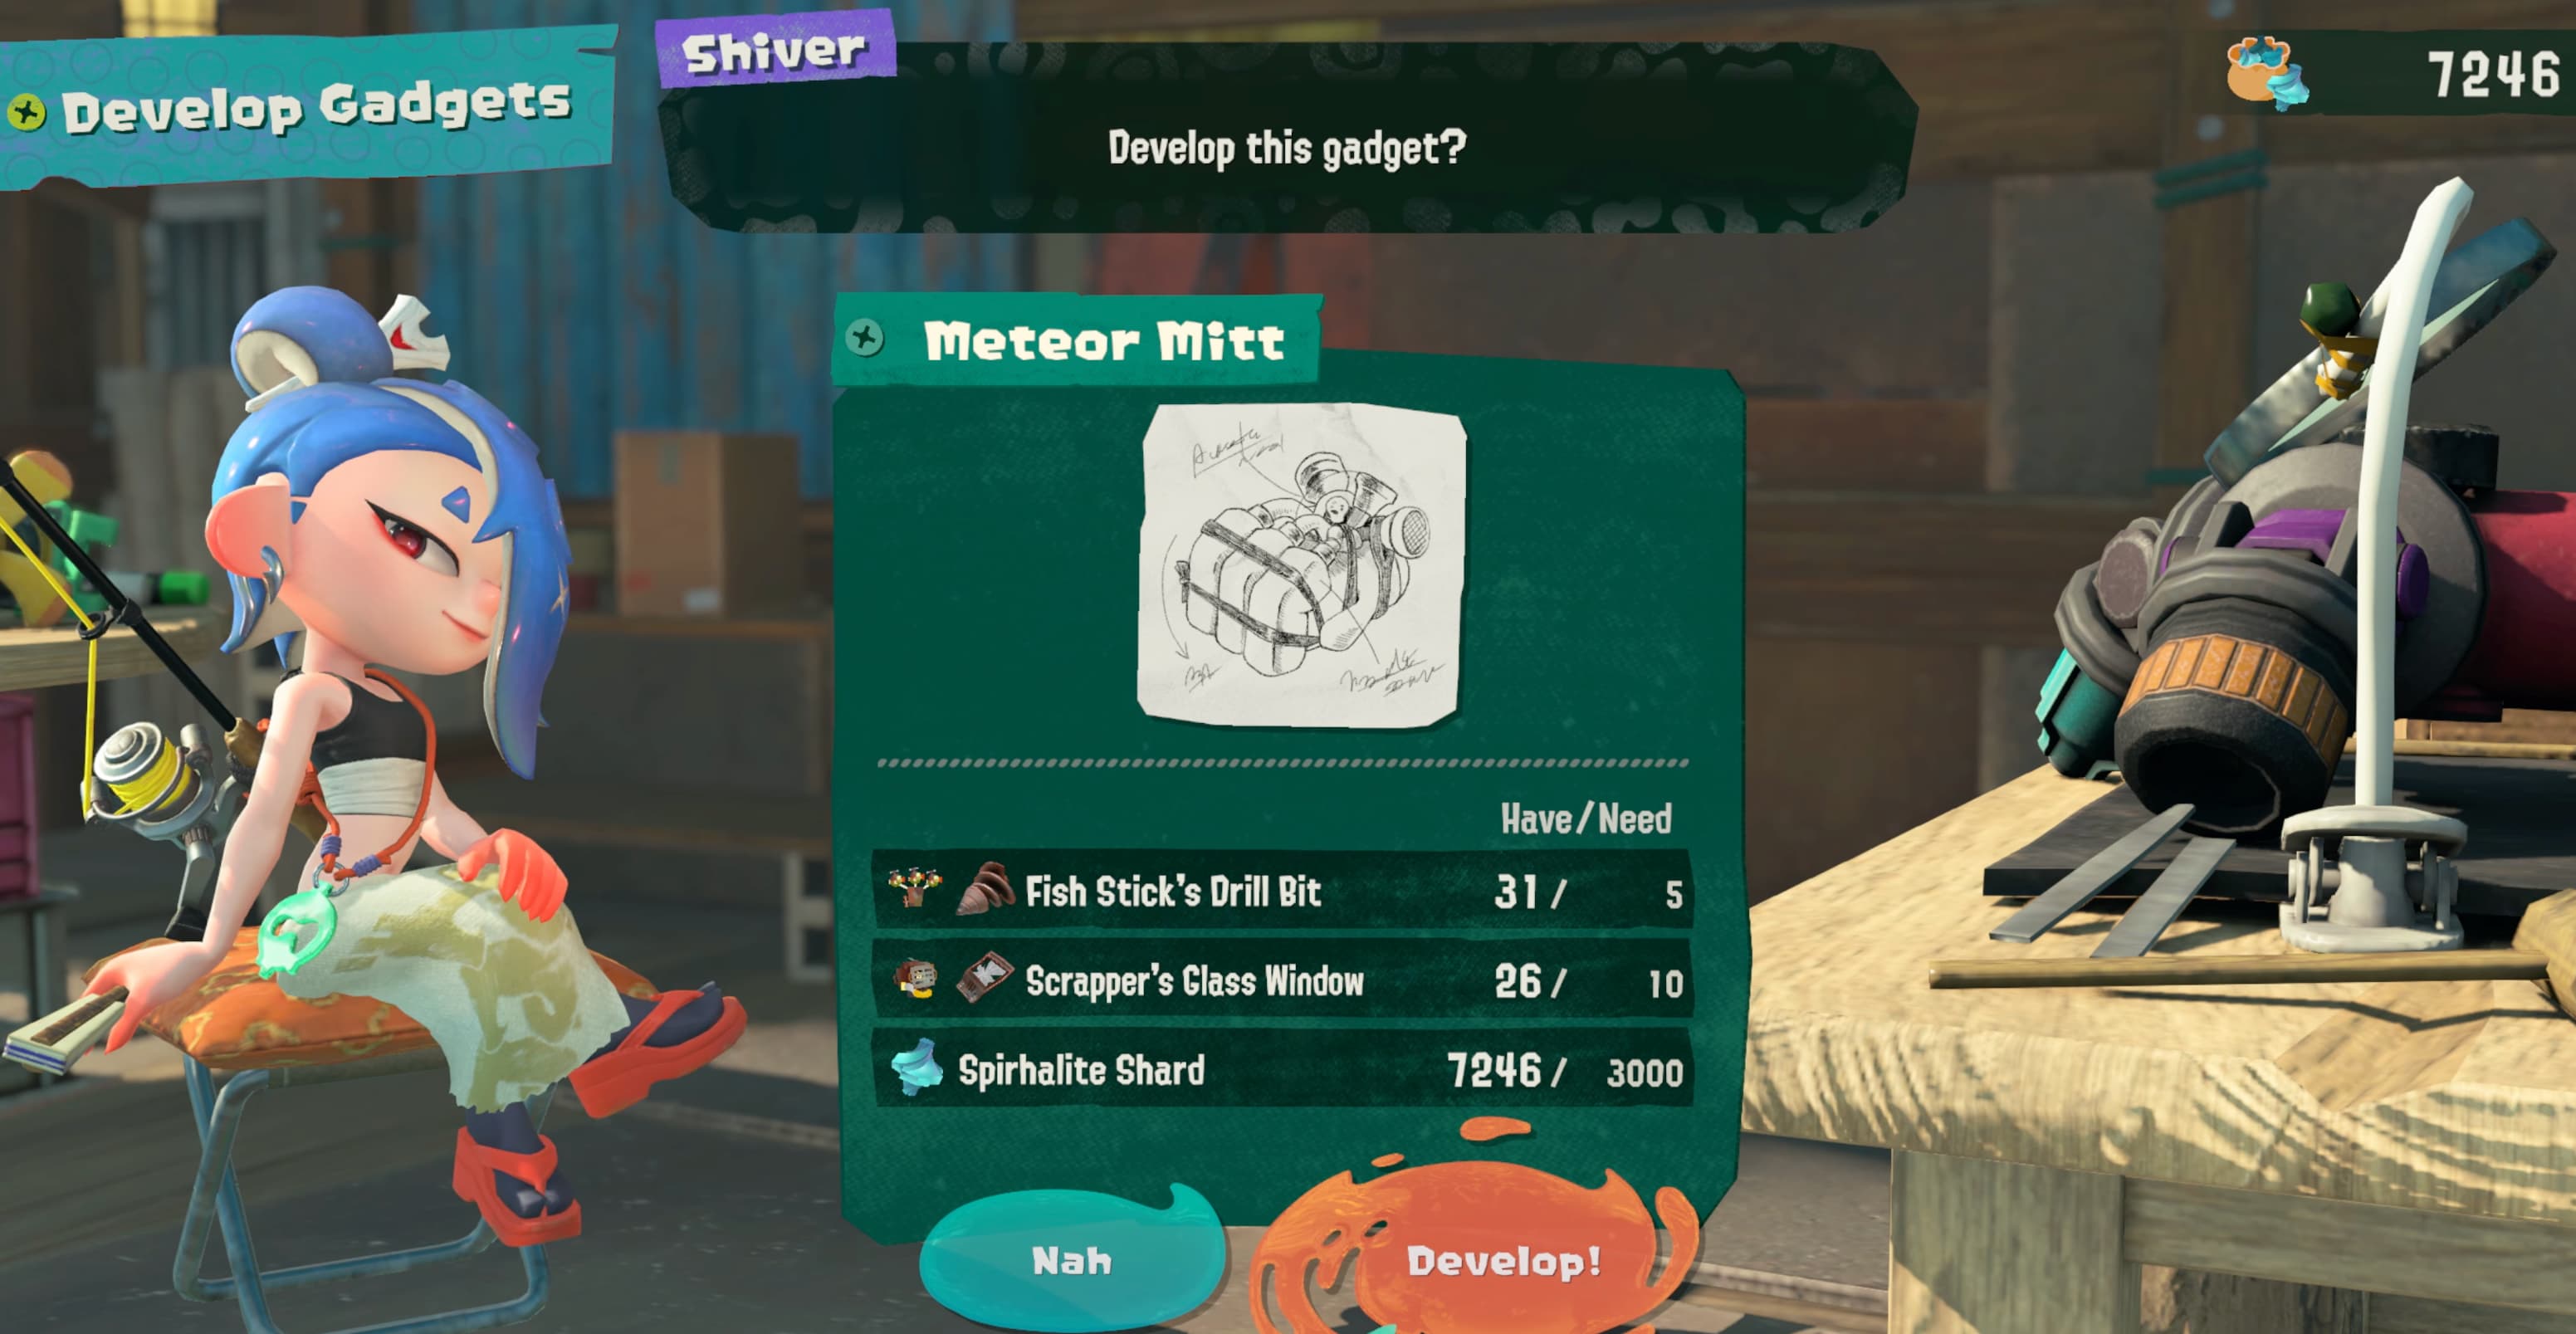
The Develop Gadgets menu is where you can utilize your farmed materials (from raids) to craft brand new Gadgets. Since Gadgets are the backbone to creating and exploring builds, you'll be visiting Shiver a lot, especially when you are first starting out.
In addition to Spirhalite Shards, you're going to have to collect specific Salmonid parts in order to craft each one. If you have a particular Gadget in sight, keep those parts in mind before you select a dungeon.
Develop Parts
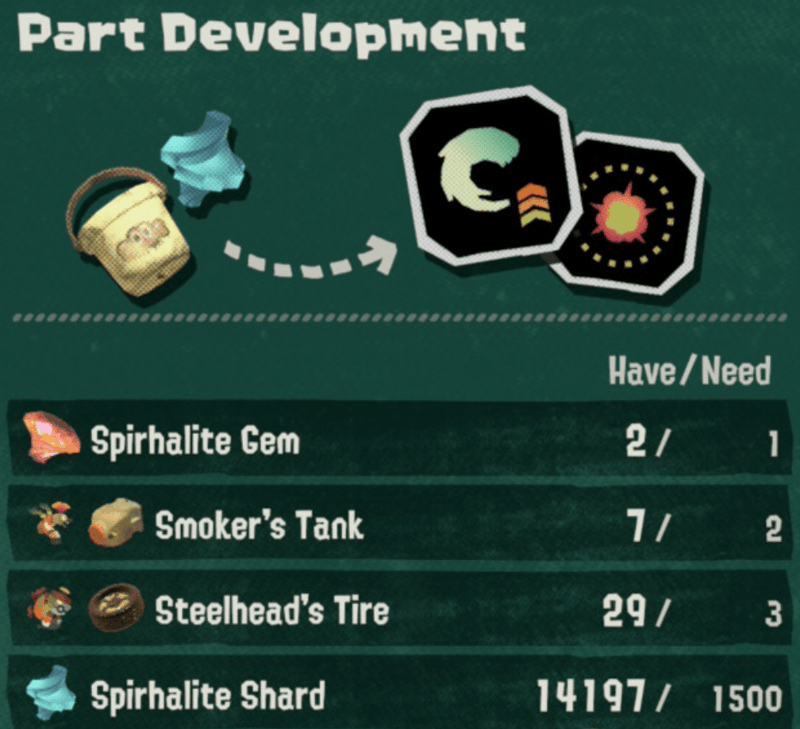
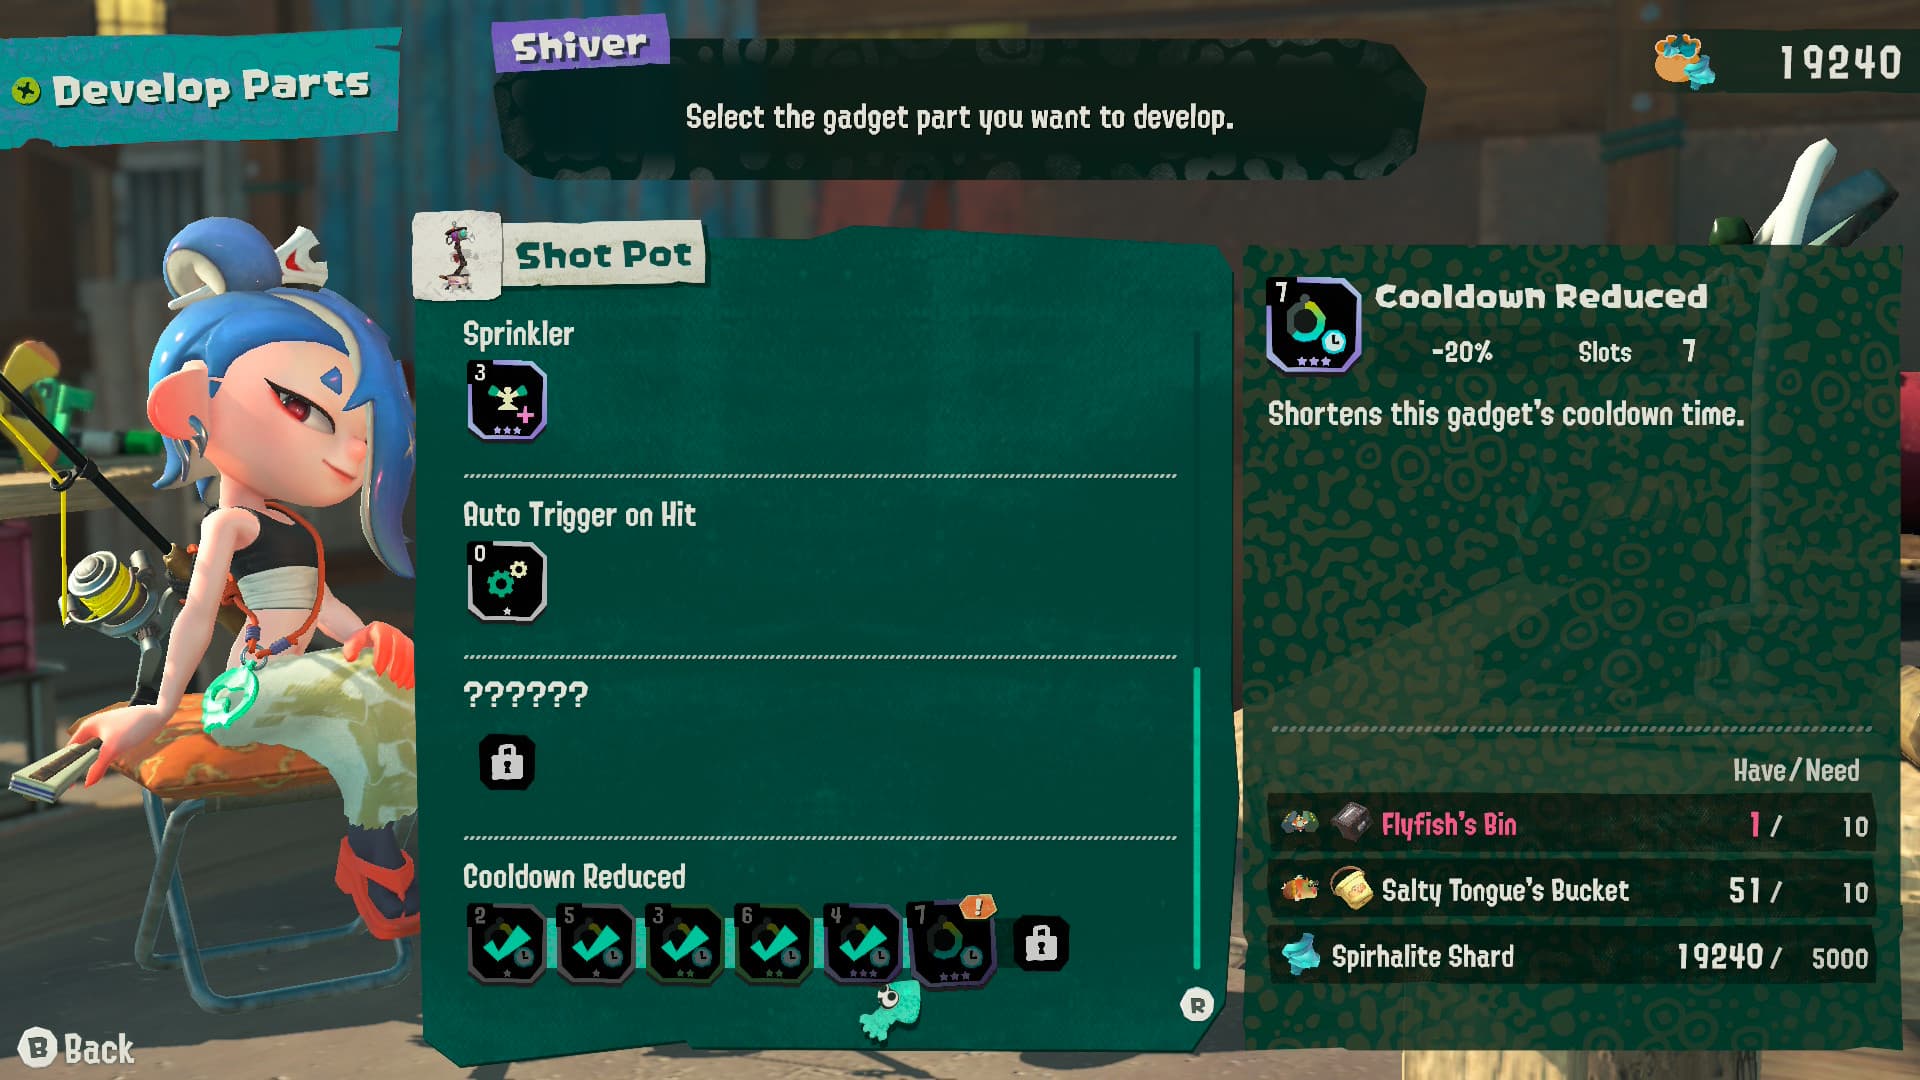
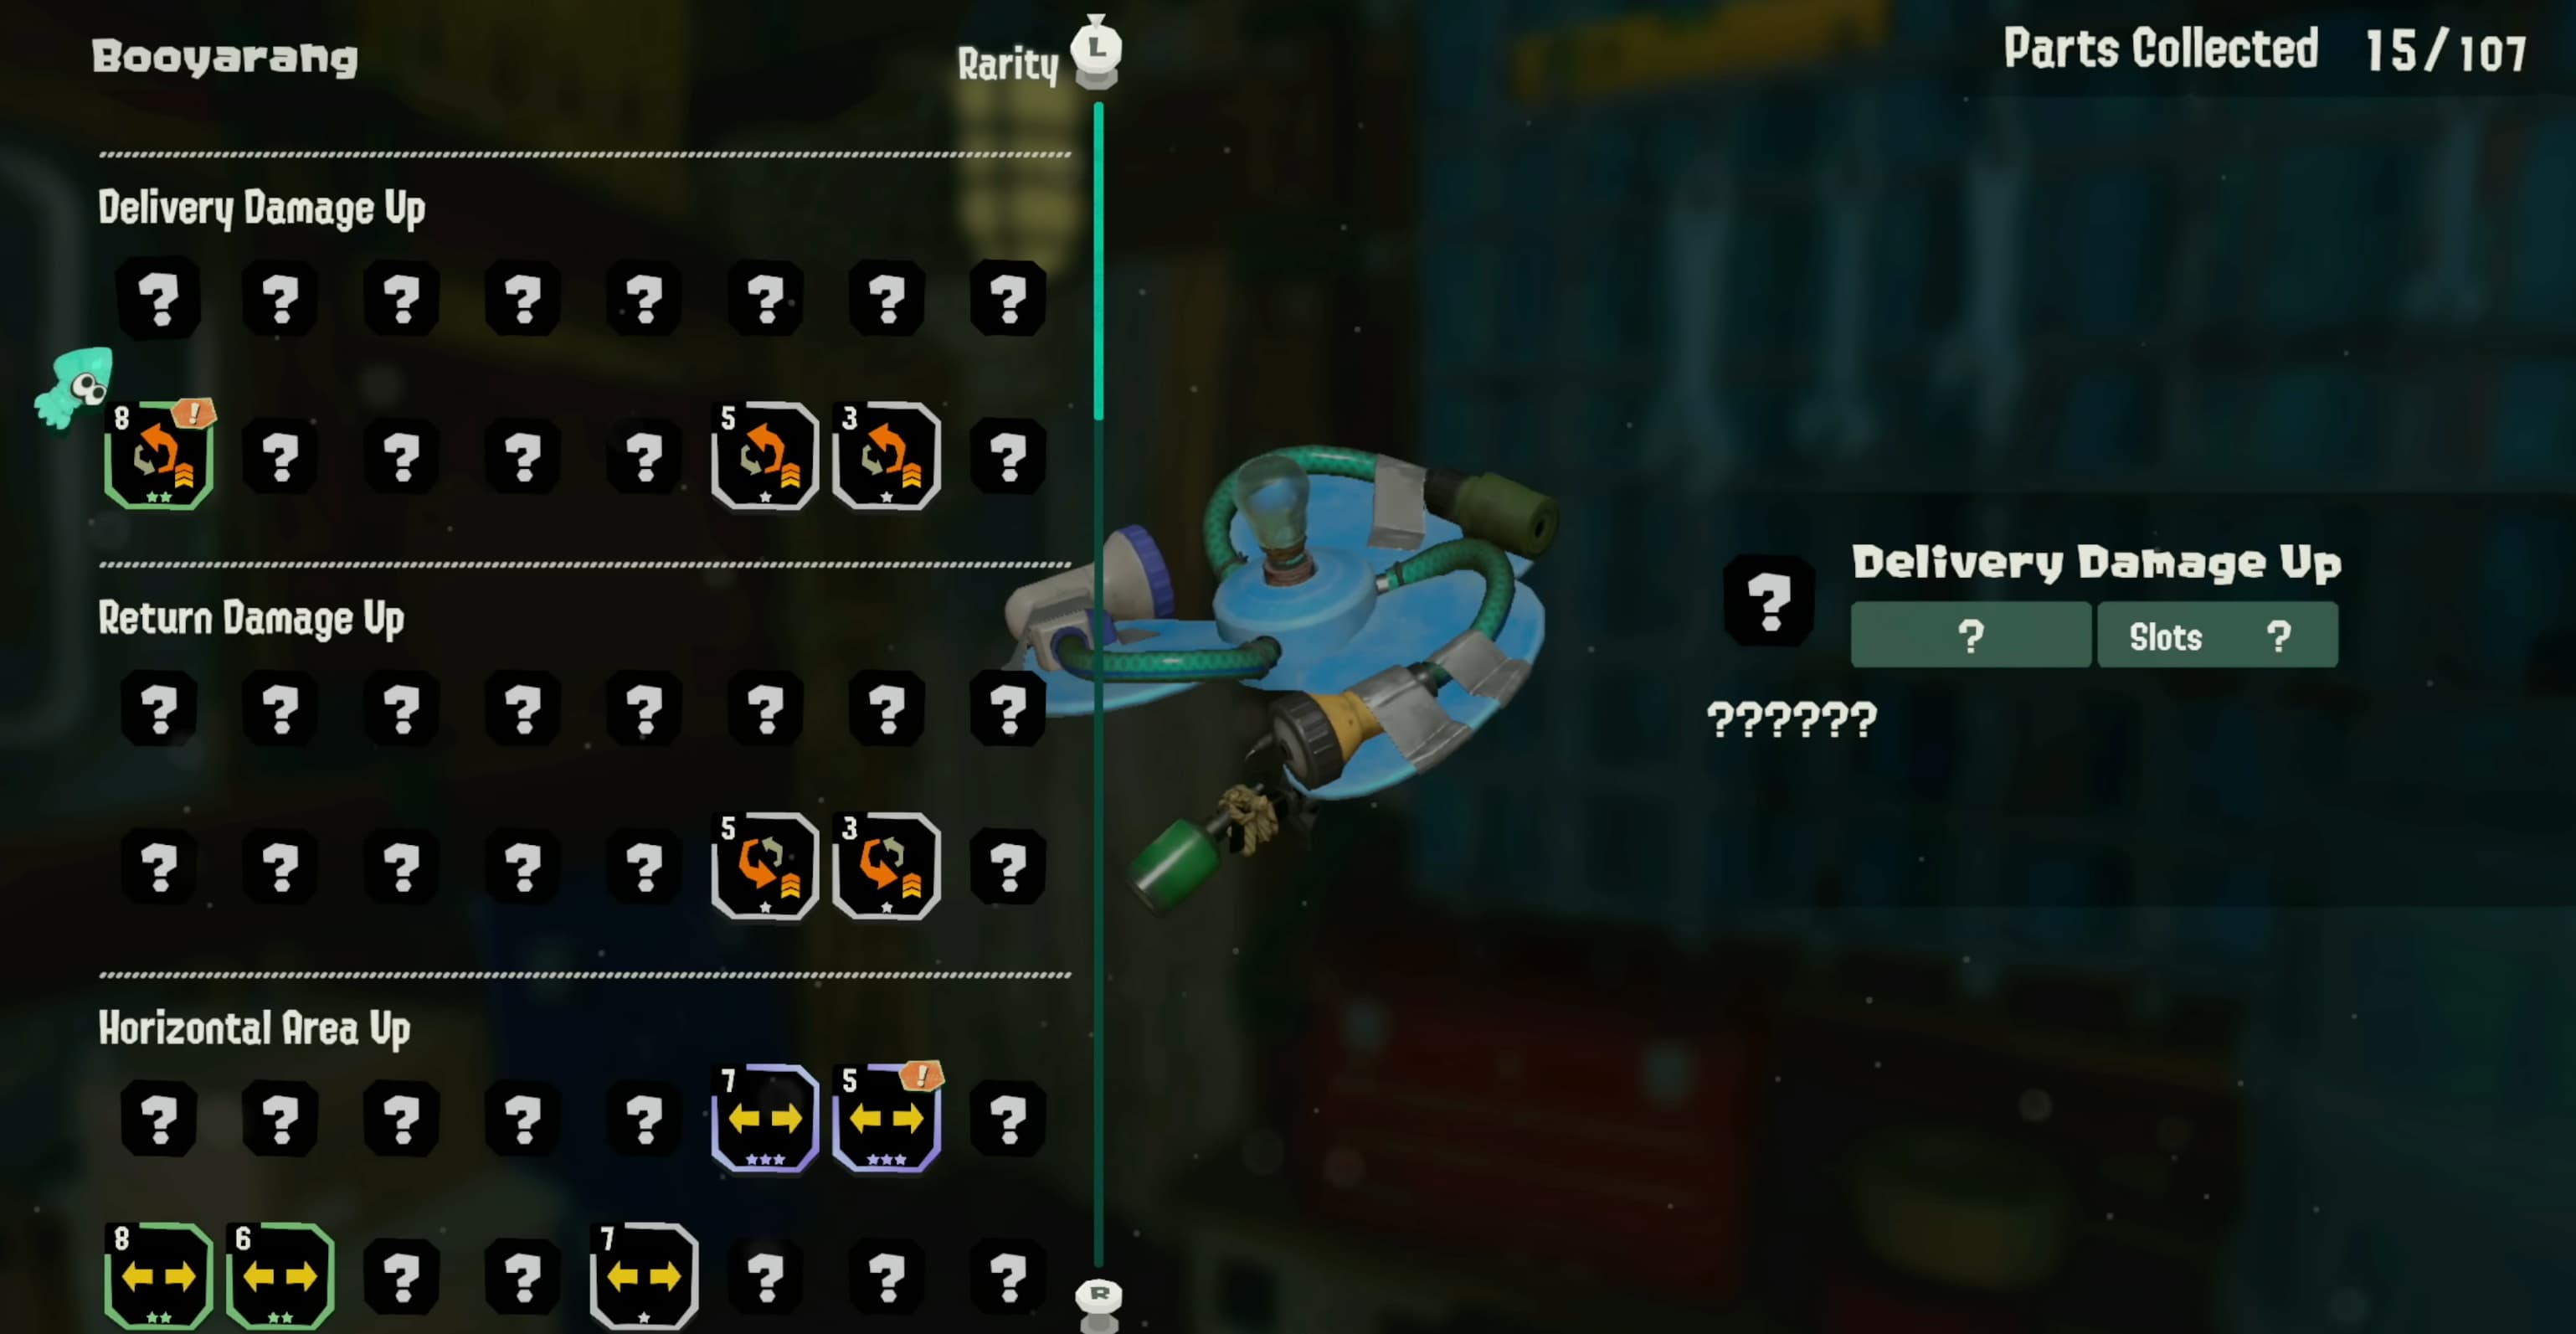
Develop Parts expands the pool of customizable options for your Gadgets, providing even more additions outside of drops. Each part has its own material costs, with scaling quantities at higher tiers.
In the beginning you can only craft the base version of each part, but once you do, you're free to craft the next one and so on.
A few of the parts will appear unknown with a lock symbol, but they will become available after reaching Hideout Ship Level 3.
Upgrade Parts
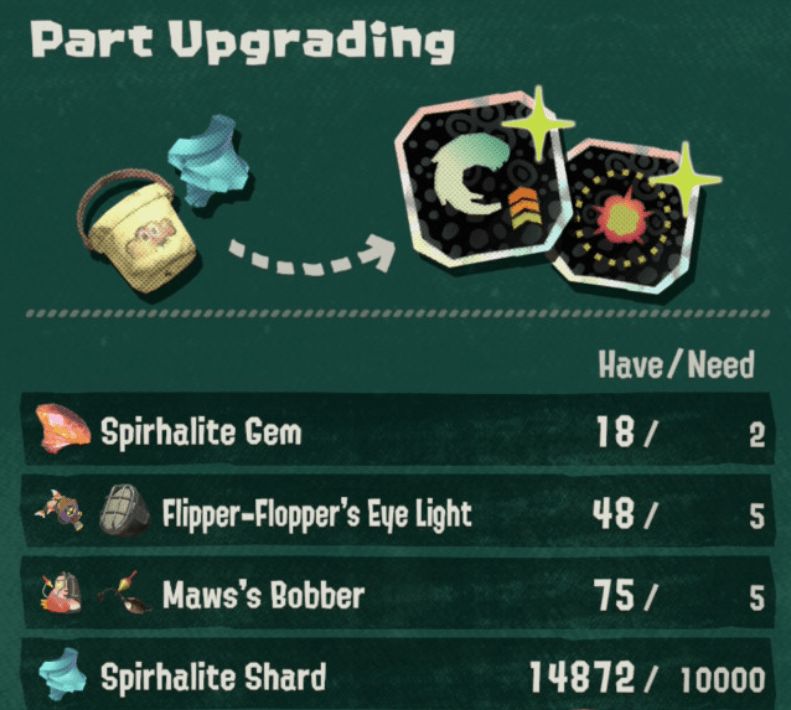
After completing the main story, you'll have the ability to upgrade Gadget Parts to further enhance their abilities. Oftentimes it provides a damage buff, but it may also lower the Slot cost, allowing you to mix and match even greater combinations than before.
Every individual version of the same part effect (rarity, cost, etc.) can be upgraded, with varying costs depending on their tier. The materials include both Salmonid parts and Spirhalite Shards, but it gets very expensive once you start getting into it.
Overall, it's another deep form of customization to seek out during your endless min-max grind!
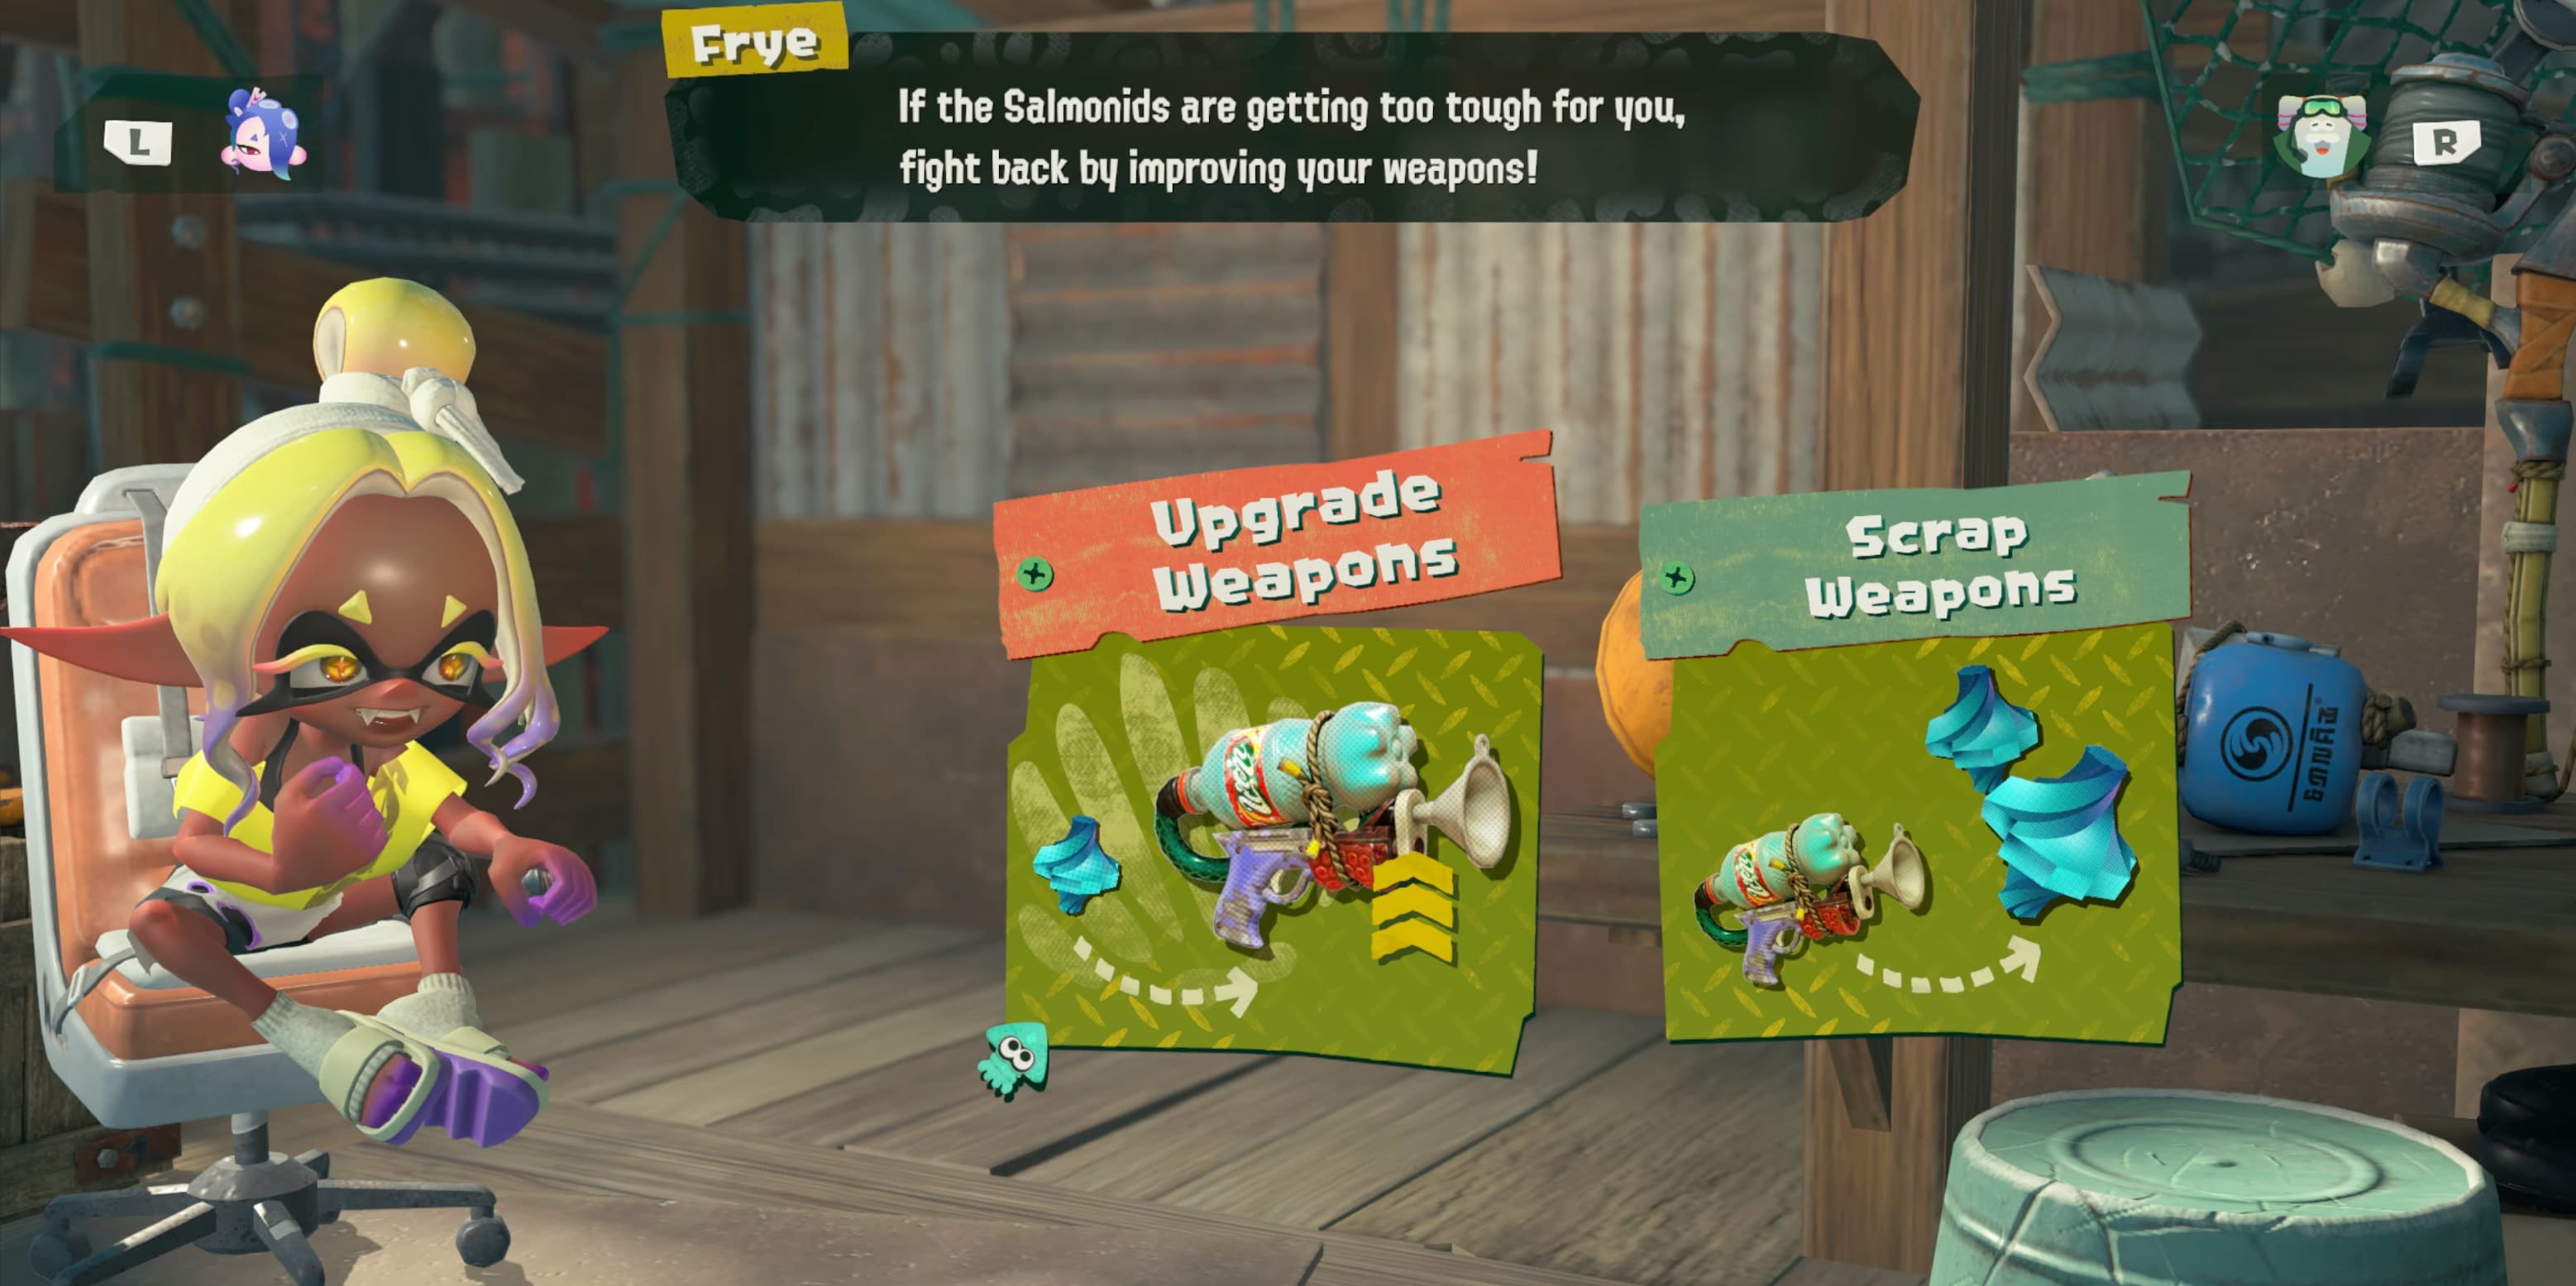
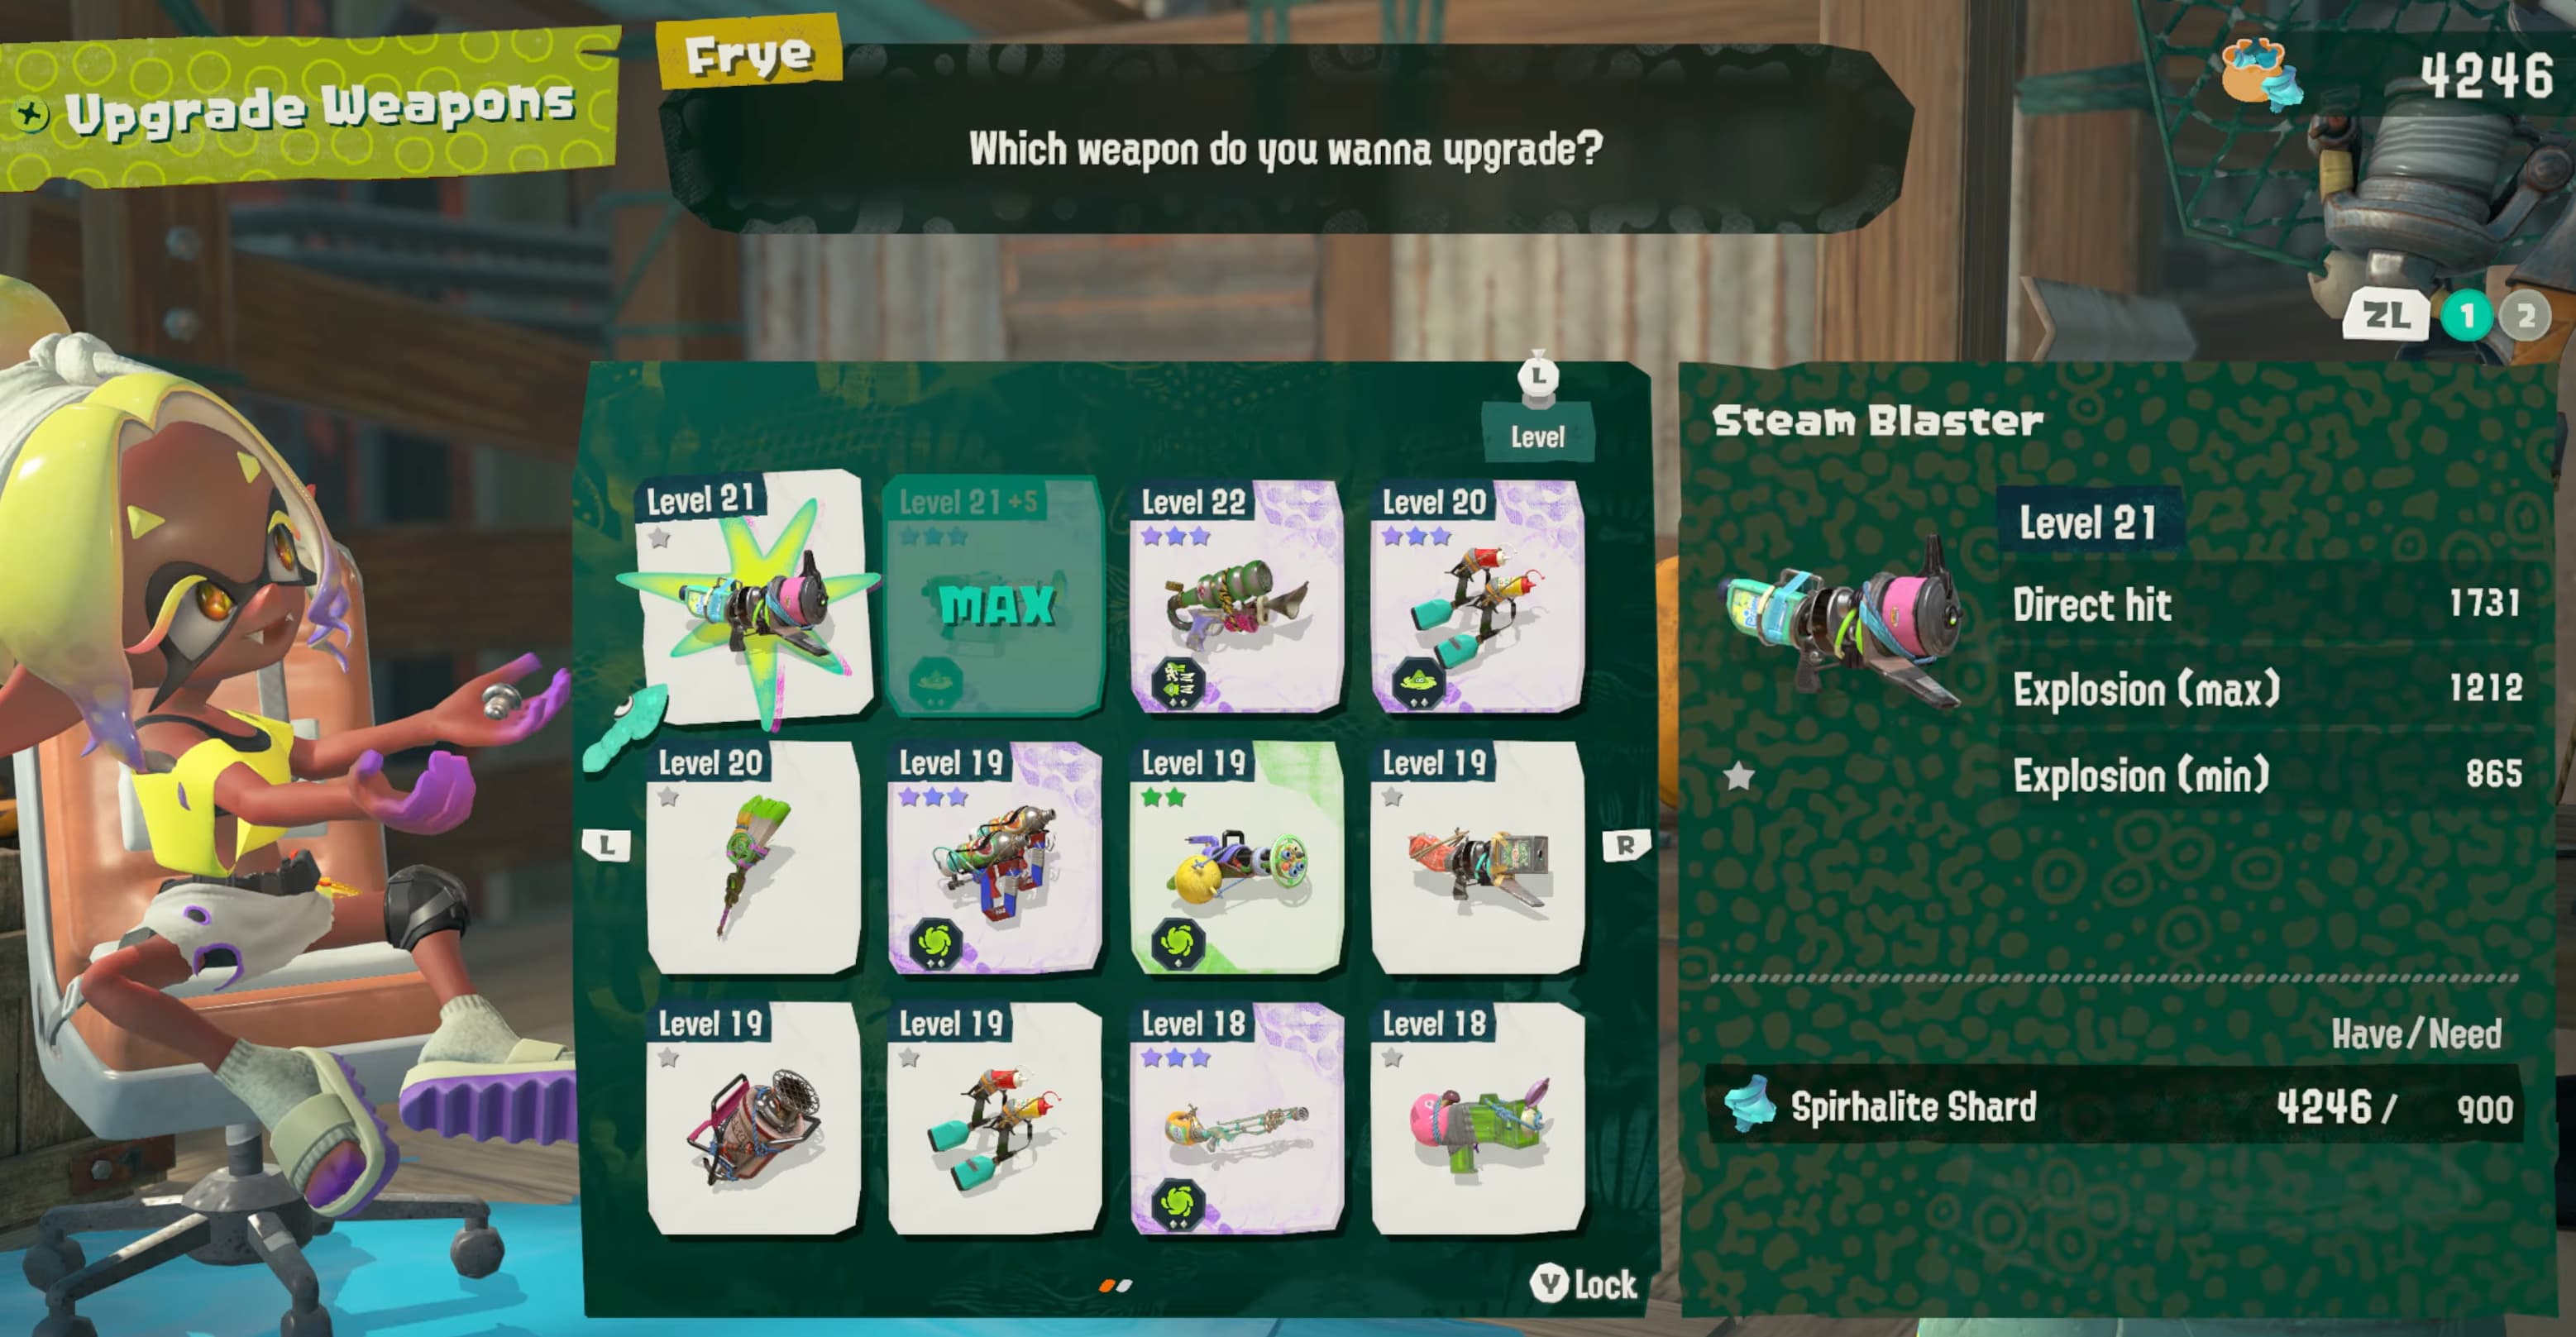
Upgrade Weapons
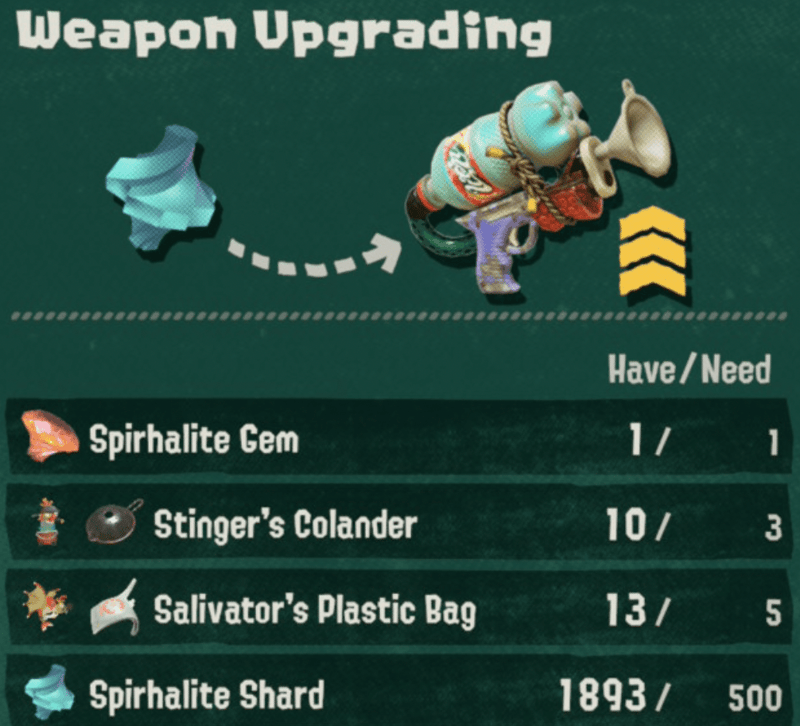
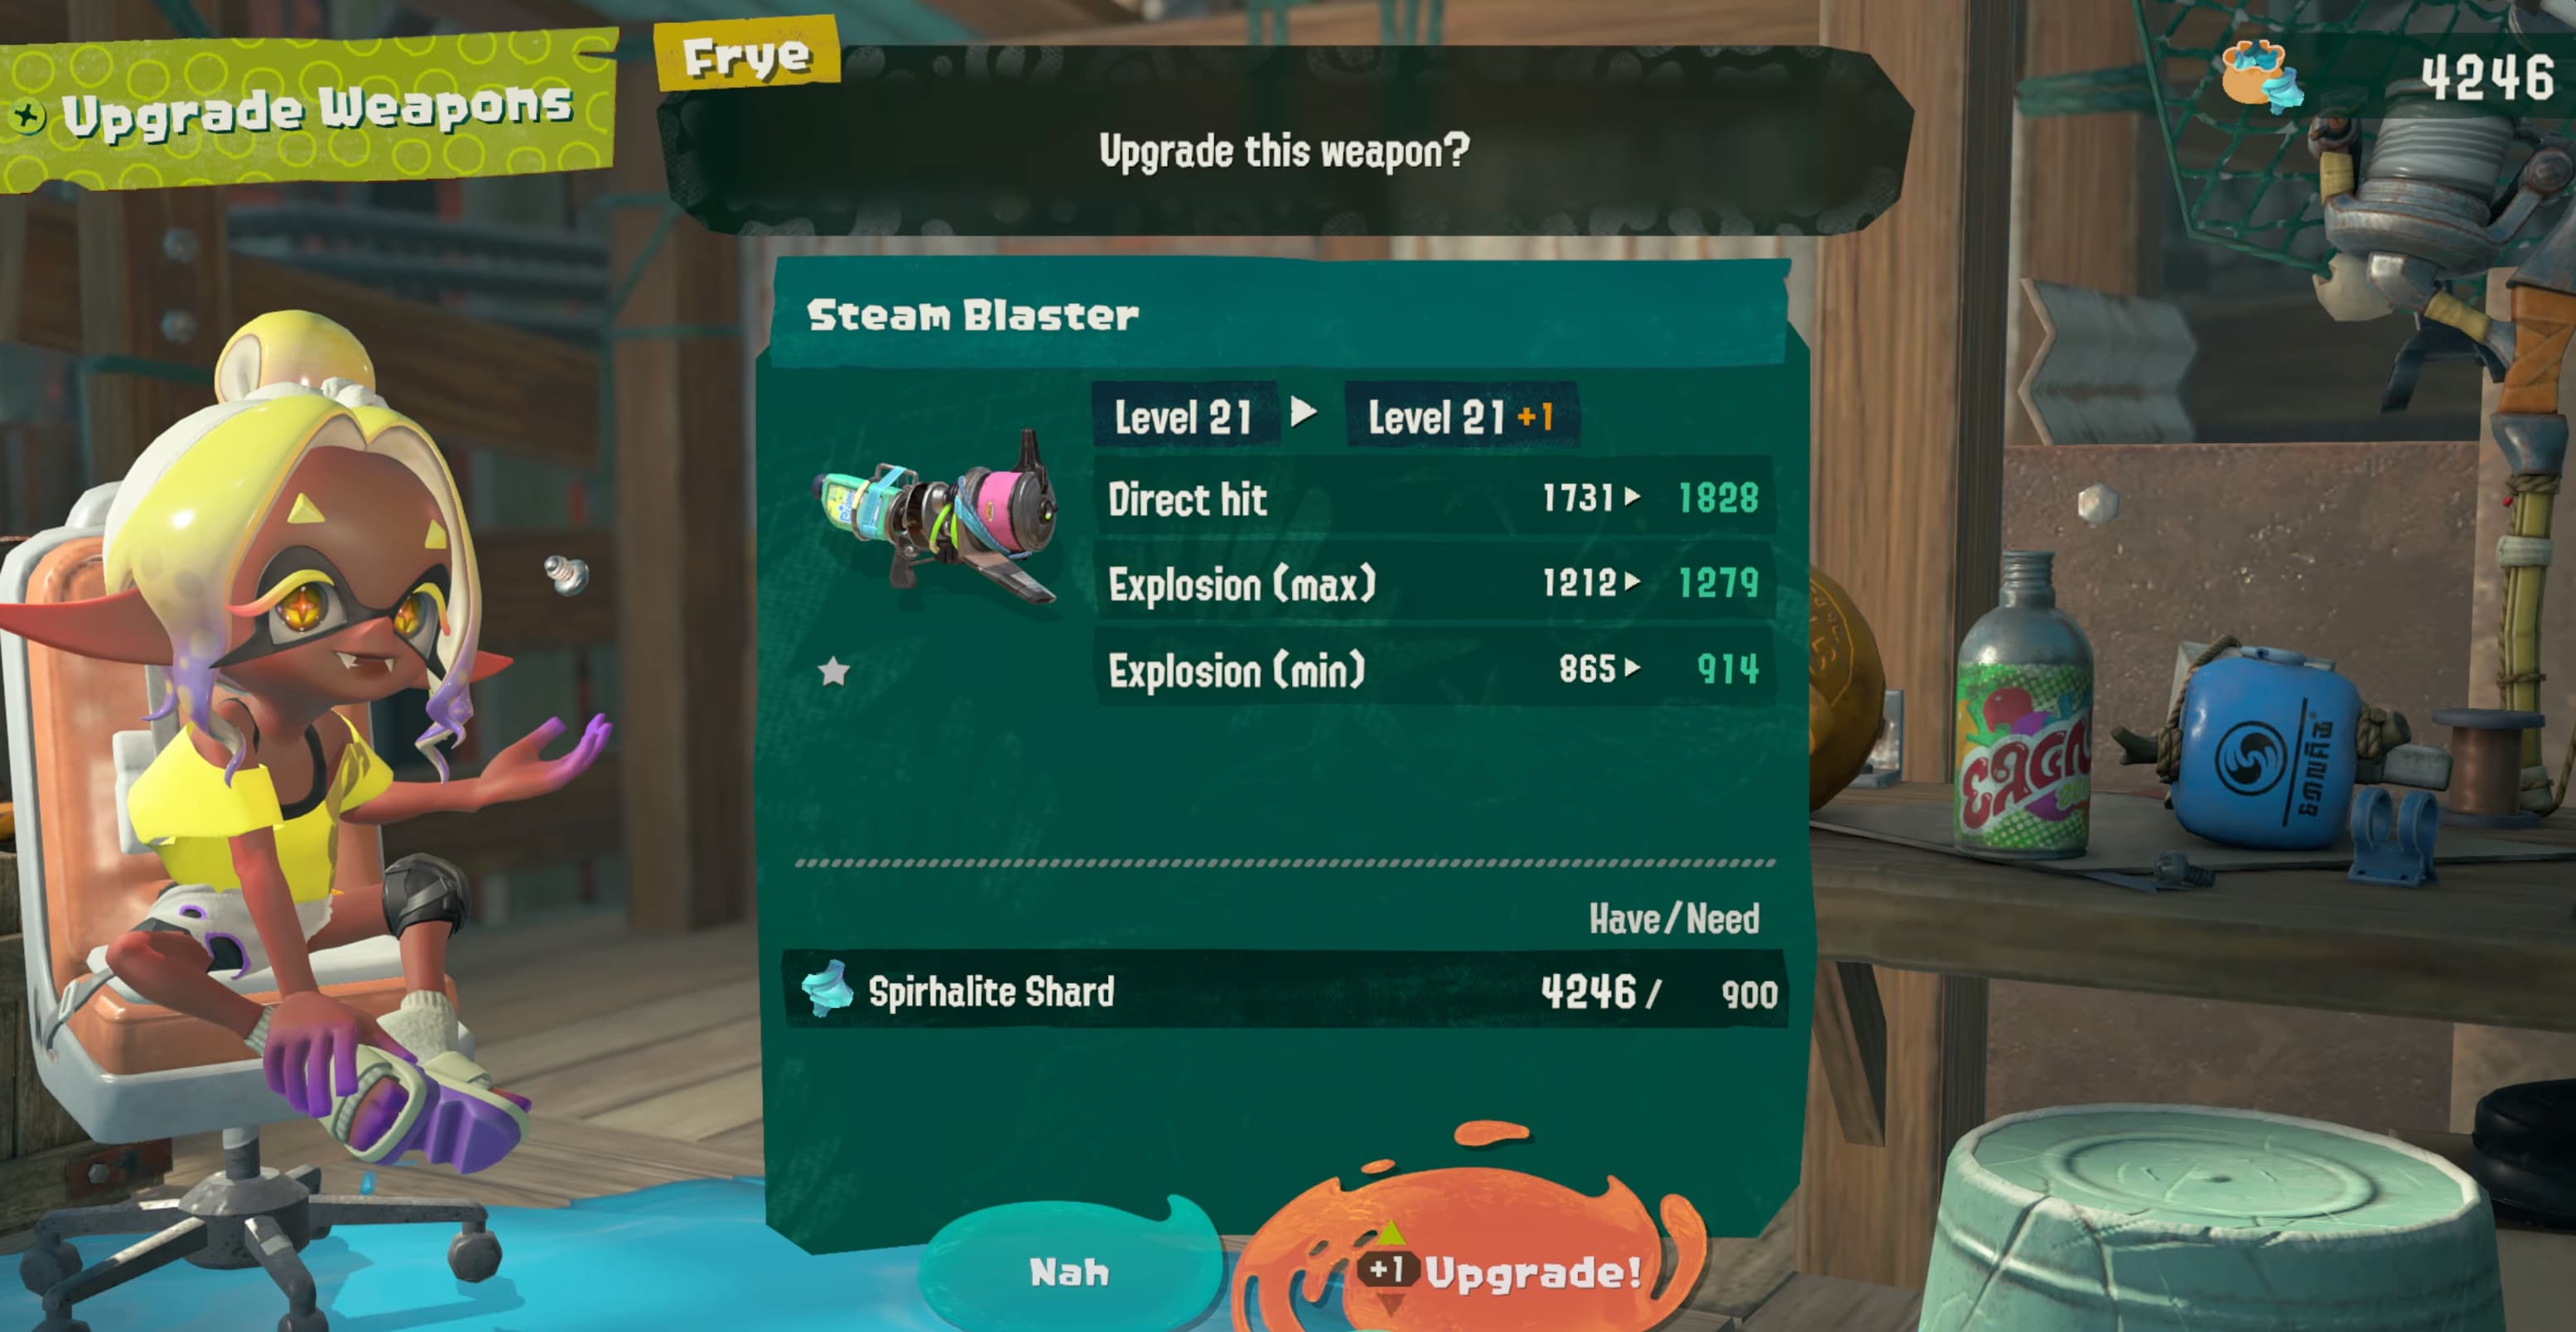
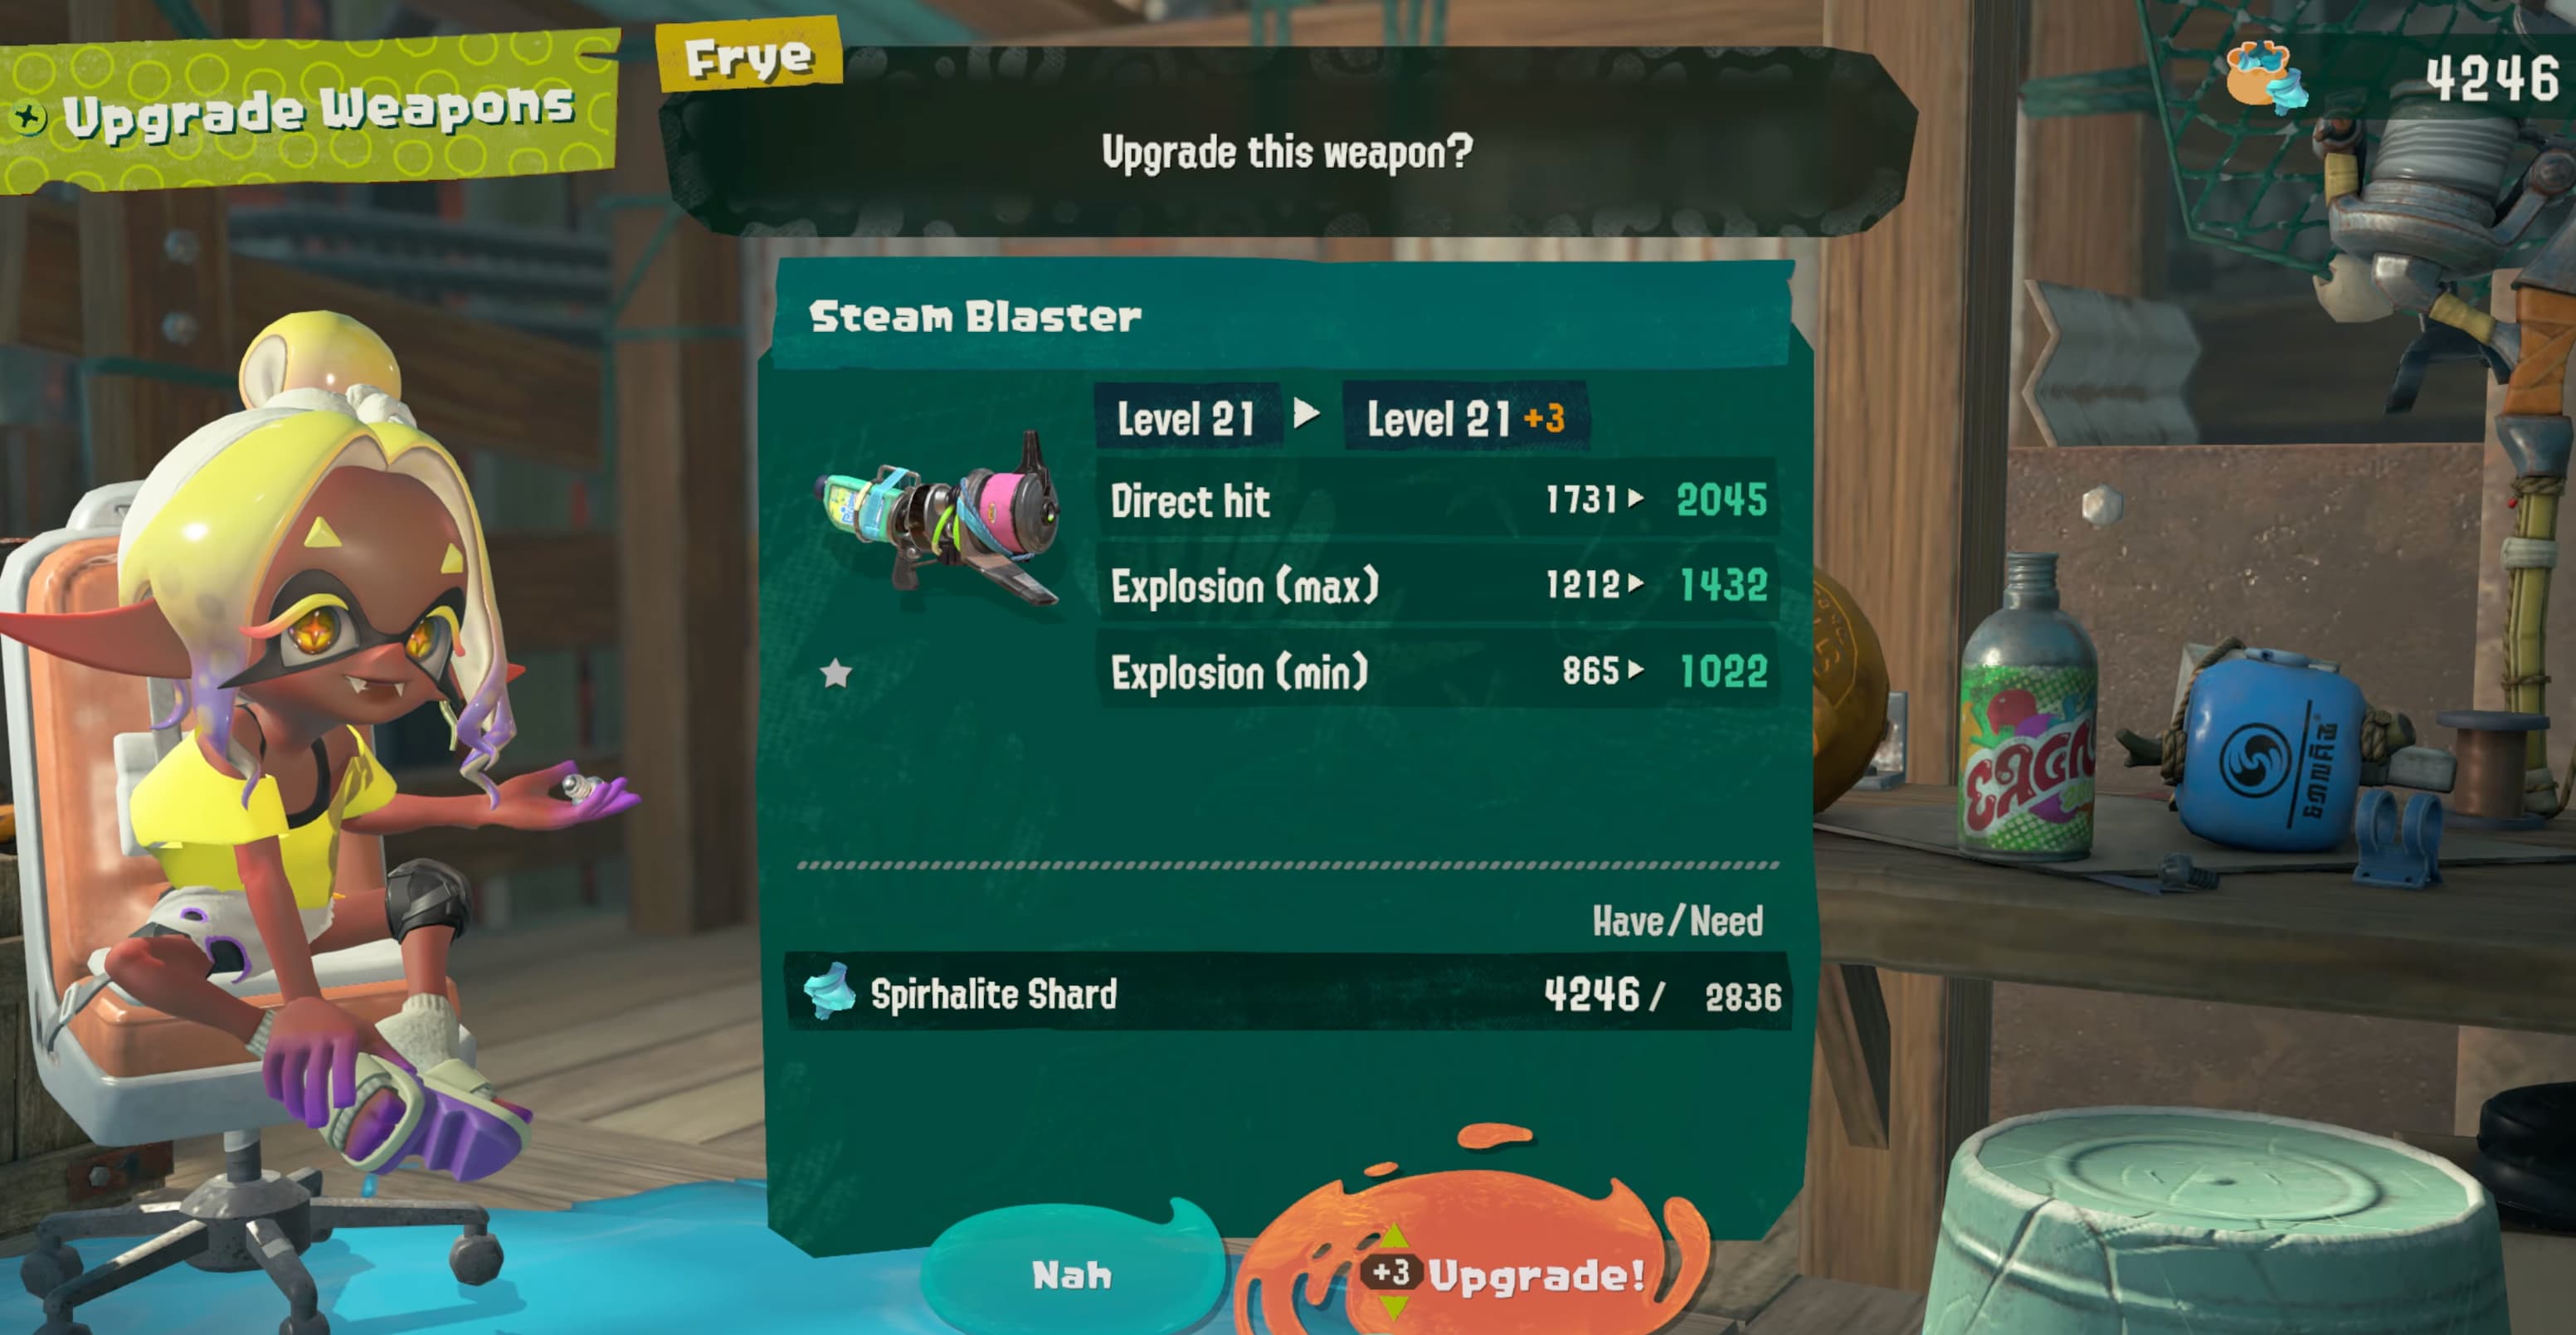
Weapons can be upgraded by using Spirhalite Shards to level them up. This provides a boost to its damage (in various ways), but the Shard cost will increase with each upgrade.
You're free to level up a Weapon multiple times at once, provided you can afford the cost. This can be quite useful, as you can toggle up and view the higher level stats before committing the upgrade.
Scrap Weapons
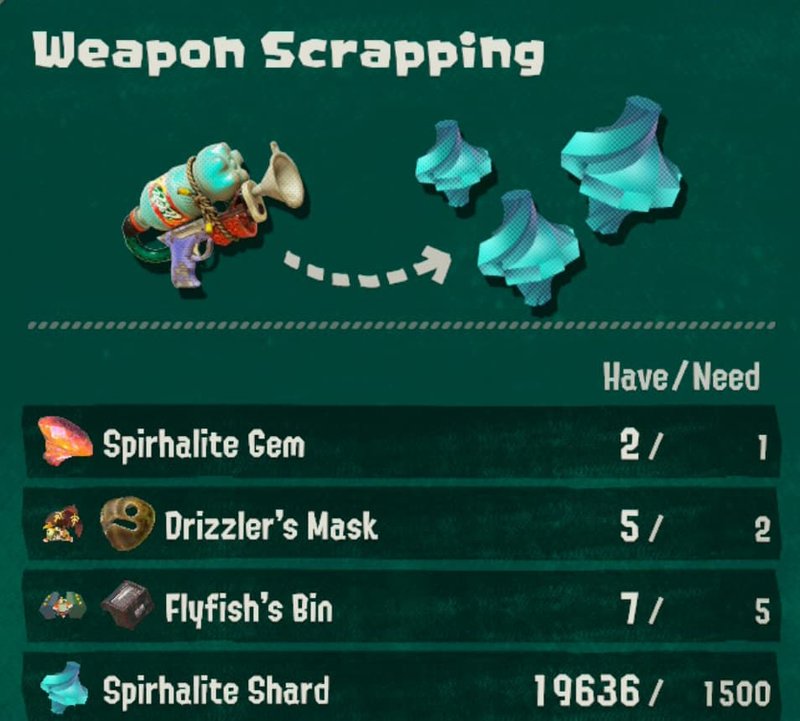
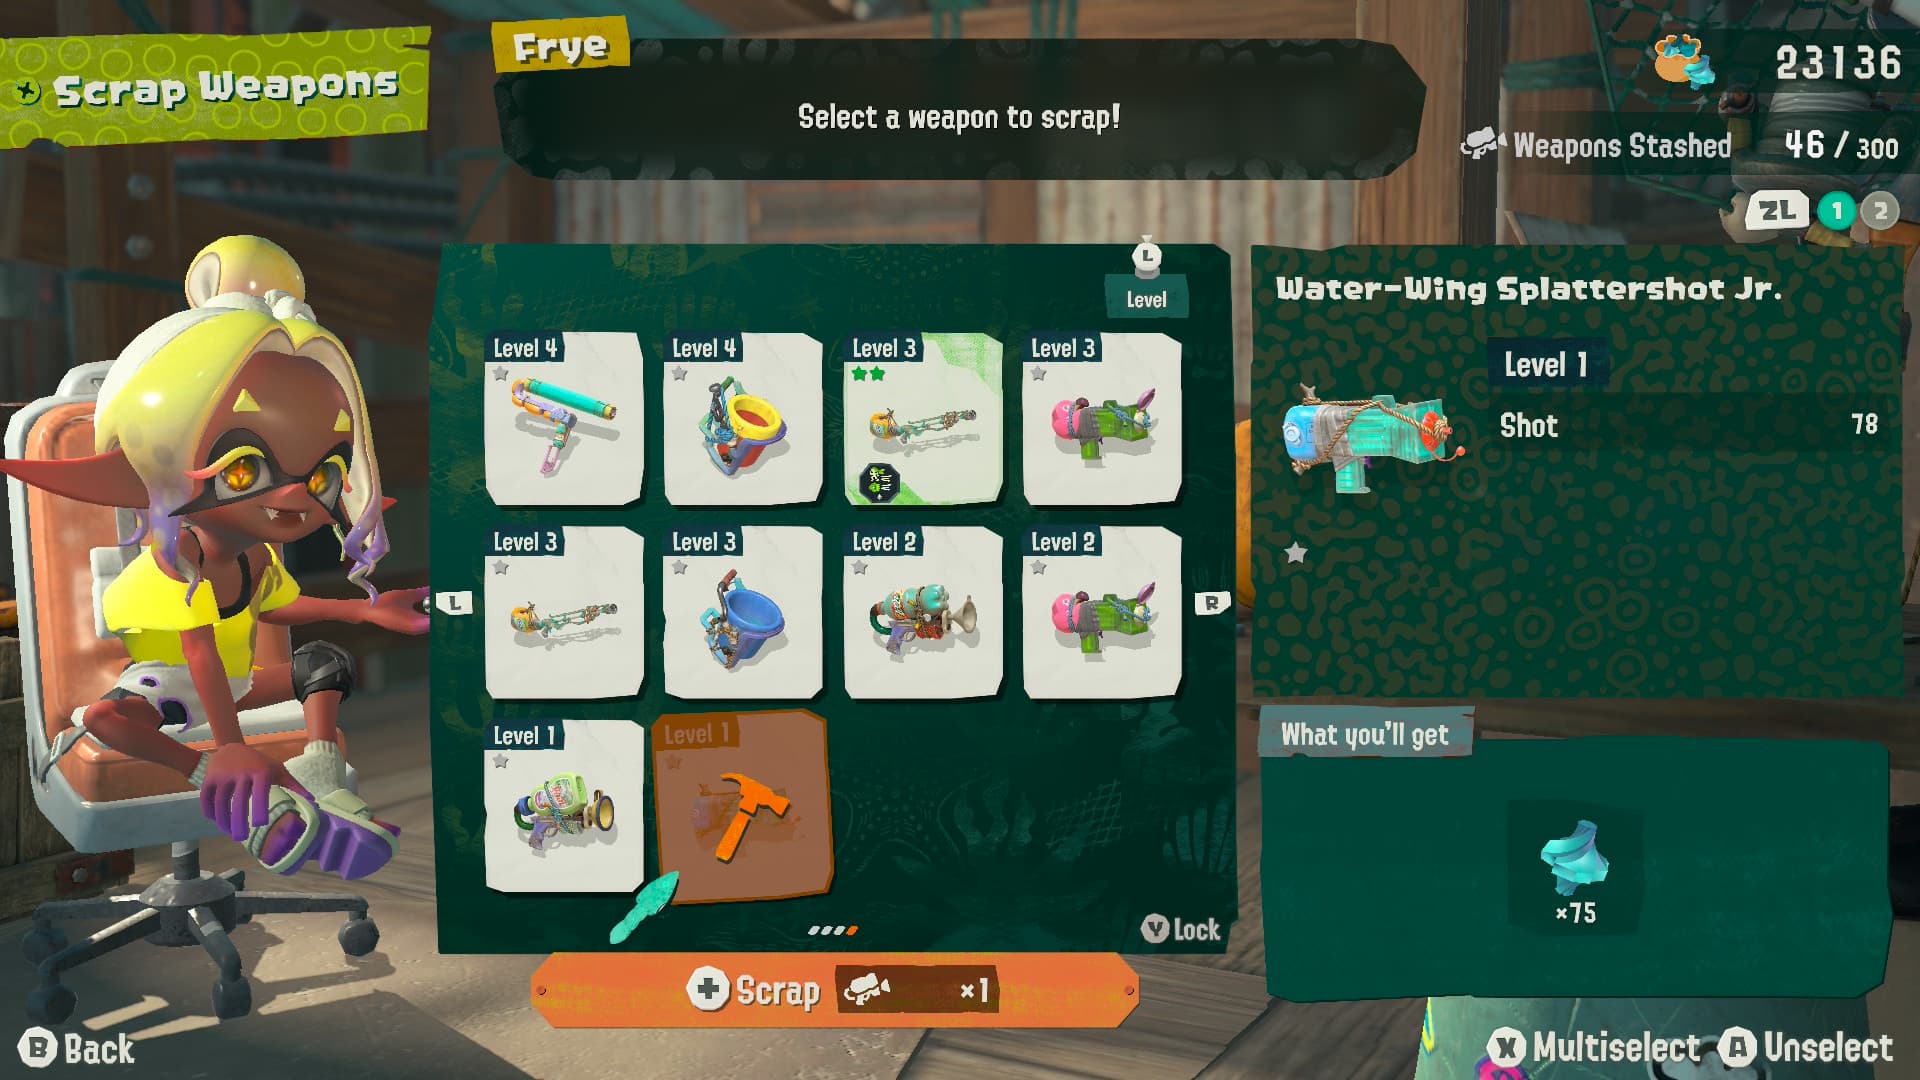
Scrap Weapons allows you to convert your excess Weapons into Spirhalite Shards. It's a handy feature that helps clear out your inventory while providing extra much needed resources.
Swap Weapon Powers
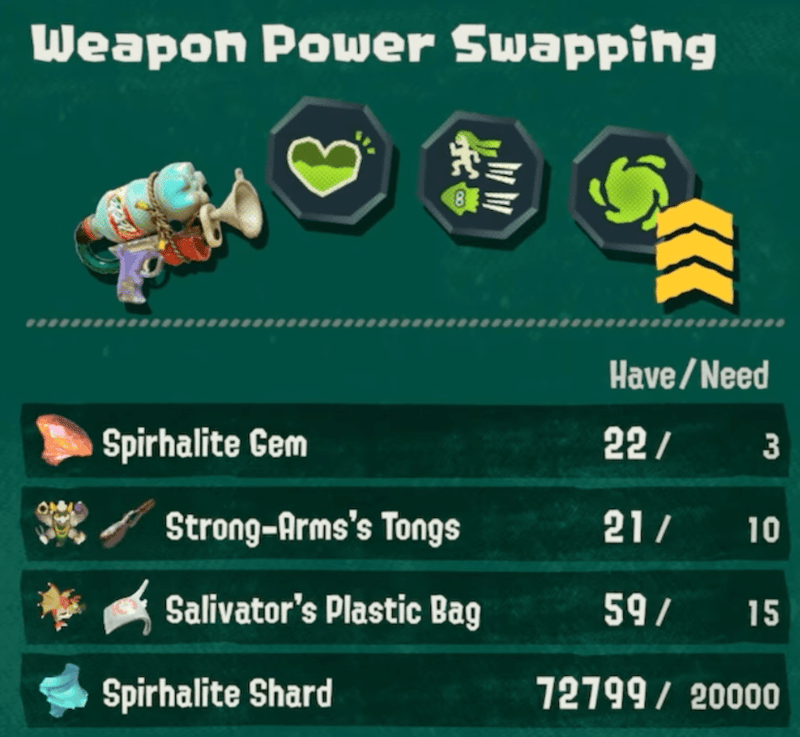
In the post game, you will unlock the ability to modify the Powers of your Weapons. This is done by scrapping Weapons with Weapon Powers, in order to get Weapon Power Chunks.
Once enough are acquired, you can use them to apply a specific Weapon Power to your Weapon of choice. Only 5-Star Weapons can be modified.
Collection Info
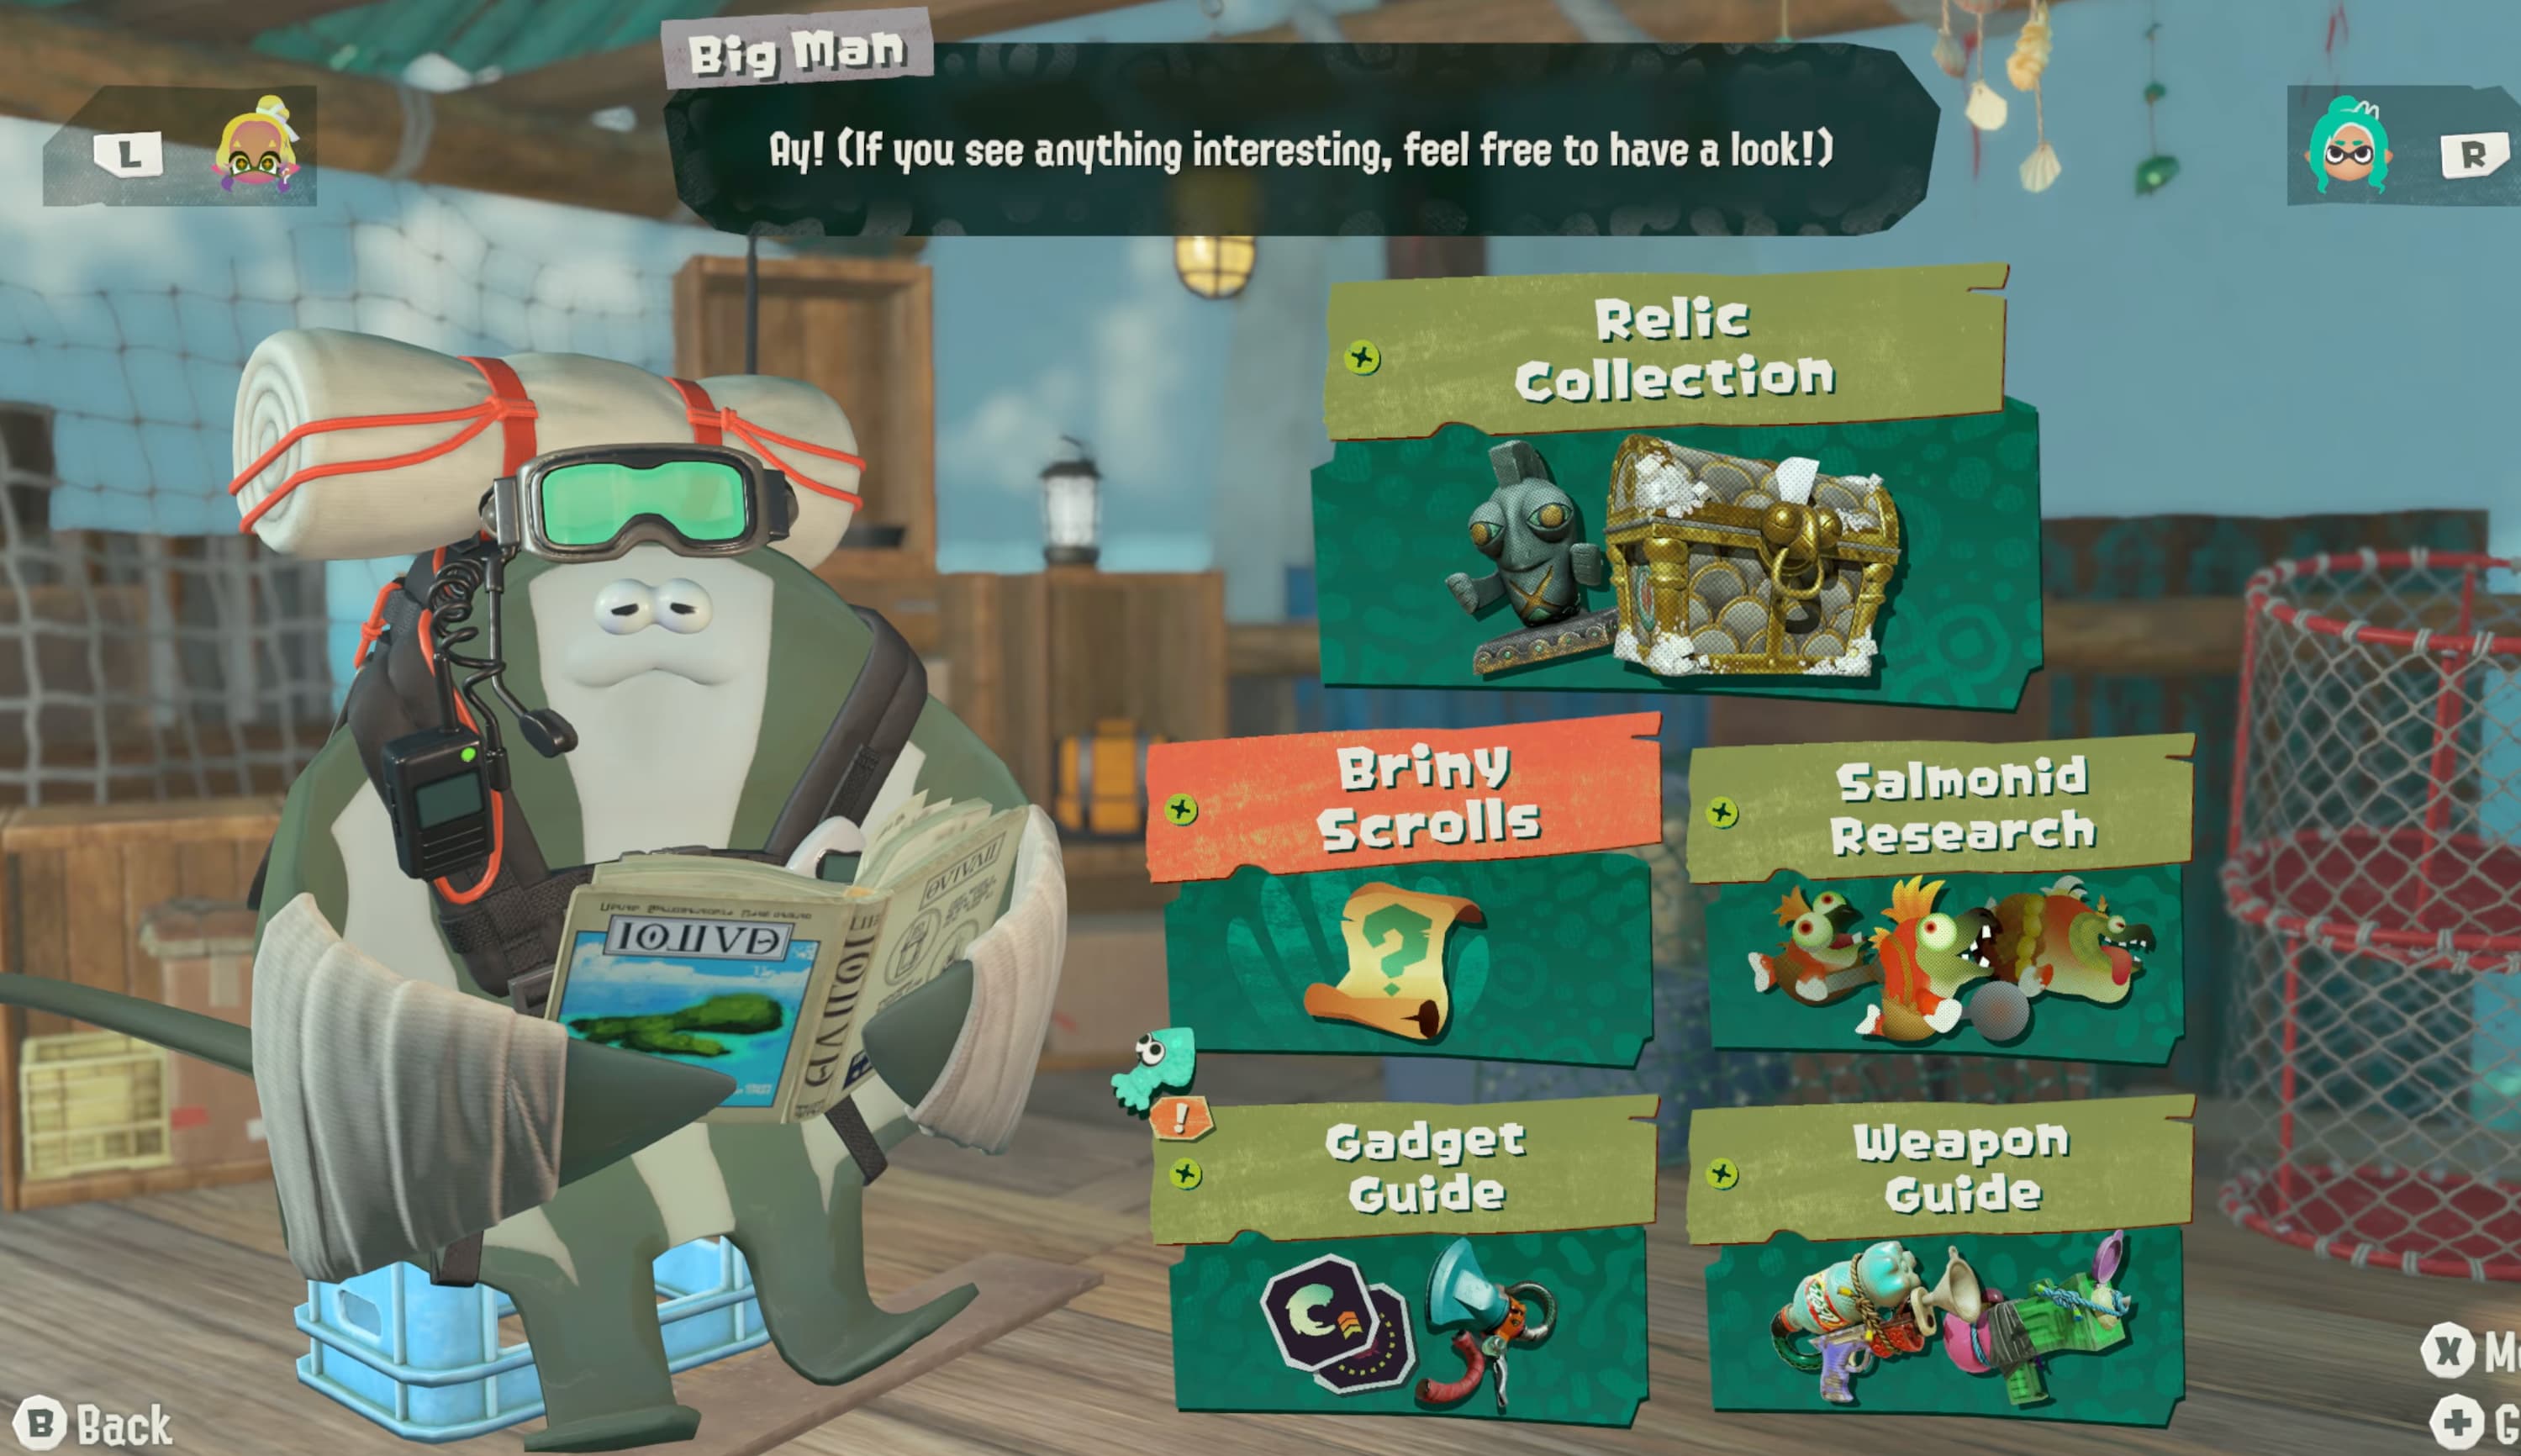
If you head to the top of the Hideout Ship, you can access the Hoard (set up by Big Man), which allows you to view the different things you've collected on your adventures.
Relic Collection
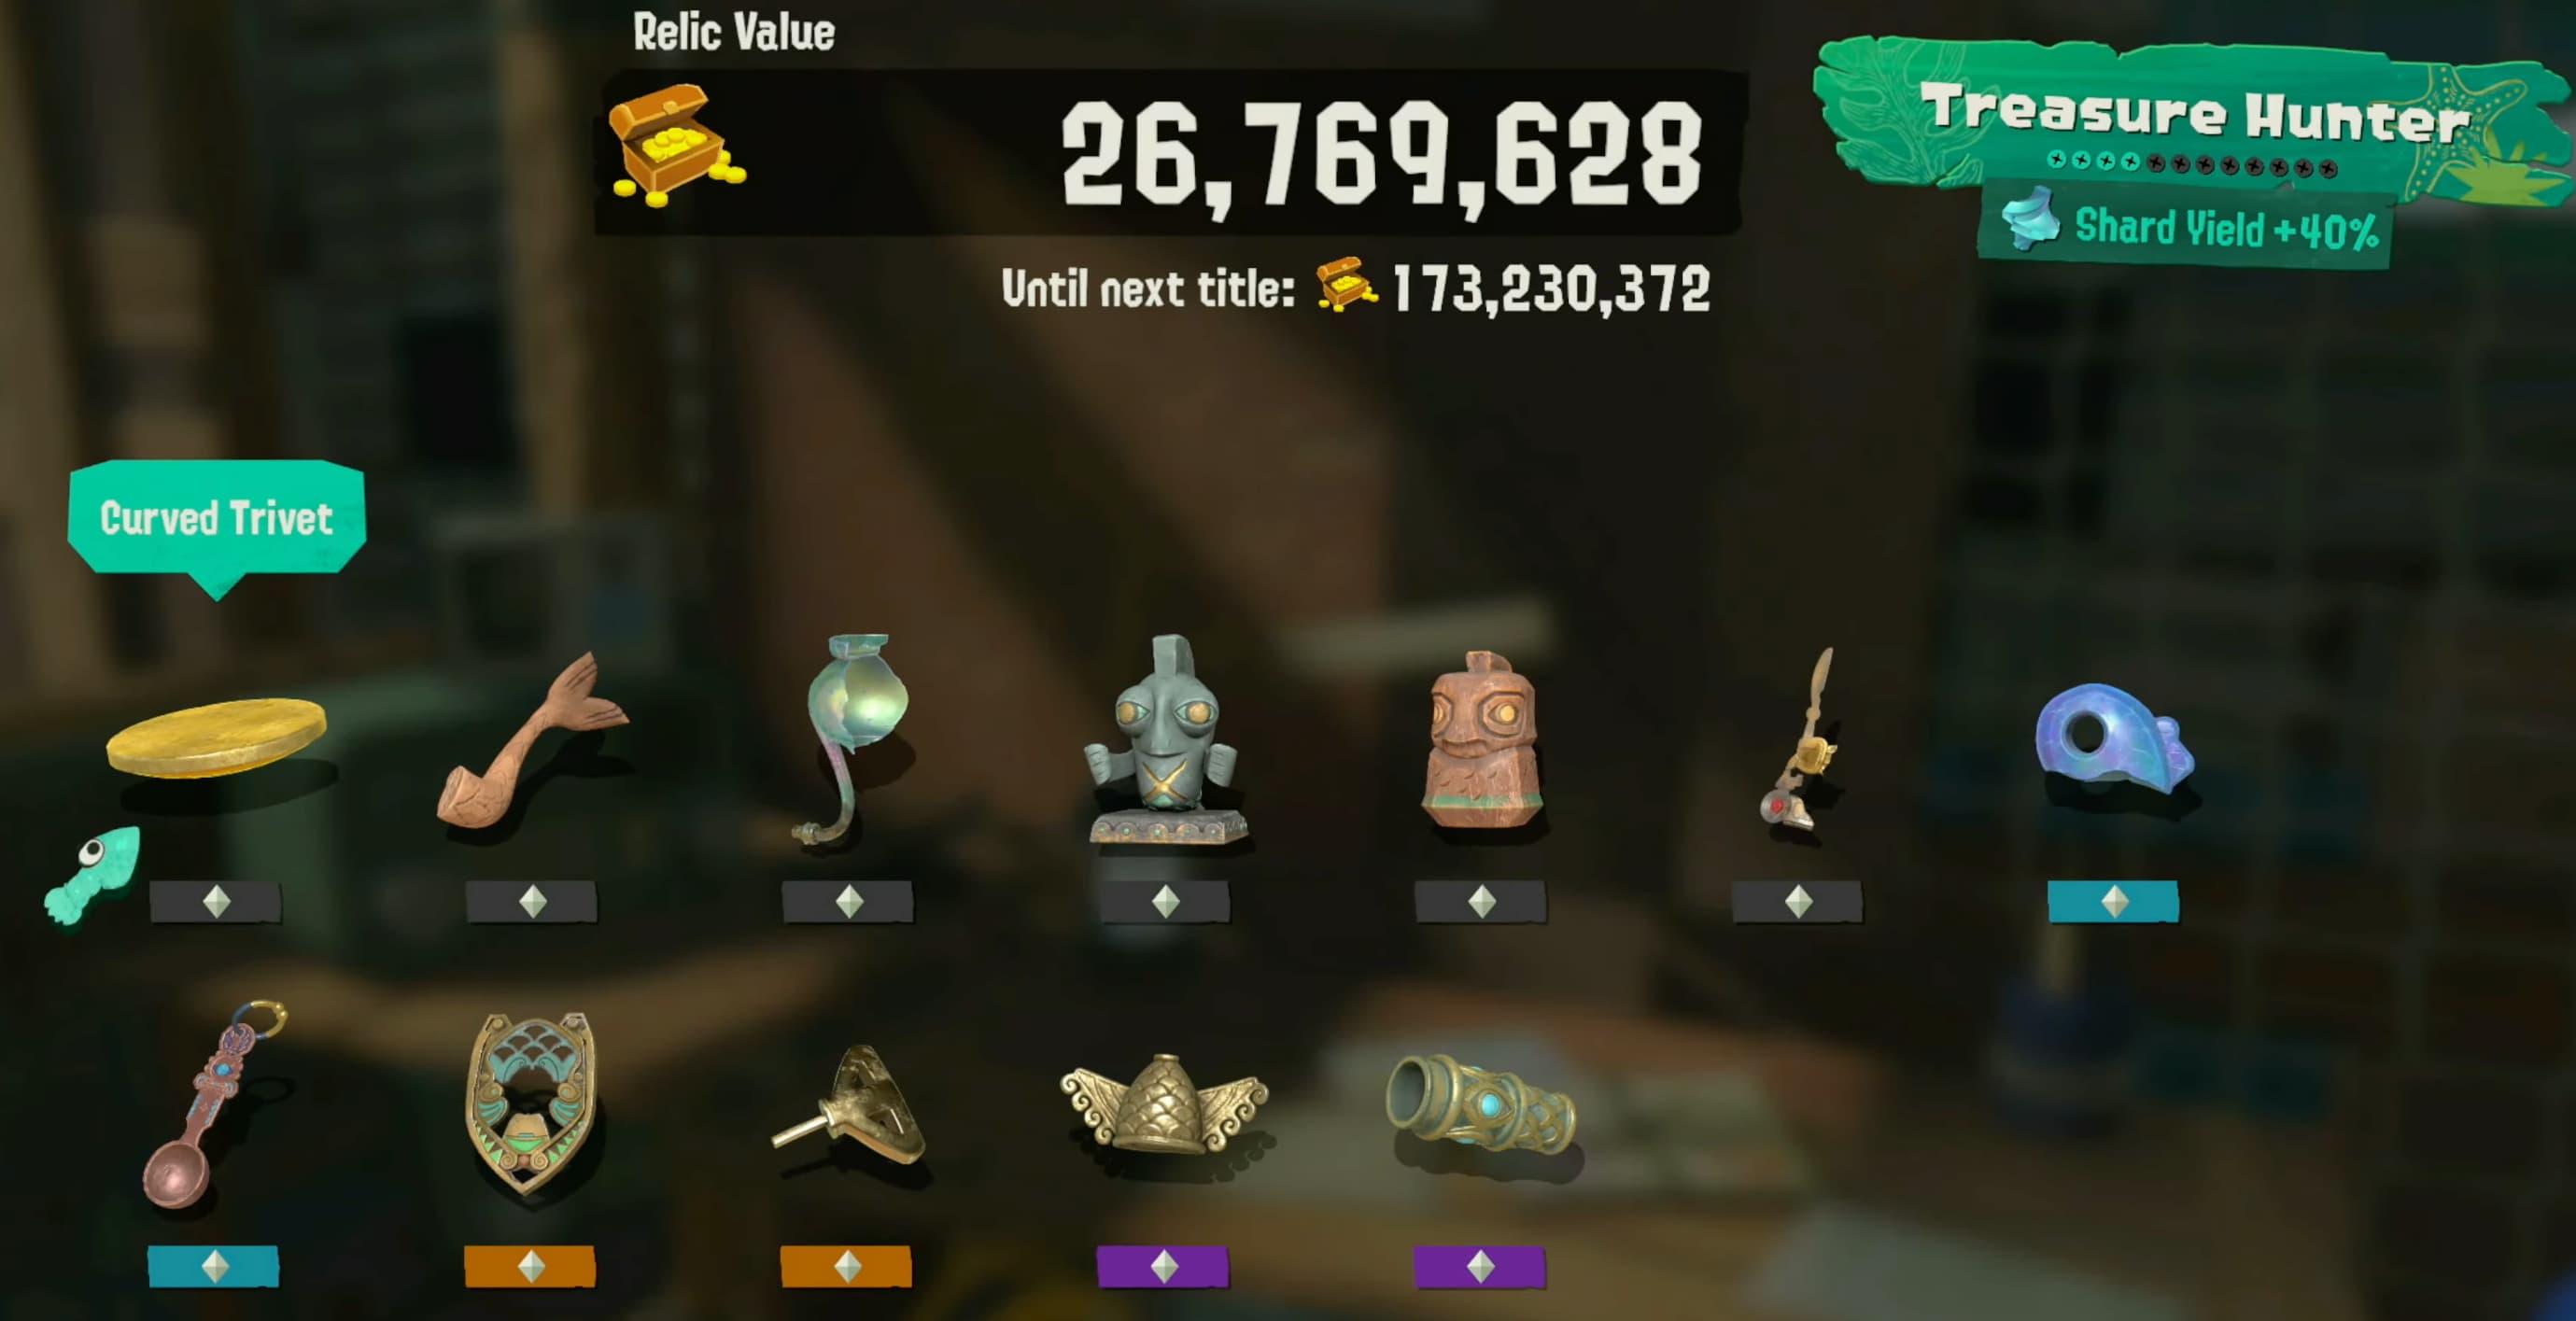
Relics are one of many prized treasures you'll be seeking, as each one provides a unique "Relic Power" to further enhance your build's abilities. They function as equippable perks, often granting effects that reshape the mechanics of the game.
Briny Scrolls
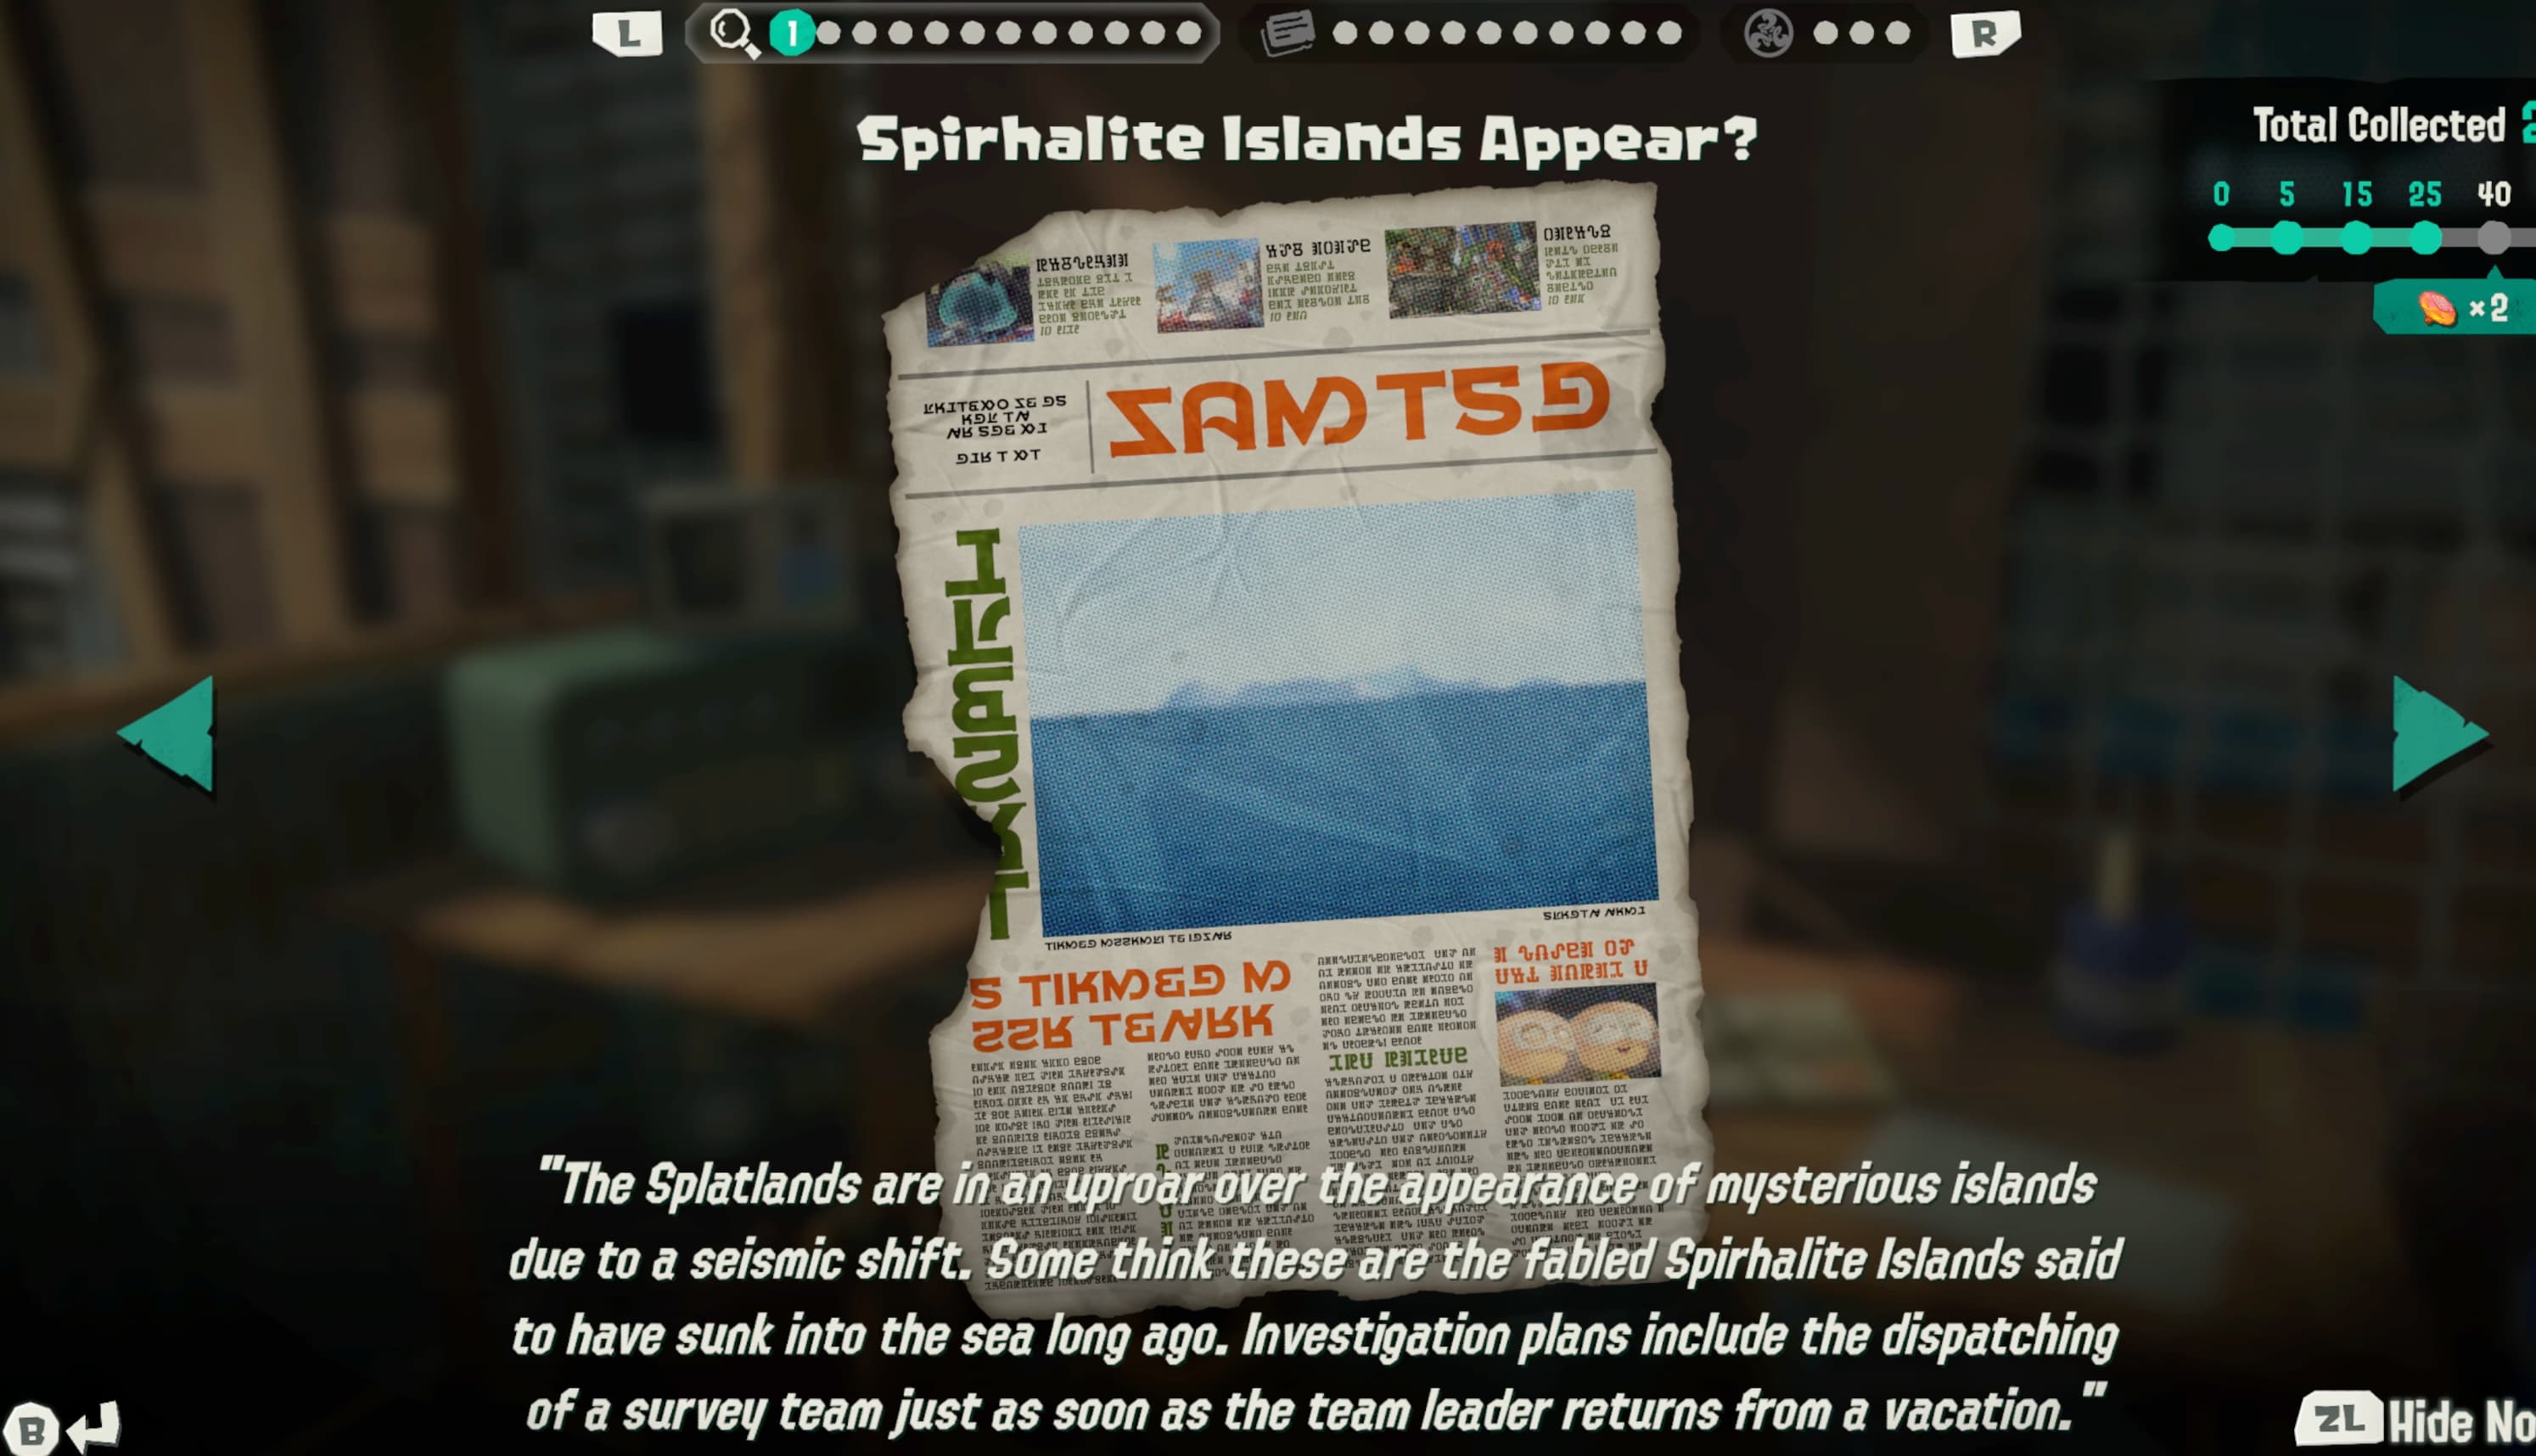
Briny Scrolls showcase the story segments of the game, and they're easily accessible to look back on over time as you progress.
Salmonid Research
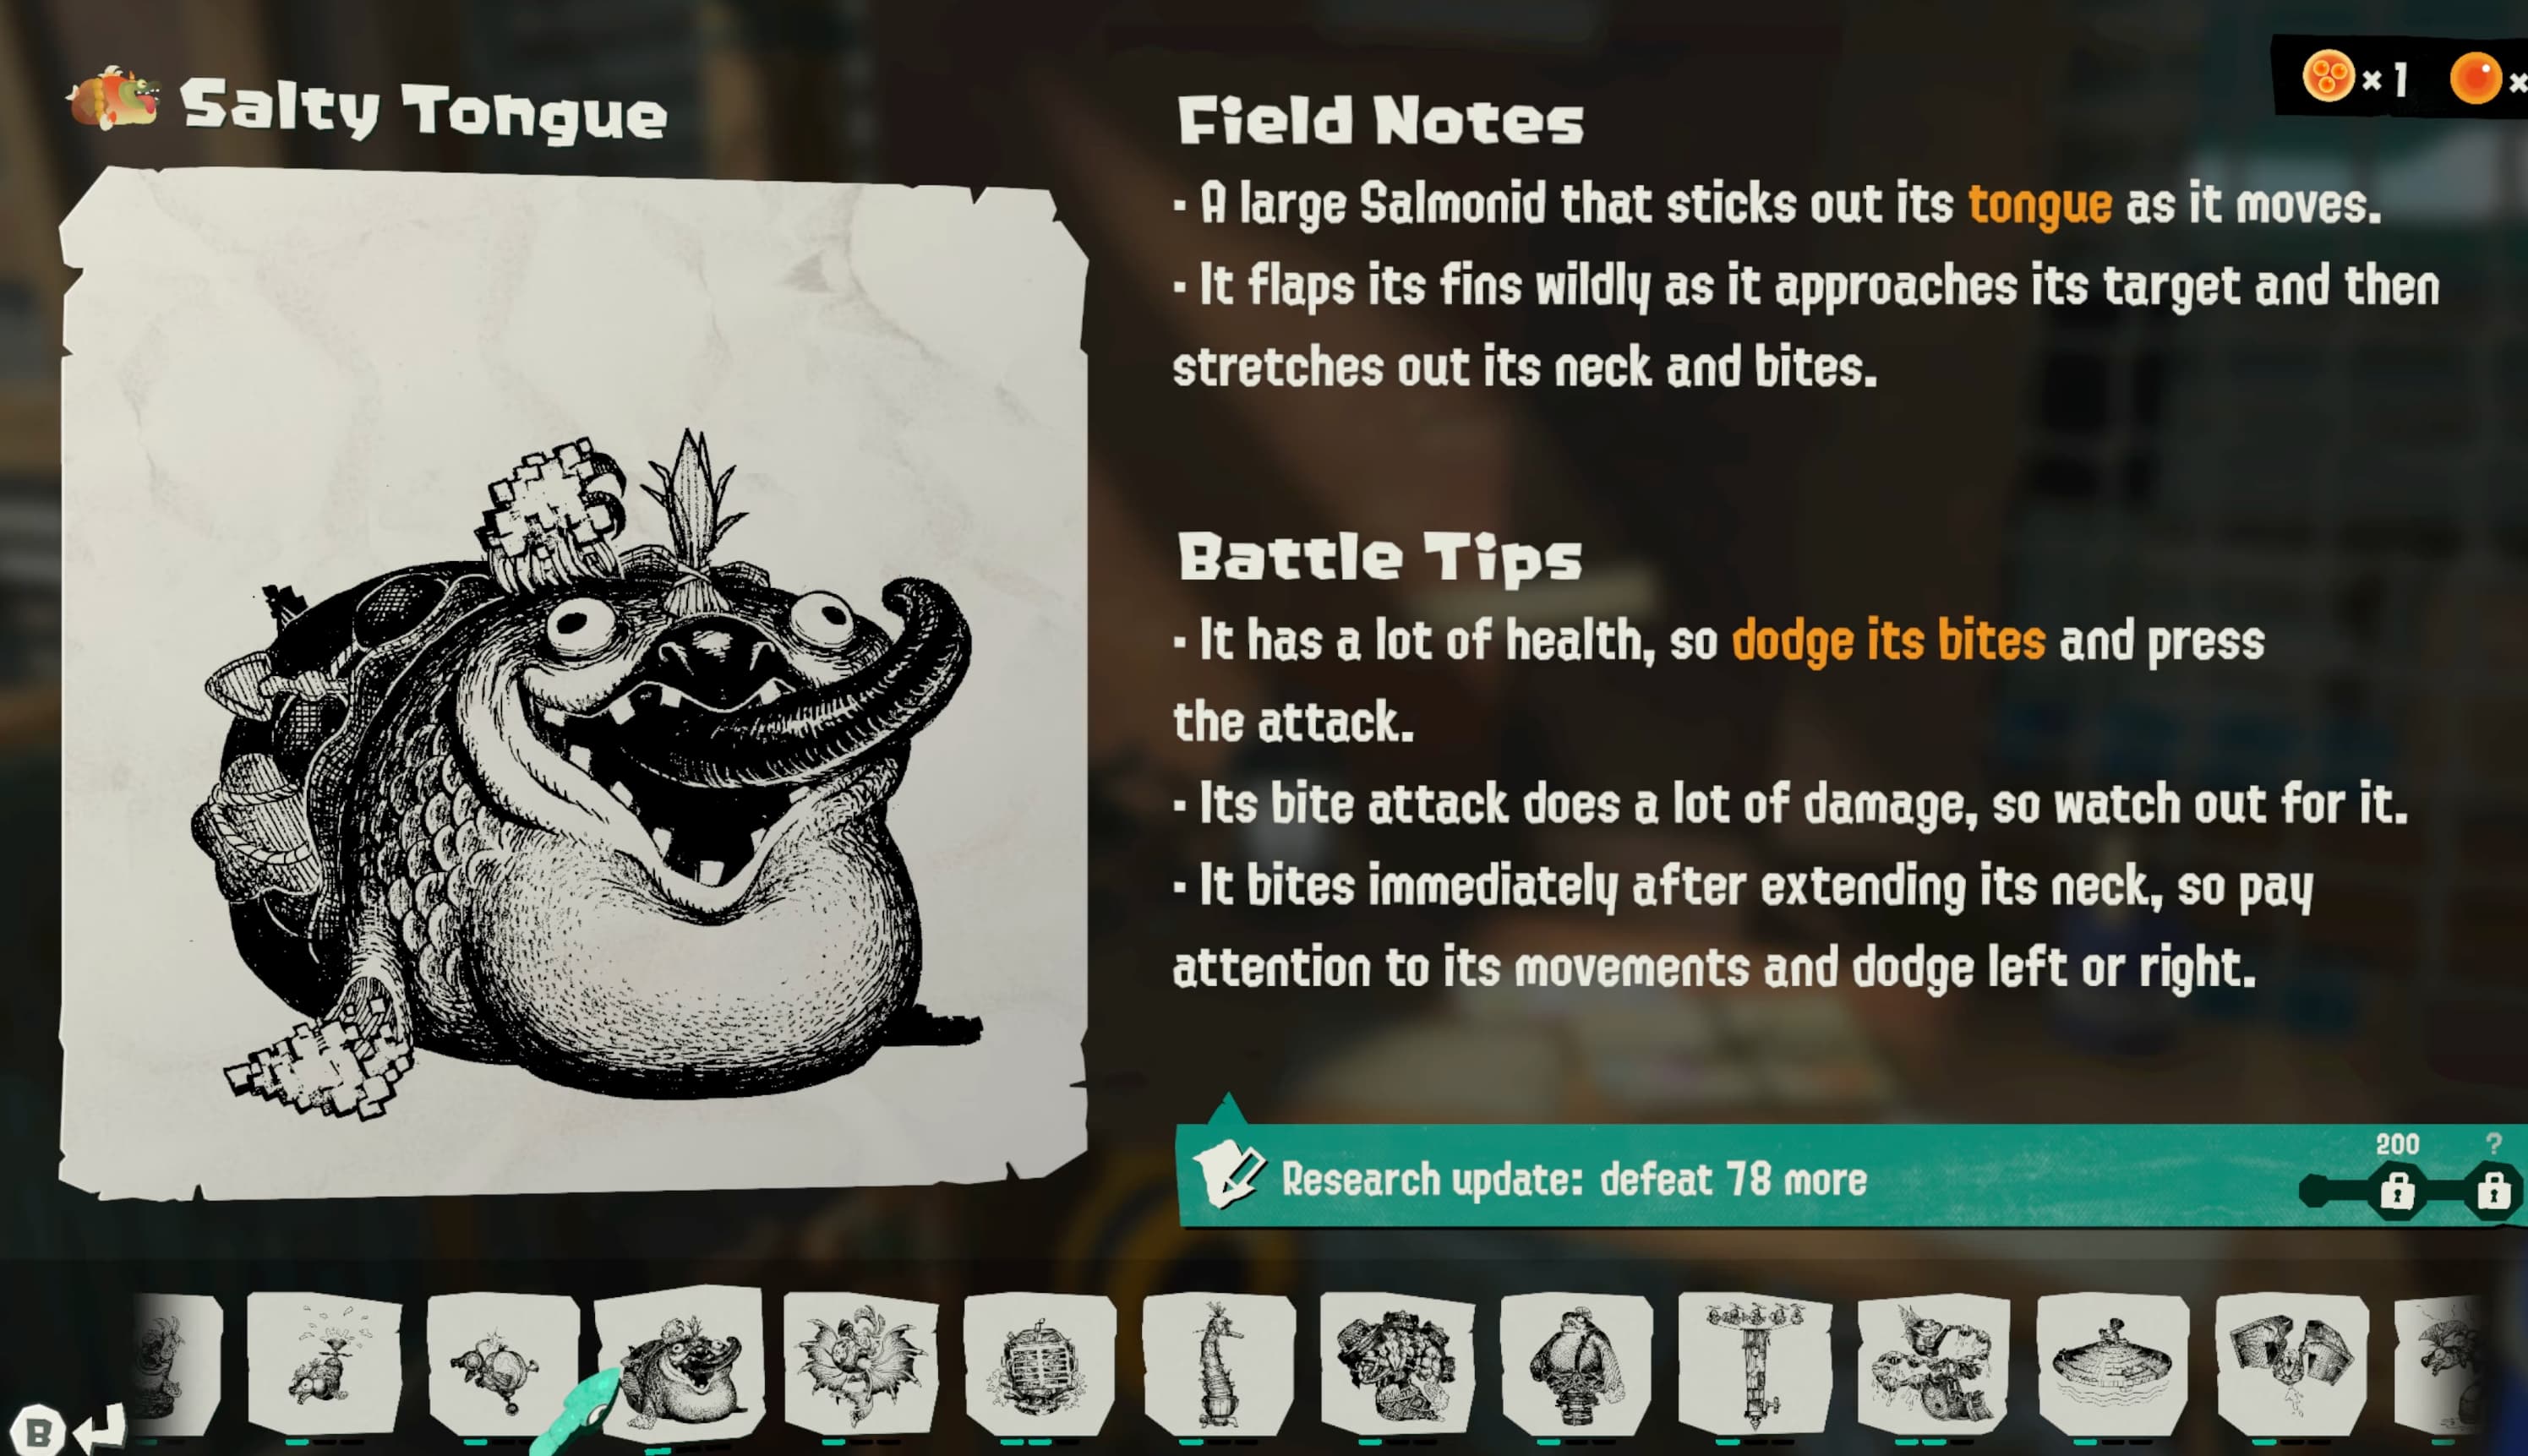
Salmonid Research is a compendium of each type of enemy you can encounter. It comes with a built-in progression system, requiring you to defeat many of the same Salmonid in order to uncover its details. This includes Field Notes, Battle Tips, and eventually Fun Facts!
Gadget Guide
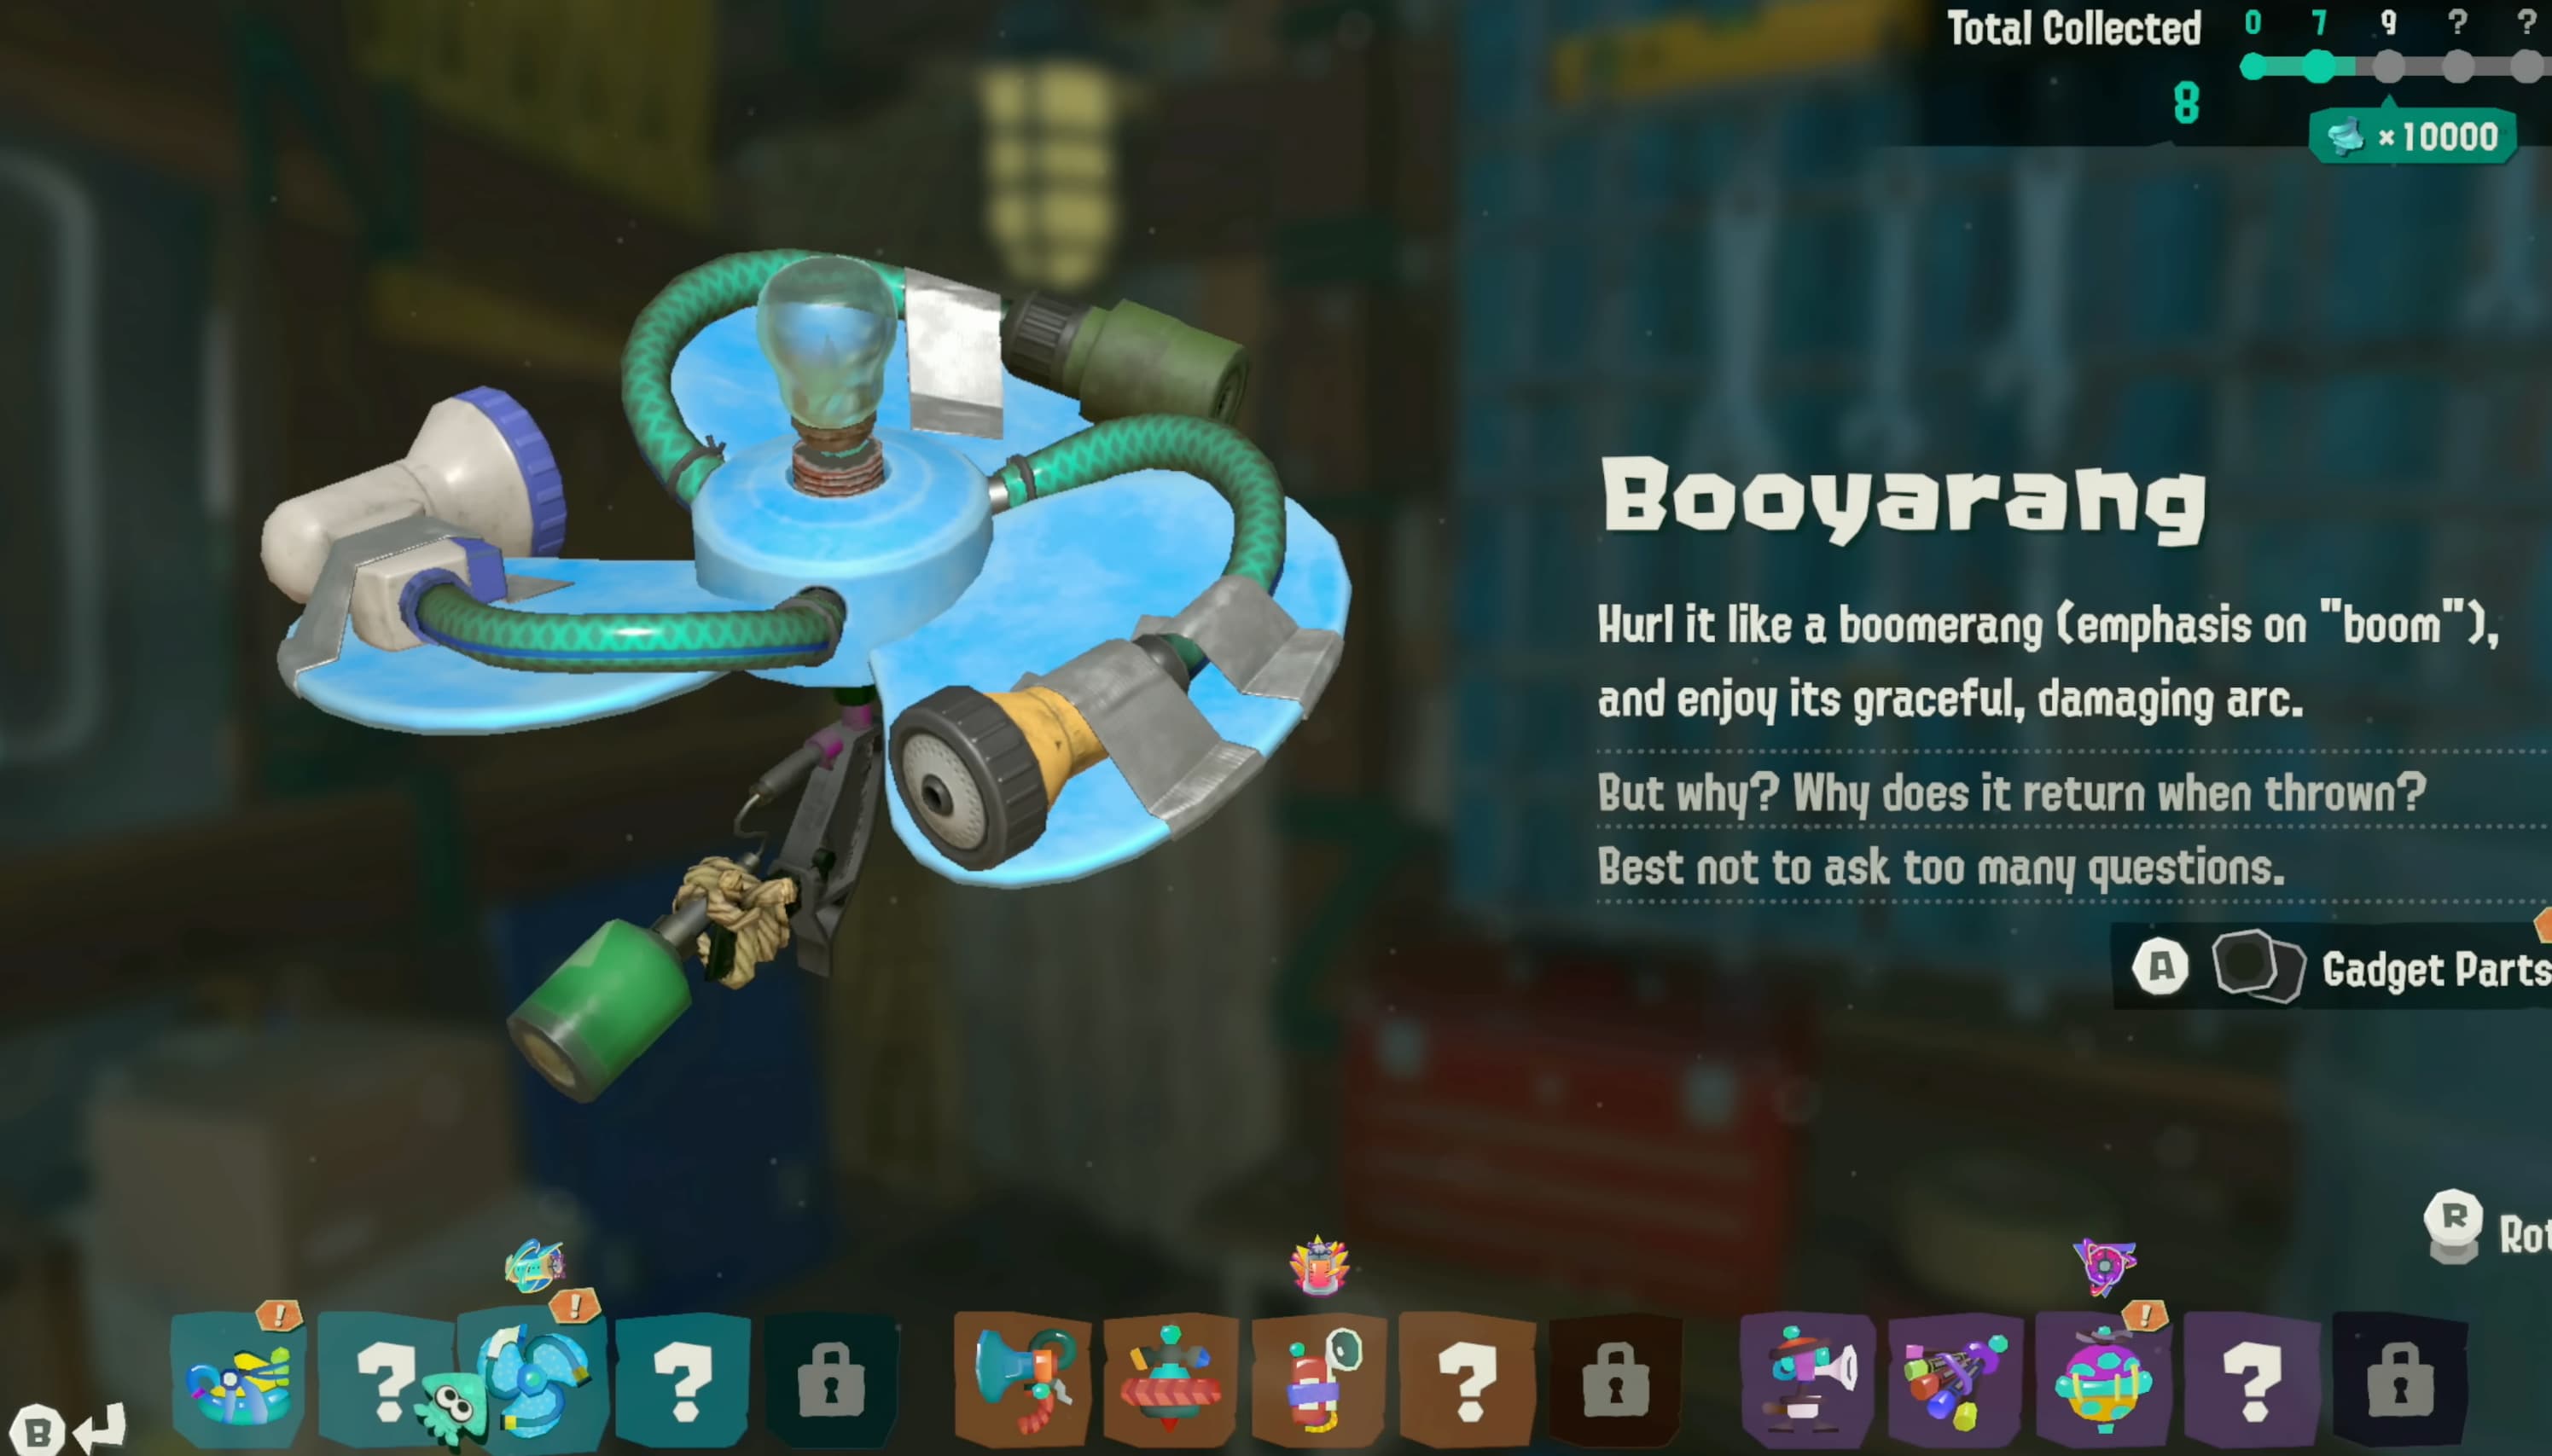
Here you can easily view all of your obtained Gadgets and Gadget Parts.
Weapon Guide
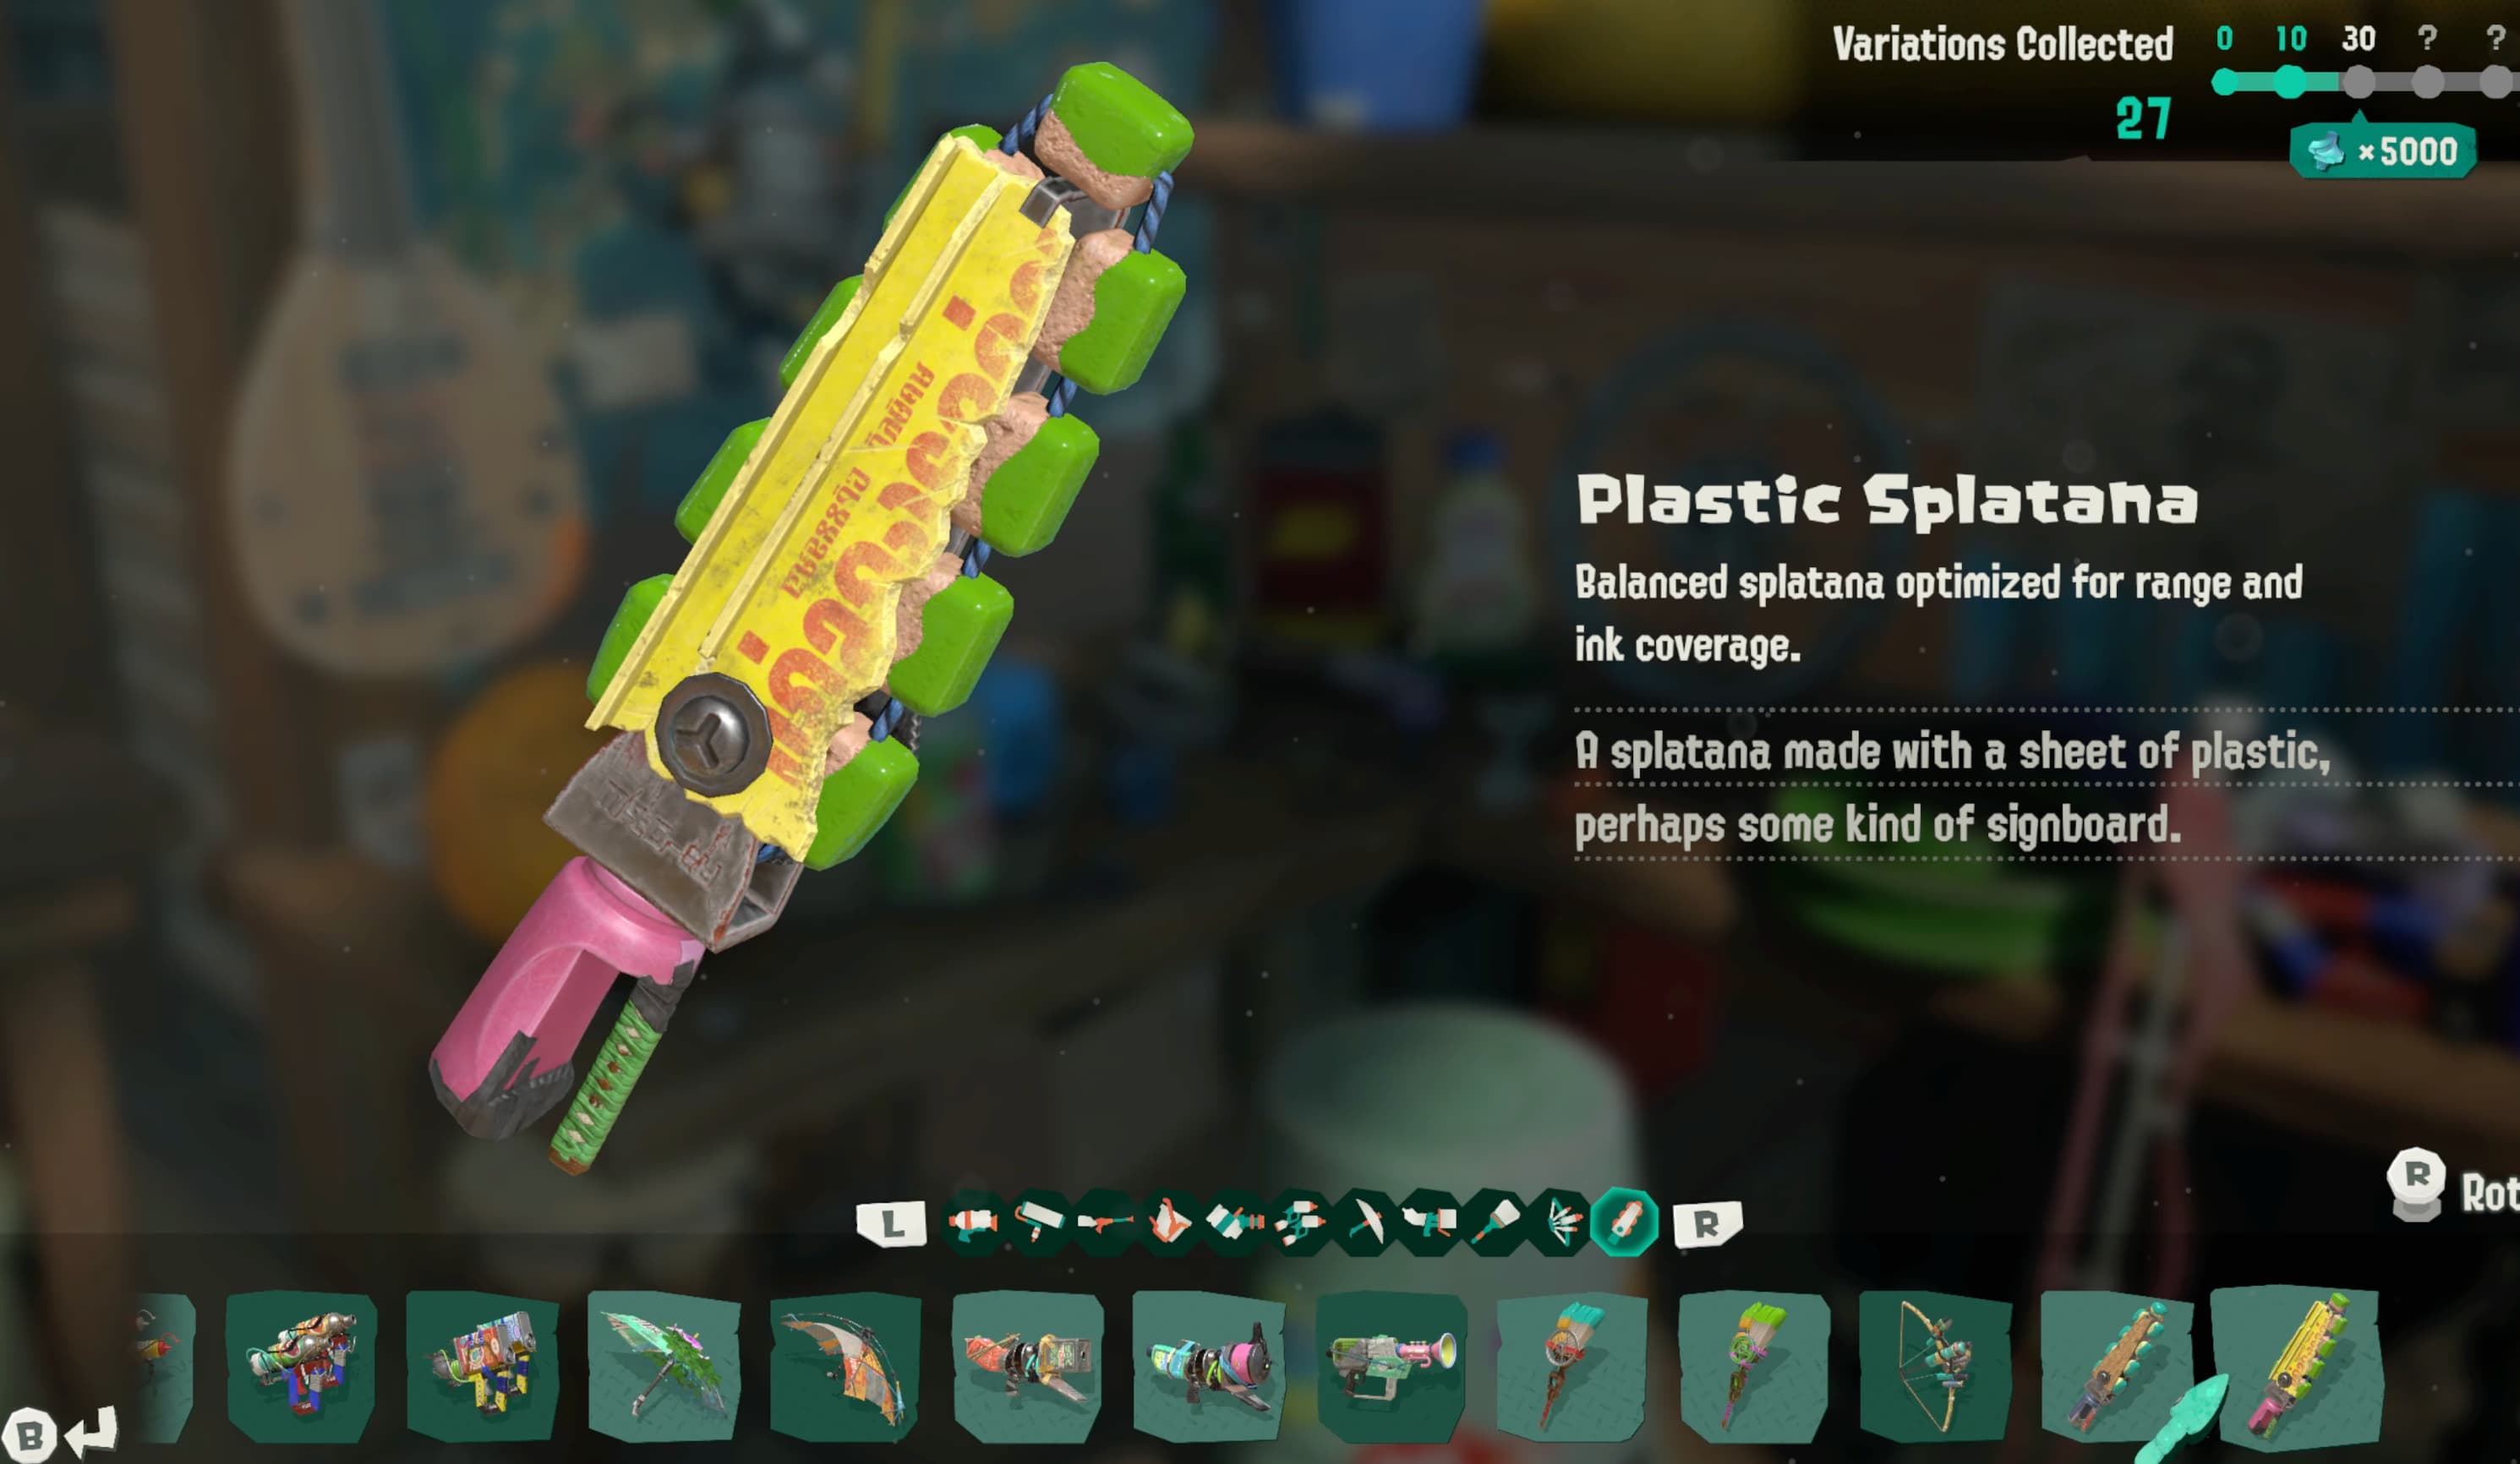
Each Weapon you collect will be displayed here, along with some fun flavor text.
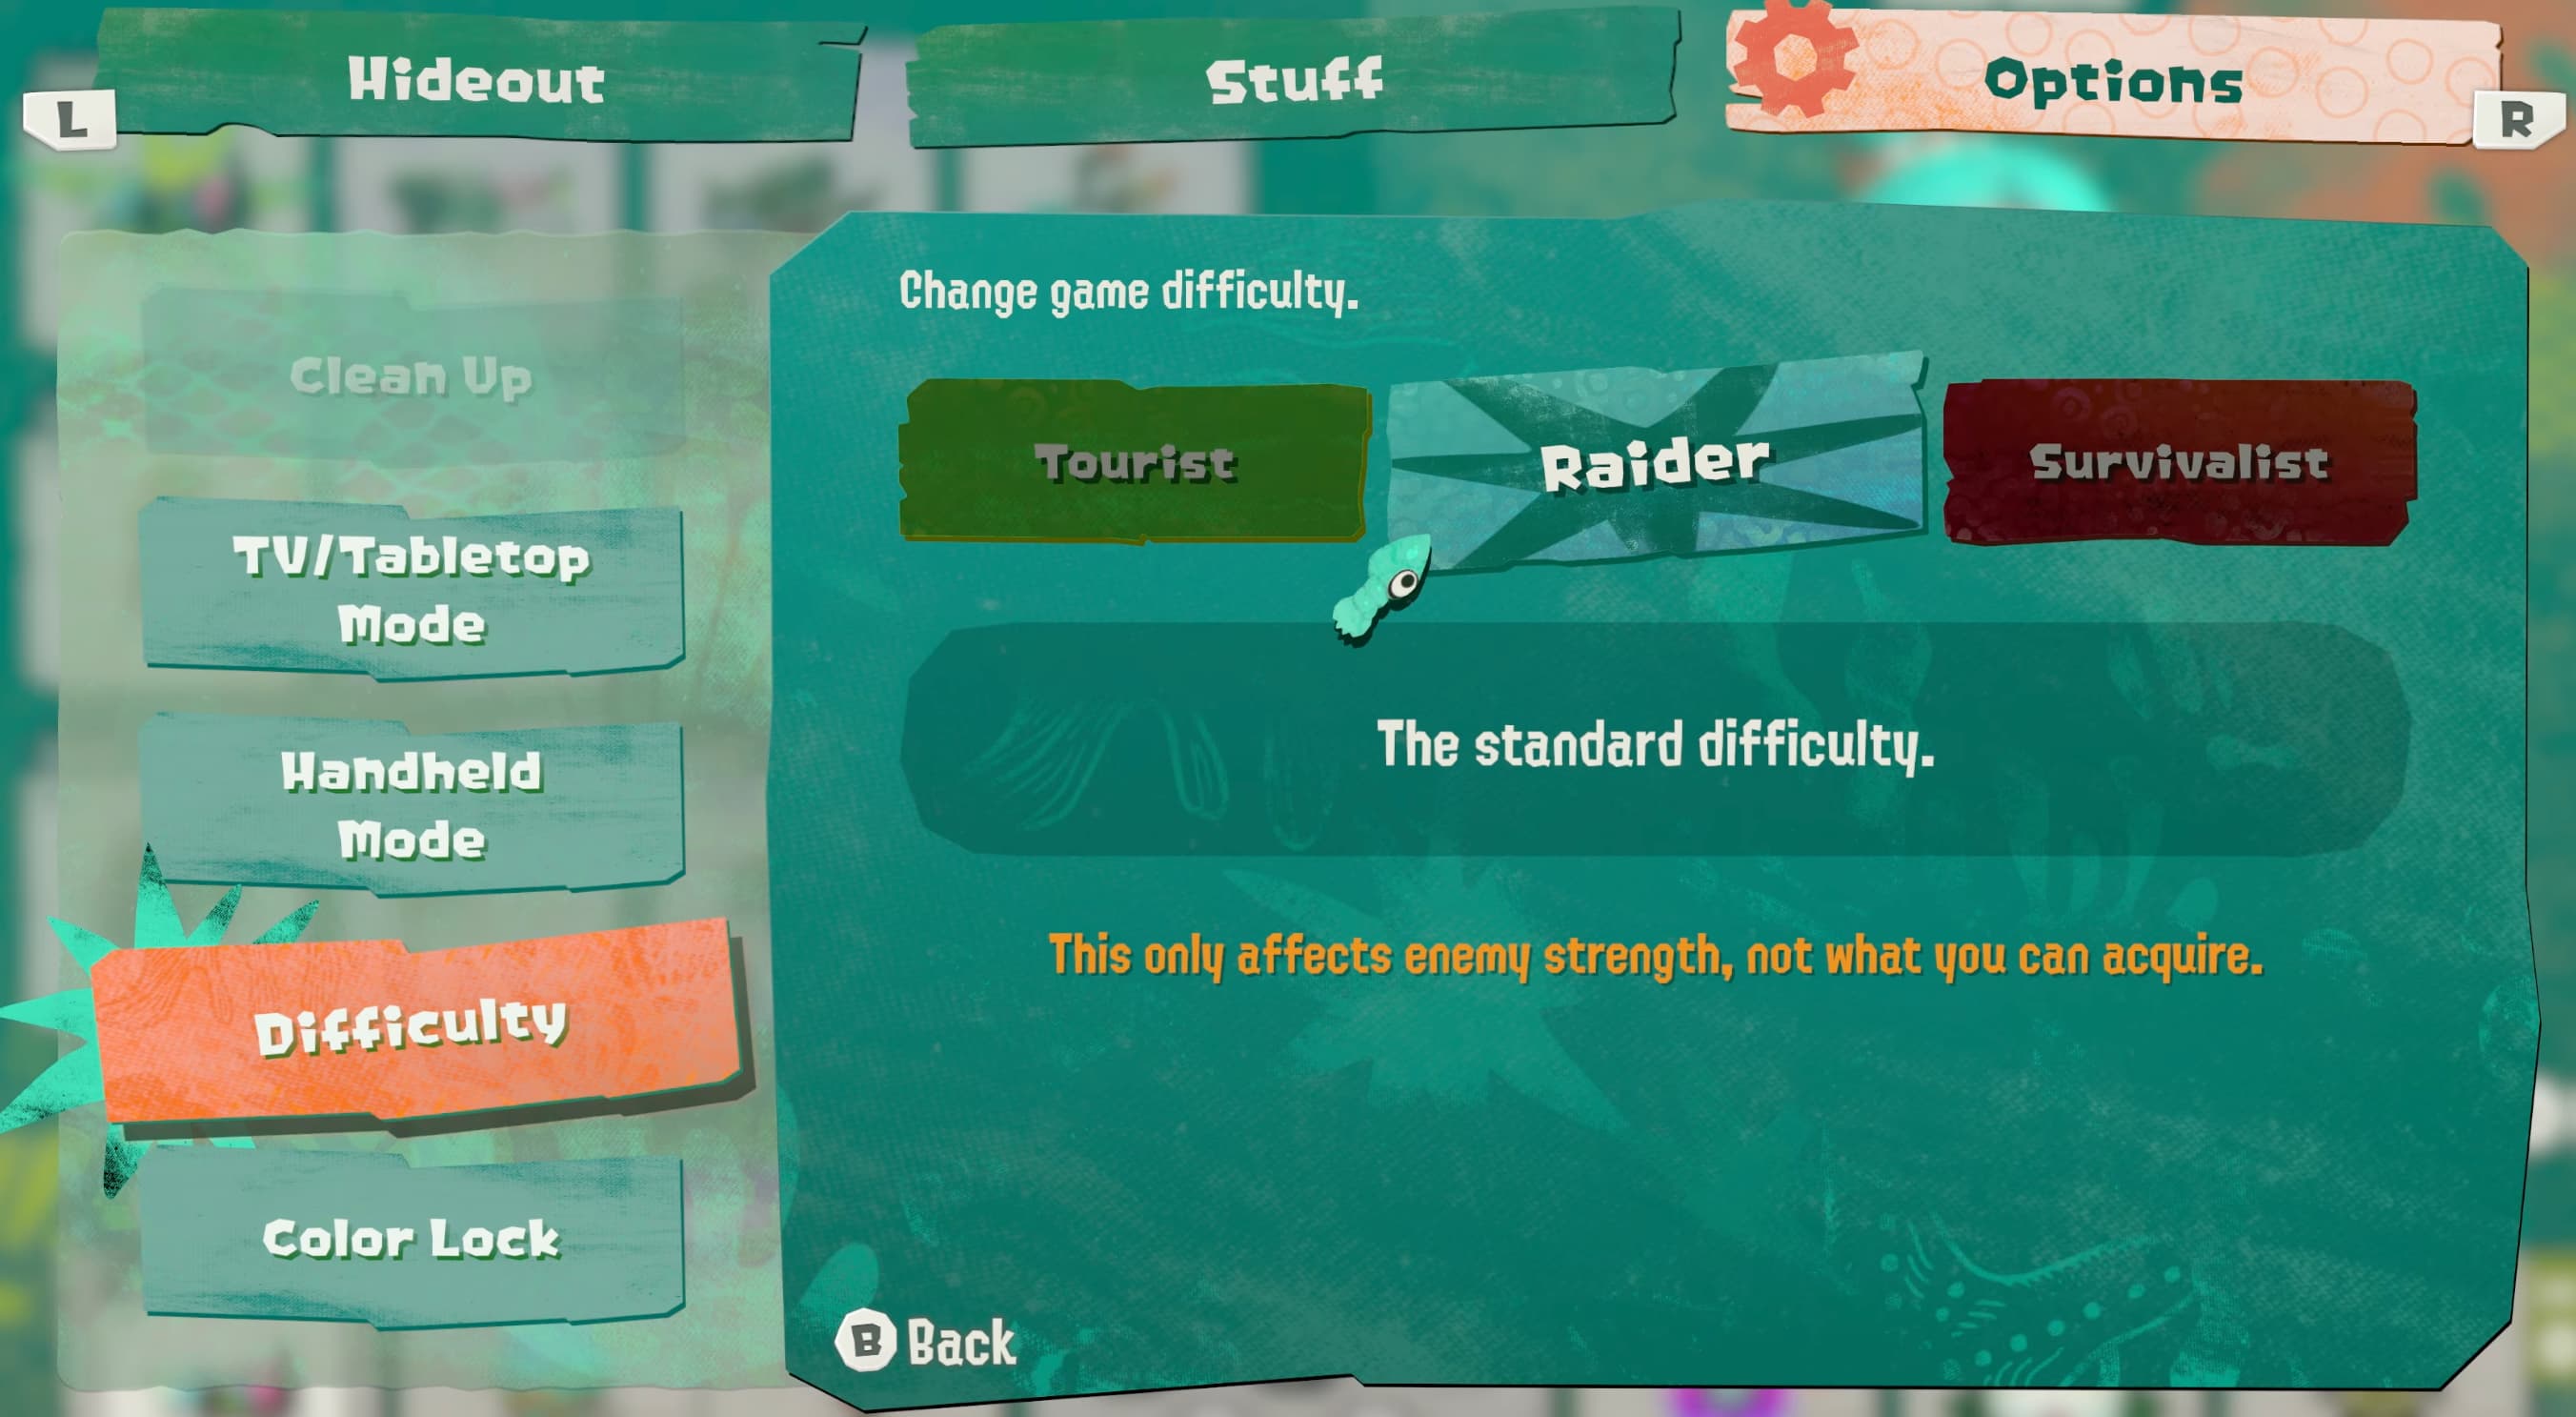
Difficulty Settings
Splatoon Raiders is very accessible and forgiving when it comes to its difficulty settings. For starters, there is no penalty for dying during a raid. All collected loot and XP (up until death) will be retained.
Additionally, from the Hideout Ship, you can freely toggle between difficulties at any time, so by all means try them out and see what feels best.
Difficulty only affects the strength of enemies in combat, and does not have any affect over loot. So you're welcome to tone things down if you'd like, without worrying about nerfing your progression.