menu
MobalyticsUse your favourite features in-game with our Desktop App
Gamebase Guide

Drunken Master Build Guide - Phantom Blade Zero

Updated on Nov 2, 2026
Nov 2, 2026

Overview

This Drunken Master build in Phantom Blade Zero uses The Fanatic’s Broken Blade to attack from range, automatically dodge while Drunk, and break enemy defenses. Pairing it with the Scarlet Wrath Blade gives you a heavy secondary weapon to punish stunned enemies and deal additional damage through explosive red spider lilies.

It is a powerful early game setup built around creating openings with flying sword attacks, then taking advantage of them with heavy follow-ups. Offensive accessories strengthen both parts of that sequence, while supporting skills improve healing, resource recovery, and weapon switching.

For help with the fundamentals, our Phantom Blade Zero combat guide covers parrying, dodging, and managing Sha-Chi.
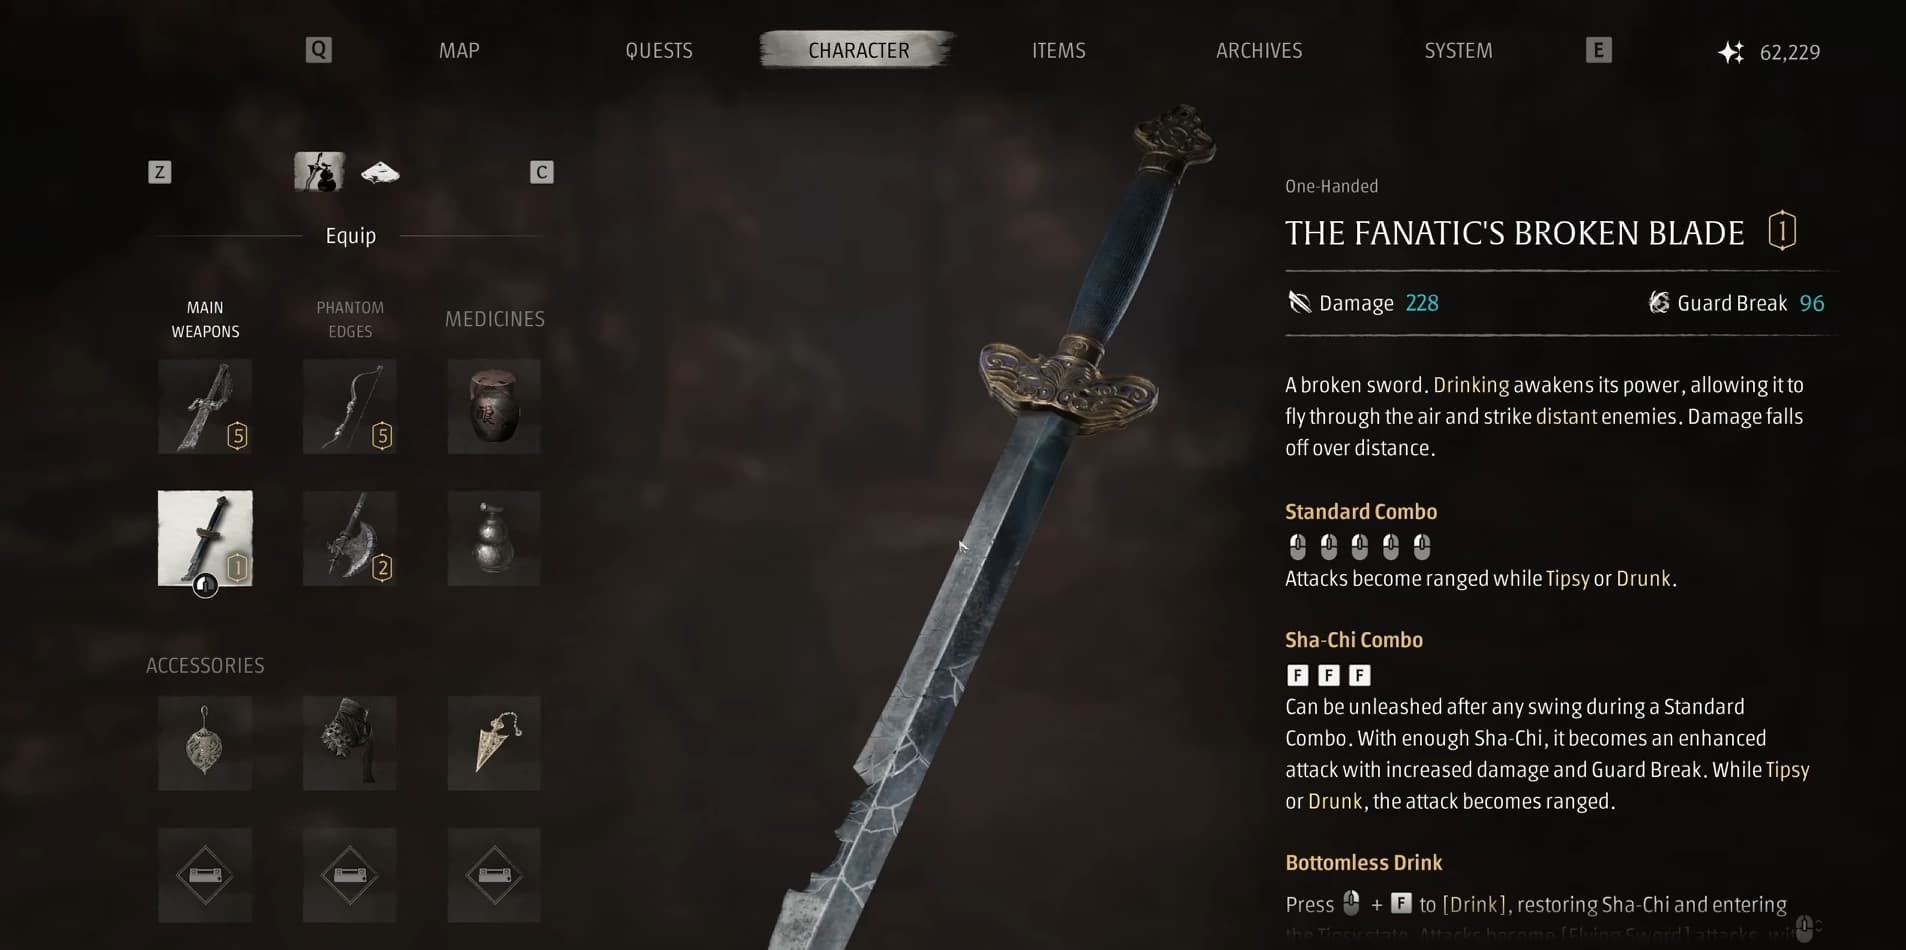
The Fanatic’s Broken Blade

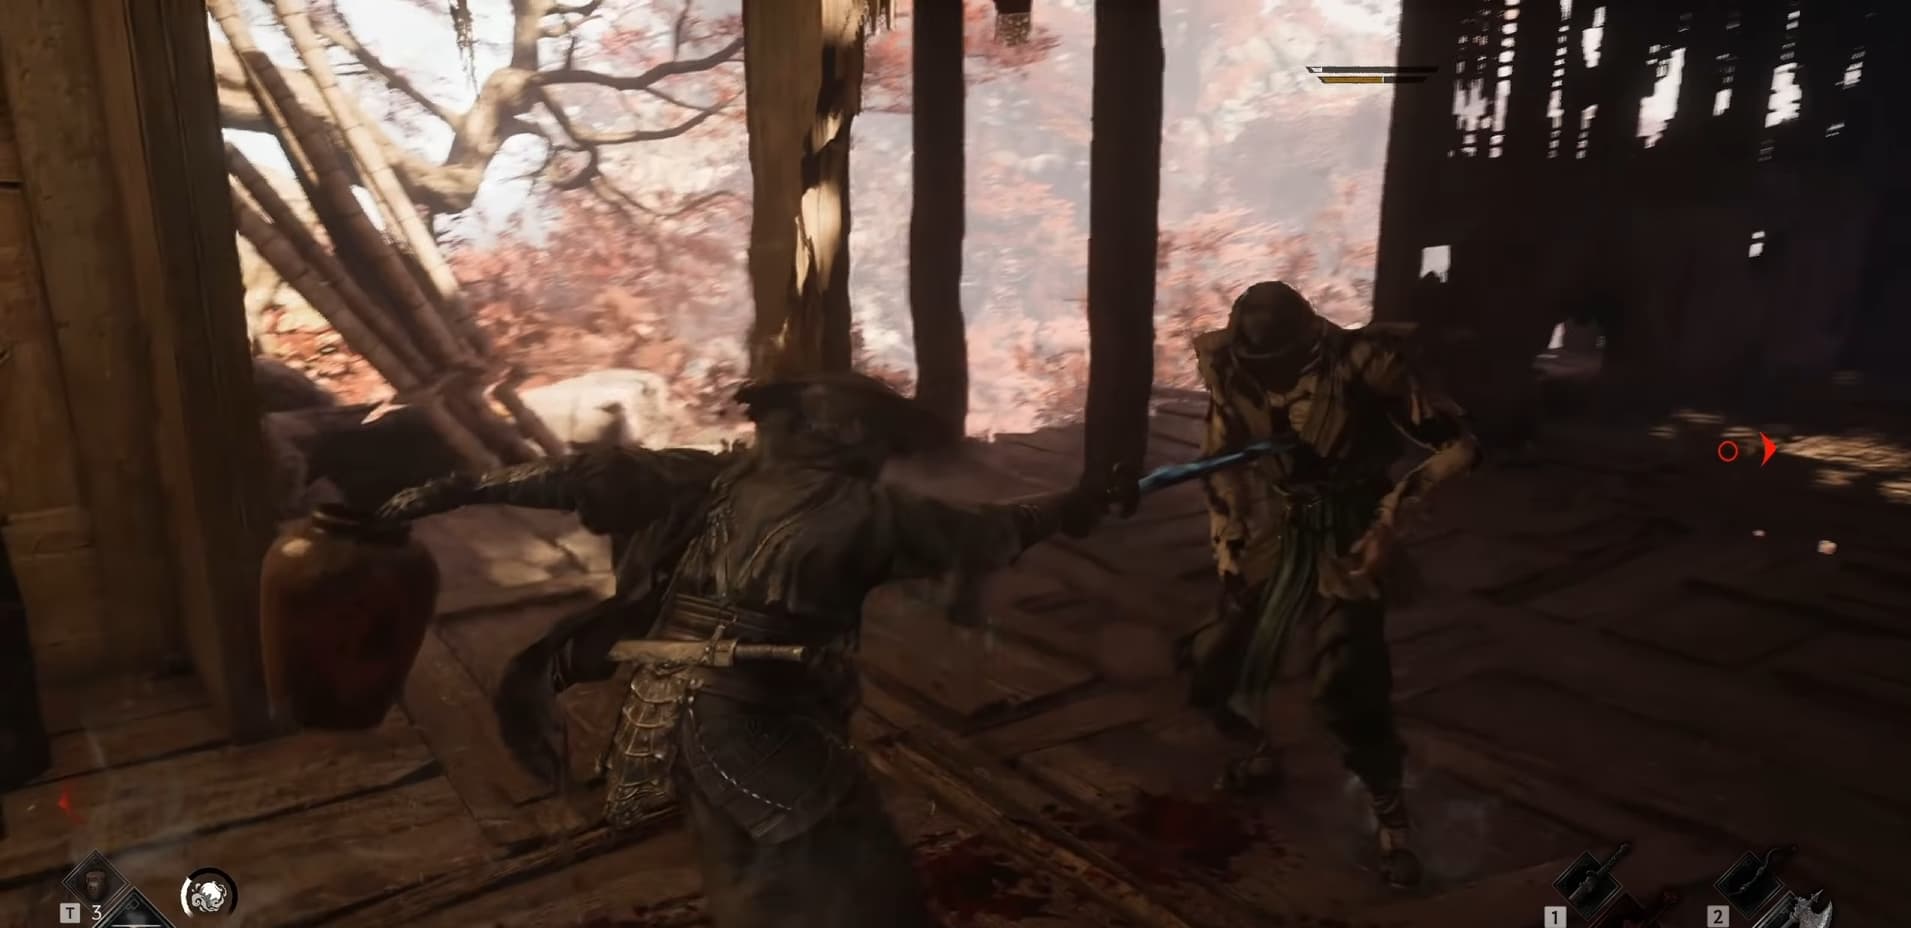
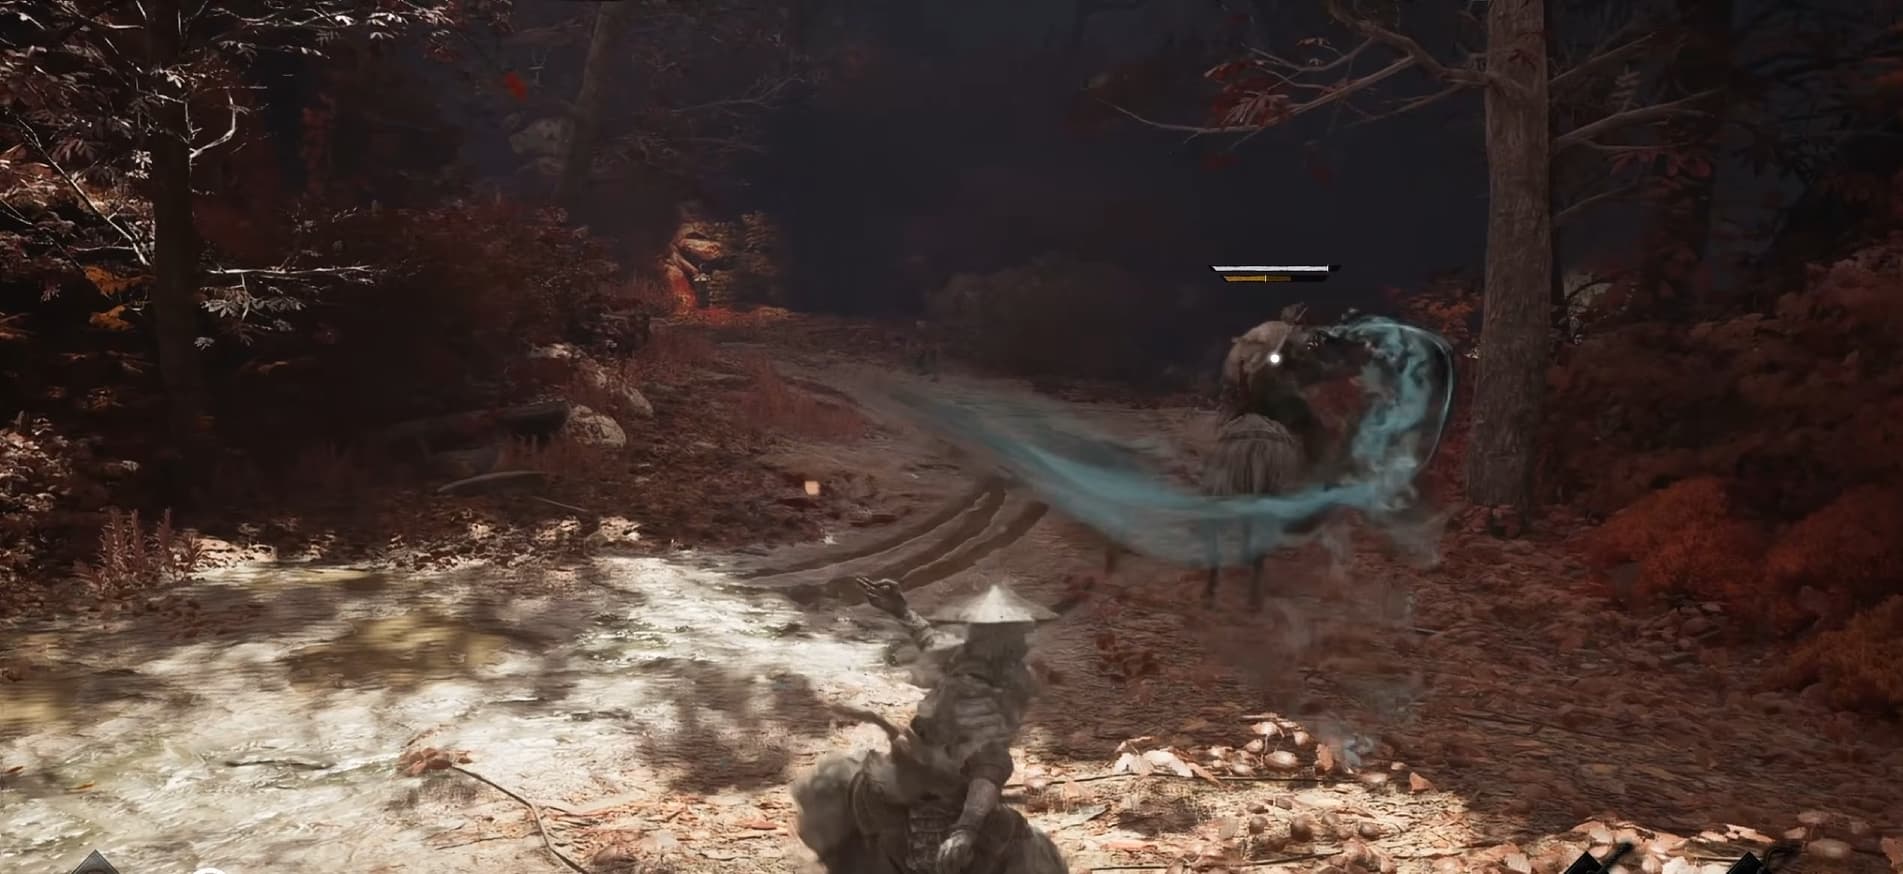
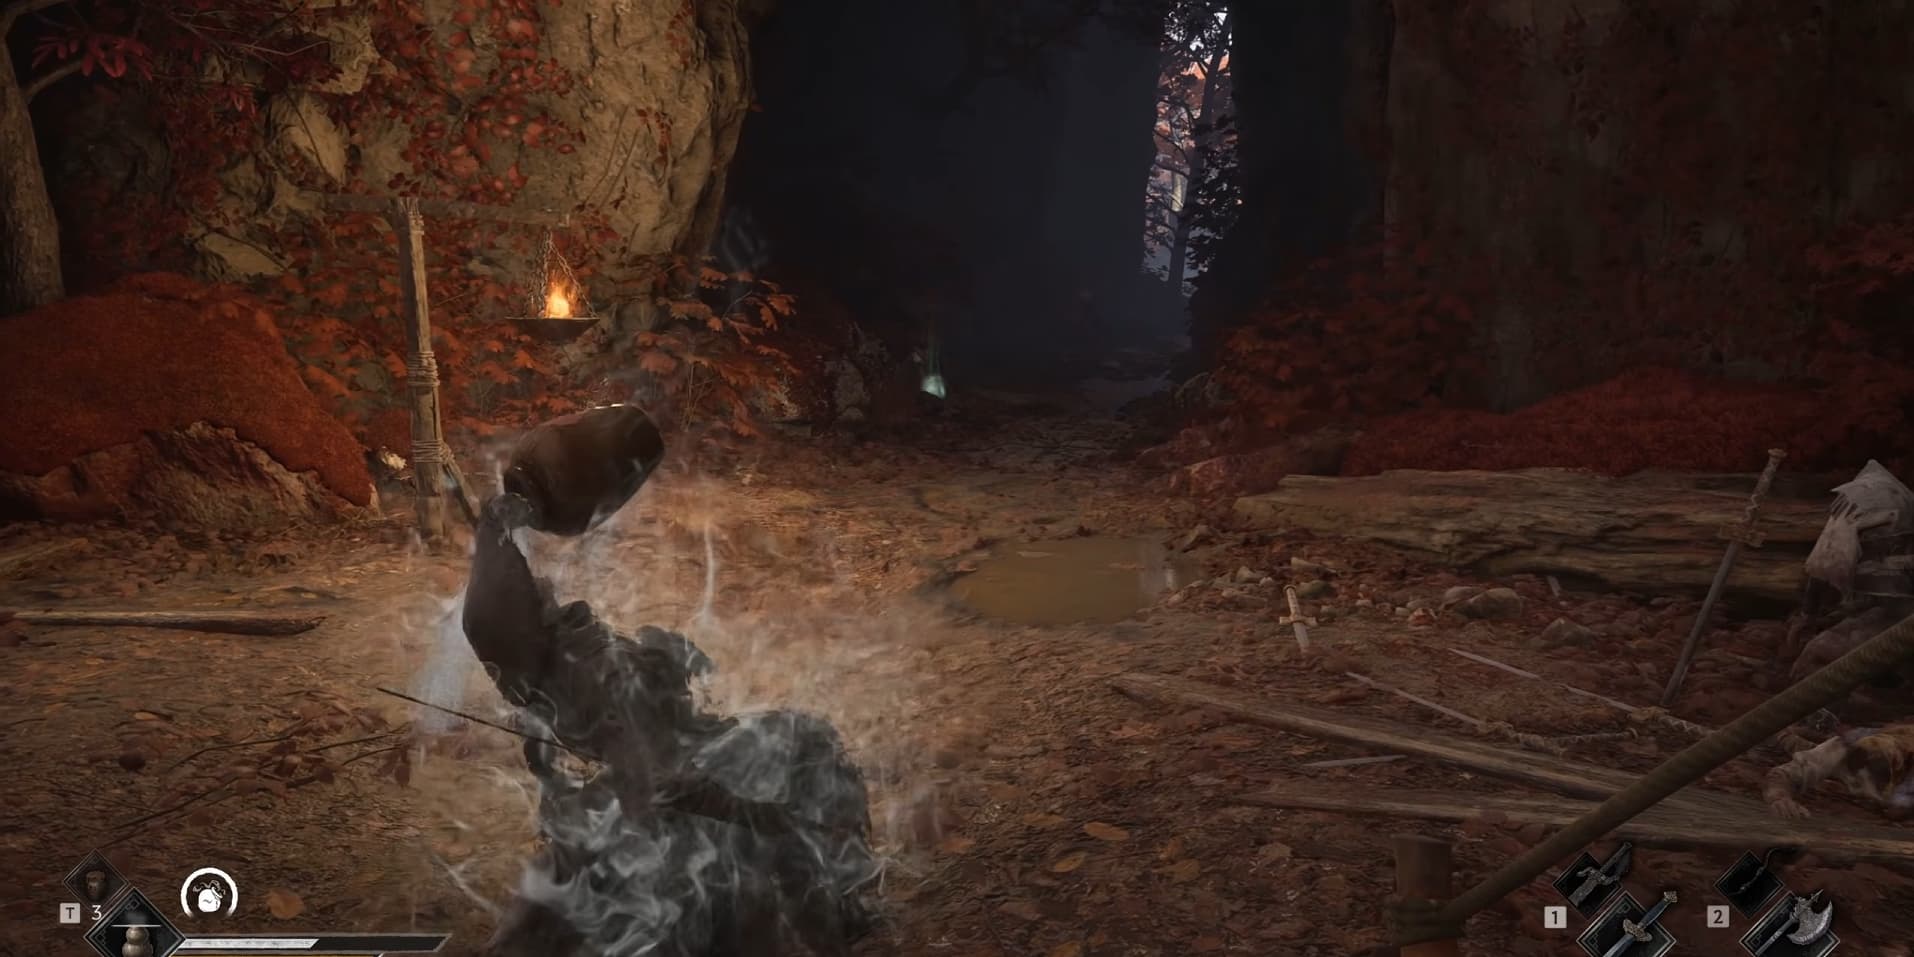
The Fanatic’s Broken Blade is the foundation of the build. Drinking with this weapon puts Soul into the Tipsy state, turning regular sword attacks into ranged flying sword attacks. This lets you pressure enemies without staying directly beside them, which is especially useful against opponents with dangerous close-range attacks.

Drinking also restores Sha-Chi, giving you more resources to spend on stronger combos. You can hold the drinking input to recover additional Sha-Chi, but create some space before doing so. Trying to drink while an enemy is already attacking makes it easier for them to interrupt your setup.

Once Tipsy, fight from a moderate distance. Flying sword attacks lose damage over longer distances, so moving as far away as possible reduces their effectiveness. You want enough room to manage incoming attacks without sacrificing too much damage.

Watch the enemy’s Sha-Chi gauge as you attack. Depleting it creates a stun window, giving you an opportunity to switch weapons and deal heavy follow-up damage.

How to Use the Drunk State

After entering Tipsy, press Q to become Drunk. In this state, your flying sword attacks become more powerful, and Soul automatically dodges incoming attacks while you continue attacking.

That extra offensive pressure comes with a trade-off. Your movement becomes much more restricted, and you cannot manually block attacks. Choose a suitable position before activating the state so you are ready to commit to attacking from there.

While Drunk, press Q again when available to unleash the Empowered Flying Sword Flurry. This is an unblockable finishing attack that returns you to the Sober state.

The weapon therefore follows a clear sequence: drink to become Tipsy, enter Drunk to strengthen your flying sword attacks, then use the empowered flurry to finish the sequence. Once you are Sober again, look for another safe opening to drink.

Scarlet Wrath Blade as Your Secondary Weapon

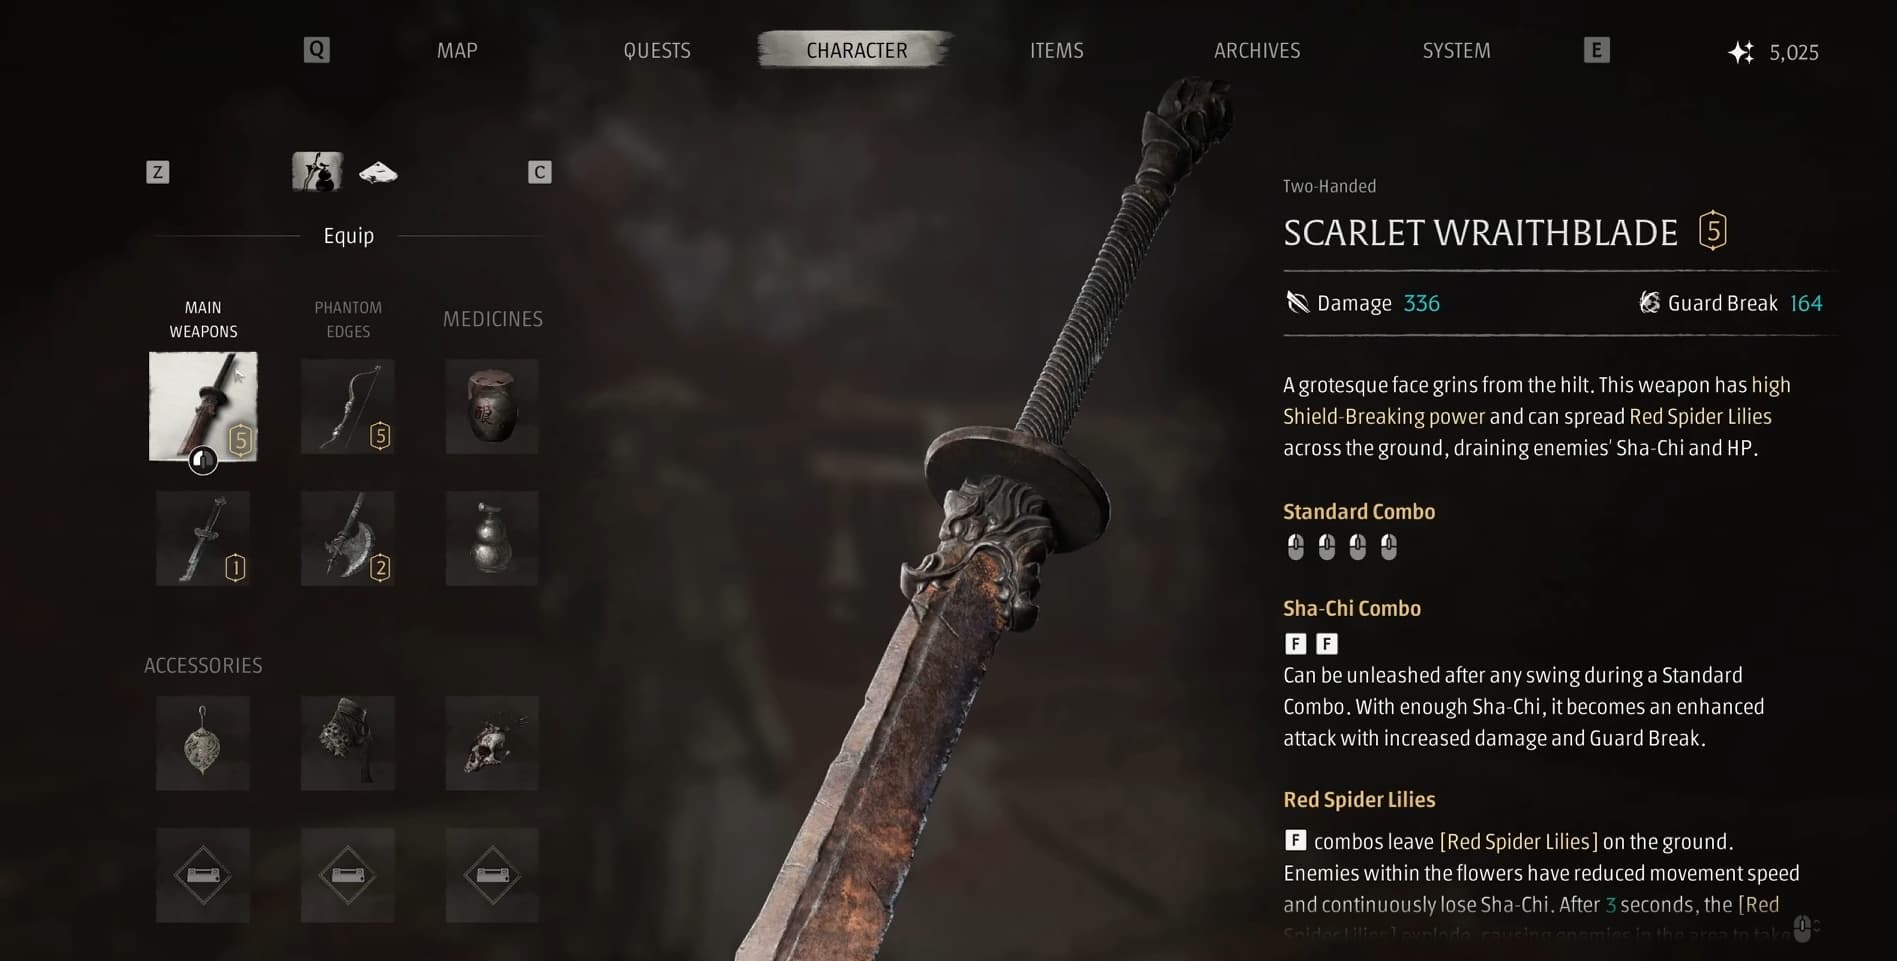
The Scarlet Wrath Blade is a heavy two-handed sword that complements the ranged attacks of The Fanatic’s Broken Blade. Use your main weapon to deplete enemy Sha-Chi, then switch to the Scarlet Wrath Blade to punish the resulting stun.

Its Sha-Chi combos create red spider lilies on the ground. Enemies standing inside these flowers have their movement speed reduced while their Sha-Chi is continuously depleted. The flowers eventually explode, dealing additional damage.

Unlocking Scarlet Field at level 5 gives you more control over those explosions. You can press E to detonate the flowers manually instead of waiting for them to explode, allowing you to trigger their damage while enemies are caught in the area.

You do not need to use both weapons in every fight. Weaker enemies may fall to your flying sword attacks alone. The secondary weapon becomes more useful in extended encounters, particularly when you stun an enemy or run out of Sha-Chi and need to switch.

Accessories for the Drunken Master Build

The recommended offensive accessories improve your general damage, help break enemy defenses, and reward you for attacking during guard-break openings.

Hunter’s Insight increases damage and Sha-Chi depletion against enemies by 7%.

Battle Wraps increases damage dealt to enemies by 5%.

Token of Pursuit increases damage against guard-broken enemies by 7%.

Hunter’s Insight supports the first part of your attack sequence by helping you deplete enemy Sha-Chi more quickly. Once their guard breaks, Token of Pursuit strengthens the damage you deal during that opening. Battle Wraps provides a straightforward damage bonus throughout the encounter.

Together, these accessories reinforce how the two weapons work: apply pressure with flying swords, create a stun, and punish the enemy before it recovers.

For more on accessory categories and permanent character upgrades, check out our Phantom Blade Zero early game guide.

Skill and Ability Priorities

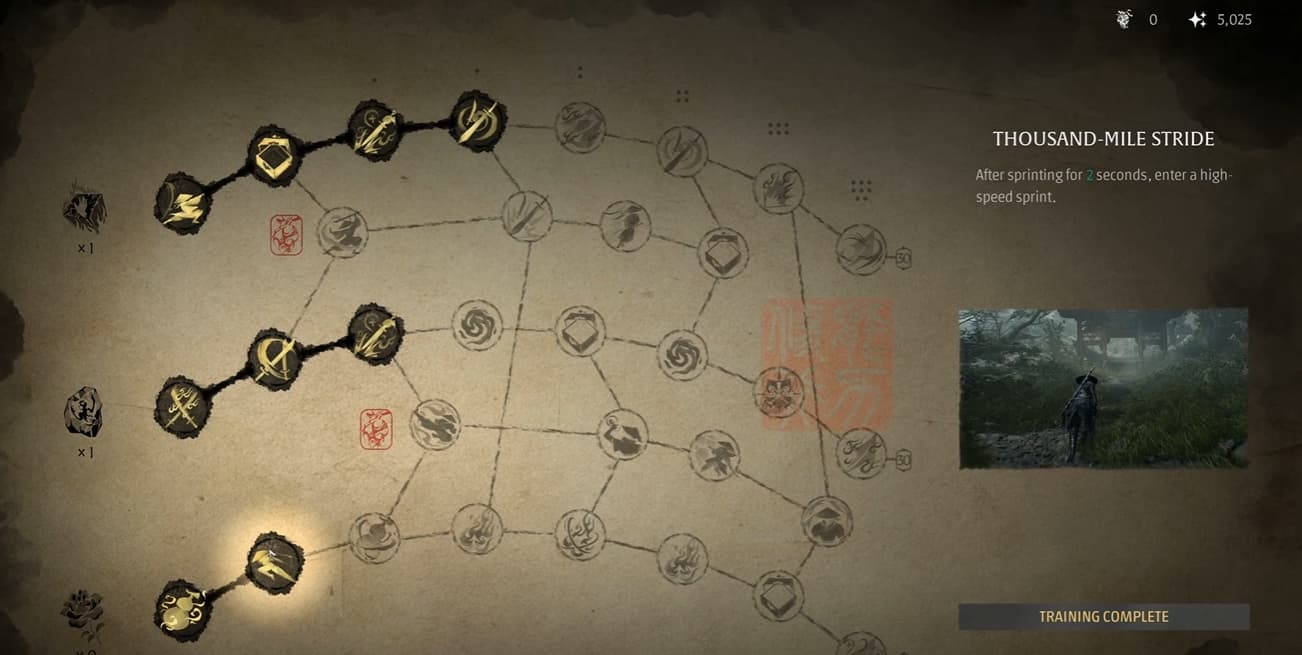
Build your supporting skills around survivability, resource recovery, and smoother weapon switching. The weapons provide the main combat mechanics, so your other upgrades should help you use them consistently.

Health and Sha-Chi recovery from assassinations and executions is useful when fighting multiple enemies. These effects help replenish resources as you move through encounters, while upgrades that increase your available healing give you more opportunities to recover during difficult fights.

Reducing your weapon-switching cooldown also supports the setup. You want to move from flying sword attacks to your secondary weapon when an opening appears, so easier access to weapon swaps helps you take advantage of stunned enemies.

Other useful upgrades improve follow-up attacks after dodging, parrying, or breaking an enemy’s guard. These effects reward the defensive actions and guard breaks that create opportunities to deal damage.

Additional accessory capacity rounds out the setup by giving you more room for useful bonuses. Combine these upgrades to maintain your resources and make transitions between the two weapons feel smoother.

How to Play the Build

Begin each encounter by finding enough space to drink safely. Once Tipsy, use flying sword attacks from a moderate distance to damage the enemy and deplete its Sha-Chi.

Enter the Drunk state when you are ready to commit to stronger ranged attacks. Keep its restricted movement and lack of manual blocking in mind, then use the Empowered Flying Sword Flurry when available to finish the sequence and return to Sober.

When the enemy becomes stunned, switch to the Scarlet Wrath Blade and use the opening for heavy attacks. Its Sha-Chi combos can create red spider lilies, adding further pressure through slowing effects, Sha-Chi depletion, and explosions. Once Scarlet Field is unlocked, manually detonate those flowers while enemies are within their area.

Stay flexible during longer fights. You can continue using The Fanatic’s Broken Blade when its ranged attacks are enough, or switch weapons when your Sha-Chi runs out. The goal is to recognise the opening in front of you and use the weapon that can take advantage of it.

For help recognising those openings in specific encounters, browse our Phantom Blade Zero boss guides.

With both weapons and the supporting accessories equipped, you have a complete early game setup built around ranged pressure, enemy stuns, and powerful follow-up attacks.

Comments

0

Video

Table of Contents

See More

Drunken Master Build Guide - Phantom Blade Zero
Updated on Nov 2, 2026
Village of Lu Collectibles and Map - Phantom Blade Zero
Updated on Nov 2, 2026
Phantom Blade Zero Collectibles Guide
Updated on Nov 2, 2026
Crimson Forest Collectibles and Map - Phantom Blade Zero
Updated on Nov 2, 2026
Weeping Creek Valley Collectibles and Map - Phantom Blade Zero
Updated on Nov 2, 2026

Like our guides?

Add Mobalytics as a preferred source on Google!