menu
MobalyticsUse your favourite features in-game with our Desktop App
Gamebase Guide

Phantom Blade Zero Combat Guide and Tips

Updated on Oct 29, 2026
Oct 29, 2026

Overview

Phantom Blade Zero combat rewards accurate parries, careful Sha-Chi management, and knowing how to respond to different enemy attacks. Learning to parry blue attacks, dodge red attacks, and recognise counterattack opportunities will help you handle difficult encounters without wasting your resources.

In this guide, we’ll cover seven practical combat tips, including how to practise your defensive timing, use weapon switching to recover Sha-Chi, choose the right combos, and turn successful defences into damage with Ghoststep.
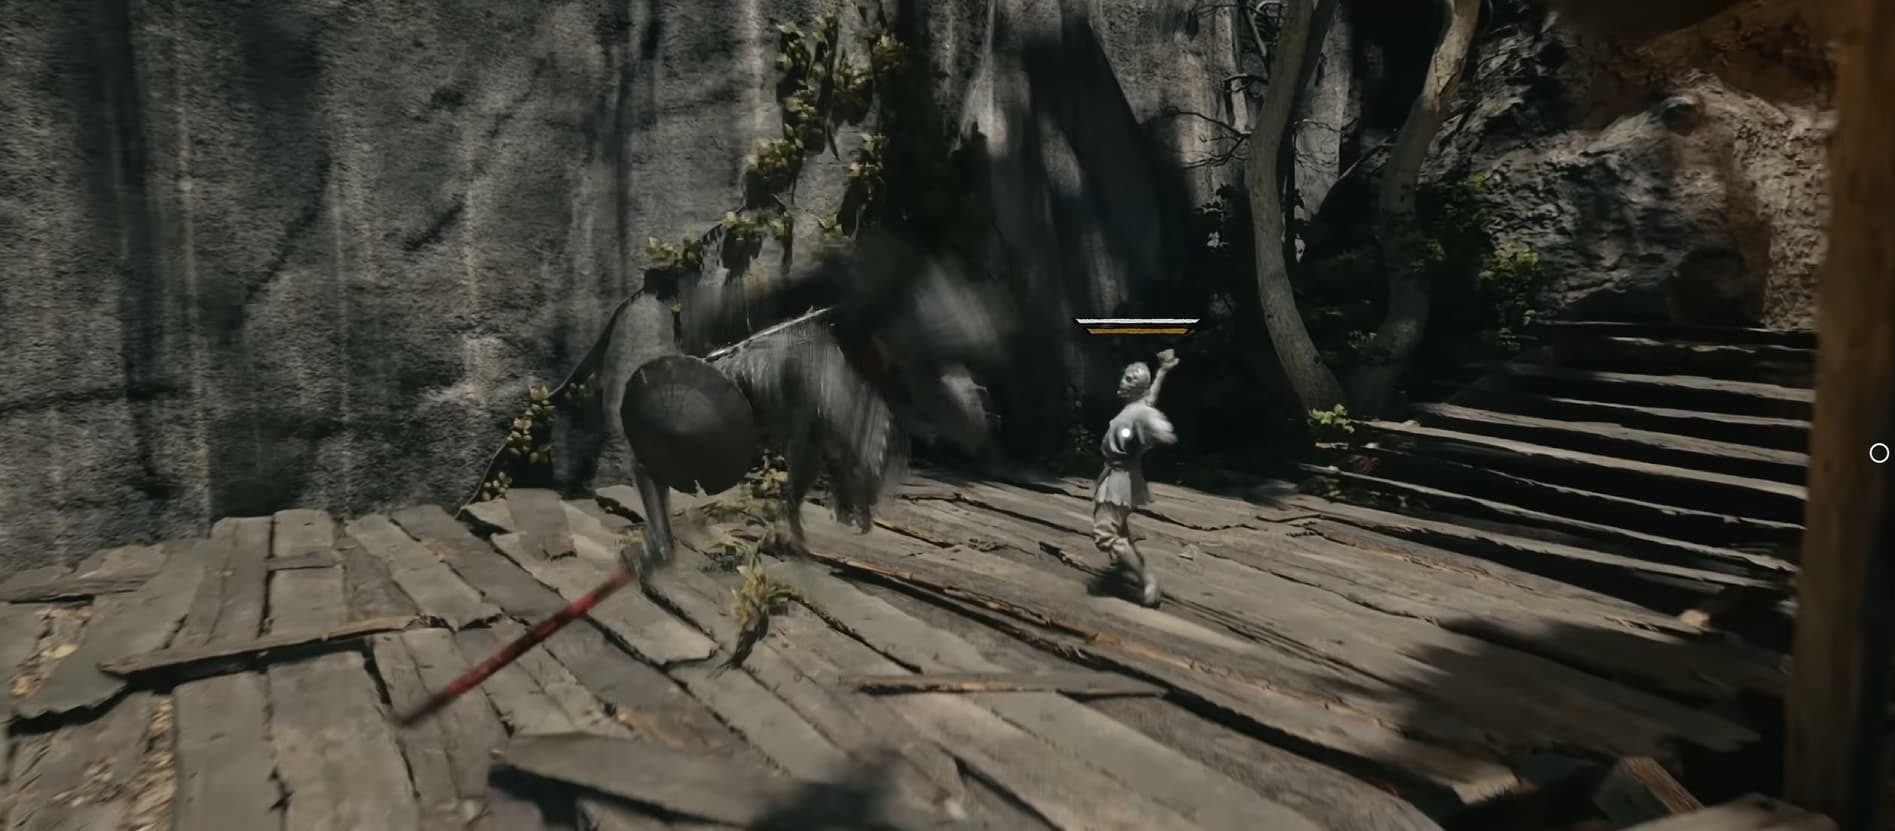
Practise Parrying Against Early Enemies

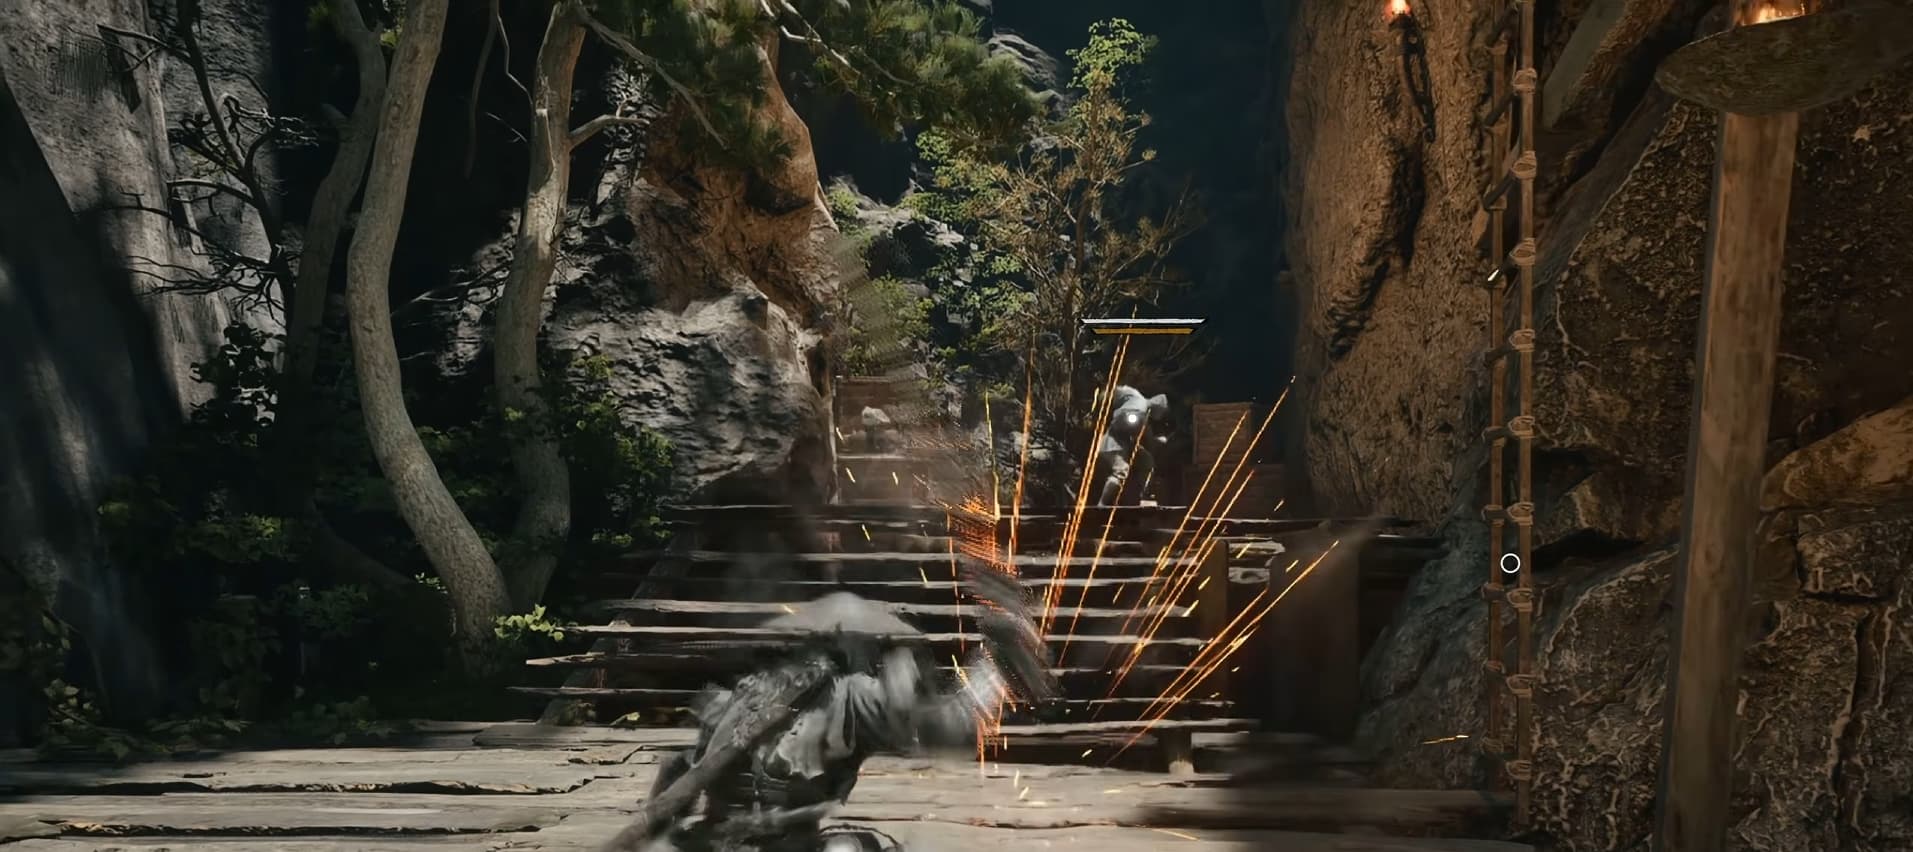
Practise parrying by timing your block input just before an enemy’s attack connects. Early encounters give you an opportunity to learn this timing before bosses start combining faster attacks and more demanding patterns.

Spend some time observing weaker enemies before defeating them. Watch how they prepare each attack, how long they pause, and when the strike actually reaches you.

Pay particular attention to:

  • Fast attacks: Short windups leave less time to recognise and answer the strike.
  • Delayed attacks: A long preparation can tempt you into parrying too early.
  • Attack combinations: Learn the rhythm of the entire sequence so you can respond to each hit.

Practise against different enemies, since getting comfortable with one attack pattern will only take you so far. The goal is to recognise when a hit is coming and respond consistently, even when the enemy changes its pace.

Improve Your Timing by Watching the Actual Attack

An enemy’s windup can make you react before the dangerous part of its attack begins. If you regularly parry too early, experiment with where you focus your attention.

One approach is to watch the enemy directly and learn its animations. Another is to focus slightly beside the enemy while keeping its movements in your peripheral vision. This may help you notice the actual swing or projectile release without reacting to every movement leading up to it.

Try both approaches during a familiar encounter:

  • Watch the enemy directly to learn its attack patterns and delays.
  • Shift your focus slightly beside it if those delays keep drawing out an early response.
  • Keep the incoming weapon or projectile in view so you can judge when it will reach you.

Peripheral vision is an optional technique, and some players will find direct focus more reliable. Use whichever approach helps you judge the moment of impact consistently.

Learn the Difference Between Blue and Red Attacks

Blue and red flashes tell you which defensive response an enemy’s attack requires. Recognising the colour quickly is especially useful when a dangerous move appears in the middle of a longer combination.

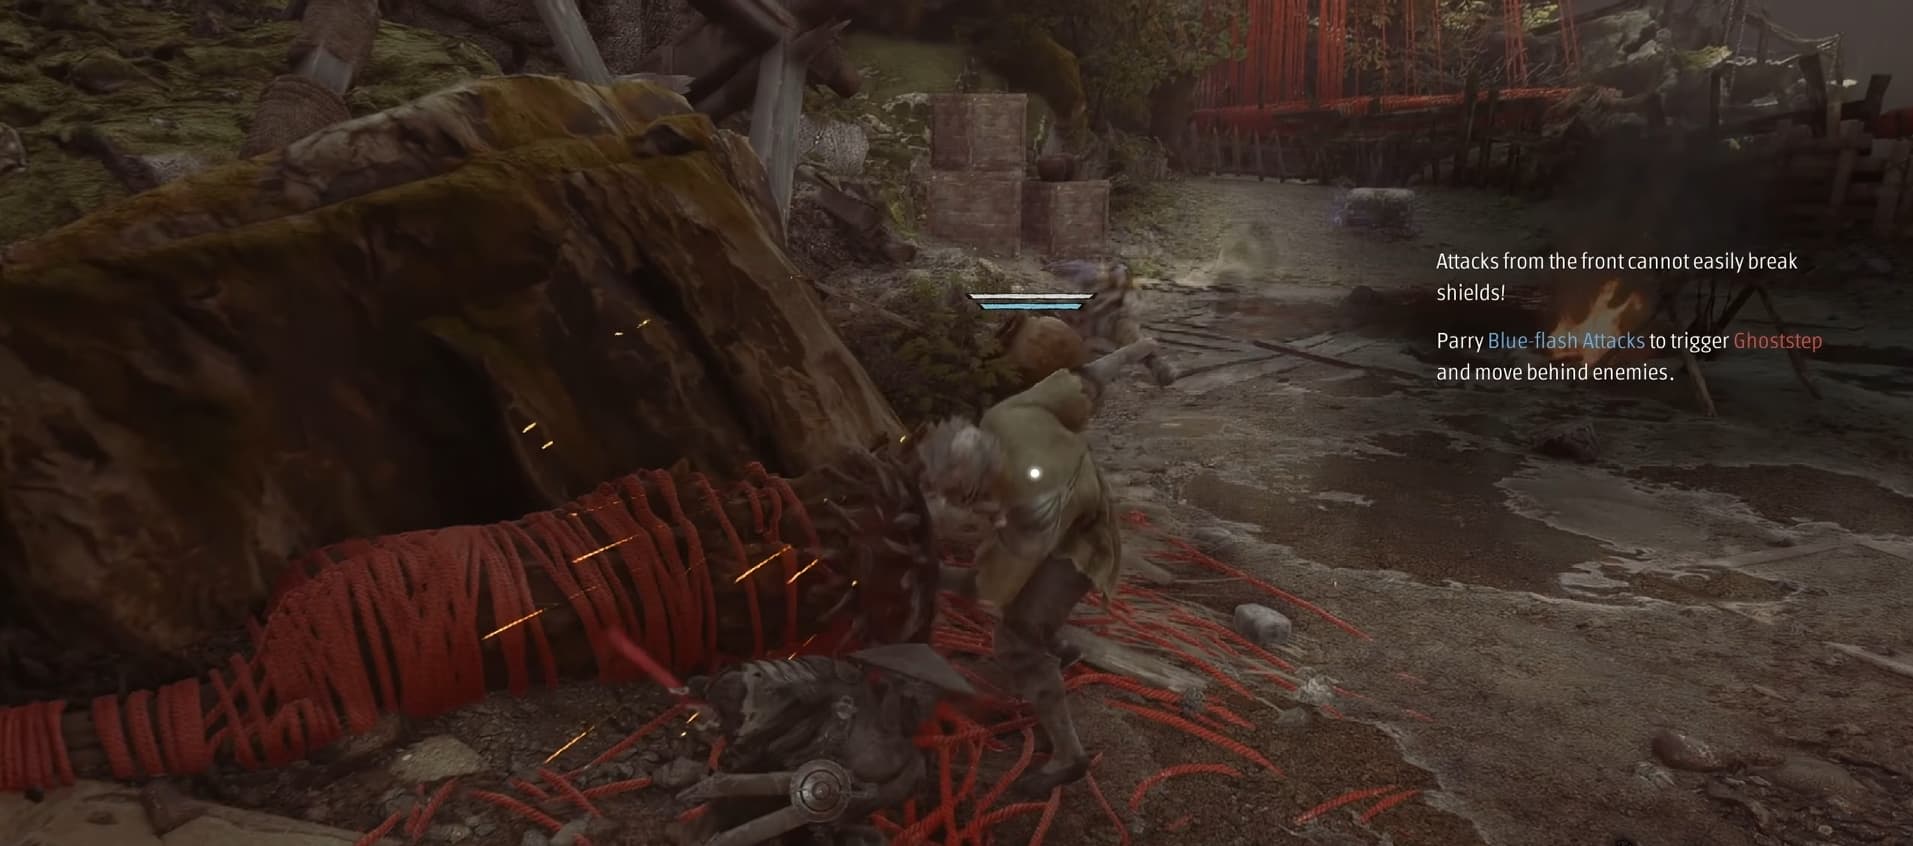
  • Blue flashes indicate Brutal Moves. You can block these attacks, but doing so consumes a large amount of Sha-Chi. A correctly timed parry avoids that heavy blocking cost.
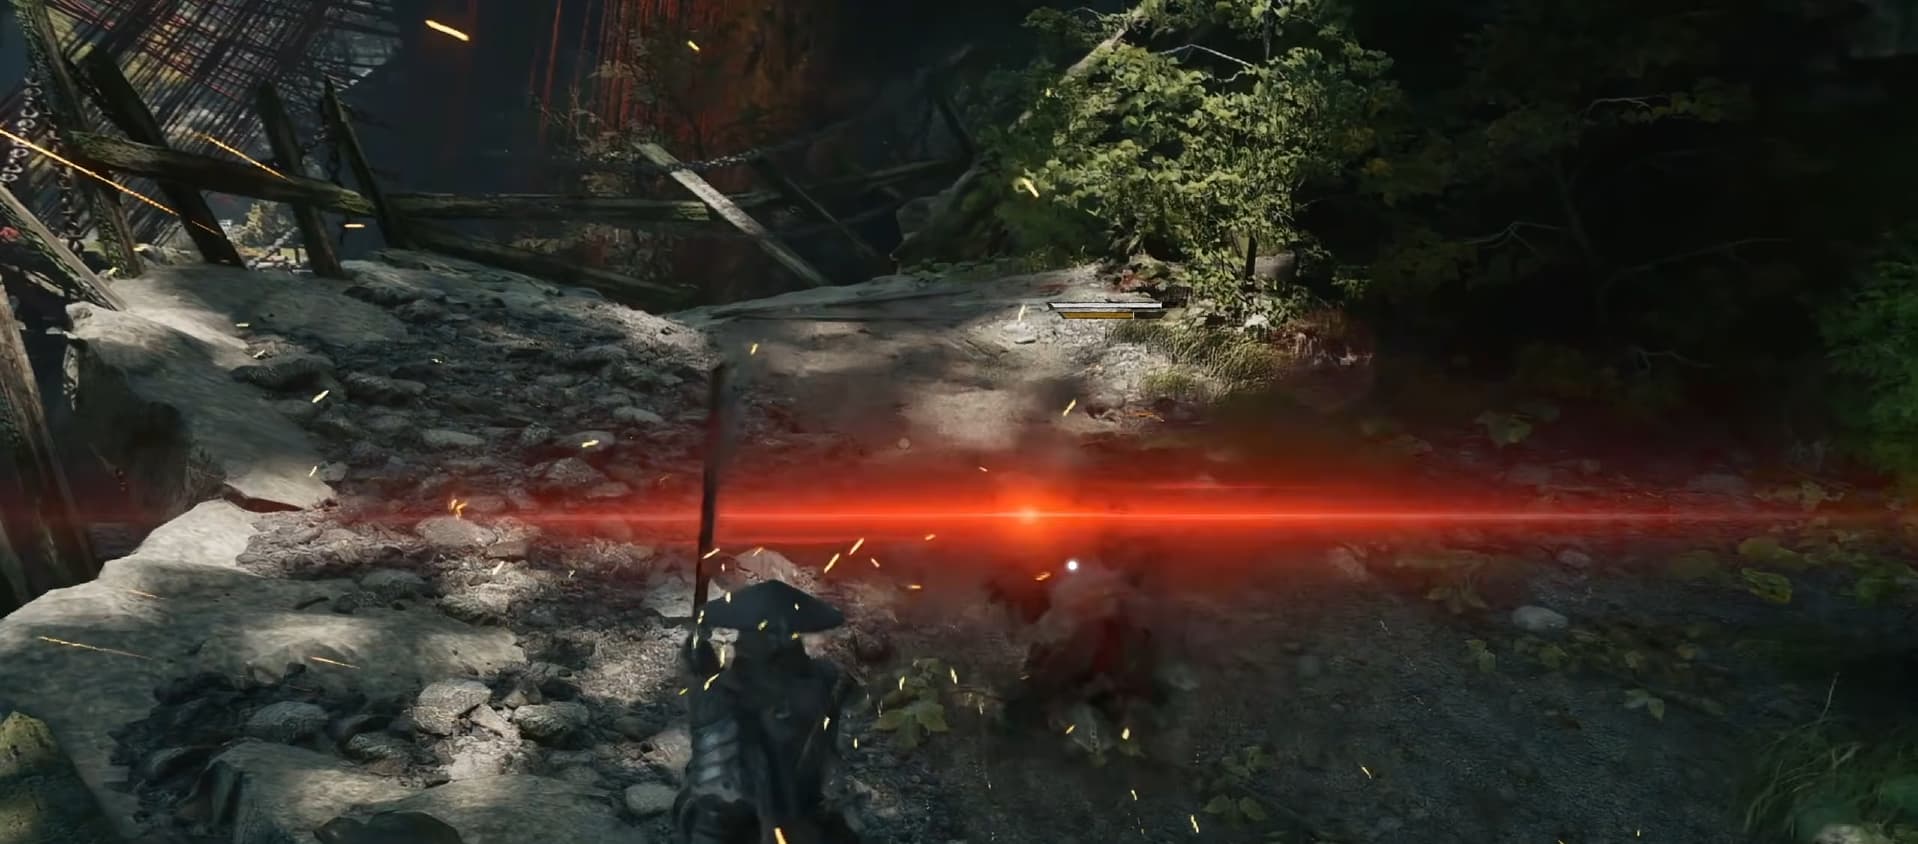
  • Red flashes indicate Killer Moves. These attacks cannot be stopped with ordinary blocking or parrying. You need to dodge them.

A directional dodge is not always necessary against a red attack. A correctly timed backstep can also avoid the hit, so practise its timing alongside your directional movement.

Watch for changes throughout an enemy’s attack sequence. Several ordinary strikes can lead straight into a blue or red attack, requiring you to change your response immediately.

Remember the basic rule: parry blue attacks and dodge red attacks, then learn the timing of each enemy’s version.

Manage Sha-Chi During Attack and Defence

Sha-Chi is a resource used for stronger attack sequences and guarding. Spending too much on offence can leave you short of the resources needed to block the next incoming attack.

Adjust your aggression to match your gauge and the opening in front of you:

  • With plenty of Sha-Chi: Use stronger combos when the enemy gives you a suitable opportunity.
  • With low Sha-Chi: Use standard attacks, which do not consume the resource, and focus on accurate defensive timing.
  • While under pressure: Watch how much your guard is costing and look for opportunities to parry or dodge appropriately.

Holding your guard also drains Sha-Chi, so spending an entire encounter blocking can create problems even if you are avoiding damage. Release your guard when you no longer need it and practise timed responses to familiar attacks.

Before committing to another expensive combo, consider what you may need to defend against next. Keeping some Sha-Chi available helps you maintain pressure without leaving yourself vulnerable.

Switch Weapons to Recover Sha-Chi

Switching between your equipped primary weapons can replenish Sha-Chi, giving weapon swaps an important role in resource management.

Once you have two primary weapons equipped, make swapping part of your combat routine. If your gauge is running low, a well-timed switch can help you recover resources and continue attacking when another opening appears.

A useful sequence to practise is:

  1. Attack while you have a safe opening and enough Sha-Chi.
  2. Check your remaining resources as the exchange develops.
  3. Switch primary weapons when you need to replenish the gauge.
  4. Continue with the new weapon while staying ready for the enemy’s response.

Learn the basic attacks and shorter combos of both weapons so you feel comfortable continuing after a swap.

If you only have one primary weapon available, manage your Sha-Chi through standard attacks and careful defence until weapon switching becomes an option.

Choose Combos That Fit the Opening

Choose your attack sequence according to the enemy’s recovery time and your available Sha-Chi. A brief opening may only allow a short burst of damage, while a longer recovery gives you more room to use a stronger combination.

Before extending a combo, consider:

  • The enemy’s next action: Is it still recovering, or already preparing another attack?
  • Your remaining Sha-Chi: Can you afford another resource-consuming sequence?
  • The available opening: Is there enough time to get value from the attacks you are choosing?

Keep watching the enemy while you attack. Chasing the final hit of a combo can distract you from an incoming strike, particularly when a boss changes its rhythm or introduces a blue or red attack.

Use shorter sequences while learning an unfamiliar encounter. As you recognise its safer openings, you can confidently add more attacks and stronger Sha-Chi combos.

Use Ghoststep to Create Counterattack Opportunities

Ghoststep can move you behind an enemy when you precisely time the correct defensive response to certain dangerous attacks. This gives you an opportunity to follow your successful defence with an attack.

The key responses are:

  • Against a blue attack: A precisely timed parry can trigger Ghoststep.
  • Against a red attack: A precisely timed dodge can trigger Ghoststep.

When you move behind the enemy, look for an immediate counterattack that fits the available opening. Keep your remaining Sha-Chi in mind before choosing a longer or more expensive combo.

Ordinary parries can also create opportunities to hit back. Pay attention to how the enemy reacts after each successful defence, and learn which responses give you enough time to punish it.

In your next few encounters, focus on recognising the attack, timing the correct defence, and landing a controlled counterattack. Add weapon switches and longer combos as you become more comfortable with that rhythm.

Comments

0

Video