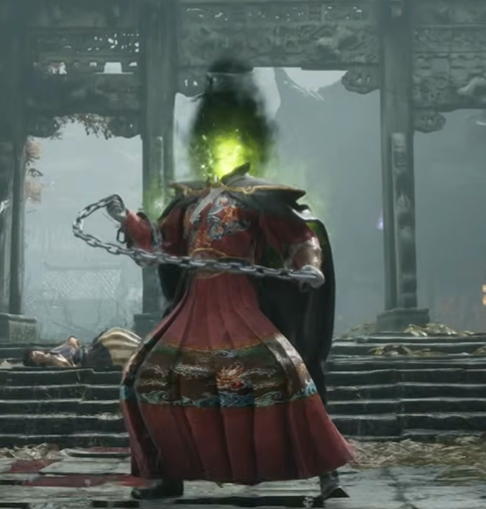
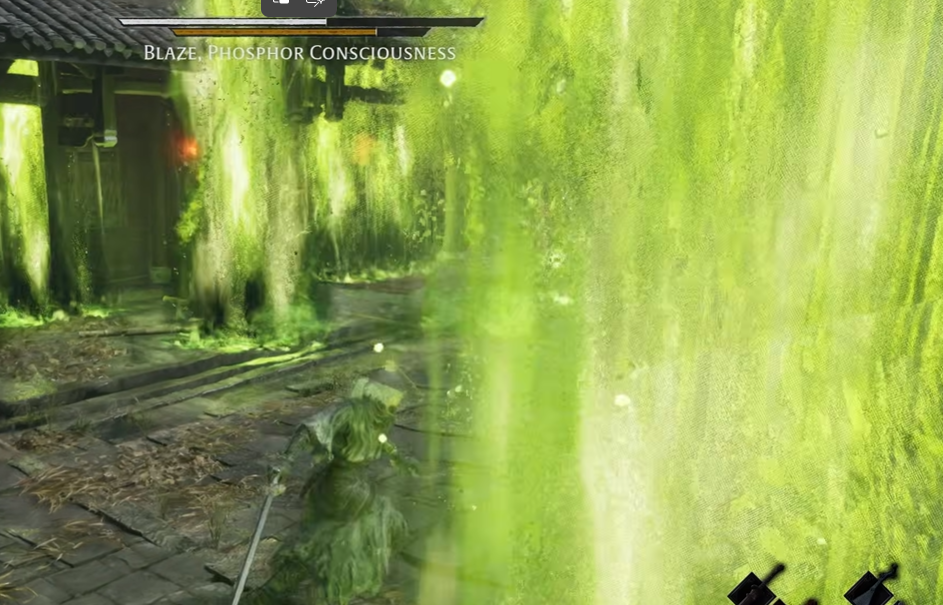
Blaze, Phosphor Consciousness is a two-phase boss encountered during the Town of Death section in Pangzhen. The fight begins against Blaze, Shadow Warden Captain, who uses a pair of chained meteor hammers, before transforming into Phosphor Consciousness for a much faster and more dangerous second phase.
The fight is heavily built around range control, chain attacks, Burn pressure, and knowing which attacks should be parried or dodged. Blaze has excellent reach in both phases, so standing at medium range is often more dangerous than staying either close to him or fully outside his attack range. All Things How
As with other multi-phase bosses in Phantom Blade Zero, once you defeat Phase One, dying in Phase Two will restart you directly from Phase Two, so you do not need to repeat the first half of the fight.
This guide was written and tested on Hellwalker difficulty.
Boss Mechanics Phase 1
Chain Attacks
Blaze's first phase is defined by the enormous reach of his meteor hammers.
He has several chained swings and spinning attacks that can cover much more distance than they initially appear to. Because of this, simply backing away is not always enough to avoid them.
Most of his normal chain attacks can be parried or blocked, but try not to sit at medium range where the end of the chain can still catch you. Once you learn the timing, staying closer to his side can actually be safer than repeatedly retreating.
Hammer Throws
Blaze can throw both meteor hammers forward in a straight line.
One of the more common versions throws them twice in succession. The first is easy enough to defend against, while the second gives you a strong parry opportunity and can deal significant Sha-Chi damage back to Blaze.
Do not immediately rush toward him after the first throw, since the follow-up can easily catch you while you are trying to close the gap.
Red Overhead Slam
Several of Blaze's normal chain strings can end in a Red Flash overhead slam.
Do not try to block or parry the final hit. Dodge the slam instead, then use the recovery afterward as one of your cleaner punish windows.
The lead-up can include several fast chain hits, so focus on maintaining your defense until you see the Red Flash rather than attacking too early.
Entangle Grab
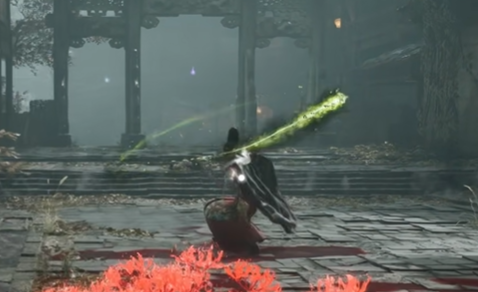
One of the attacks you need to recognize quickly is his chain grab.
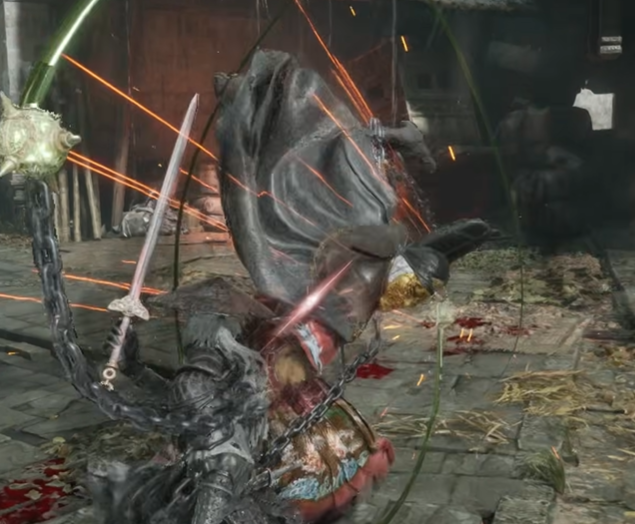
When the meteor hammers begin glowing green, Blaze is preparing to entangle you. If the chains connect, he drags you toward him and follows with a grab sequence.
Dodge sideways or backward as soon as you recognize the green glow.
This is not an attack you want to gamble on blocking, especially on Hellwalker.
Spinning Chain Attacks
Blaze also has several attacks where he spins the meteor hammers around himself while moving forward.
These can hit multiple times if you get caught inside the rotation, so do not try to trade through them.
Either move outside the radius or defend until the full spinning sequence has finished. Some versions transition into a leaping slam afterward, so keep watching him instead of assuming the attack is over as soon as the spinning stops.
Summoned Warriors
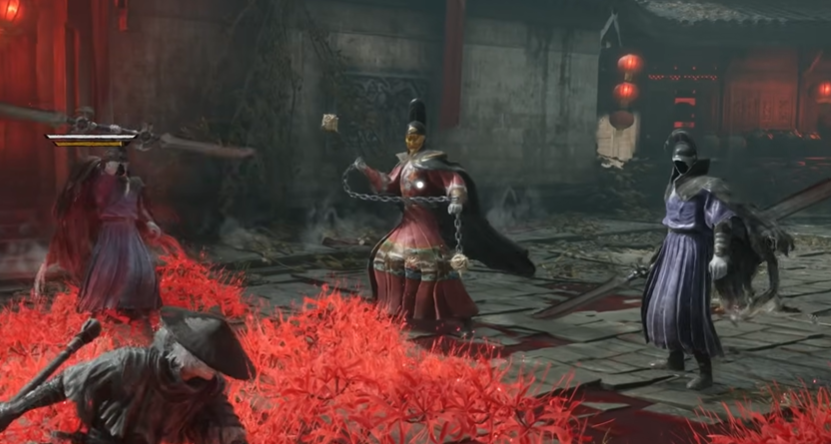
During Phase One, Blaze can summon two additional warriors into the arena.
If you decide to deal with them, focus one until you get the instant-kill opportunity. The execution can remove both adds together, which quickly returns the fight to a normal one-on-one.
If Blaze is already very low, you can also prioritize finishing the phase instead of spending too much time dealing with the summons.
Phase 1 Strategy
Phase One is mostly about respecting Blaze's range.
His attacks look slow because of the large meteor hammers, but the chains give him enough reach to punish careless spacing very quickly.
Do not overcommit after individual chain swings. Wait for the actual end of the string, especially after hammer throws or spinning attacks.
The easiest openings usually come after his Red overhead slam, successful Blue parries, and some of his longer spinning sequences.
Boss Mechanics Phase 2
After Phase One, Blaze transforms into Phosphor Consciousness.
He becomes much faster and starts relying heavily on phosphor fire, Burn buildup, falling projectiles, and more aggressive chain grabs.
The good news is that a lot of his new attacks have noticeable recovery windows once you know how to avoid them.
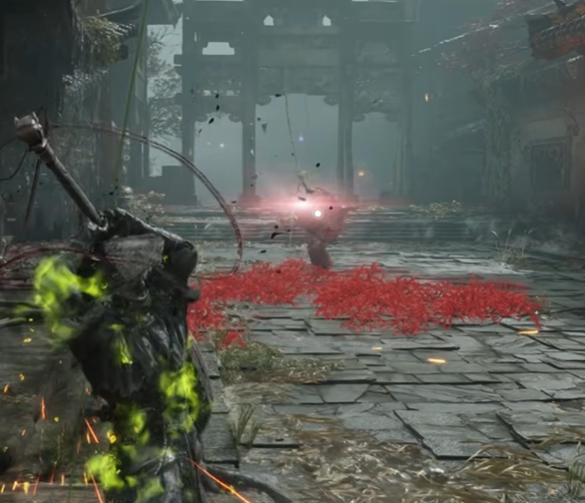
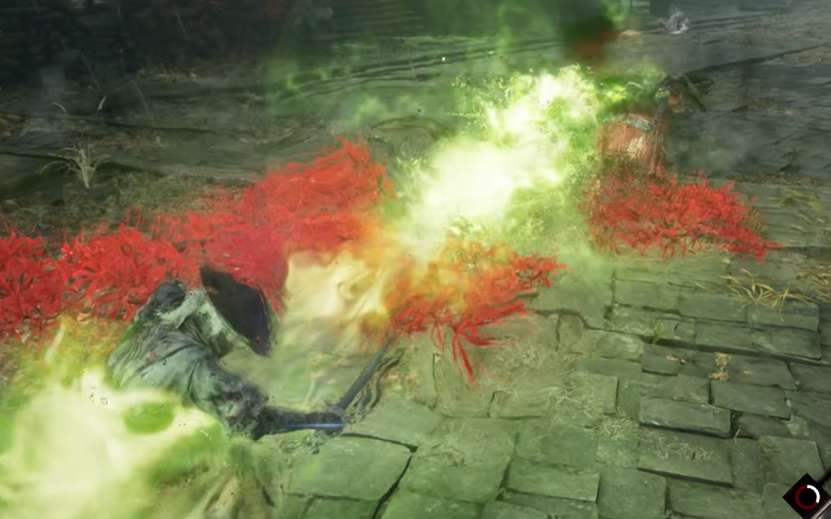
Phosphor Blast
Blaze can lower his head and fire a straight phosphor blast toward you.
Dodge sideways or backward rather than trying to defend through it.
The attack has a reasonably long recovery afterward, making it one of the better openings to move in and deal damage.
Falling Phosphor Attacks
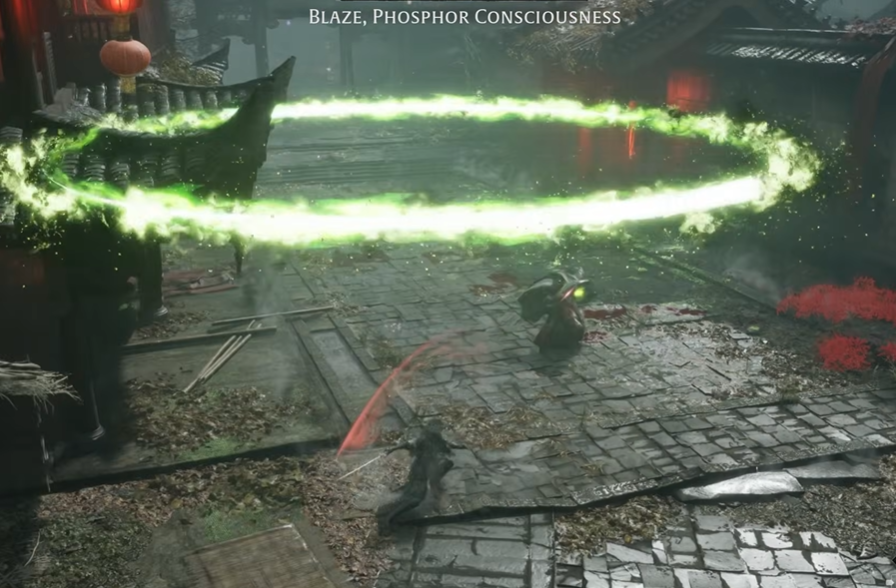
One of the most dangerous new mechanics is the appearance of marked circles and projectiles falling from above.
Do not try to dodge these at the very last moment while standing inside the marked area. Move completely outside the zone as soon as you see it forming.
Getting caught can deal enormous damage, especially on Hellwalker.
The easiest way to deal with this mechanic is to prioritize movement until the area is safe, then return to attacking Blaze.
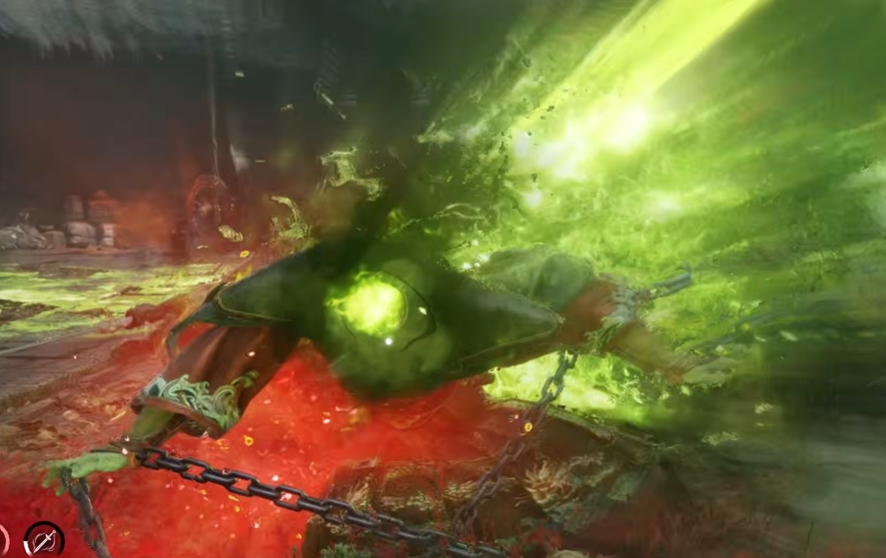
Enhanced Chain Grab
The chain grab from Phase One becomes much more dangerous here.
The green-glowing chains still signal the attack, but if Blaze catches you during Phase Two, the grab can end with a phosphor flame execution that deals massive damage.
Respect this attack completely.
If you see the green glow, stop attacking and dodge rather than risking another hit.
Green Fire Pressure
Blaze gains several attacks that leave green phosphor fire on the ground or across sections of the arena.
Do not stand inside these zones while trying to trade damage. Burn buildup can turn a relatively small mistake into sustained damage long after the attack itself has ended.
This is also where Flameward becomes particularly useful, since it reduces both Fire damage and Burn buildup.
Twin Chain Slams
Blaze can raise both chains overhead before bringing them down in front of him.
These attacks have good range but are easier to avoid if you move sideways as soon as you see him lift both arms.
Do not retreat directly backward unless you already have a lot of space, because the chains can still reach surprisingly far.
Phase 2 Strategy
Phase Two is much more dangerous, but it is also more predictable once you understand the new mechanics.
Play defensively while Blaze is using his meteor hammers, then become aggressive after his phosphor attacks, which tend to leave him exposed for longer.
The biggest mistakes are standing inside falling-circle zones, staying in green fire, or getting caught by the chain grab.
If you avoid those three things, the phase becomes far more manageable.
General Strategy
Preparation
If you have it, equip Flameward before the fight. It reduces Fire damage and Burn buildup, which becomes especially valuable in Phase Two.
I would also recommend keeping a fast weapon available. Blaze has several short punish windows after chain strings, while his larger phosphor attacks give you enough time for heavier damage if you recognize them quickly.
Do not waste all your resources trying to burst Phase One. Once Phase One has been defeated, you checkpoint directly into Phase Two on future attempts, so you can learn the harder half separately.
General Strategy
Blaze is a fight about spacing and patience.
In Phase One, focus on learning the range of his chains, parrying the easier strings, and dodging his Red attacks and grabs.
In Phase Two, shift more attention toward arena awareness. Get out of falling zones immediately, avoid phosphor fire, and never greed when you see the green glow of his chain grab.
The fight becomes significantly easier once you stop treating distance as automatic safety. Blaze can punish the middle range extremely well, so either stay close enough to read his animations or create enough distance that the chains cannot reach you at all.