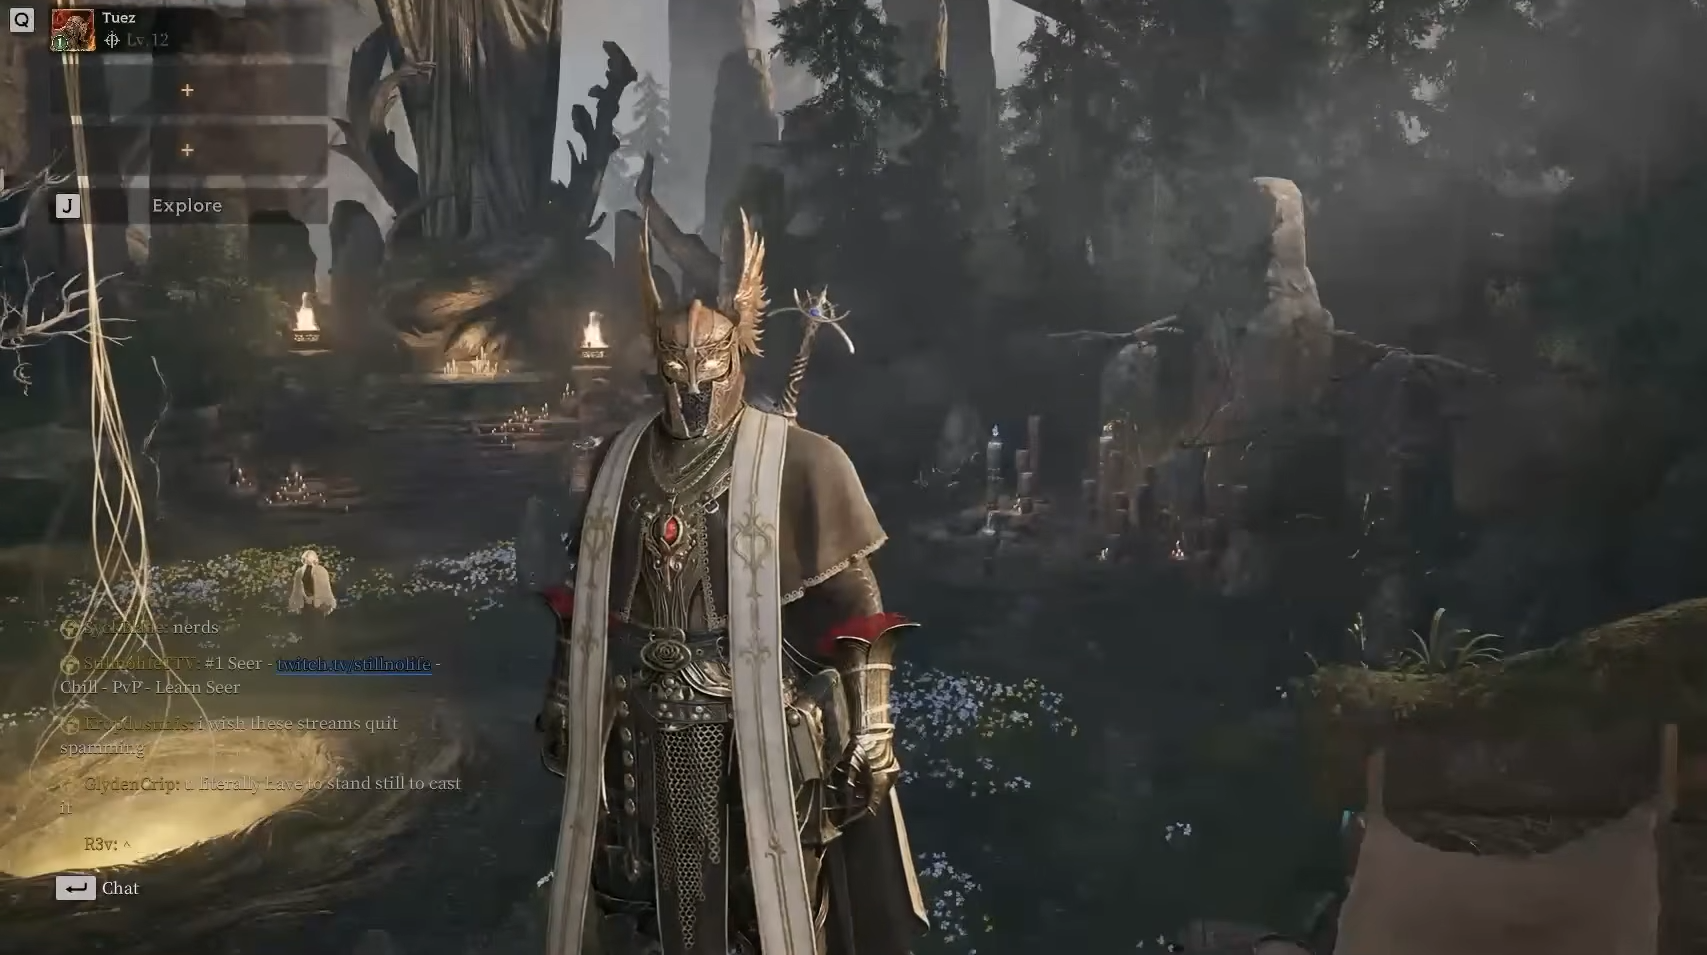
Withered Knight is one of the most durable and versatile classes in Mistfall Hunter. It can charge into fights with a Greatsword, control several enemies with wide attacks or protect an entire team using the Polearm and Shield.
Although the class looks like a traditional tank, playing it passively wastes much of its potential. A strong Withered Knight constantly moves between pressuring the enemy frontline, chasing vulnerable targets and returning to protect teammates.
This guide covers Withered Knight's core mechanics, both weapon sets, skill choices, talents, affixes and how its playstyle changes between solo and trio matches.
Made in collaboration with Tuezday. Tuezday is a Rank 4 Withered Knight on the NA servers. Check out his Youtube channel for builds and in-depth guides!
Withered Knight's main mechanic revolves around Judgment, Wither and Execute.
Normal attacks charge the weapon with Judgment. Once charged, Withered Knight can apply Wither to an enemy before using an executing attack to trigger the mark for additional damage.
Several skills and talents provide alternative ways to apply or execute Wither. This allows you to build the class around repeated executions, delayed area explosions or direct burst damage.
The important part is tracking which enemies are affected by Wither. Using an executing attack before applying the mark wastes a large portion of the class’s potential damage.
Greatsword Playstyle
The Greatsword is the more aggressive of Withered Knight's two weapon sets. It provides strong cleaving damage, several gap closers and multiple ways to execute Wither.
Its attacks are slower than those of Shadowstrix, but each swing can pressure several enemies at once. This makes good spacing and camera control extremely important.
Thorn Guide
Thorn Guide fires a tether that pulls an enemy towards you. If the target cannot be pulled because they are blocking or protected by a special state, you are pulled towards them instead.
This makes Thorn Guide one of the class’s best utility skills. It can:
Interrupt an enemy attempting to heal.
Pull a fleeing player back into melee range.
Remove pressure from a vulnerable teammate.
Close distance against targets that cannot be moved.
Joint Pierce slows enemies after they are pulled, while Grappling Hook allows Thorn Guide to interact with the environment. Both are useful, but neither is essential if you already use nearby enemies to reposition.
Radiant Retribution
Radiant Retribution performs three advancing slashes. It combines damage and movement, allowing you to chase an enemy without stopping your attack.
The skill is also excellent when several opponents dive you at once. Turning your camera during the animation lets you spread the slashes across multiple targets rather than attacking in a straight line.
Long Range increases the distance travelled, while Whiplash allows the final strike to execute Wither.
Breakthrough Charge
Breakthrough Charge begins with a forward dash and unlocks a second sweeping attack. It is one of Withered Knight's strongest and most widely used Greatsword skills.
The initial dash can engage, chase or escape. The follow up sweep can then be redirected towards the enemy, allowing you to dash away before immediately attacking anyone following you.
Dominance grants Super Armor during the sweep, while Cataclysm allows it to execute enemies affected by Wither.
Withering Mark
Withering Mark provides a direct way to apply Wither. It is a strong alternative to Thorn Guide for players who want to focus more heavily on the class’s execution mechanic.
Instant Wither allows the skill to execute a target already affected by Wither. Impalement makes the attack pass through enemies and improves its knockback, greatly increasing its value against grouped teams.
The choice between Withering Mark and Thorn Guide depends on your role. Withering Markprovides more direct offensive value, while Thorn Guide offers better control, healing interruption and protection for teammates.
Parry
Parry enters a defensive stance and unlocks a counterattack after successfully blocking an attack.
It can work against an enemy who has already committed to an animation, but experienced players can stop attacking and wait for the stance to end. Repeated hits can also break the Parry before you receive meaningful value.
Mercenary's defensive options are faster and can immediately stun an attacker, while Withered Knight's Parry gives opponents more time to react. It is usable, but generally less reliable than the class’s movement and control skills.
Polearm and Shield Playstyle
The Polearm and Shield sacrifices some of the Greatsword’s damage in exchange for blocking, crowd control and team protection.
It can be used as the main weapon in a dedicated defensive composition, but many trio builds only take one shield skill before returning to the Greatsword.
Intervene
Intervene dashes forward or towards an ally, staggering nearby enemies and applying a shield to teammates within its area.
It is one of Withered Knight's strongest trio skills because it can engage, disengage and rescue allies. The surrounding stagger also creates space immediately after you land.
Its three talents provide the following upgrades:
Guardian increases the shielding radius.
Swift Vanguard grants additional Movement Speed.
Succor marks a downed teammate and automatically revives them after a delay.
Enemies can attack the marked teammate to break Succor's revive. However, this forces them to move forward and take their attention away from the rest of the fight. You either recover your teammate or create an opportunity to punish the enemy attempting to stop it.
Intervene's shield is also useful against multi hit abilities such as Crow Storm. Casting it quickly can give an ally enough protection to escape before the final stun is applied.
Breaker Shield Bash
Breaker Shield Bash strikes in a cone and provides a ranged stagger while retaining the shield’s defensive properties.
It is particularly useful in solo matches, where Intervene loses most of its team focused value. The attack can be aimed across different elevations, making it reliable around stairs and uneven ground.
Off-Balance adds a slow, while Focus narrows the attack but greatly increases its range and reduces the target’s dodge distance.
Javelin Thrust
Javelin Thrust throws the Polearm before pulling you towards the target. It provides useful mobility, but overlaps with the gap closing already offered by Intervene.
Javelin: Heavy Kick follow up can also be inconsistent because the target has a brief opportunity to move before the kick connects. It is usable, but usually less reliable than Intervene or Breaker Shield Bash
Spear Barrage
Spear Barrage performs a series of rapid thrusts before knocking down the target. It offers useful crowd control and can affect grouped enemies.
Its main weakness is the lengthy animation. Once committed, you can be left exposed while the skill completes, making it risky against teams that can quickly punish you.
Rainbow Piercer
Rainbow Piercer charges forward with the shield raised before finishing with a Polearm thrust.
Although it provides movement and blocking, the animation can keep you away from the main fight for too long. It also competes with Intervene, which offers mobility alongside a shield, area stagger and team utility.
Sacred Bulwark
Sacred Bulwark creates a large barrier that blocks attacks and prevents enemies from passing through it.
The skill can become extremely durable with Defensive Shift and Unbreakable, but requires a dedicated shield setup and a team prepared to play around the barrier. Without that coordination, you may survive for a long time without placing meaningful pressure on the enemy.
Sacred Bulwark is most effective in specialised defensive compositions, including teams using two Withered Knights. It is not normally required for a standard Greatsword build.
Choosing Your Weapon Setup
Trios
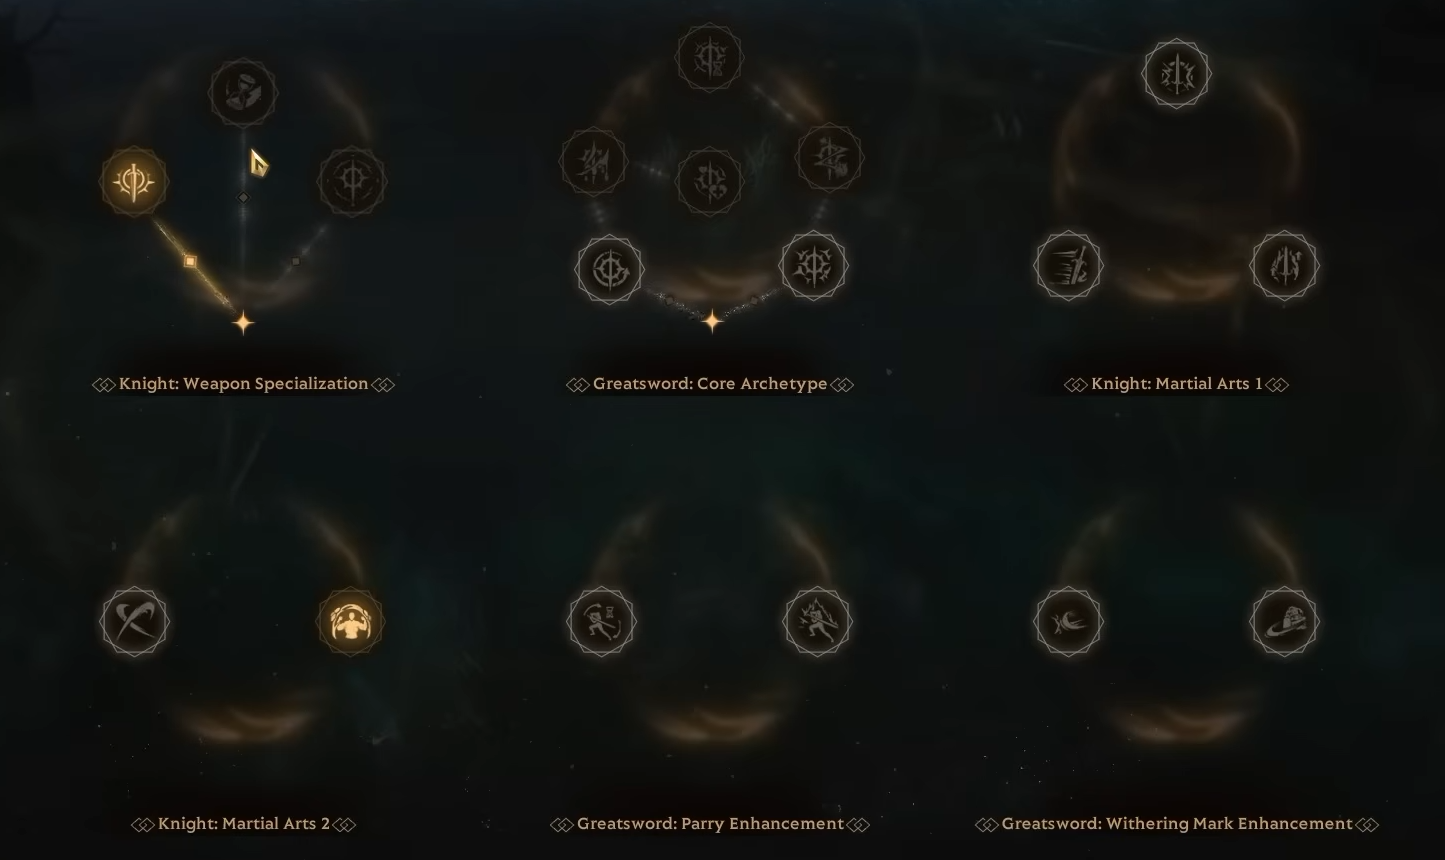
Greatsword Specialization is generally the strongest choice for an aggressive trio setup. It allows you to equip three Greatsword skills while keeping Intervene as your only Polearm and Shield ability.
A reliable trio setup is:
Thorn Guide or Withering Mark
Breakthrough Charge
Intervene
Radiant Retribution and Breakthrough Charge provide the build’s core damage and mobility. Your final Greatsword choice depends on whether you value Thorn Guide's control or Withering Markdirect access to Wither.
Intervene loses much of its value when there are no teammates to shield or revive. Breaker Shield Bash is a strong replacement because it provides range, stagger and additional chase potential.
Seeker also becomes more useful in solos, where there are fewer nearby targets and players have more room to disengage.
Full Shield Builds
Polearm and Shield Specialization can work in coordinated defensive teams, but it significantly reduces your offensive pressure.
Full shield builds are extremely difficult to kill, especially with Sacred Bulwark. However, surviving alone is not enough if the enemy can ignore you and focus your teammates.
A reliable all round Withered Knight setup uses the following eight talents:
Greatsword Specialization – Provides a third Greatsword skill slot at the cost of one Polearm and Shield slot.
Long Range – Increases the displacement distance of Radiant Retribution.
Whiplash – Allows Radiant Retribution's final hit to execute enemies affected by Wither.
Dominance – Grants brief Super Armor during Breakthrough Charge's sweeping follow up.
Sacred Body – Increases Magic Resistance, helping you survive against magic heavy teams.
Guardian – Increases the radius in which Intervene applies its shield.
Swift Vanguard – Grants additional Movement Speed to allies affected by Intervene.
Succor – Using Intervene on a downed ally places a Redemption Mark on them, protecting them from execution and potentially reviving them.
Alternative Talent Paths
These talents are alternatives and are not taken alongside all eight talents listed above:
Endless Flow (Weapon Specialization) offers additional Skill Cooldown Speed while allowing you to keep two skills on each weapon.
Crimeand Bad Karma create a single target Wither setup focused on repeated executions and stacking debuffs.
Legacy provides additional sustain by restoring Health when Withered enemies die.
Reprieve and Collective Punishment create an area damage path that spreads Wither between grouped enemies.
Seize Opportunity allows a Greatsword skill to branch into Pursuit, offering a more aggressive alternative to Sacred Body.
Best Affixes for Withered Knight
Reliable Core Affixes
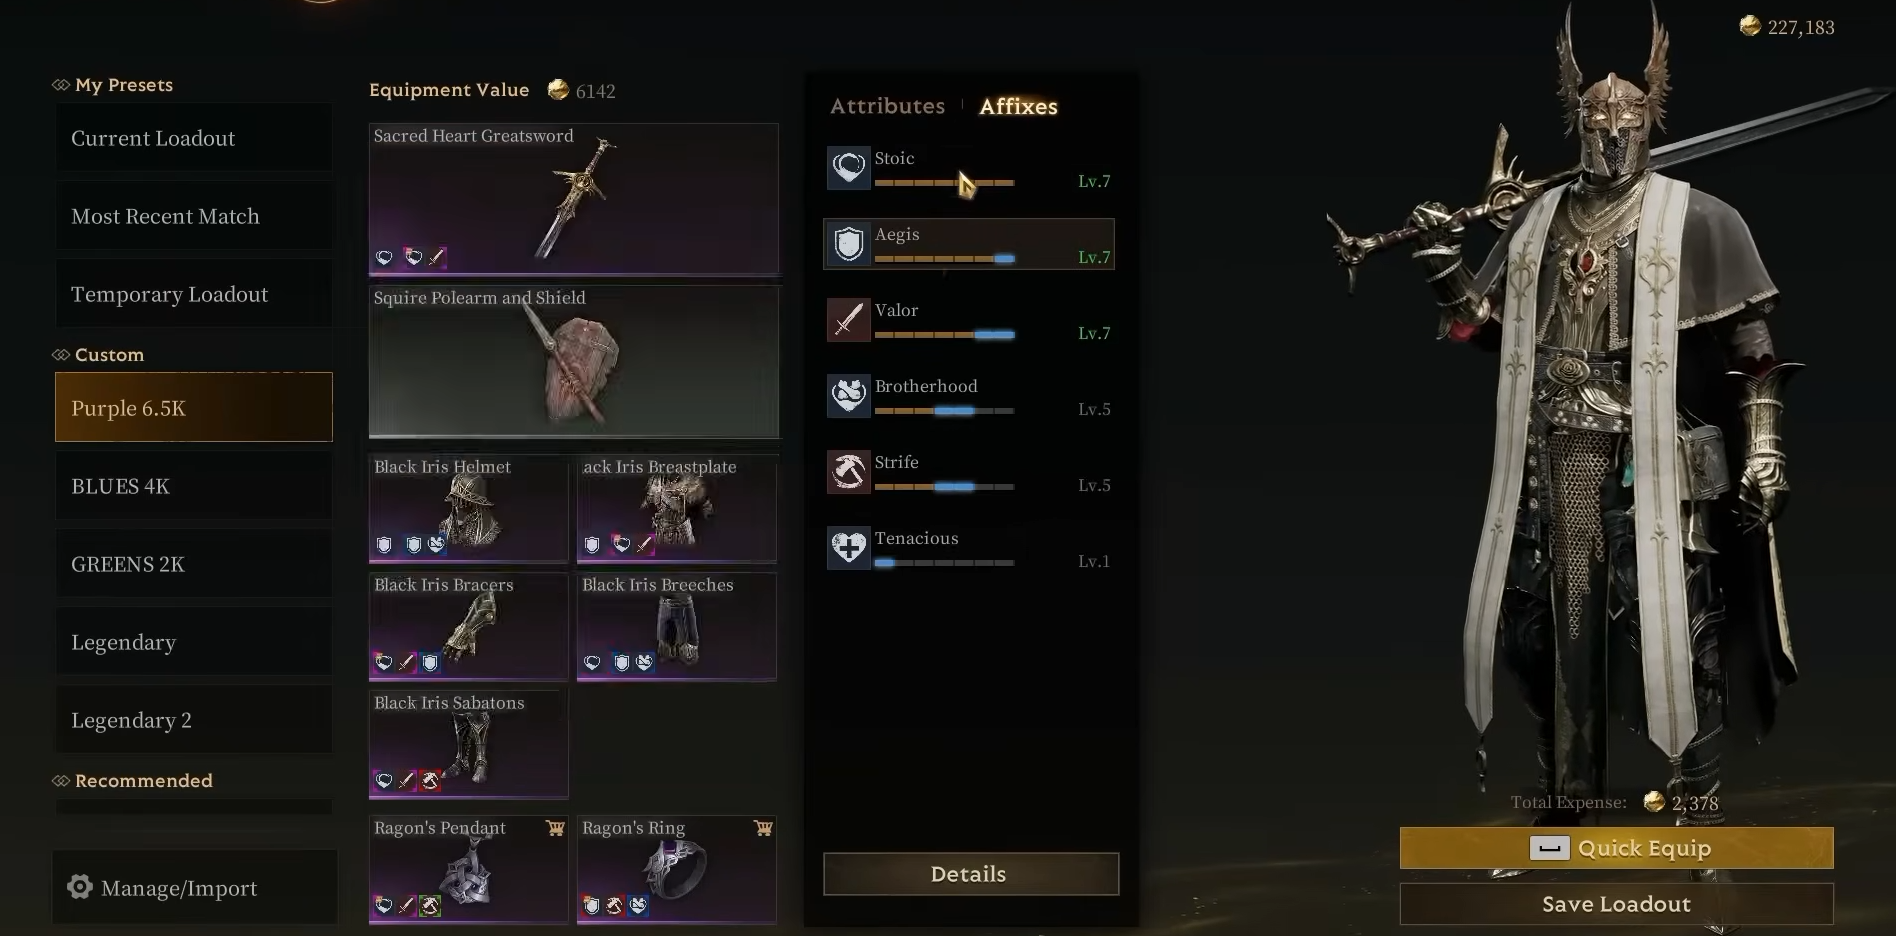
Aegis should be the foundation of most Withered Knight's builds. Defense helps against both Physical and Magic Damage, making it more dependable than preparing for only one damage type.
Valor is the most consistent offensive choice. It increases Attack and unlocks Defense Penetration at level 5 without requiring any special condition.
Trio Affixes
Strife increases your damage while multiple enemies are nearby. Withered Knight naturally activates it by fighting in the middle of enemy teams.
Brotherhood grants Attack and Defense to you and your allies. It is especially valuable in organized trios because all three players benefit from its bonuses.
Unyielding is the defensive equivalent of Strife. It increases your resistances while several enemies attack you, making it extremely strong in high level trio matches.
Defensive Affixes
Stoic provides Physical and Magic Resistance alongside a 15% Health restoration effect. This offers far more immediate value than simply adding a small amount of maximum Health.
Tenacious increases maximum Health and can improve Stoic's percentage based healing. The combination works, but investing heavily into direct Defense and resistances is generally more efficient.
Situational Affixes
Seekerprovides Movement Speed and is more useful in solos. In trios, Withered Knight already has several gap closers and plenty of nearby targets.
Seamless improves Skill Cooldown Speed. This can be useful, although cooldown reducing consumables provide similar value without using several affix levels.
Wrath greatly increases damage while below 50% Health. Withered Knight can survive at low Health for a surprisingly long time, but Wrath is less reliable than Valor or Strife.
Burst can be effective against PvE bosses, where you have time to apply Wither and land heavy attacks. It is much less consistent in PvP.
Fervor is poorly suited to the Greatsword because its slower attacks cannot build stacks quickly. Fervid requires you to remain at maximum Health, which is unrealistic for a frontline class.
Gearing and Equipment Value
Equipment Value is used when matching you against similarly geared players. The amount you pay for an item does not affect this value, meaning an expensive auction purchase can still have the same matchmaking value as a cheaper item of the same type.
Do not equip Legendary pieces purely because they are Legendary. An Epic item that completes an important affix breakpoint may provide everything the build needs while keeping its cost and Equipment Value lower.
Weapon affixes only provide value while that weapon is active. A Greatsword focused build that only swaps to the Polearm and Shield for Intervene can therefore use a cheaper shield without losing its main combat bonuses.
When creating multiple loadouts, try to build them around a similar Victory Wine. This makes replacing lost gear quicker and prevents you from accidentally consuming the wrong wine after switching setups.
Withered Knight Tips & Tricks
Track which enemies are affected by Wither before using an executing attack.
Rotate during Radiant Retribution to spread its slashes across several enemies.
Use Breakthrough Charge to disengage before turning the follow up sweep back towards your pursuers.
Pull healing enemies with Thorn Guide to interrupt them and prevent their escape.
Do not chase so far that you can no longer Intervene back to your teammates.
Save Intervene for enemy engages, dangerous multi-hit abilities or a downed ally rather than spending it as a basic movement skill.
Pressure enemies attempting to break Succor's Redemption Mark.
Avoid activating Parry without reading the opponent’s attack. Experienced players will simply wait for it to end.
Use Breaker Shield Bash instead of Intervene when playing solo and looking for more direct pressure.
Prioritize Defense and survival when entering Epic and Legendary matches. Strong players will focus the frontline together, making Stoic and Unyielding more valuable than a small amount of extra damage.
Build around affix breakpoints rather than trying to wear a complete set of one rarity.
Remember that Withered Knight is a frontline controller, not just a shield. Your job is to create space, disrupt enemies and protect your damage dealers while remaining threatening yourself.



 Withered Knight is one of the most durable and versatile classes in Mistfall Hunter. It can charge into fights with a Greatsword, control several enemies with wide attacks or protect an entire team using the Polearm and Shield.