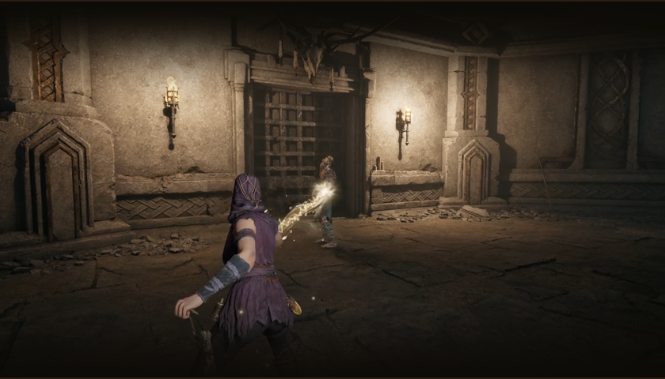
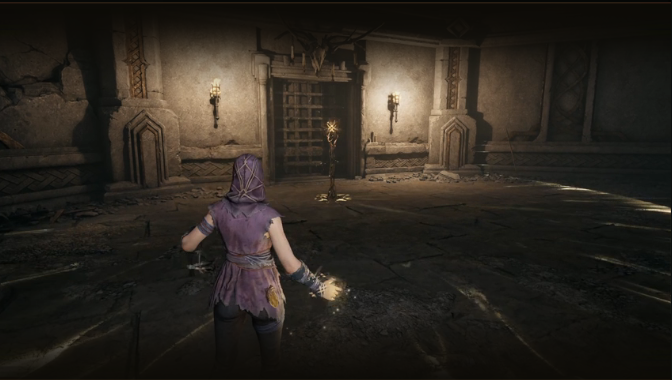
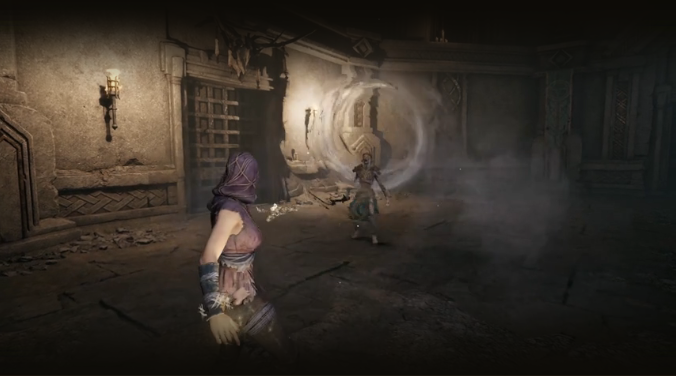
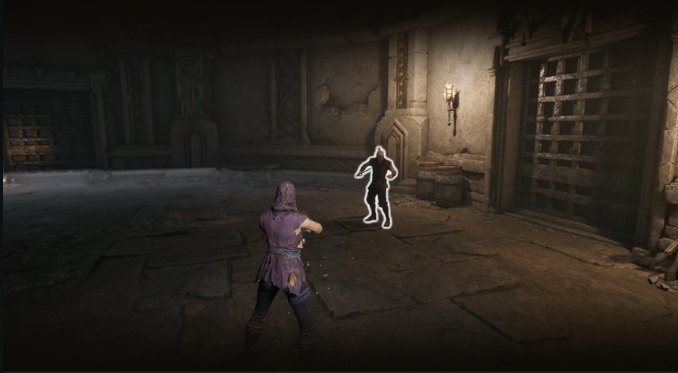
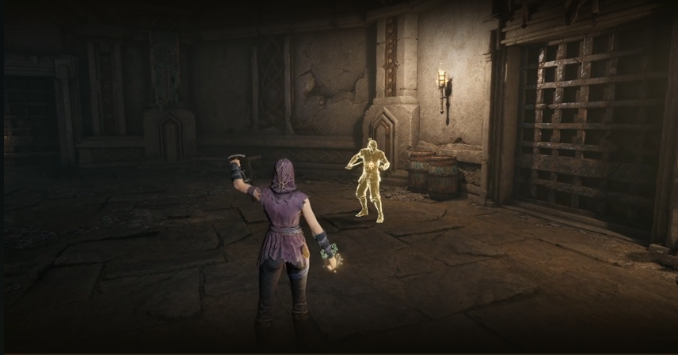
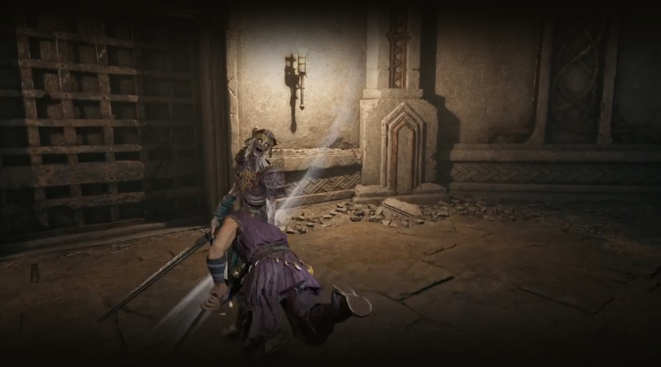
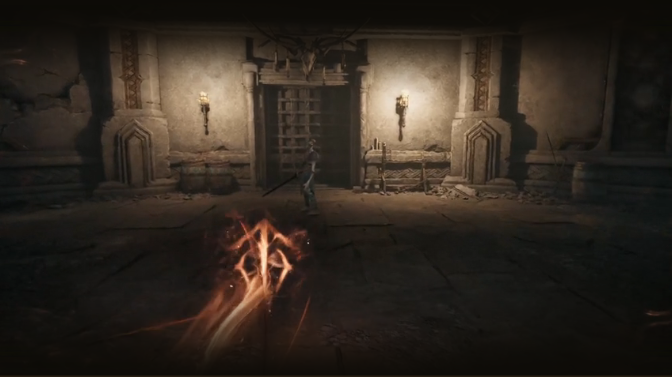
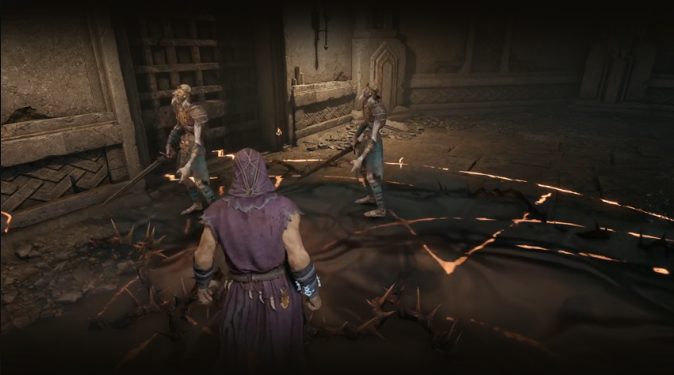
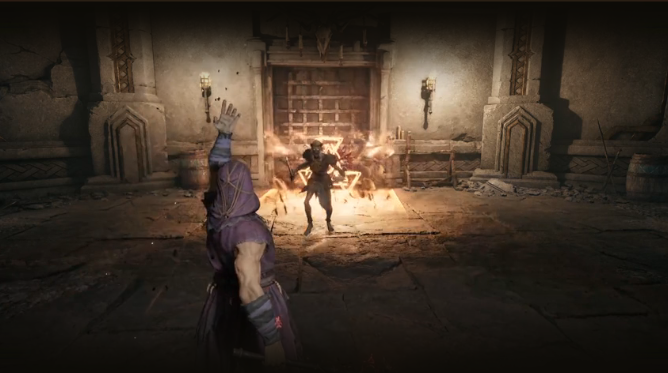
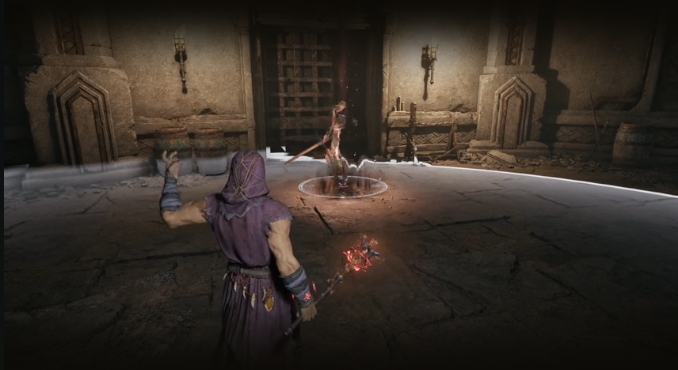
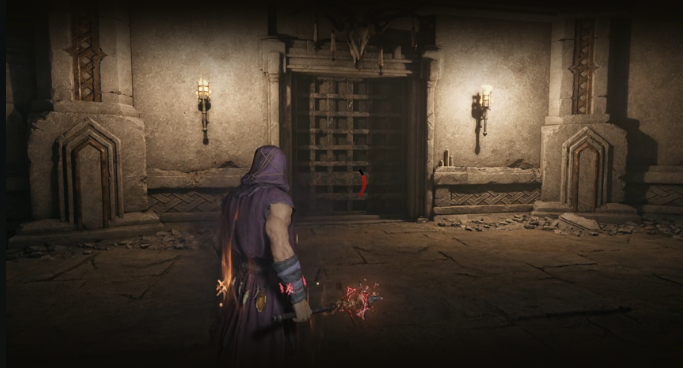
The Seer draws strength from their faith in the return of the gods, using prayers and divine arts to heal, protect, and support allies. Seers provide versatile support and control, though they can struggle when overwhelmed or locked down.
This class is the closest of all the Mistfall Hunter classes to a cleric, and features two distinct and unique build paths:
Reverent allows for a support playstyle, allowing the Seer to heal allies and place supportive runes using the Catalyst weapon.
Blasphemer uses a Mace and has a disruptive offensive playstyle, which is the better Solo option for the Seer.
The Seer has a unique identity as the support and control Class in Mistfall Hunter. Its specific strengths and weaknesses depend on which path you choose (Reverent or Blasphemer).
Whichever path you choose, you'll need to make the most out of your unique Skills, allowing to save teammates and disrupt enemies alike. The Seer excels at controlling the battlefield and tiding the course of PvP encounters.
Rewarding to learn. The Seer is great in most Trio setups, making it a solid class choice in multiplayer.
Potent Skills that can turn the tide of battle if used at the right time
Reverent is the only healing playstyle in the game, and a great addition to most Trio teams.
Blasphemer has access to drain mechanics and has tools to catch kiters. Excels in burst windows.
Not recommended for beginners. The Seer has a unique playstyle requiring more setup and Skill use than other classes.
Can't switch between Reverent and Blasphemer in a match; must choose beforehand.
Reverent path depends on teammates to protect them, due to their low damage and lack of defensive tools.
Blasphemer can be hard to use due to their long cooldowns and niche Skills.
Reverent Skills
The Reverent Seer Skills are divided into two categories: Runes and Divine Arts.
You can equip up to 3 runes. During a game, selecting a Rune modifies the effects of Rune Summon. Divine Arts function like regular Skills, each granting different effects. Some runes and divine arts are mutually exclusive, allowing only one to be equipped at a time.
Psionic Orb
Psionic Orb is the Reverent Seer's light attack. Firing and hitting Psionic Orb accelerates Psionic Energy recharge. (Psionic Energy is needed to use Rune Summon)
Psionic Orb can be charged by holding down the button, dealing higher Damage, Impact, and Range.
Rune Summon
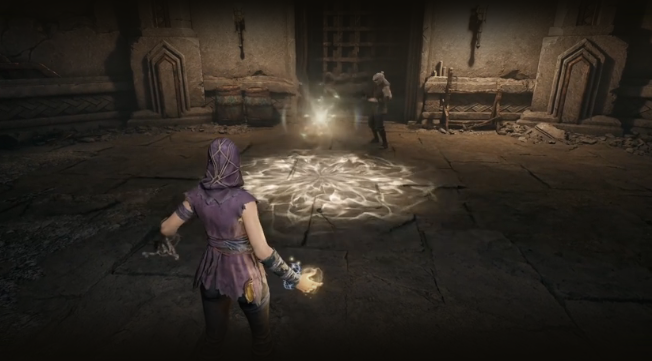
Rune Summon creates a Rune Pillar at the currently selected rune at the target location. It requires Psionic Energy to be used, which recharges over time and when using Psionic Orb.
The Rune Pillar is considered a Construct: It has a limited uptime and can be attacked and destroyed by enemy attacks.
There are various runes that modify Rune Summon, granting it different effects:
Punishment Rune
Punishment Rune continuously attacks the lowest HP enemy in range, prioritizing enemy players over monsters. It is used as a main damaging tool.
Healing Rune
Unlocks at Level 3
Healing Rune recovers Health for all allies in range. It has limited uses per match.
Shelter Rune
Unlocks at Level 3
Shelter Rune shields all allies in range, making it useful against Area-of-Effect Skills and when initiating fights. The lowest health ally in range receives a continuous Shield as well.
Stealth Rune
Unlocks at Level 10
Stealth Rune grants Stealth to all allies in range, which persists even after taking damage. Useful when fighting in enclosed environments.
Burst Rune
Burst Rune deals magic damage upon impact in a reduced area, and recovers Psionic Energy for each player hit. Enemies hit are marked, dealing further Magic Damage and staggering enemies after a few seconds. It's a great offensive tool, but unreliable to use.
Binding Rune
Unlocks at Level 5
Shortly after summoning, Binding Rune immobilizes all enemies in range and prevents them from jumping for a time. Restores Psionic Energy for each player immobilized. Great defensive tool against melee threats.
Intimidation Rune
Unlocks at Level 4
Intimidation Rune immediately summons a Rune Pillar in front of the Seer, dealing Magic Damage and knocking back nearby enemies. It is one of its best defensive and peel options, since it deploys instantly and does not consume Psionic Energy on cast.
Windwalker Rune
Unlocks at Level 7
Windwalker Rune increases dodge distance for all allies in range, and reduces dodge distance for all enemies in range. It's situational, but great against Area-of-Effect Skills.
Divine Arts
Divine Arts function like regular Skills in other Classes, and are activated with the usual Skill buttons.
Wind Surge
Wind Surge launches a cyclone in the target direction, dealing Magic Damage and knocking back all enemies hit. It is a reliable damaging and peeling tool against melee enemies.
Healing Art
Healing Art restores HP to all allies near the Seer. It has limited uses per match.
It functions as an additional Healing option to Healing Rune.
Healing Art cannot be selected when Psionic Shield is also equipped.
Blinding Rune
Unlocks at Level 4
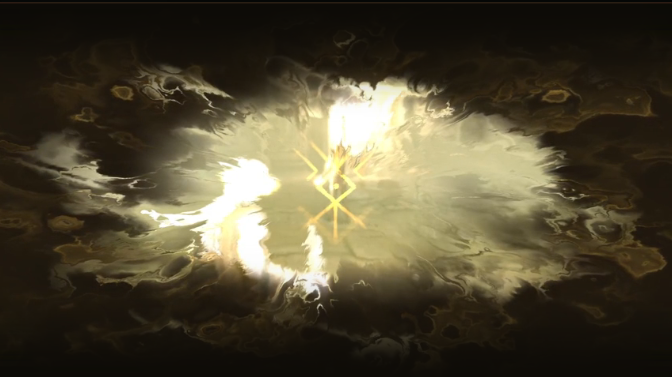
Summons a Blinding Rune at the target location. After a brief delay, all enemies facing the Rune will have their screen obstructed, like in the screenshot below:
It can be tricky to place, so make sure to aim correctly. You can place the Blinding Rune behind you and your teammates to guarantee it hits all enemies facing your team.
Psionic Shield
Psionic Shield grants a Shield to all allies near the Seer. Shield value scales with player Attack.
It can store multiple charges, making it a great defensive option among all Divine Arts.
Psionic Shield cannot be selected when Healing Art is also equipped.
Death Ward
Unlocks at Level 7
Death Ward provides Super Armor and prevents death to all allies near the Seer.
It is useful when facing teams with high crowd-control and burst damage, allowing your team to change the course of battle when used at the right time.
Blasphemer Skills
The Seer's Blasphemer Skills are divided into three categories: Runes, Divine Arts, and Unleash Zeal
You can equip up to 3 runes. During a game, selecting a Rune when Curse Mana is full turns Rune: Heavy Strike into Rune: Enchanted Heavy Strike, granting additional effects based on the Rune currently selected. Divine Arts function like regular Skills, each granting different effects.
Unleash Zeal acts as a battle buff for the Seer only that increases Attack and Defense, but prevents the natural regeneration of Curse Mana.
Rune: Heavy Strike
Leaps forward, dealing Physical Damage to enemies hit. When Curse Mana is full, Rune: Heavy Strike is enhanced with the effects of the Rune currently selected. The Runes available are:
Rune: Drain
Rune: Drain deals Magic Damage to enemies hit and restores HP based on damage dealt. Also reduces target's Attack for a short time. Great dueling option against melee DPS classes like Mercenary and Withered Knight.
Rune: Sweep
Unlocks at Level 5
Rune: Sweep deals high Magic Damage in a 360-degree sweep forward. It is a better burst option than the other Runes in the Blasphemer's kit.
Rune: Ankle Cut
Unlocks at Level 3
Rune: Ankle Cut deals Magic Damage and creates a shockwave forward. Targets hit directly by the weapon are Immobilized and dealt Impact. Targets hit by the shockwave take reduced damage and are slowed instead.
Provides AoE crowd-control and is great when enemies group up, plus acting as a setup for Unleash Zeal.
Rune: Corruption
Rune: Corruption deals Magic Damage and reduces enemy Healing for a short time. Situational tool that turns great when facing enemy teams with other Seer players.
Rune: Stun
Rune: Stun deals Magic Damage and Stuns enemies hit. Requires precision, so it is better used when your team has slowing effects as well. Unlocks at Level 8.
Divine Arts
Divine Arts function like regular Skills in other Classes, and are activated with the usual Skill buttons.
Shapeshift
Shapeshift transforms the Blasphemer into a Rune, granting high Movement Speed and preventing stagger. The Blasphemer's next attack will dash him toward the target.
It is a great gap-closing tool, allowing the Blasphemer to dash through the battlefield. Can also be used to disengage situationally.
Thorn Sigil
Thorn Sigil summons a Sigil around the Seer, briefly immobilizing enemies. Enemies that remain in the area are slowed and take continuous Magic Damage.
This Skill is situational, great when fighting in enclosed spaces.
Impact Sigil
Unlocks at Level 4
Impact Sigil summons a Sigil at the target location. After a brief delay, it deals Magic Damage and pulls enemies toward the Seer.
This Skill can be used to catch distracted players and as an initiation tool before using Rune: Stun or Thorn Sigil.
Paralysis Curse
Unlocks at Level 7
Using Paralysis Curse makes the Seer enter a casting state, making them unable to move. While casting, use the Skill again to summon a lightning bolt at the target location, dealing Magic Damage and slowing enemies hit.
Paralysis Curse can hold up to 4 charges. Enemies hit by it 3 times are Stunned.
It's a situational tool that stops the Blasphemer in place, but can be used to Slow and Stun enemies far away, enabling ally ranged characters.
Unleash Zeal
Unleash Zeal increases the Blasphemer's Attacks and Defense, granting immense dueling potential. However, Curse Mana stops regenerating when Zeal is on.
It is best used after the Curse Mana bar is full, as it will allow the Blasphemer to use its tools for as long as possible until the battle ends.
Reverent Seer: How to Build
The Reverent Seer path shines in Trios, where it can support allies and debuff enemies alike. Its Rune options offer great build diversity, so don't be afraid to choose whichever runes fit the team best.
Skills
For Divine Arts, we'll take Healing Art for its strong Healing potential, and Wind Surge as a reliable knockback and damage source.
As for Runes, all options are useful in the right situation, so the Rune choice depends on which classes you're playing with.
Two Runes that are useful in most situations are Shelter Rune and Binding Rune:
Shelter Rune is best used as a fight starts to maximize Shield value. The Shield deploys instantly, and it continuously keeps Shielding the lowest HP ally in range, as well. It doesn't require the whole team to be near the Rune Pillar, as only one player benefits from the extra Shield.
Binding Rune, if aimed correctly, guarantees immobilizing enemy players without dashing abilities. It can stop melee teams on the spot, and also regenerates Psionic Energy which allows you to use Rune Summon more often.
The third Rune choice is heavily dependent on your team composition. Some generally good choices are:
Intimidation Rune when your team lacks peeling and knockback options.
Windwalker Rune provides battle mobility to your team, allowing gap closing. Useful with melee teams.
Damaging Runes like Punishment Rune and Burst Rune are not great choices since your Talents and Affixes will be focused on enabling your support playstyle.
Talents
Ebb and Flow: Hitting an enemy with a charged Psionic Orb will heal the lowest HP ally.
Reshape: If the Reverent shield remains for a period of time, it recovers.
Rigidity: Stuns enemies that leave Binding Rune's range.
Deep Healing:Healing Art recovers additional HP based on missing health.
Affixes
Reverent affixes should directly help its support playstyle, enhancing Skill casts:
Seamless: Helps maximize your cooldown uptime.
Eloquence: Makes your chants faster.
Creation: Extends the duration of your Rune Summon.
Spirit Shield: Enhances your Shelter Rune.
Blasphemer Seer: How to Build
The Blasphemer Seer path has great dueling potential during Unleash Zeal. This build specializes in enabling and enhancing the Zeal state and giving the Blasphemer the best damaging options.
Skills
Shapeshift is a must-have, as it can be used as an engage and disengage tool. It allows the Blasphemer to access enemy backlines in an instant.
Thorn Sigil is used as a follow-up to Shapeshift, since it immobilizes and slows enemies around the Seer. Its constant Magic Damage will chip away enemy HP if they dare to fight you head-on.
As for Runes, you can take the choices you find most fun to play. A must-have with this loadout is Rune: Stun, since it can be used directly after Thorn Sigil hits to guarantee a high-damage Stun. Rune: Sweep is another high-damaging option that also deals Area-of-Effect damage.
Talents
Talent choices are focused on enhancing Unleash Zeal:
Inexhaustible: Gain Cursed Mana during Zeal.
Obsession: Increases Zeal duration and gain Movement Speed during Zeal. Taking damage reduces Zeal duration.
Infusion: Recovers a large amount of Curse Mana when entering Zeal.
Keen Edge: After finishing Shapeshift with its signature dash attack, increases Physical and Magic damage for a short time.
Affixes
Blasphemer affixes support its duelist playstyle:
Strife: Maximizes melee attack damage.
Blessing: Extends the duration of Zeal and other buffs.
Fervor: A good choice for melees in general due to increased max health and healing.
Swift: Increases movement speed, allowing you to improve offensive and defensive maneuvering.
Tips and Tricks
Reverent Tips
Rune Pillar Positioning Matters
Optimize the positioning of your Rune Summon by placing it where it will be most effective, like in the middle of the battlefield or among your teammates.
Think Ahead: Cooldowns and Resources Matter
If a battle is likely to start, you can use Shelter Rune preemptively to start the battle with an enhanced shield. Likewise, keep your important cooldowns for PvP fights, don't waste them in short PvE encounters. You'll also need to accumulate Psionic Energy ahead of battles to maximize your Rune Summon casts.
Healing has Limits
Both your Healing Art and Healing Rune have a maximum amount of uses per-run. If you find yourself running low on them, let your team know and head to the nearest extraction point. As a Reverent, your strength is heavily reduced without Healing.
Save Stuns for When It Matters Most
Crowd-control Skills like Binding Rune and Wind Surge can be used offensively or defensively. Depending on your team composition and the enemy's, it might be more effective to use them for peeling yourself or other teammates.
Aim for Headshots
The Reverent Seer has low damage output, but you should still use your Psionic Orb whenever you're not using your other Skills. Aim for the head to do more damage.
Blasphemer Tips
Your Zeal Is Everything
Your Unleash Zeal enables your offensive playstyle. Avoid confrontation when it is on cooldown. Likewise, keep an eye out on your Zeal duration: You'll be weak and exposed when it runs out.
Be Creative When Using Shapeshift
Shapeshift grants high movement speed, allowing you to dodge enemy Skills as well as gap close. Find the right timing so you can both dodge and reach enemy backlines, and the fight is sure to tide in your team's favor.
Enemies Don't Expect An Offensive Seer
Most players will expect a Seer to run the supporting Reverent playstyle. You can take advantage of this and catch enemy squishy players off-guard, as they won't be expecting a Blasphemer to get in their face instead.



 Seer draws strength from their faith in the return of the gods, using prayers and divine arts to heal, protect, and support allies. Seers provide versatile support and control, though they can struggle when overwhelmed or locked down.