menu
MobalyticsUse your favourite features in-game with our Desktop App
Gamebase Guide

Isaac Boss Guide - Castlevania: Belmont’s Curse

Updated on Oct 22, 2026
Oct 22, 2026

Overview

Isaac’s boss fight in Castlevania: Belmont’s Curse becomes increasingly hectic across four phases. His fast weapon attacks, green beams, and phantom copies make it important to track his movements and keep repositioning.

The main strategy is to slide behind the real Isaac, attack from behind, and move between platforms during his beam sequences. A loadout built around the Vampire Killer and three specific relics also lets you restore your health while increasing your damage as the fight progresses.

Special thanks to Gaming With Josie for sharing the loadout and strategies used in this guide.

For help with another boss encounter, our Death boss guide covers scythe dodges, beam patterns, and Holy Light timing.
Recommended Weapon and Relics

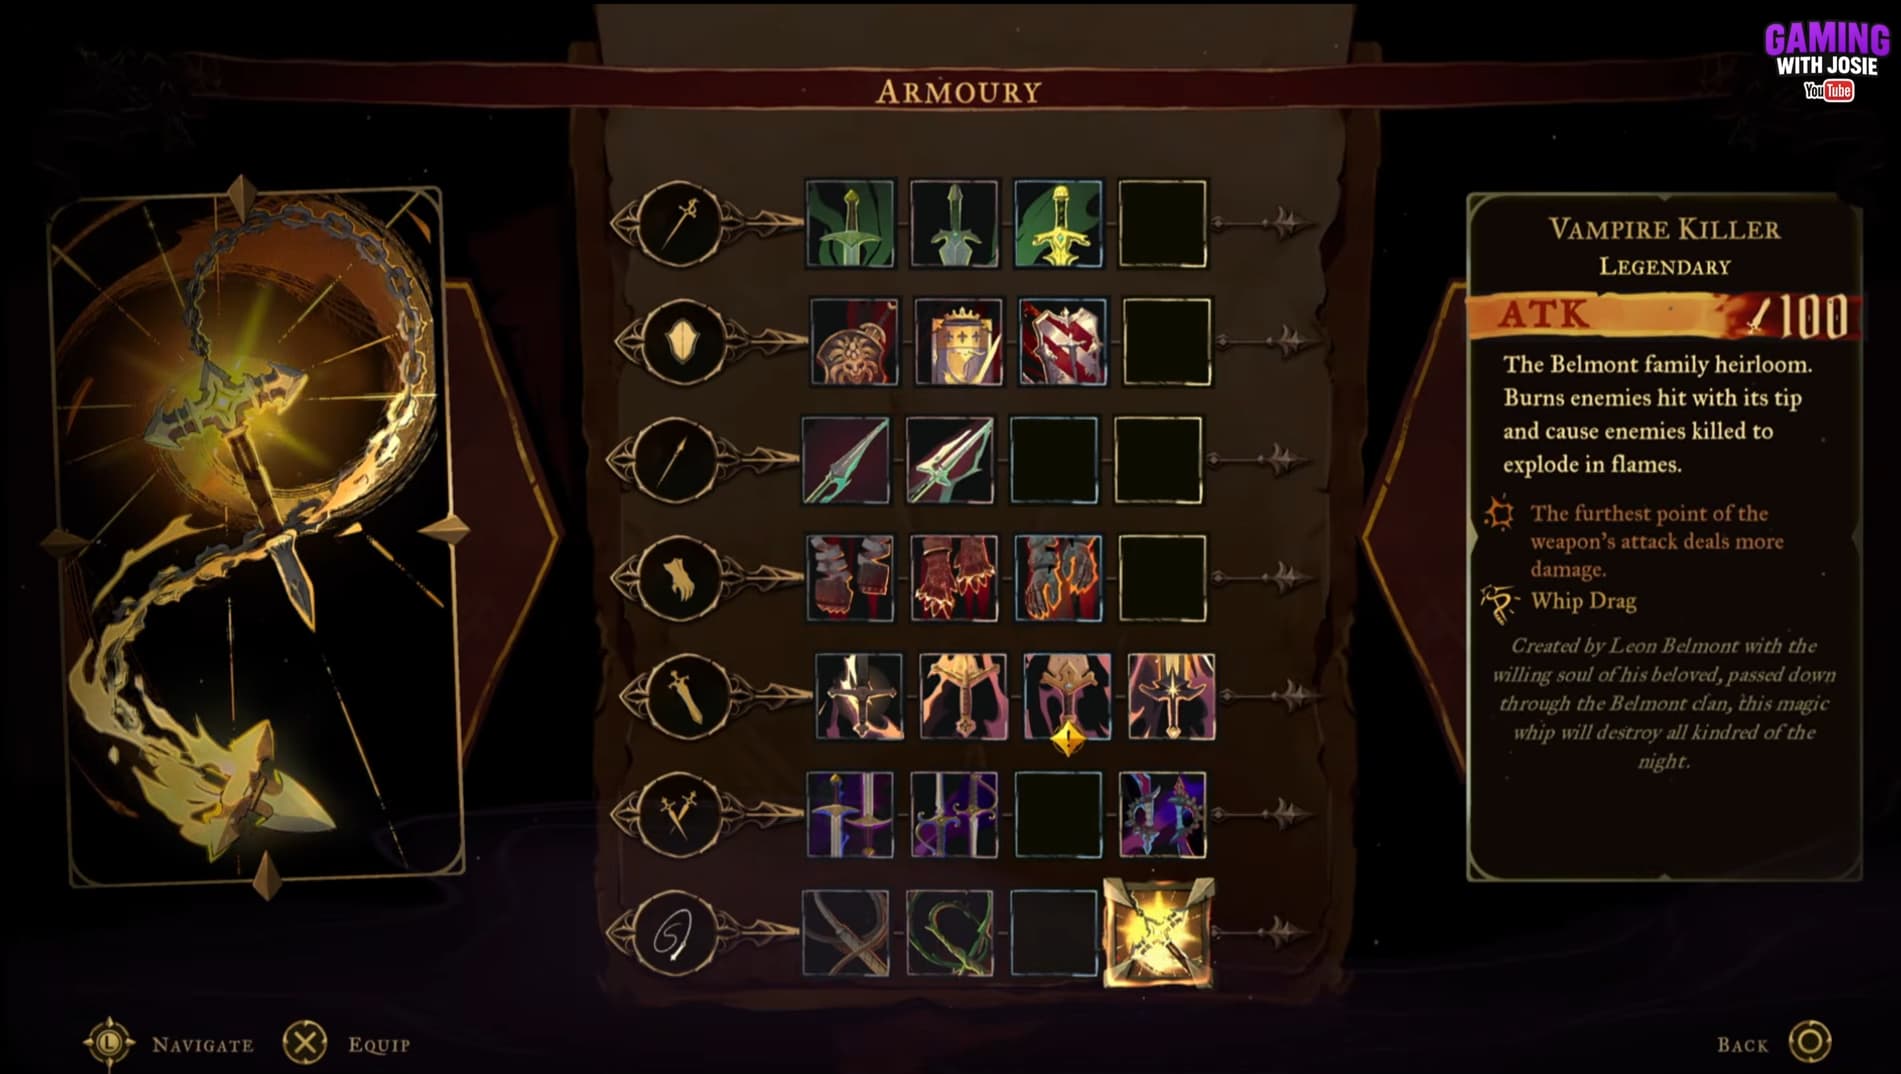
Equip the Vampire Killer. The furthest point of its attack deals extra damage, so aim to catch Isaac with the tip whenever you have enough room to position safely.

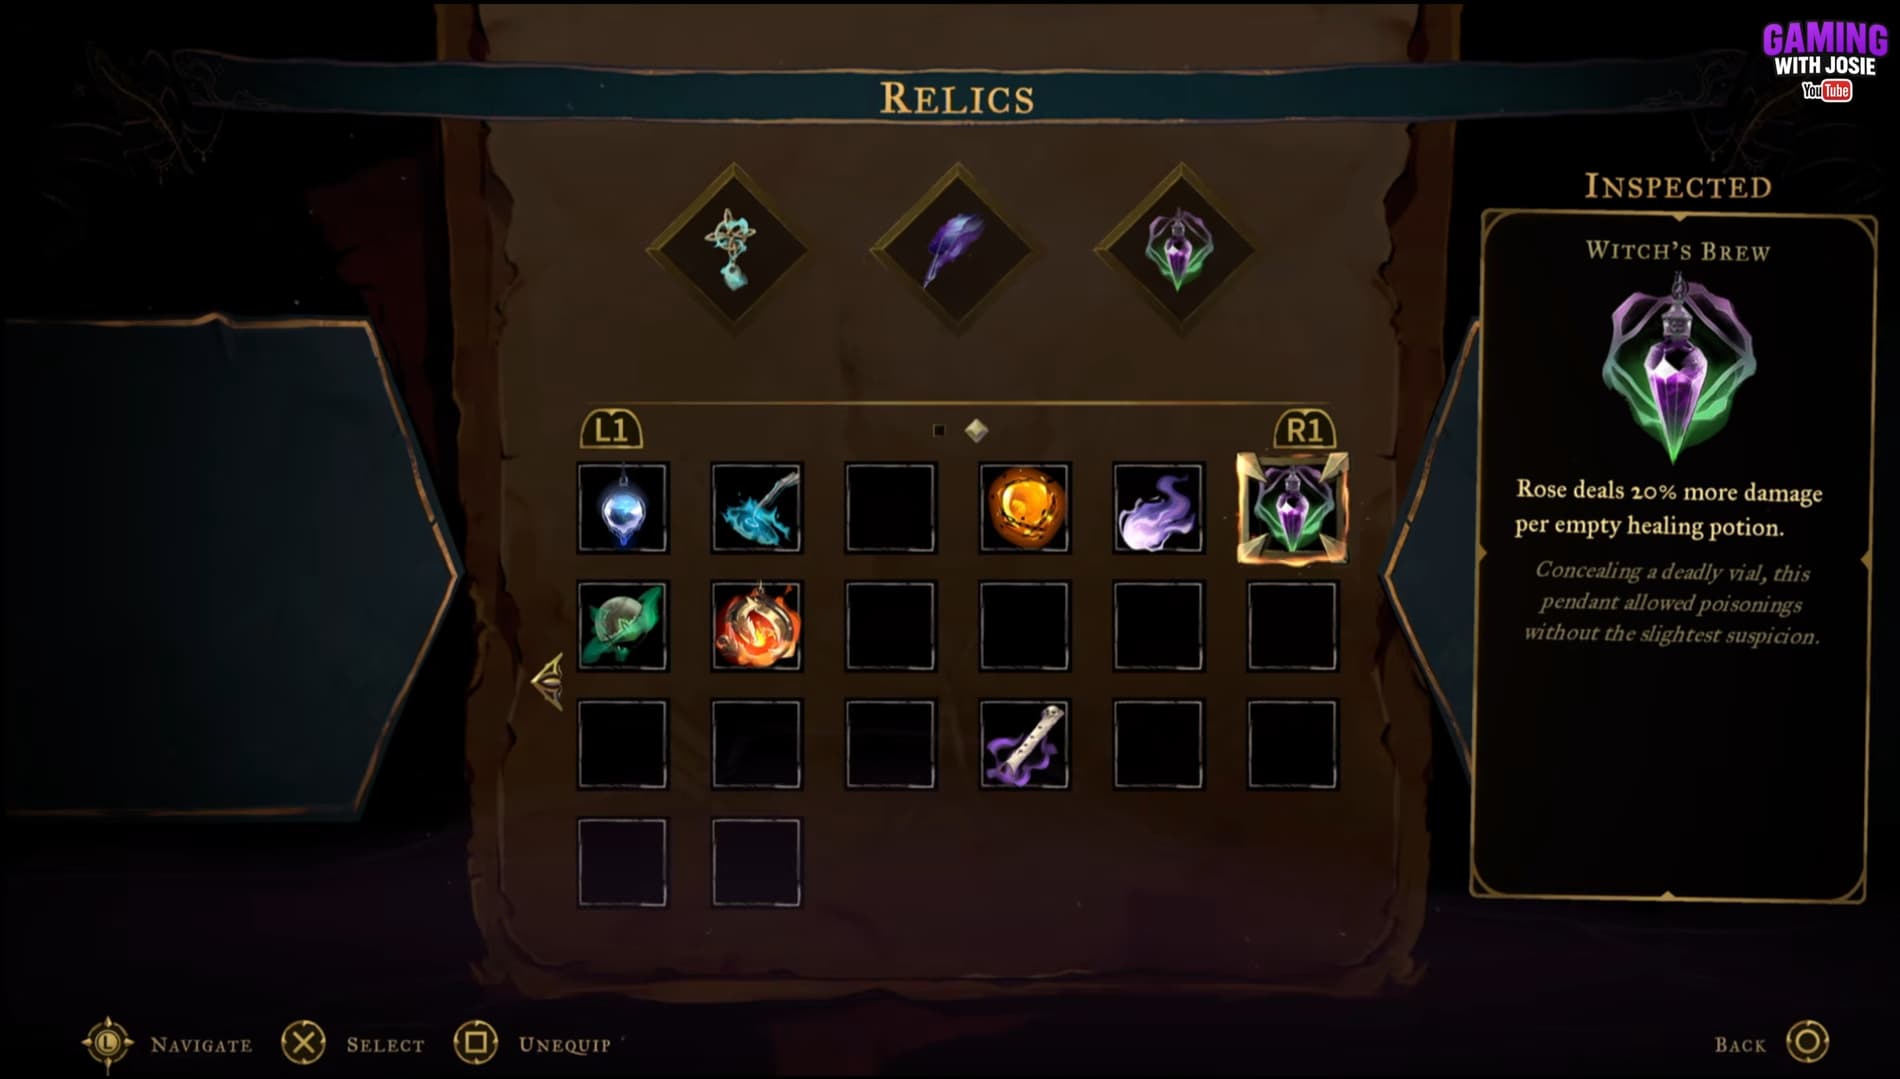
Use these three relics alongside it:

  • Witch’s Knot: Healing potions restore 100% of your health.
  • Raven’s Feather: Increases your damage by 25% while fighting in the air.
  • Witch’s Brew: Increases your damage by 20% per empty healing potion slot.

Raven’s Feather supports the airborne attacks you can make while moving around the arena. Witch’s Knot and Witch’s Brew work together throughout the fight: each potion restores your health completely and leaves an empty slot that increases your damage.

After your first potion, Witch’s Brew provides 20% extra damage. After your second, that becomes 40%, reaching 60% once all three have been used.

Heal whenever you need to. The phase transitions provide useful opportunities to recover as Isaac introduces more attacks.

Phase One - Slide Behind Isaac and Count Three Beams

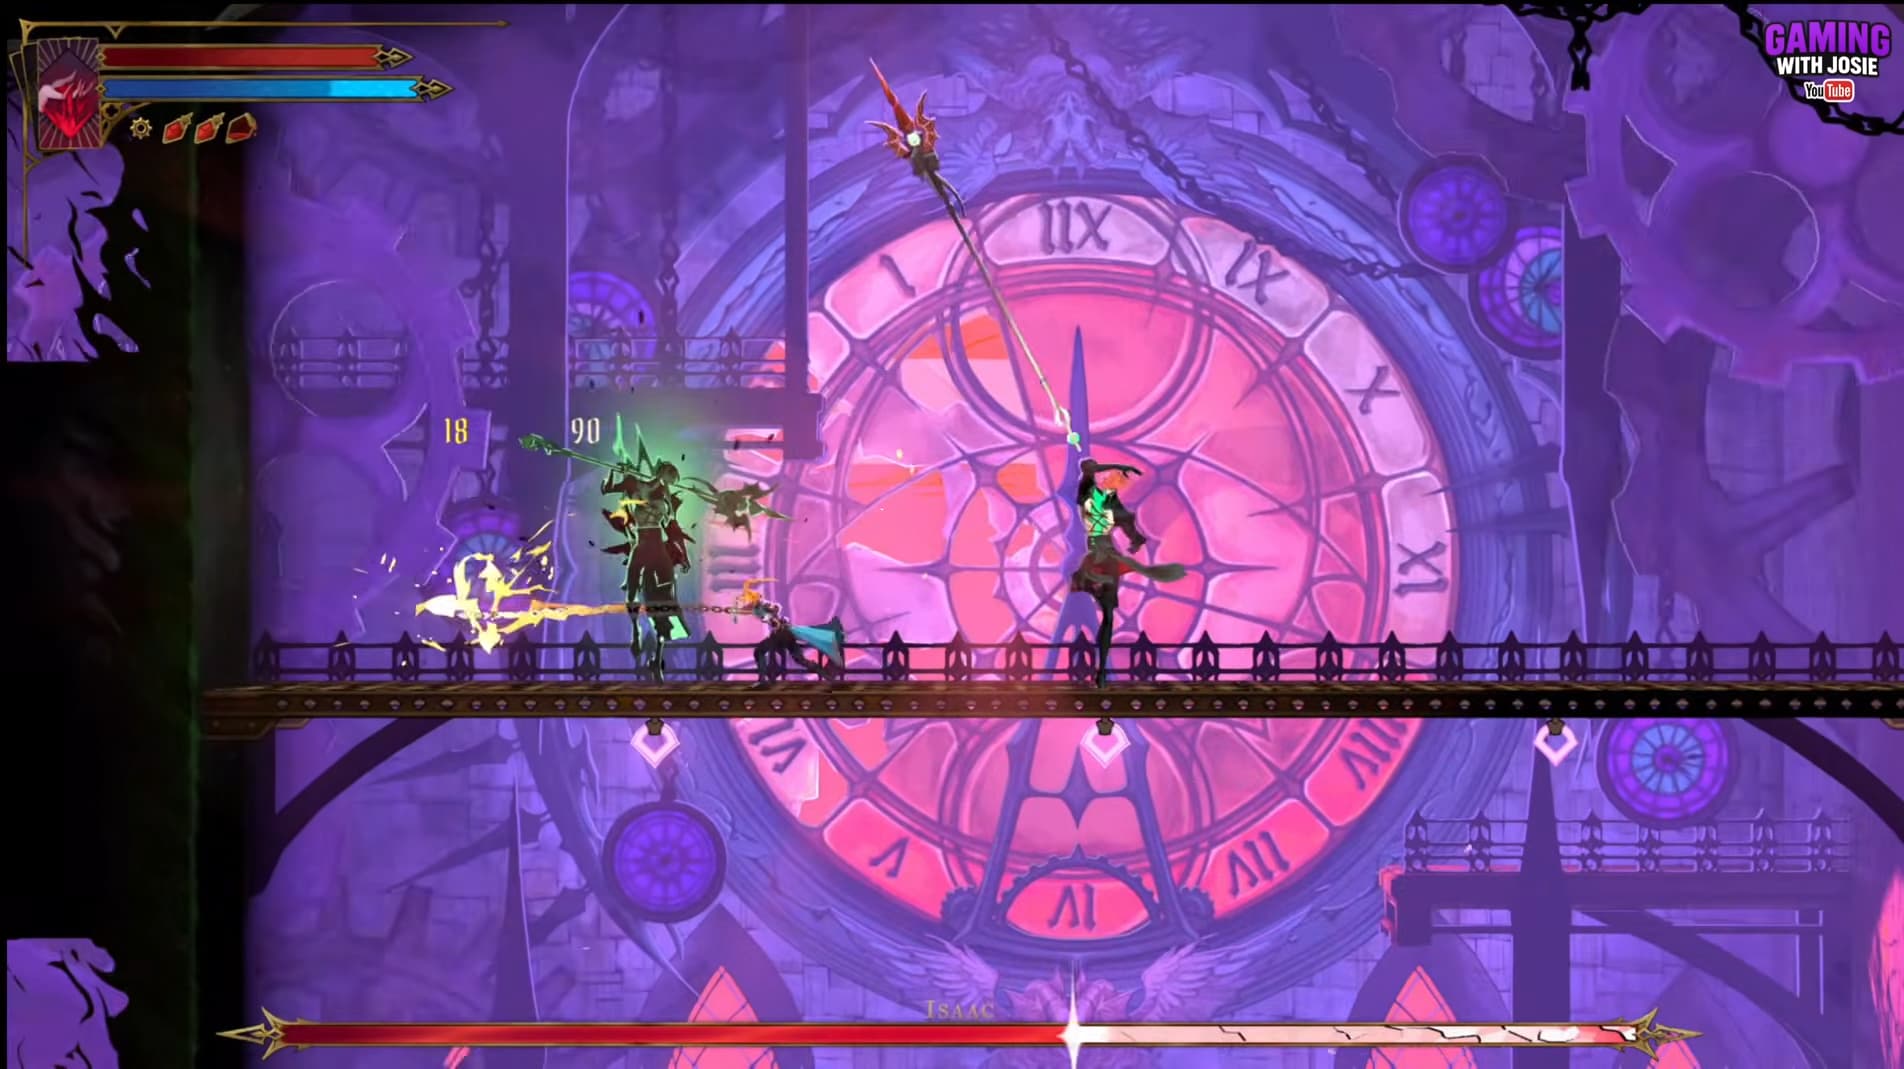
Whenever Isaac moves, follow his position and slide underneath him to reach his back. Attack from behind to stay clear of his forward whip attacks, then reposition again when he moves.

Keep repeating this sequence throughout the first phase. Watch your footing when he moves close to a platform edge, and adjust your distance to land the Vampire Killer’s stronger tip hits when possible.

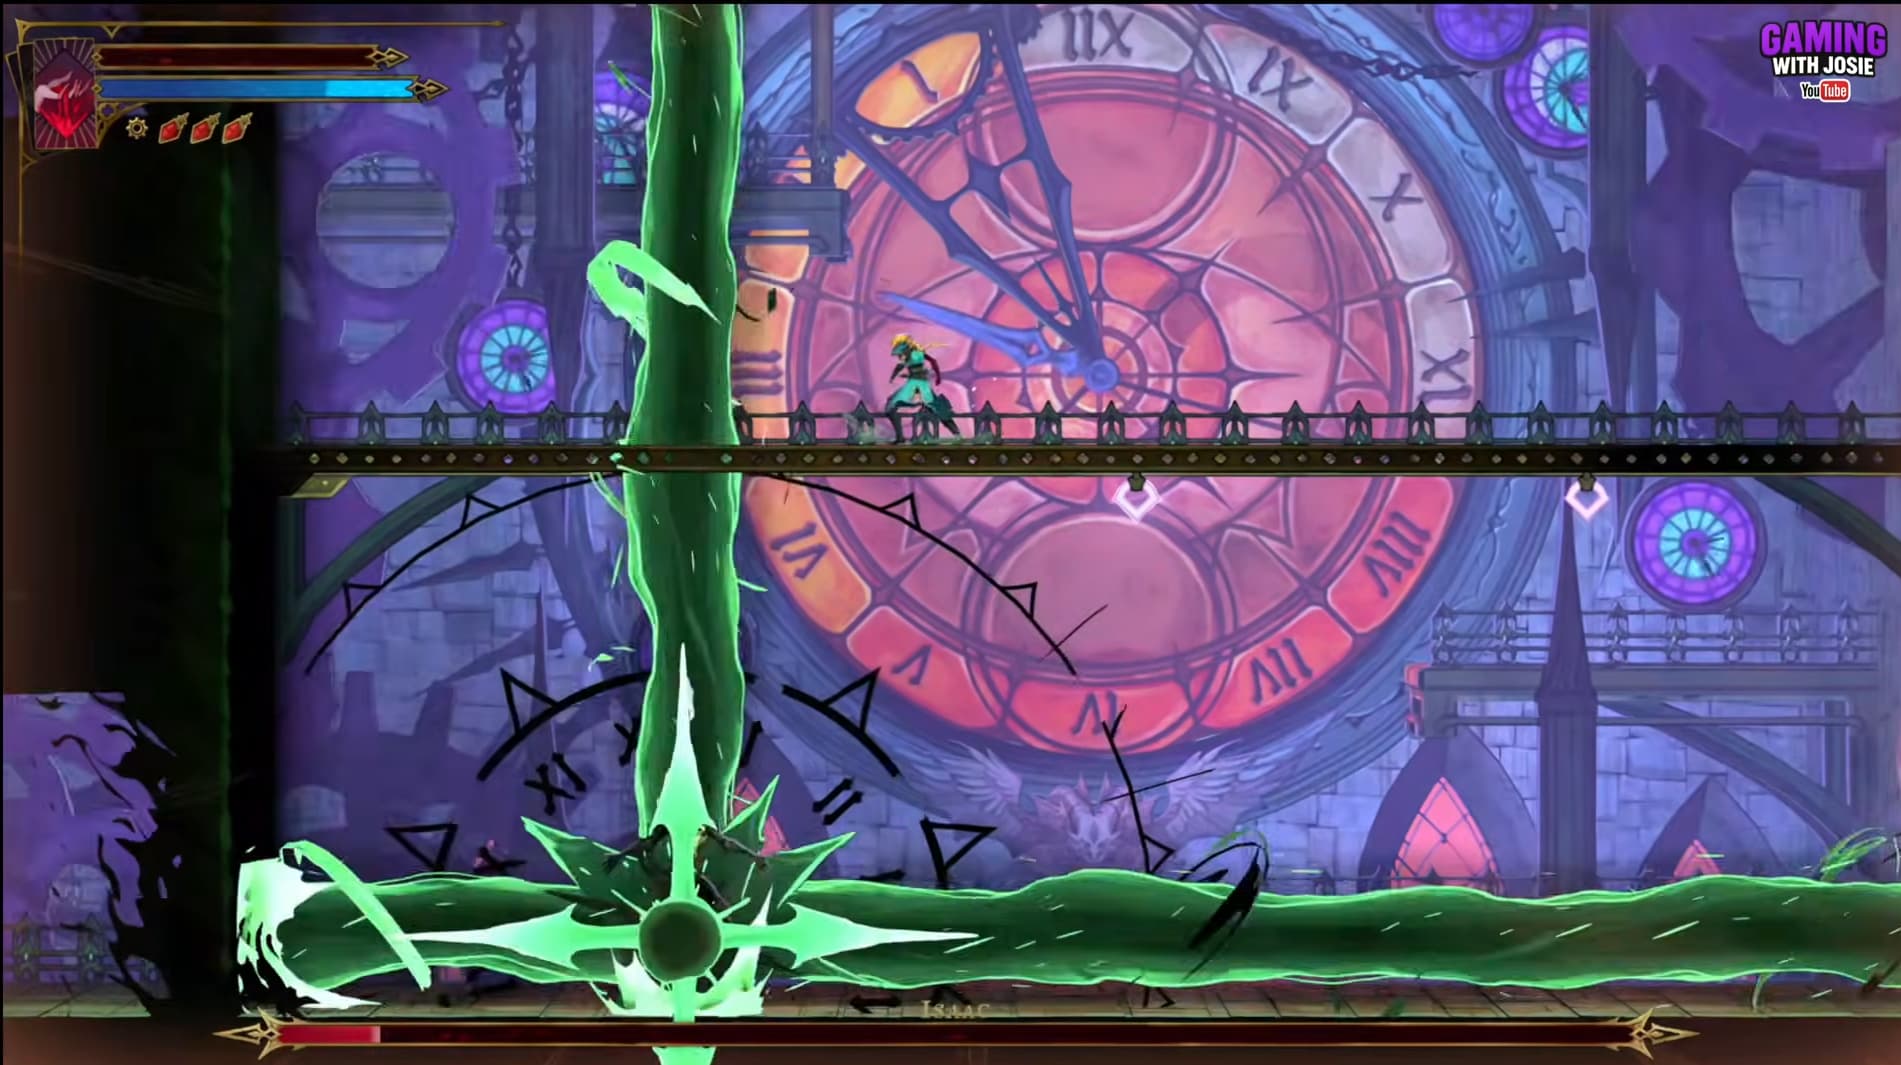
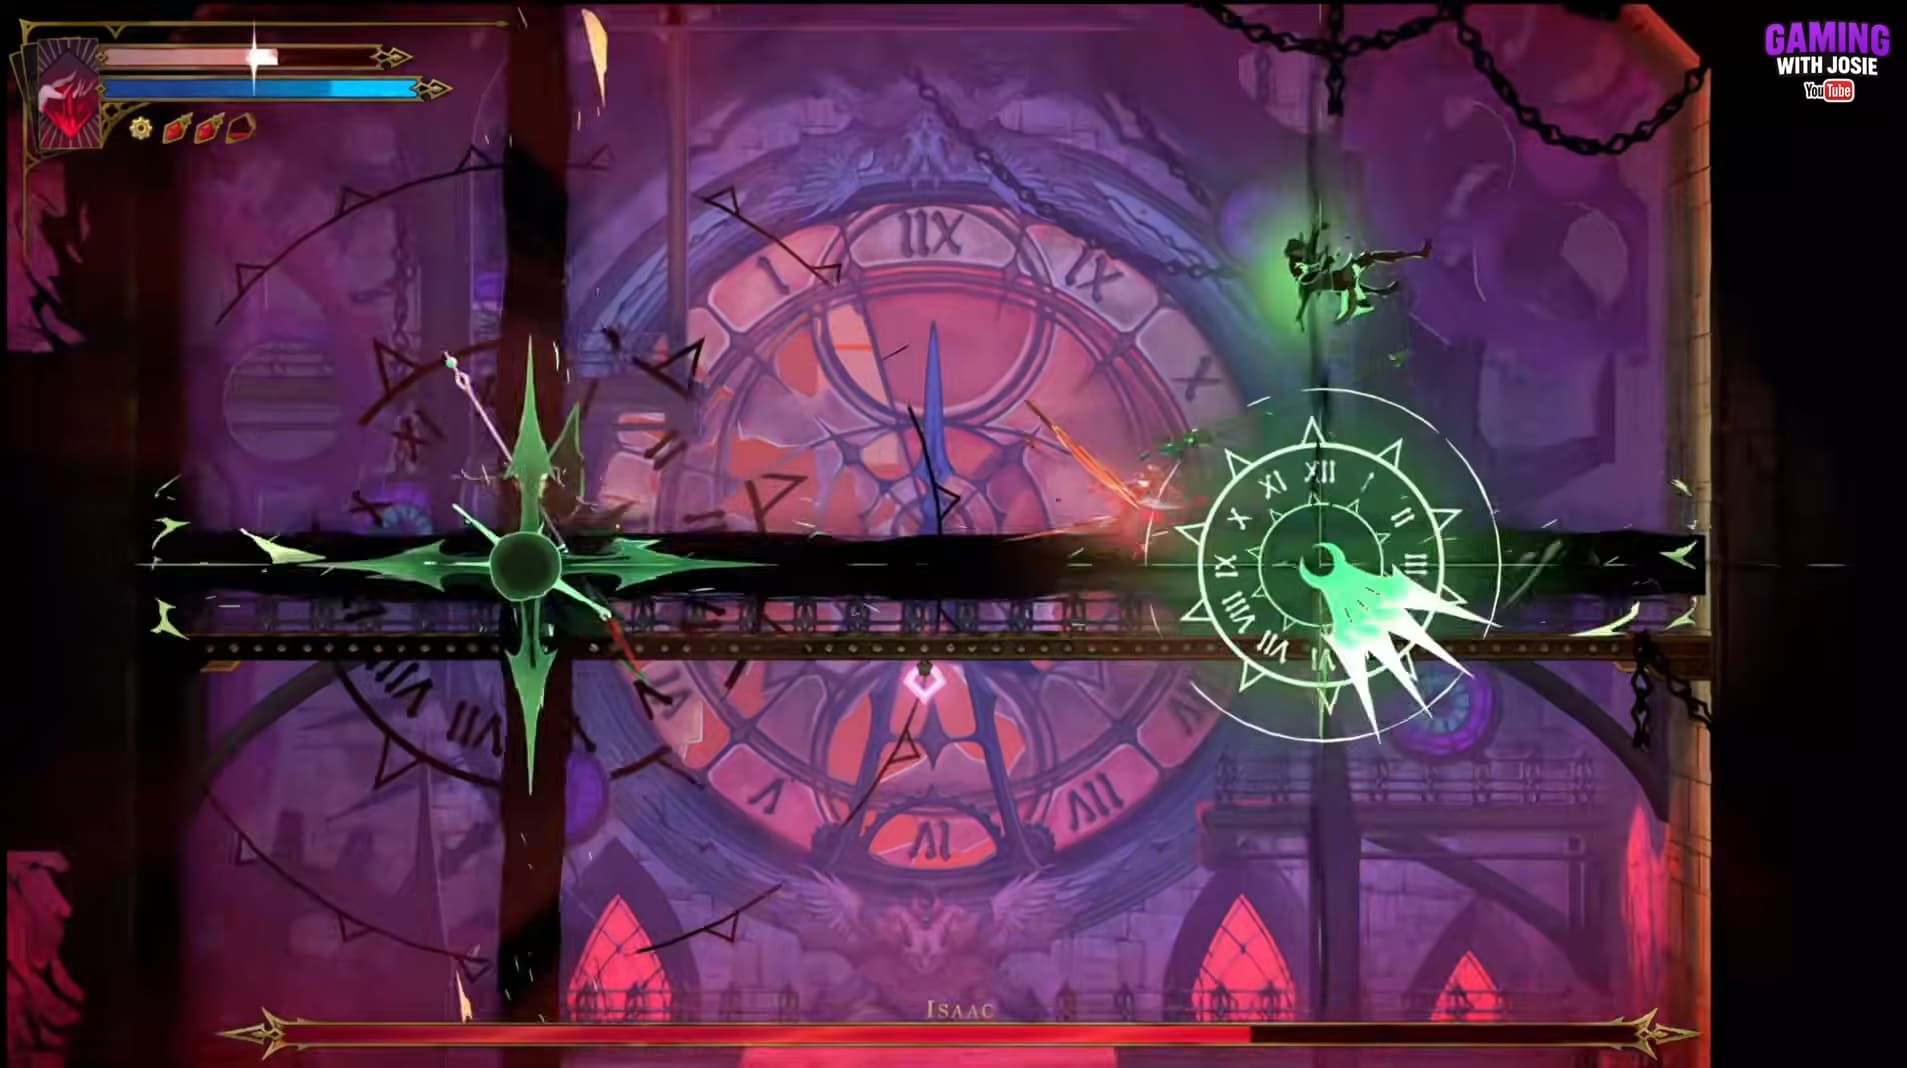
When Isaac begins his green beam attack, switch your attention to the platforms. Move between the upper and lower levels to avoid the beams, counting each attack as it happens.

There are three attacks in this early sequence. Move through the safe spaces and return to the upper platform for the third attack. Once the sequence finishes, get behind Isaac and resume attacking.

Phase Two - Heal and Keep Targeting the Real Isaac

As phase two begins, take the opportunity to use a healing potion if you need it. With the recommended relics equipped, your first potion restores your health completely and activates Witch’s Brew’s 20% damage bonus.

A green, glowing phantom now appears alongside Isaac. Keep your attacks focused on the real version while moving clear of the phantom’s attacks.

Continue sliding underneath the real Isaac to get behind him. This positioning helps you avoid his weapon swipes and spear attack while creating opportunities to deal damage.

The beam sequence still contains three attacks during this phase. Keep switching platforms, count all three, then return to attacking Isaac from behind.

Phase Three - Continue Dodging After the Third Beam

Phase three continues the phantom mechanic, so keep tracking and attacking the real Isaac.

The main change is an additional green beam attack, bringing the sequence to four. These attacks arrive in quick succession. Continue moving after the third beam and wait for the fourth before returning to Isaac.

Use another potion whenever you need to recover. If this is your second potion, Witch’s Knot restores your health completely and Witch’s Brew’s damage bonus rises to 40%.

Between beam sequences, keep sliding behind Isaac and landing attacks. His movement is fast, so give yourself time to react and reposition before committing to another attack.

Phase Four - Follow the Gold Isaac Through the Copies

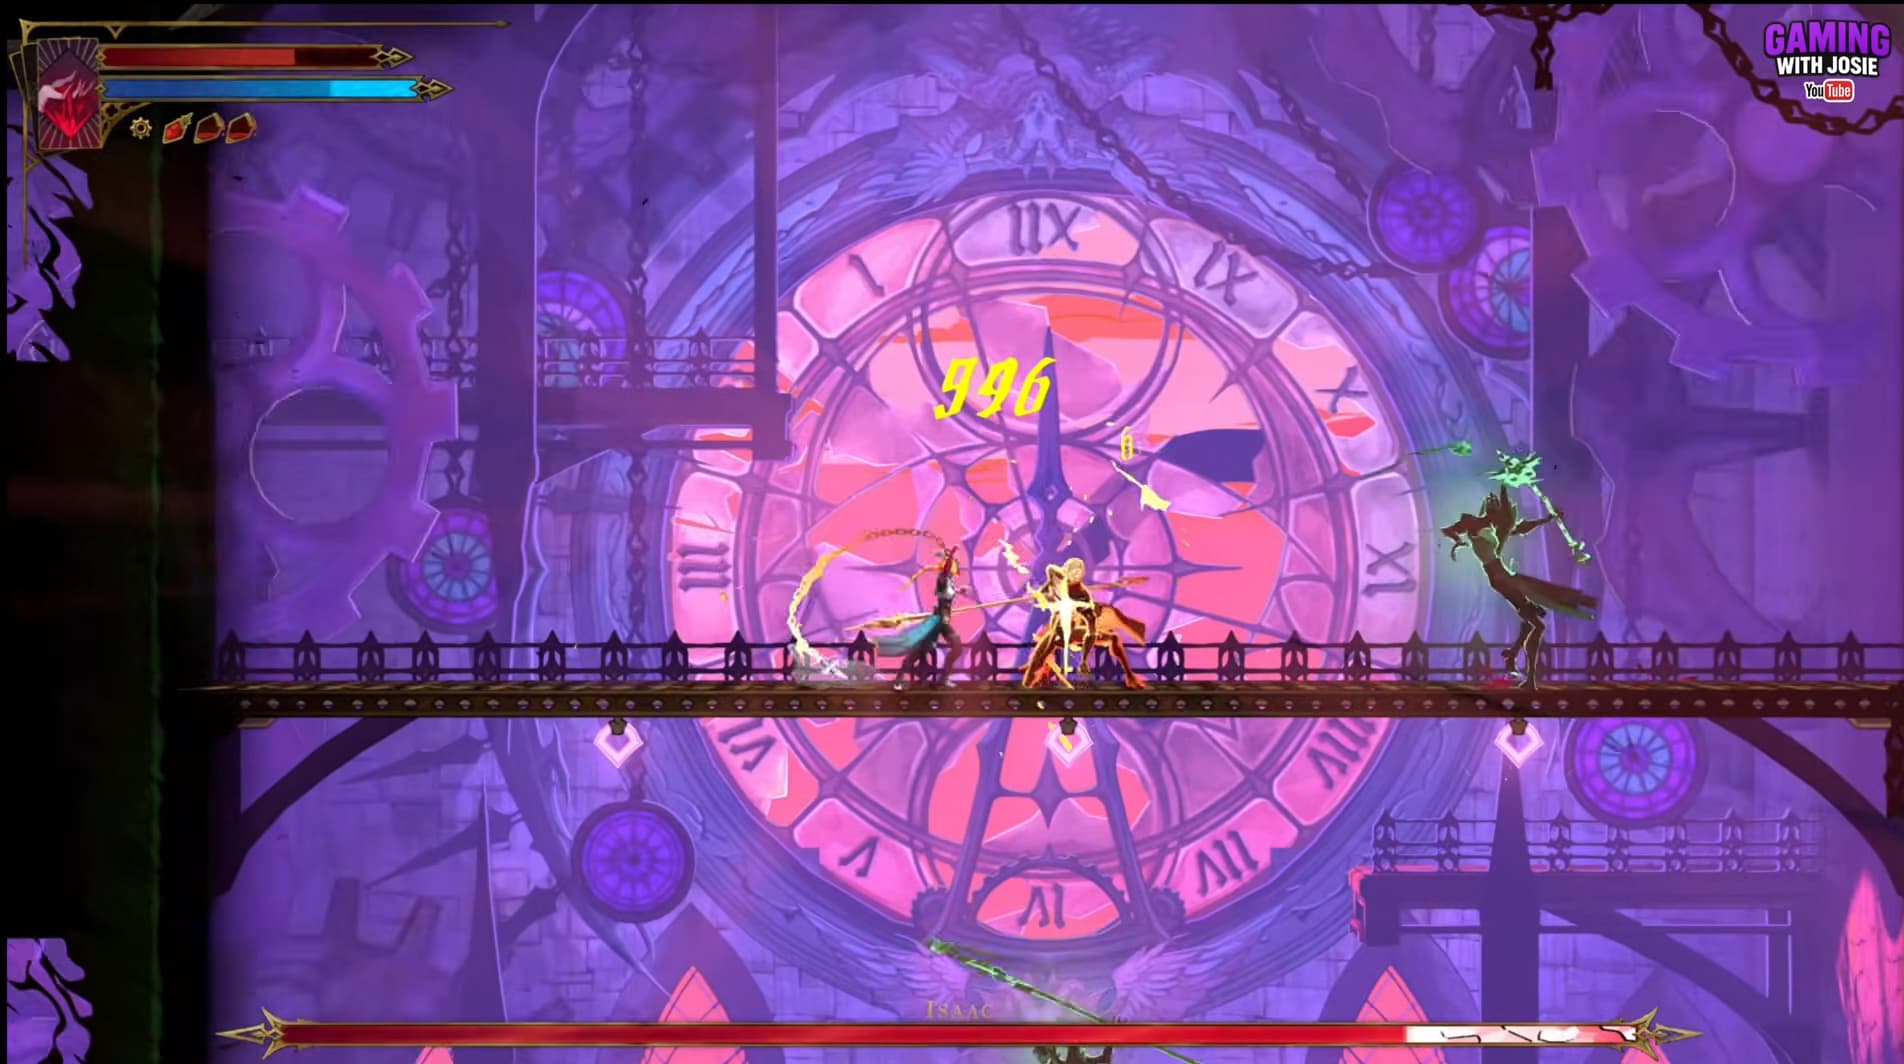
The final phase adds multiple phantom copies, making the arena much harder to follow. Look for the gold colouring to identify the real Isaac among the green phantoms.

Keep your attacks focused on him. Move behind him whenever he changes position, watch for the green beams, and continue avoiding the copies as you move between platforms.

Use your final healing potion when needed. Once all three potion slots are empty, Witch’s Brew provides 60% extra damage, helping you finish the fight.

Maintain the same movement routine through the final exchanges: identify the real Isaac, get behind him, attack during an opening, and dodge the full beam sequence when it starts. It may take a few attempts to become comfortable with his speed, but these responses remain useful through all four phases.

Video

Table of Contents

See More

Isaac Boss Guide - Castlevania: Belmont’s Curse
Updated on Oct 22, 2026
Death Boss Guide - Castlevania: Belmont’s Curse
Updated on Oct 22, 2026
Medusa Boss Guide - Castlevania: Belmont's Curse
Updated on Oct 22, 2026
Collector Trophy Guide - Castlevania: Belmont's Curse
Updated on Oct 22, 2026
Talos Boss Guide - Castlevania: Belmont’s Curse
Updated on Oct 22, 2026

Like our guides?

Add Mobalytics as a preferred source on Google!