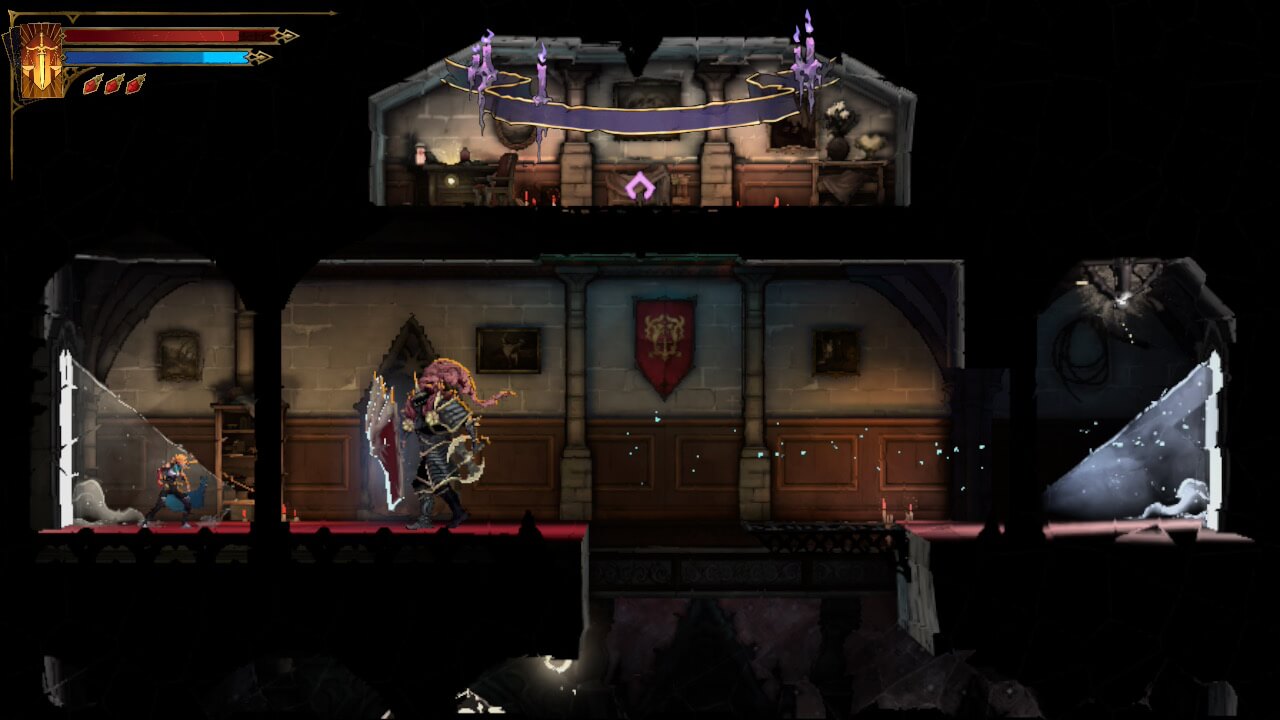
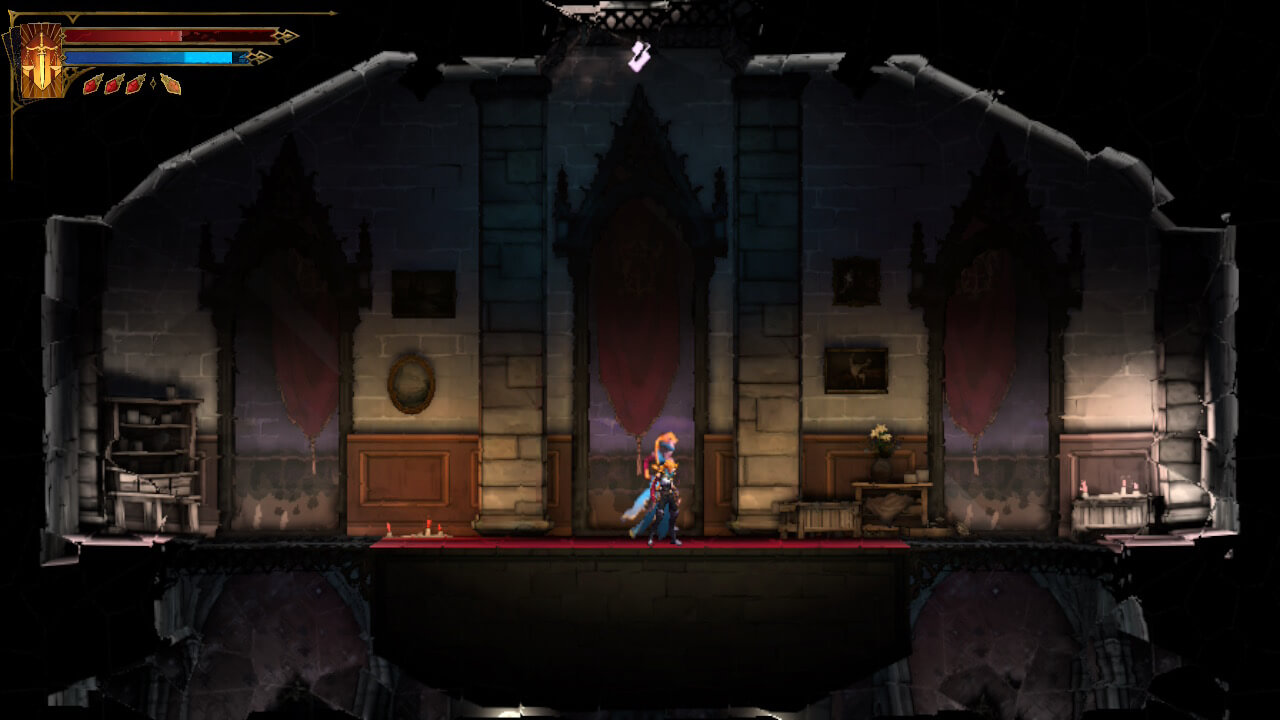
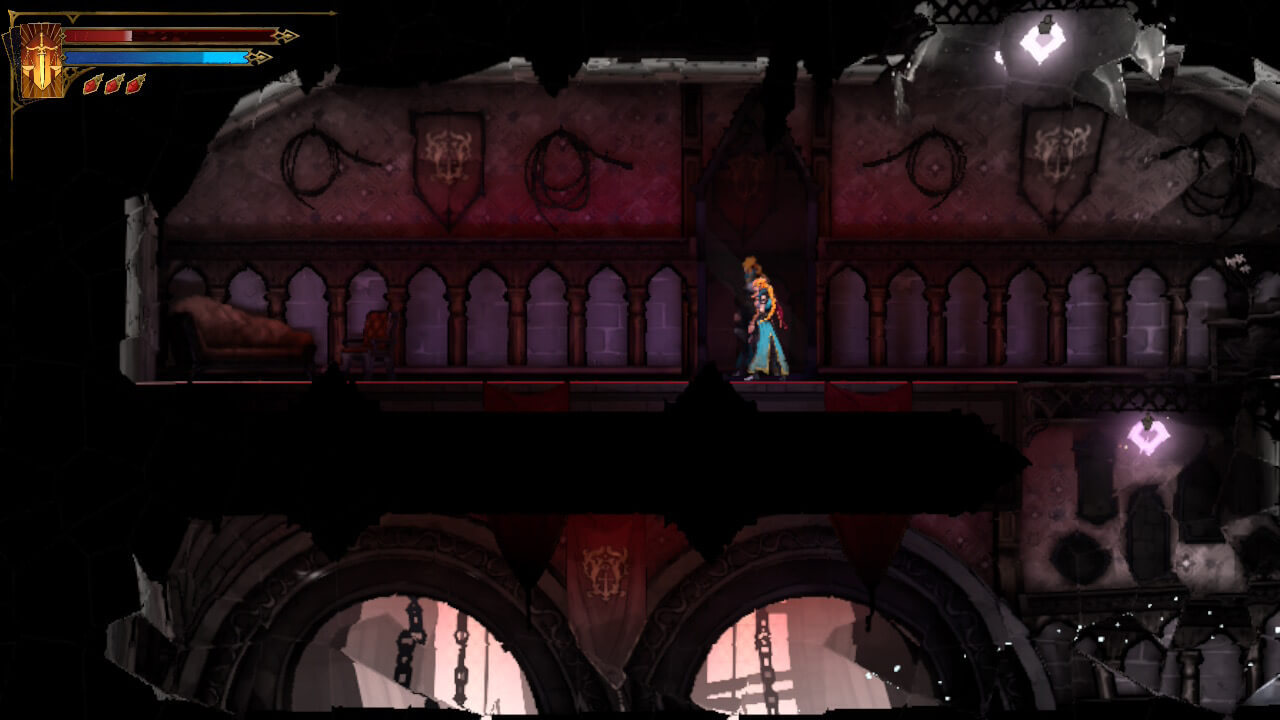
Hello!Welcome to this guide on how to clear the Hall of Mirrors and gain access to the sage tarot.
The Hall of Mirrors is a very confusing area to reach and navigate, but it contains a few key things in Castlevania Belmont’s curse. The most useful of these is the more expansive fast travel system that allows you to go between any two previously used save mirrors in the game. You also unlock the Sage Tarot as well as its associated Mirror Walk Arcana.
Unlocking the Hall of Mirrors
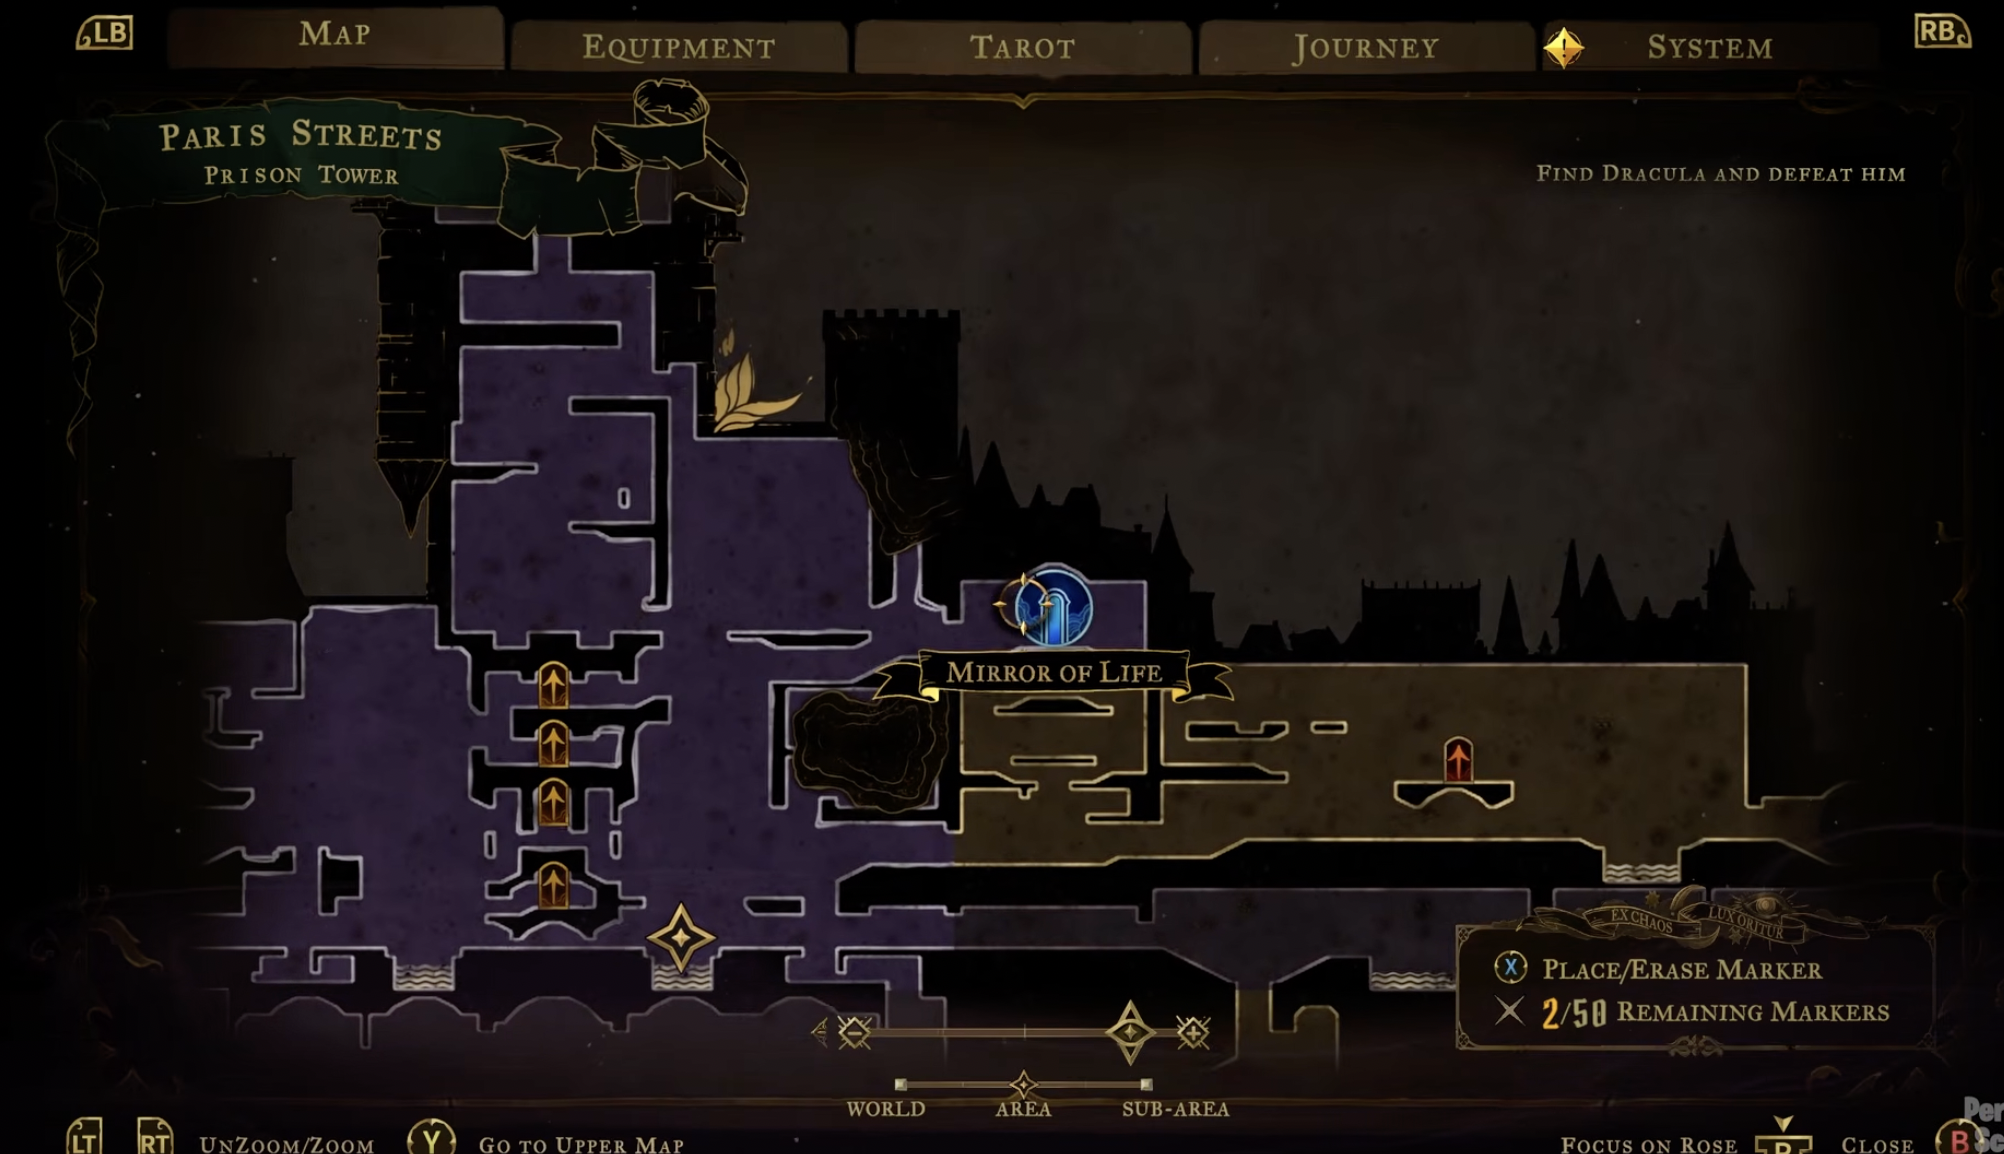
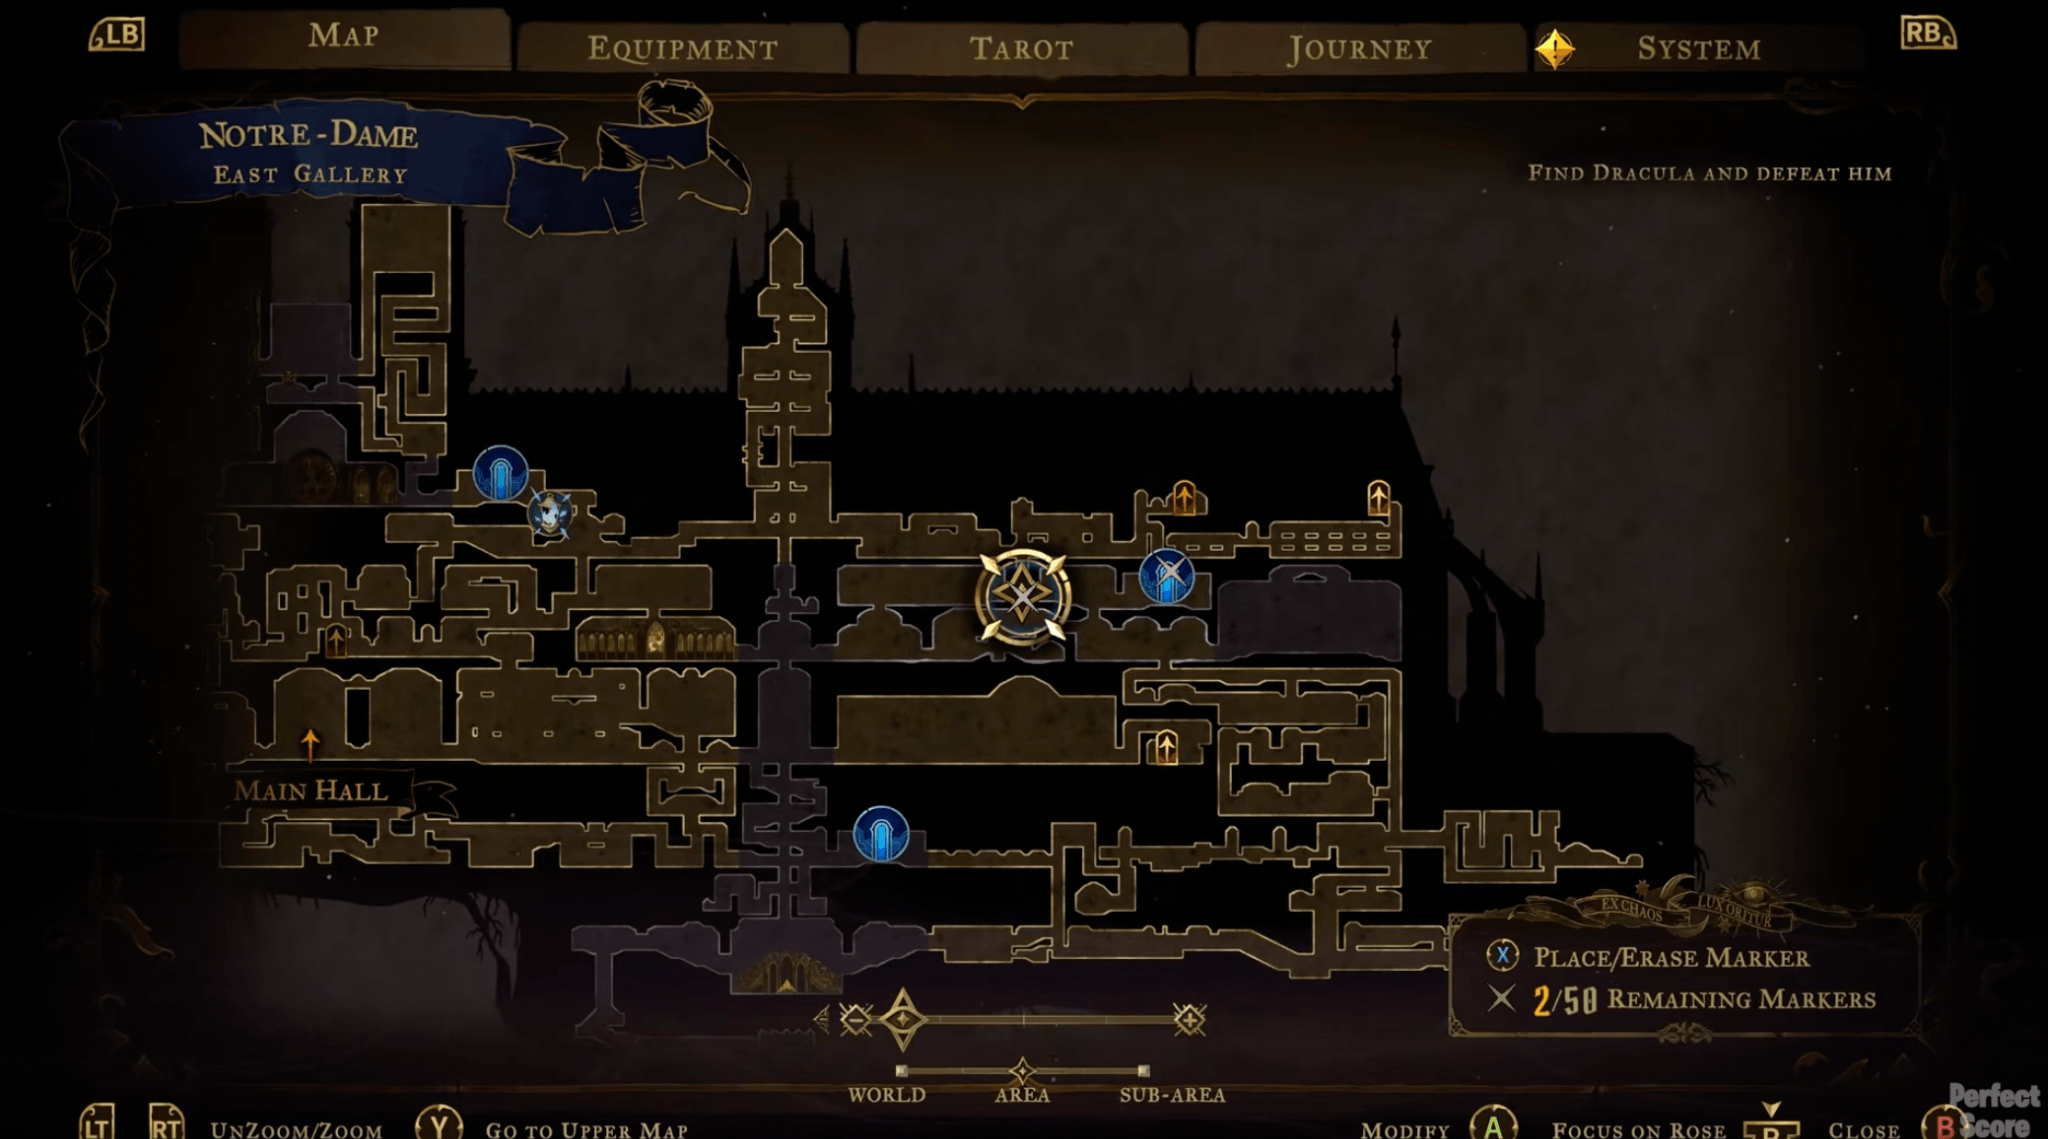
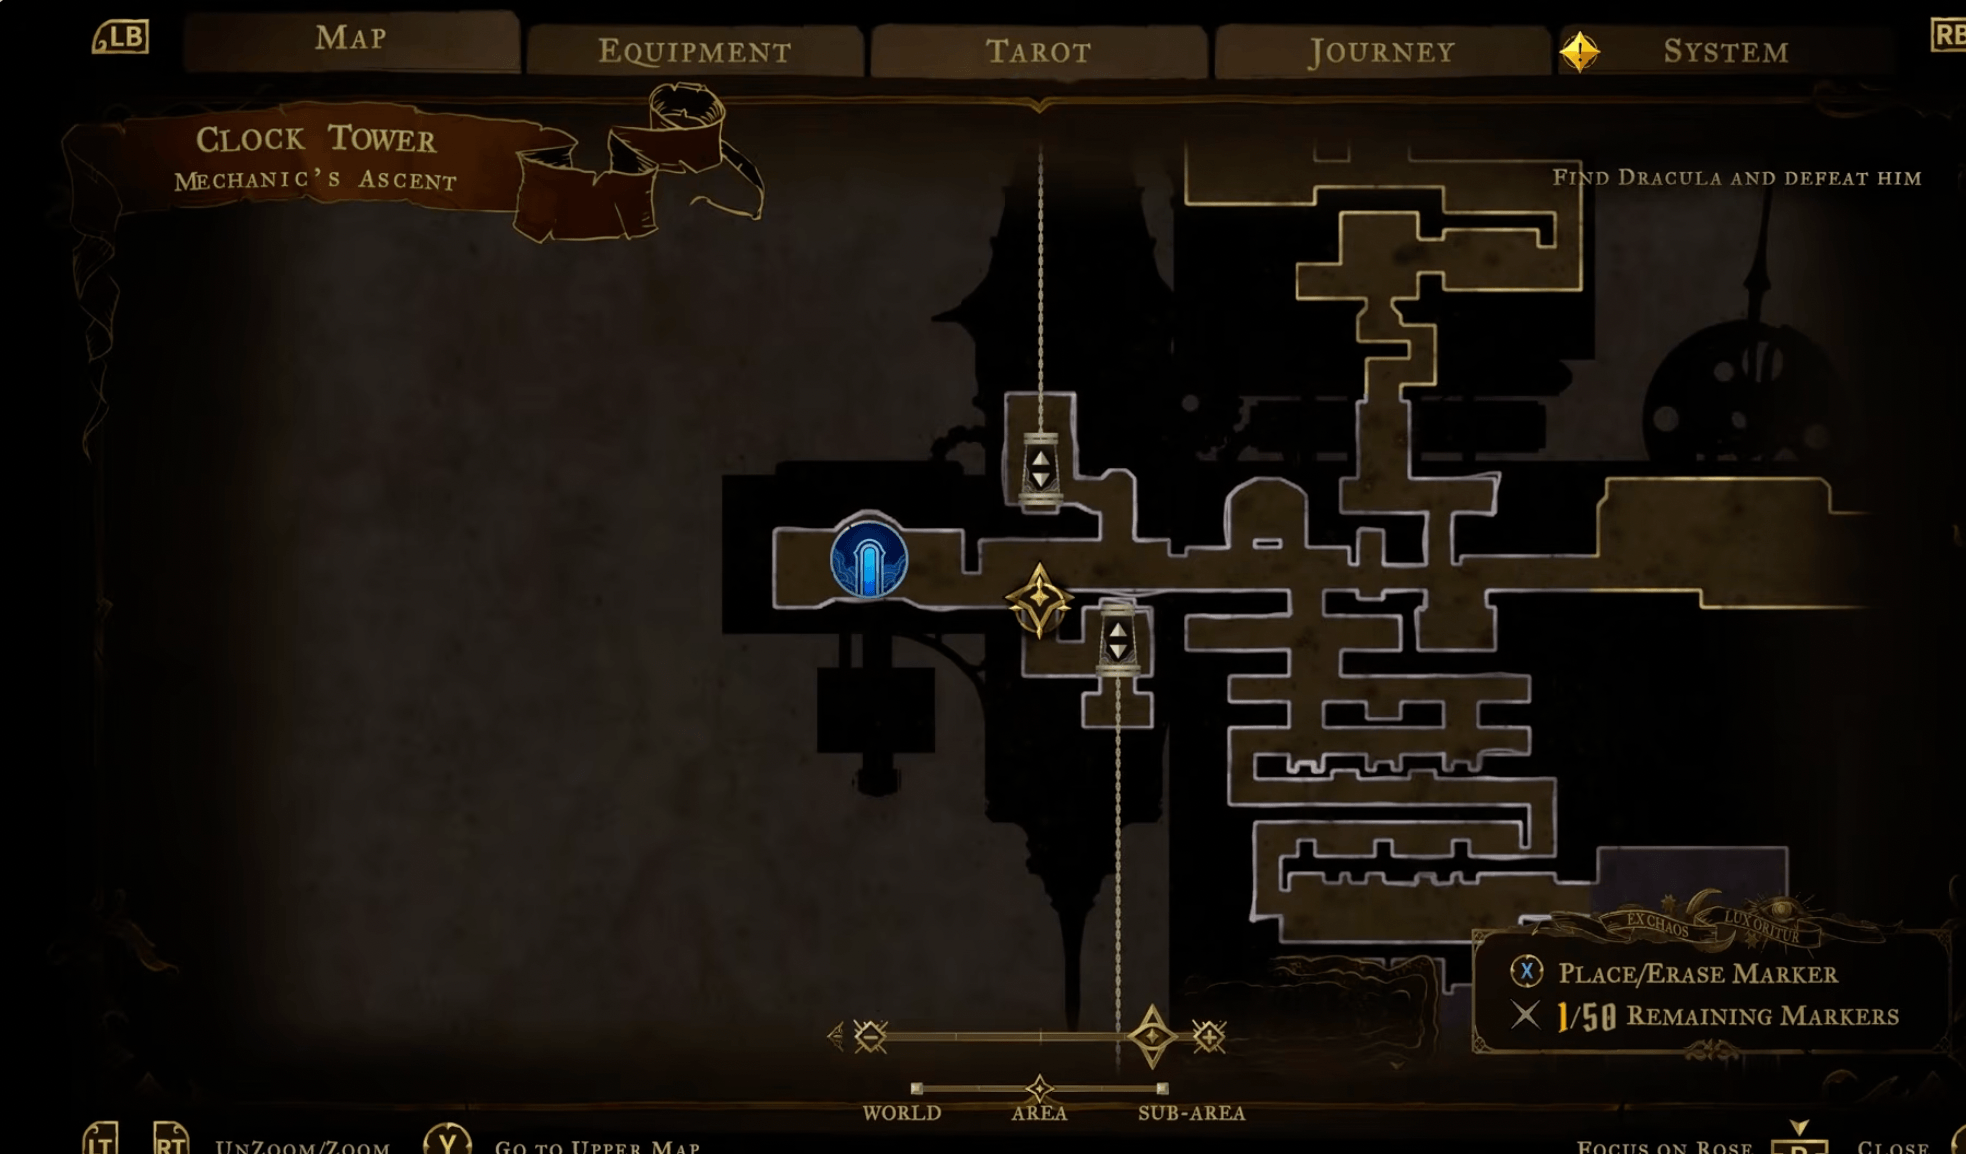
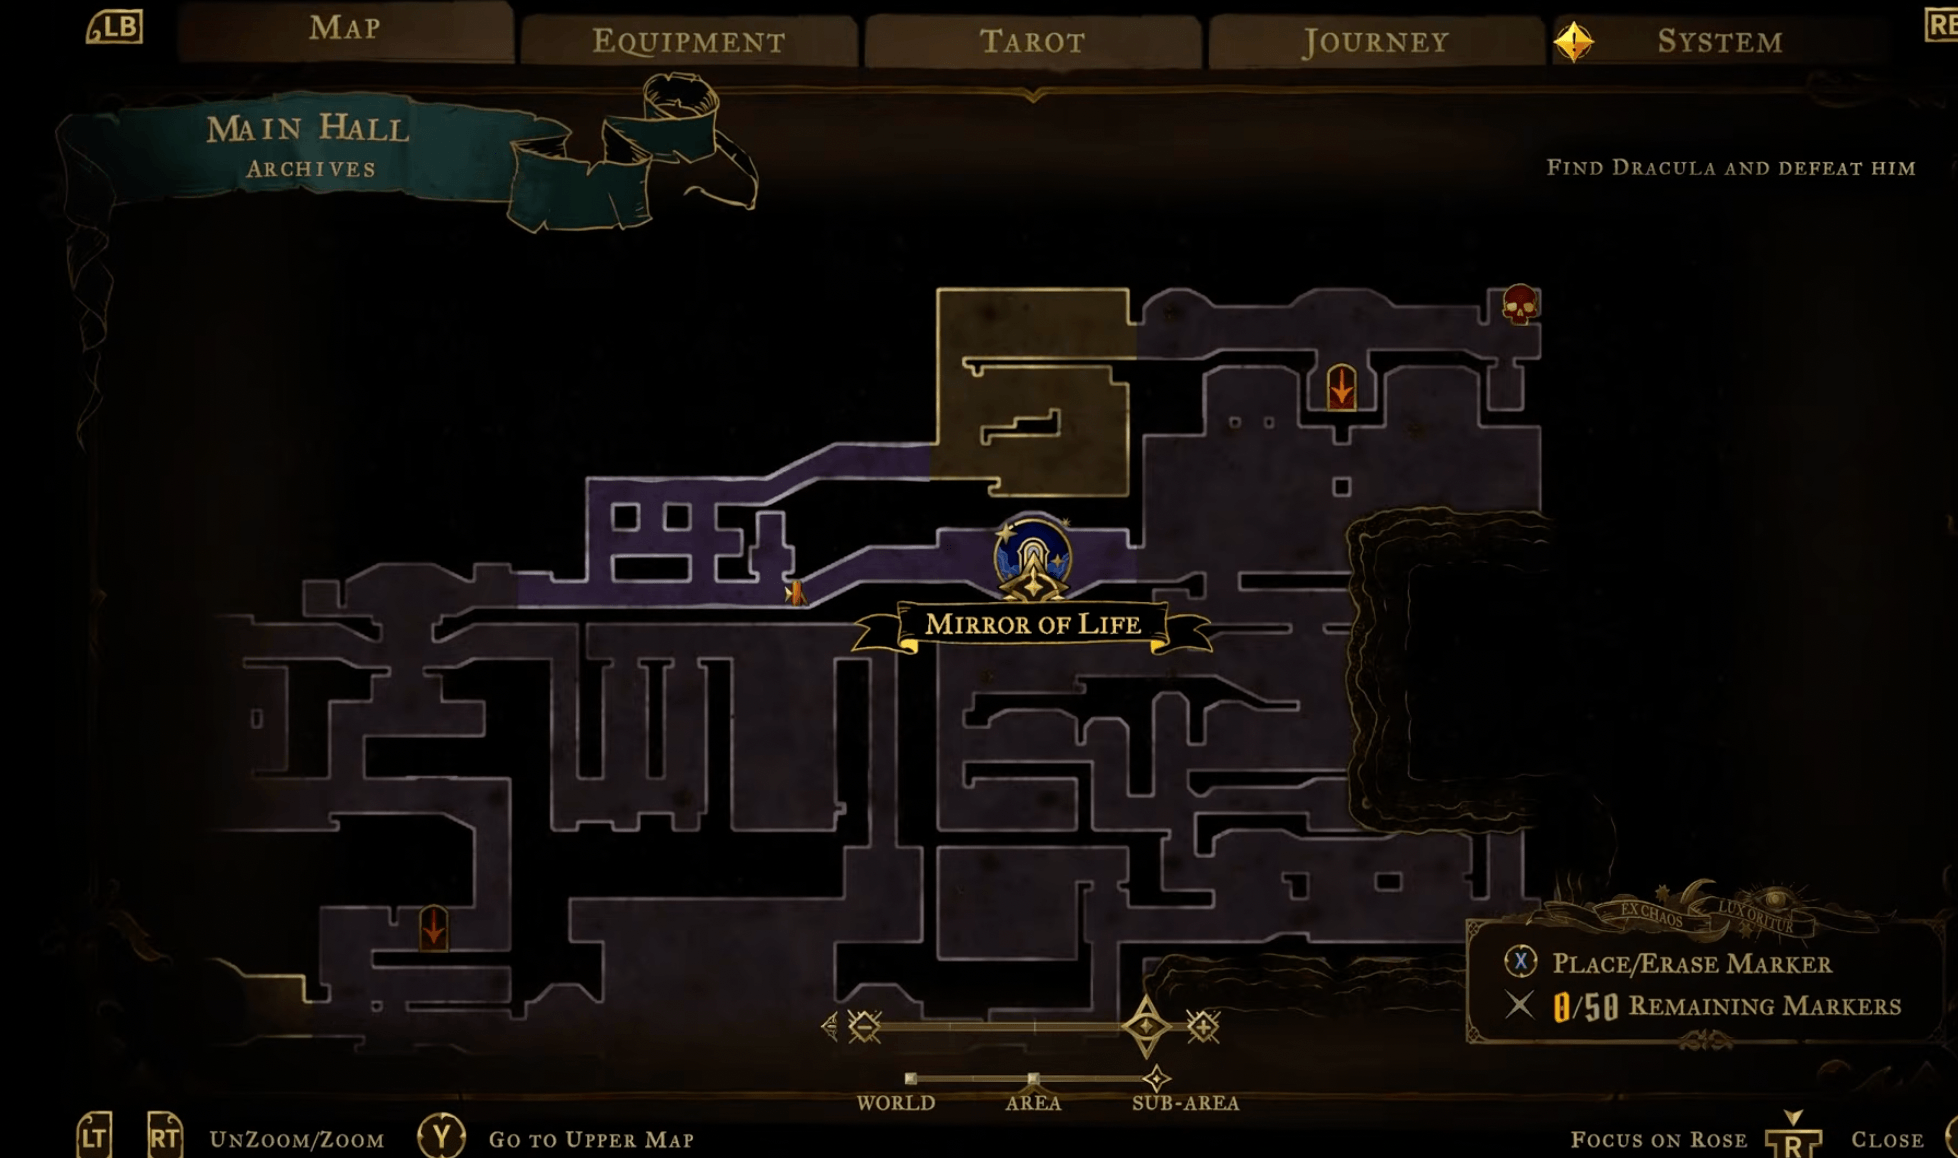
To initially unlock the area, you must first complete the puzzle involving the four locks that hold Elanor(The Sage) trapped in her mirror. To do this, you must go to the following mirrors in these areas
In the Paris Streets near the tower where you fight Joan
In Notre Dame near the East Gallery
In the Clock Tower near the elevators
In the Main Hall in the Dungeon sub-area accessed through the large red doors in the Main Hall.
At each of these mirrors, hold crouch in front of them. This will then teleport you into hidden areas in the Hall of Mirrors, each with its corresponding lock above the mirror you enter. For each room listed, break the lock and fight through the gauntlet that starts when you break it. After you have beaten all four gauntlets, you can move to the next phase.
Navigating the Hall of Mirrors
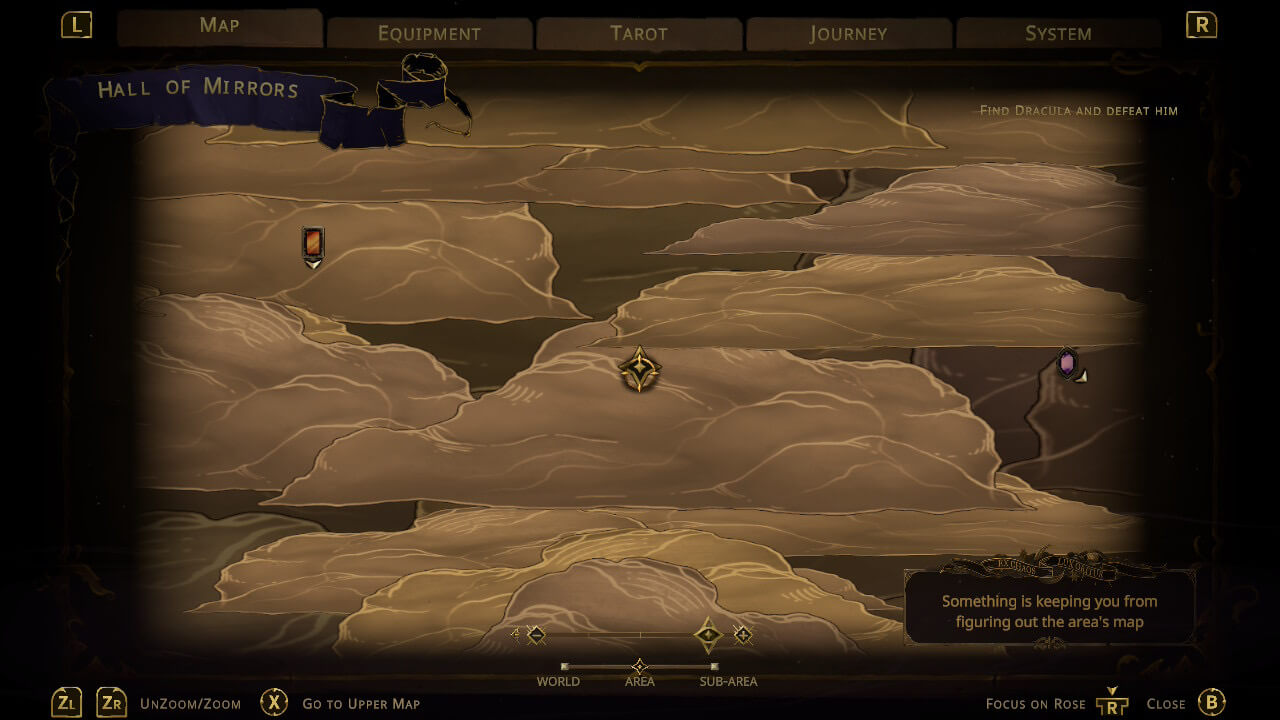
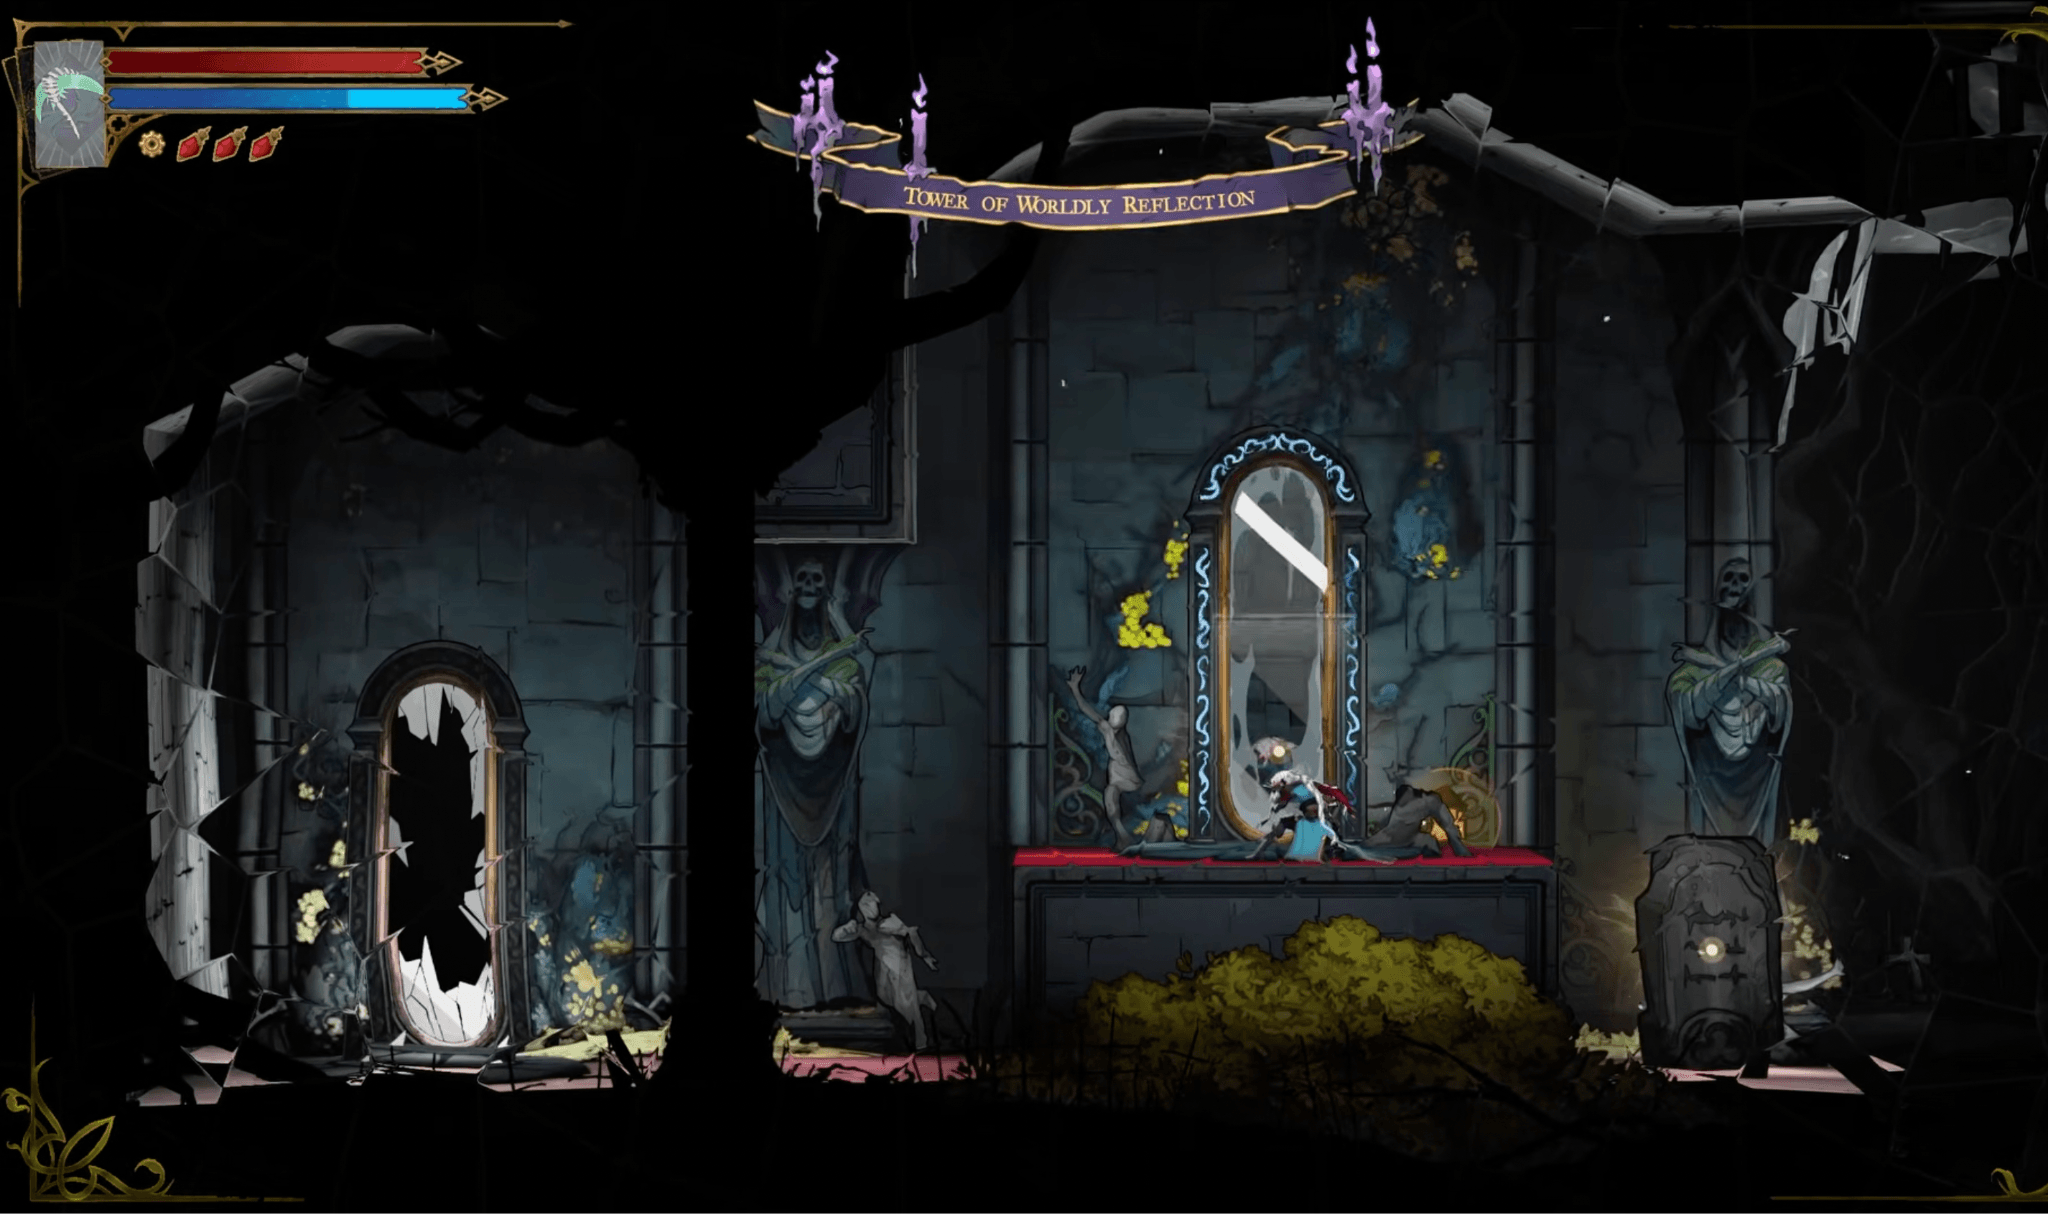
Return to where you first found Elanor, and you will now be able to enter the mirror there. Once you enter this mirror by crouching, you will now be in the hall of mirrors proper. This is the only area in the game where your map is disabled, making it exceptionally difficult to traverse.
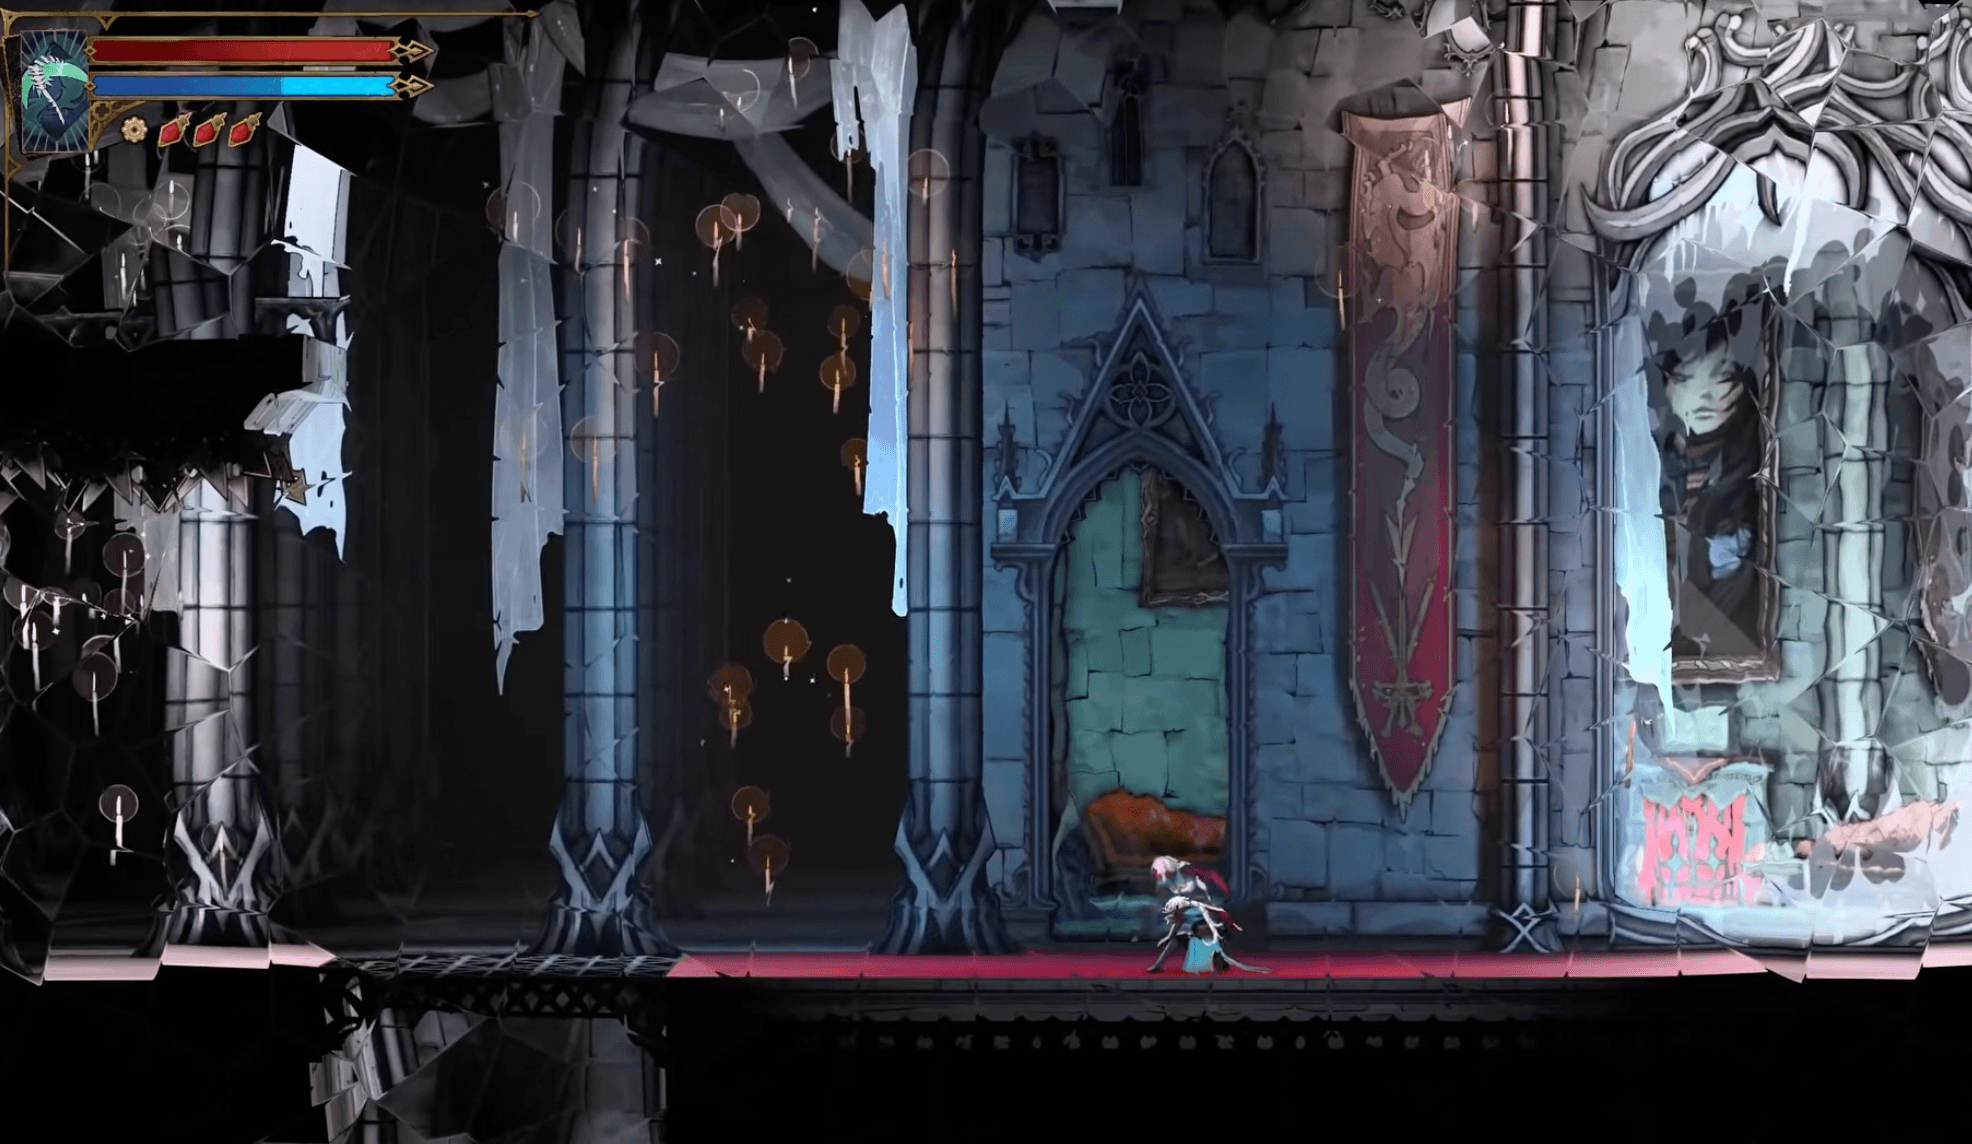
Once you enter the hall, you will drop down through the mirror sets for various areas. Once you reach the bottom, go to your left and take the exit down. Now you are in the Hall of Mirrors proper.
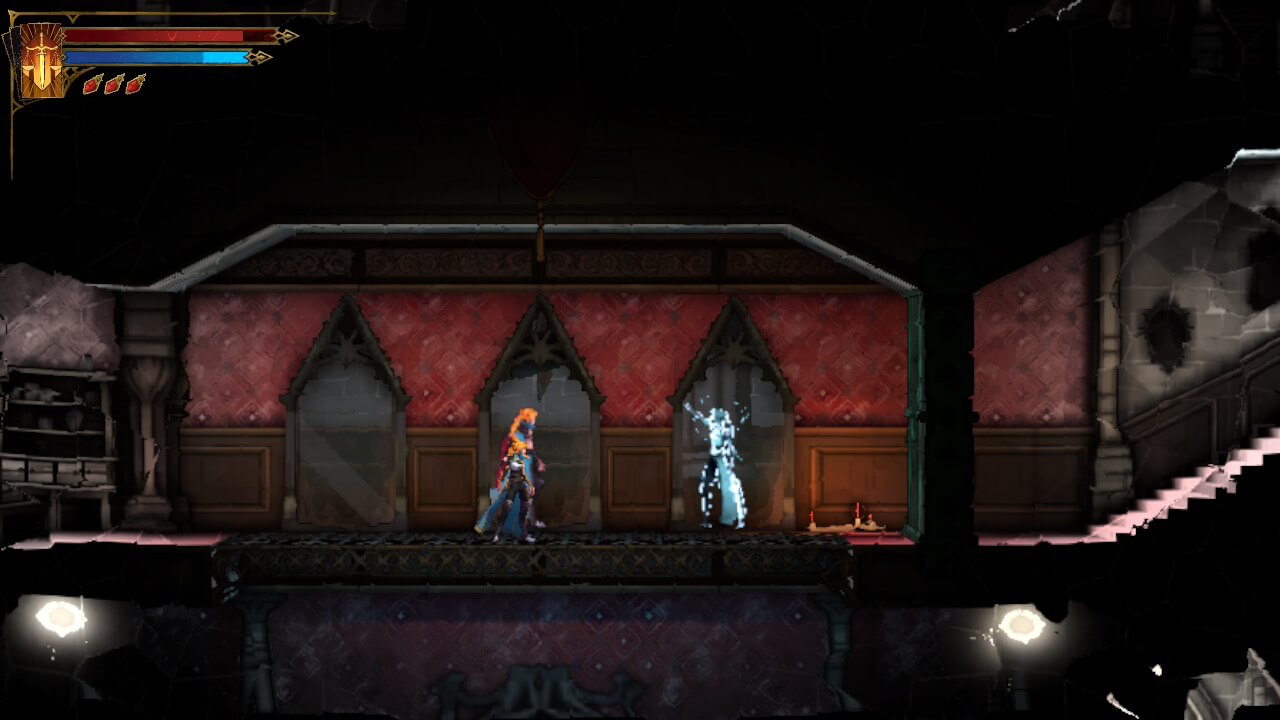
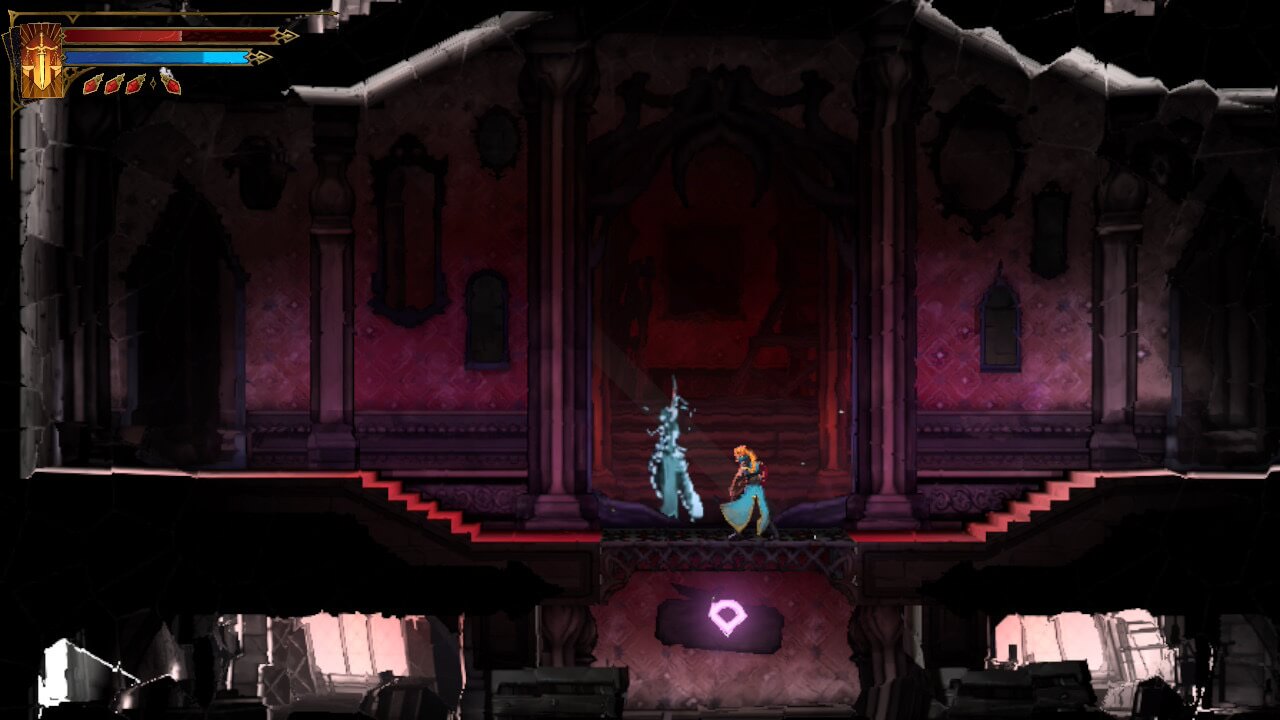
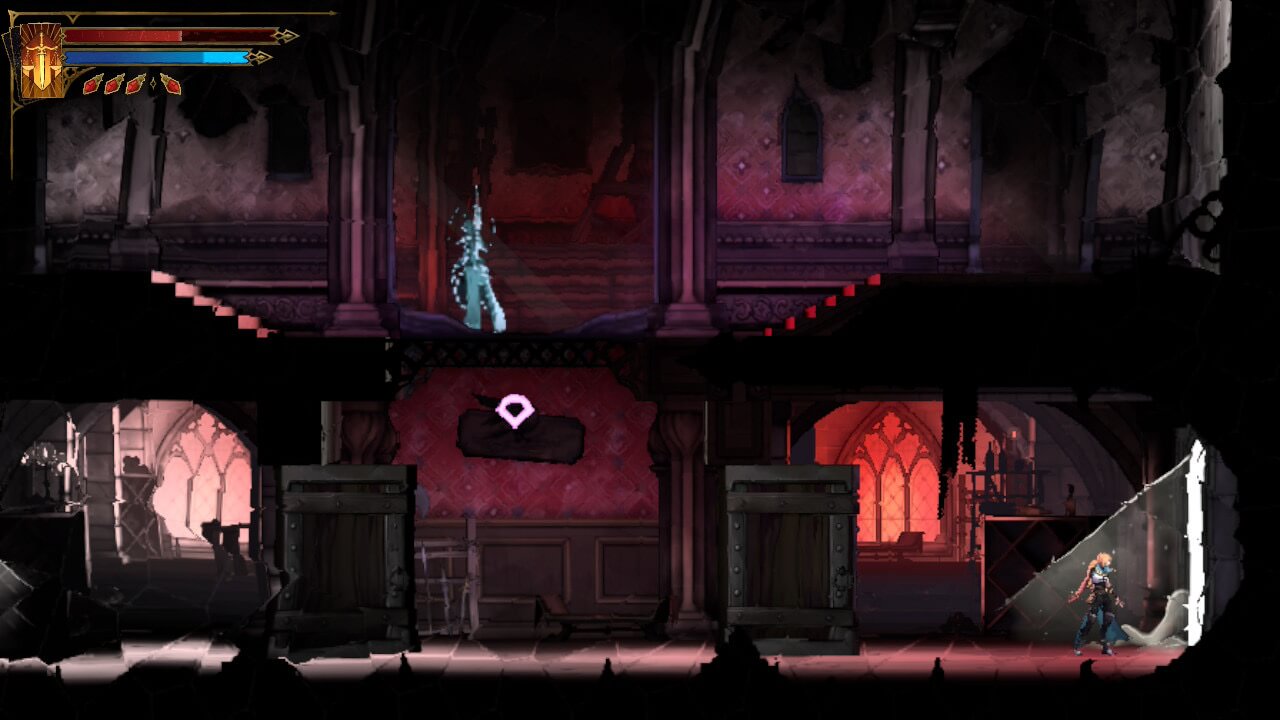
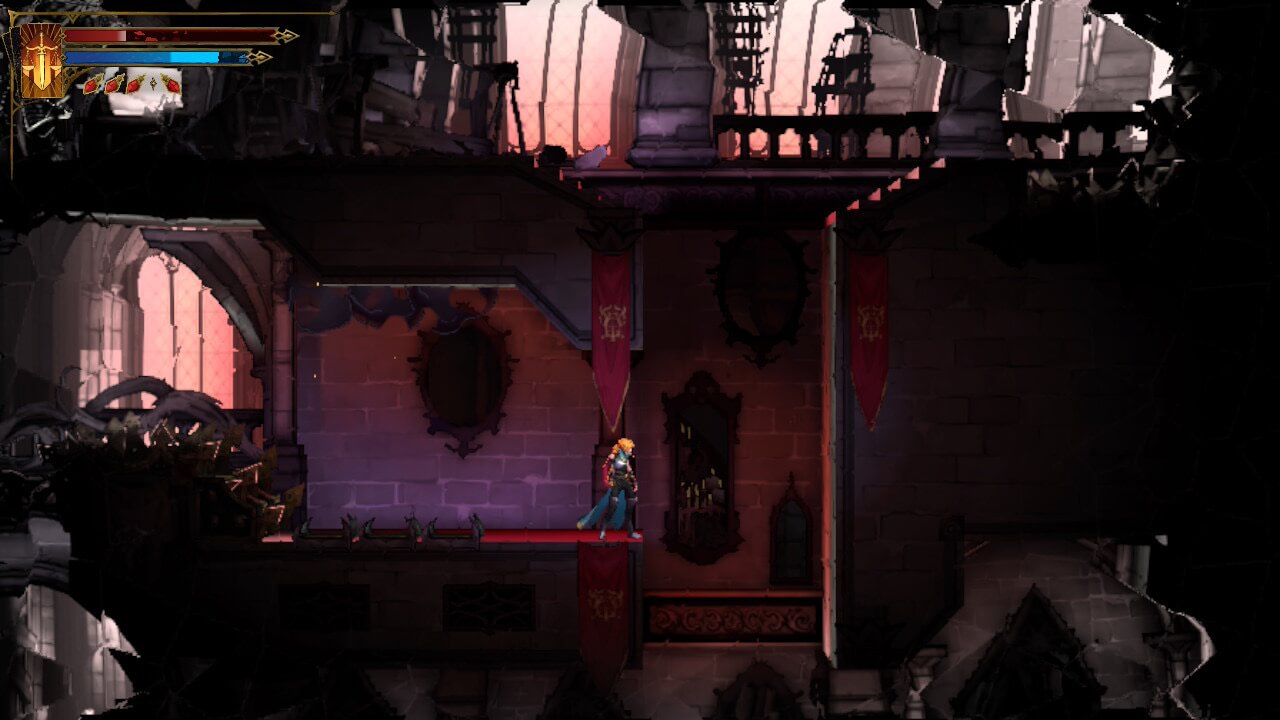
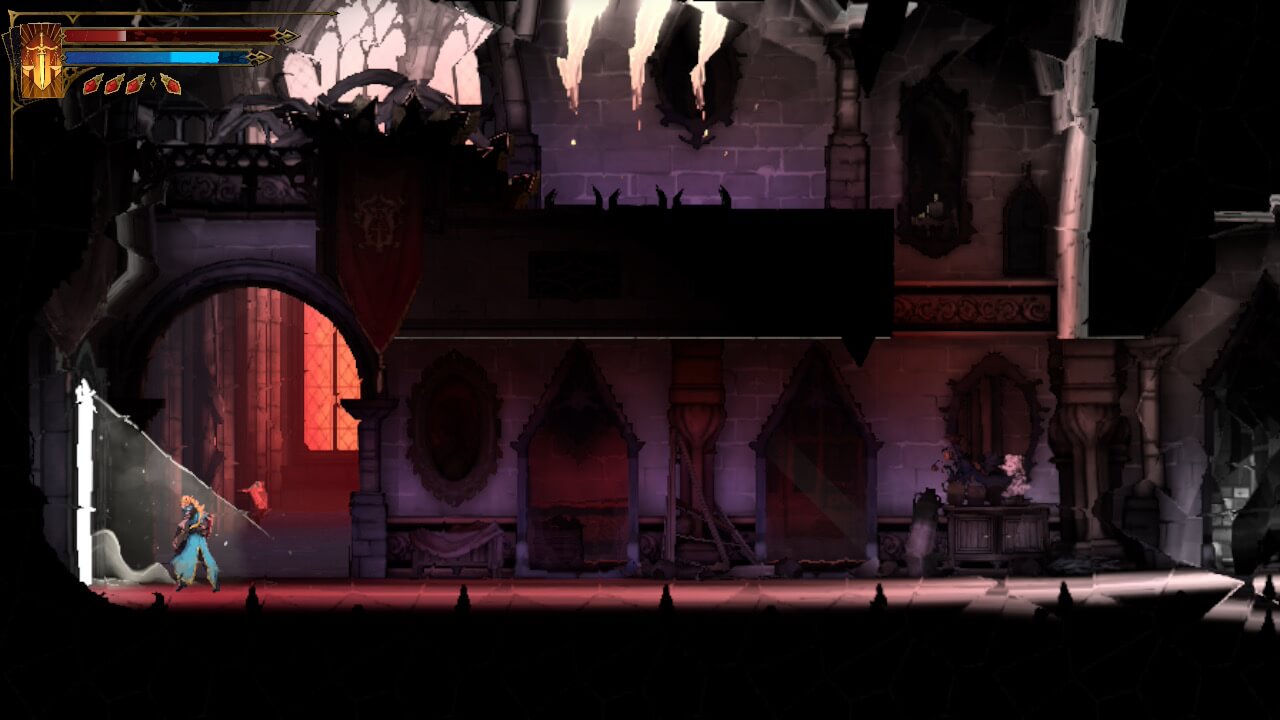
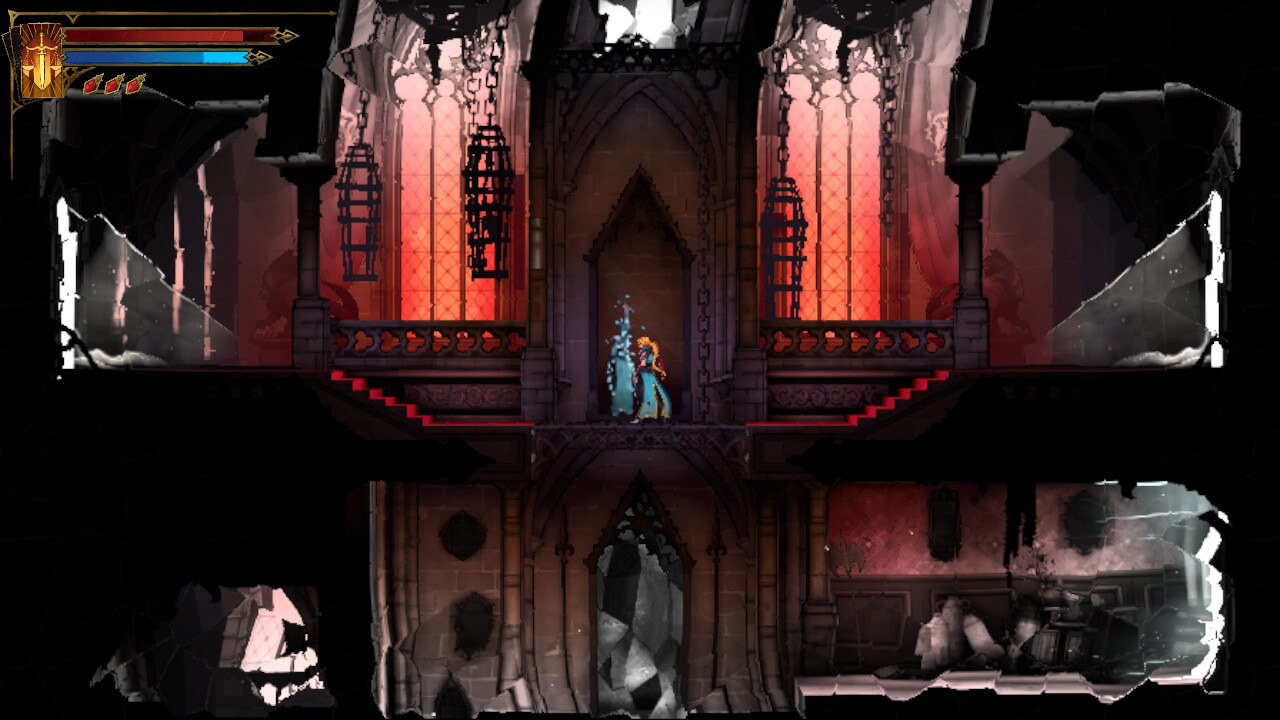
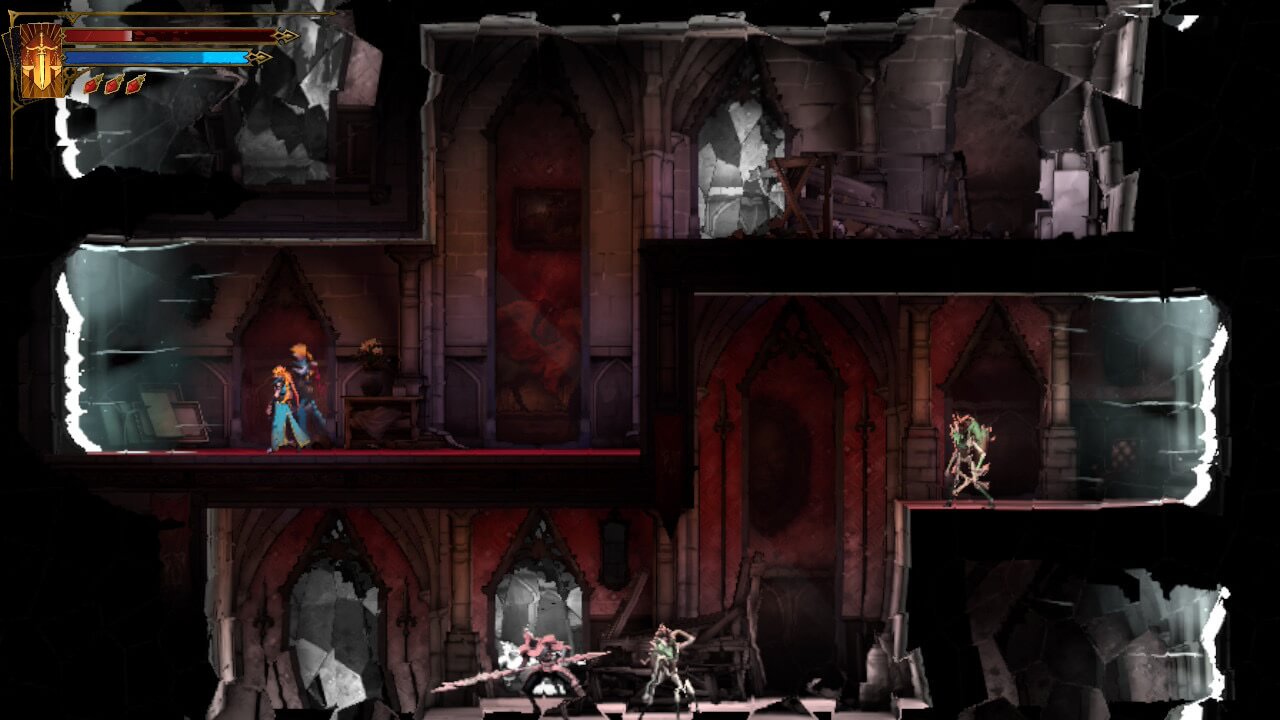
The Hall has three puzzles in order. For each puzzle, you explore the hall and check your reflection in every mirror that lines the walls. For the first two puzzles, whenever you see Rose’s reflection look blue and translucent, hold down, and her reflection will solidify and point in a direction. You can then use these mirrors to find a mirror to crouch in that will take you to the next area. These mirrors will actually appear over the cloudiness of your map, as can be seen here:
A final tip before we continue is that if you ever get well and truly lost, as it is very easy to do so, find a random mirror with a normal reflection and crouch down; this will return you to the start of whichever mirror puzzle you are on.
Now onto the first puzzle.
Hall of Mirrors Puzzles 1 and 2
For the first puzzle the mirrors on your map will be blue. This puzzle can actually be easily skipped. If you continue through the entrance area (there are no branching paths, so just keep moving and you’ll get there!). You will come upon an arena with two stone golems. Beat the golems, then crouch down in front of the mirror to the left of the large one to progress to the next area.
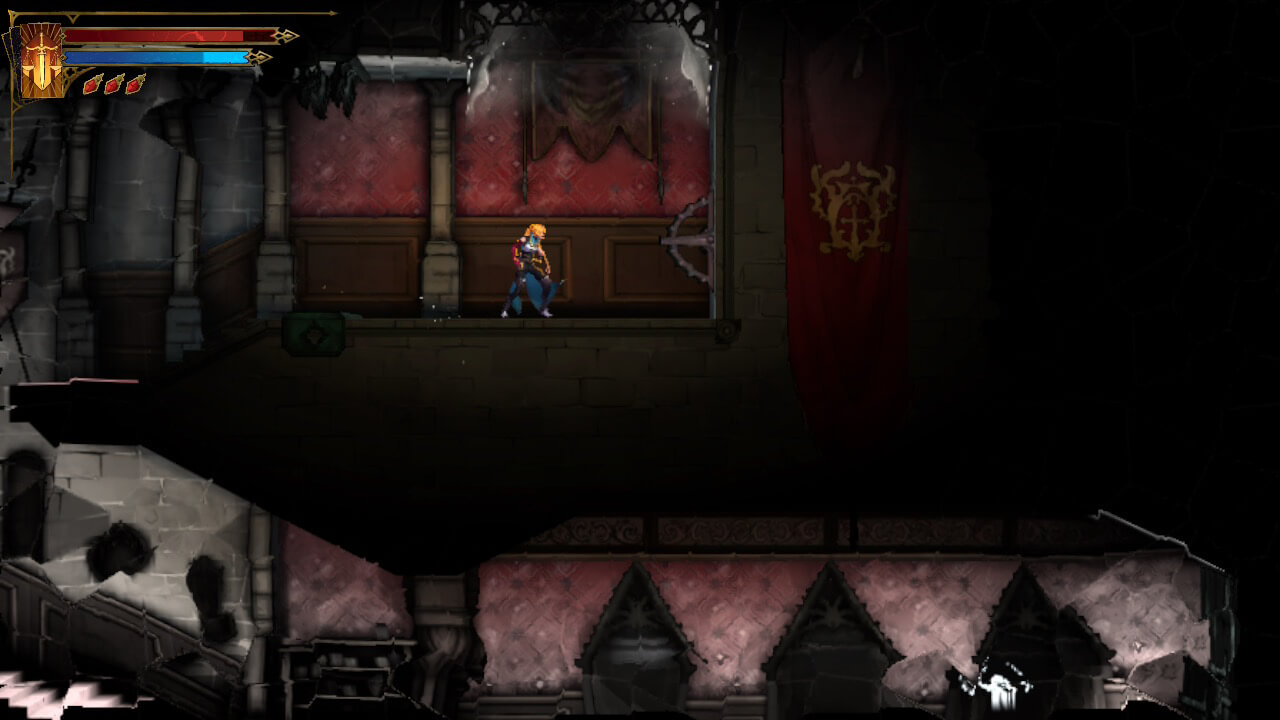
The next section of the puzzle is similar to the first, although a little harder to skip. The rules are the same as before: move through the area, find the glowing reflections, and then use where they all point to as the mirror to enter. You can cut straight to the mirror that is pointed to by following this path from the start. Remember, if you get lost, use a random mirror to return to the start.
First, go up from the starting room. Now, in this larger room, after fighting through the enemies, use the swing points to go up, where you will find the first of Rose’s special reflections.
Next, go up and to the left, exiting upwards to the next room.
Fight up through the hall of enemies until you reach the top, where you will go to the left.
Now beat the enemies in the room, move to the upper tier area, and crouch in the central mirror.
Throughout this area, you will occasionally see red reflections; if you crouch in front of these, your reflection will attack you from the mirror, dealing damage.
Hall of Mirrors Puzzle 3
The final section of the puzzle has an important caveat if done the intended way. If you find the blue reflection, you will notice they appear glitchy and have flashes of red; this is a giveaway to their real purpose. These reflections actually point directly away from the intended mirror, flipping how you find it. Though we can skip this by beelining to the proper mirror. From your new starting point, drop down to where your first reflection is, and then move into the room below.
From here, go right.
In this next room, move to the right and fall down the center. Here you can actually get a quick Brave Heart by moving to the left while falling down the short tunnel.
This will open up a small platforming challenge. After getting the heart, move into the room on your left.
From here, go to the center permeable platform and drop down.
Now make your way through the teleporters moving in a staircase pattern. This large hall is where the final teleport mirror lies. Make your way through TWO teleporters, and then at the exit of the second teleporter, go through the very first mirror. It is very easy to miss this with all the mirrors, so be very careful!
You should now have completed the puzzle section of the Hall of Mirrors!!
Succubus Fight
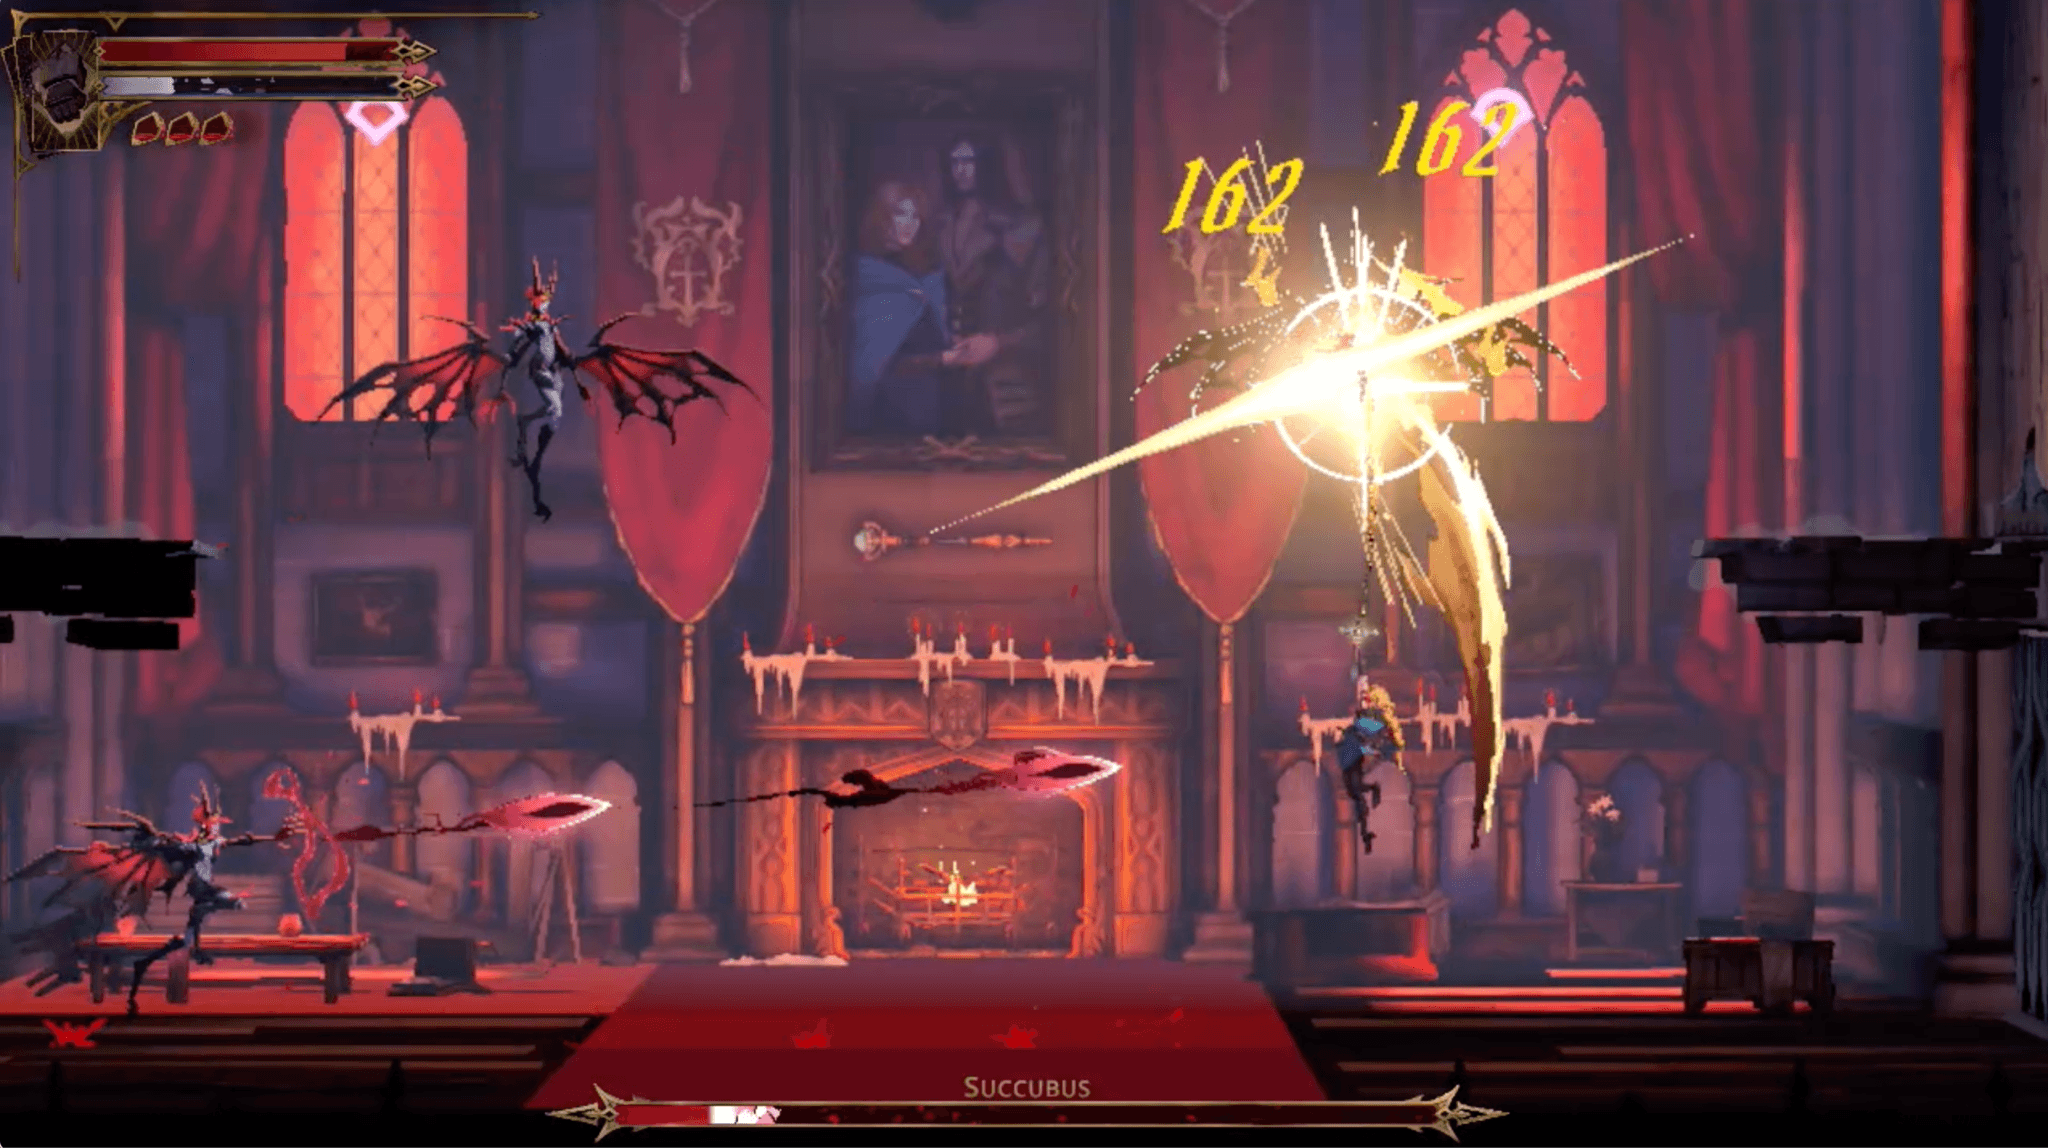
Where you are now is above the succubus boss fight. I won't go into full detail on the fight, but here are a few tips and tricks.
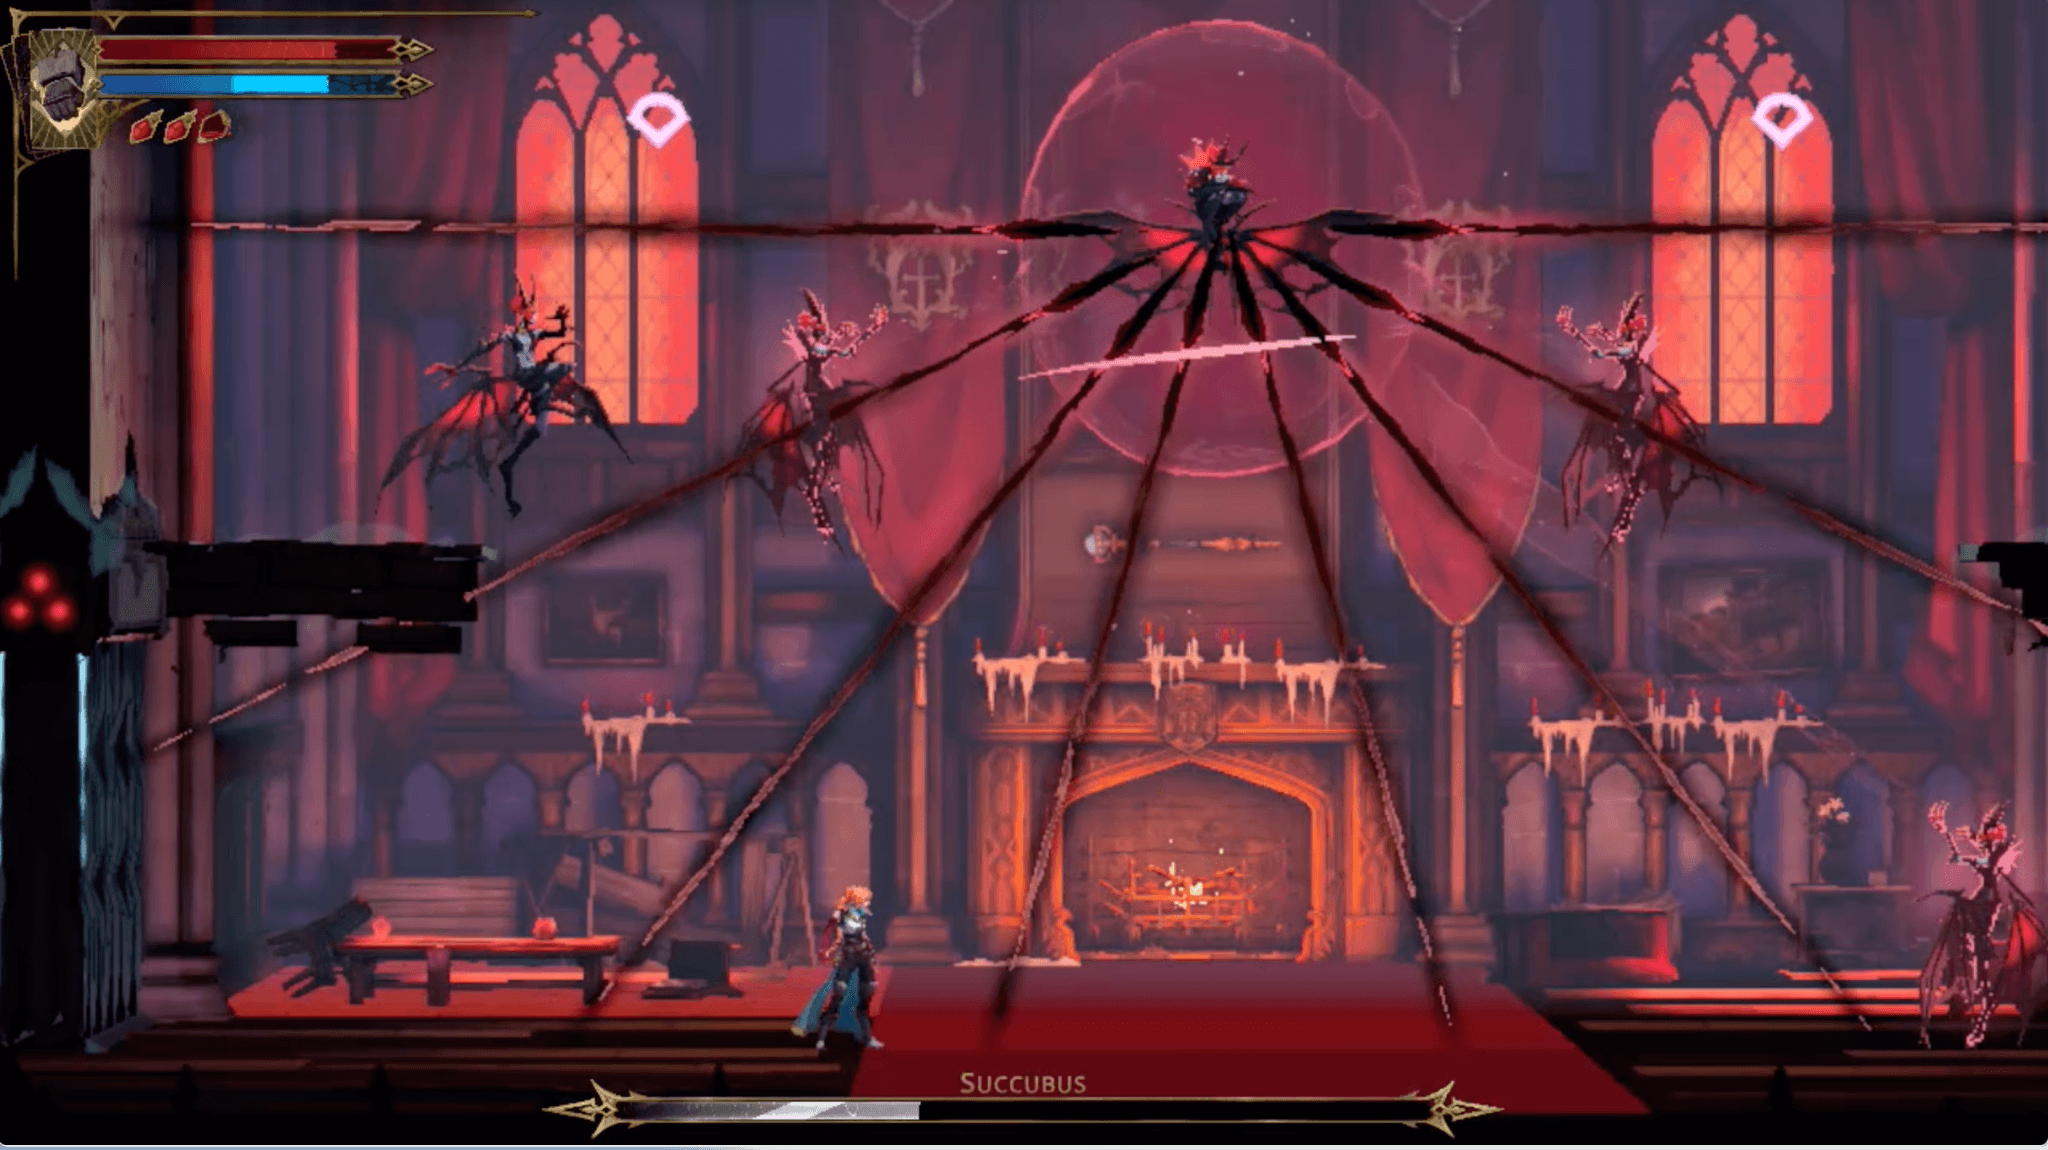
Use the vampire killer; the flame effect can be very helpful in this fight whenever the succubus uses her duplicates.
On that note, watch the health bar in order to find out if you are hitting the right copy. If not, move on.
In her duplicate attack, once you find the right one, mash attack and don’t stop; this is a great window to get in crazy damage. In particular, if she is one of the two higher ones, jump up and do repetitive upward attacks at her. These will keep you in the air while you repeatedly get max damage hits on the boss with the end of your whip.
Be Careful of the beams she shoots on when shielded as these will drain you and heal her while damaging you.
Take out the duplicates with faint red auras connecting to the shield to drop it.
Make sure you are using your double jump and dash to maximize dodges and mobility
Once you beat the boss, absorb the succubus to unlock the life drain arcana and clear the whole Hall of Mirrors map! From here, move down to the save room below the boss, where you will find the final hint leading you to the Sage.
Finding the Sage in the Holy Innocents Cemetary
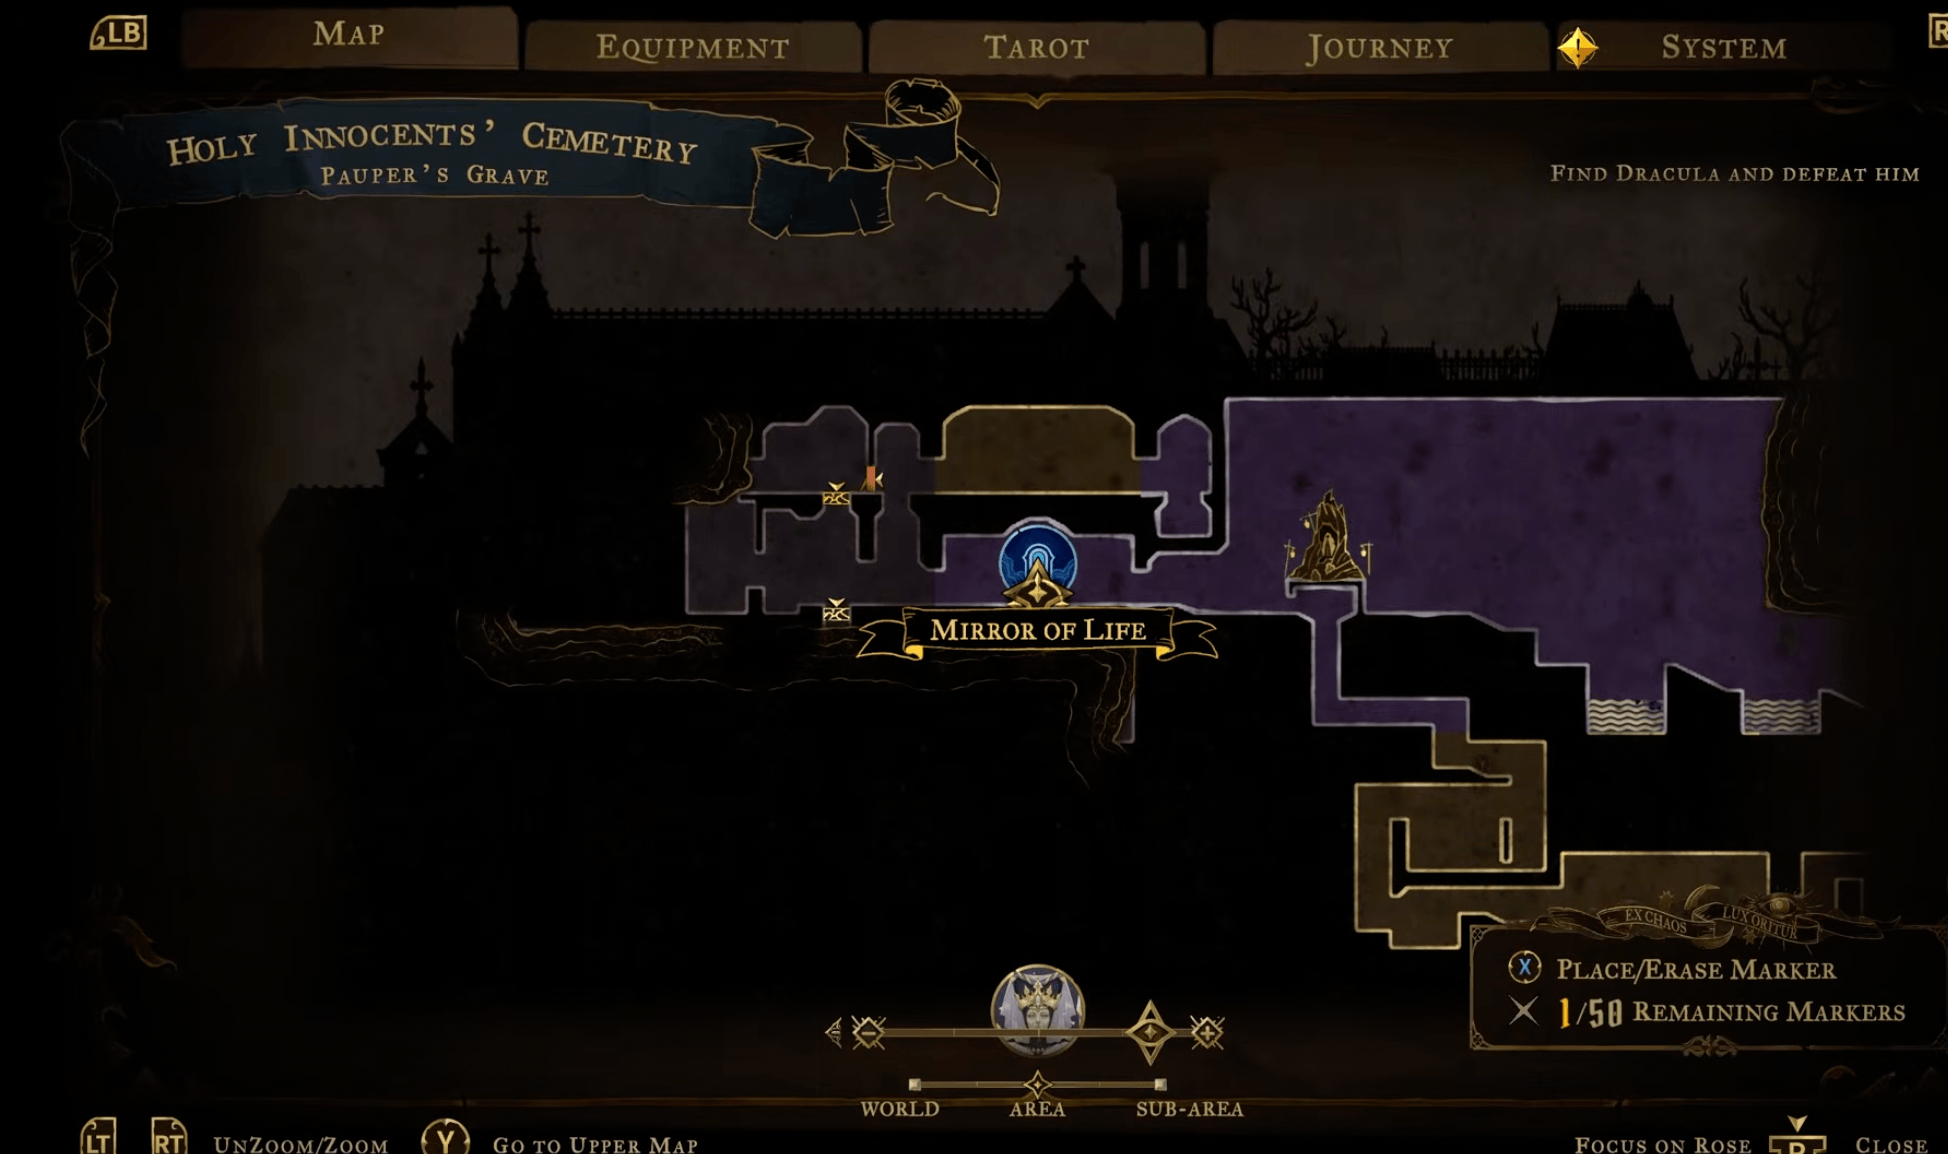
Make your way to the Holy Innocents Cemetery (which you can now do by using the mirrors you have unlocked. Use the one below).
From here, use your Smash ability to unlock the Mausoleum of Kings. The Sage will now be marked on your map.
Use that map marker to guide you as you make your way through the combat and platforming challenges in the Mausoleum, and you will soon reach Elanor and unlock the Sage tarot and corresponding Arcana.