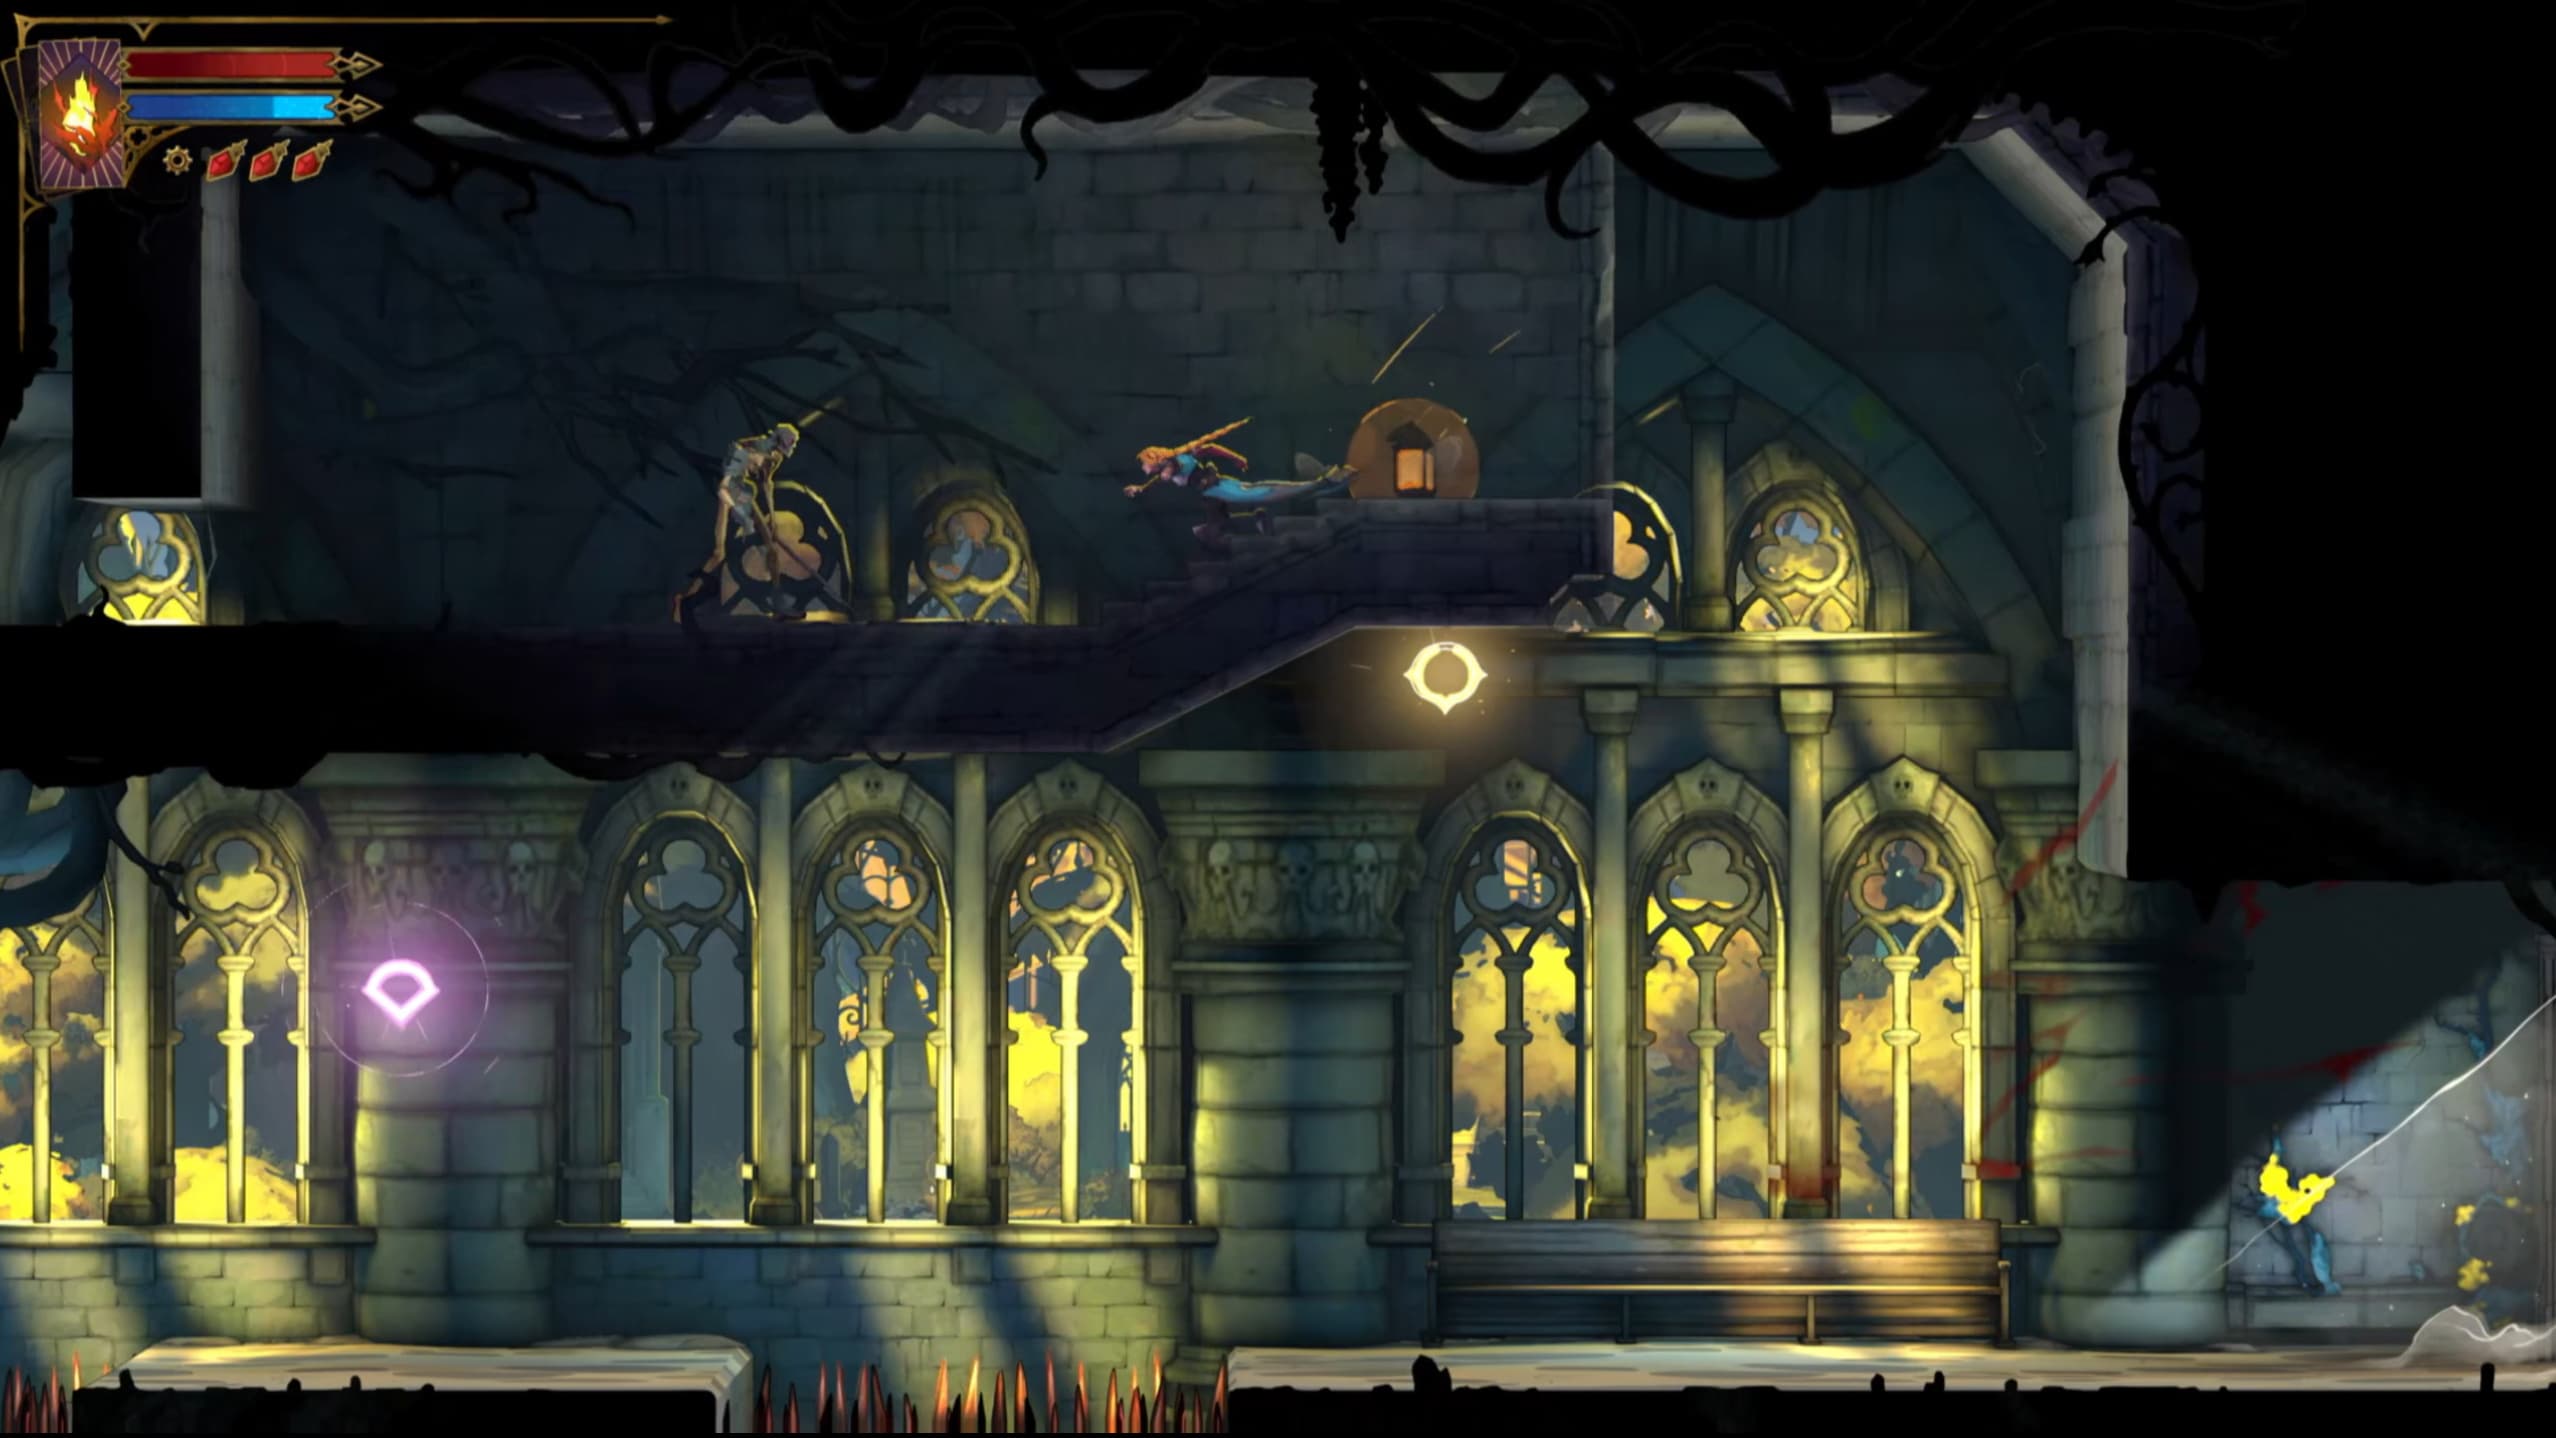
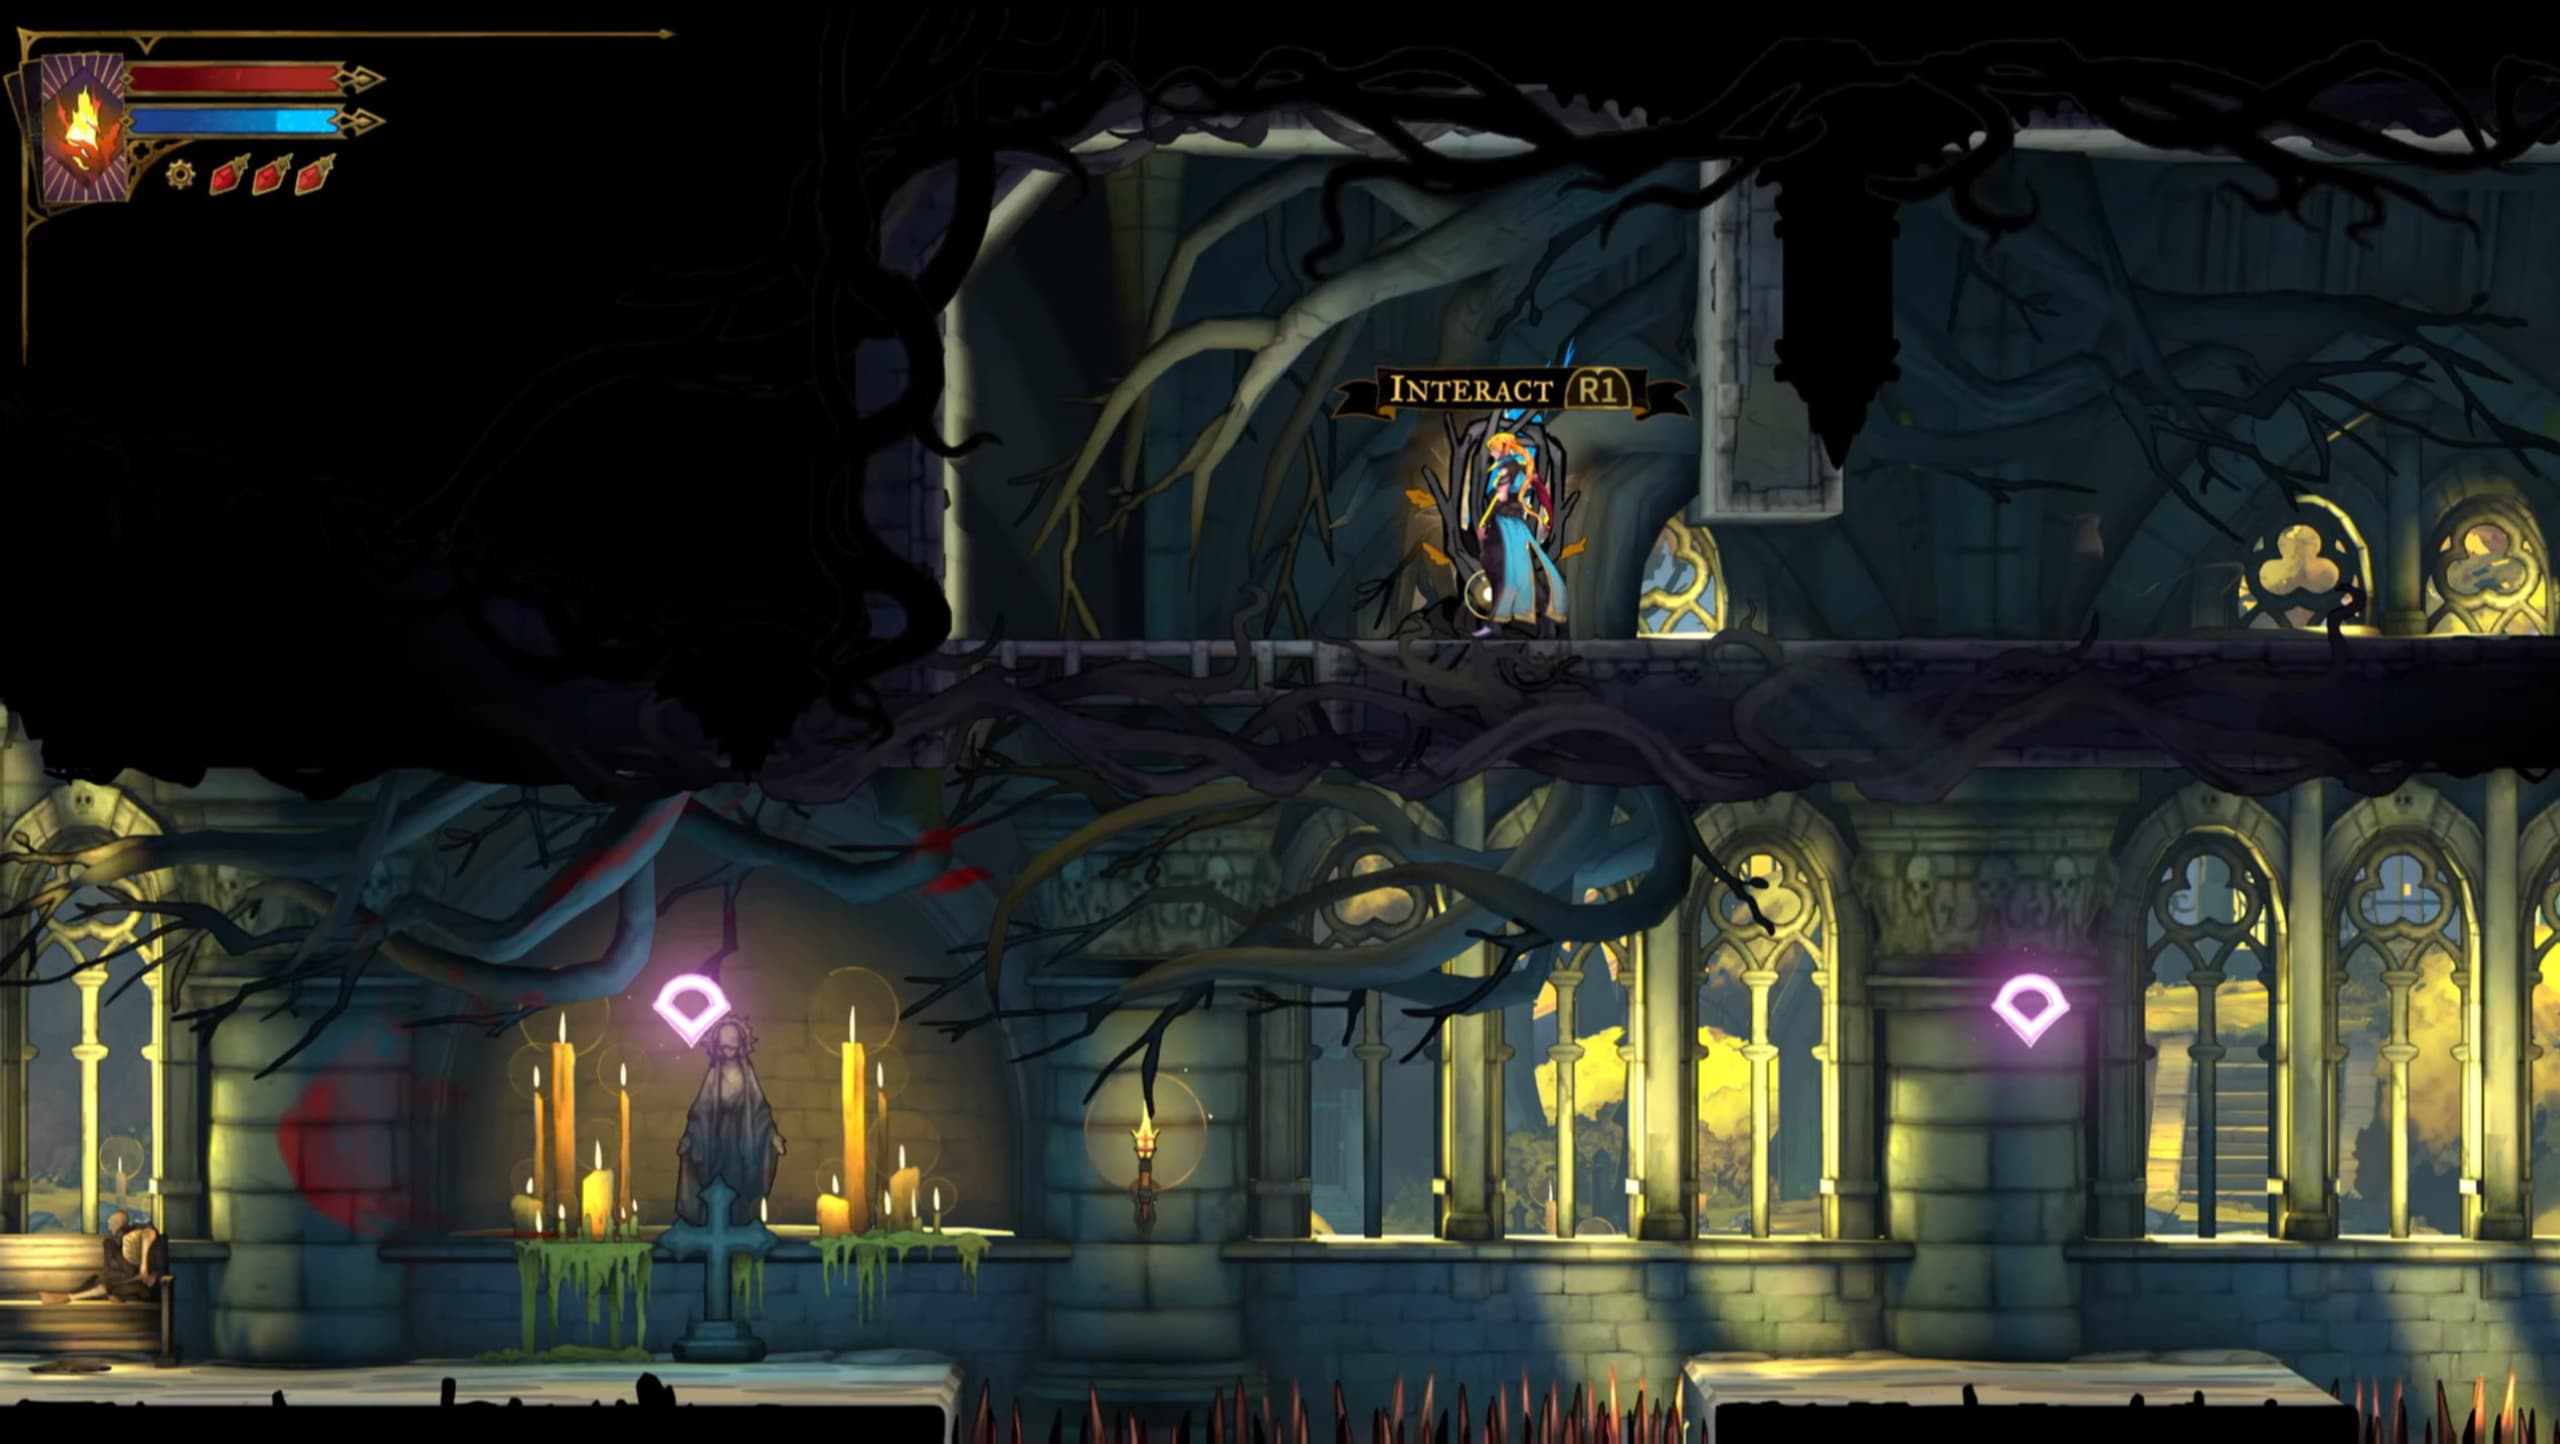
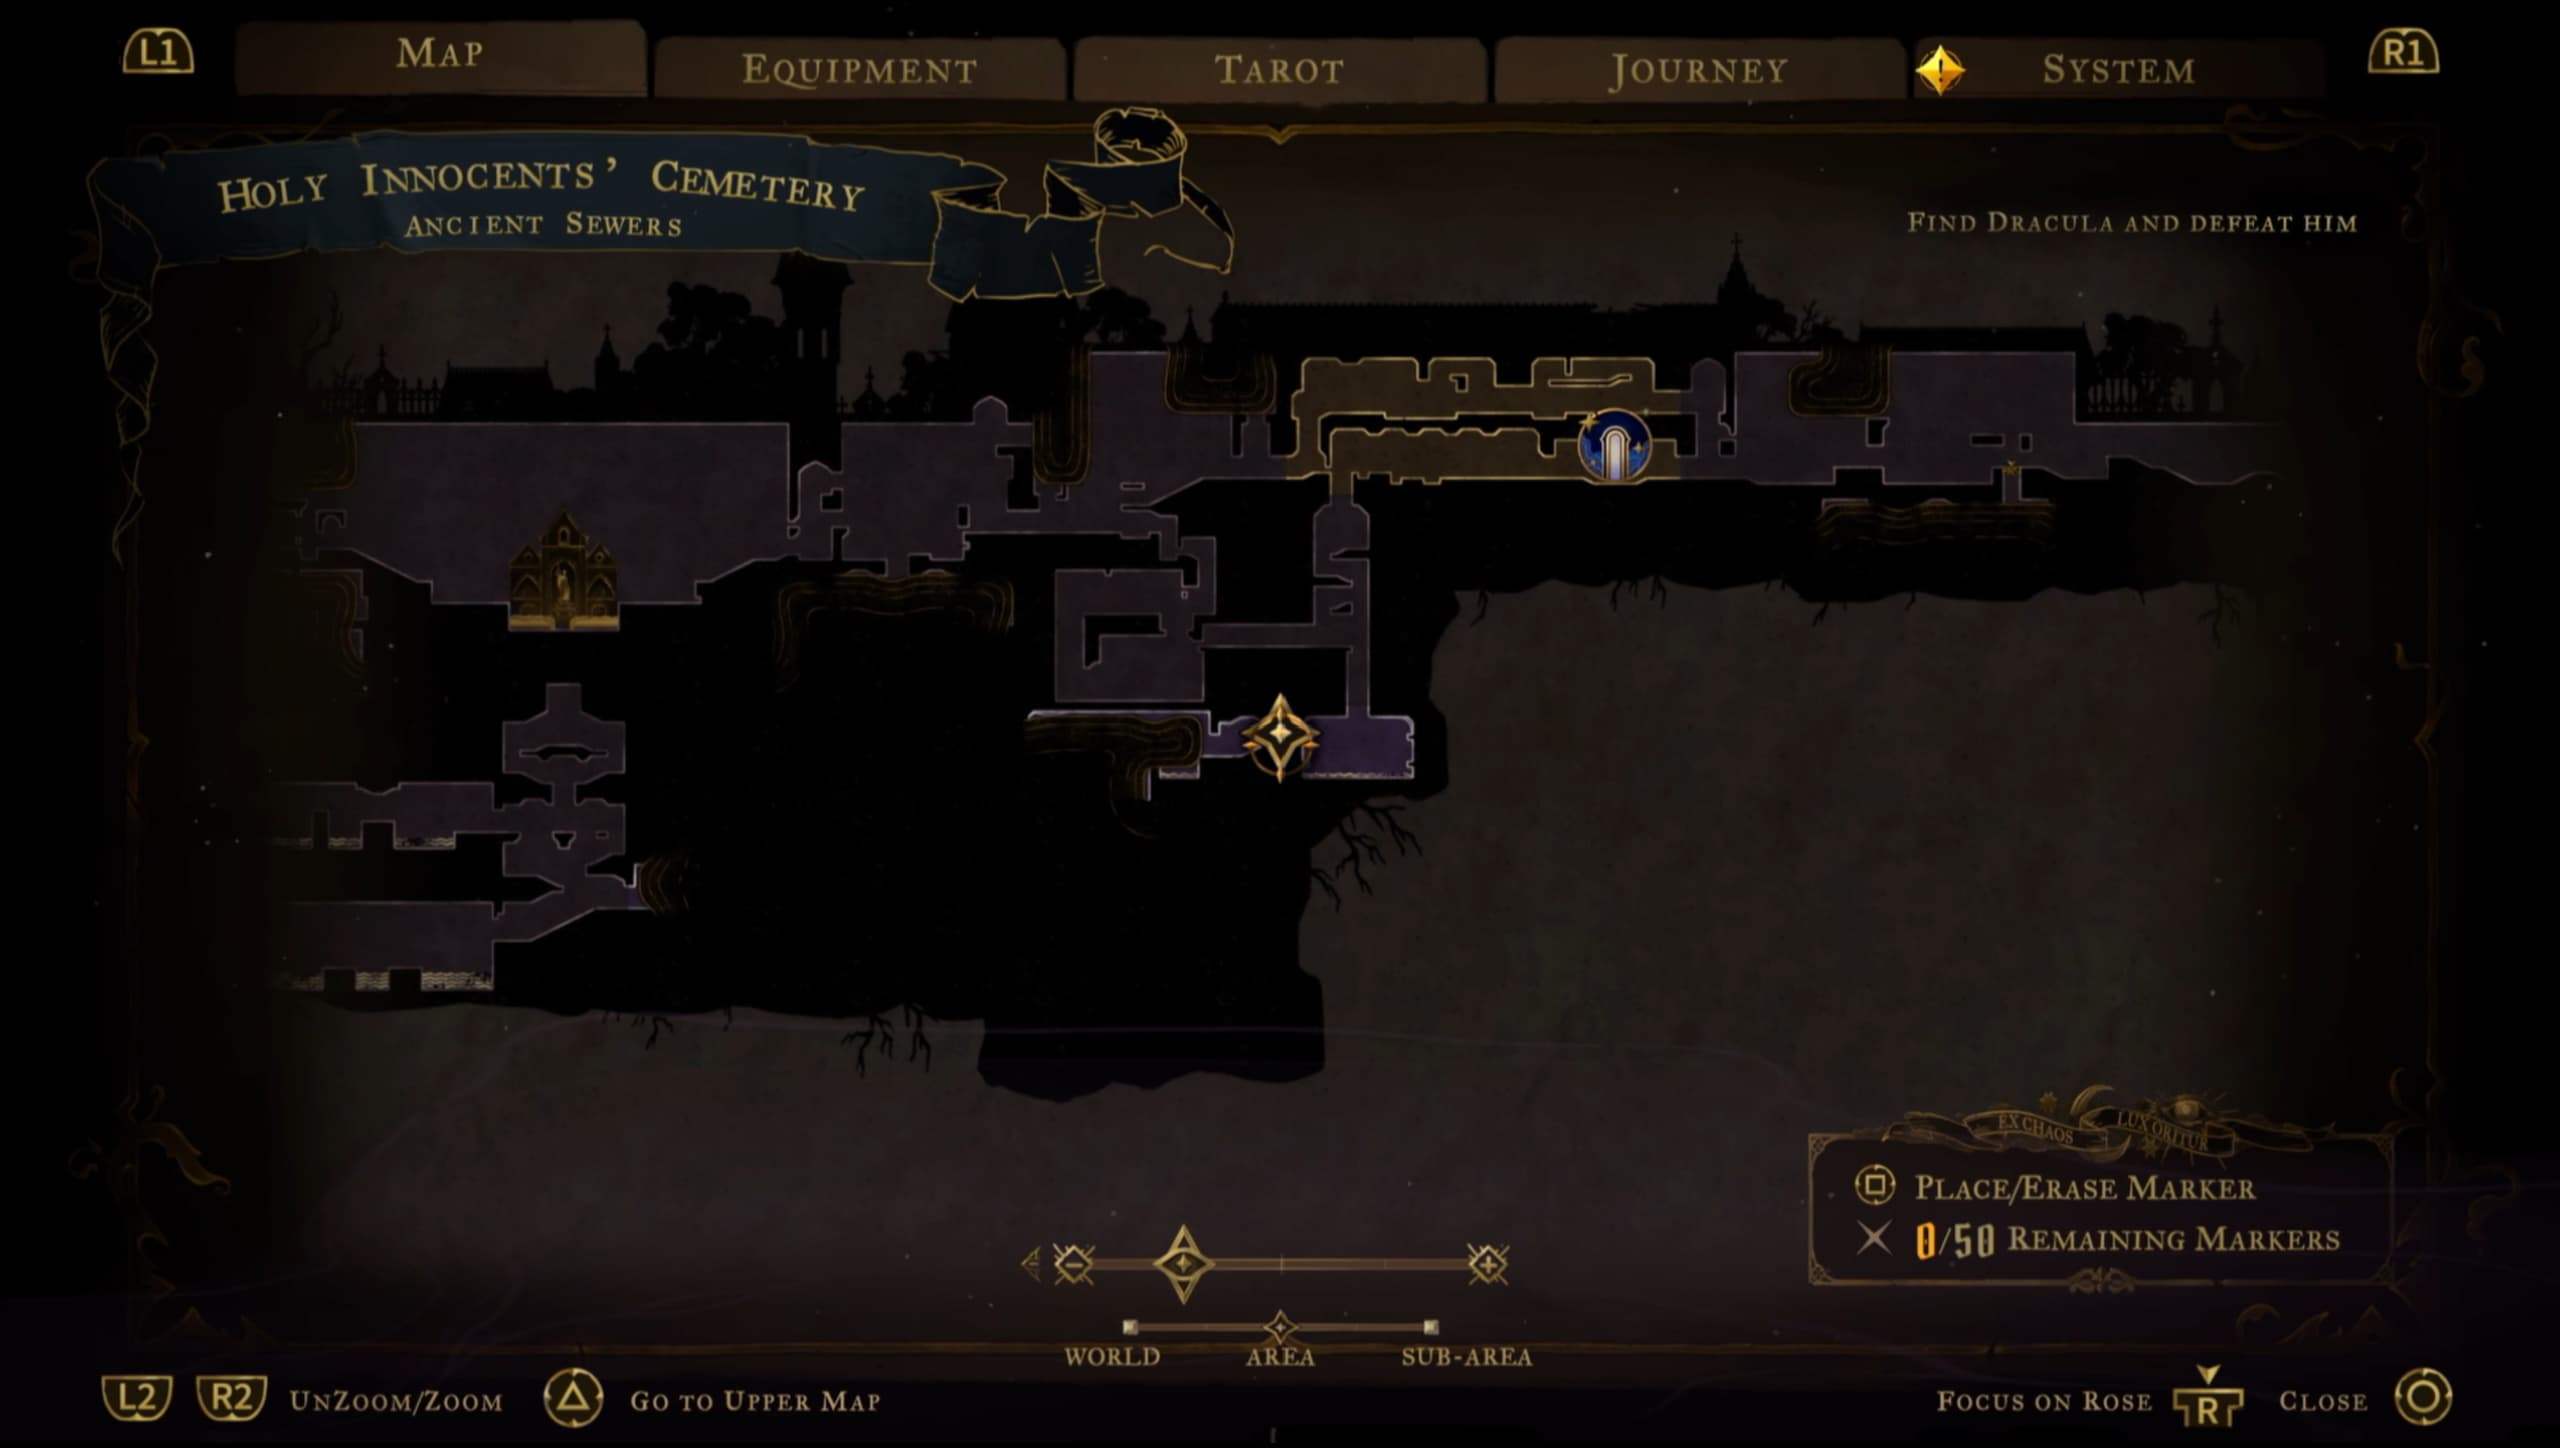
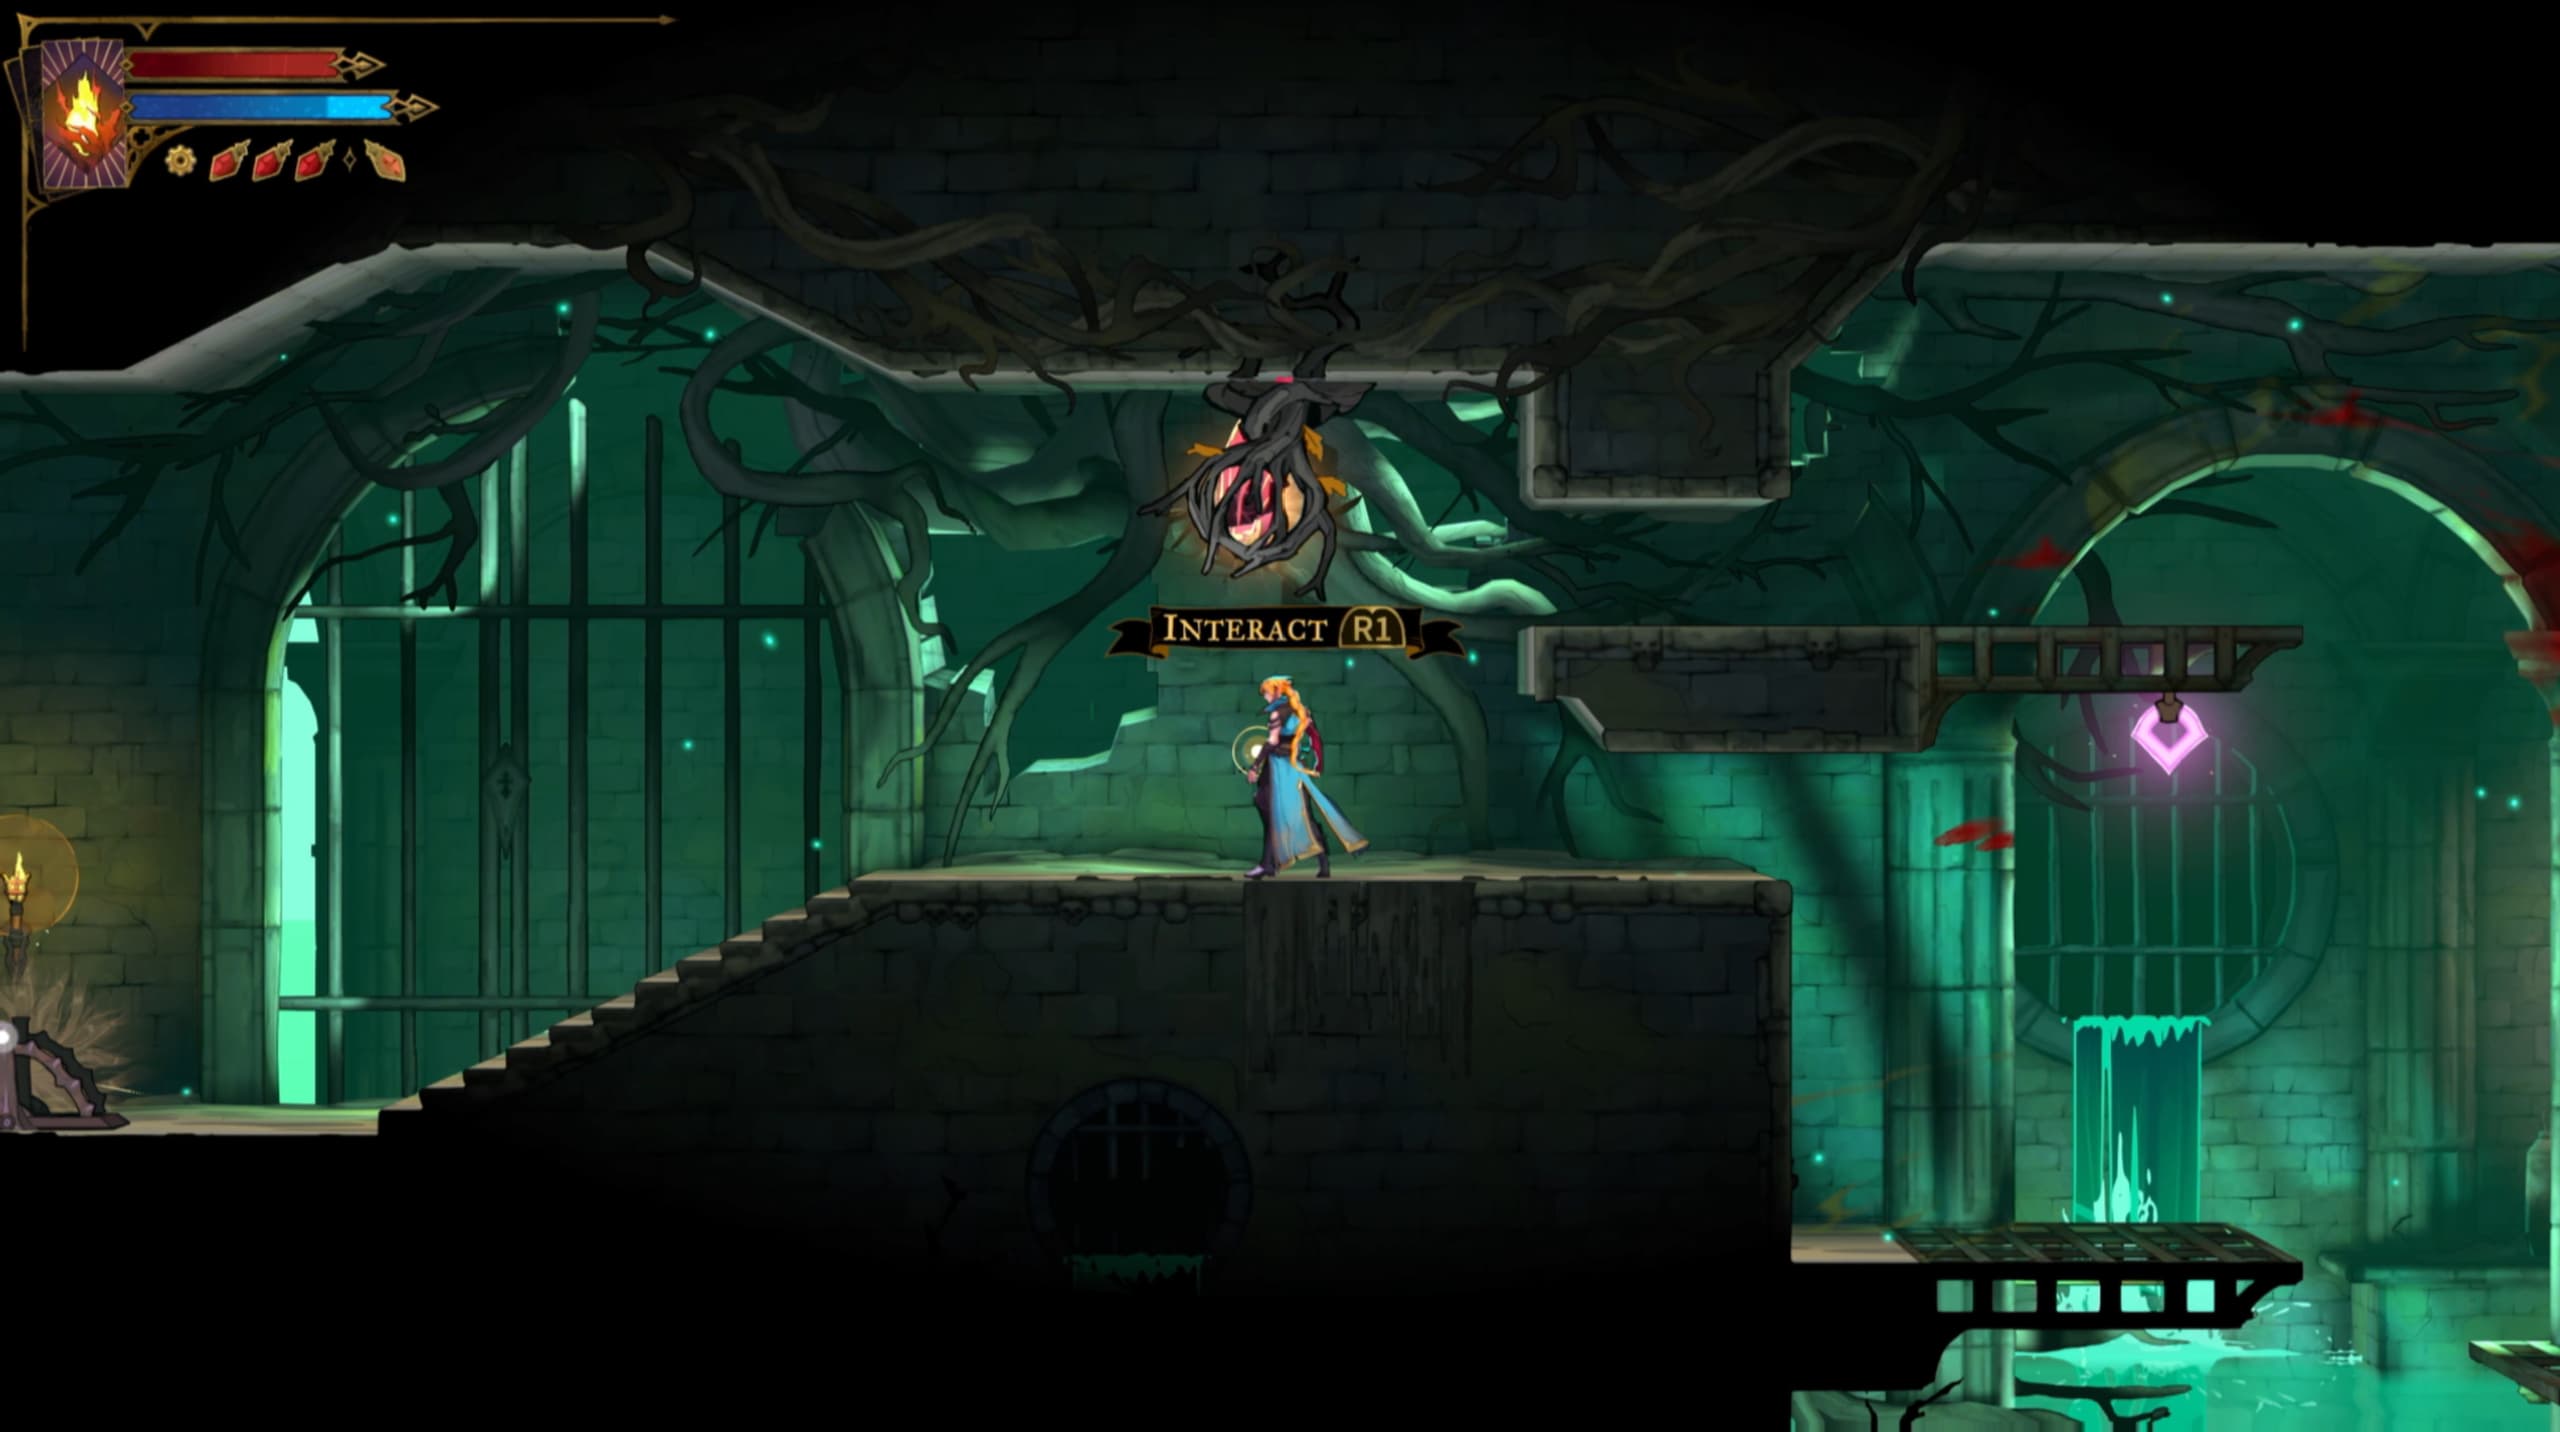
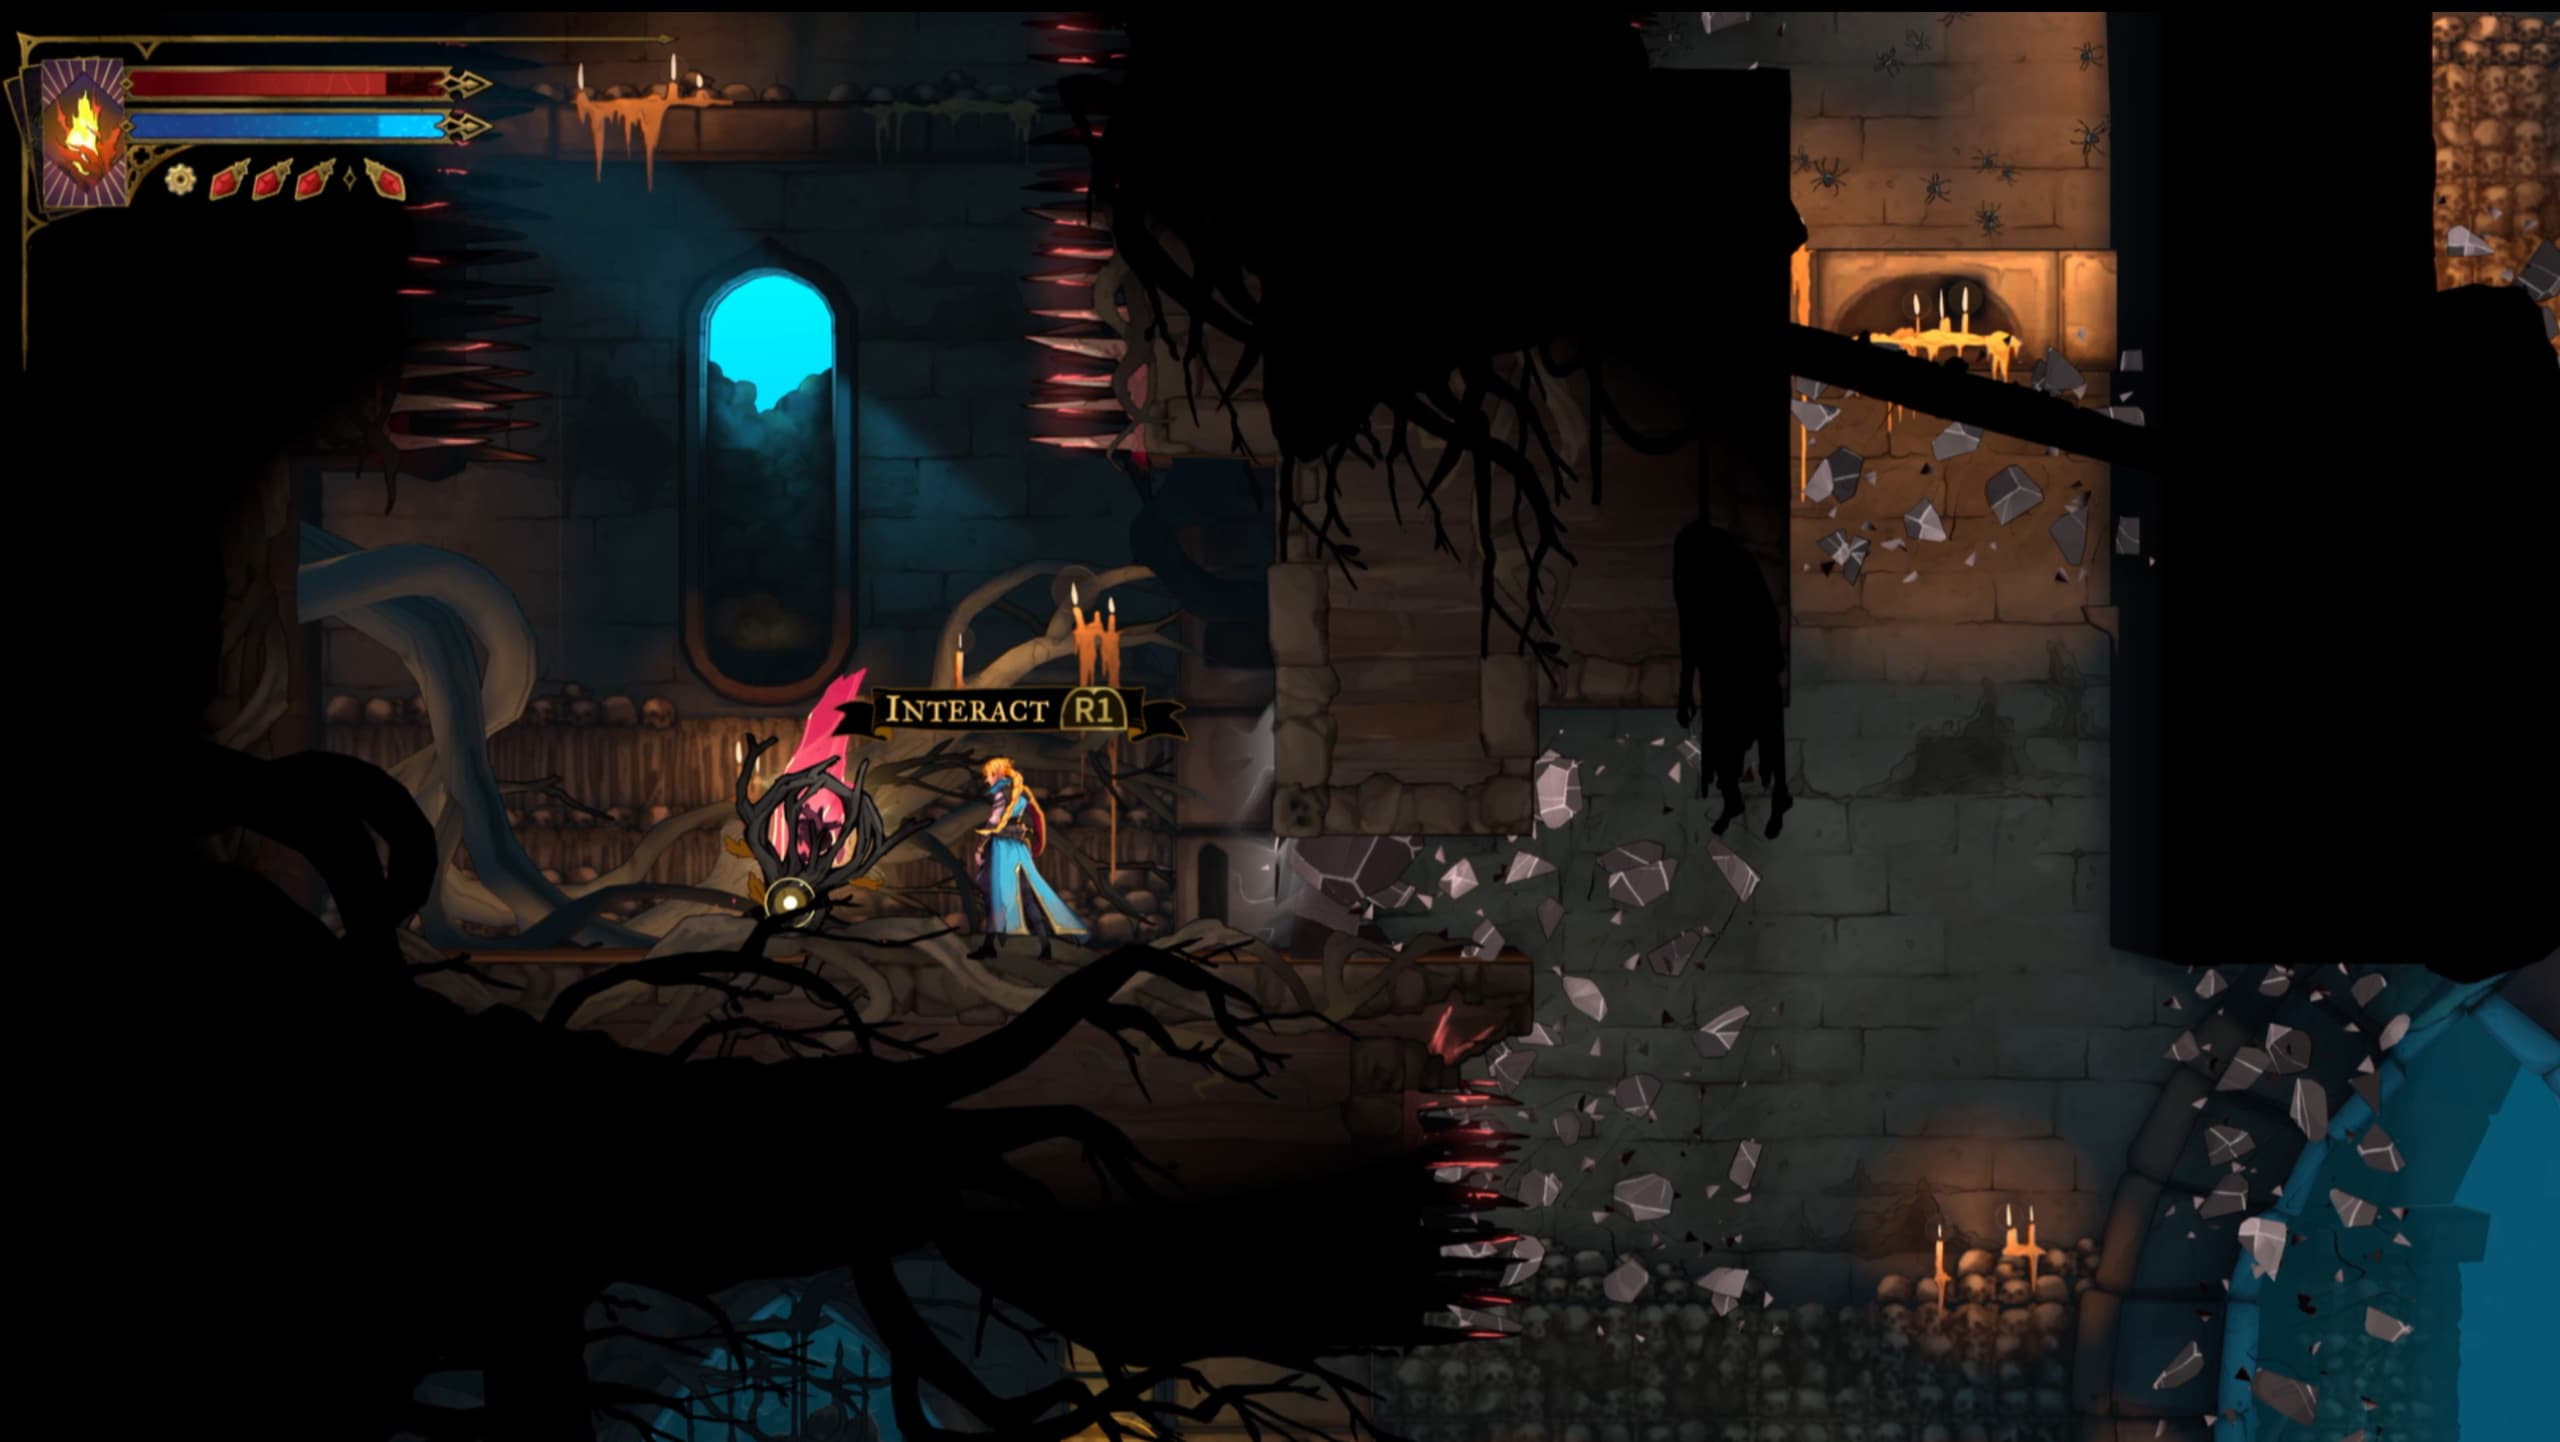
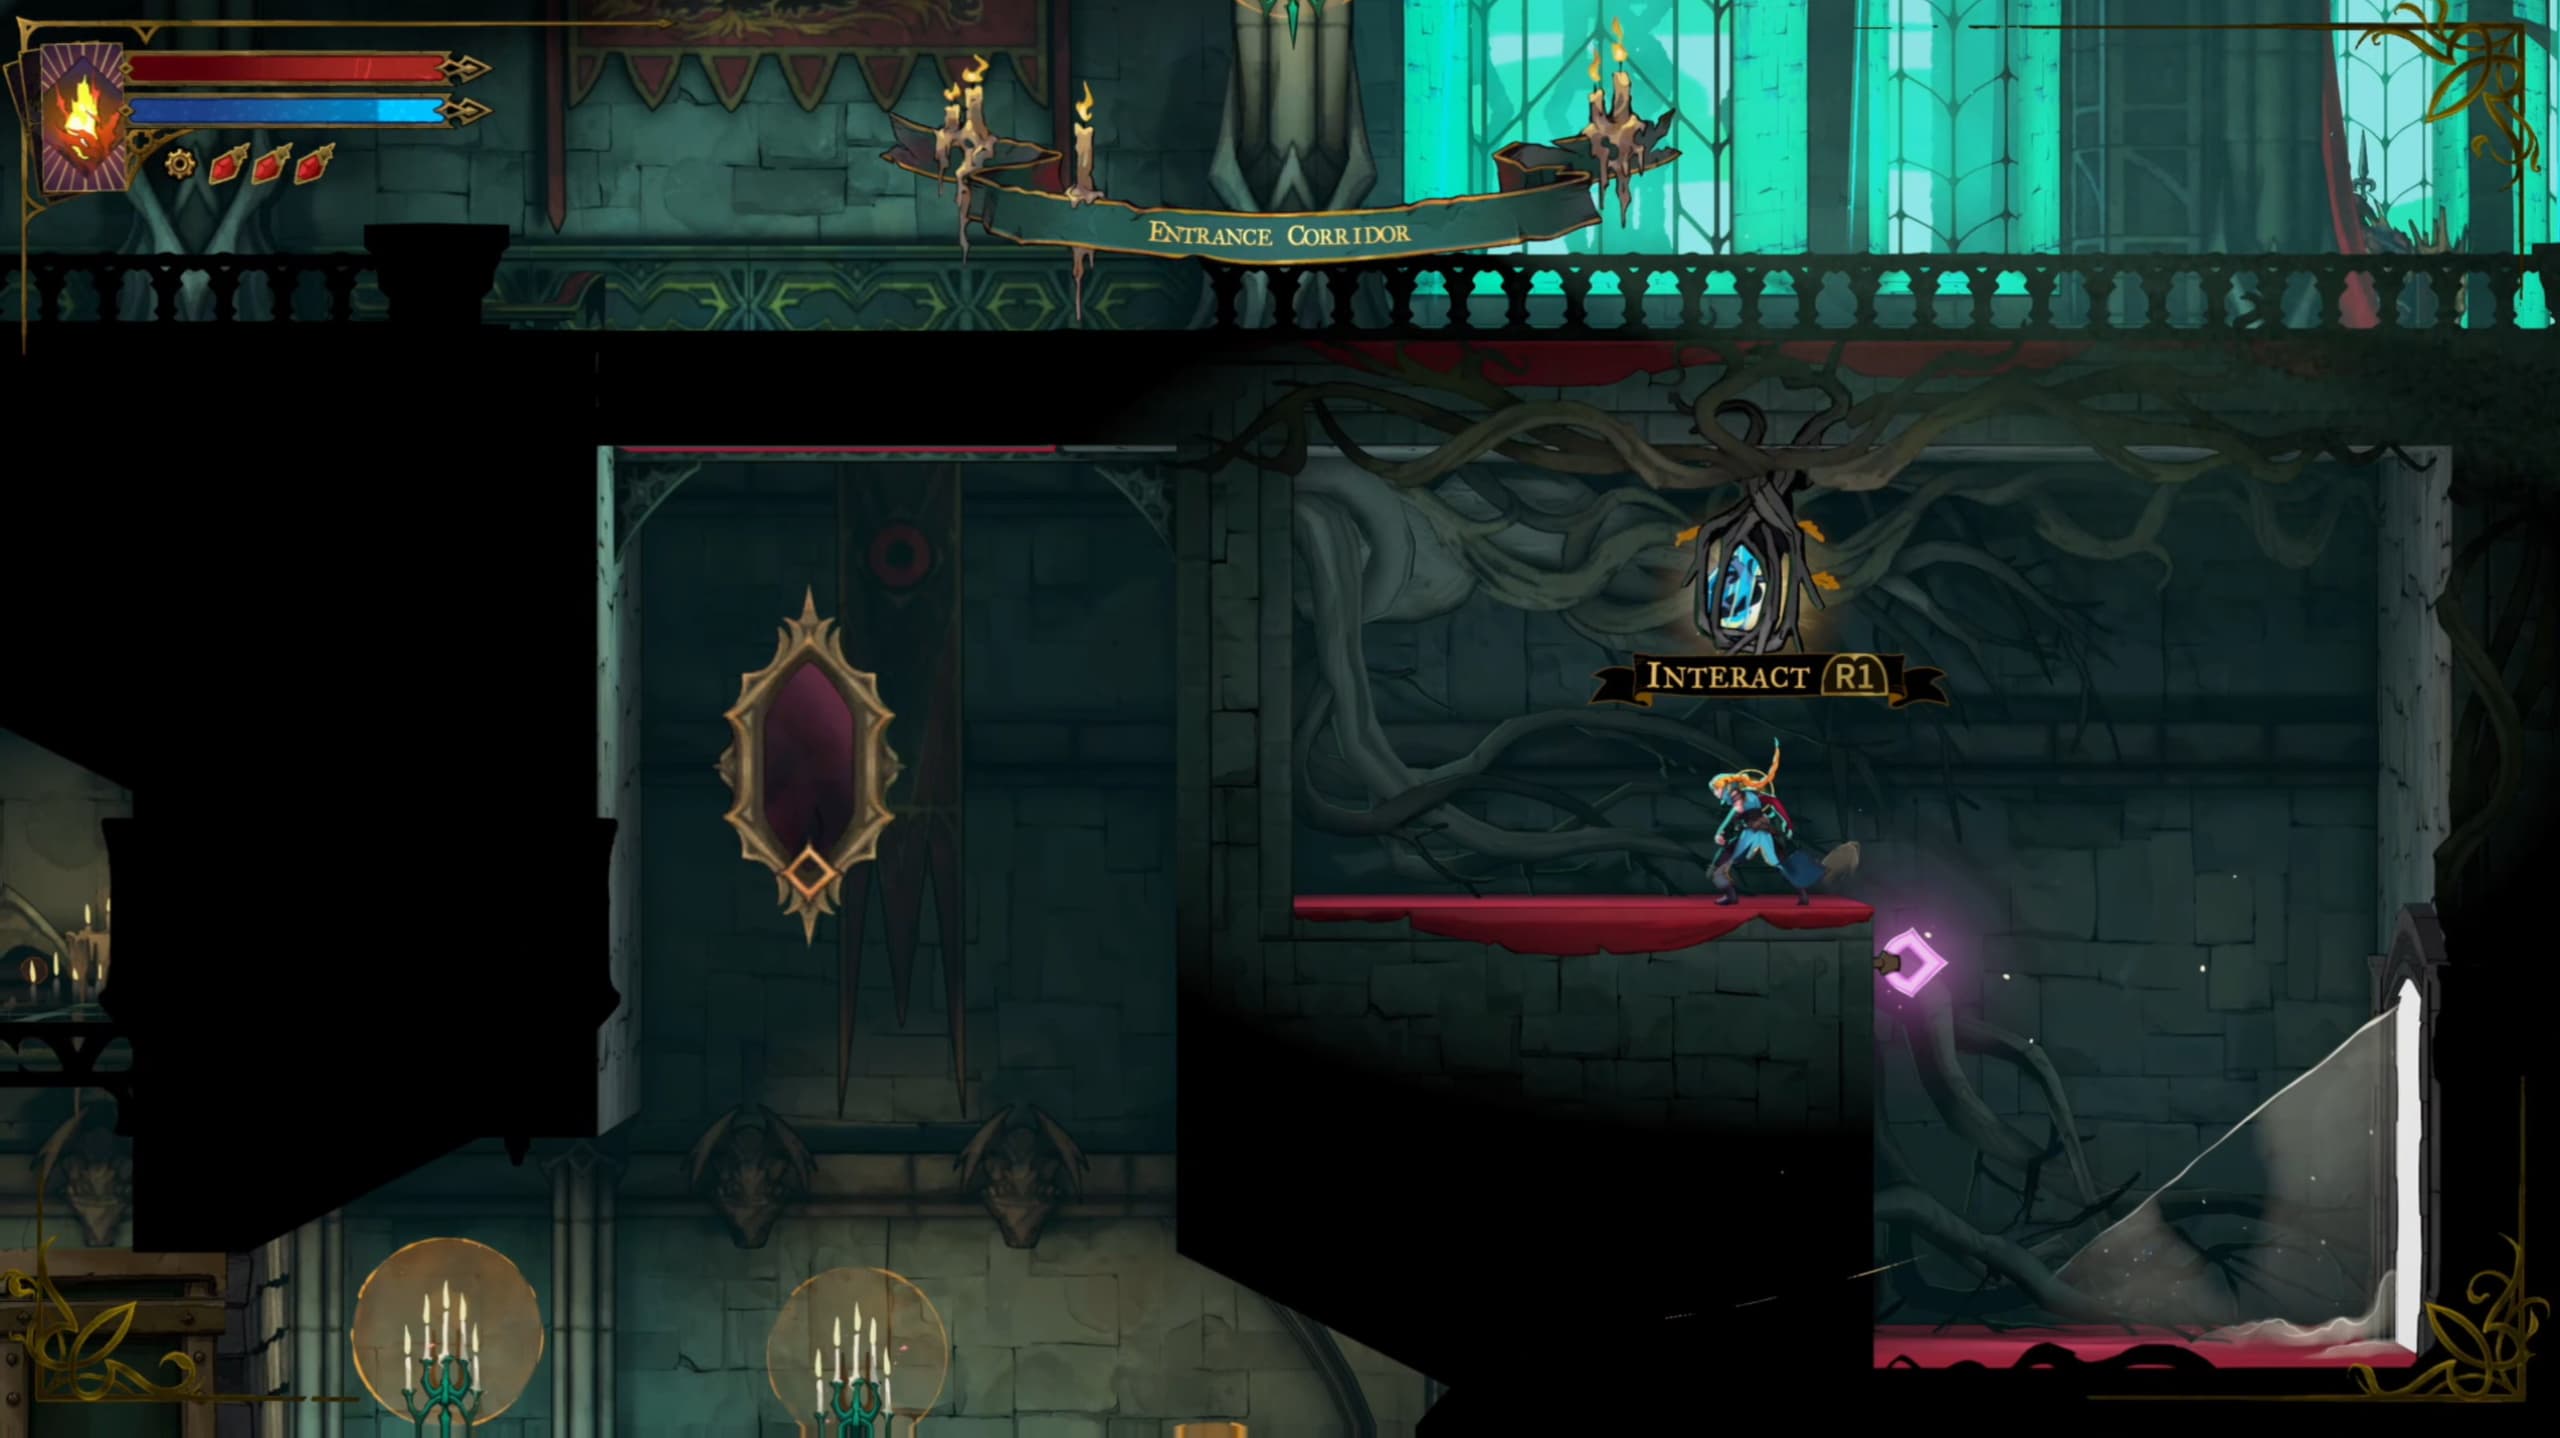
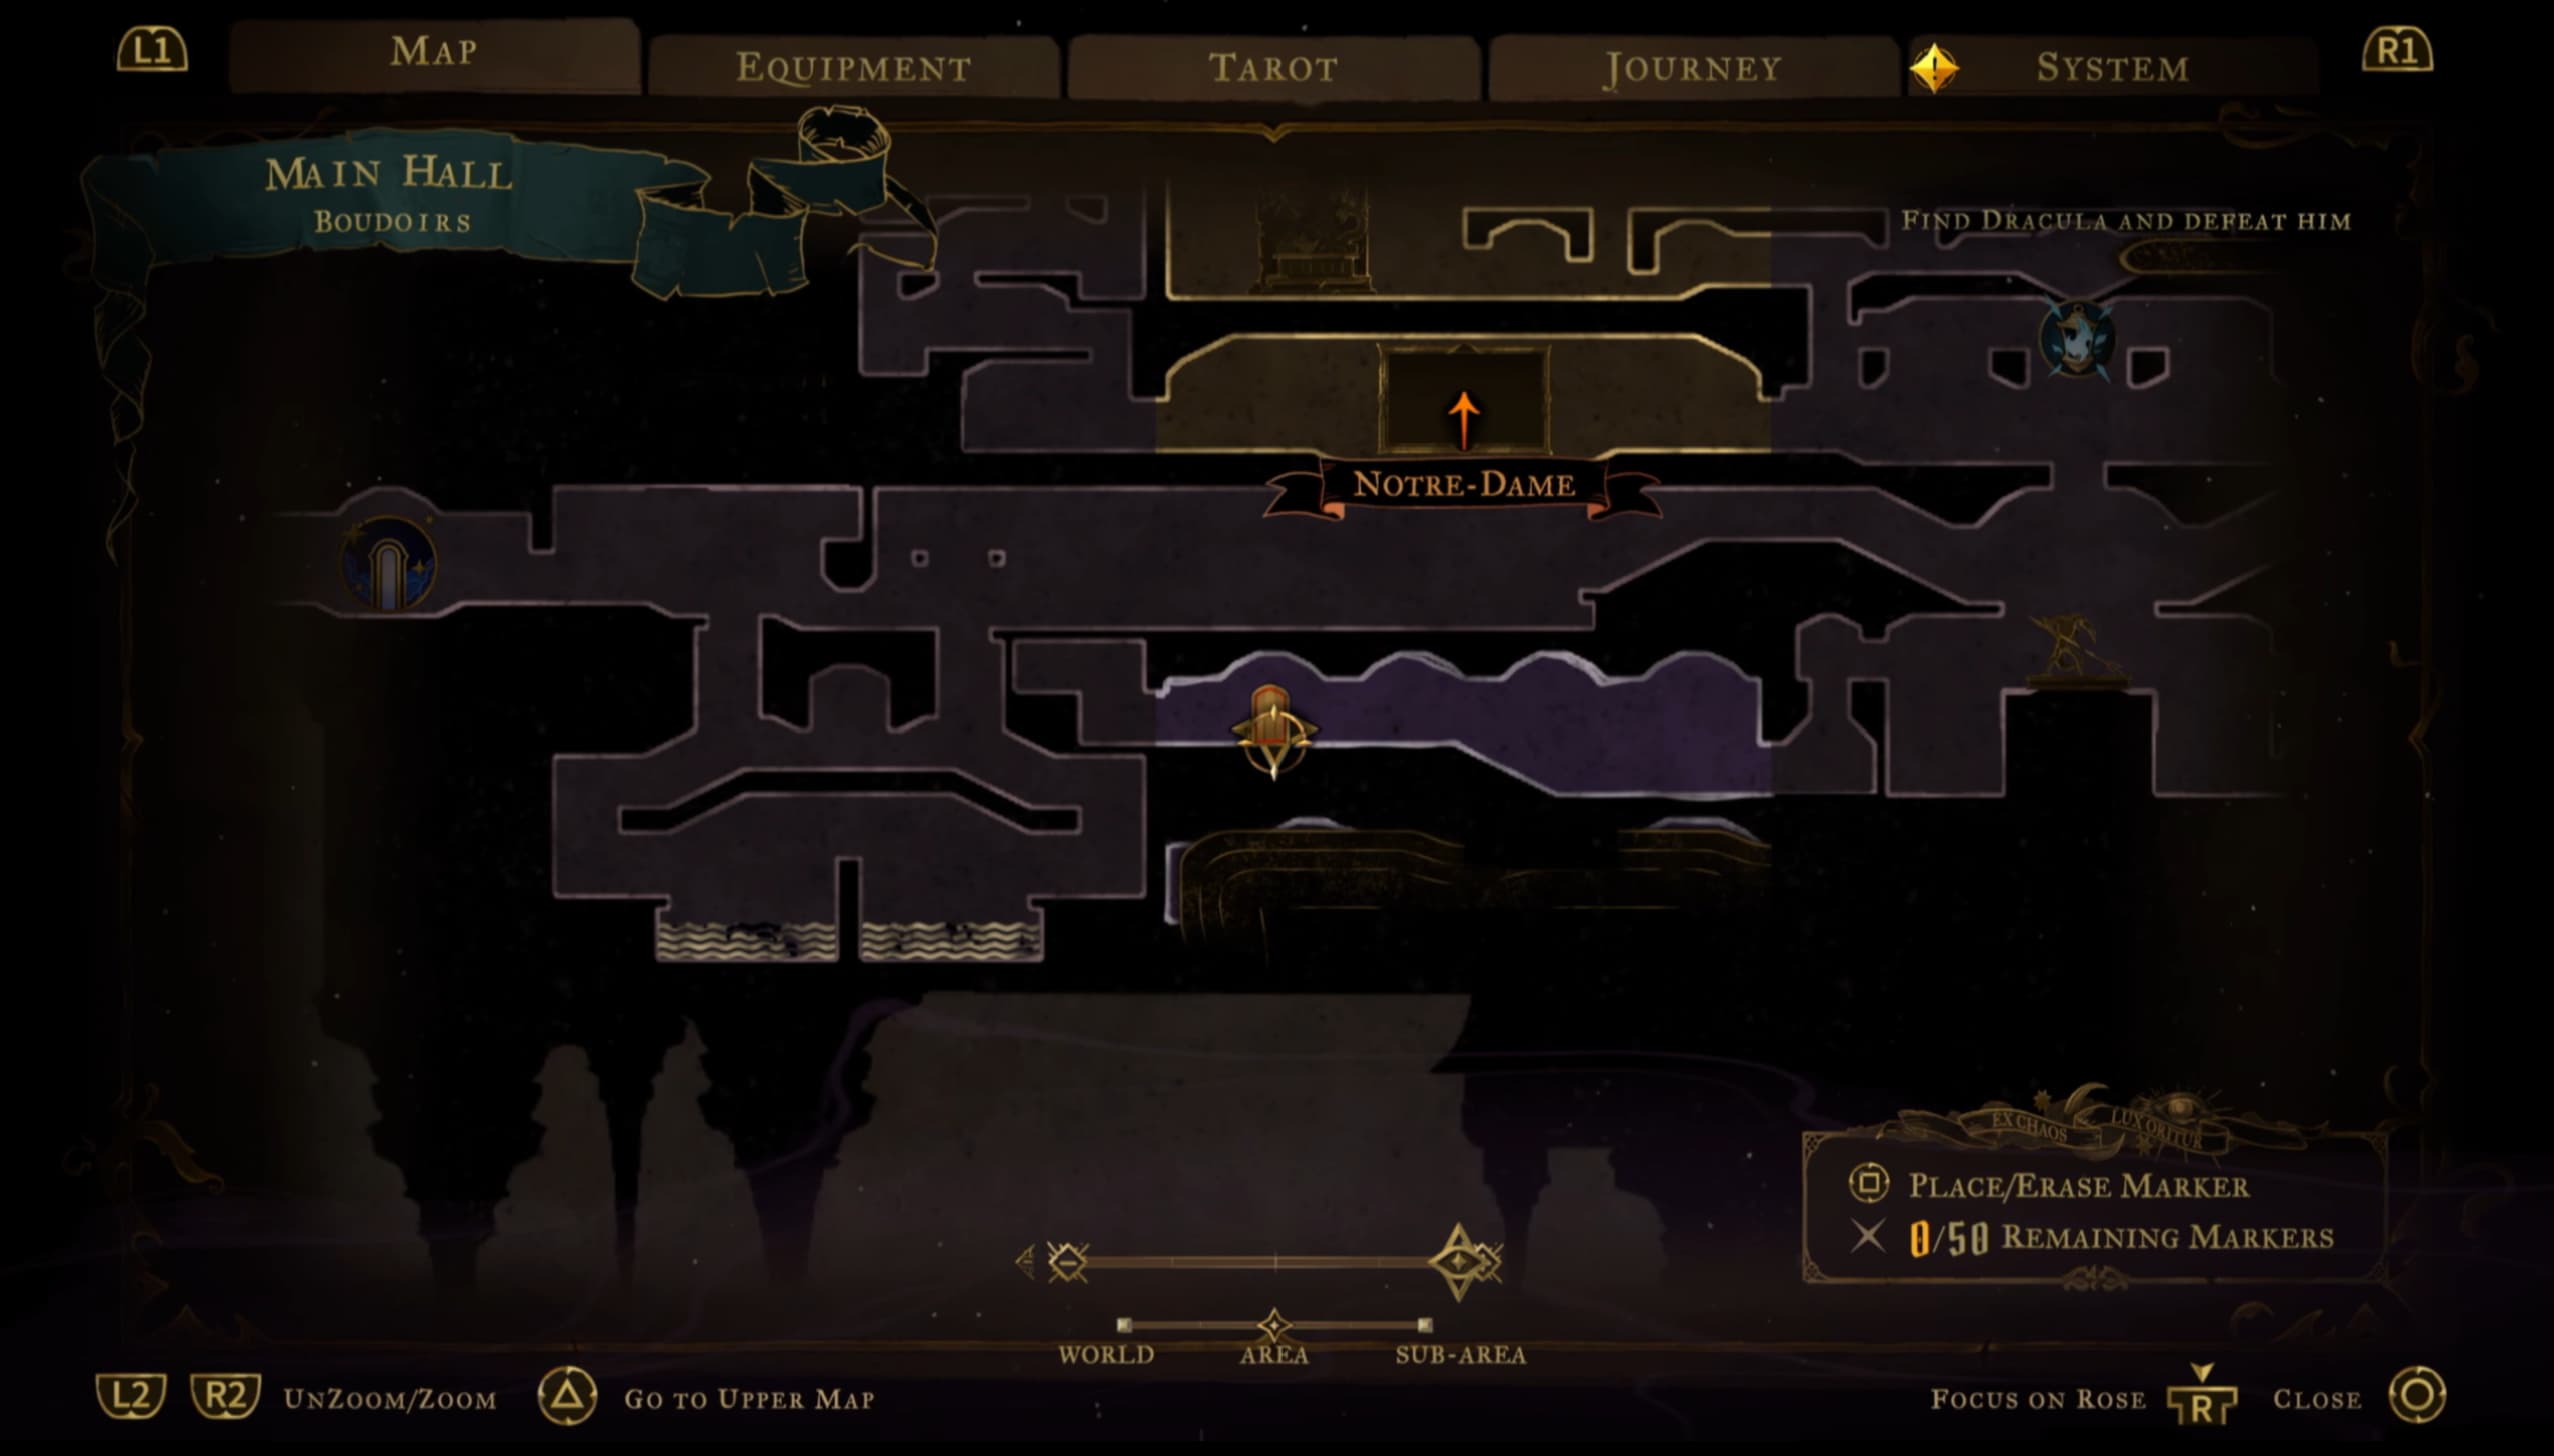
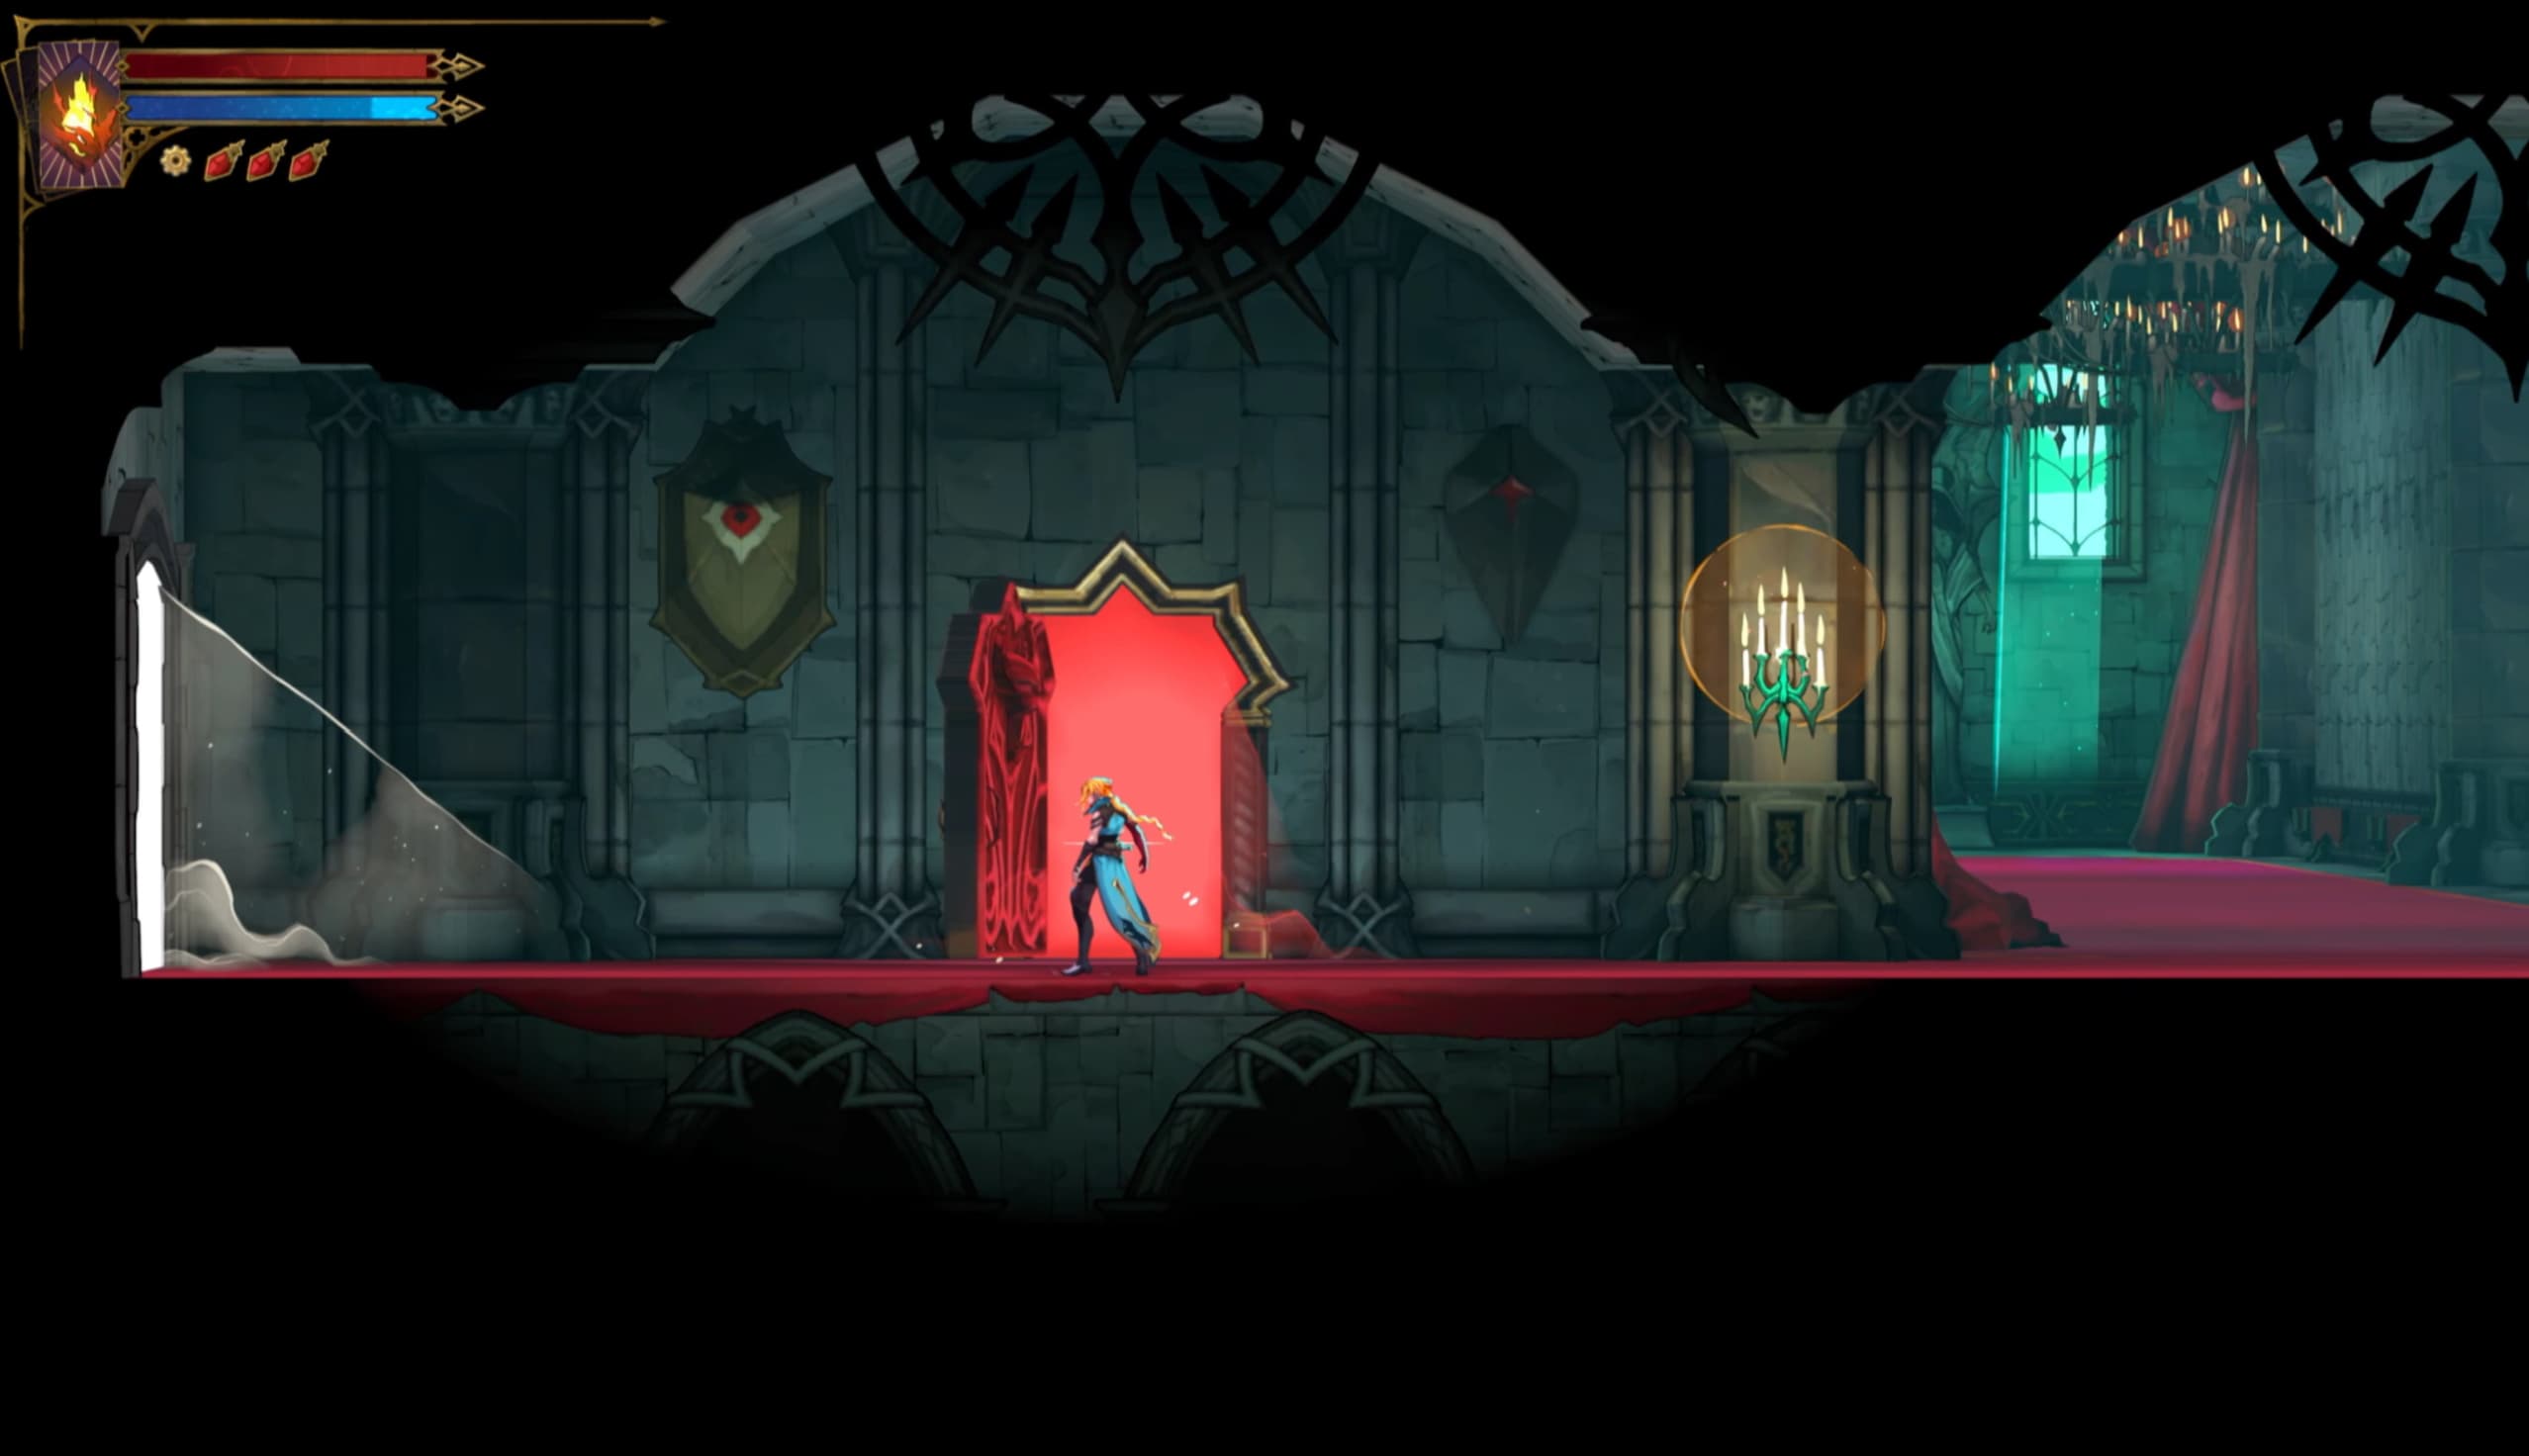
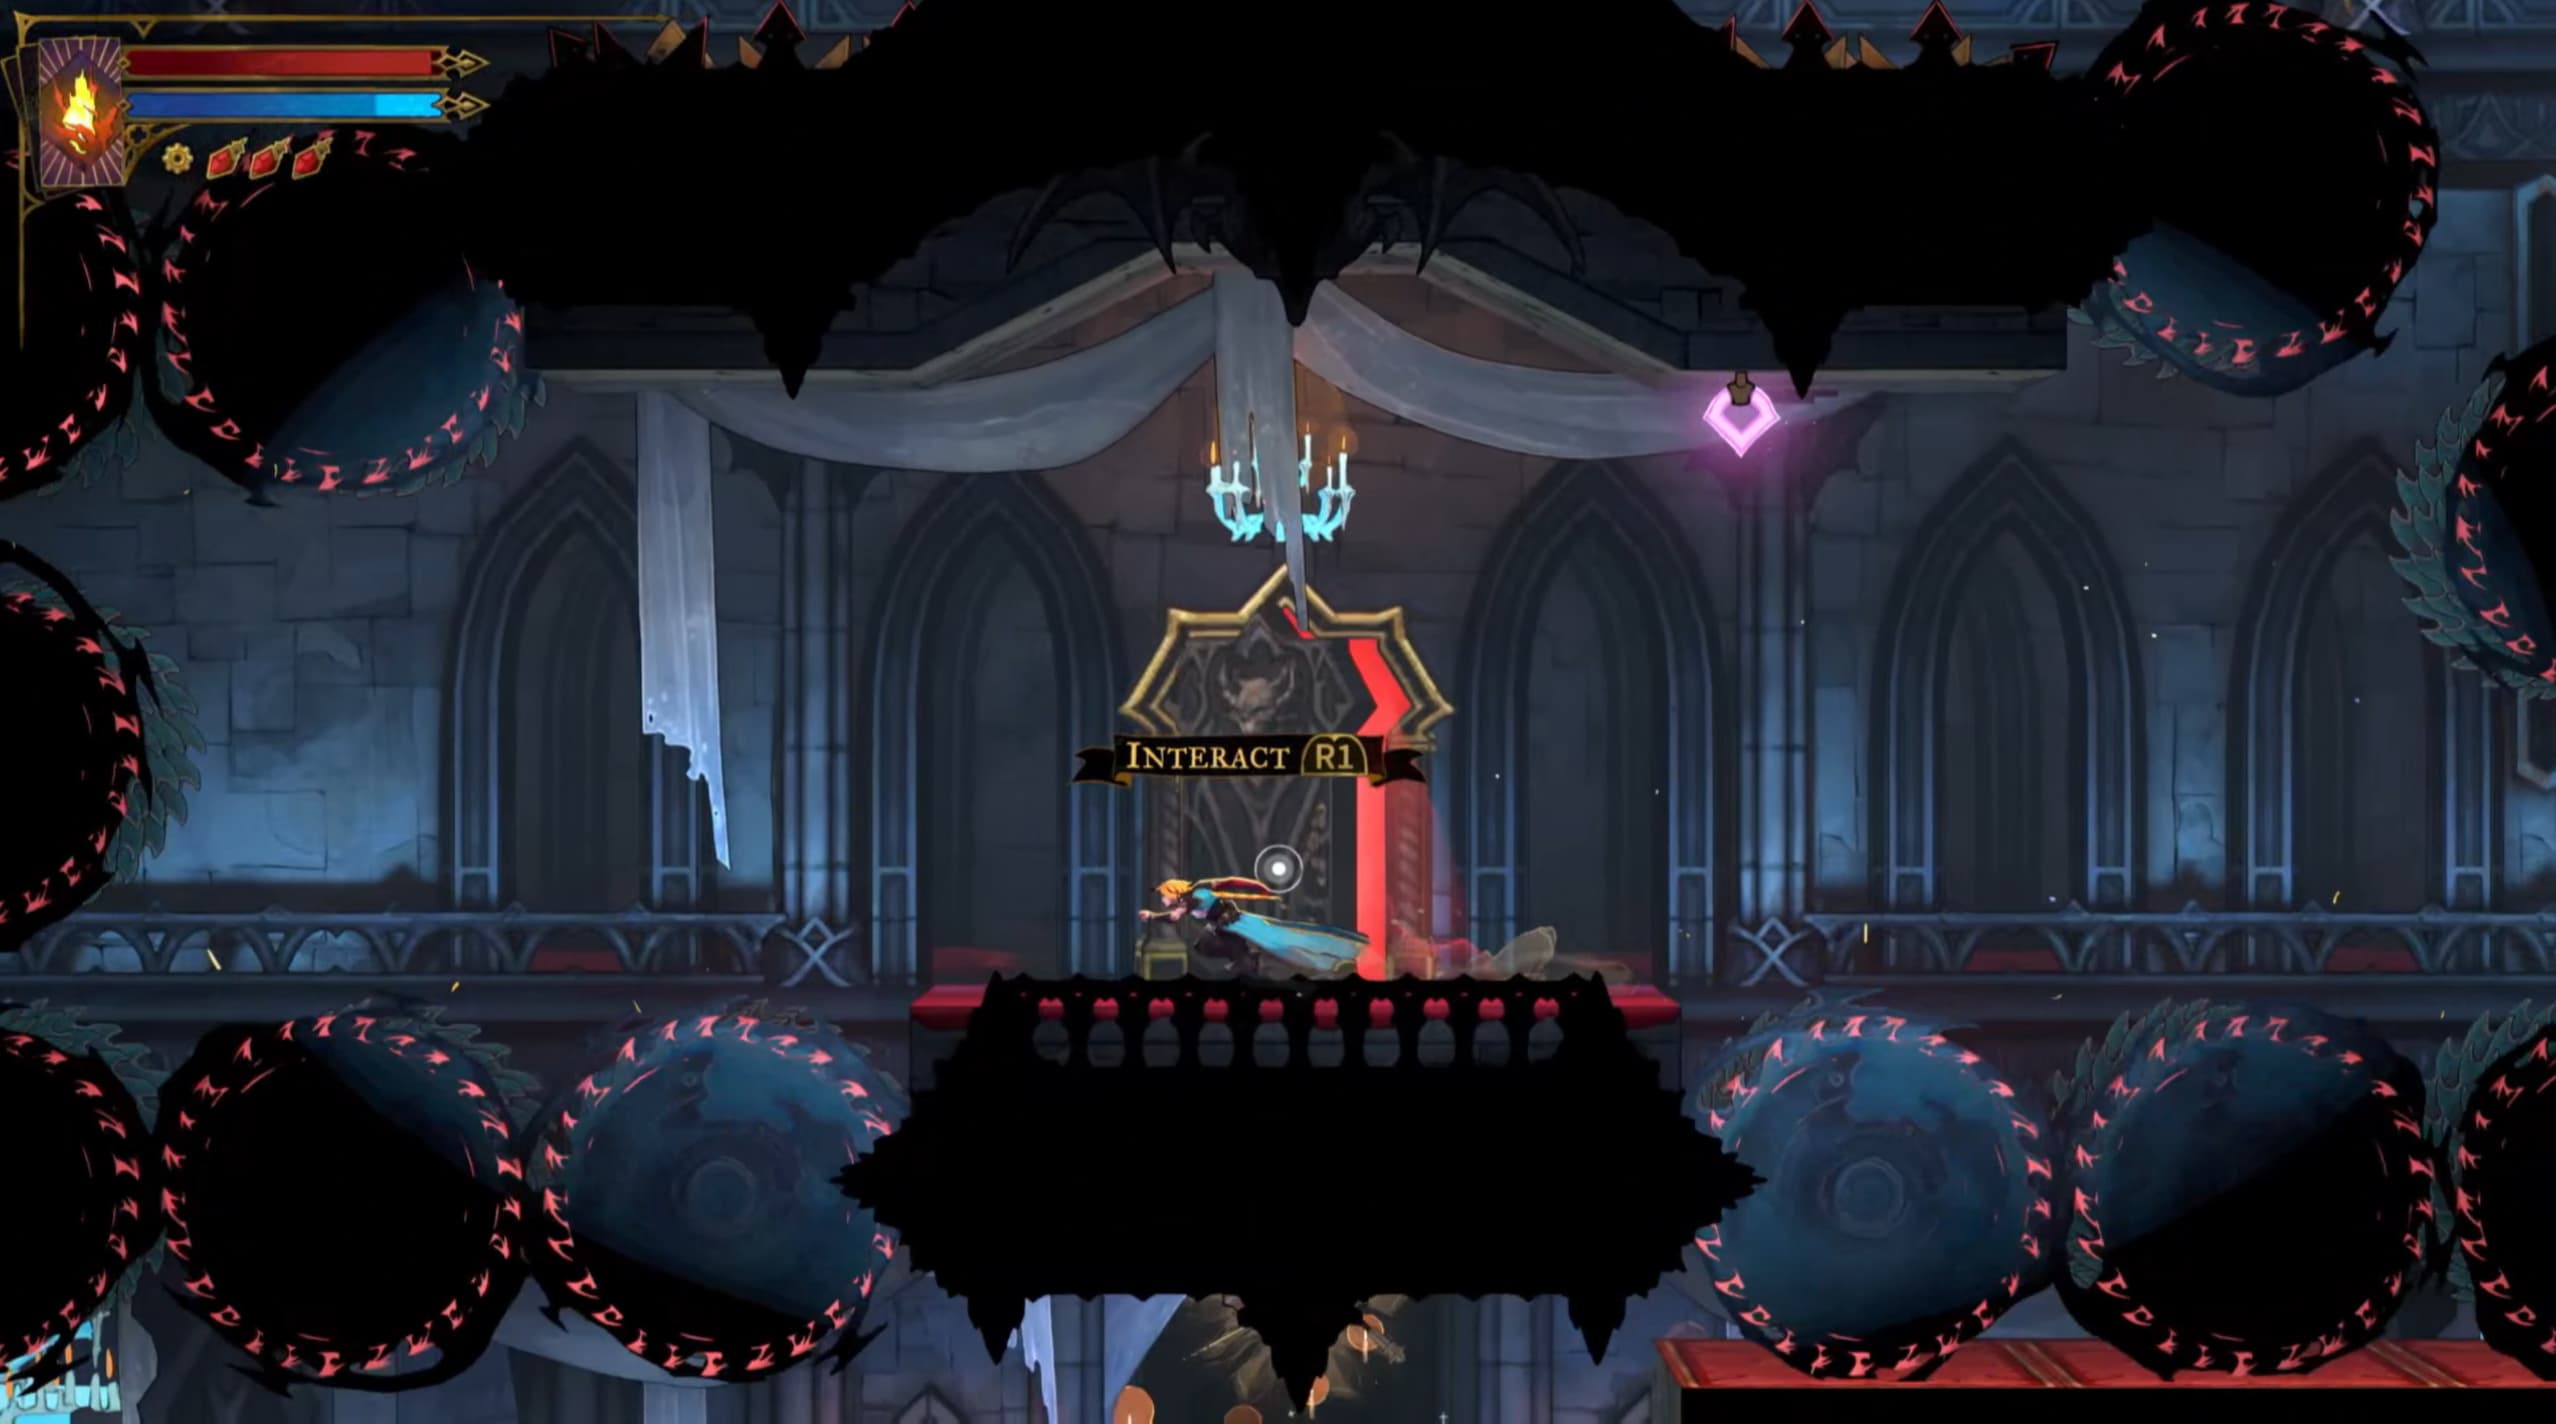
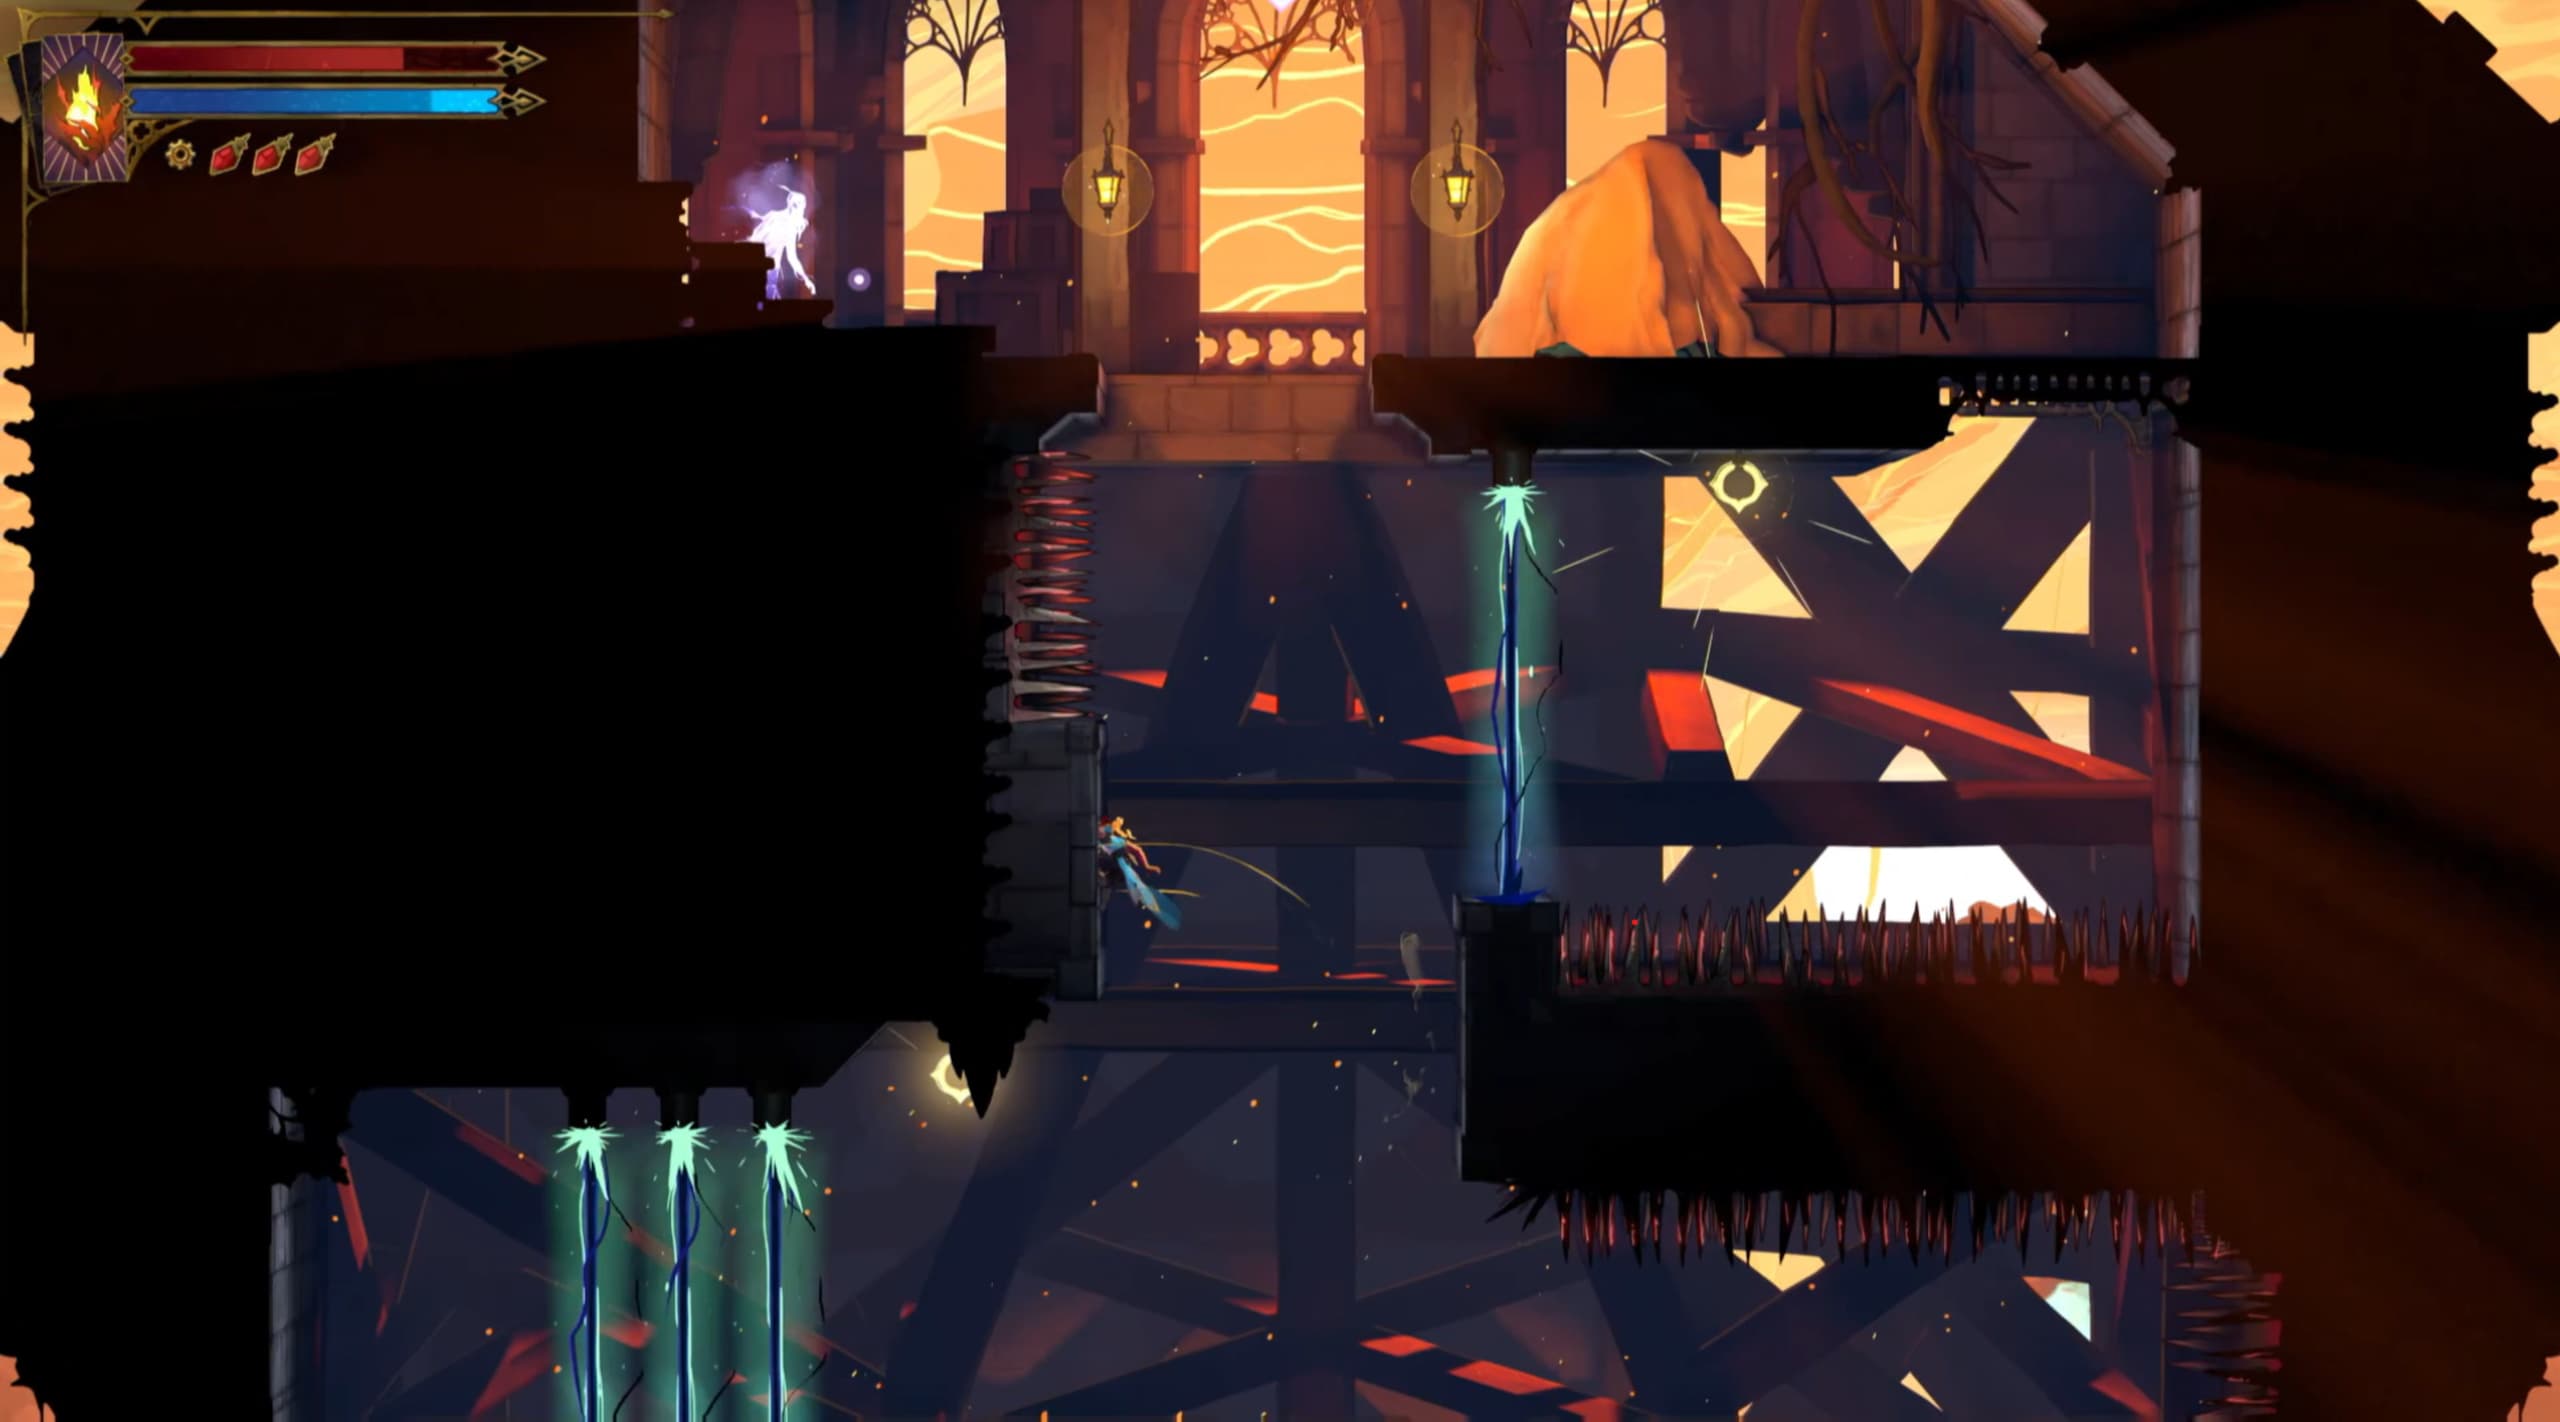
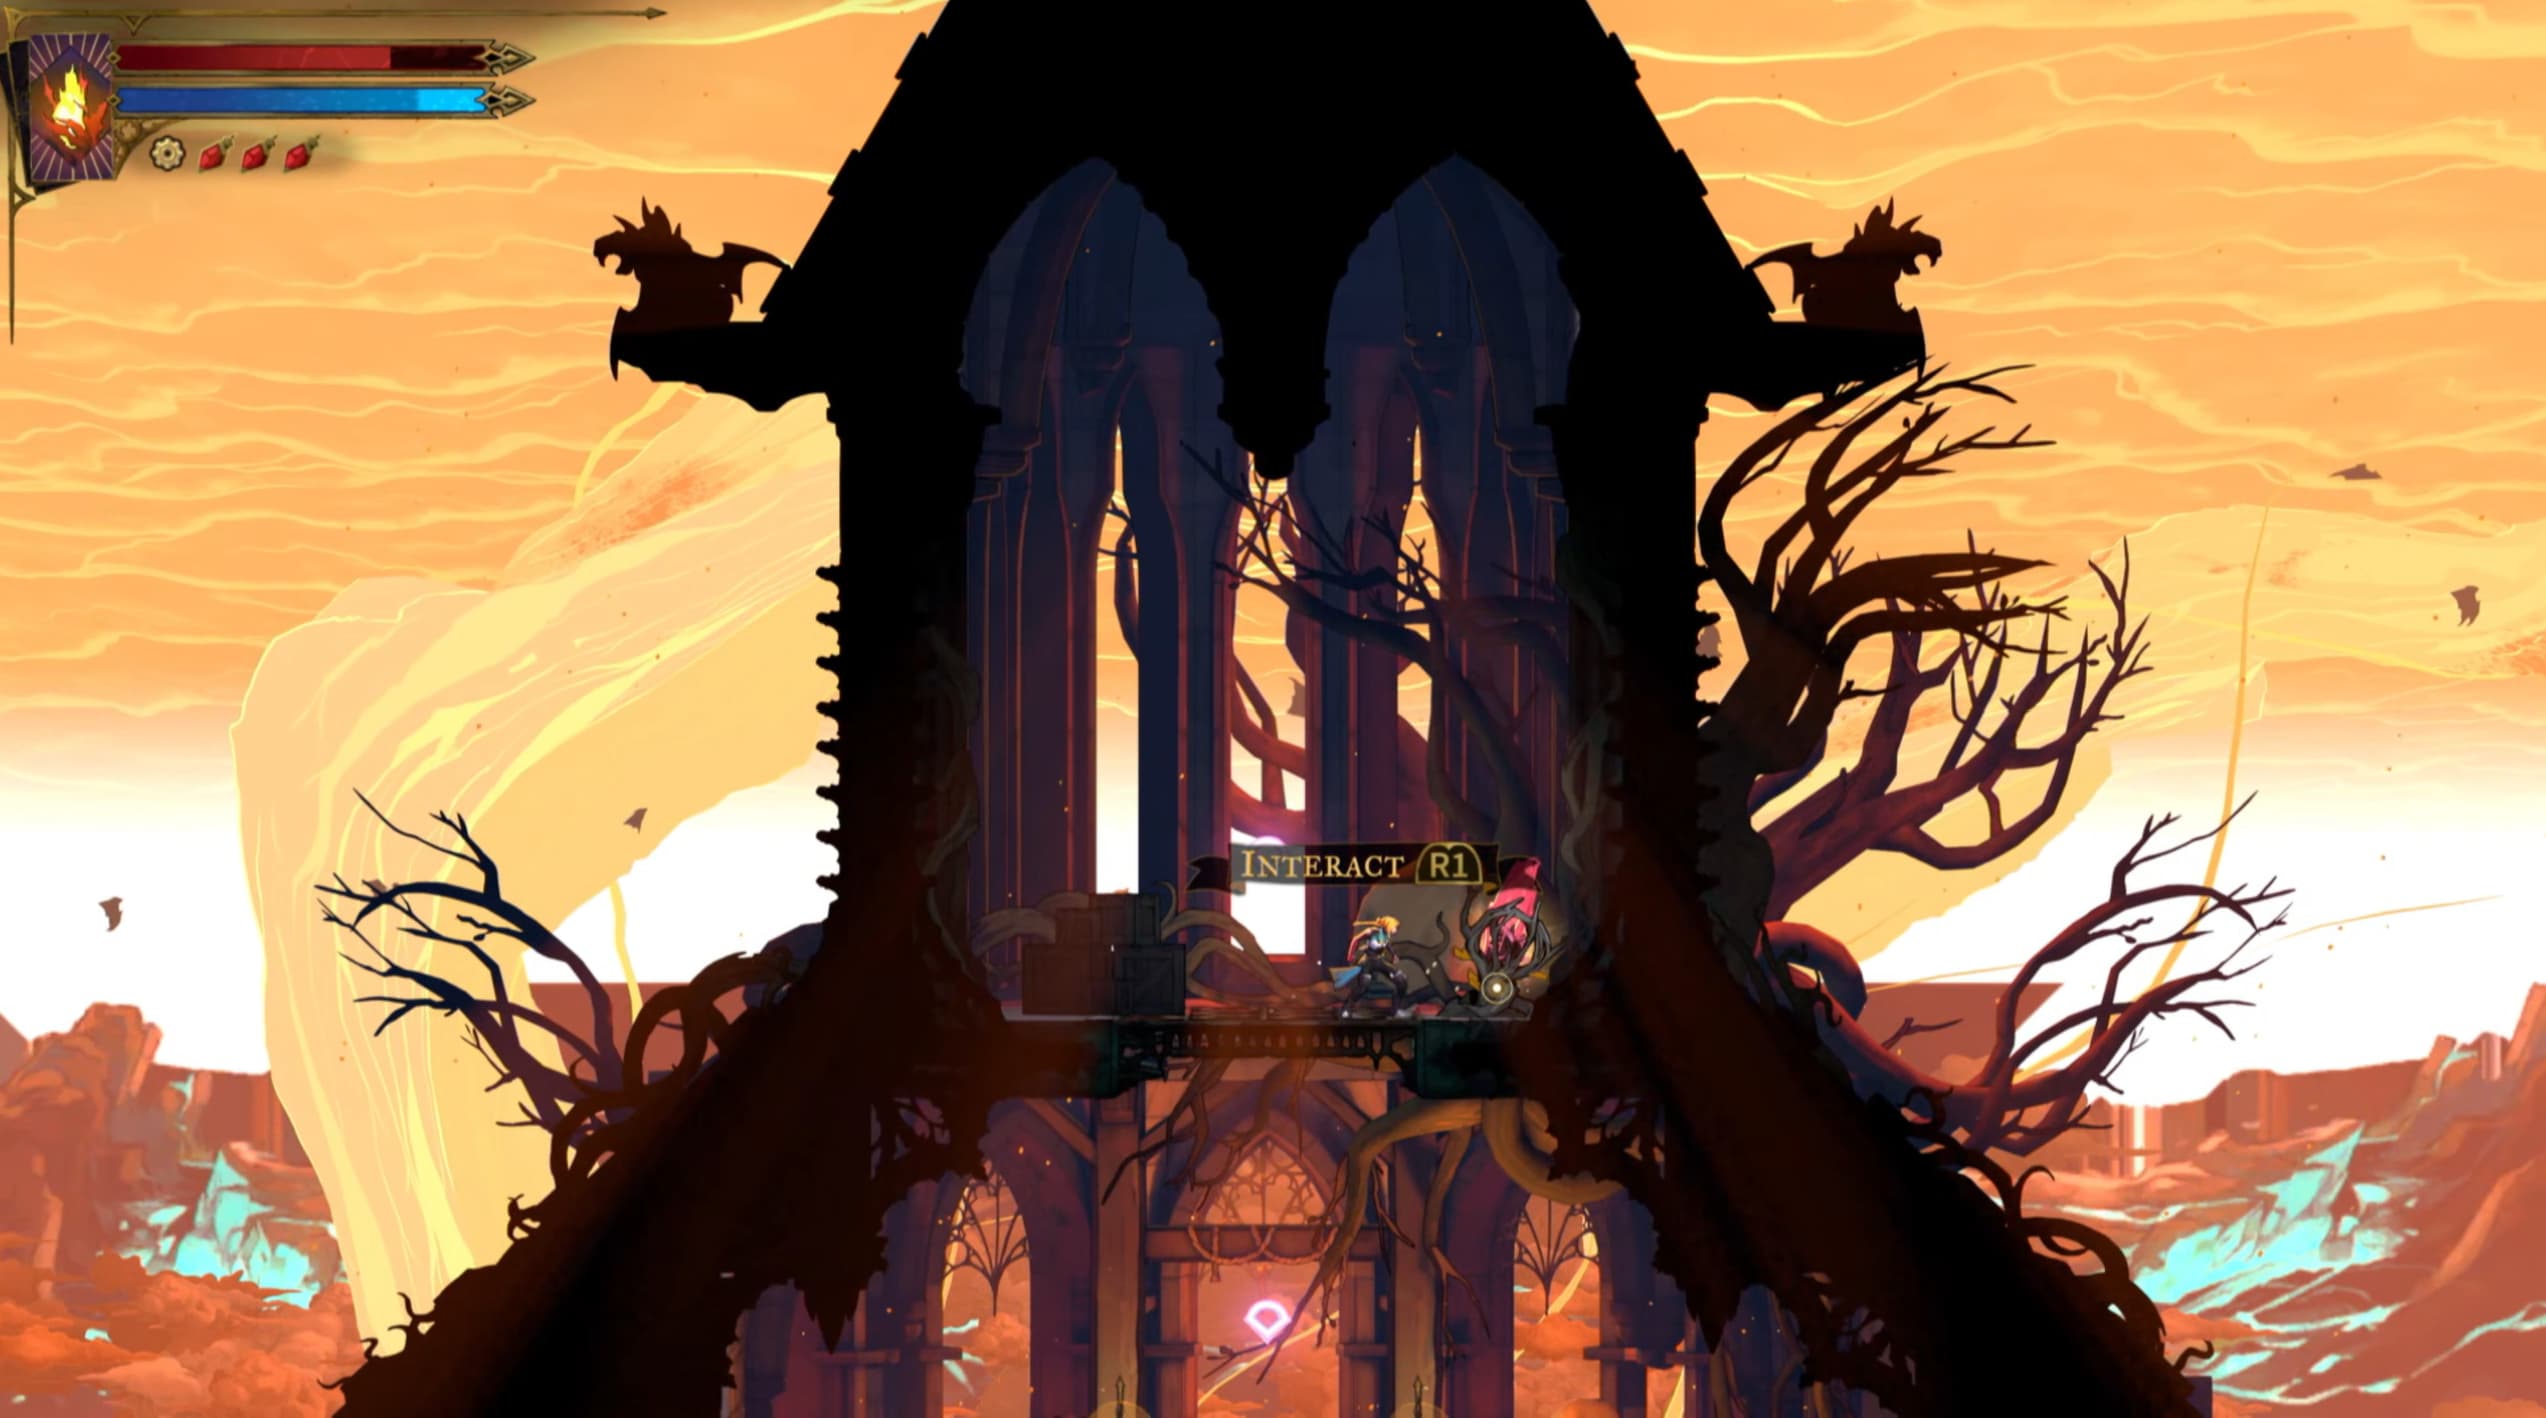
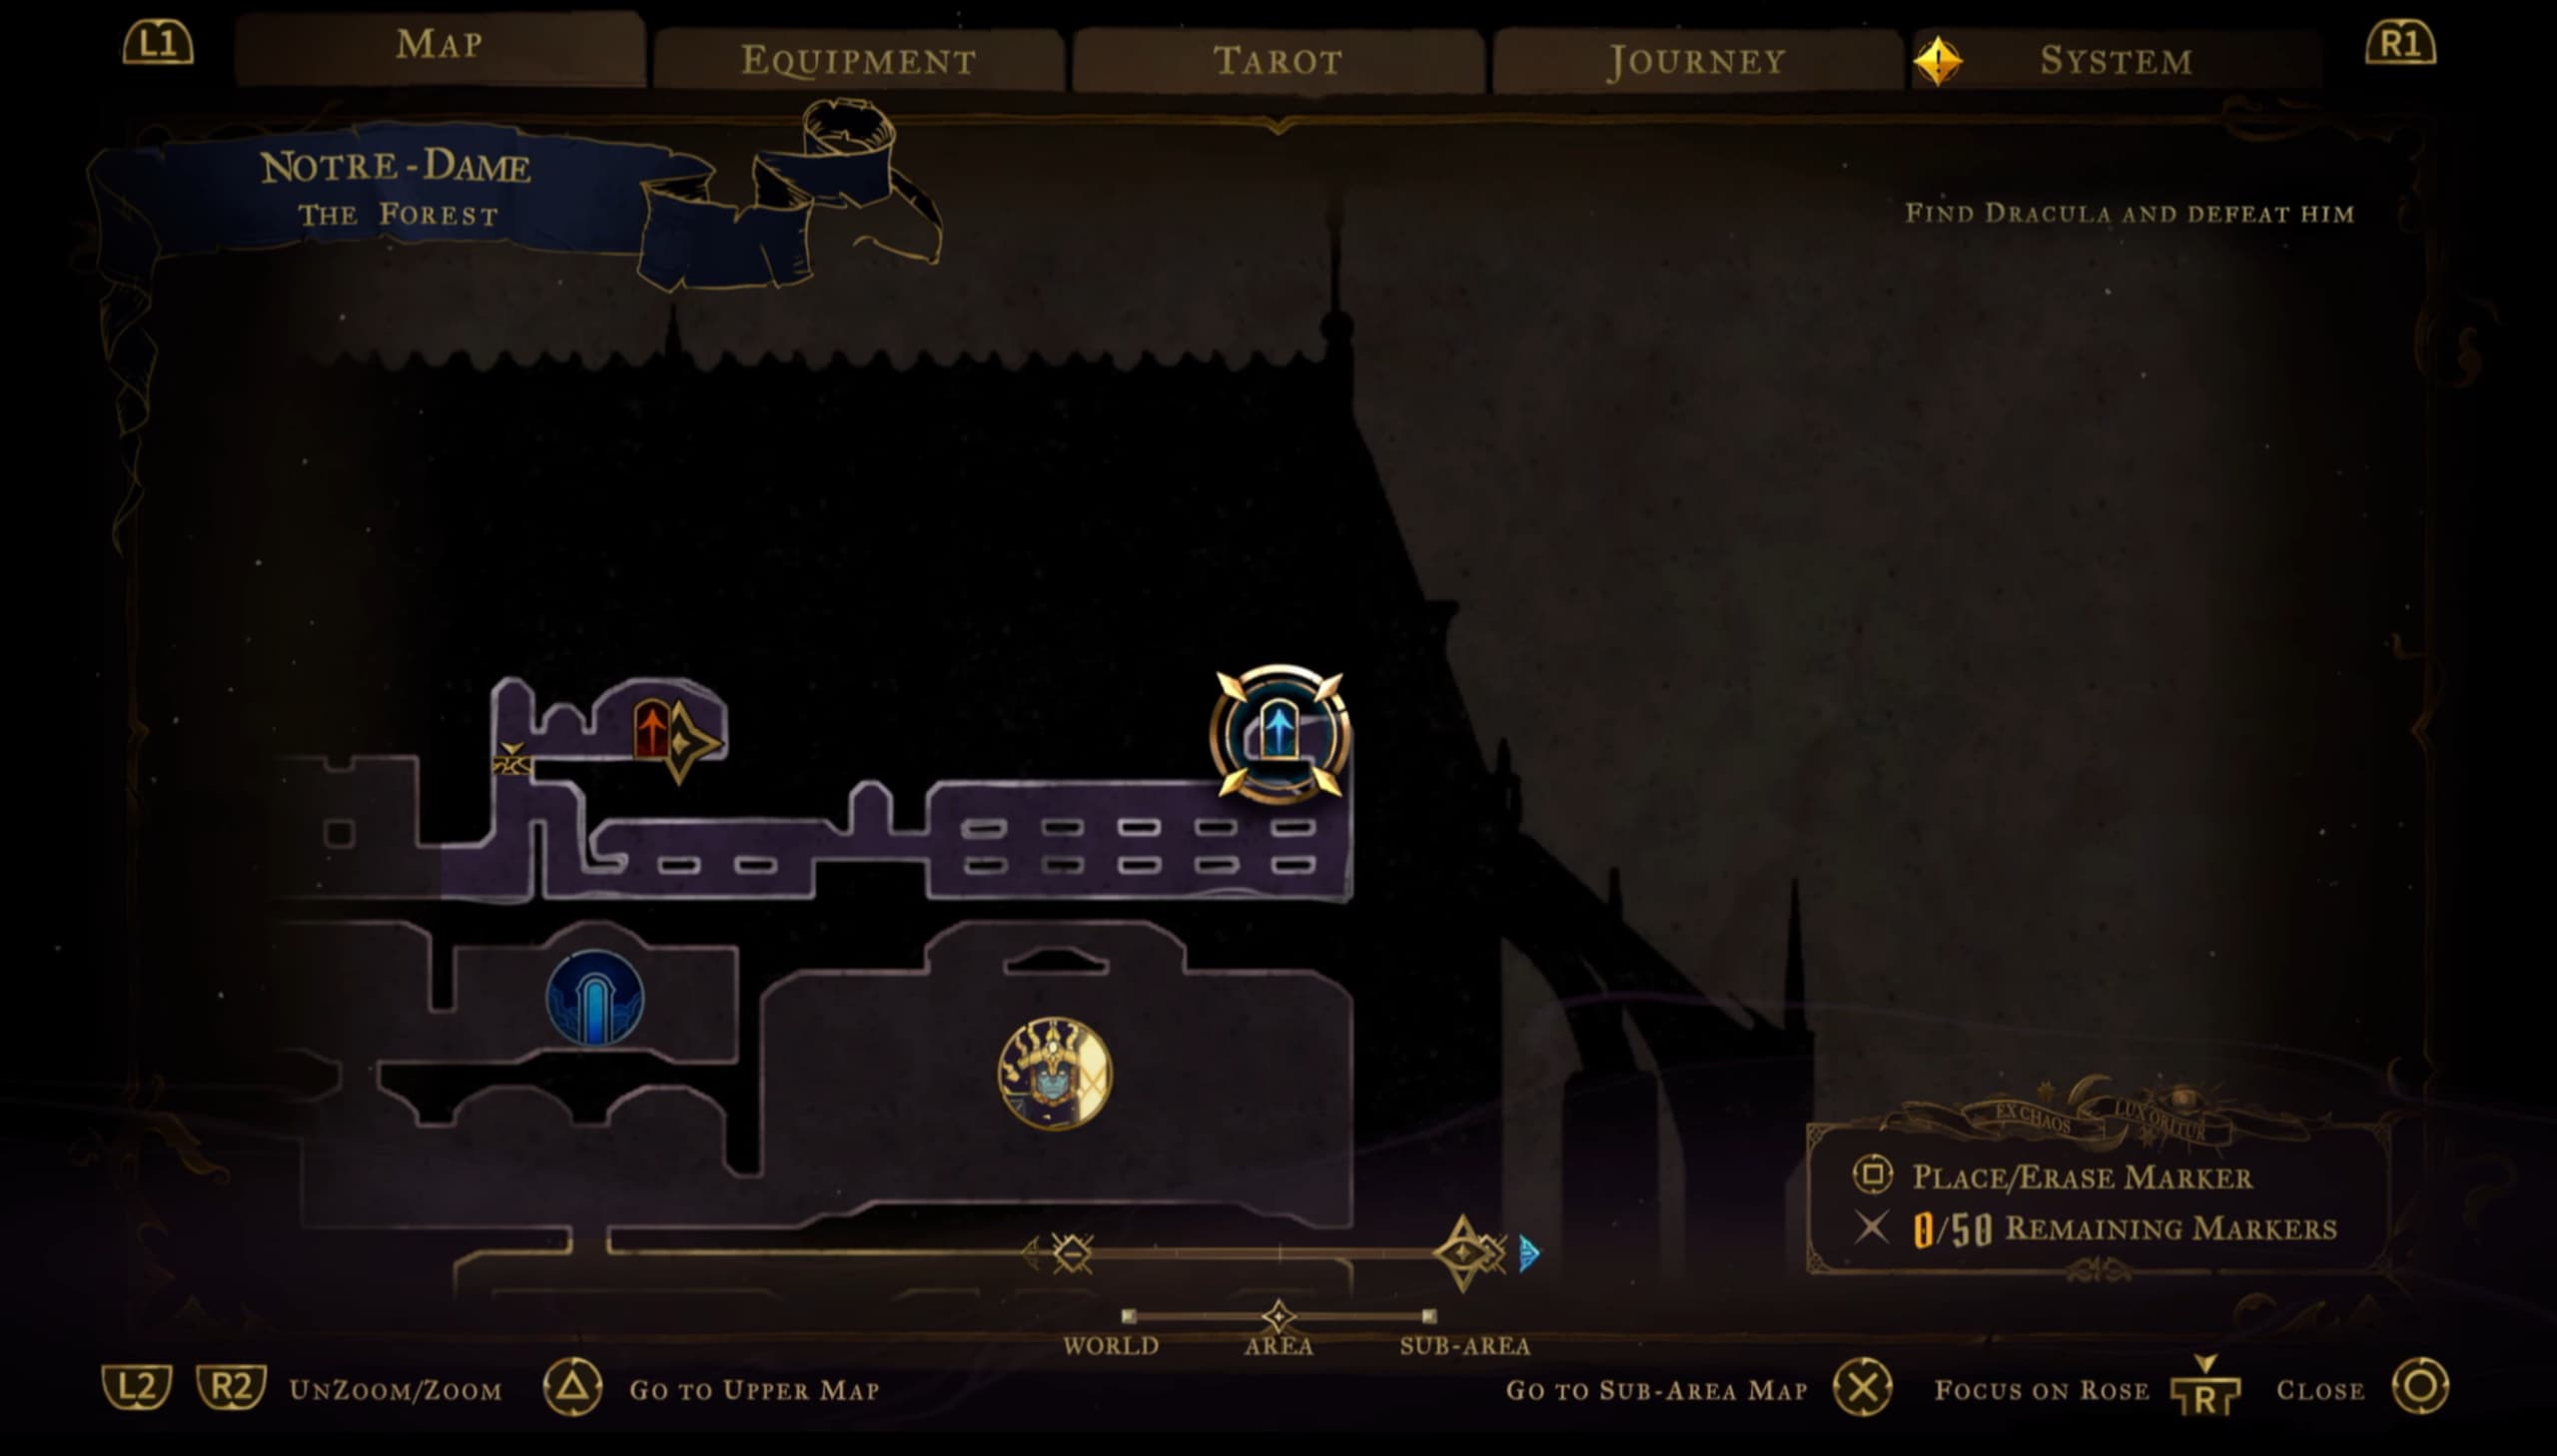
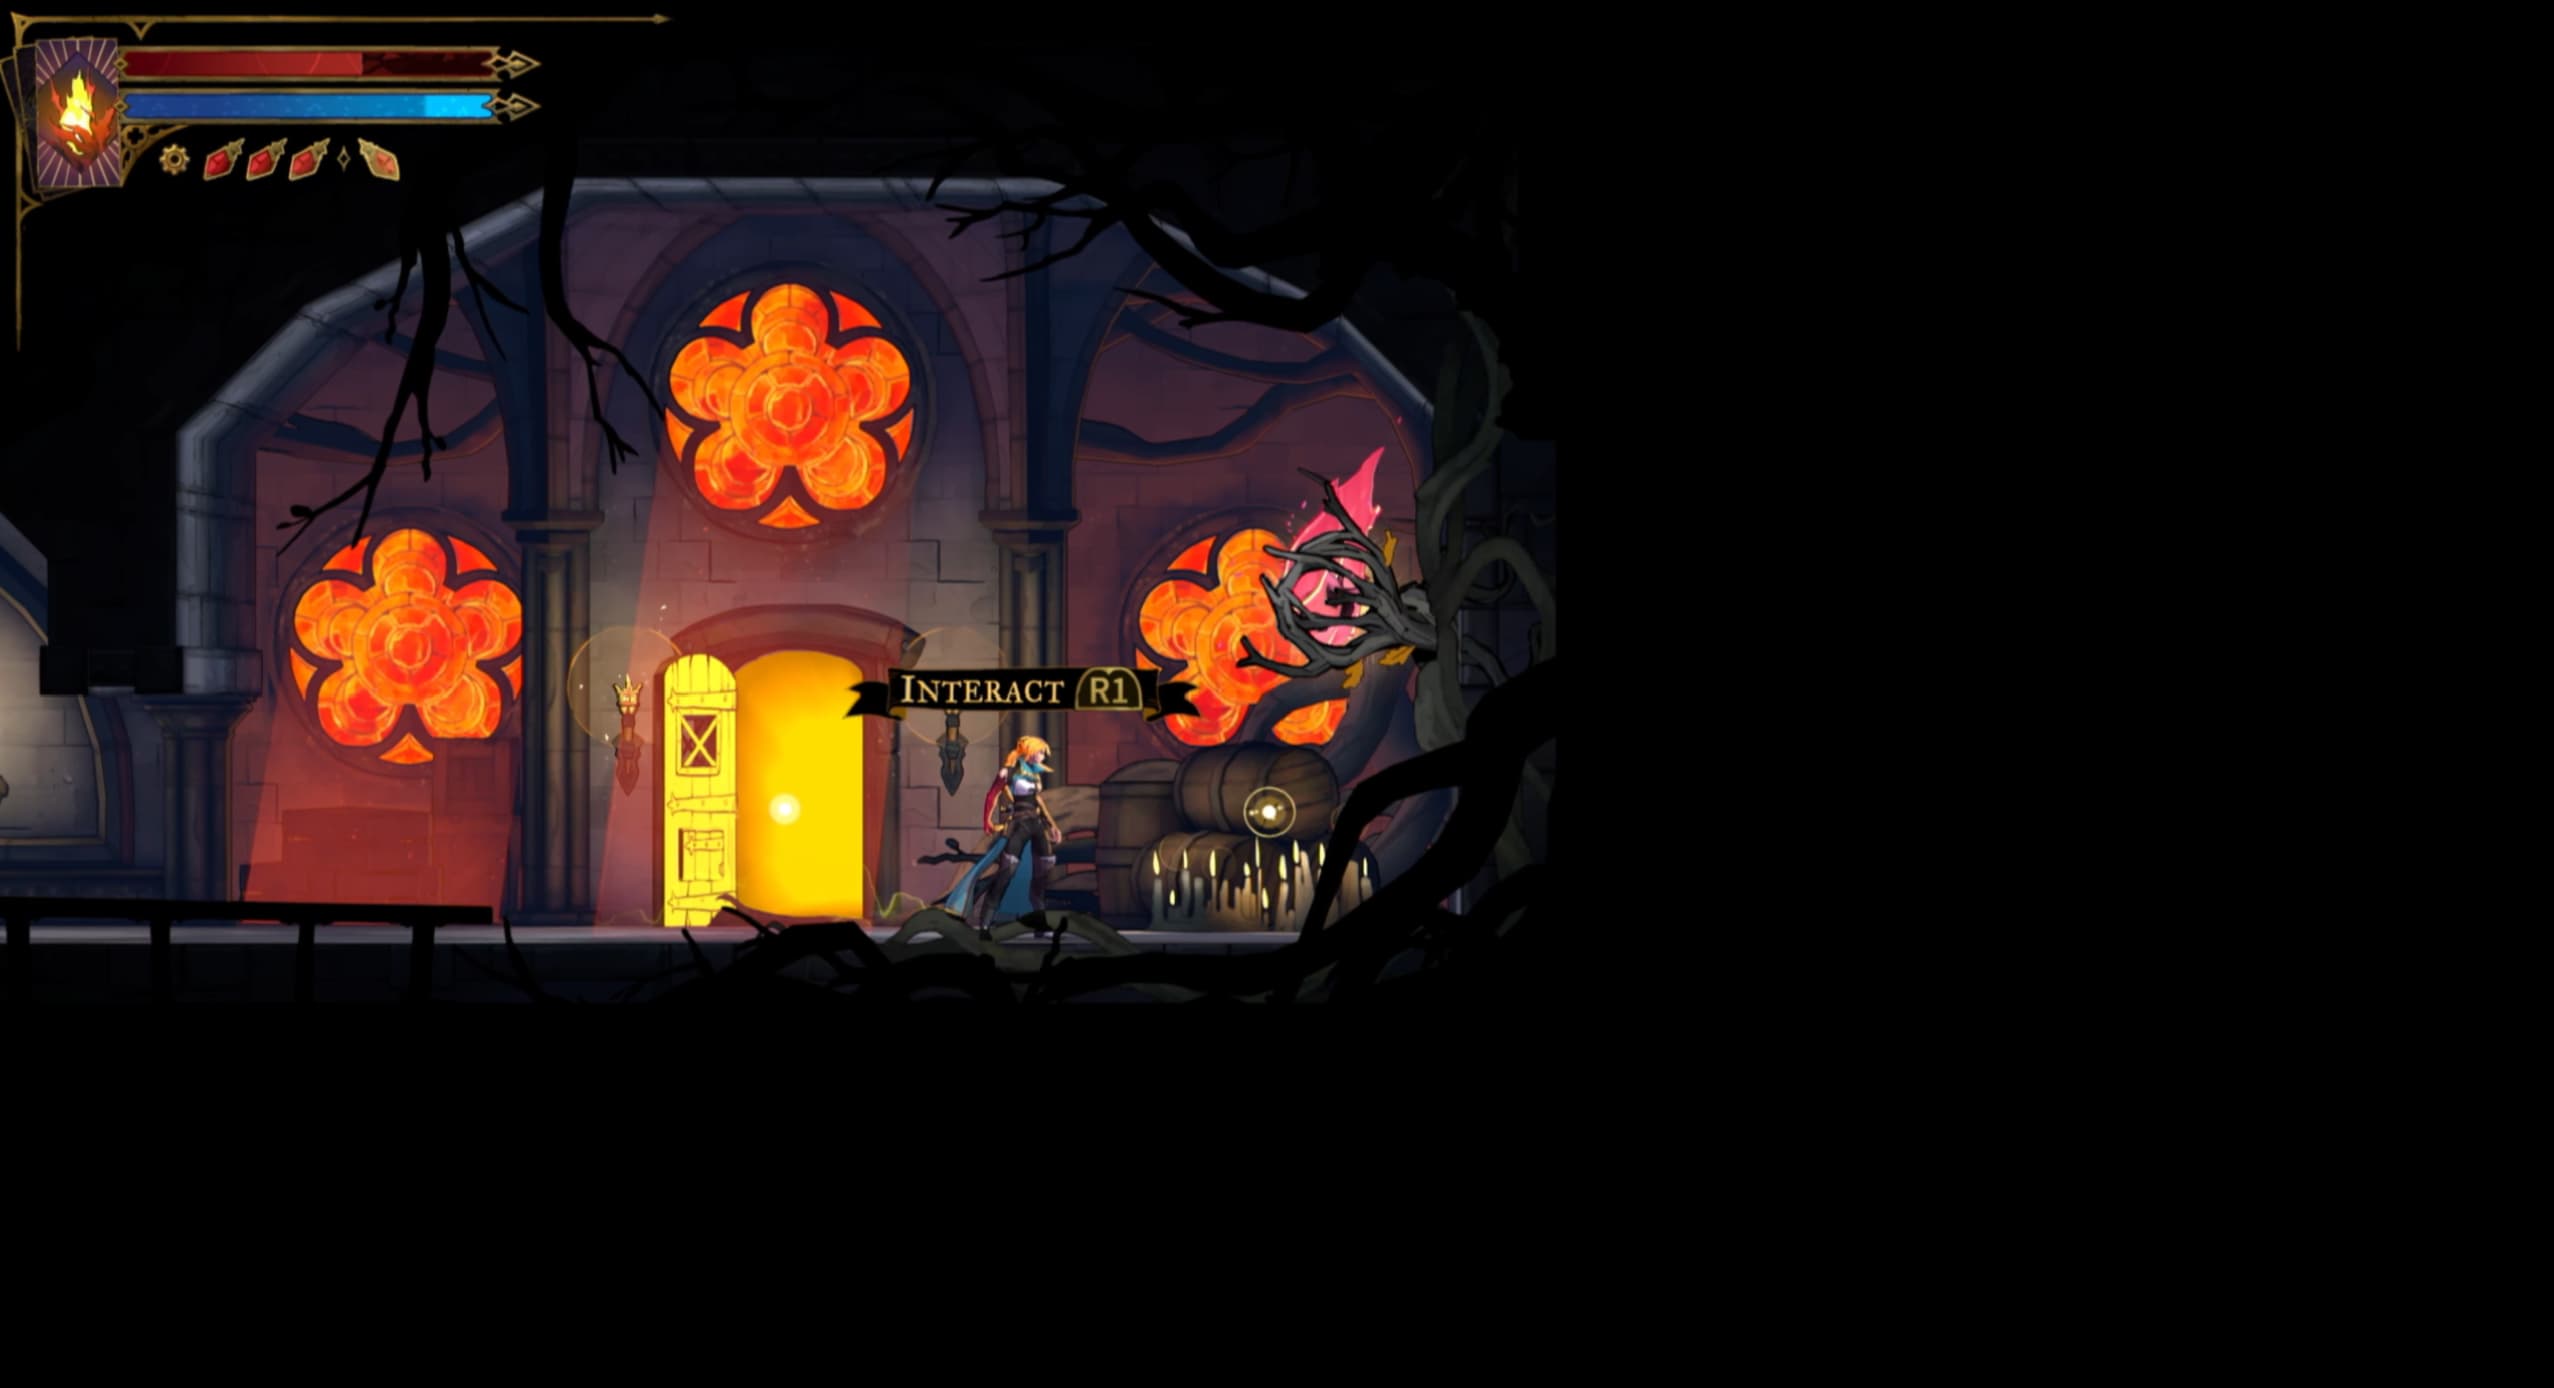
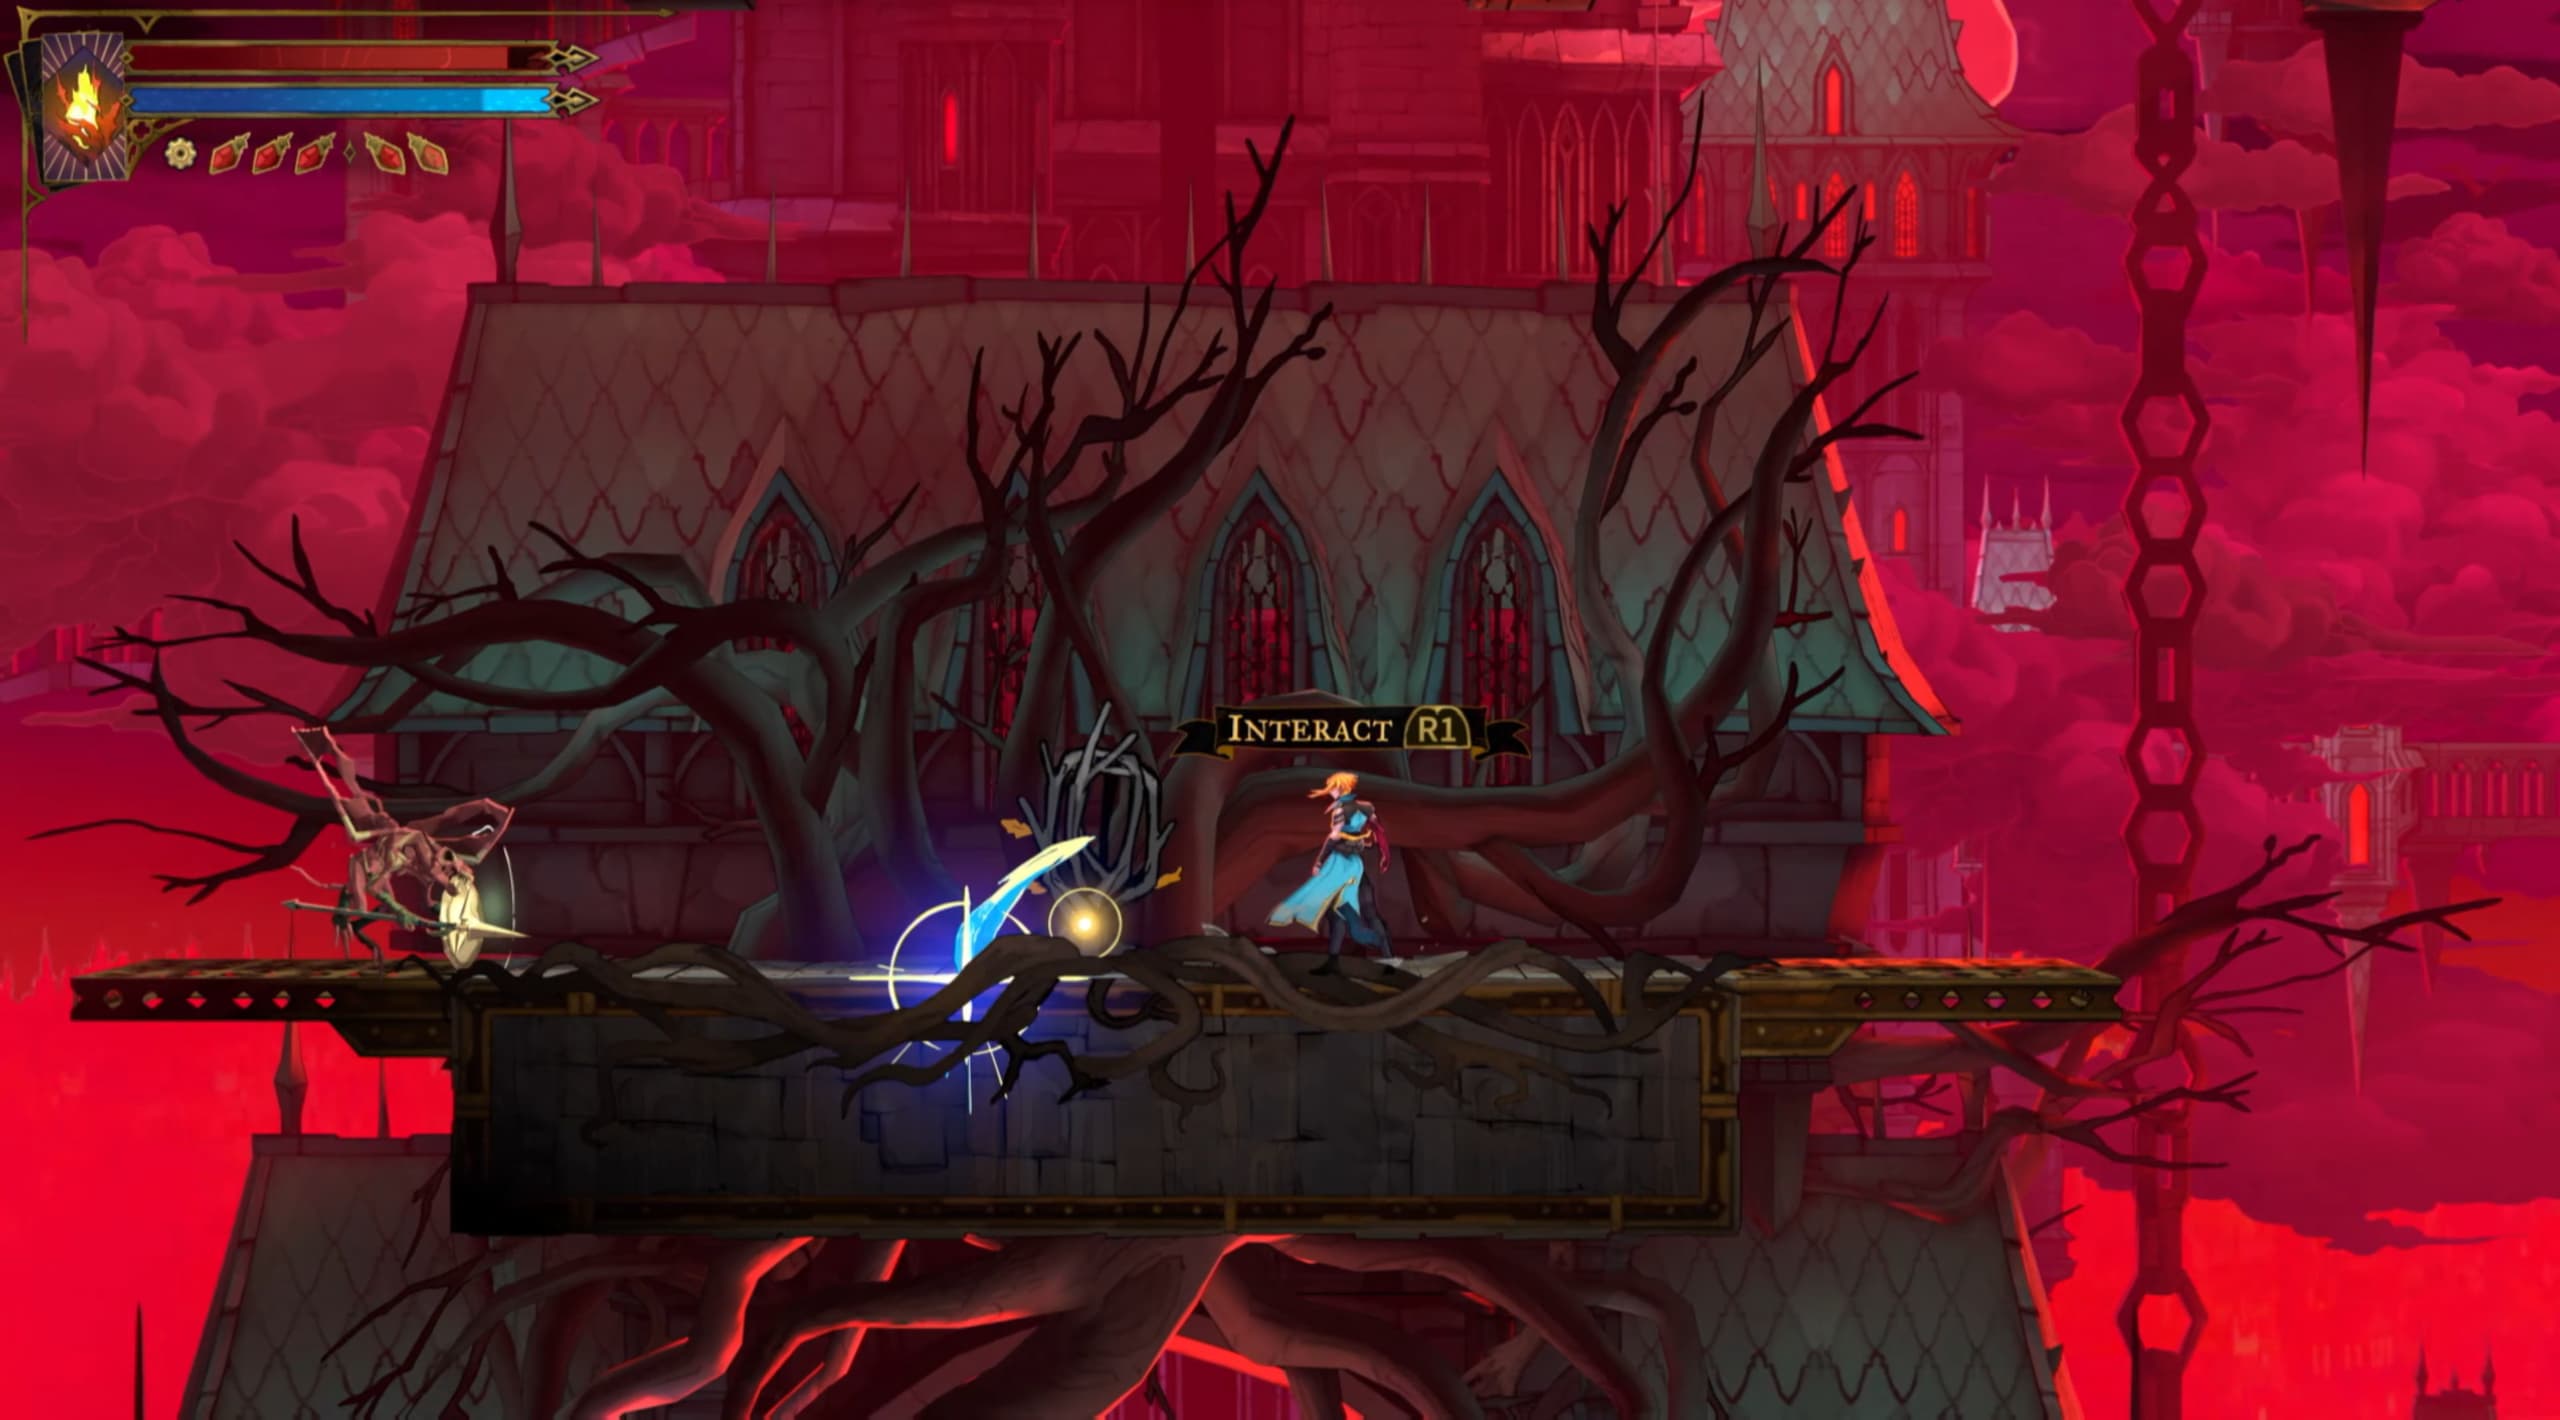
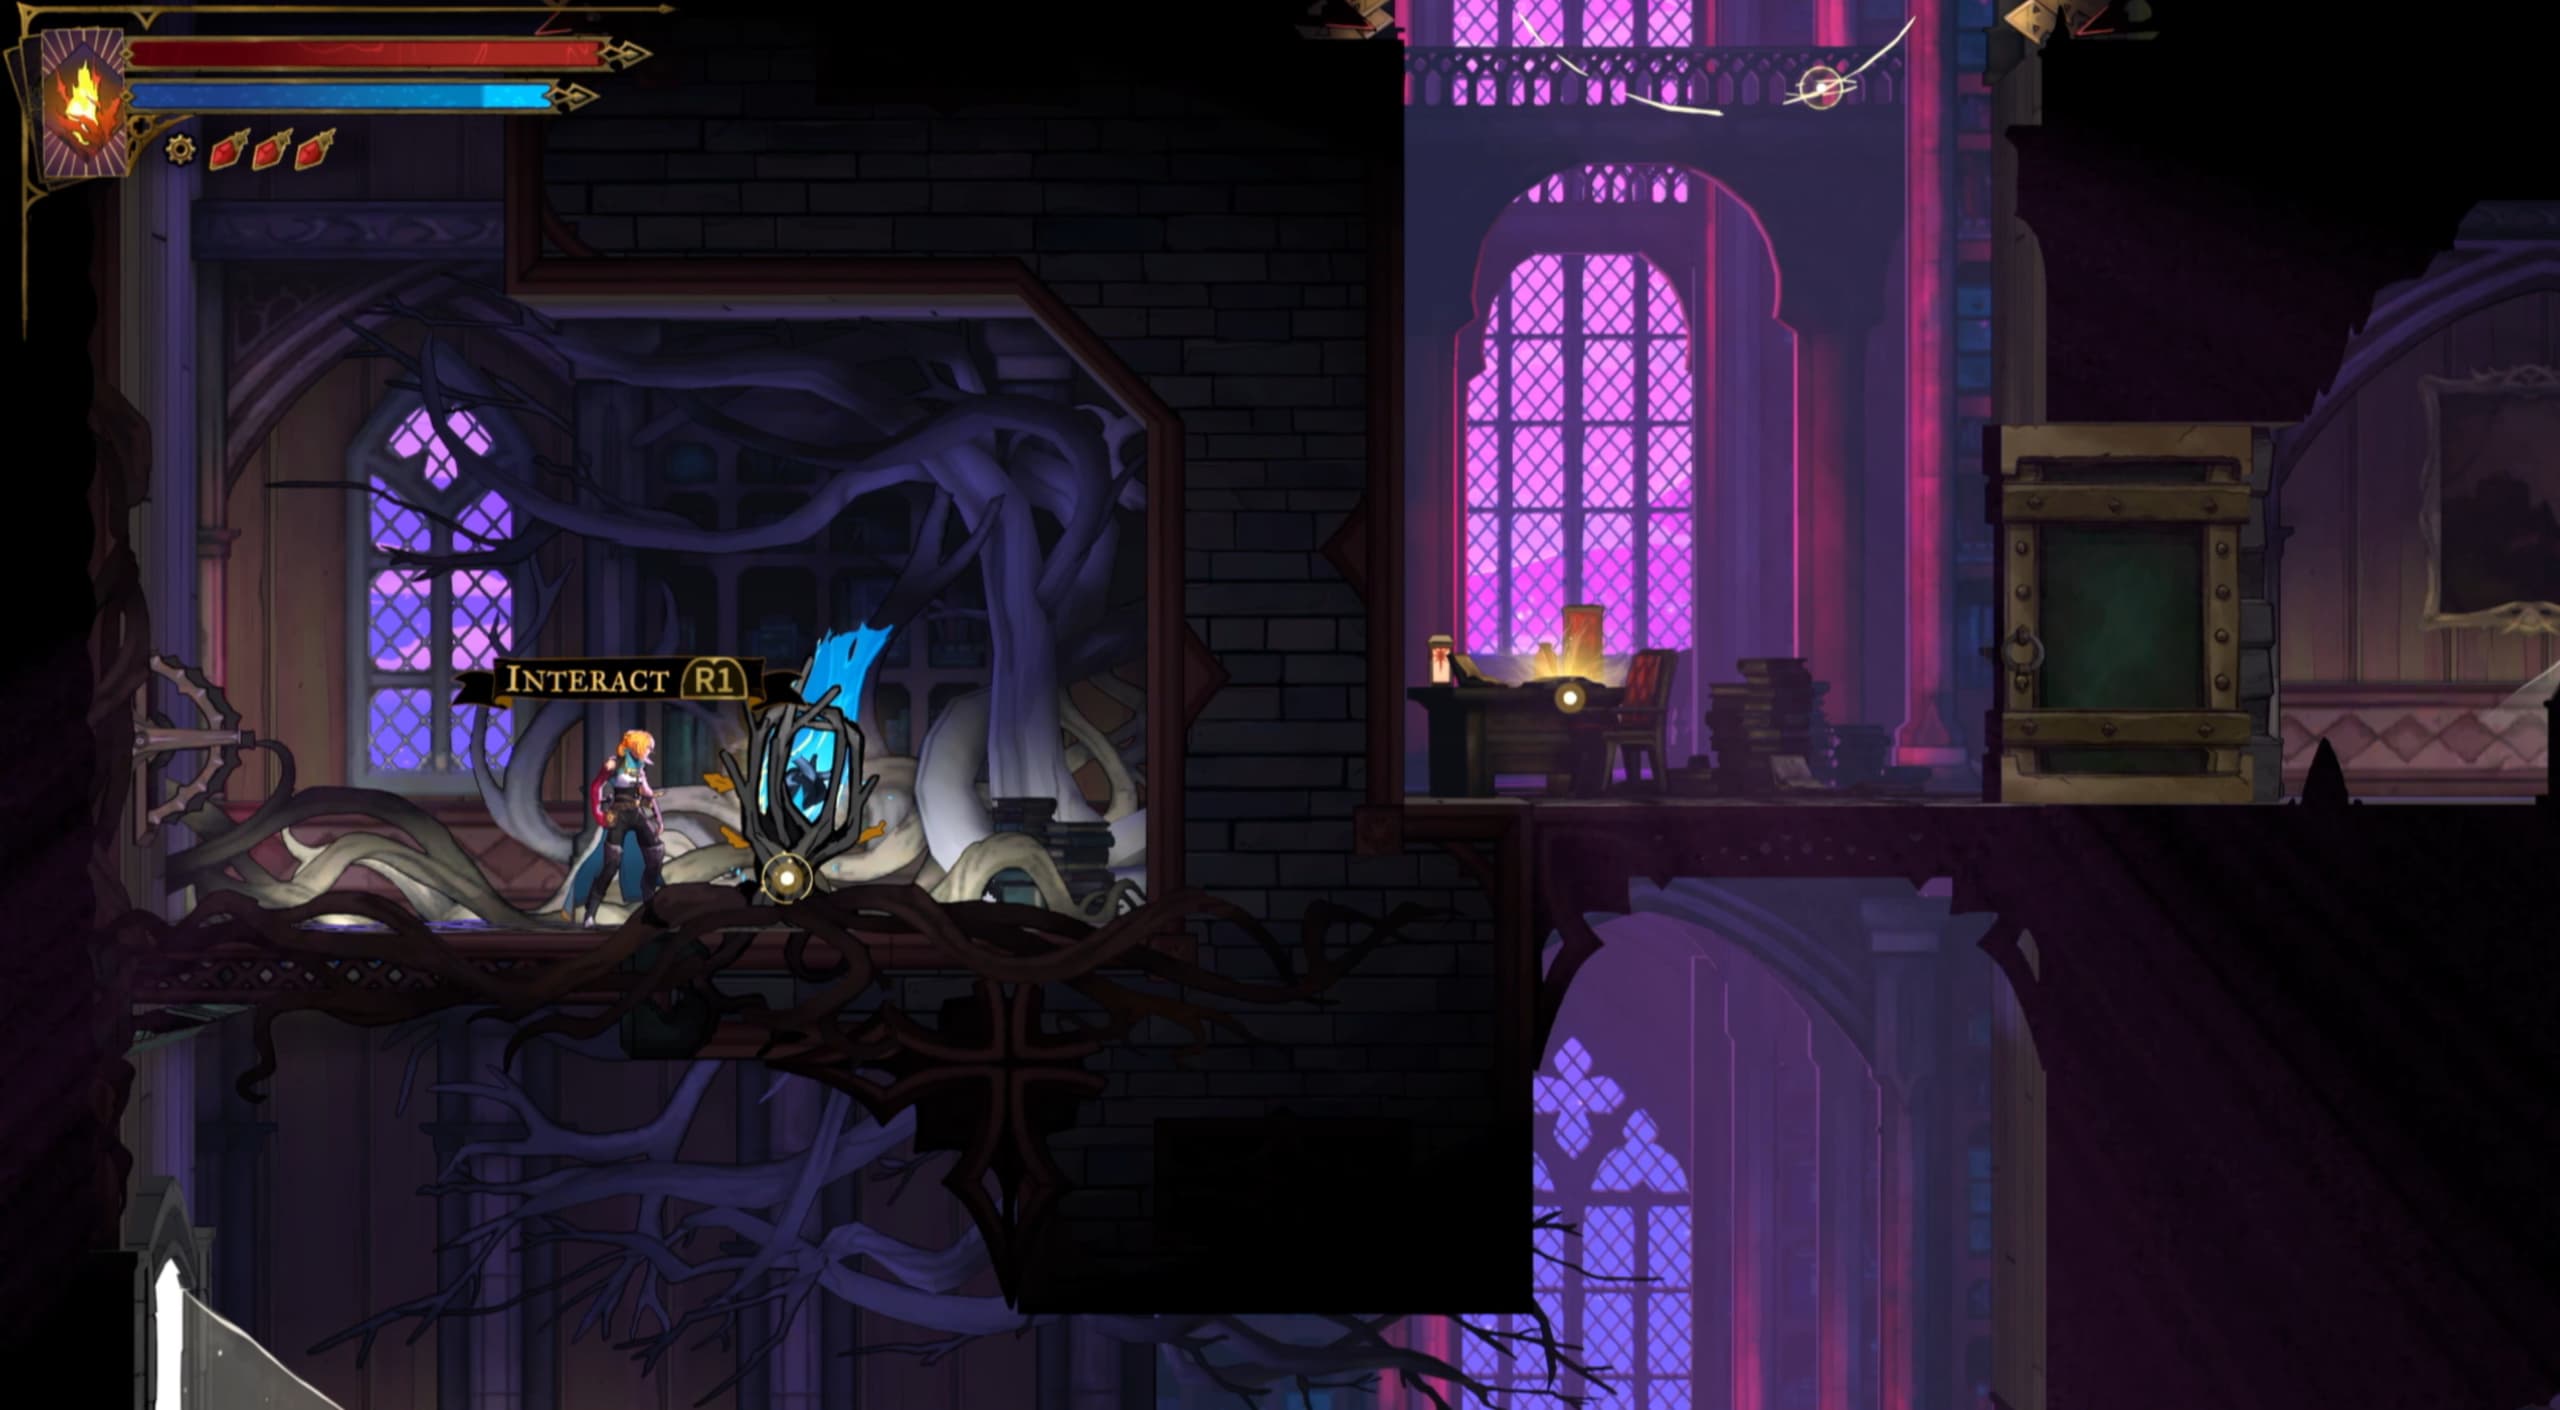
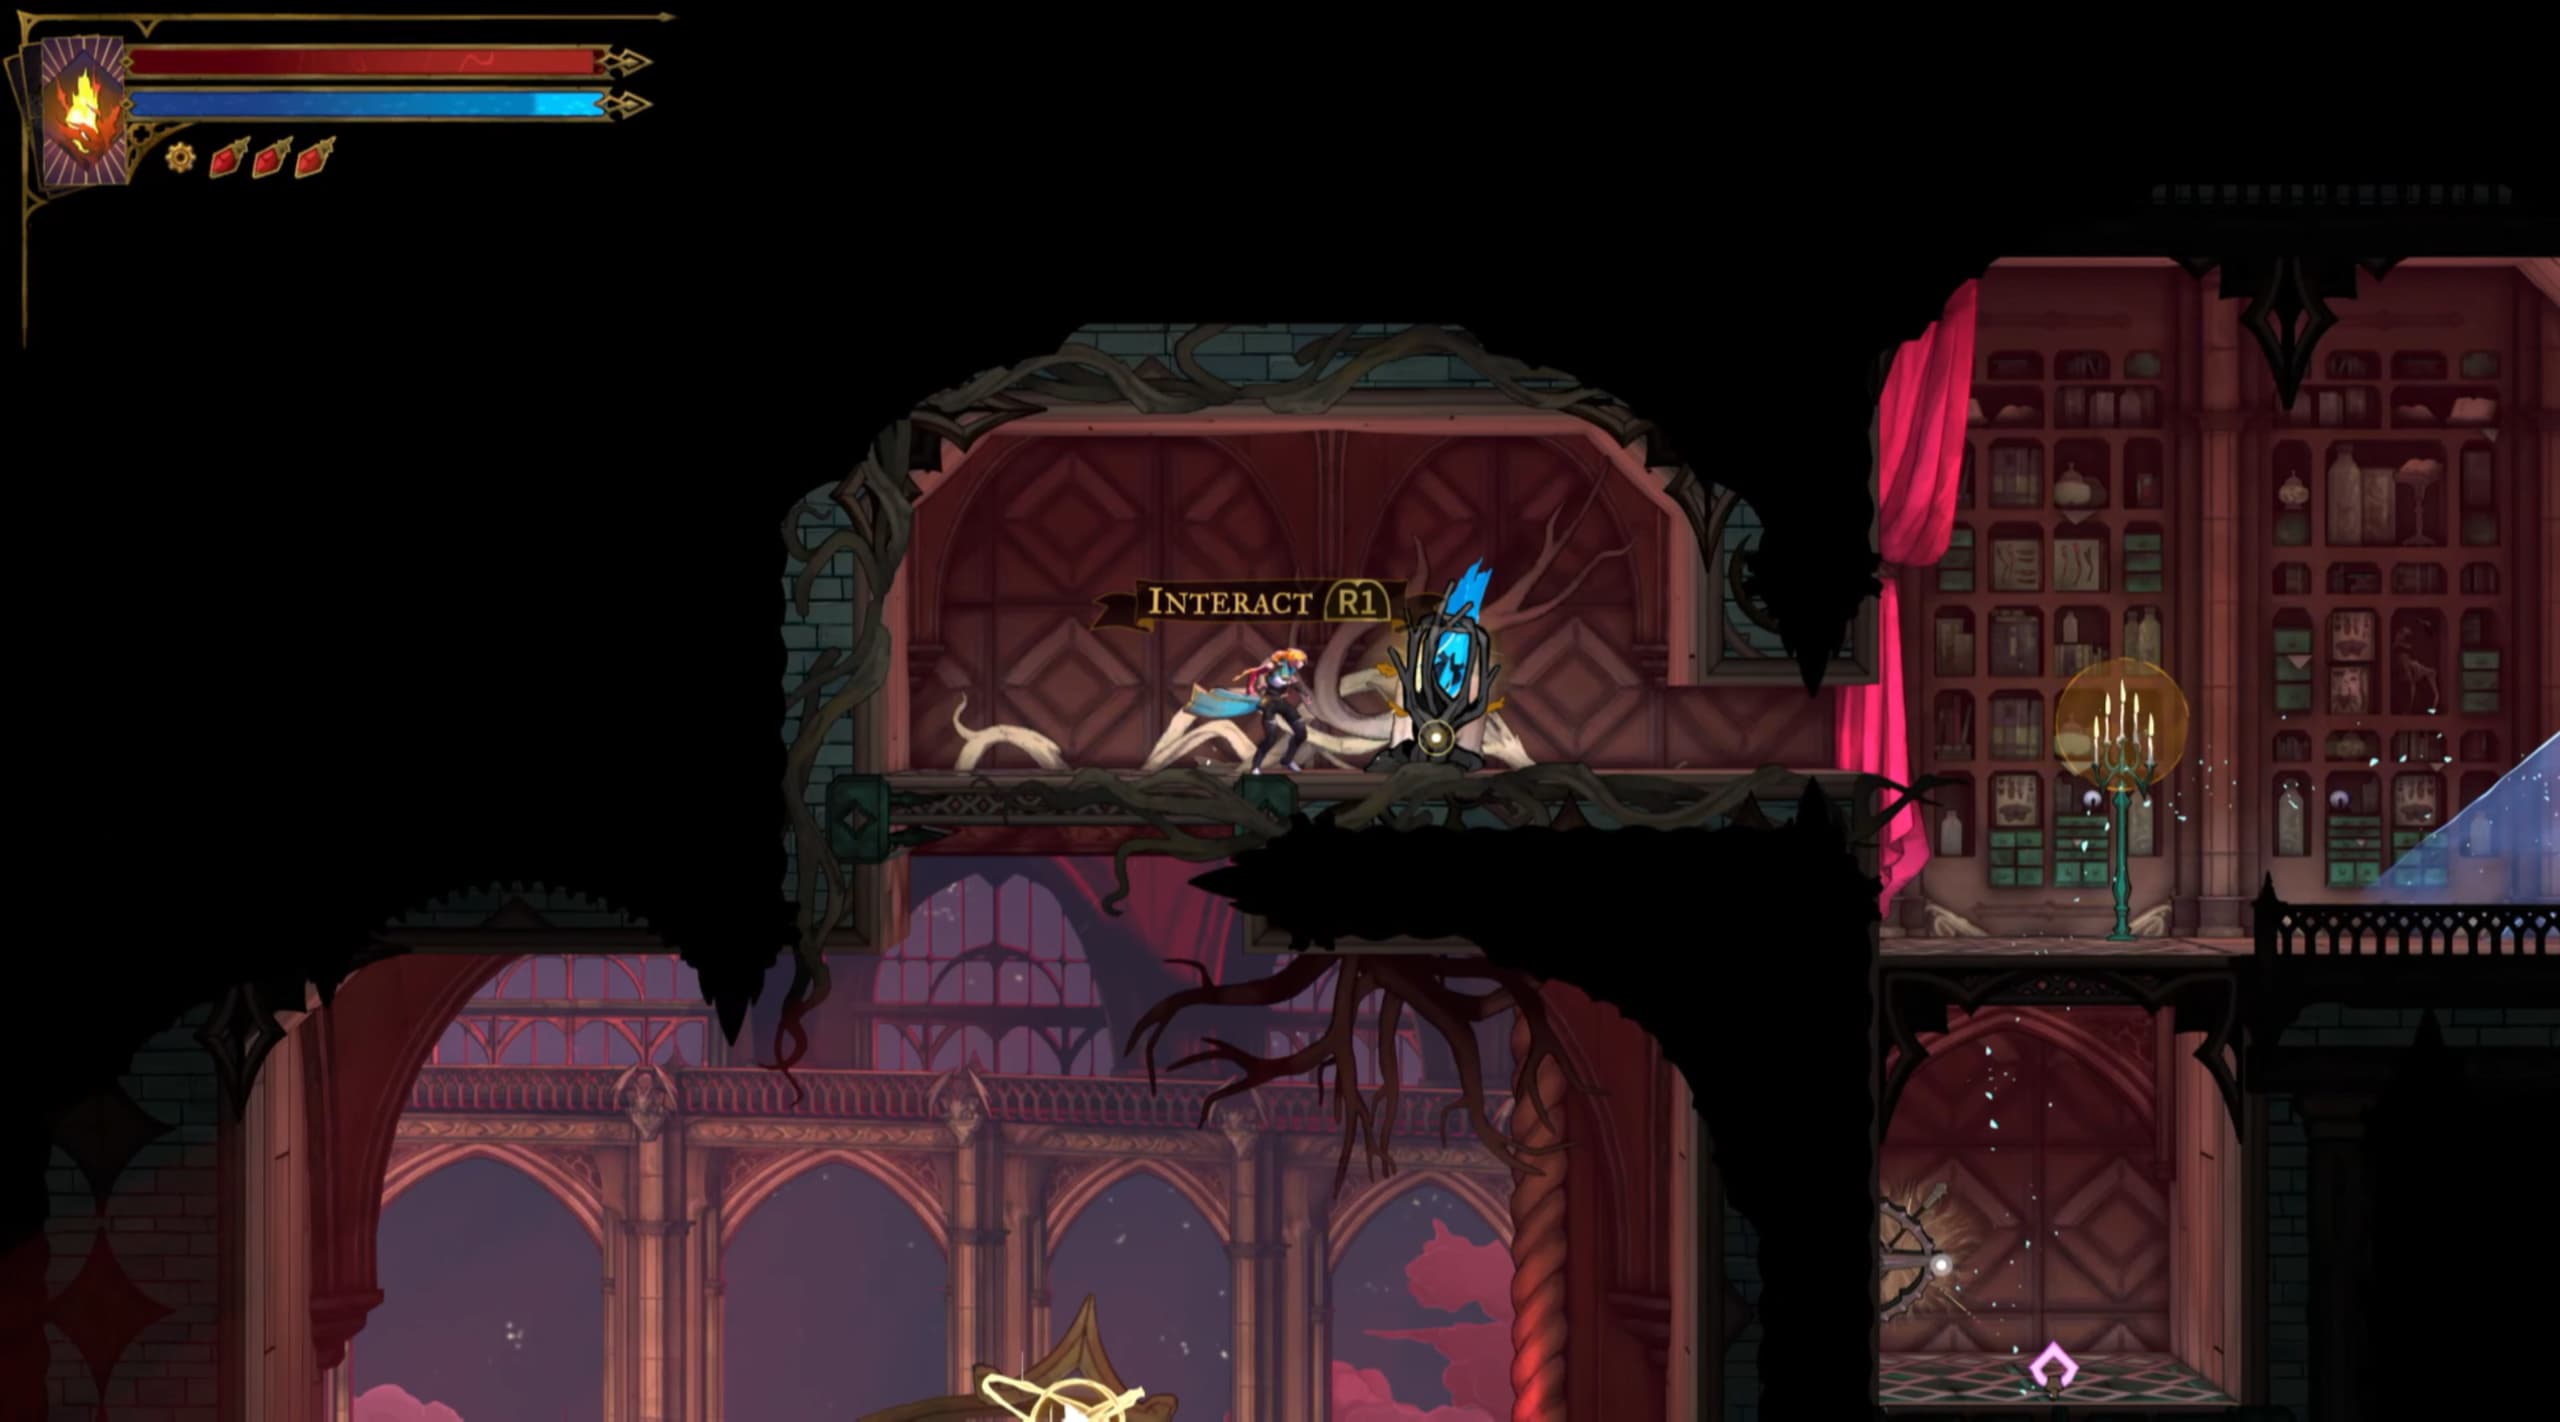
For this Castlevania Guide, I'm going to be showing you the locations of all the Heart Fragments across the entire map to achieve the Collector Trophy.
I will be showing the locations of the Heart Fragments to find in each area, there are 6 to find in each, some are more difficult to locate so for those, I will detail how to access them.
To be able to collect all Heart Fragments, it is recommended that you have progressed enough in the game to have the following abilities:
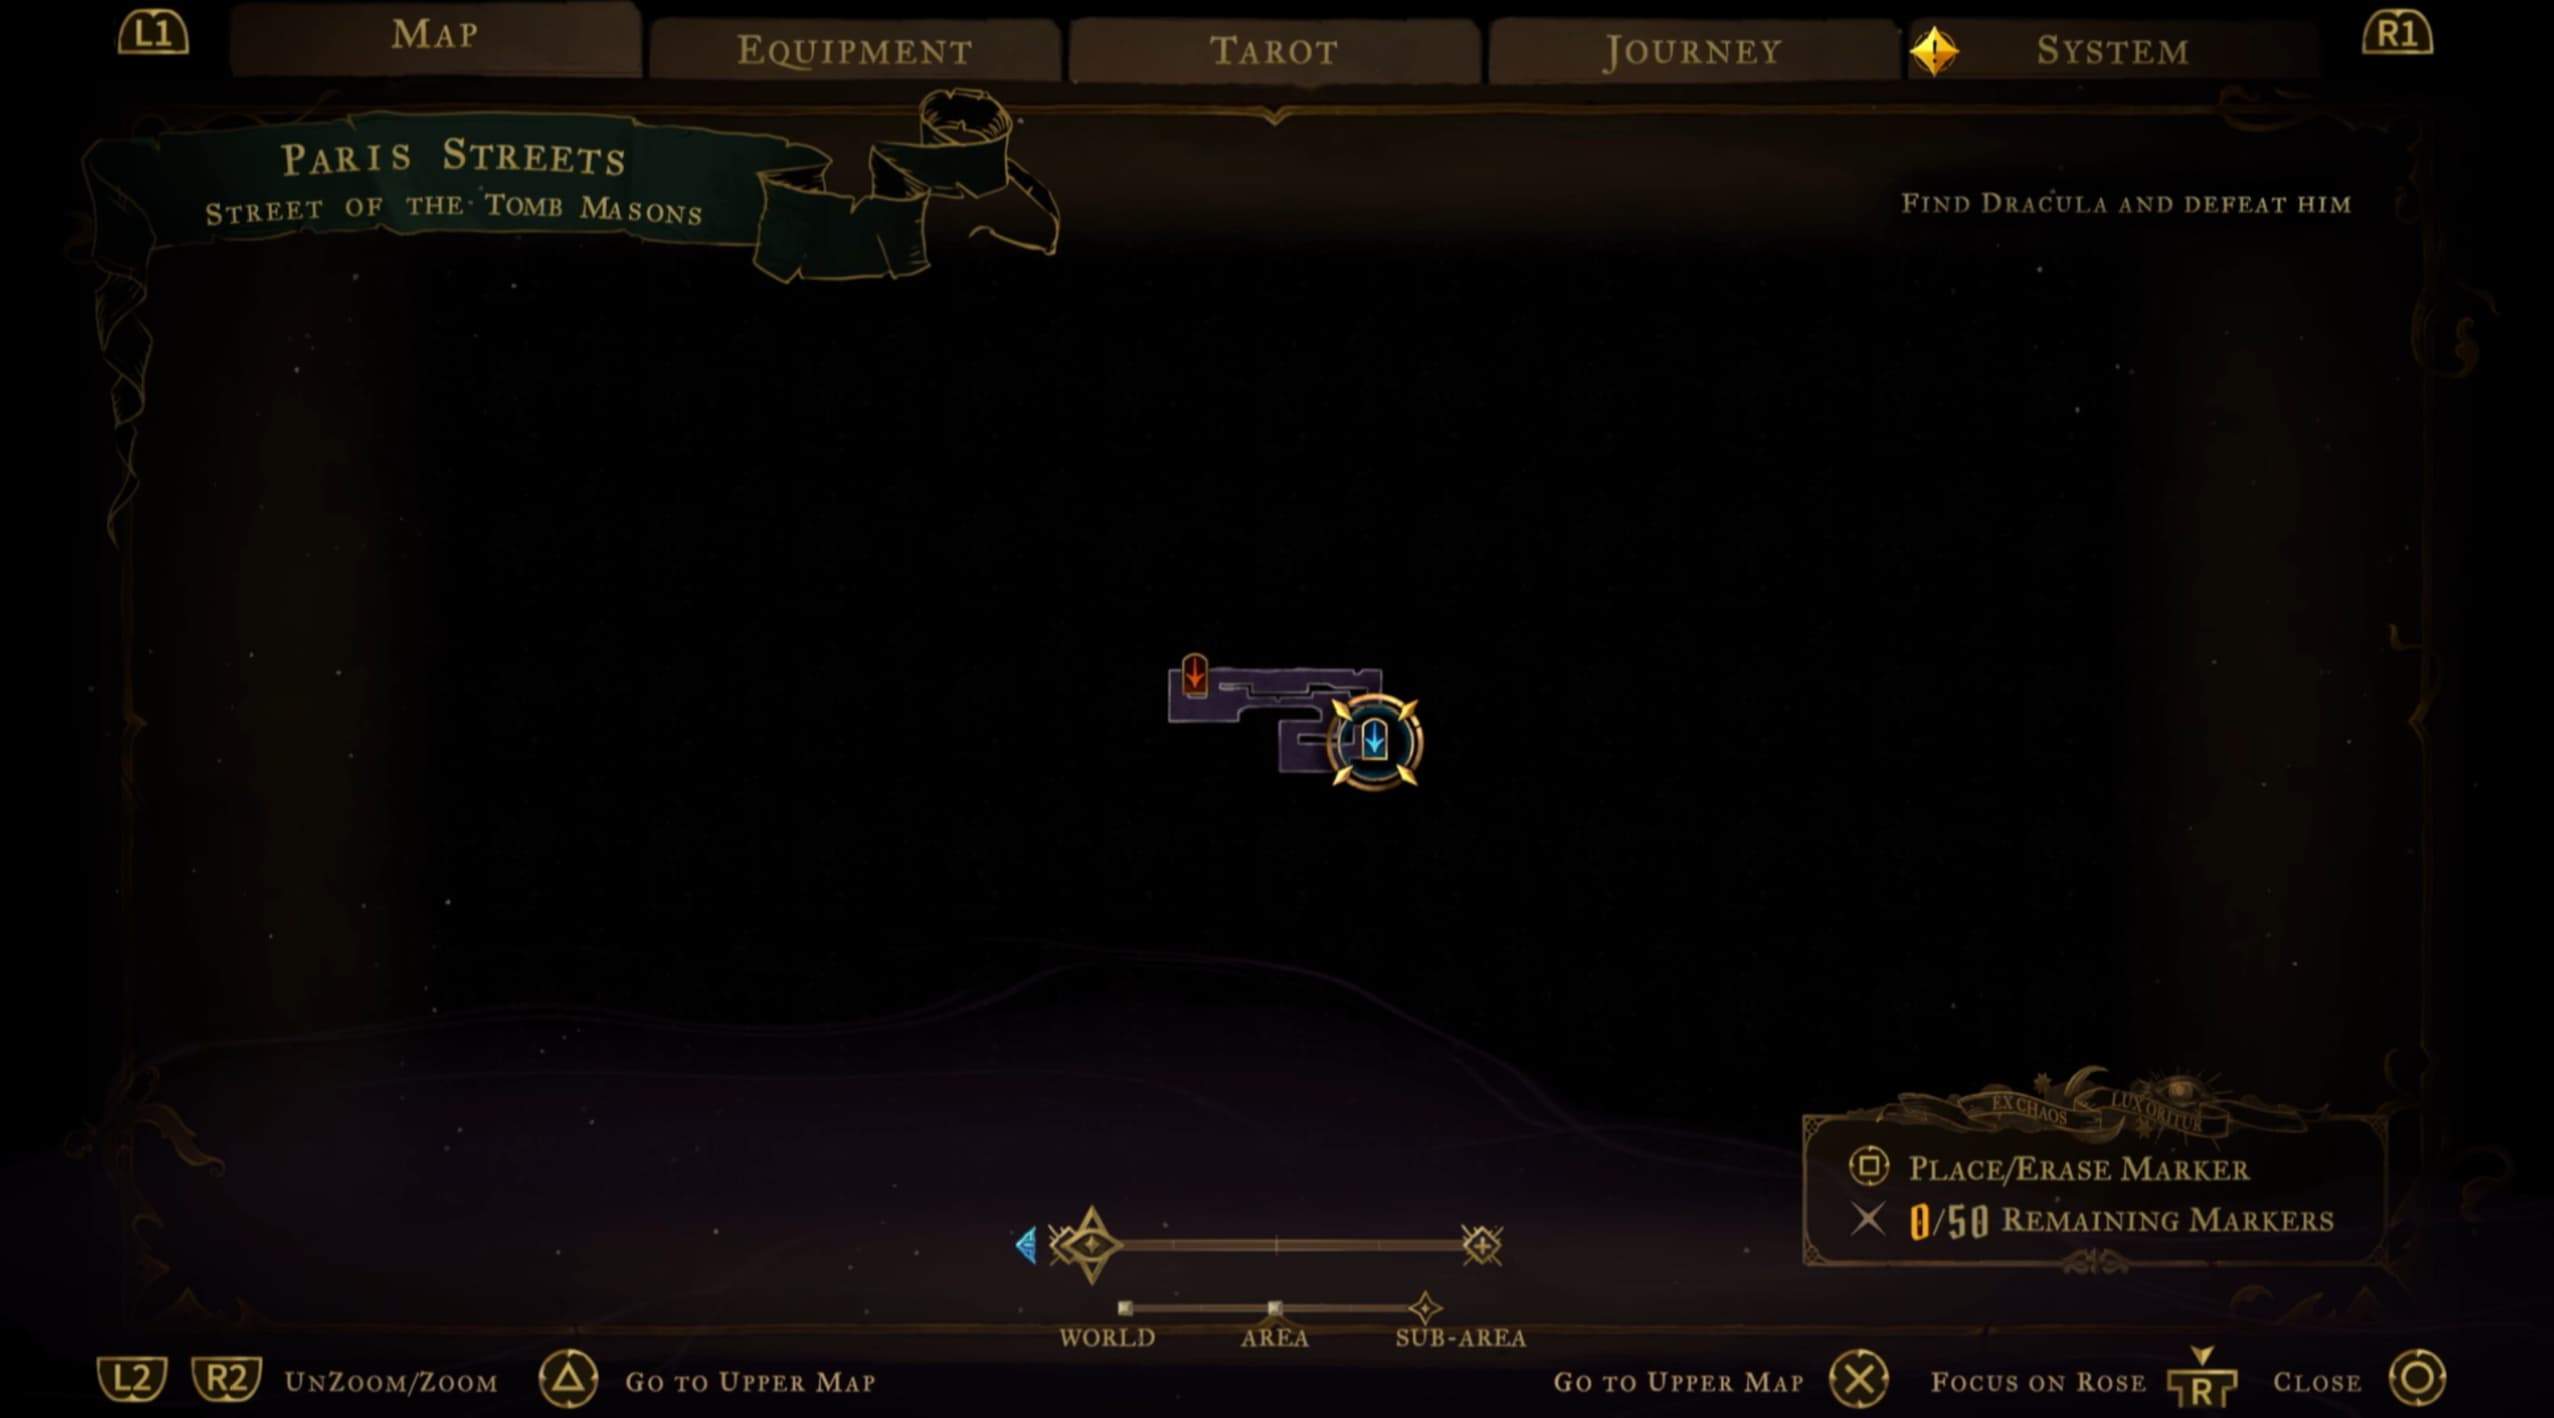
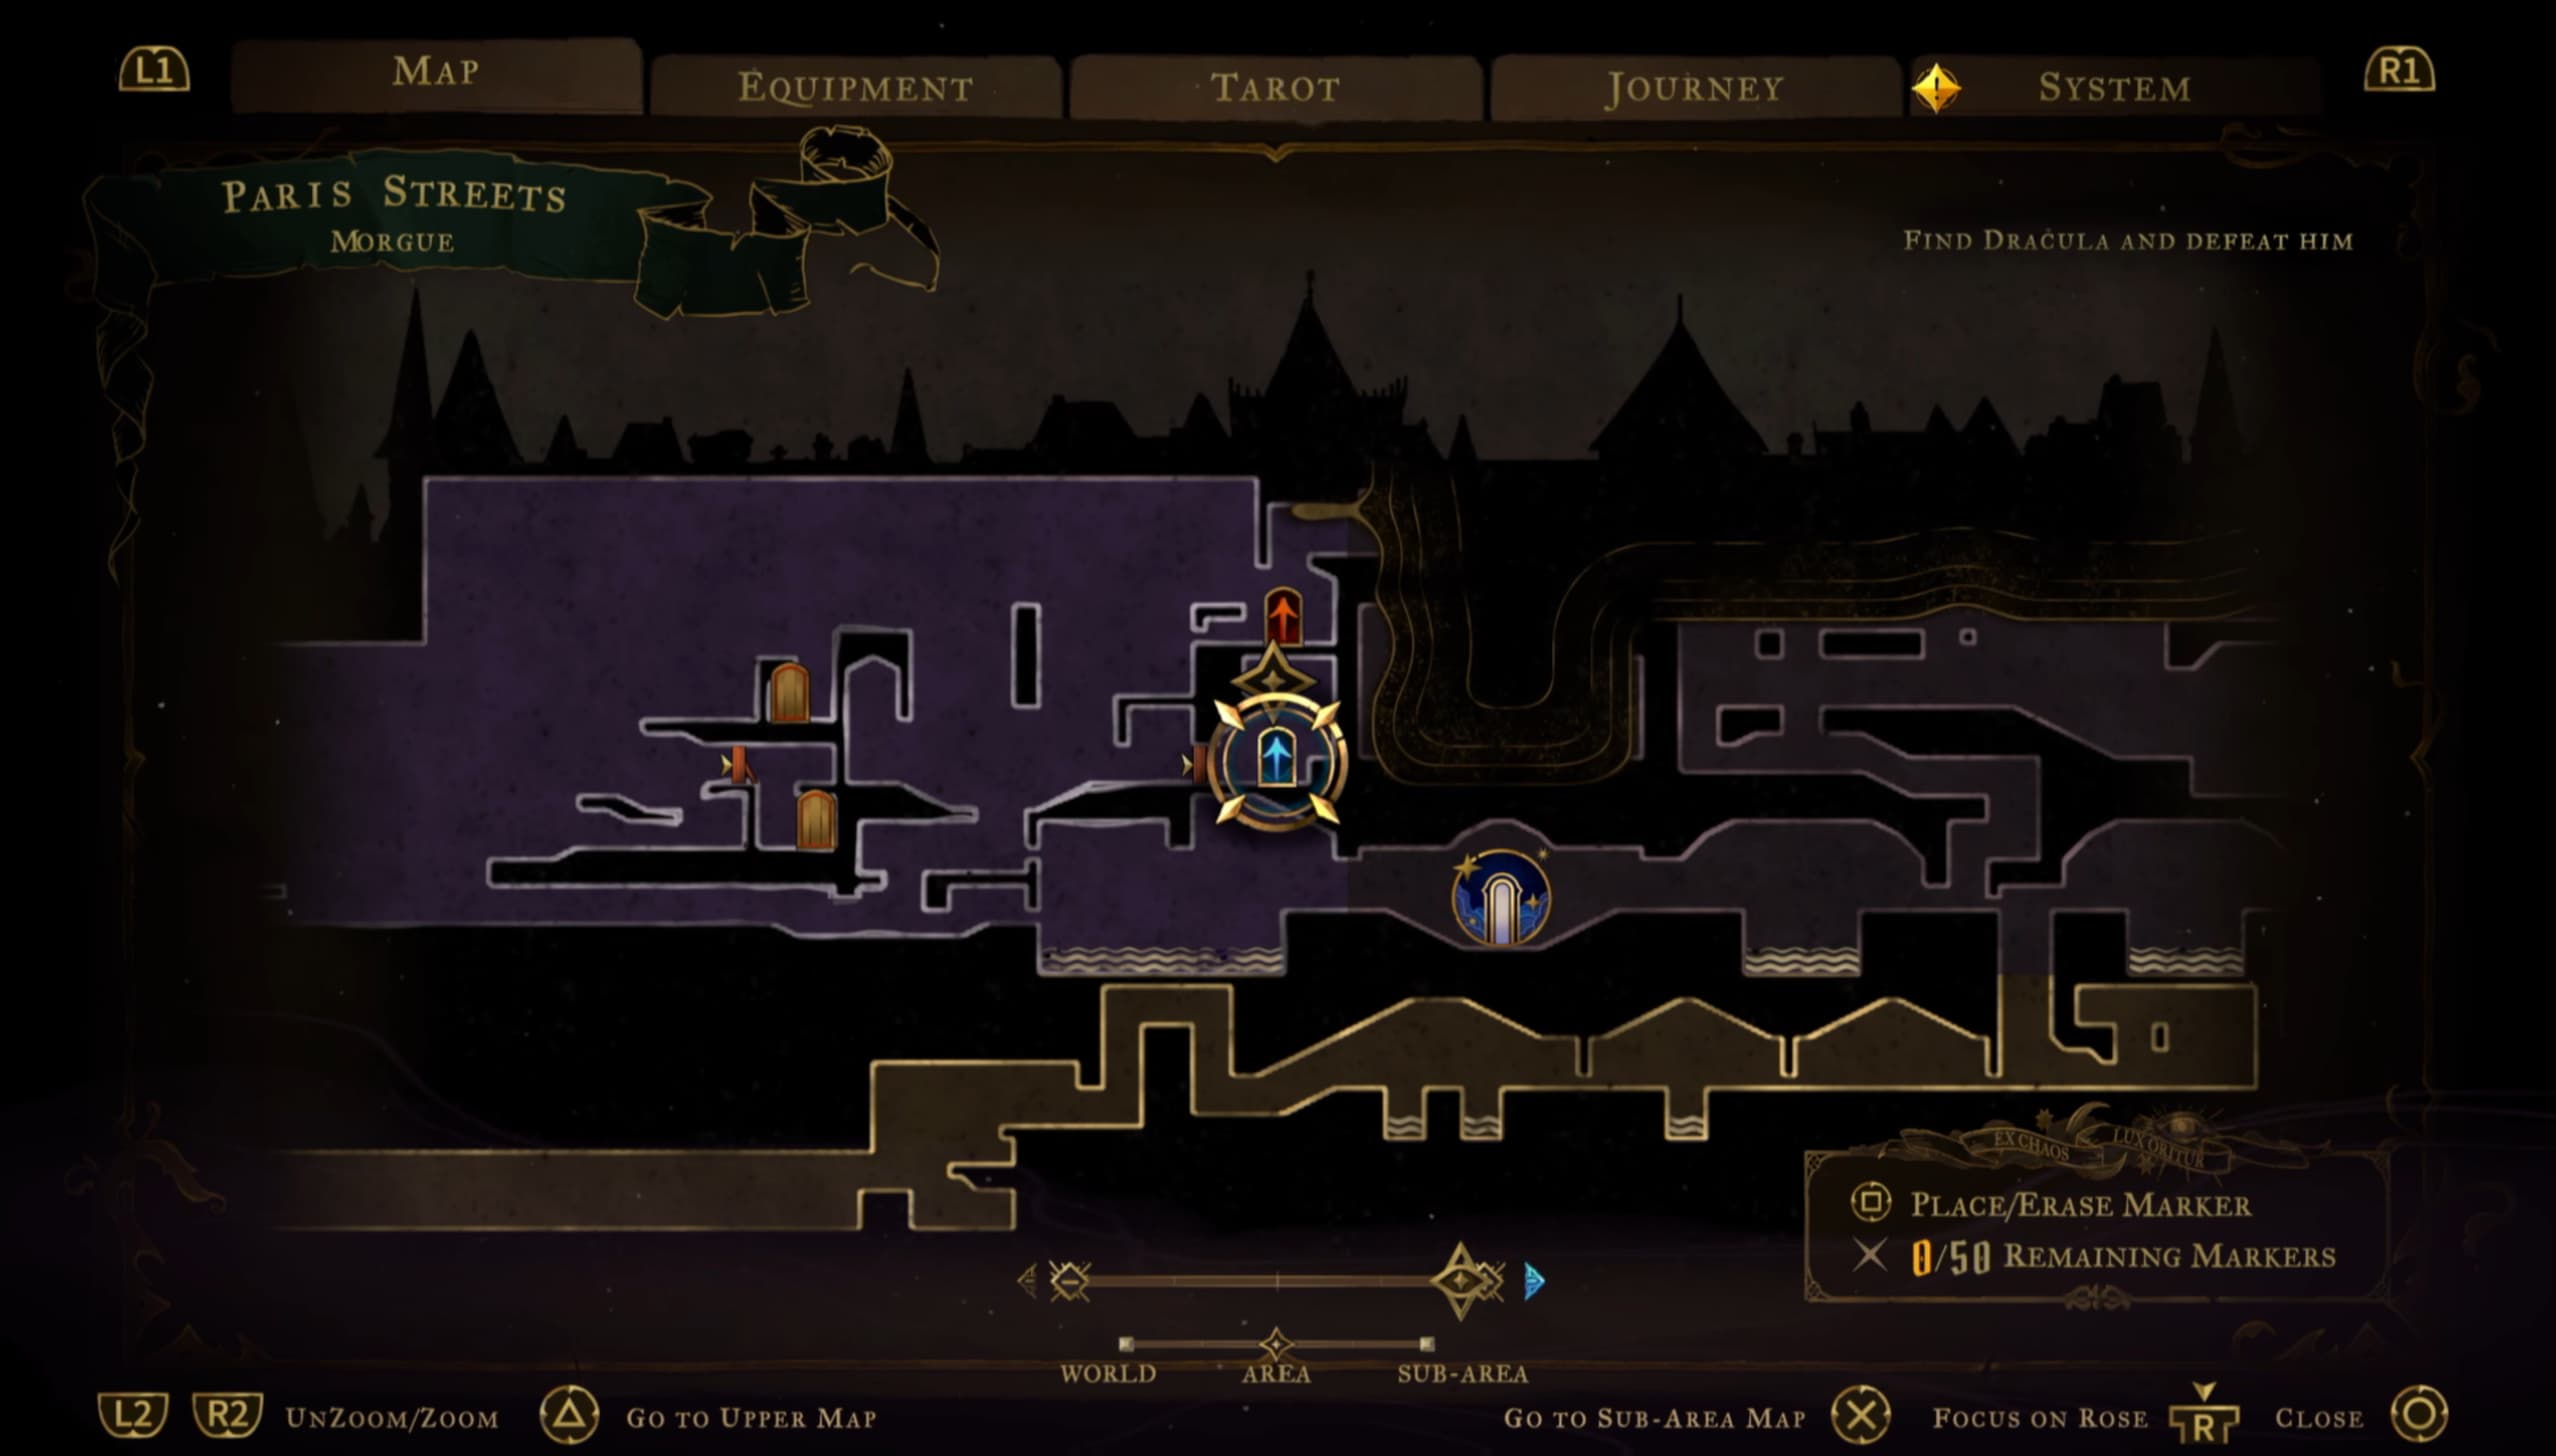
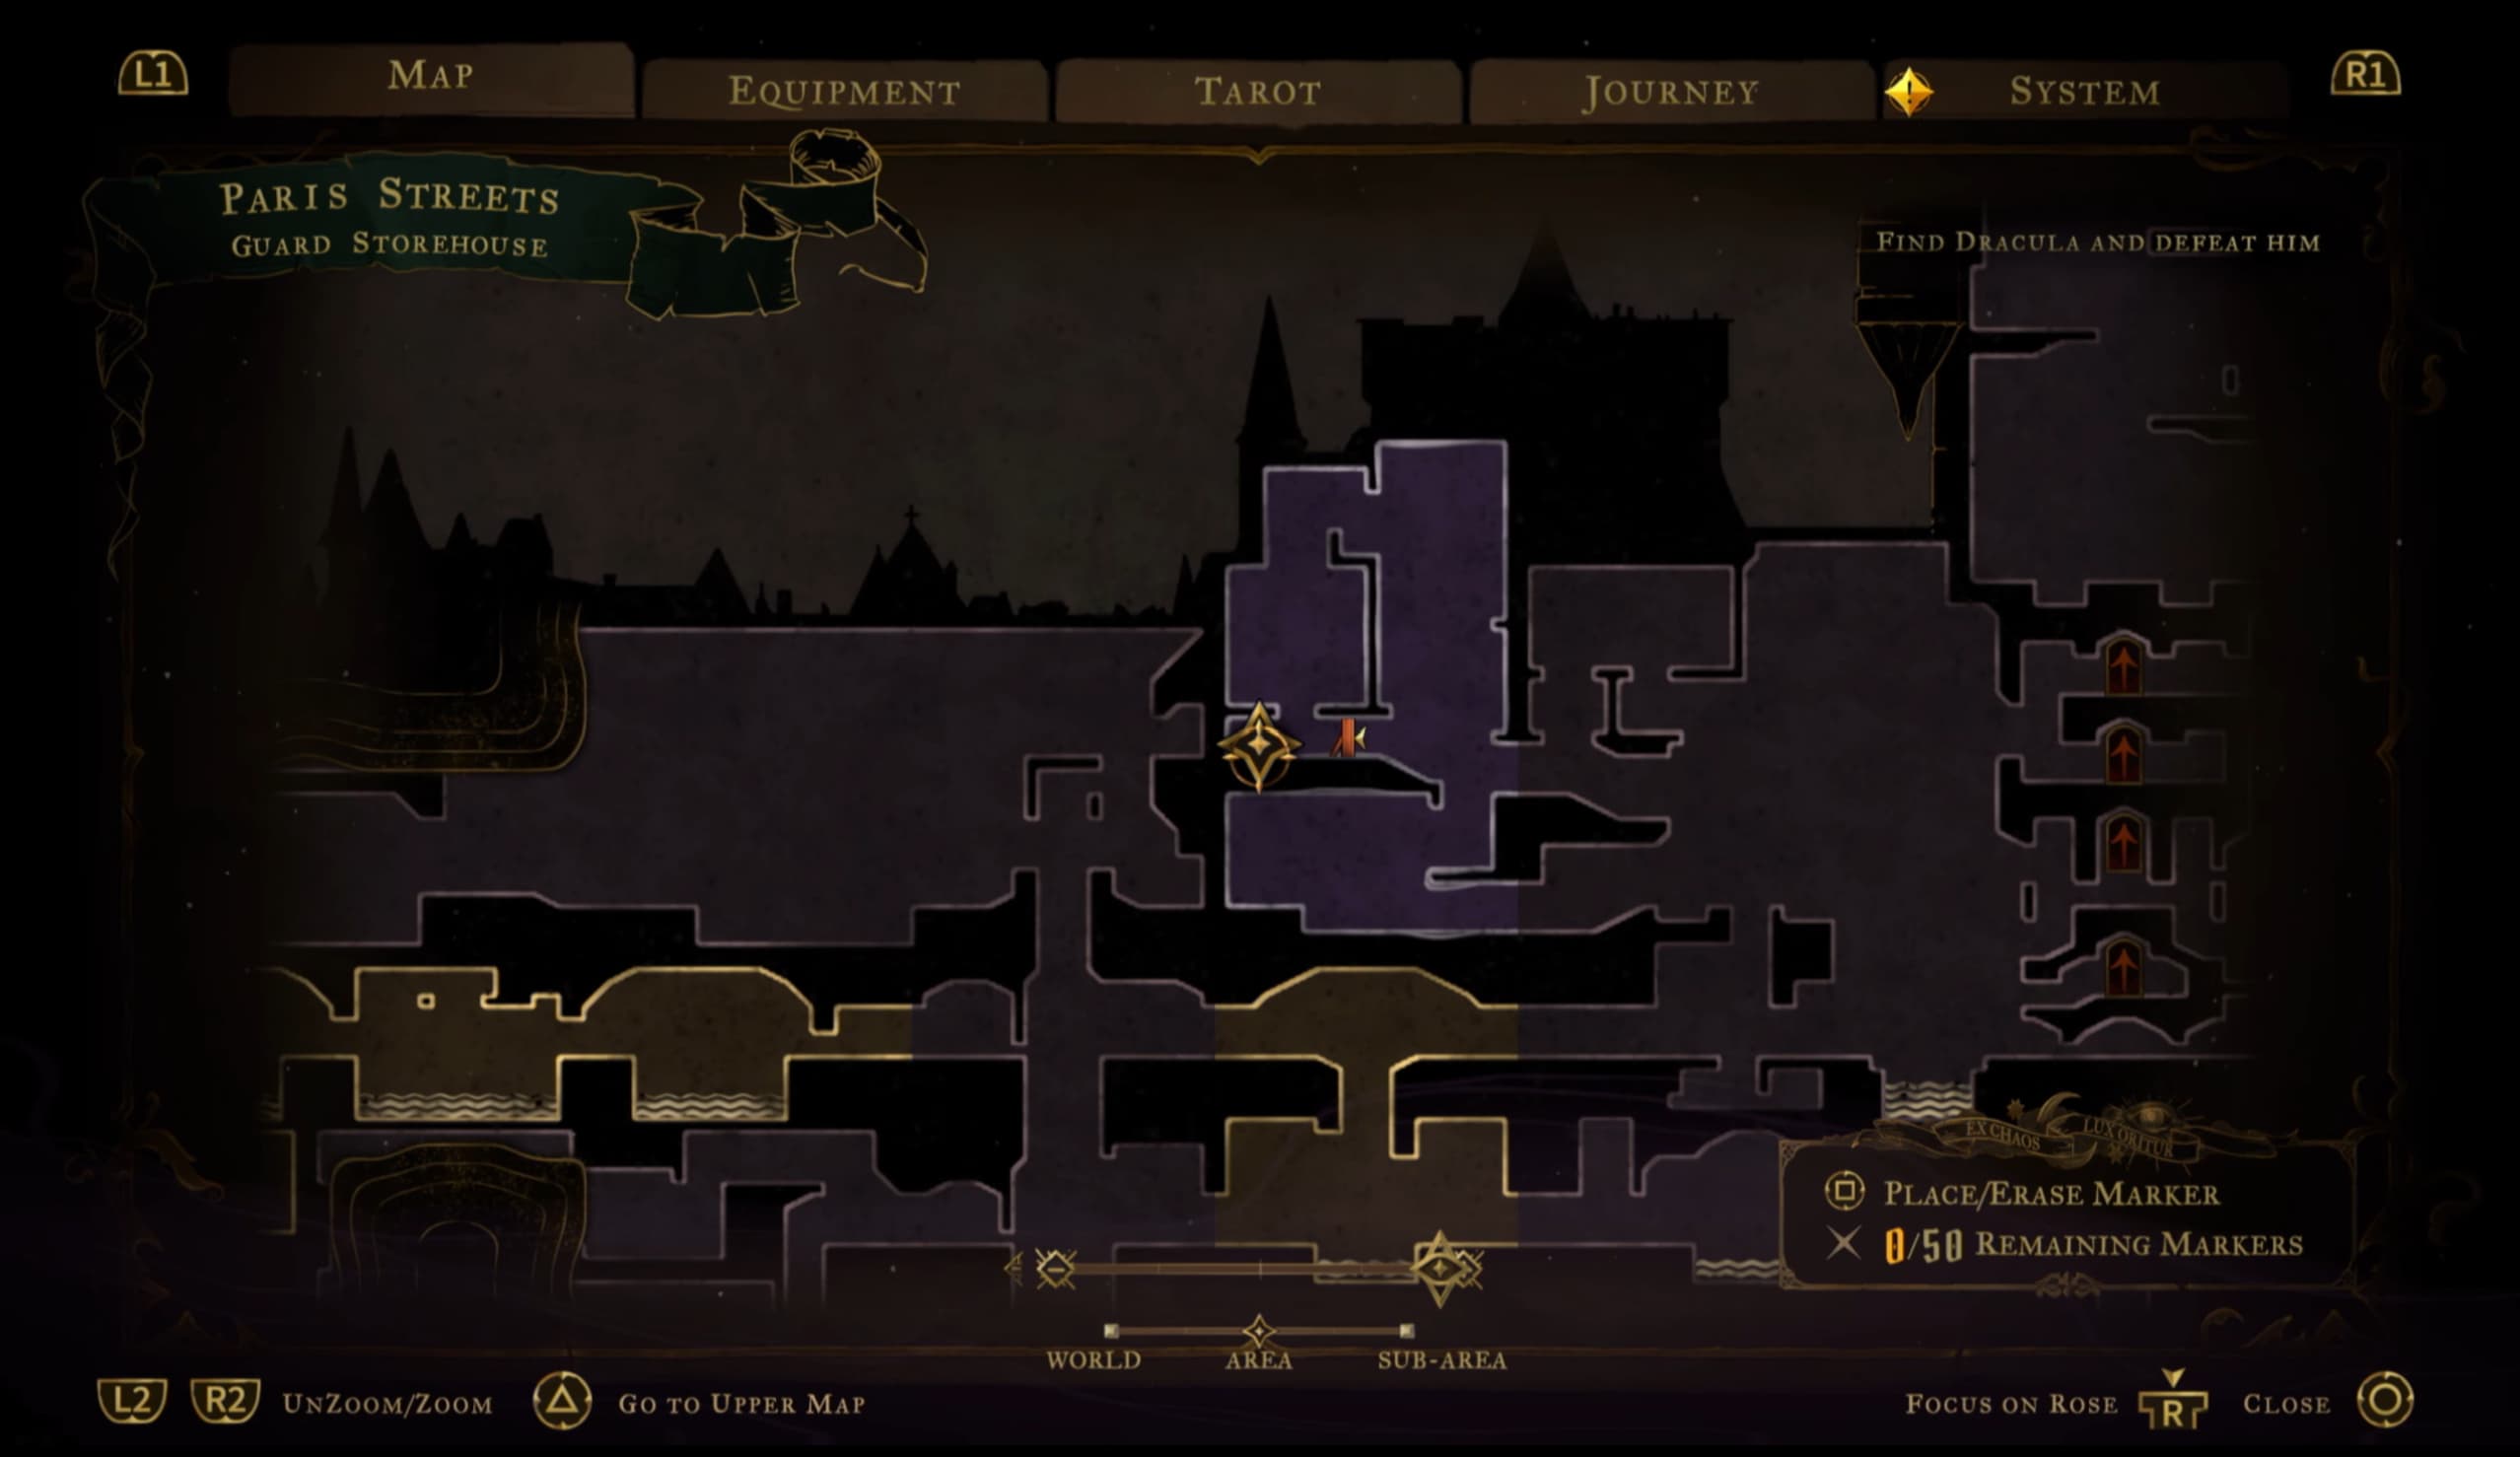
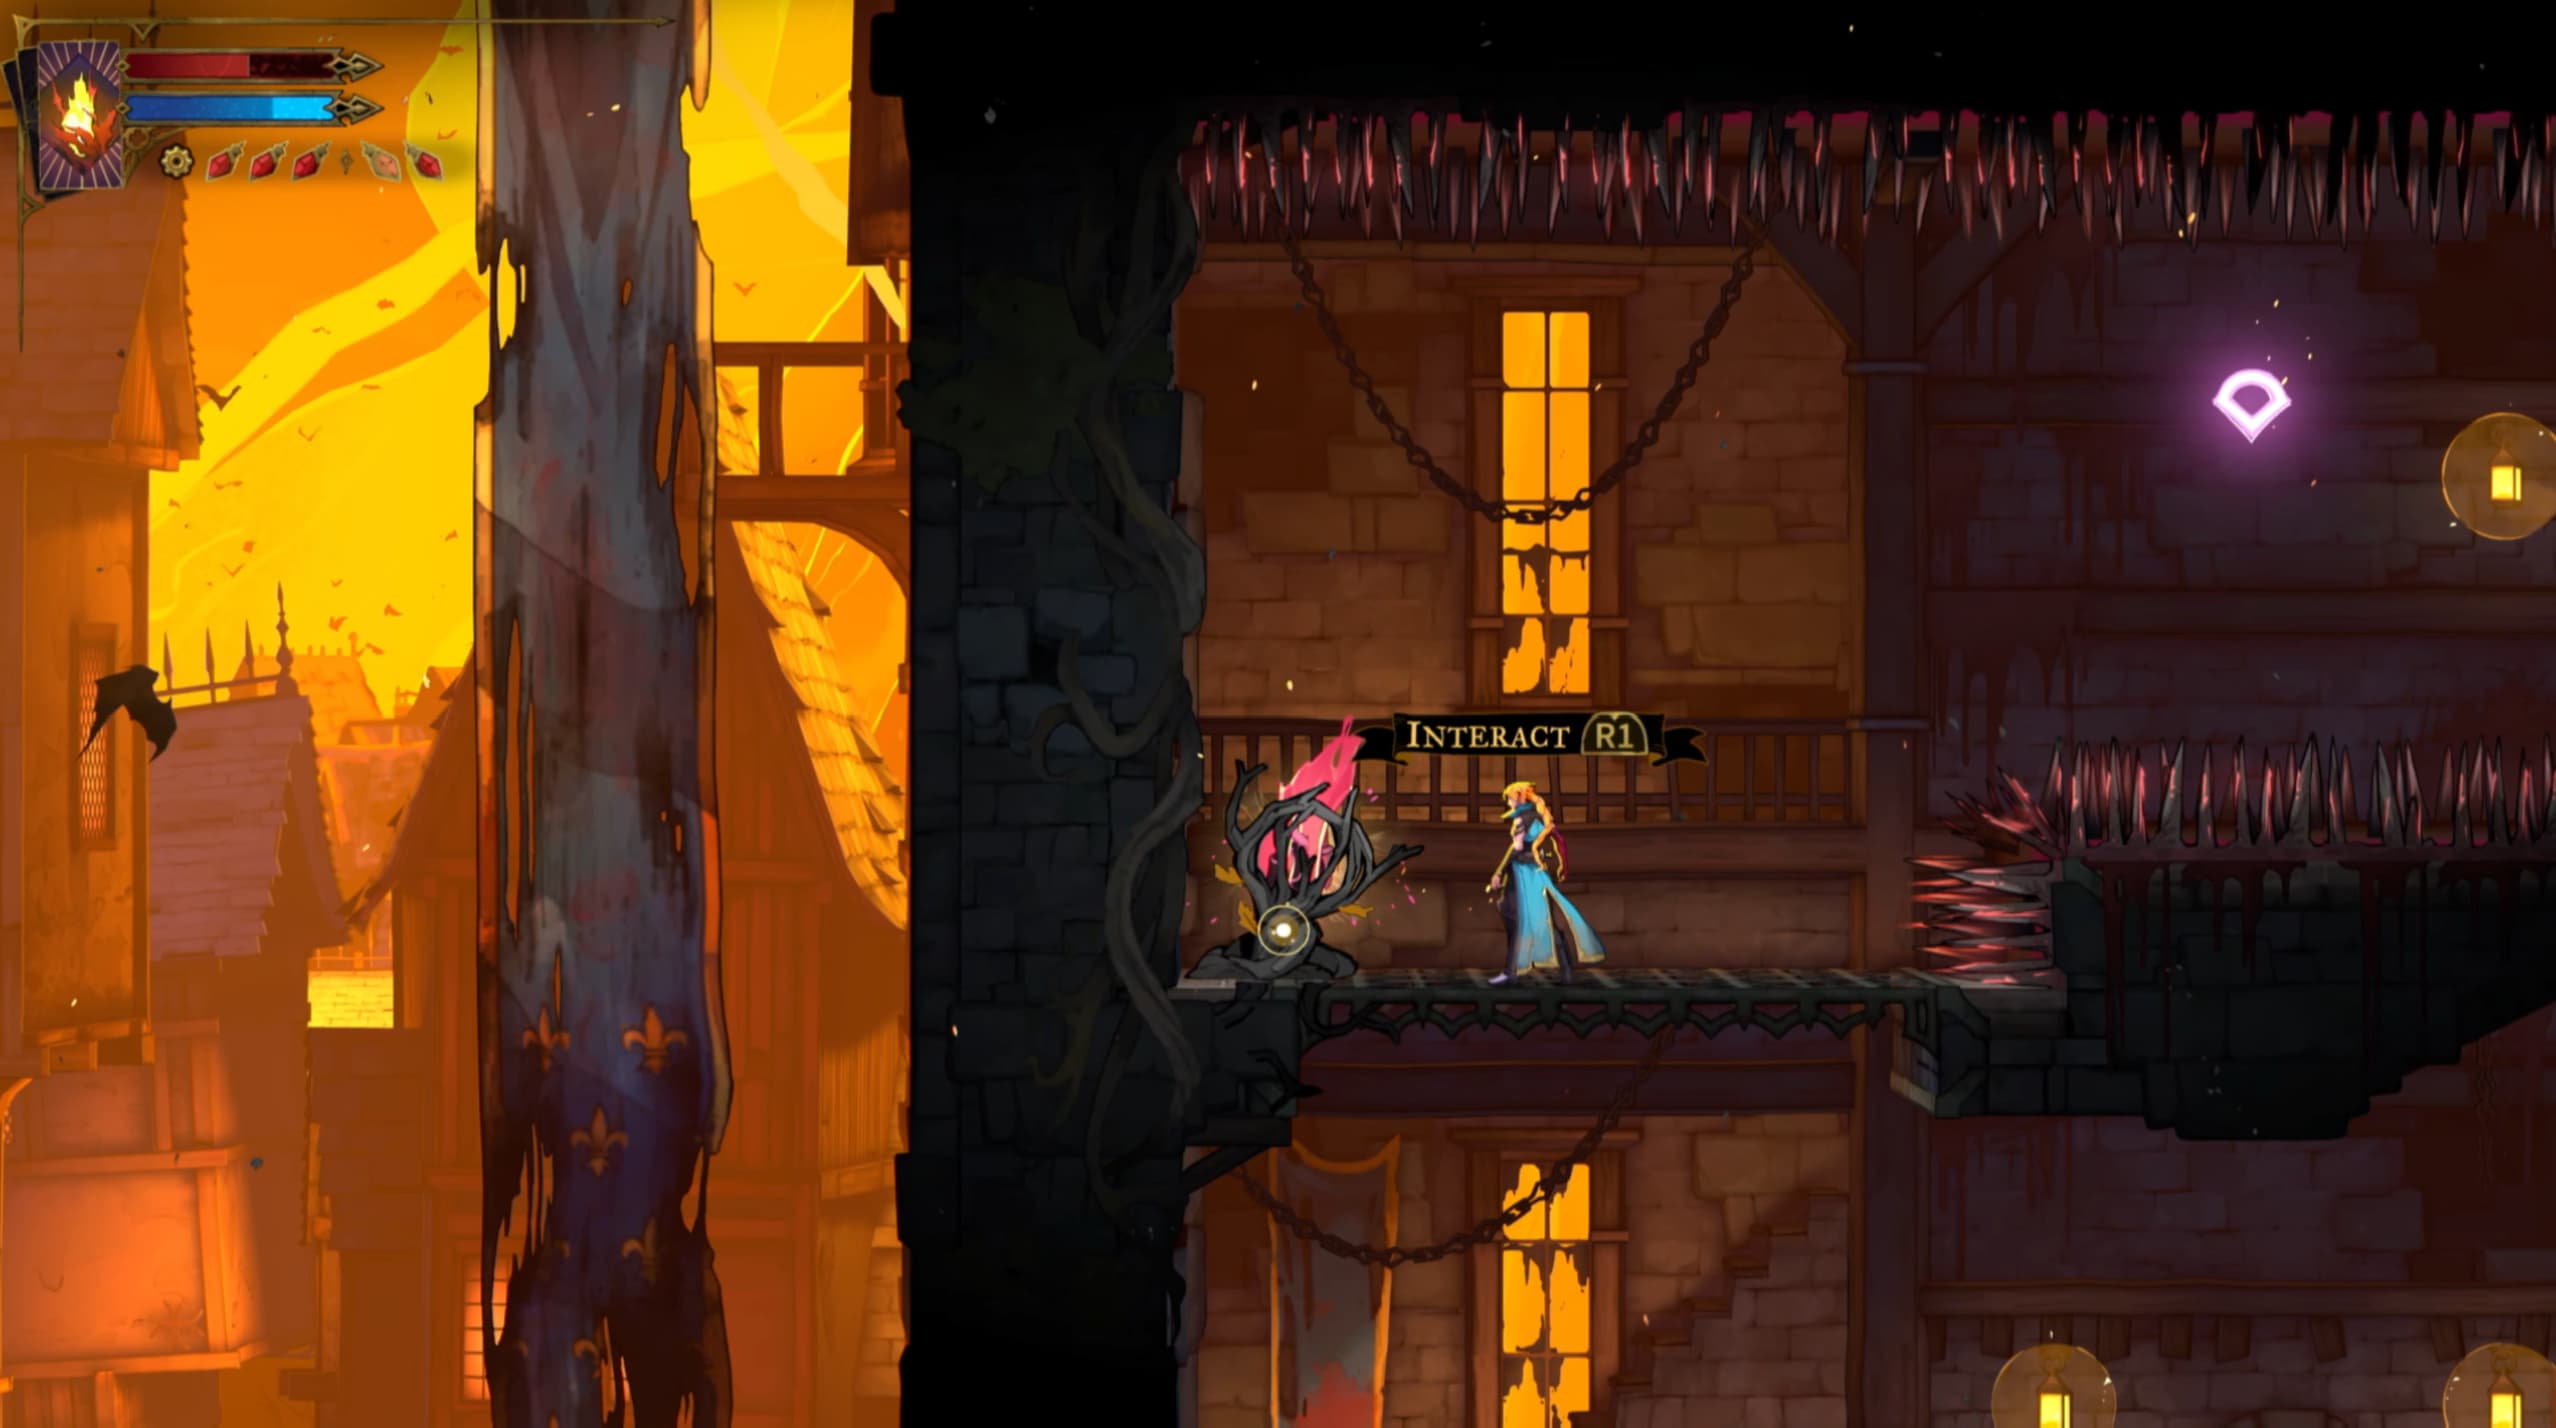
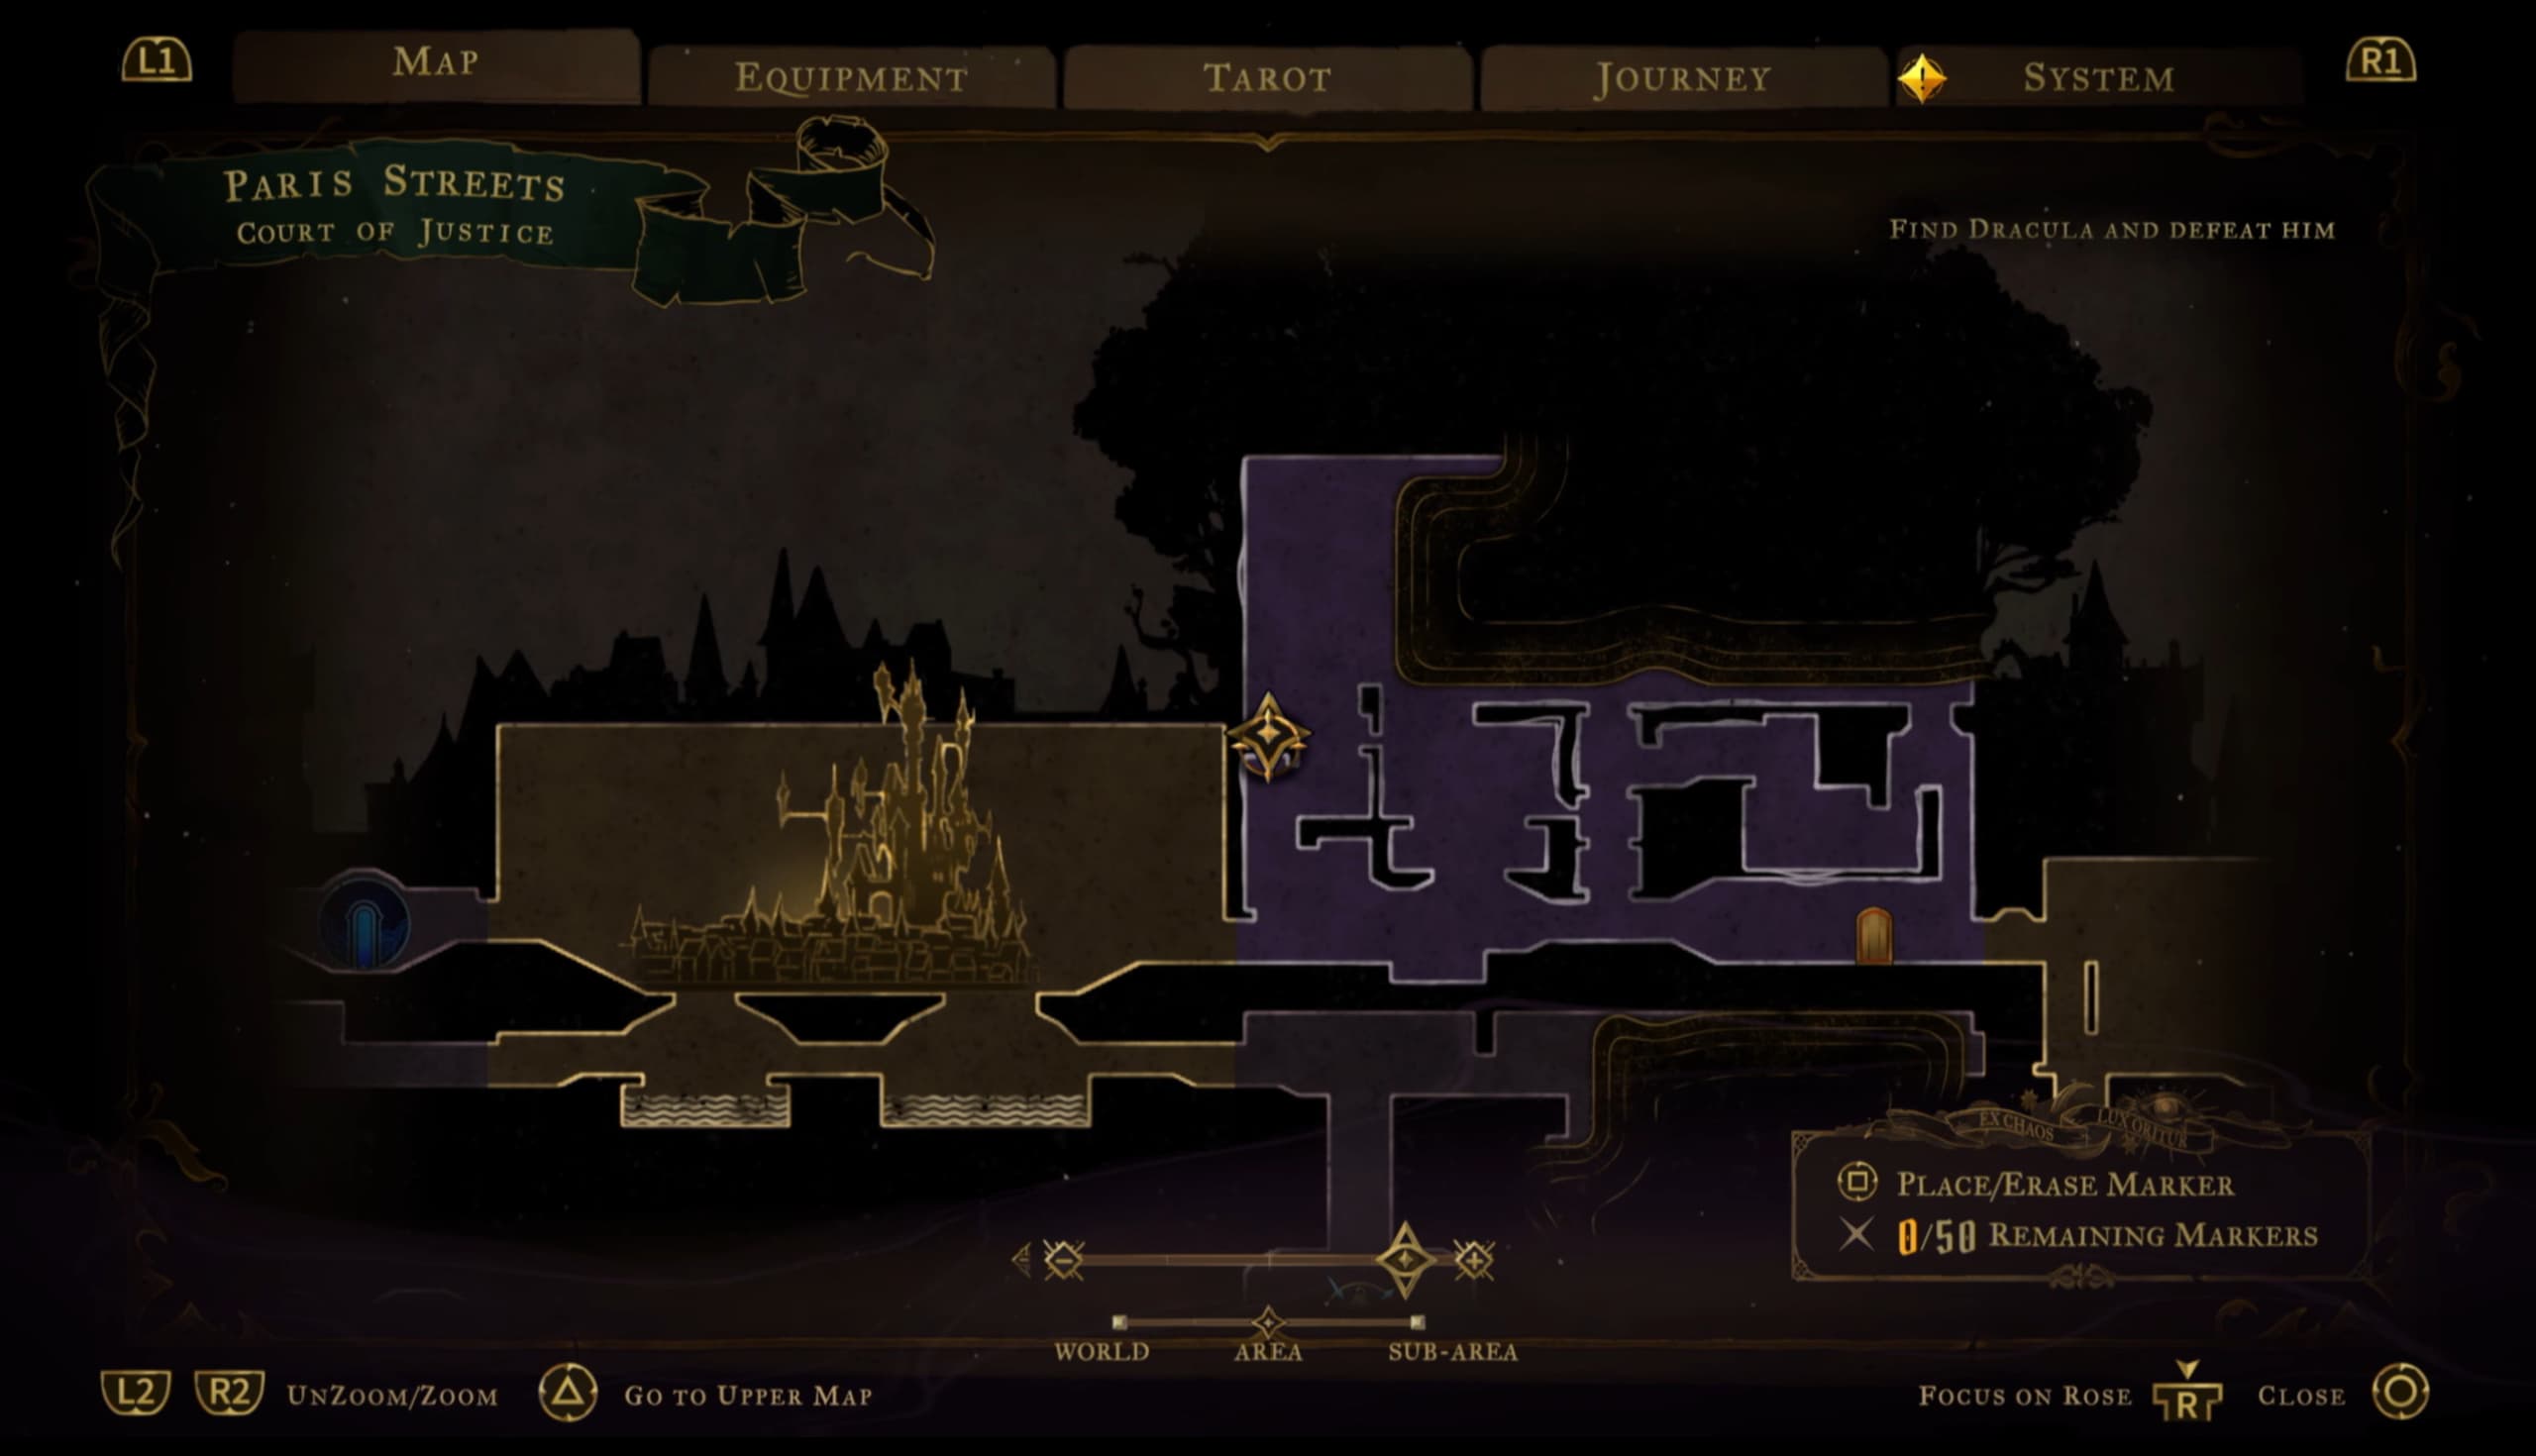
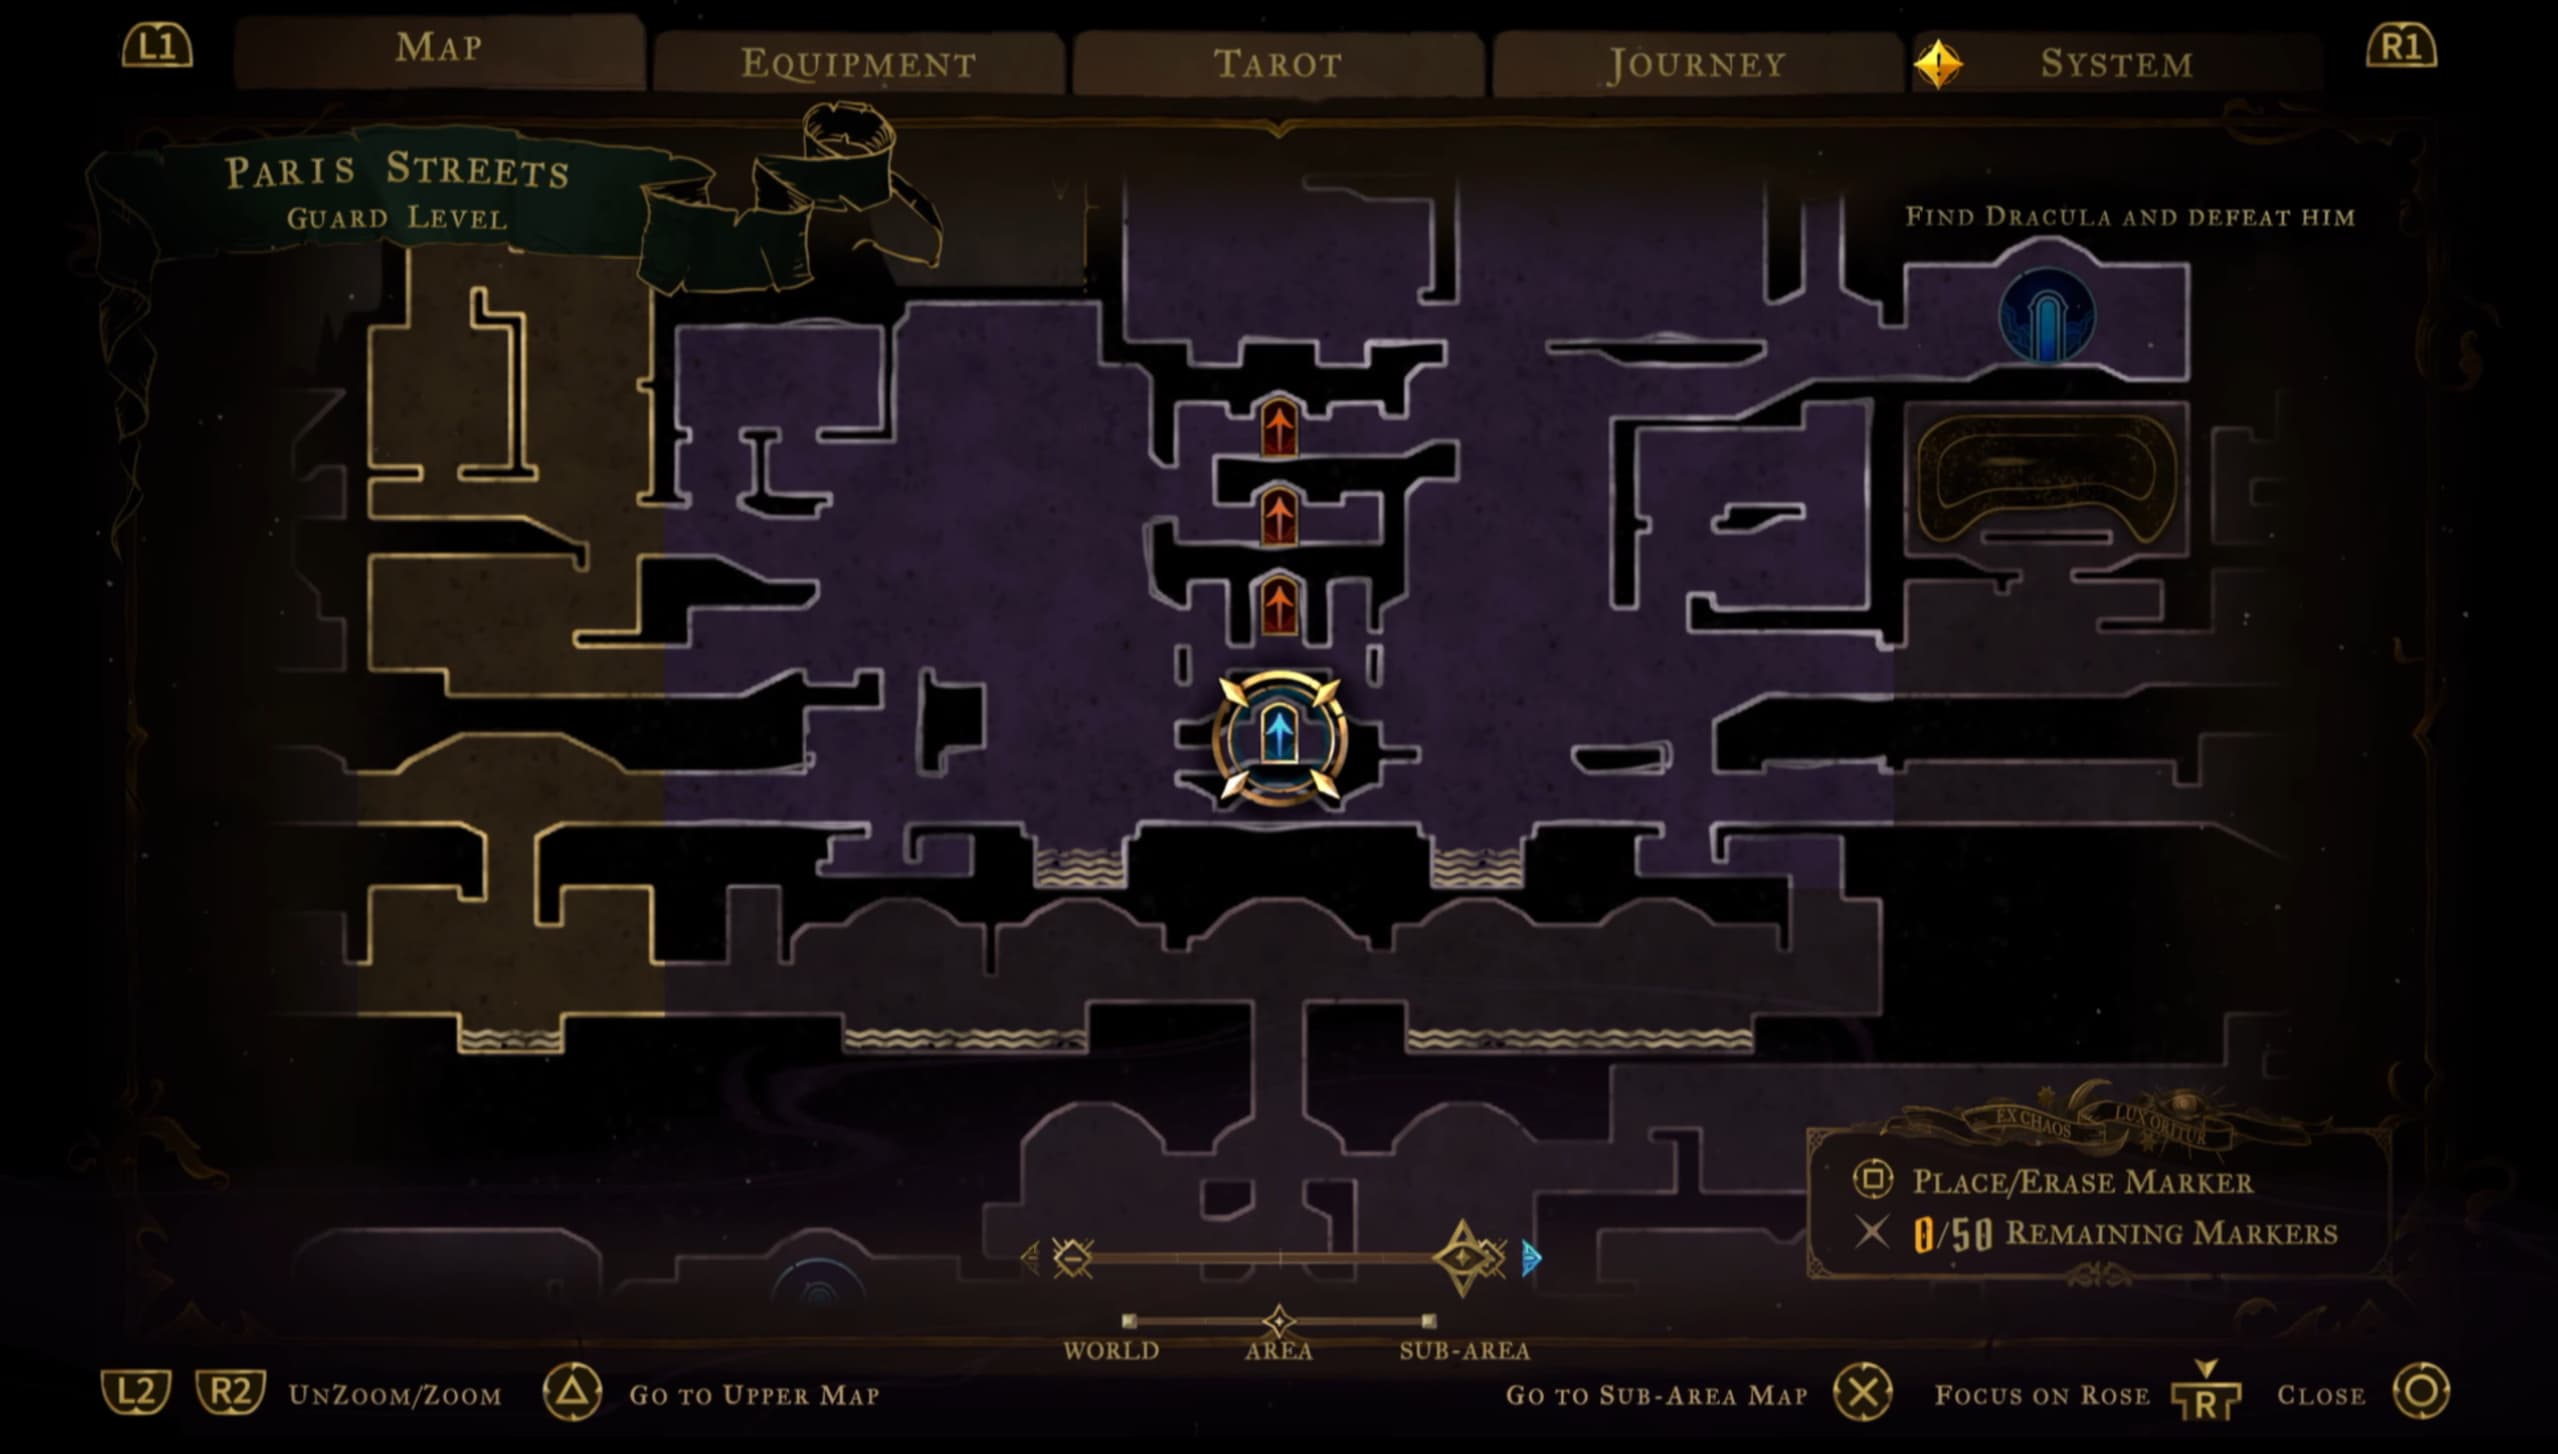
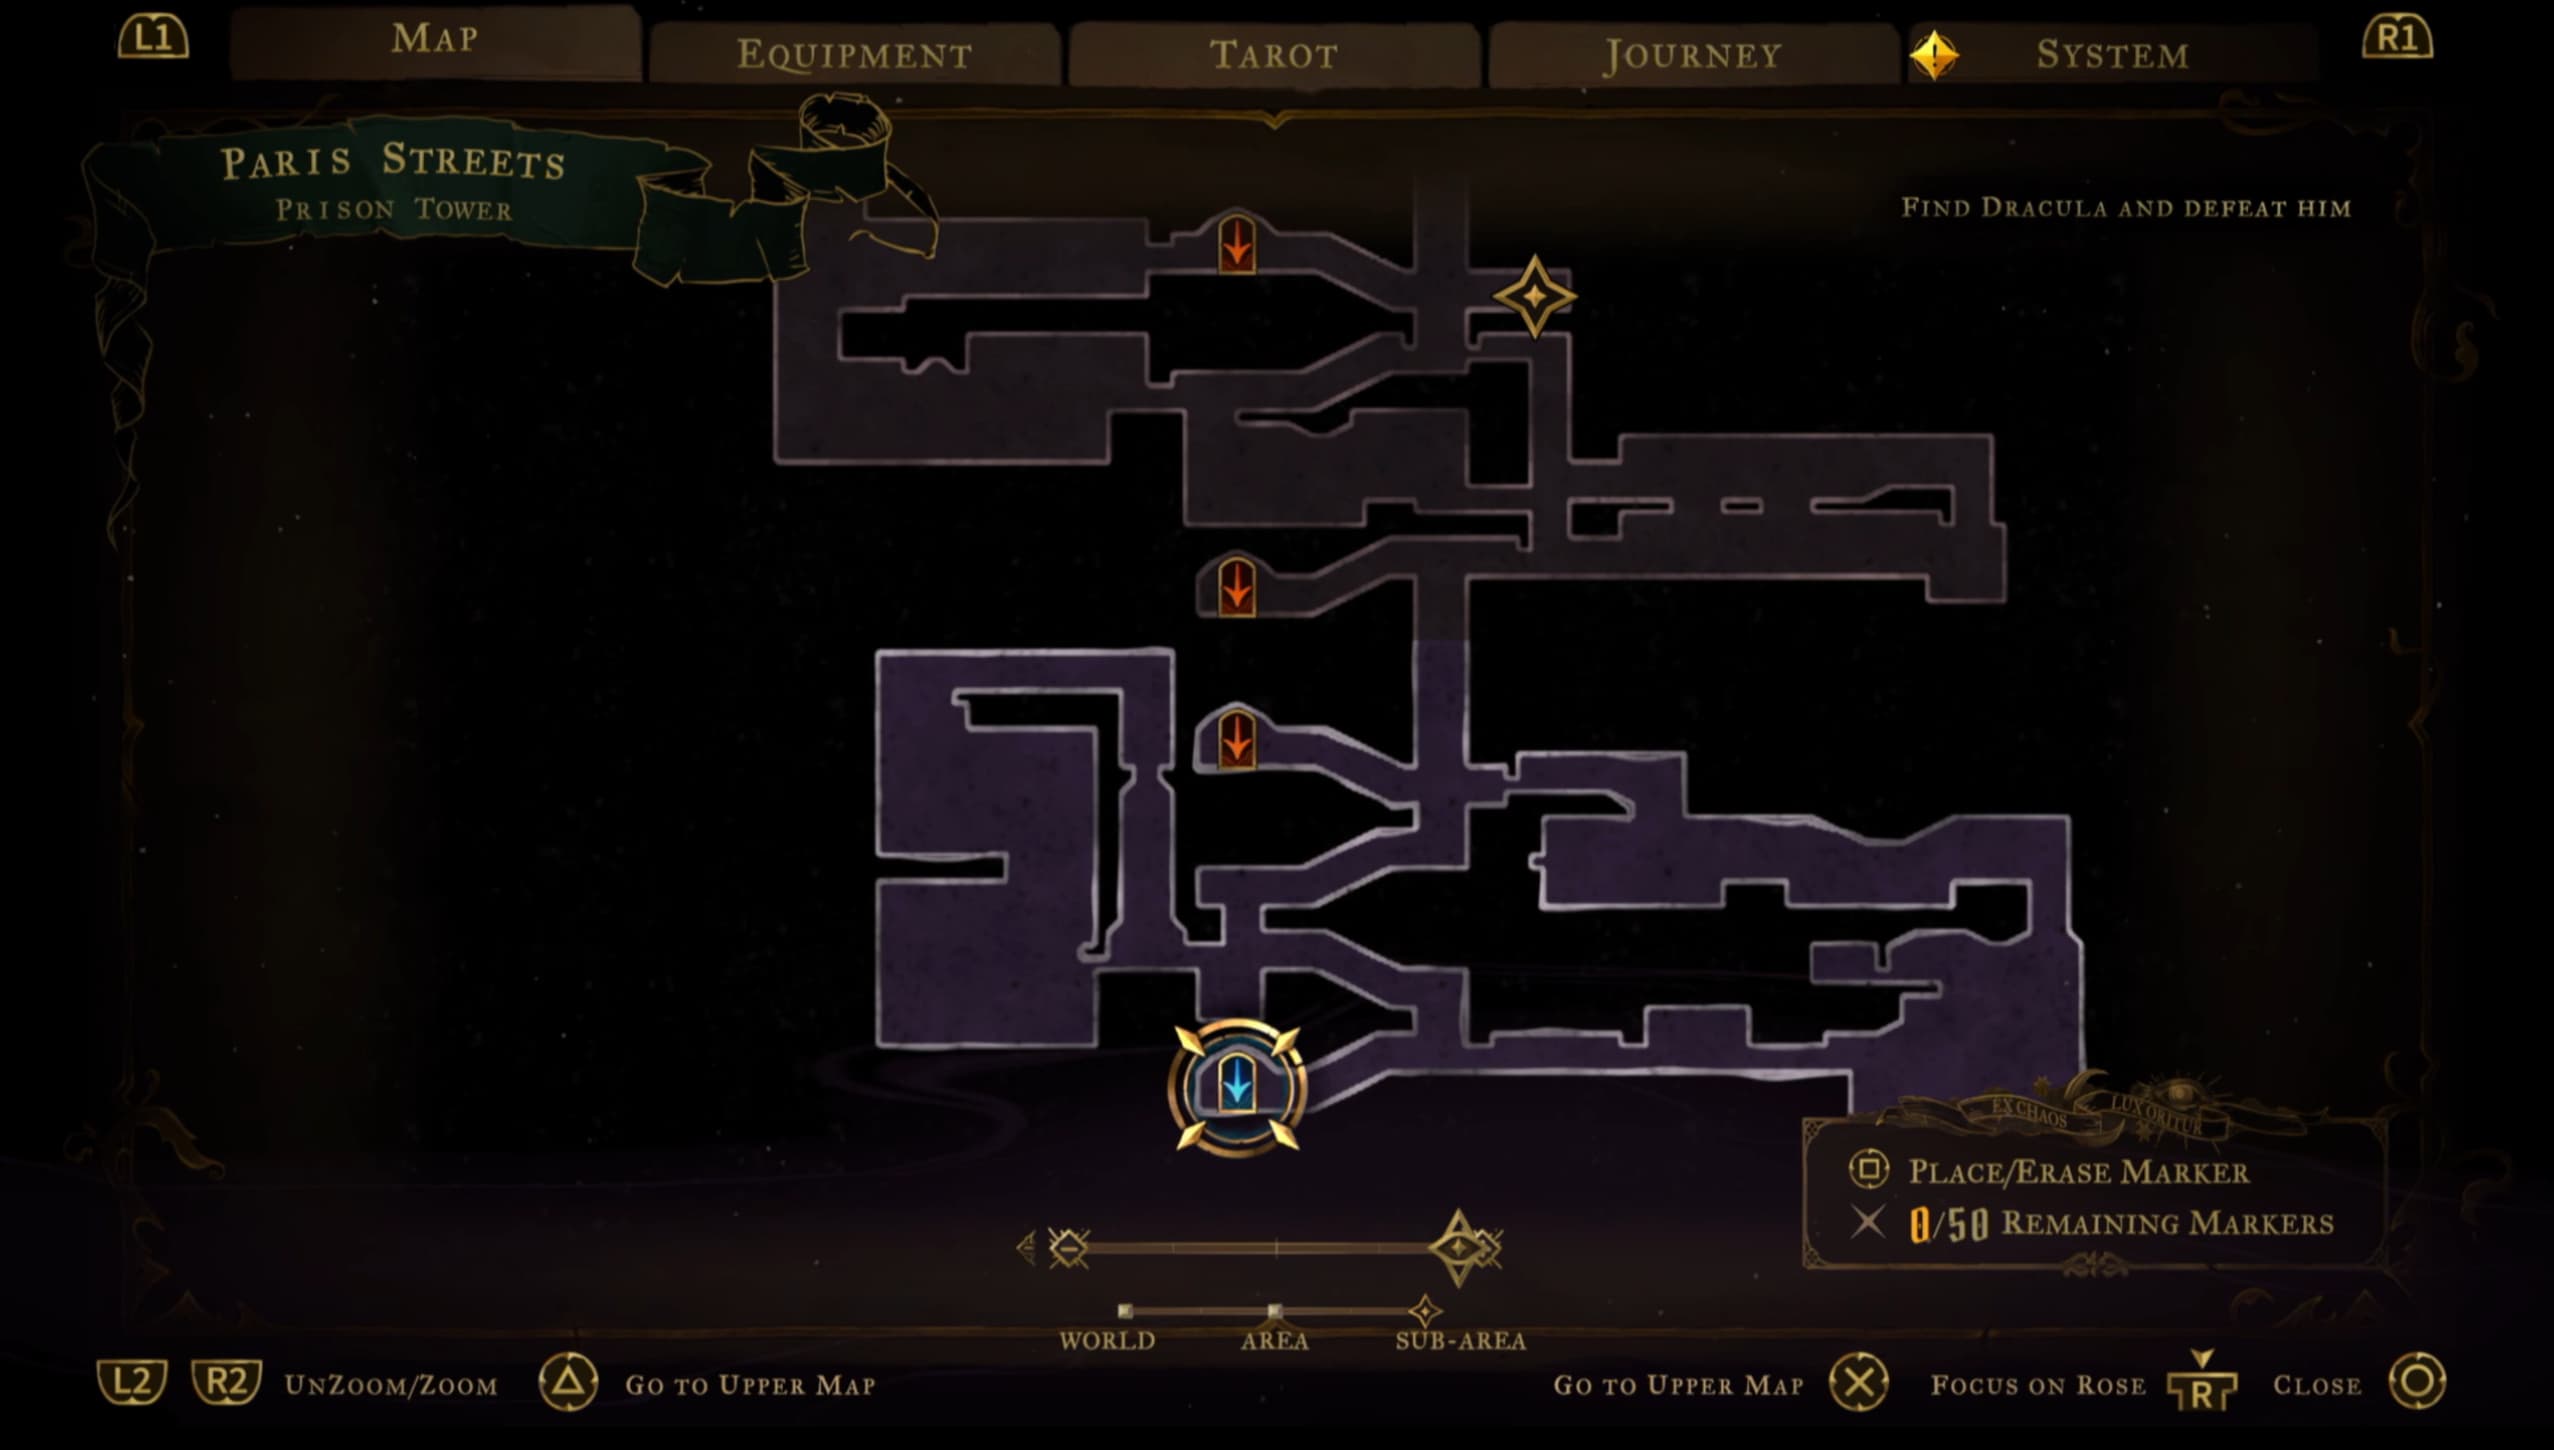
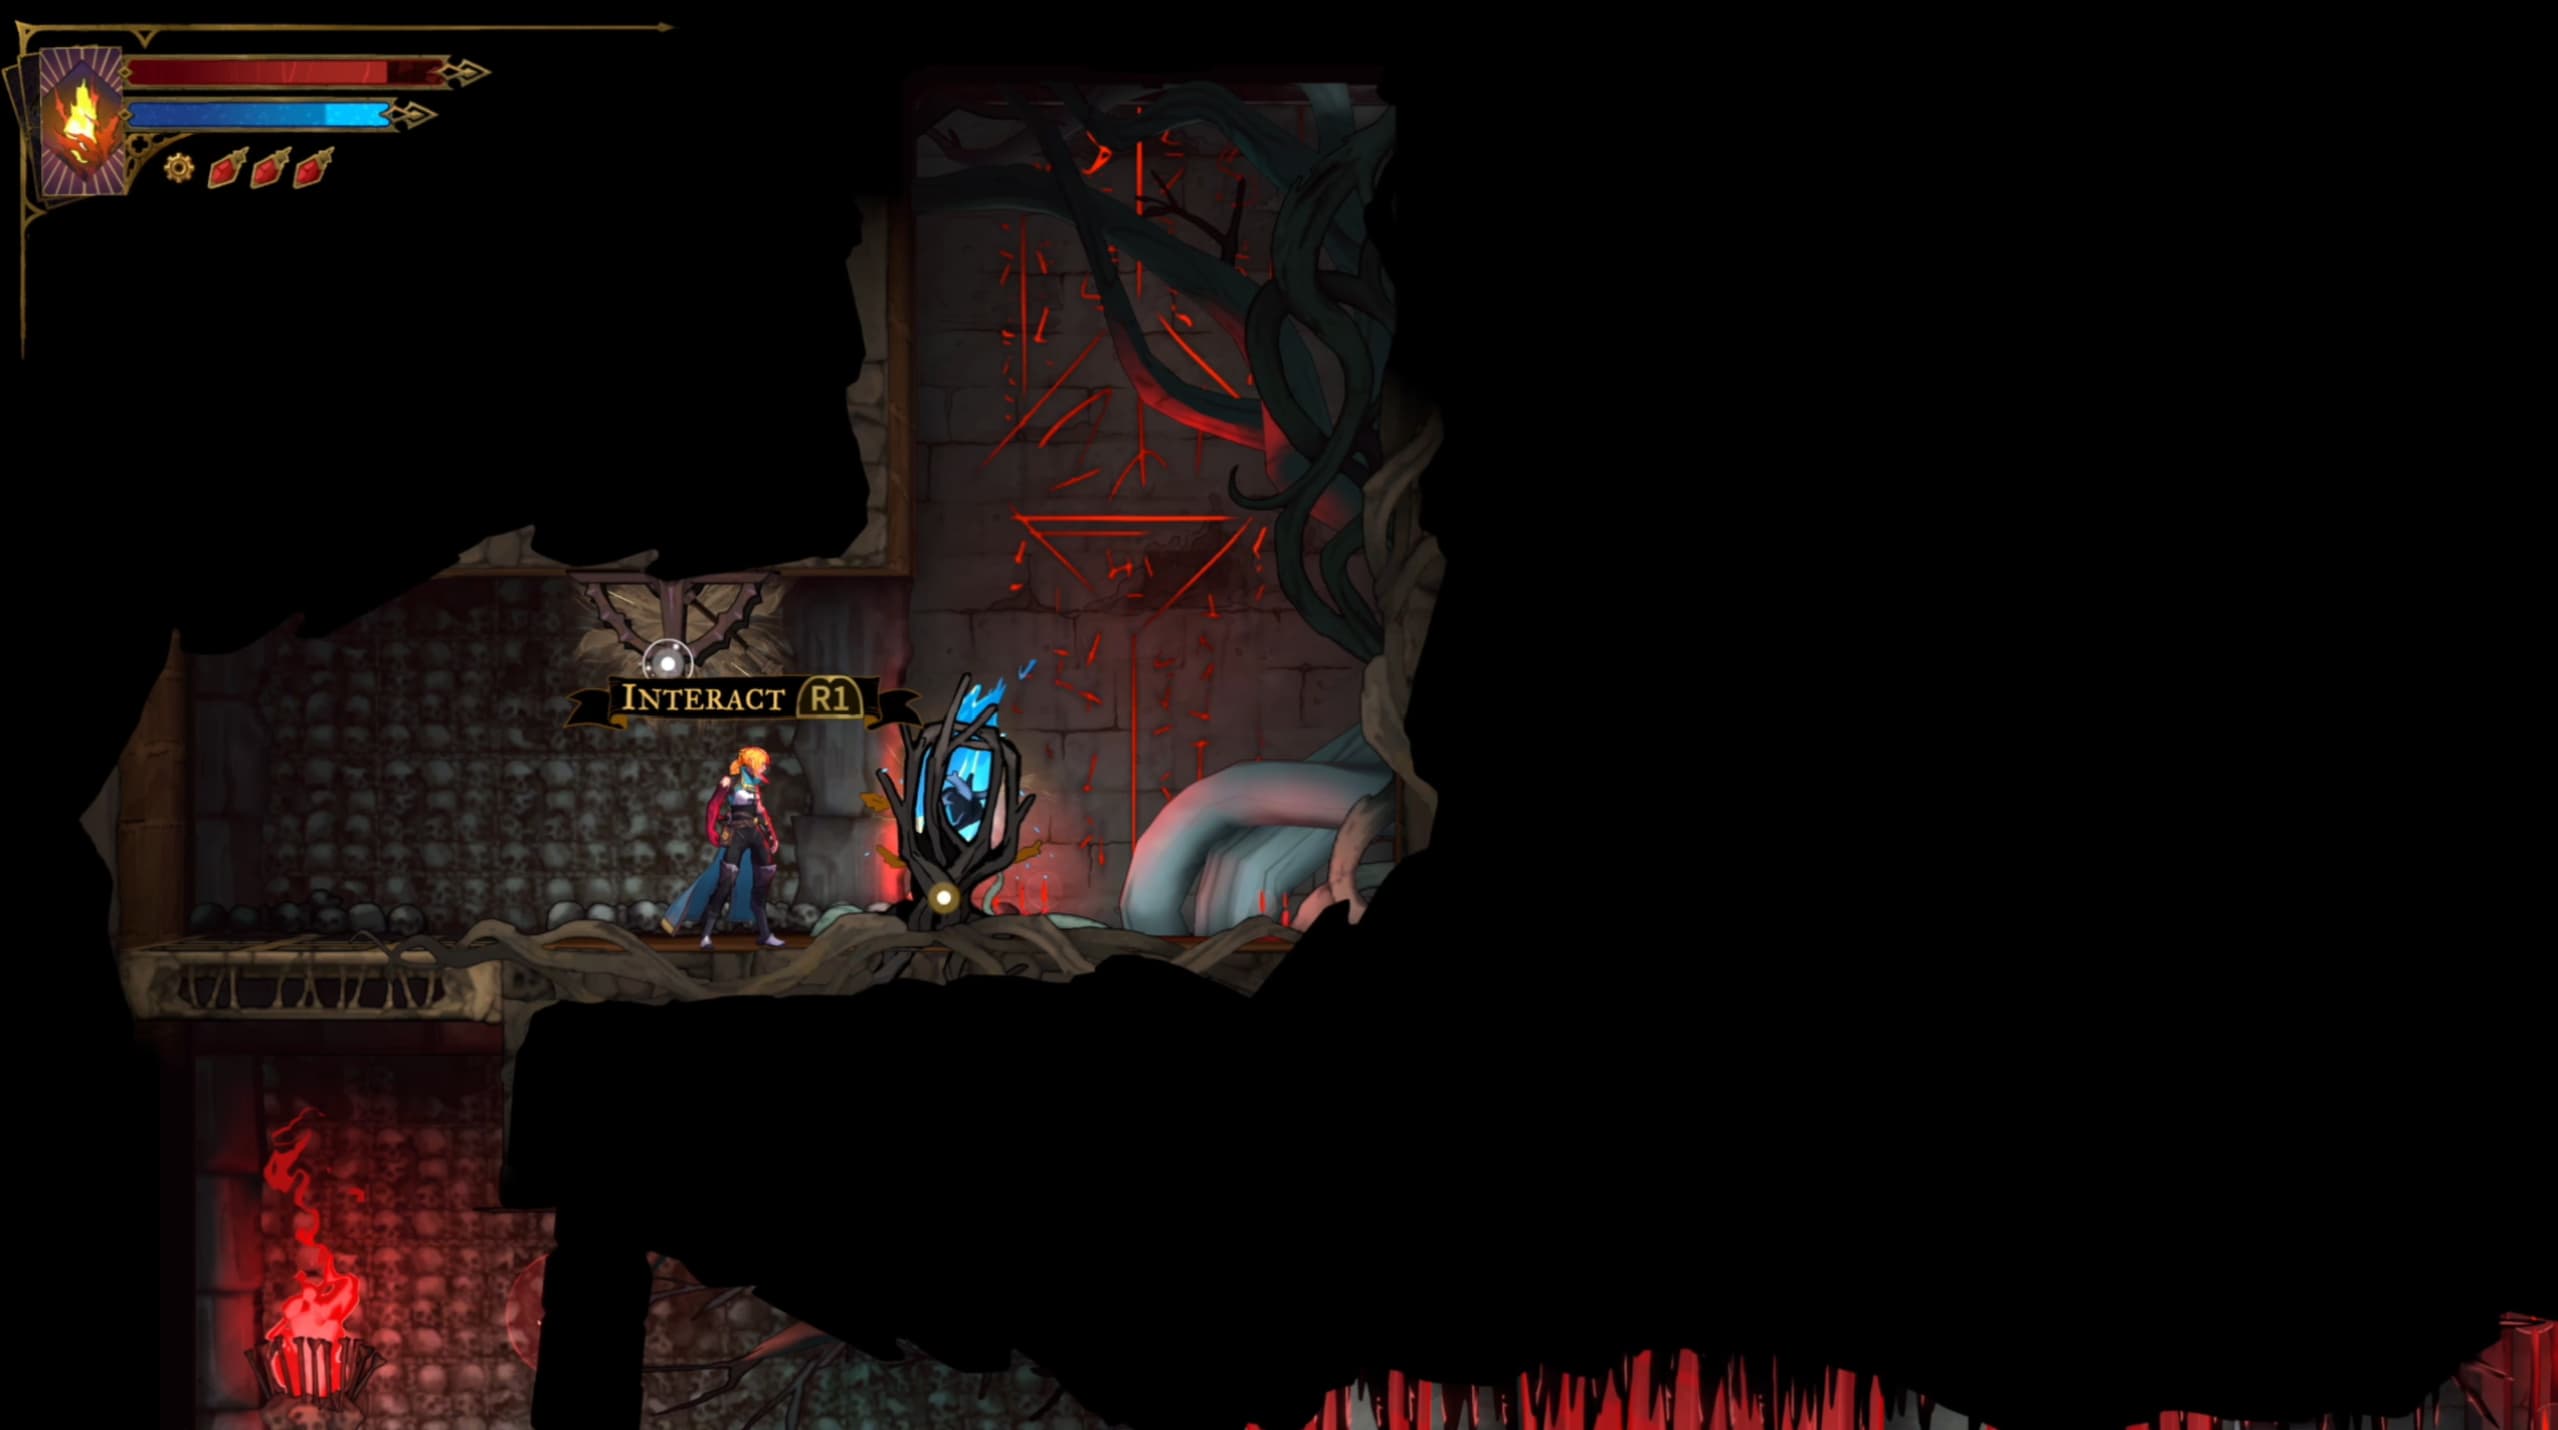
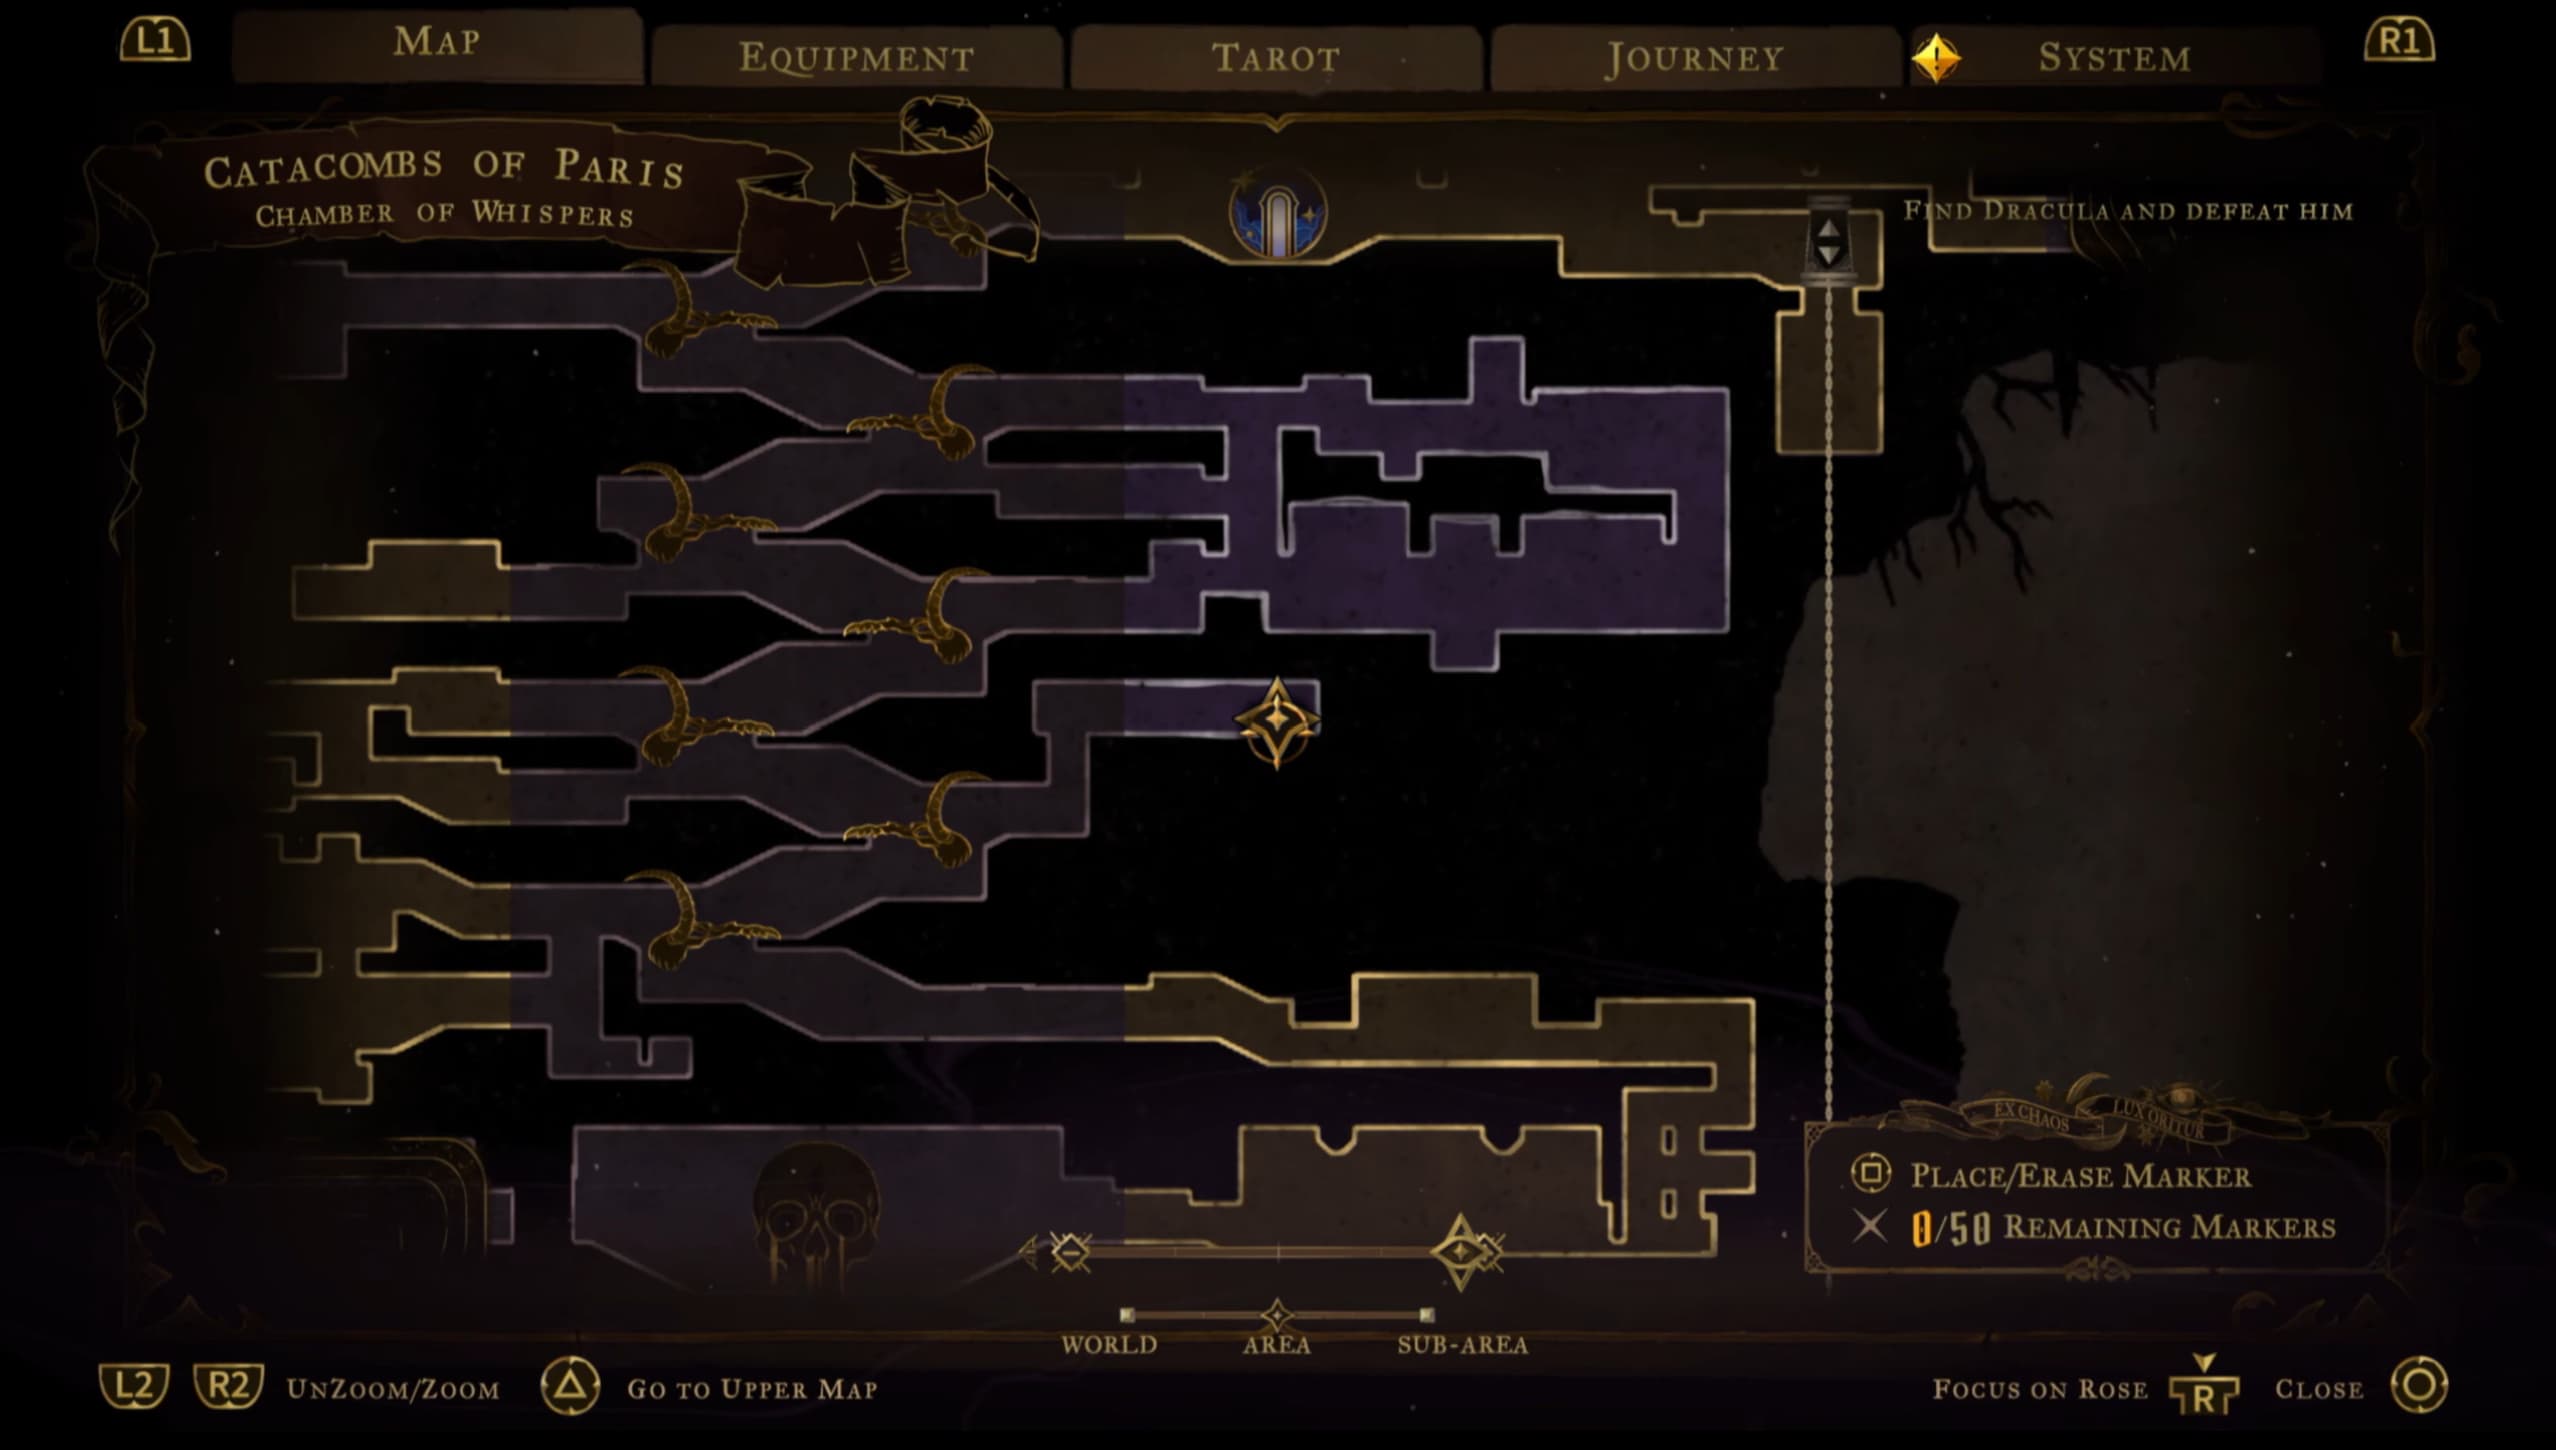
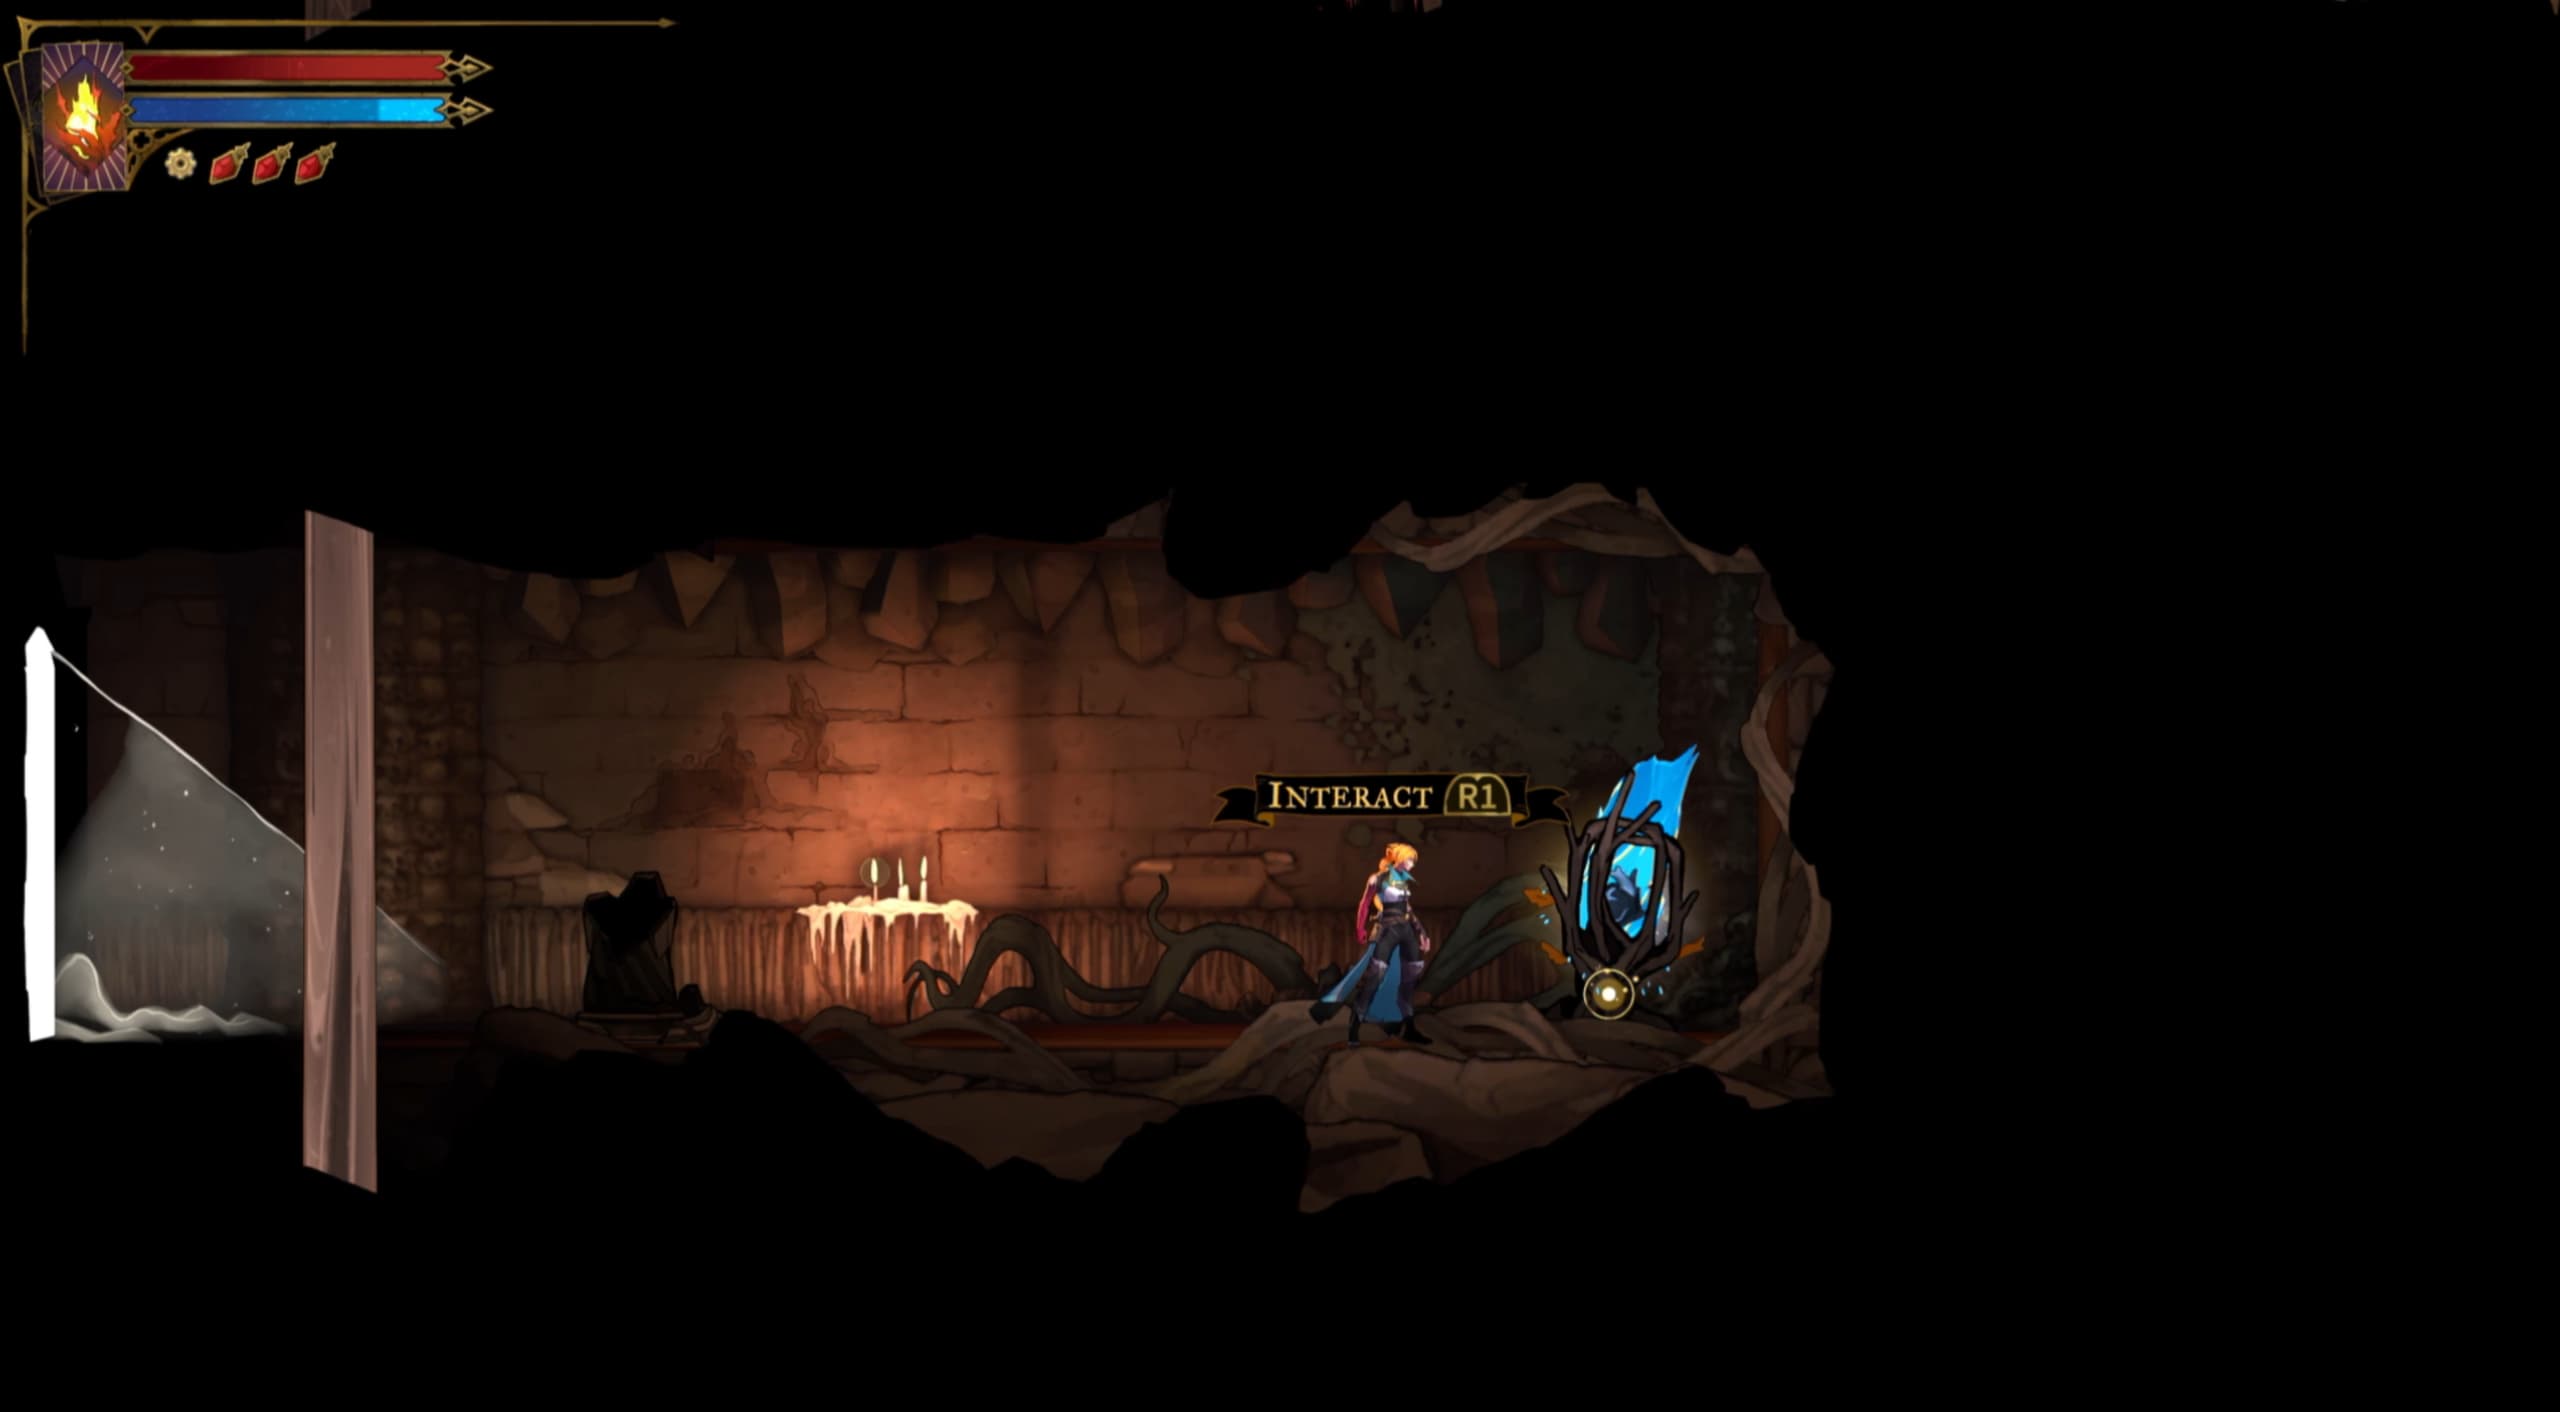
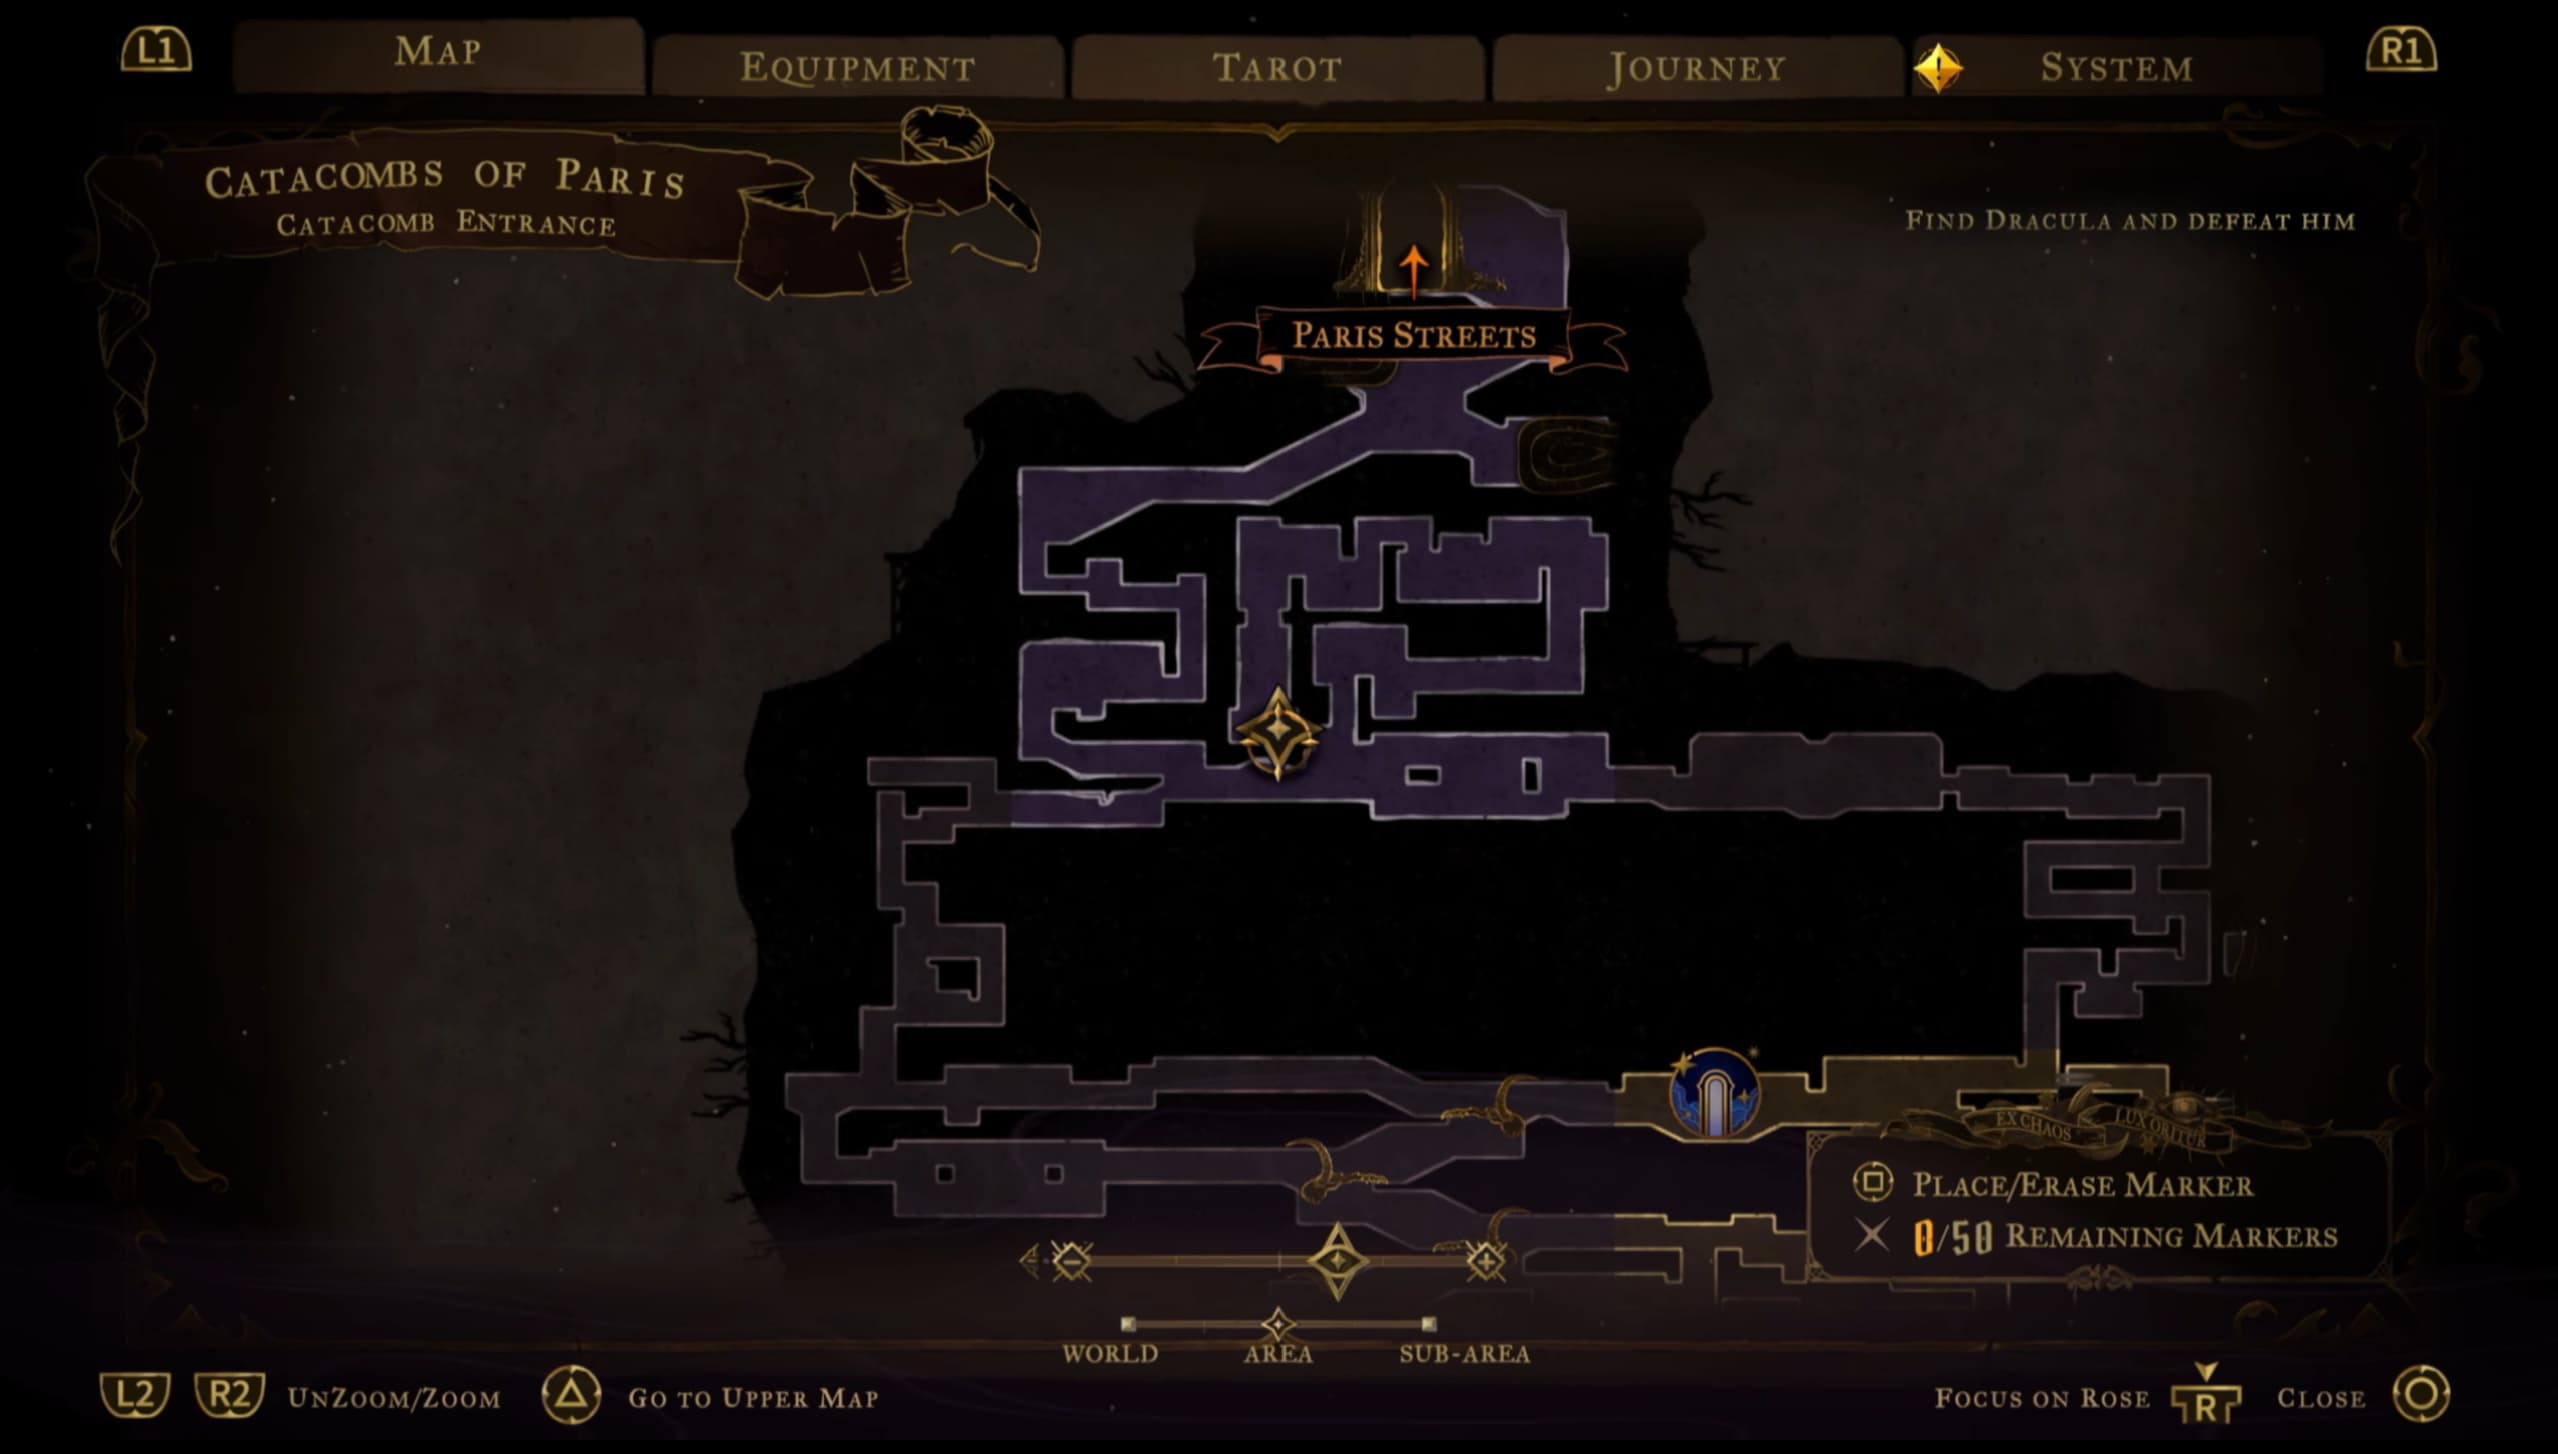
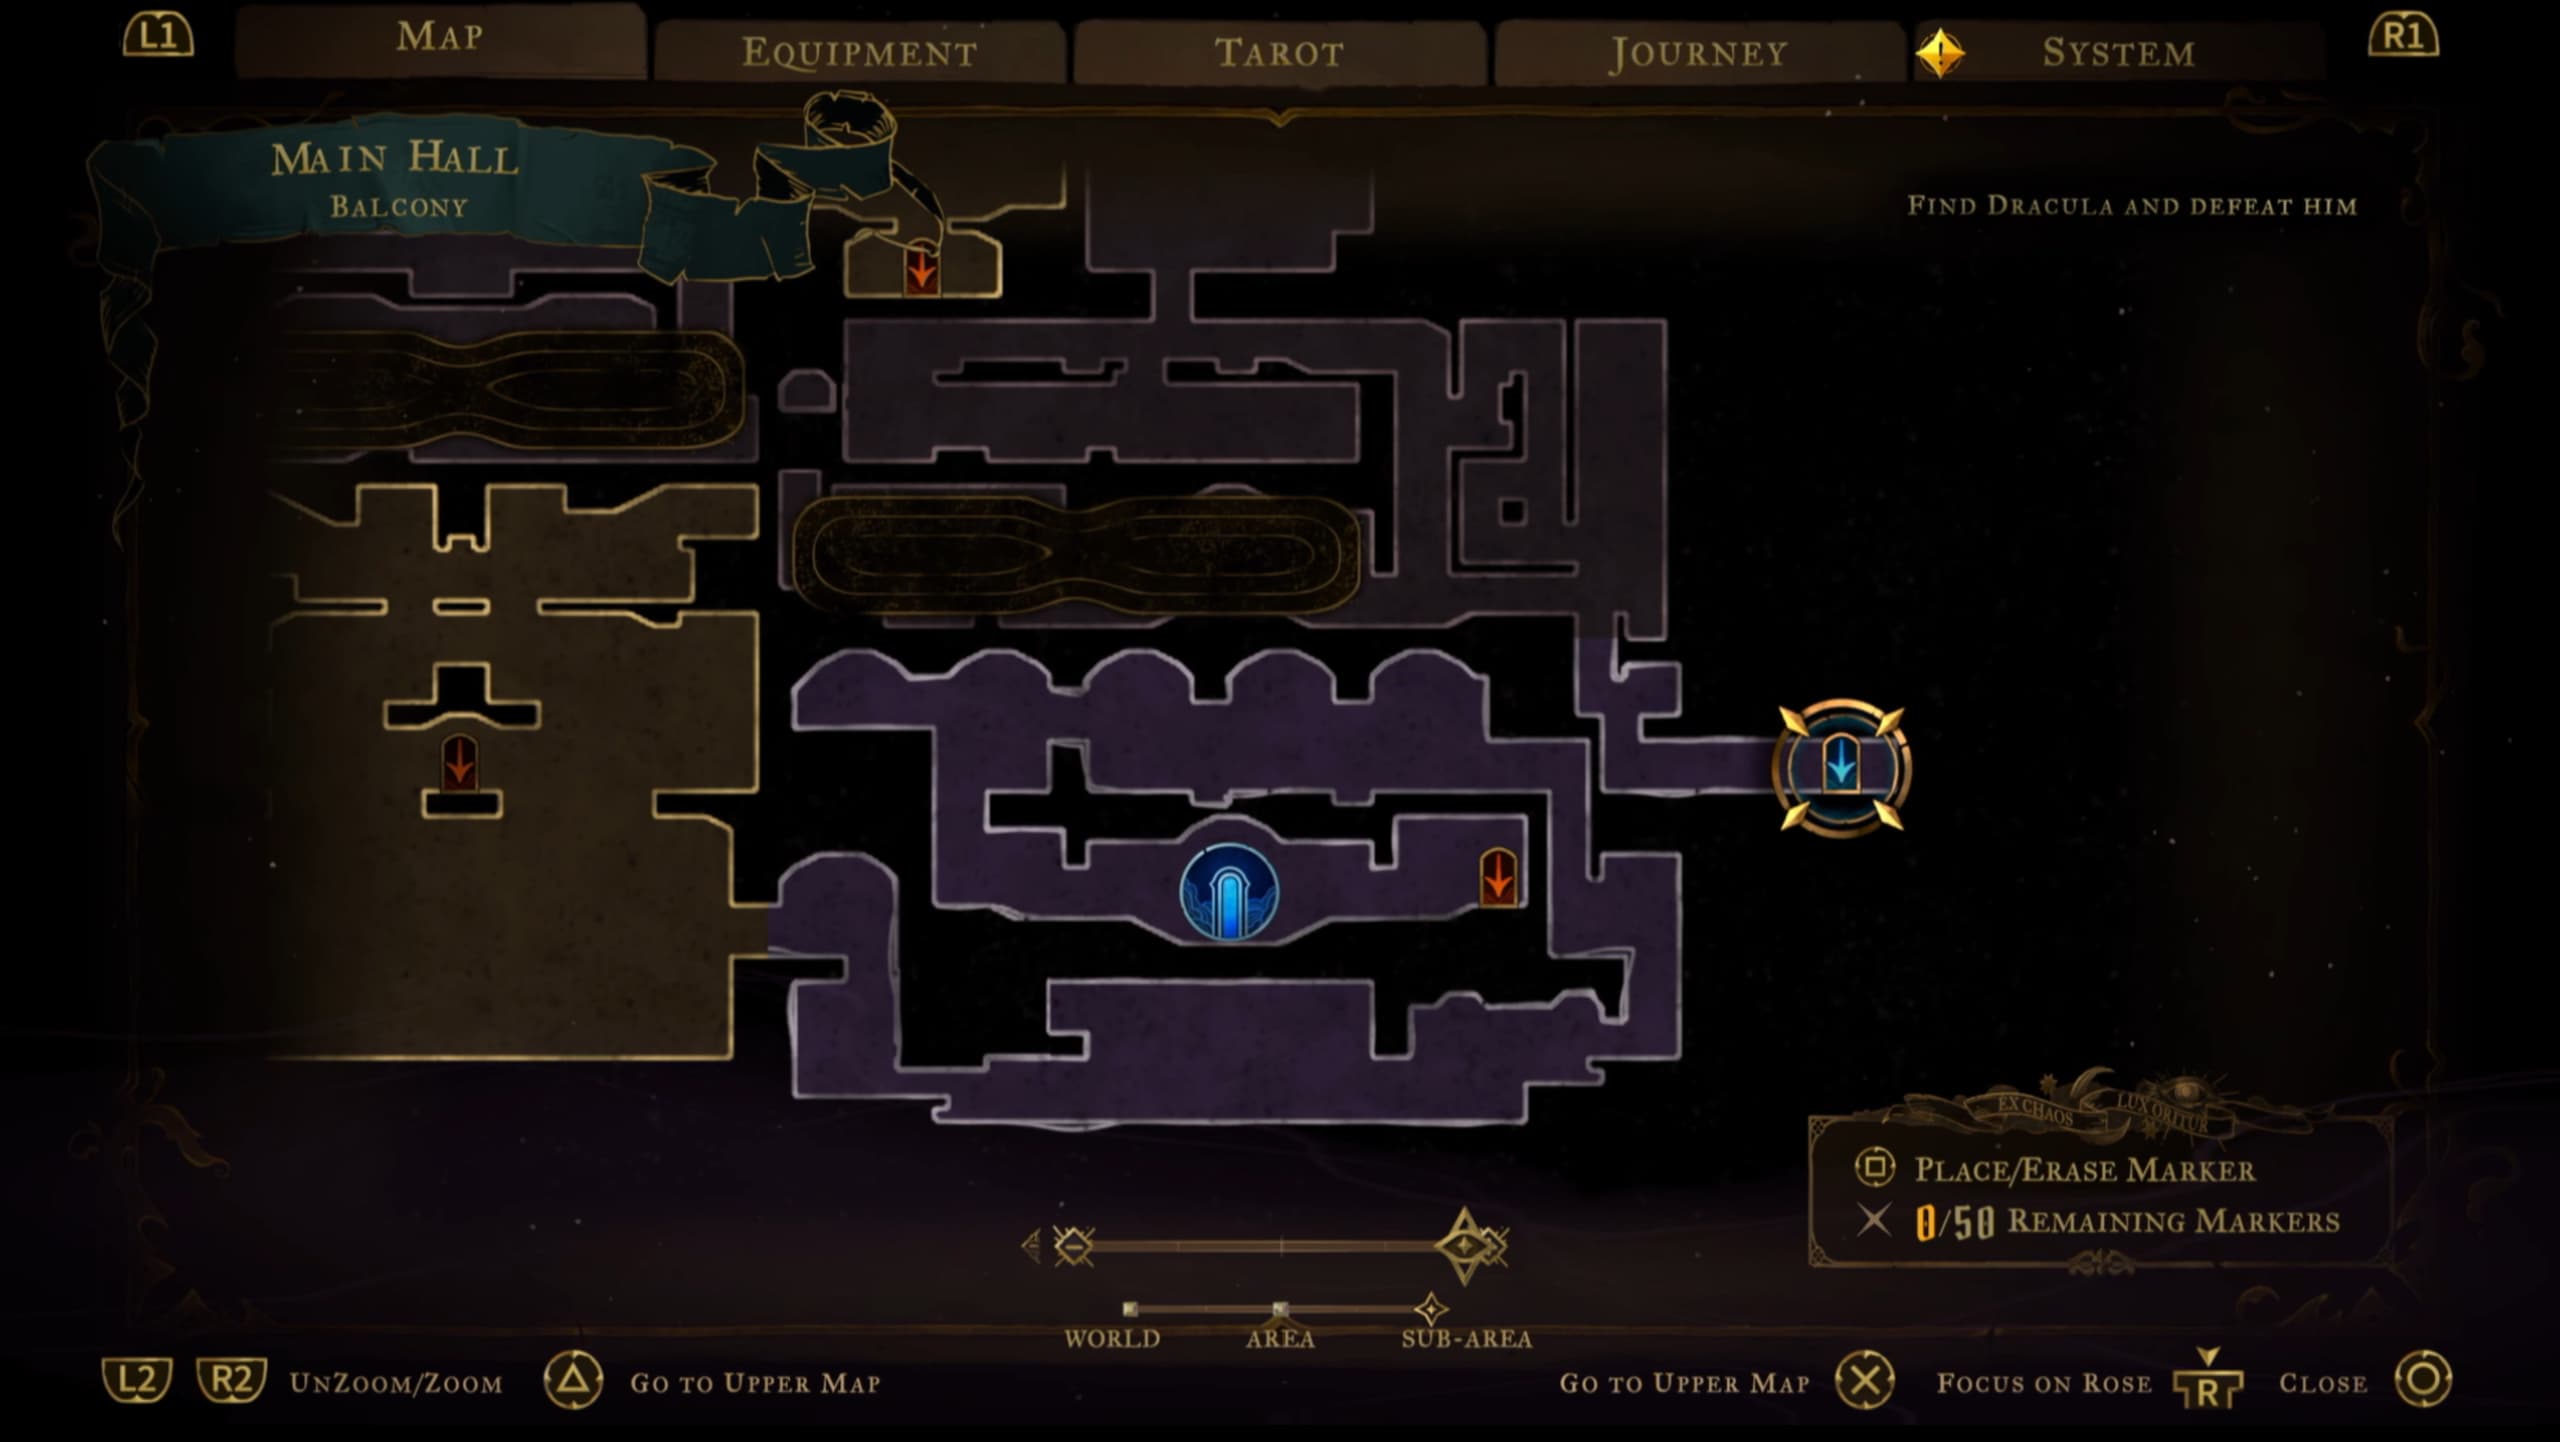
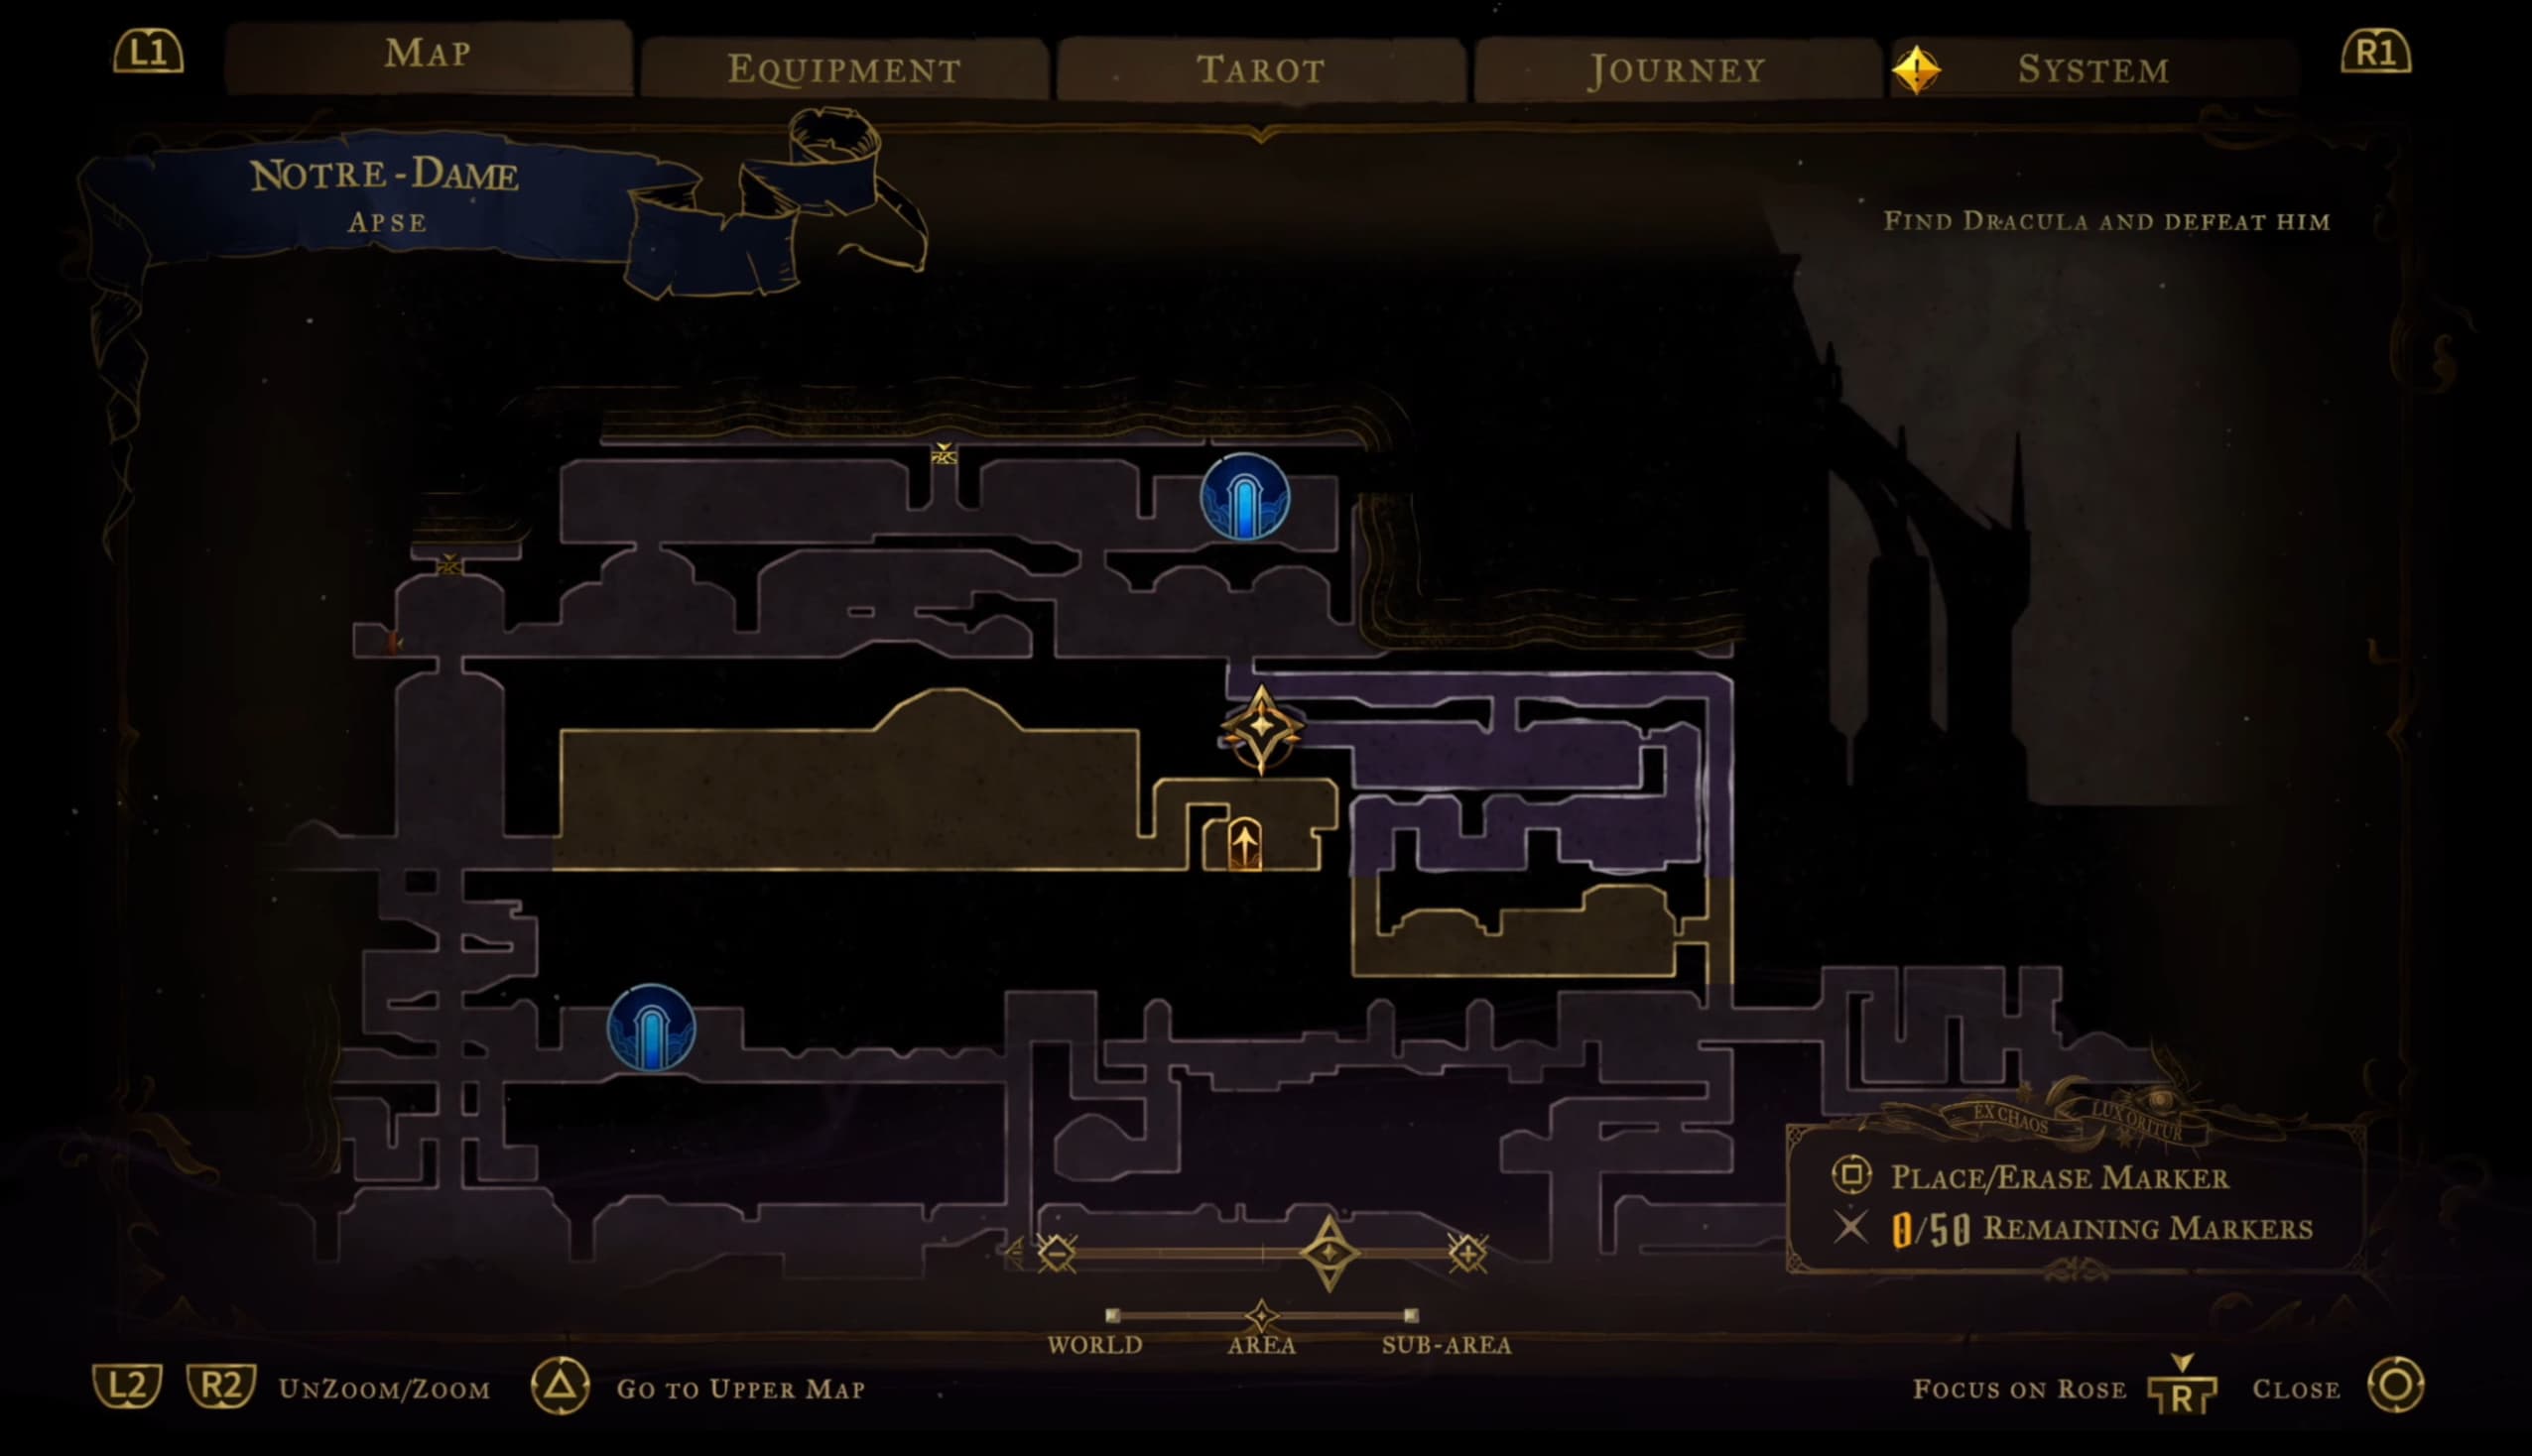
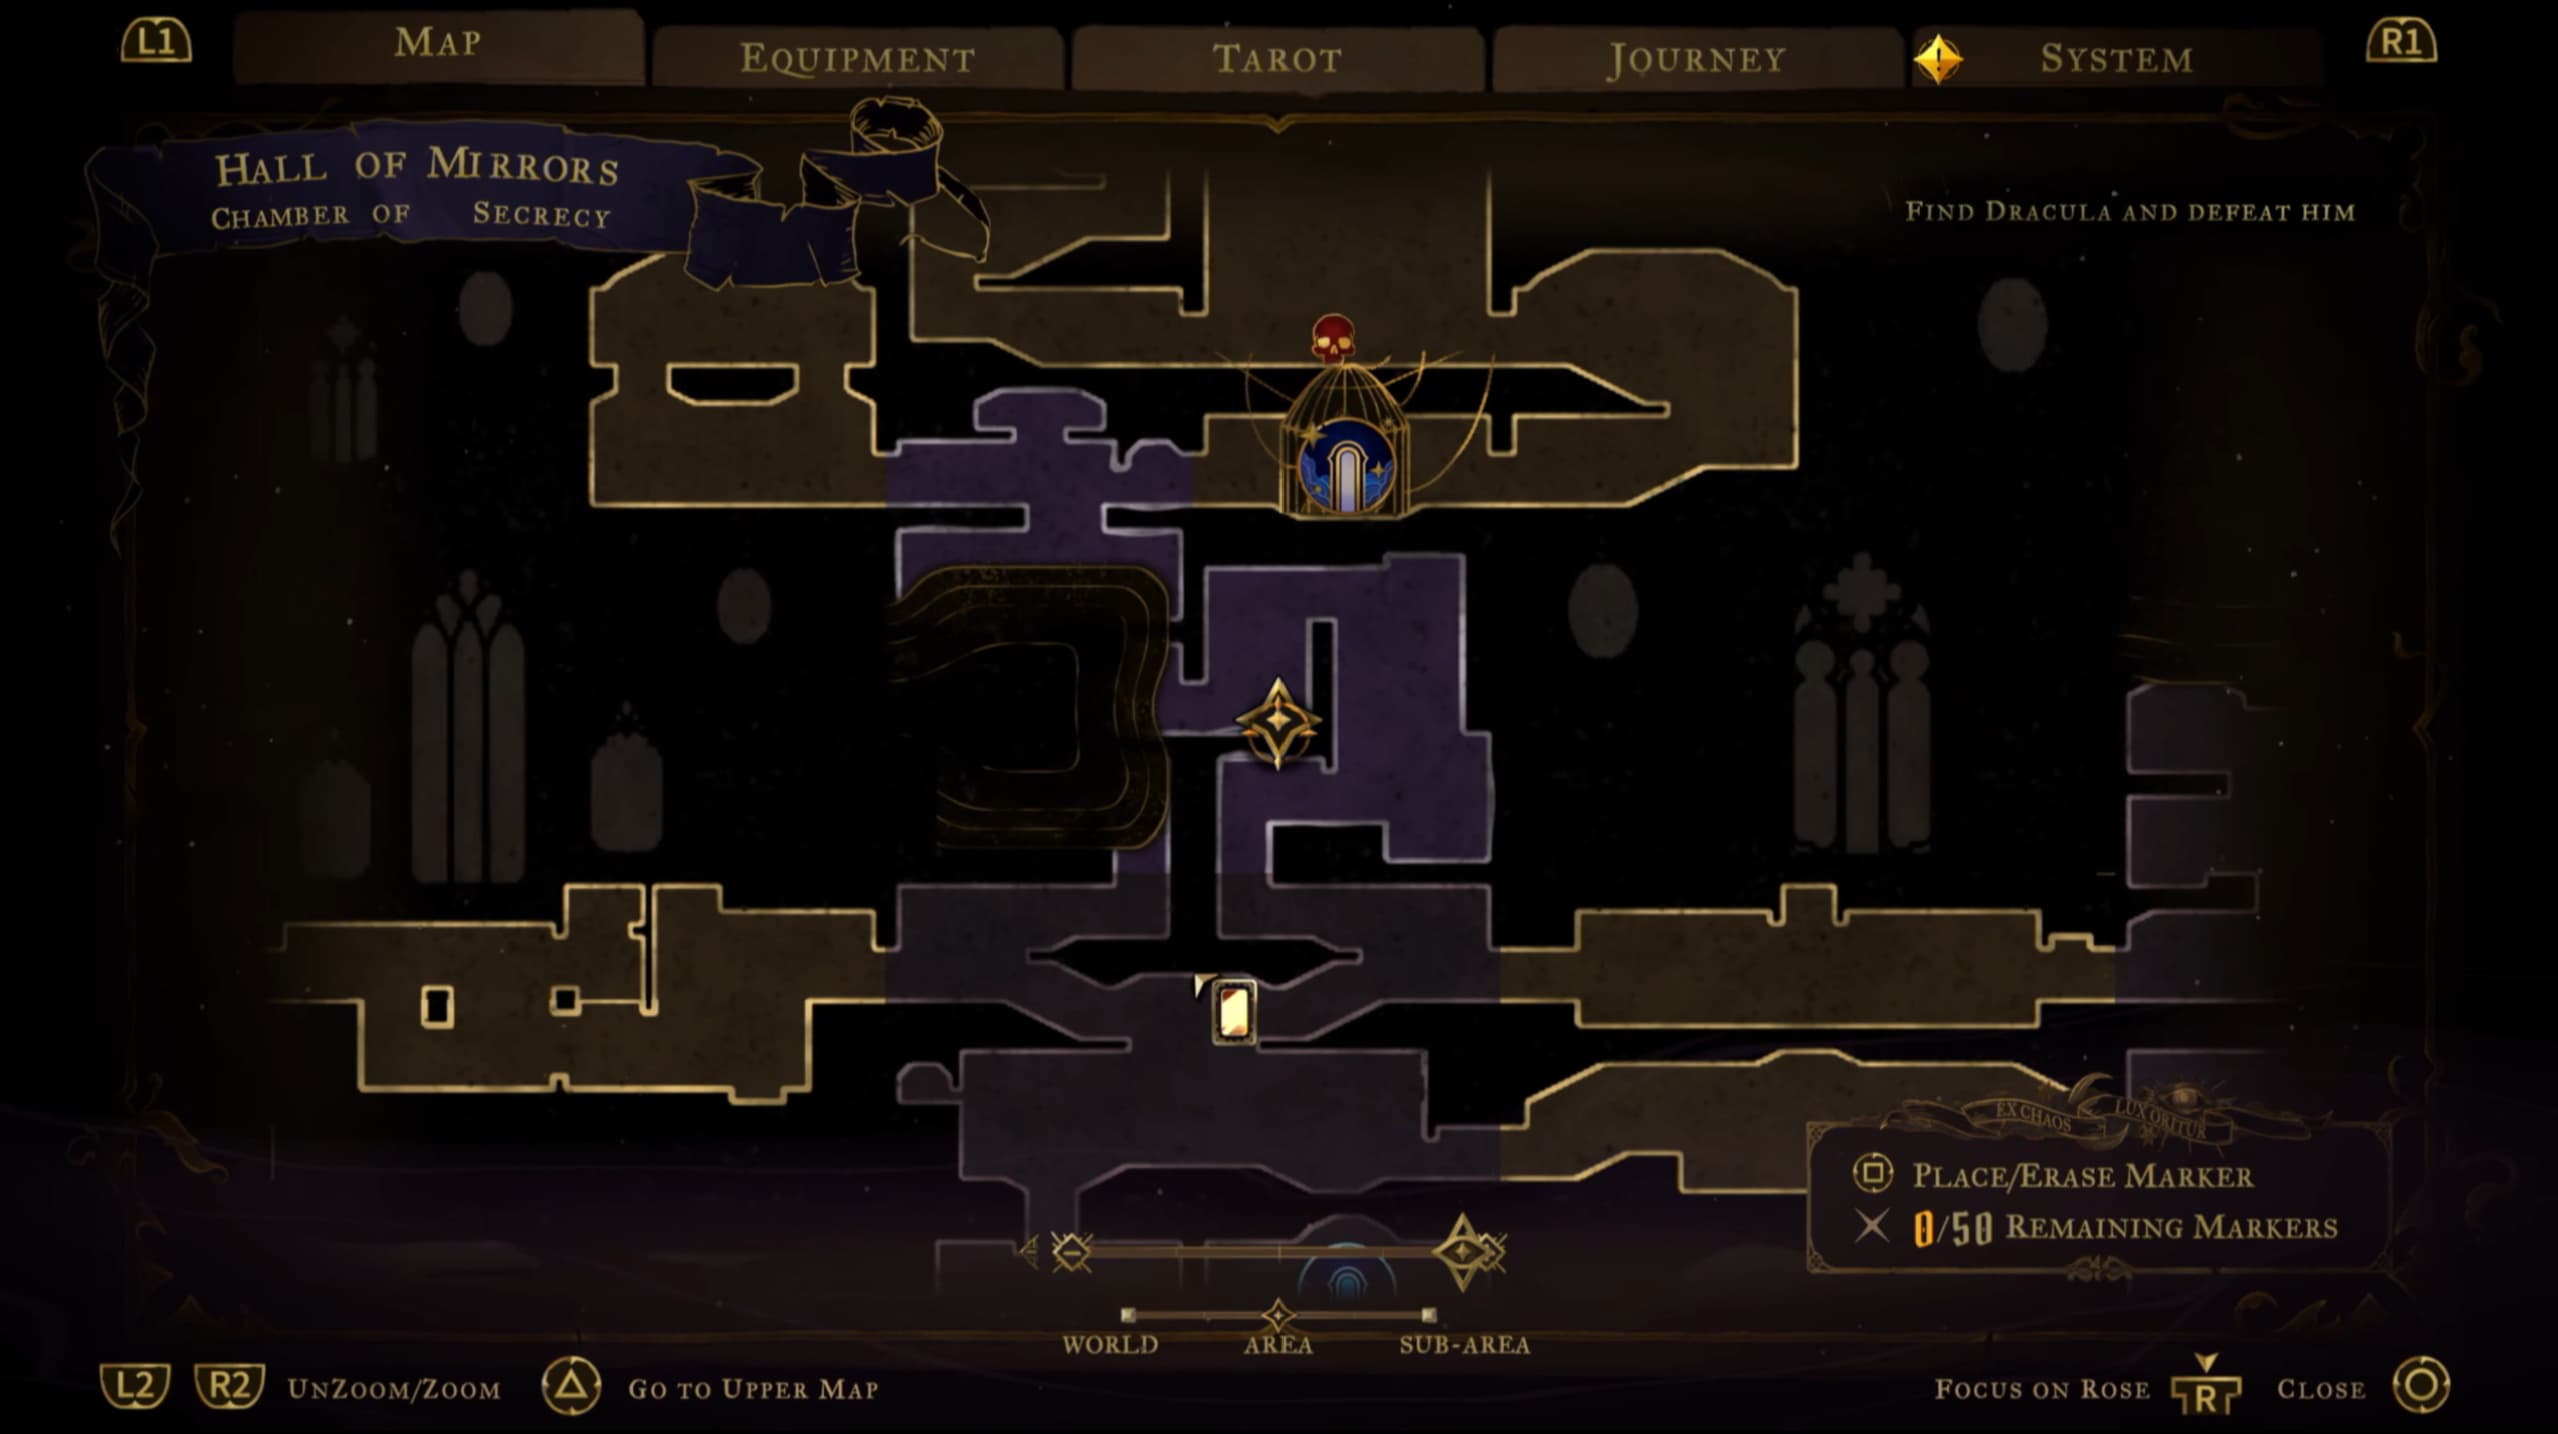
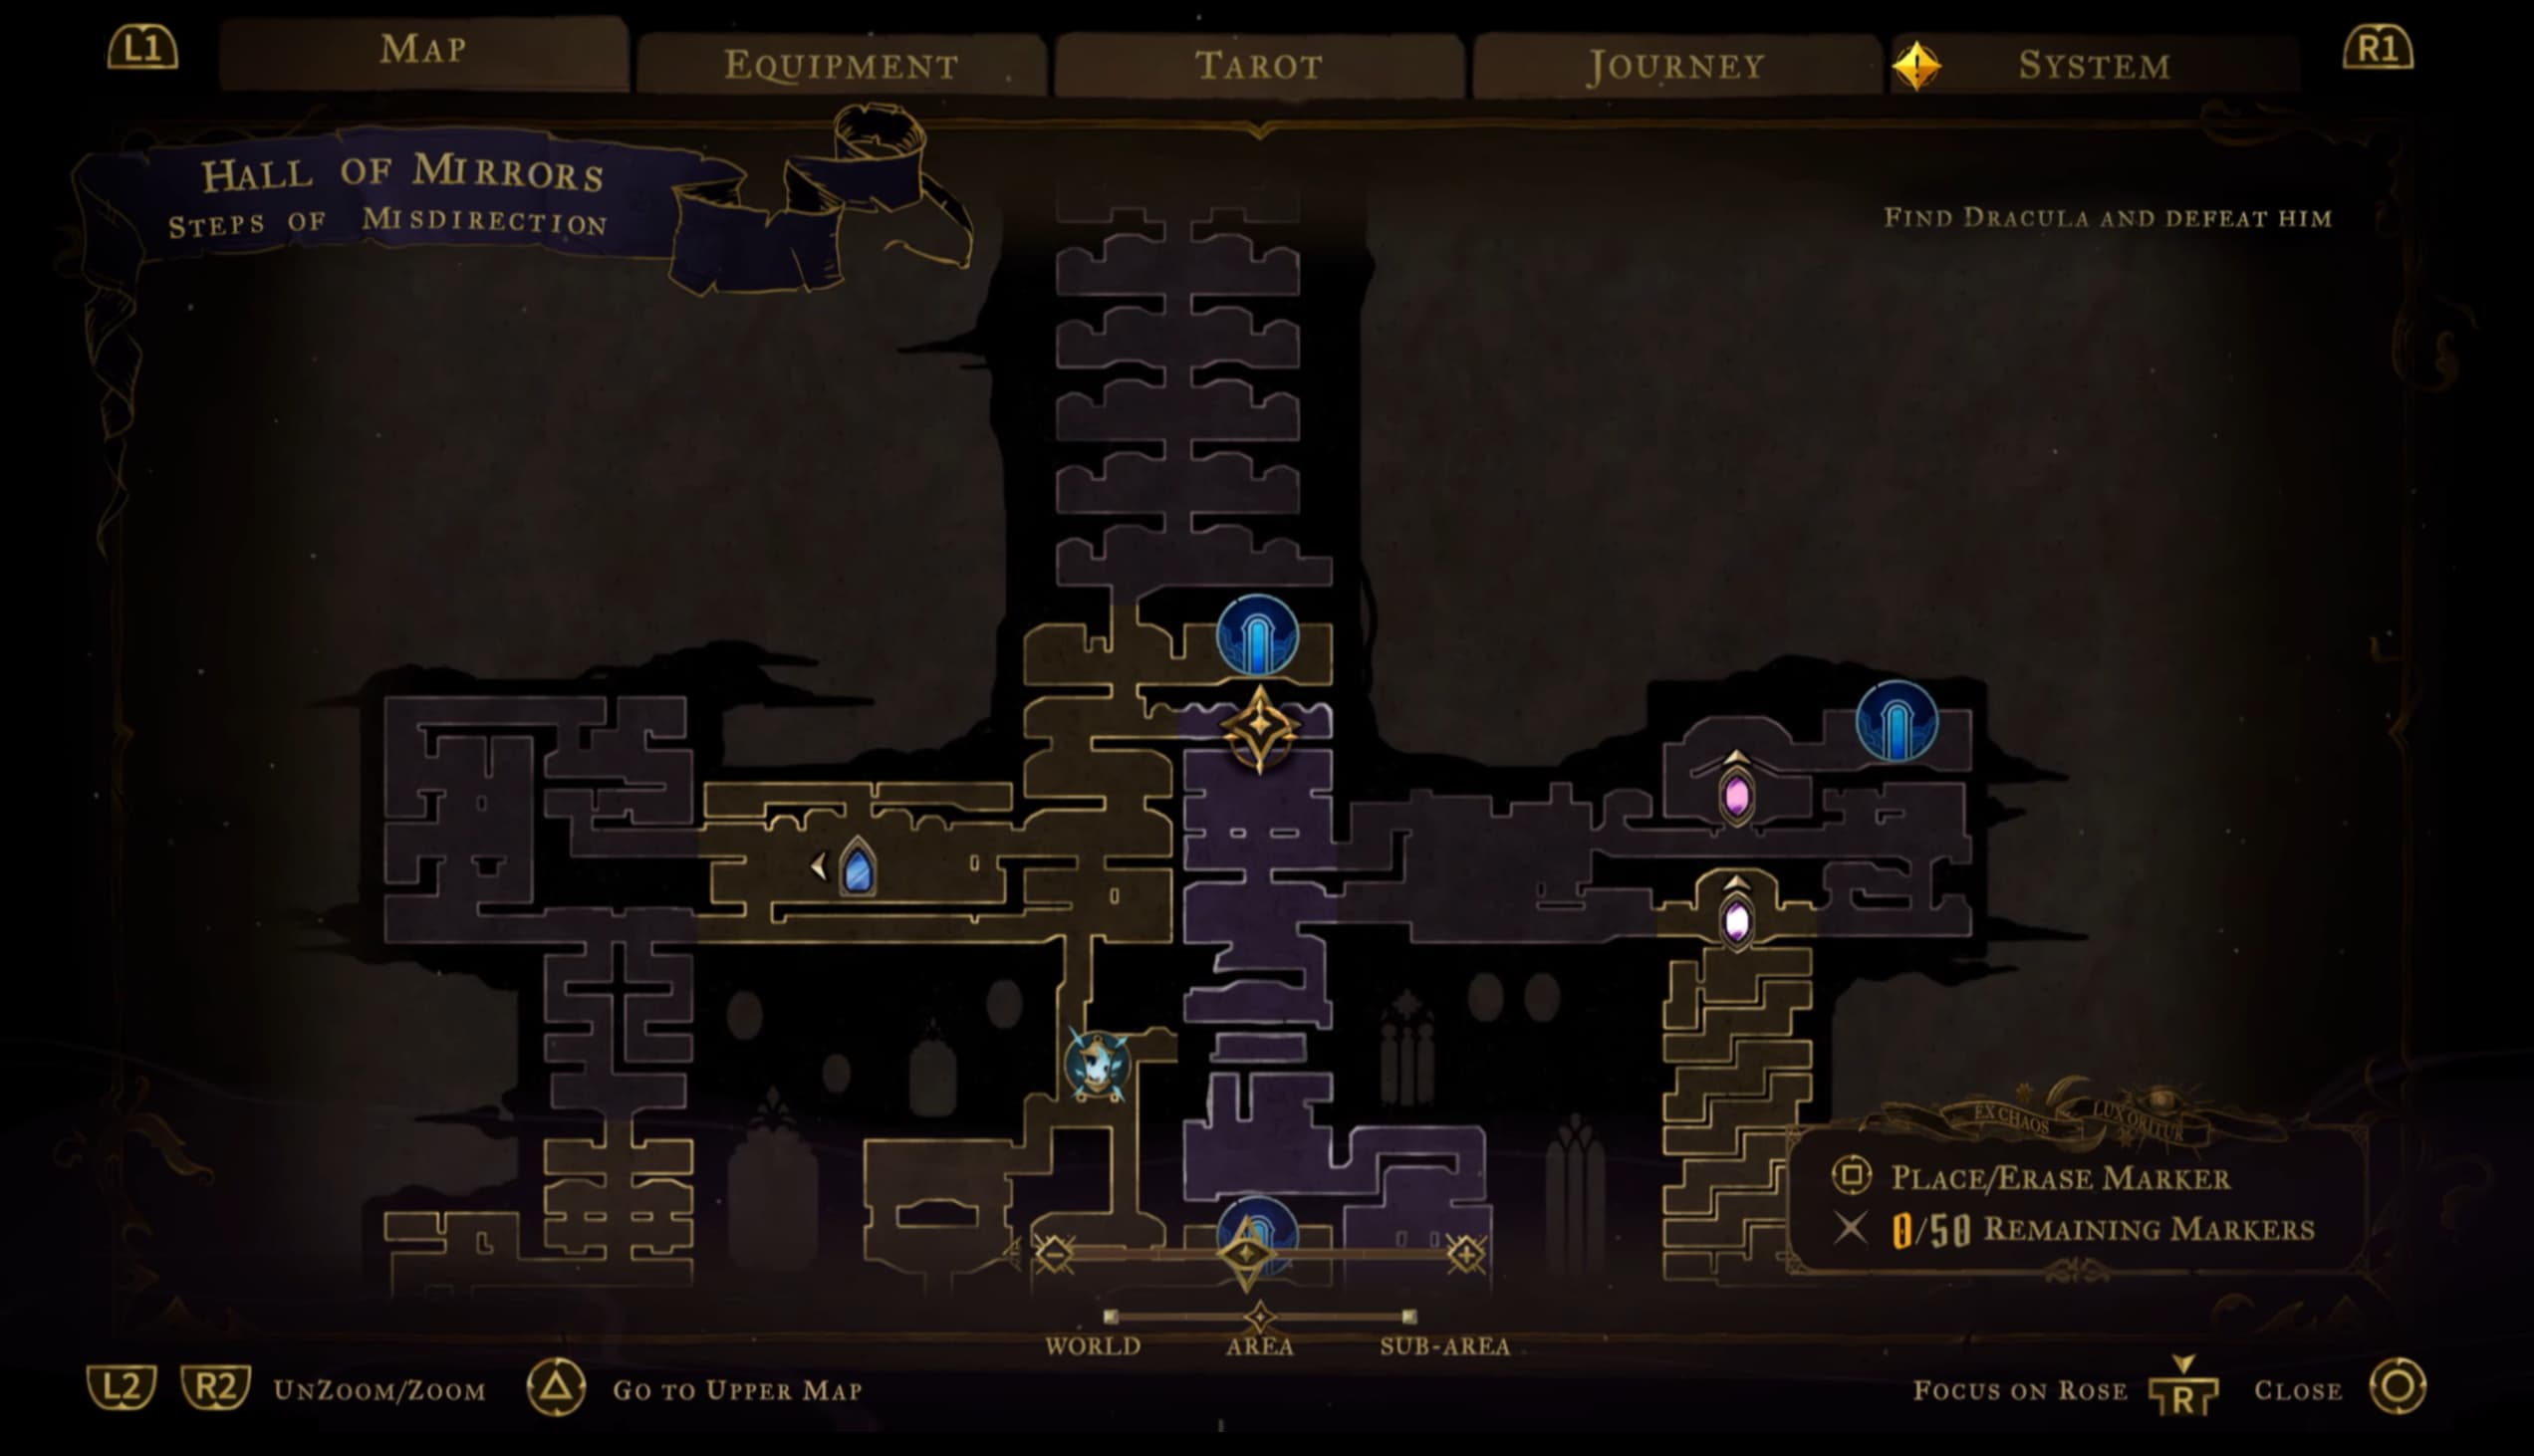
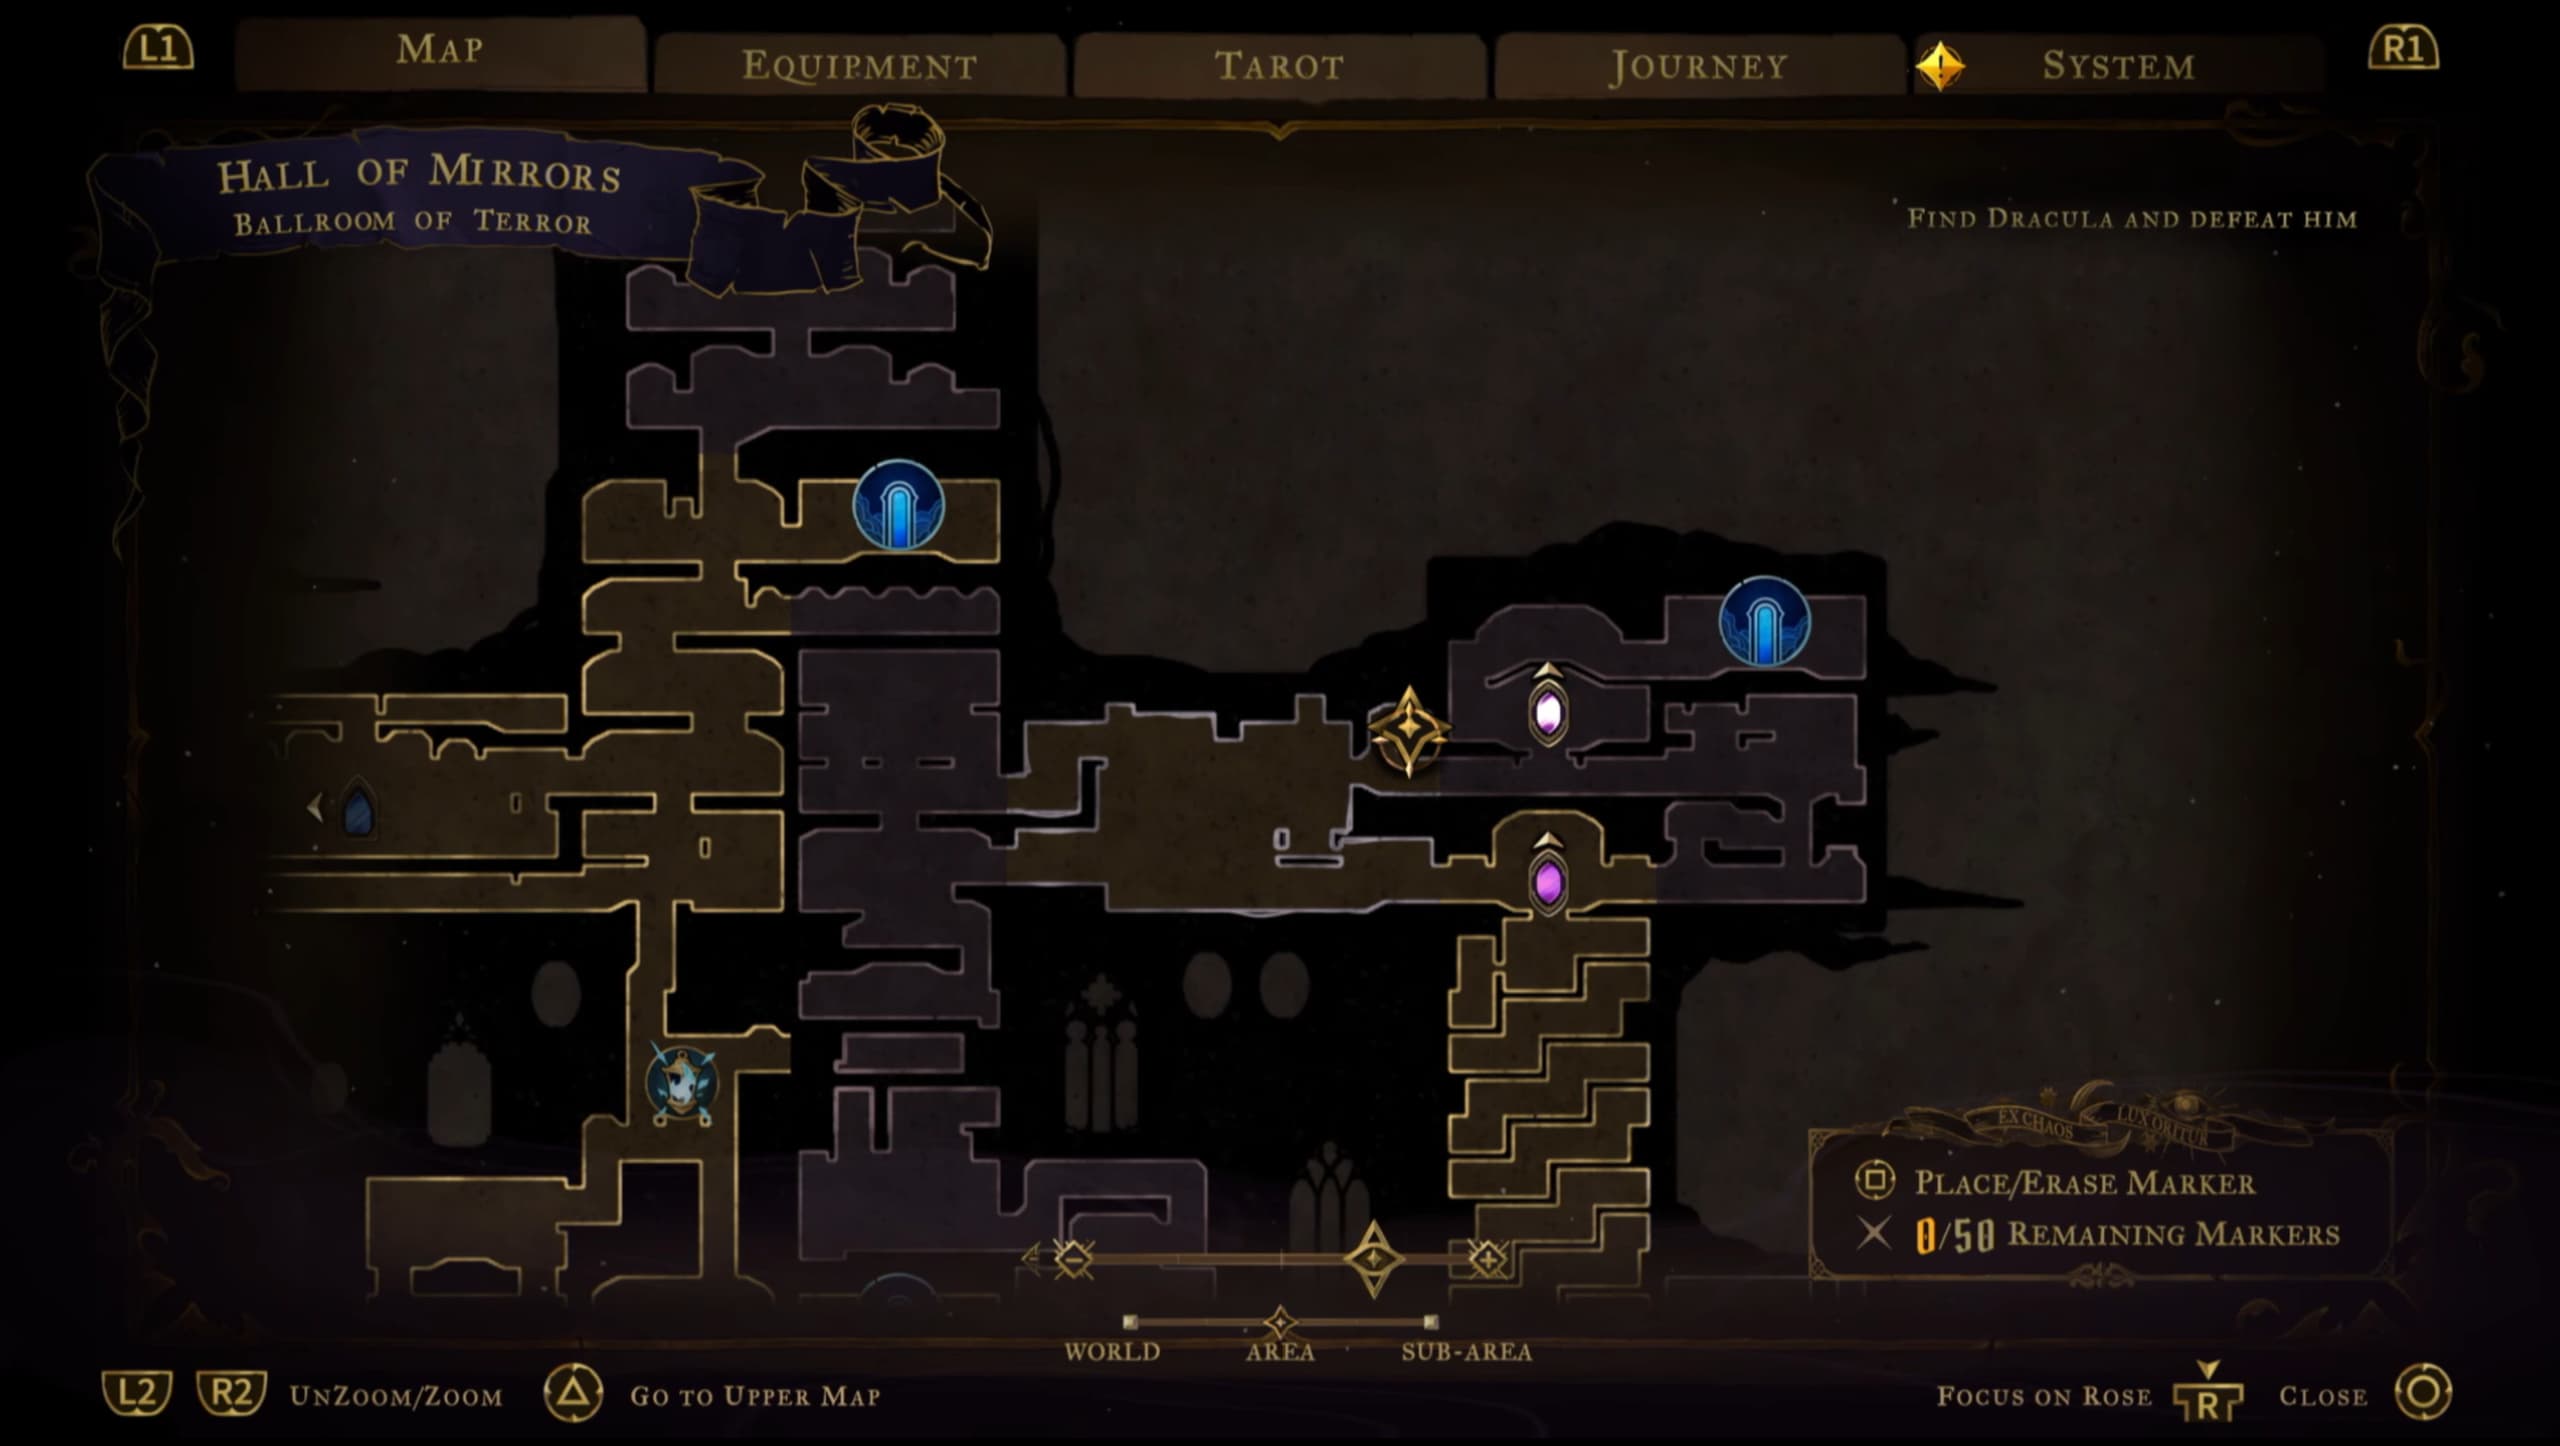
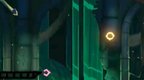
For the first Heart Fragment, you need to head through the upper door as shown on the map below, make your way through the smaller area and out through the door on the other side to end up at the lower of the two doors, as shown on the maps below.
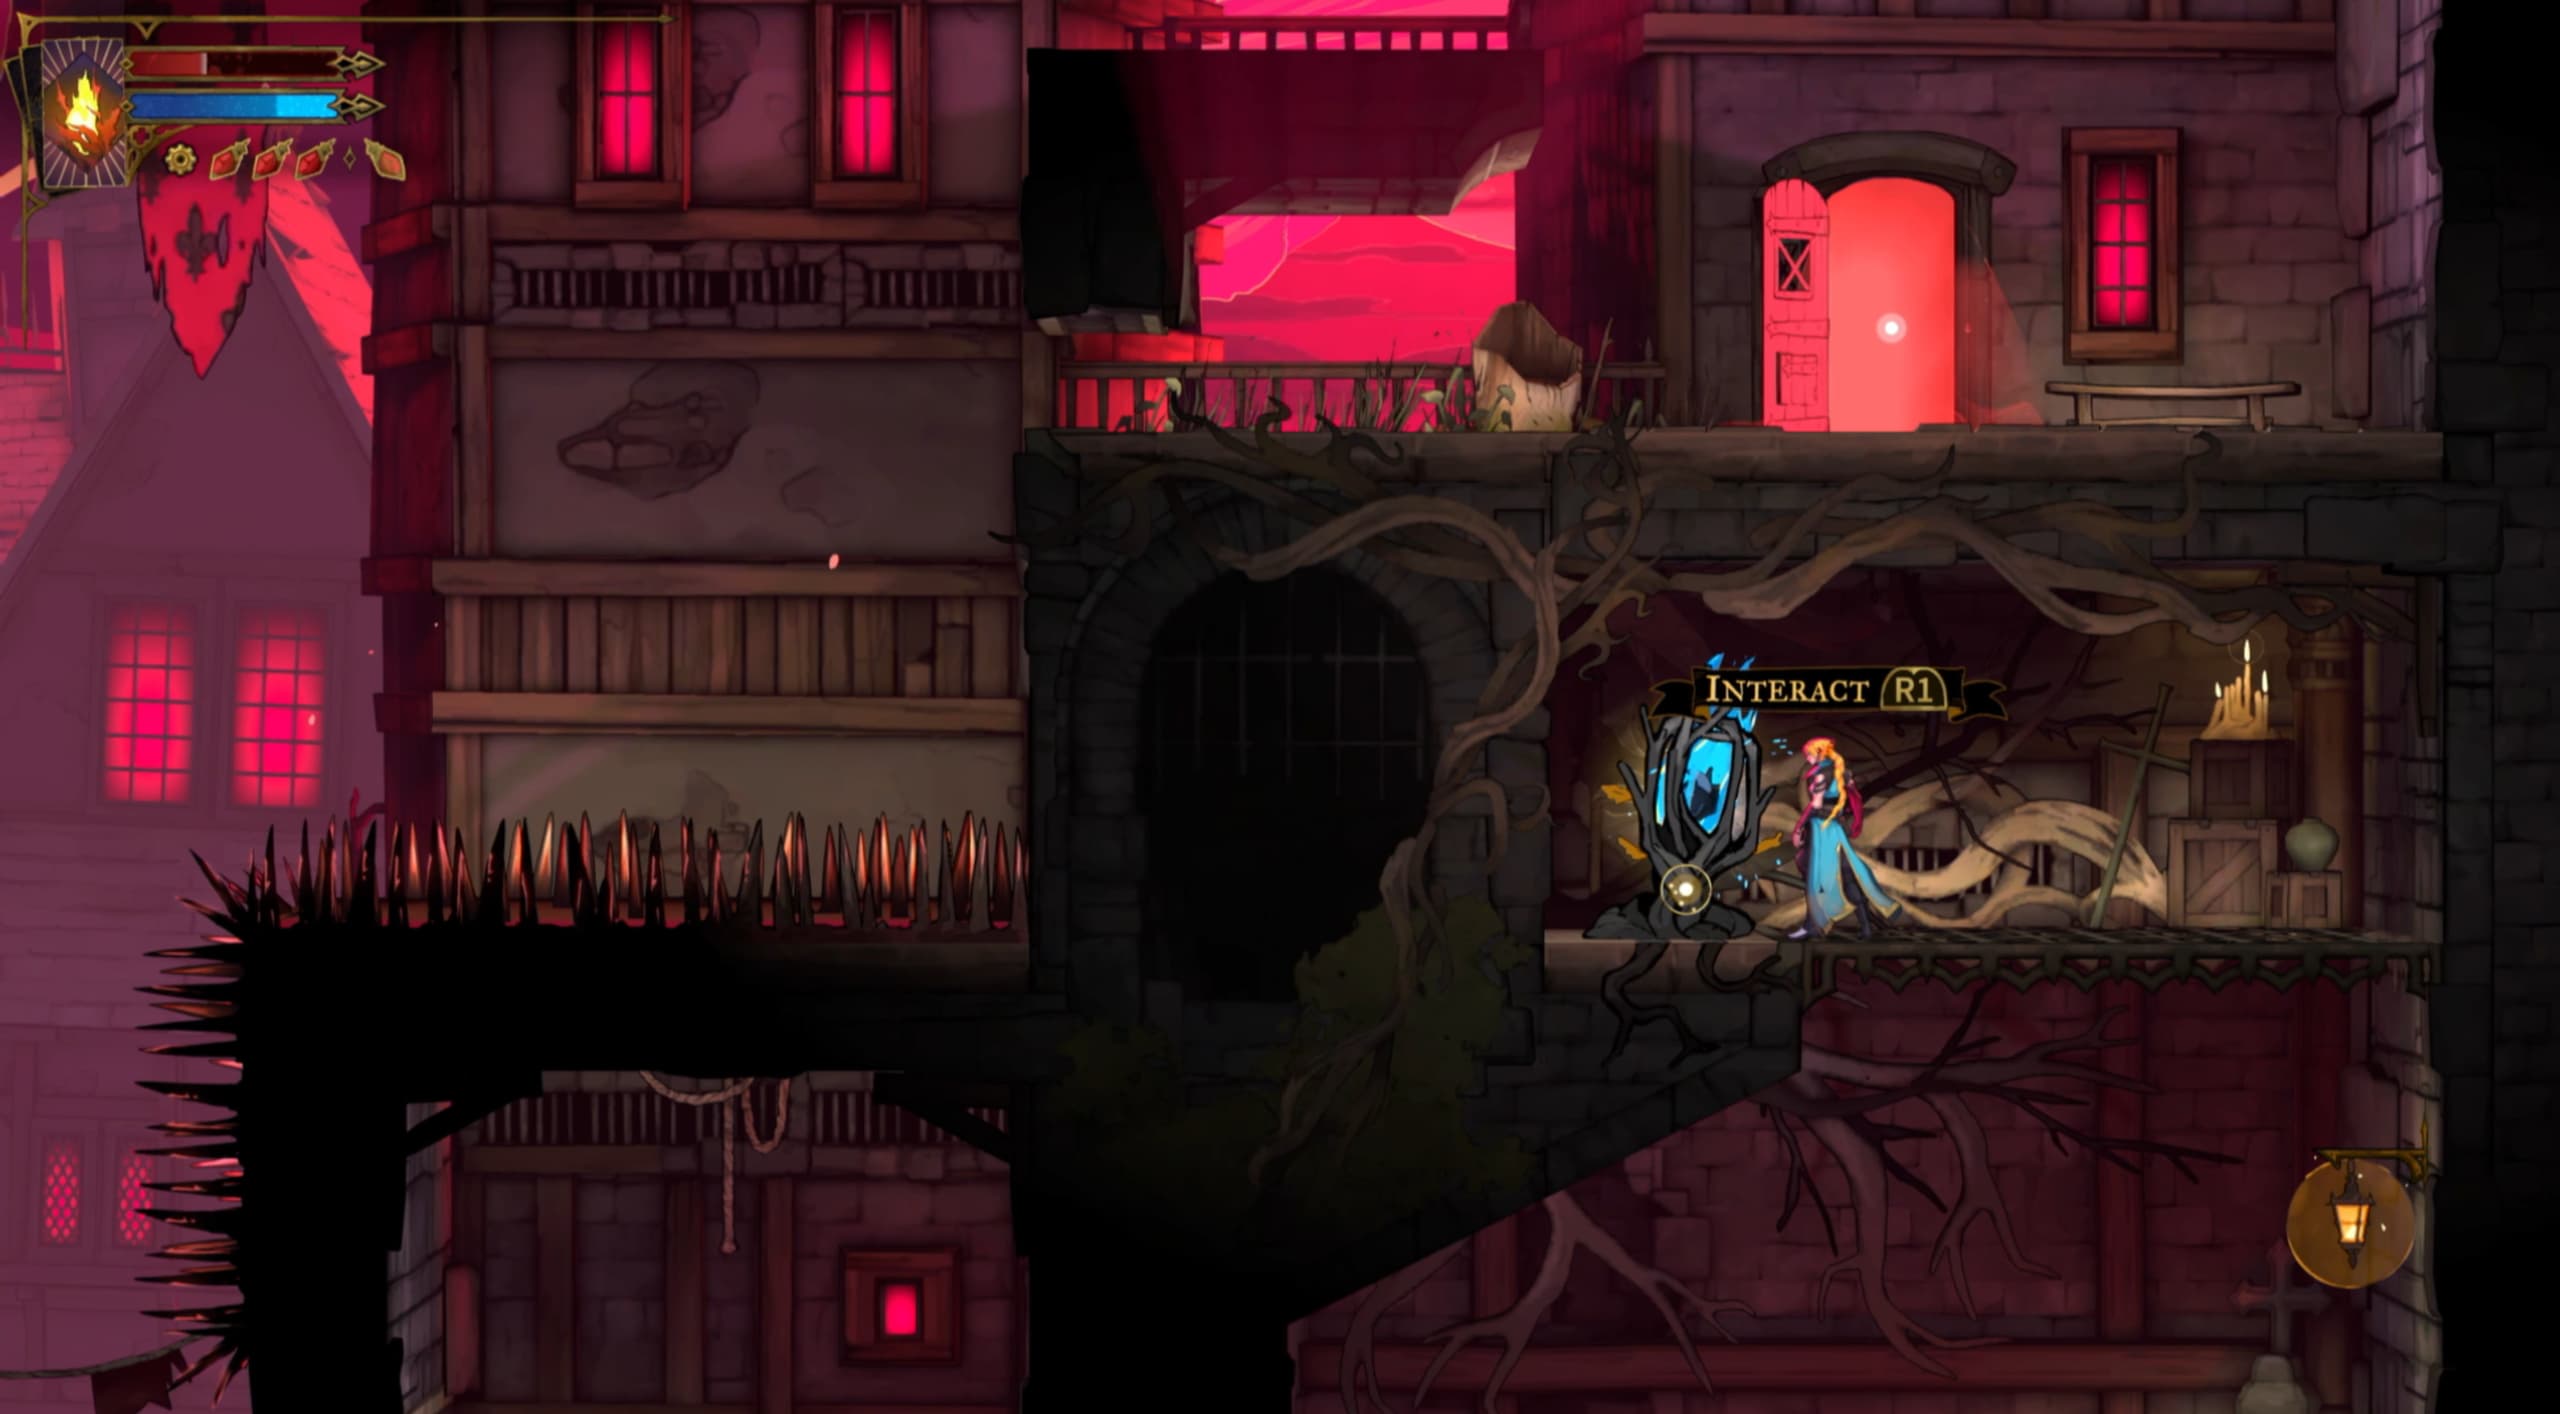
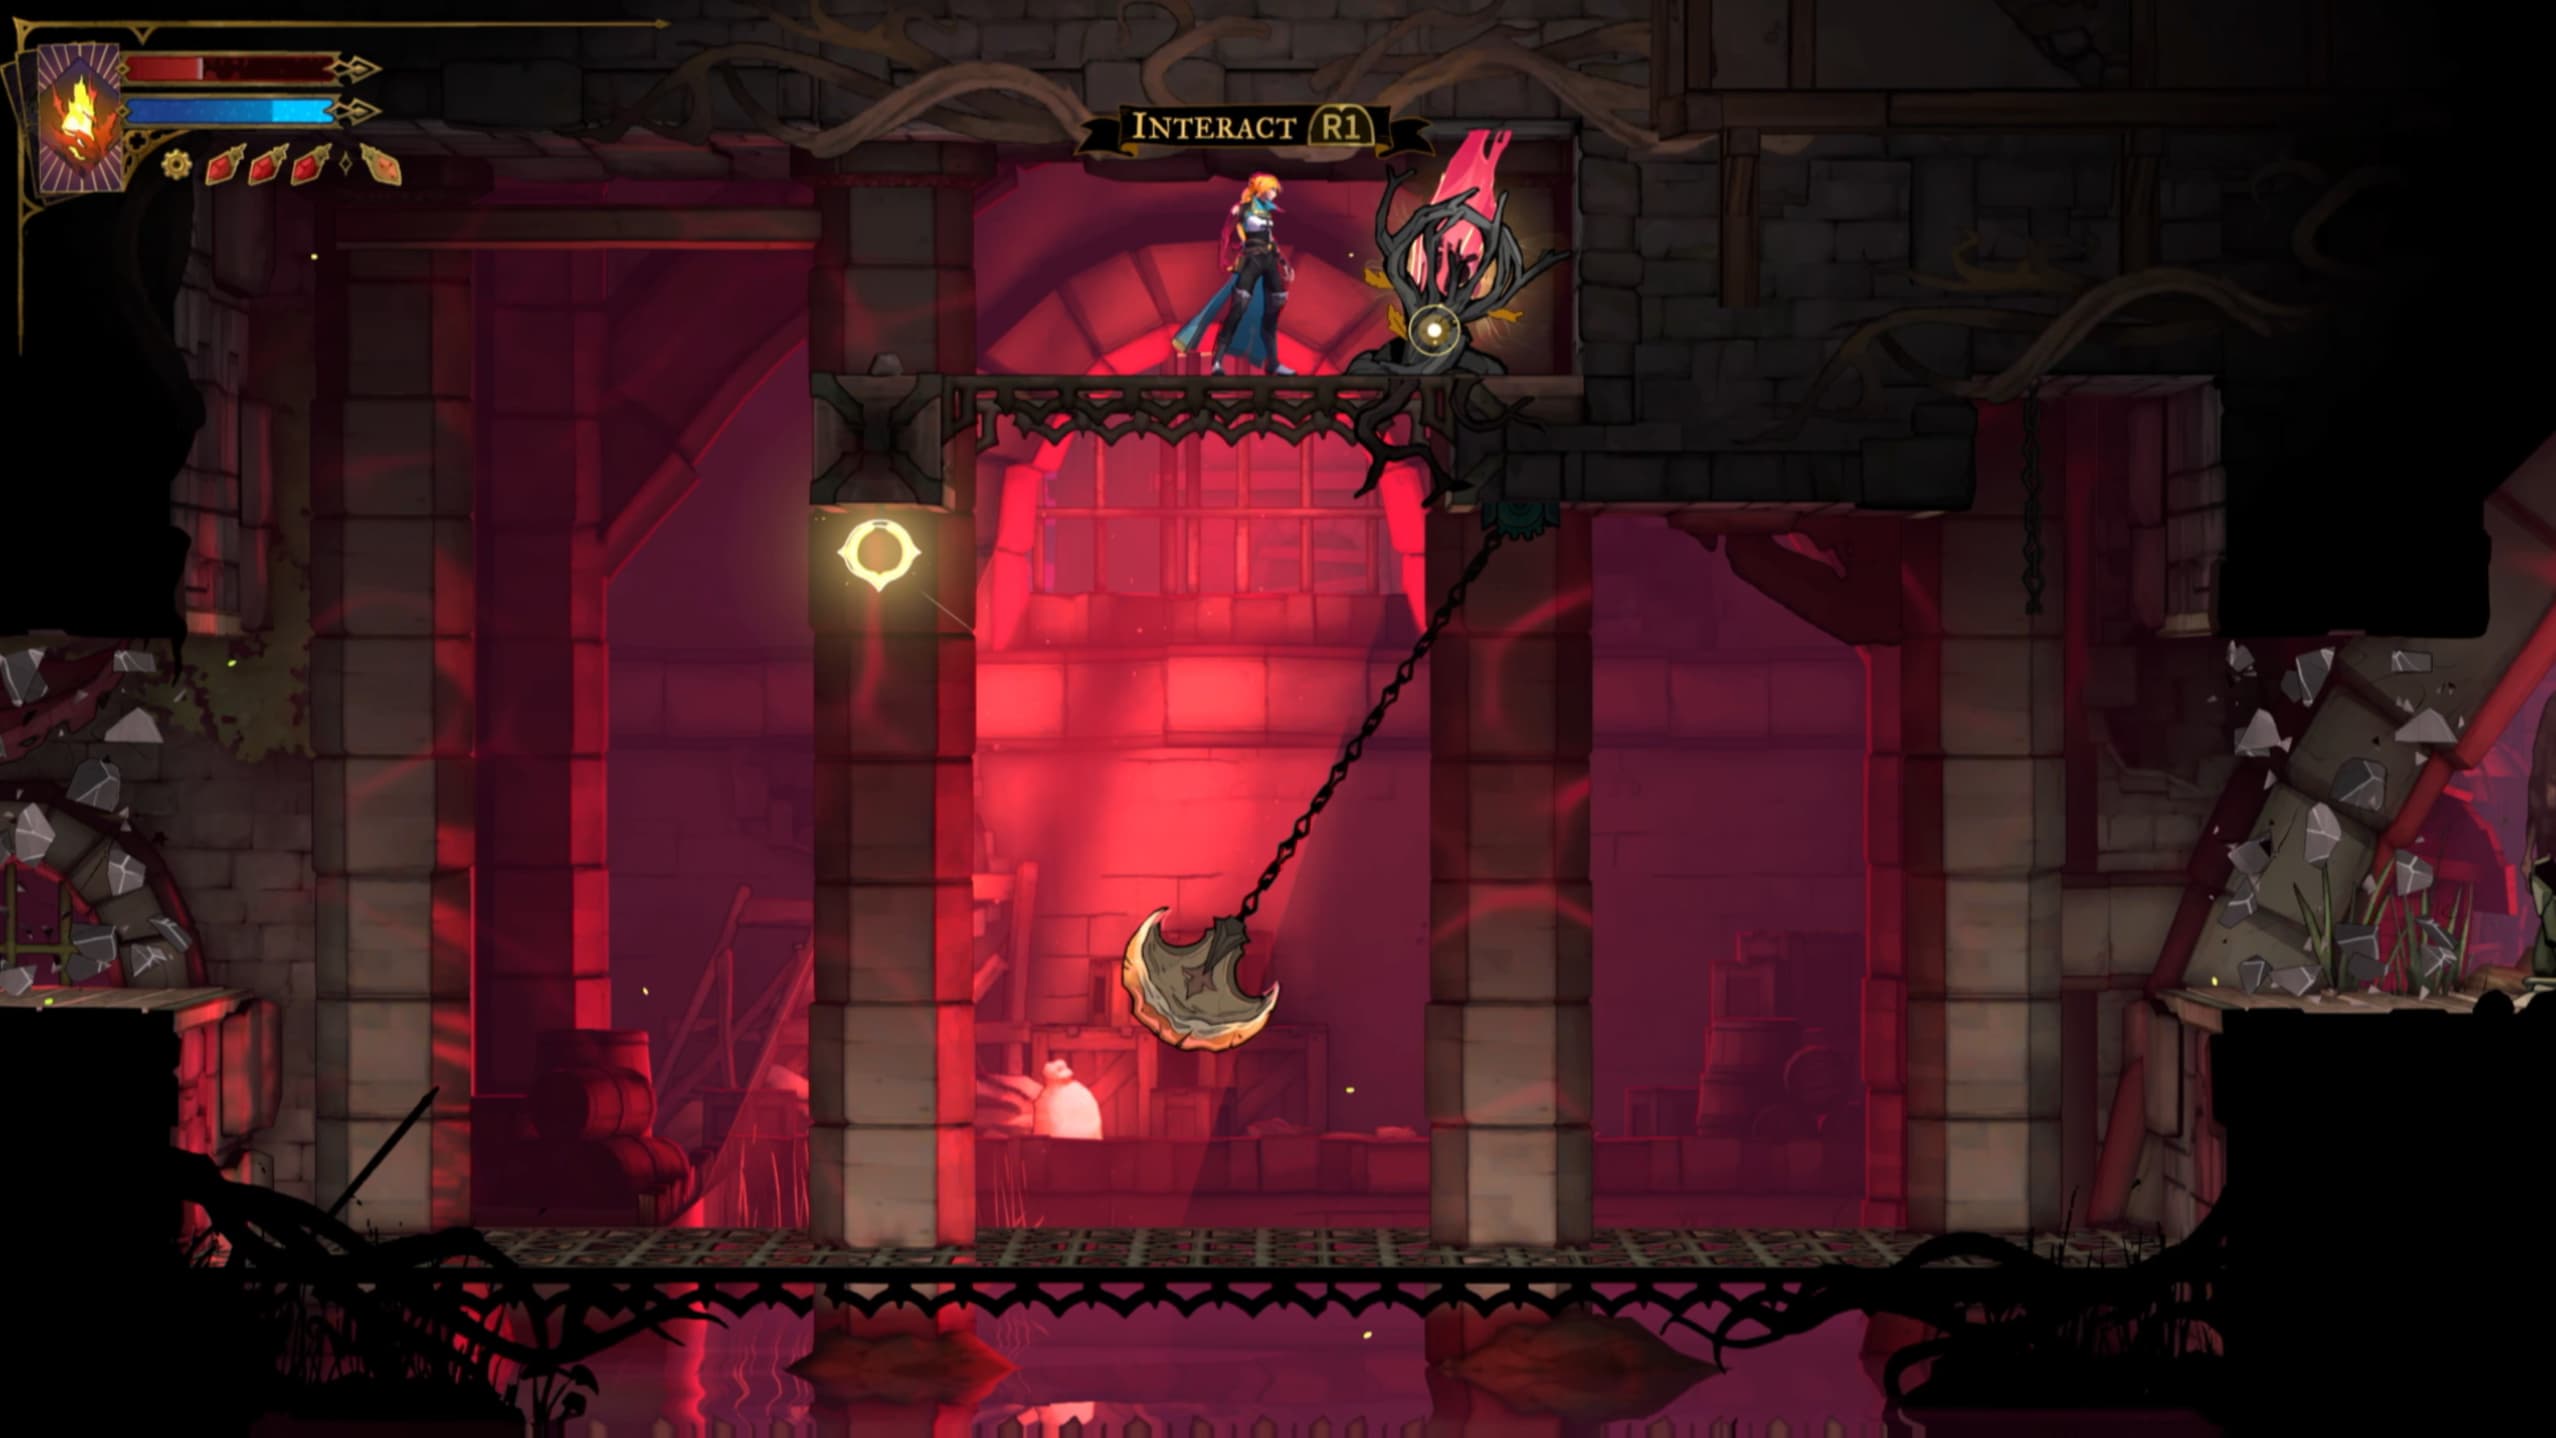
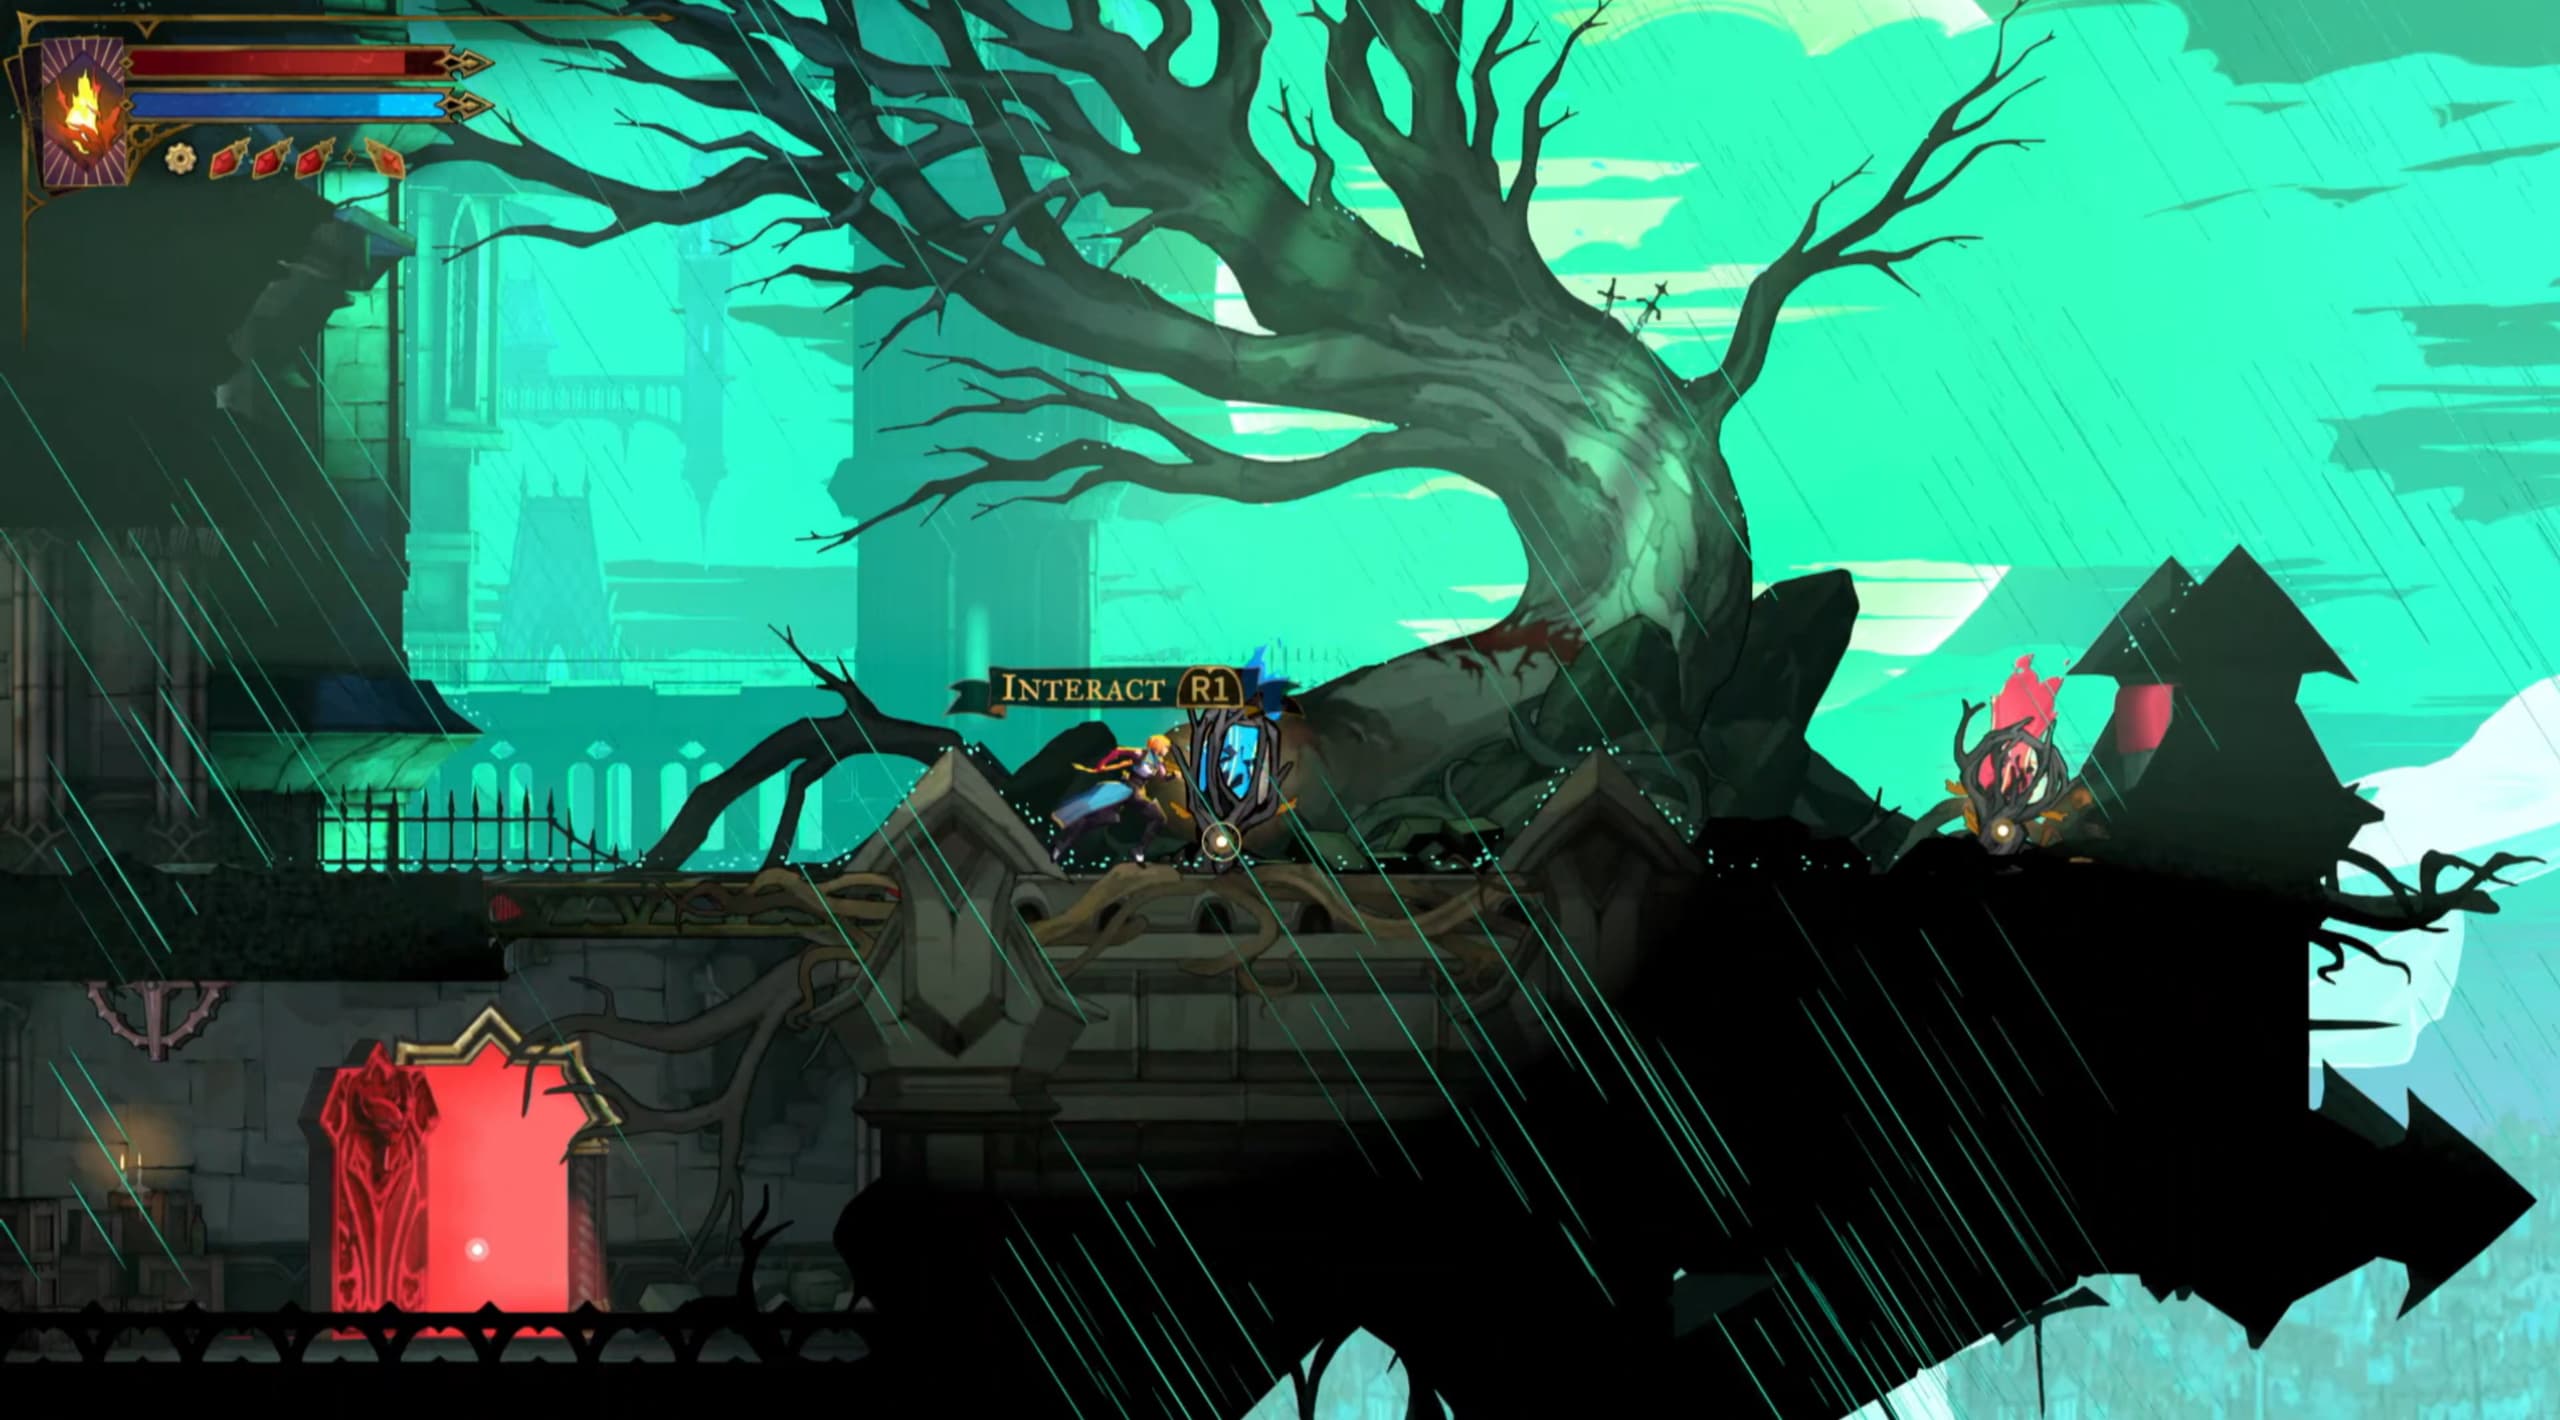
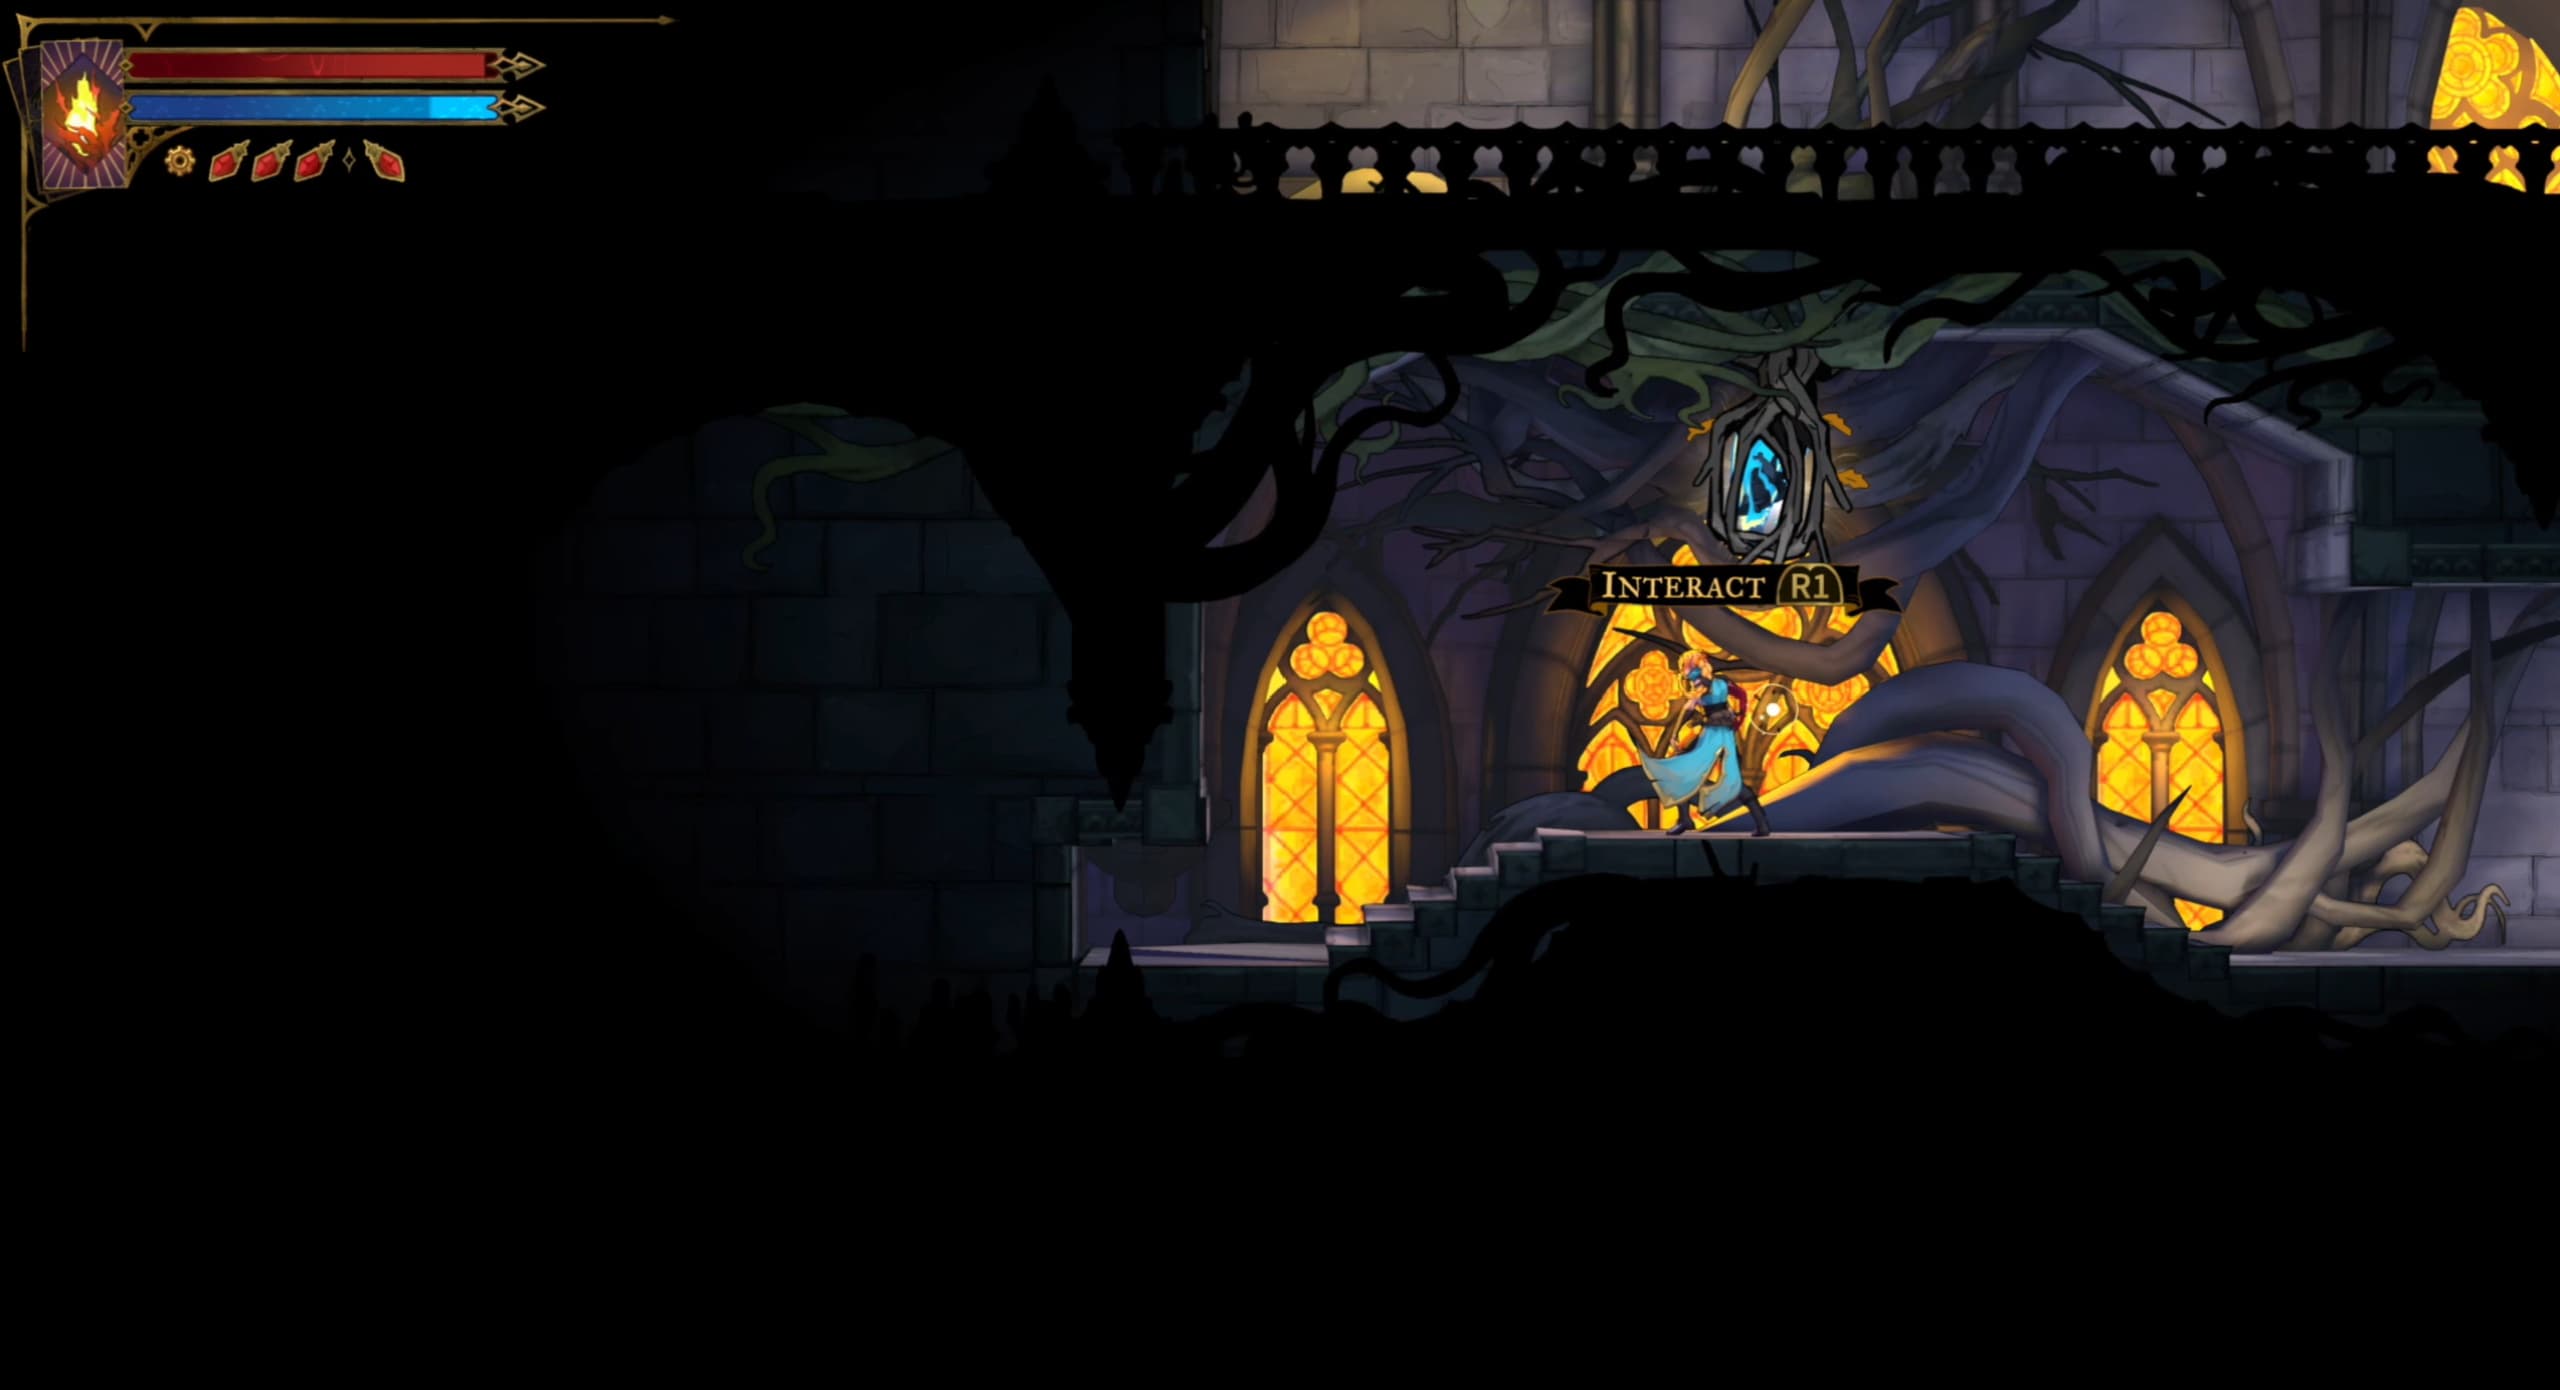
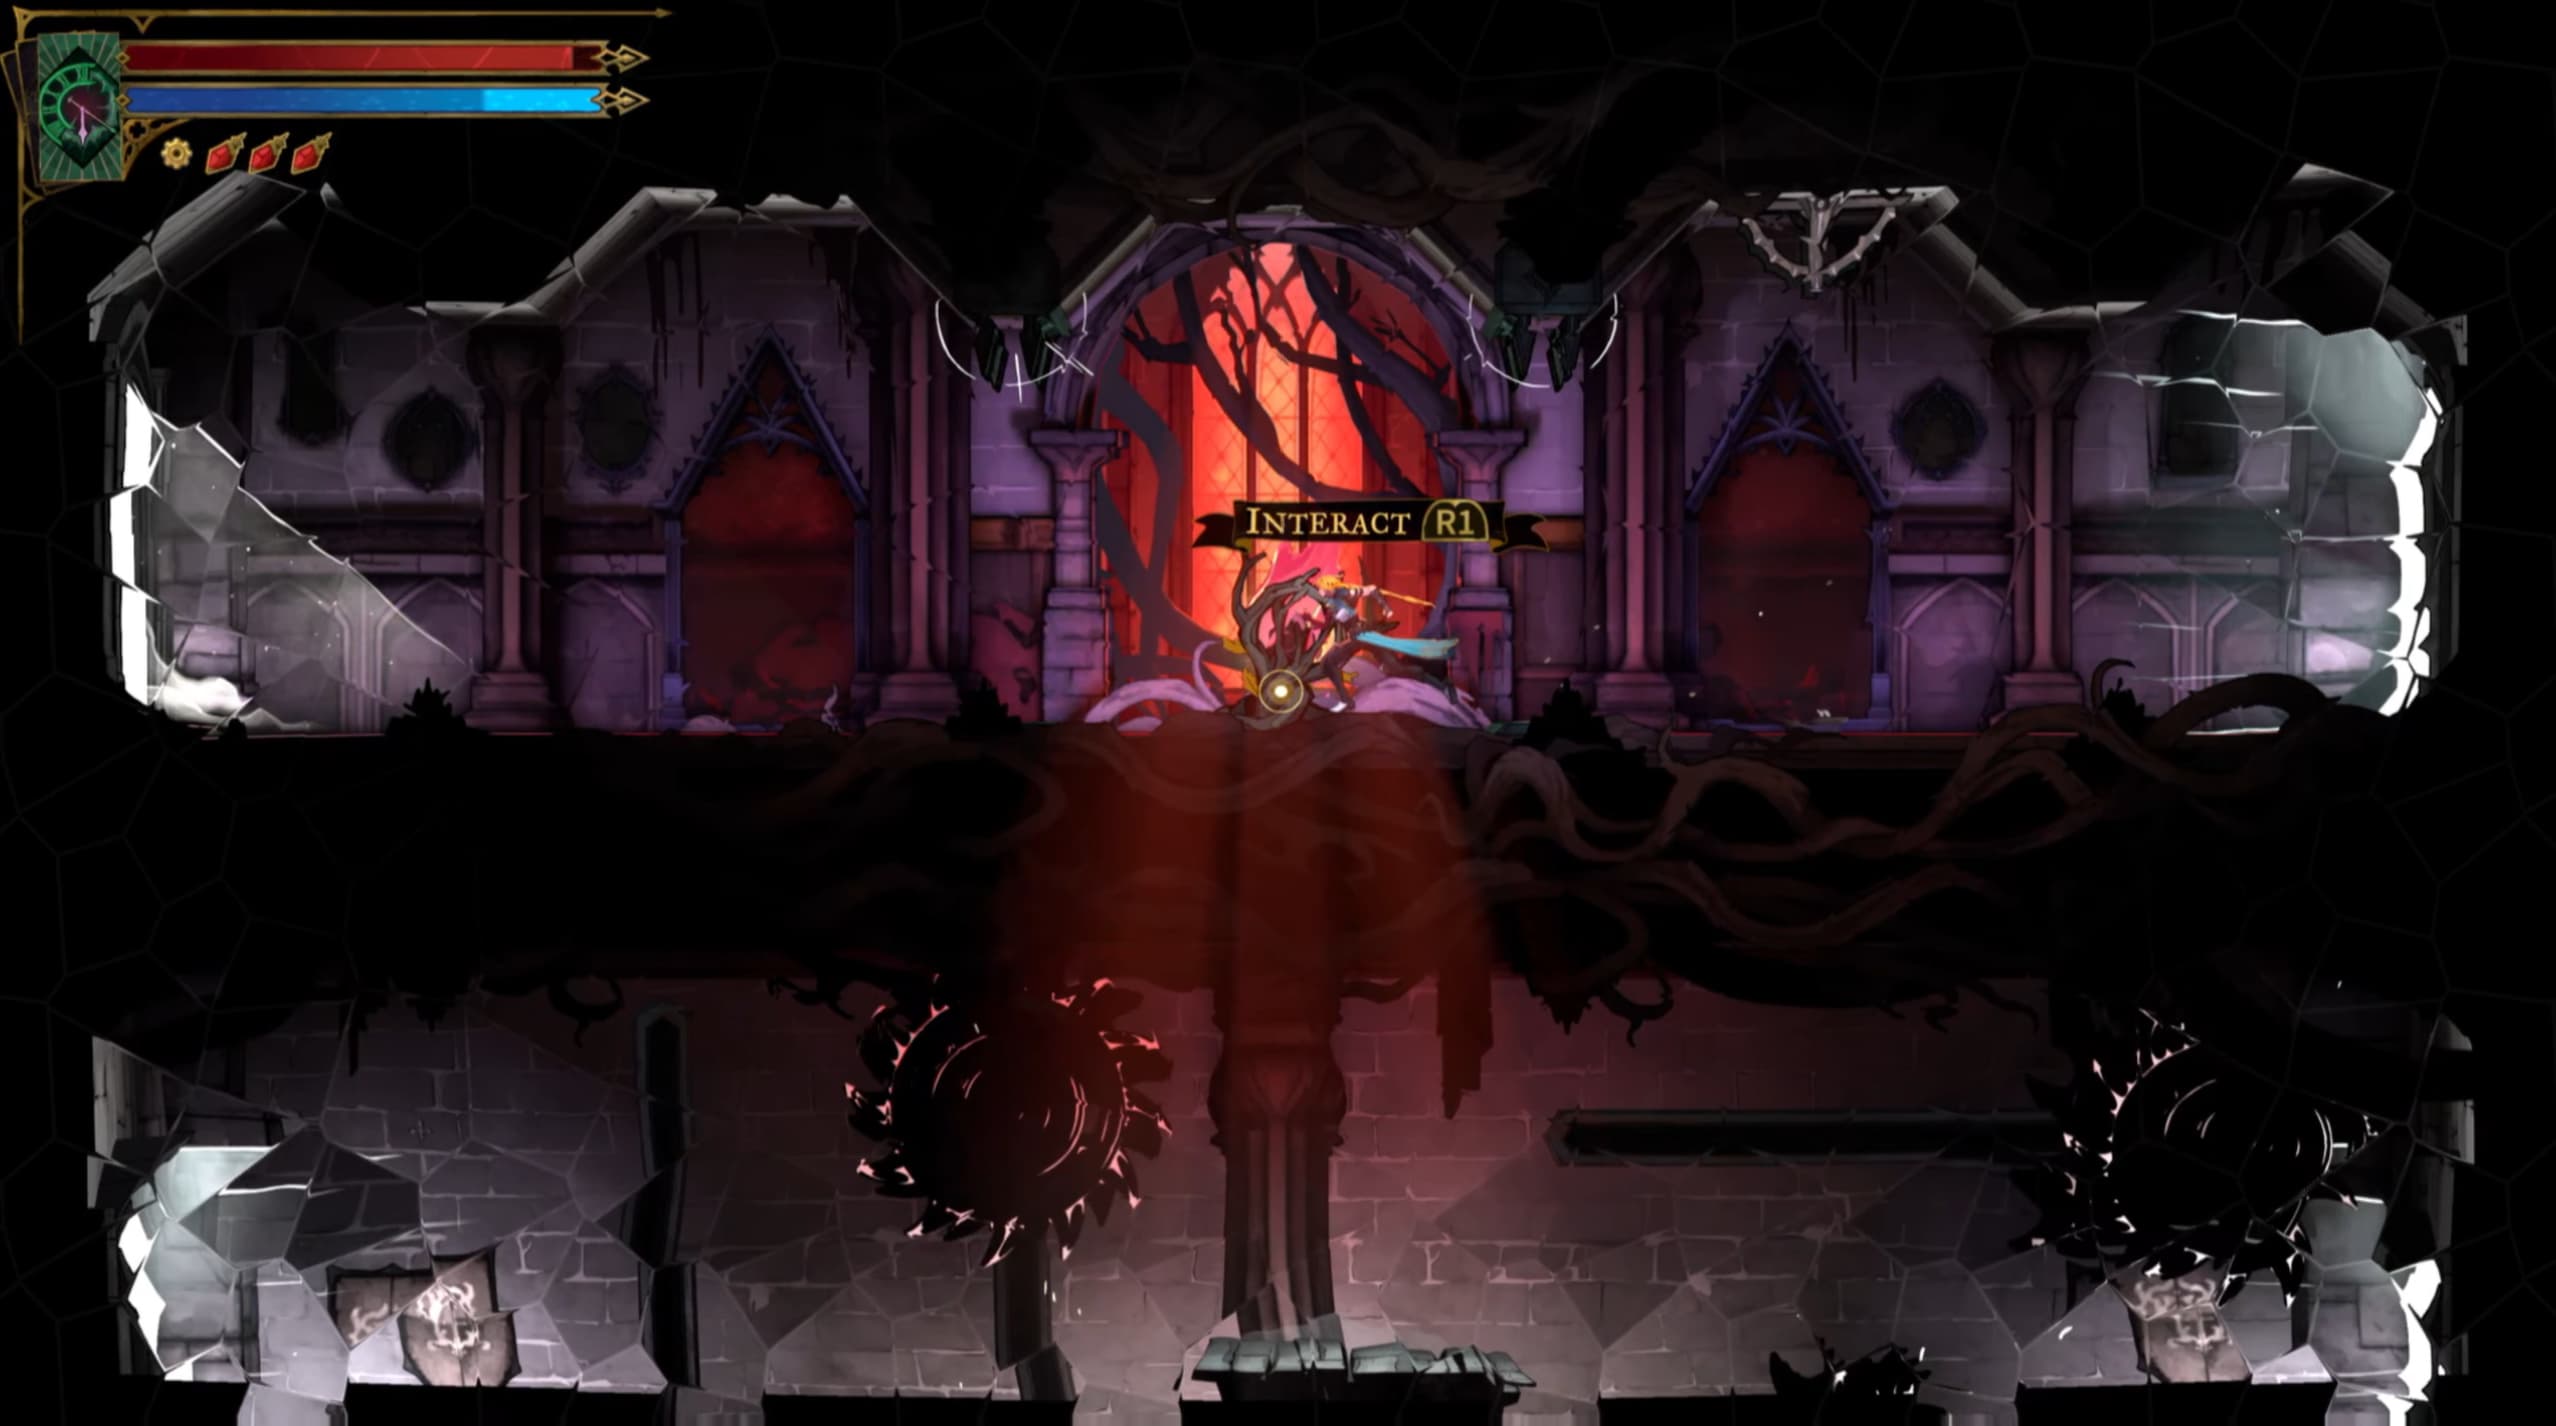
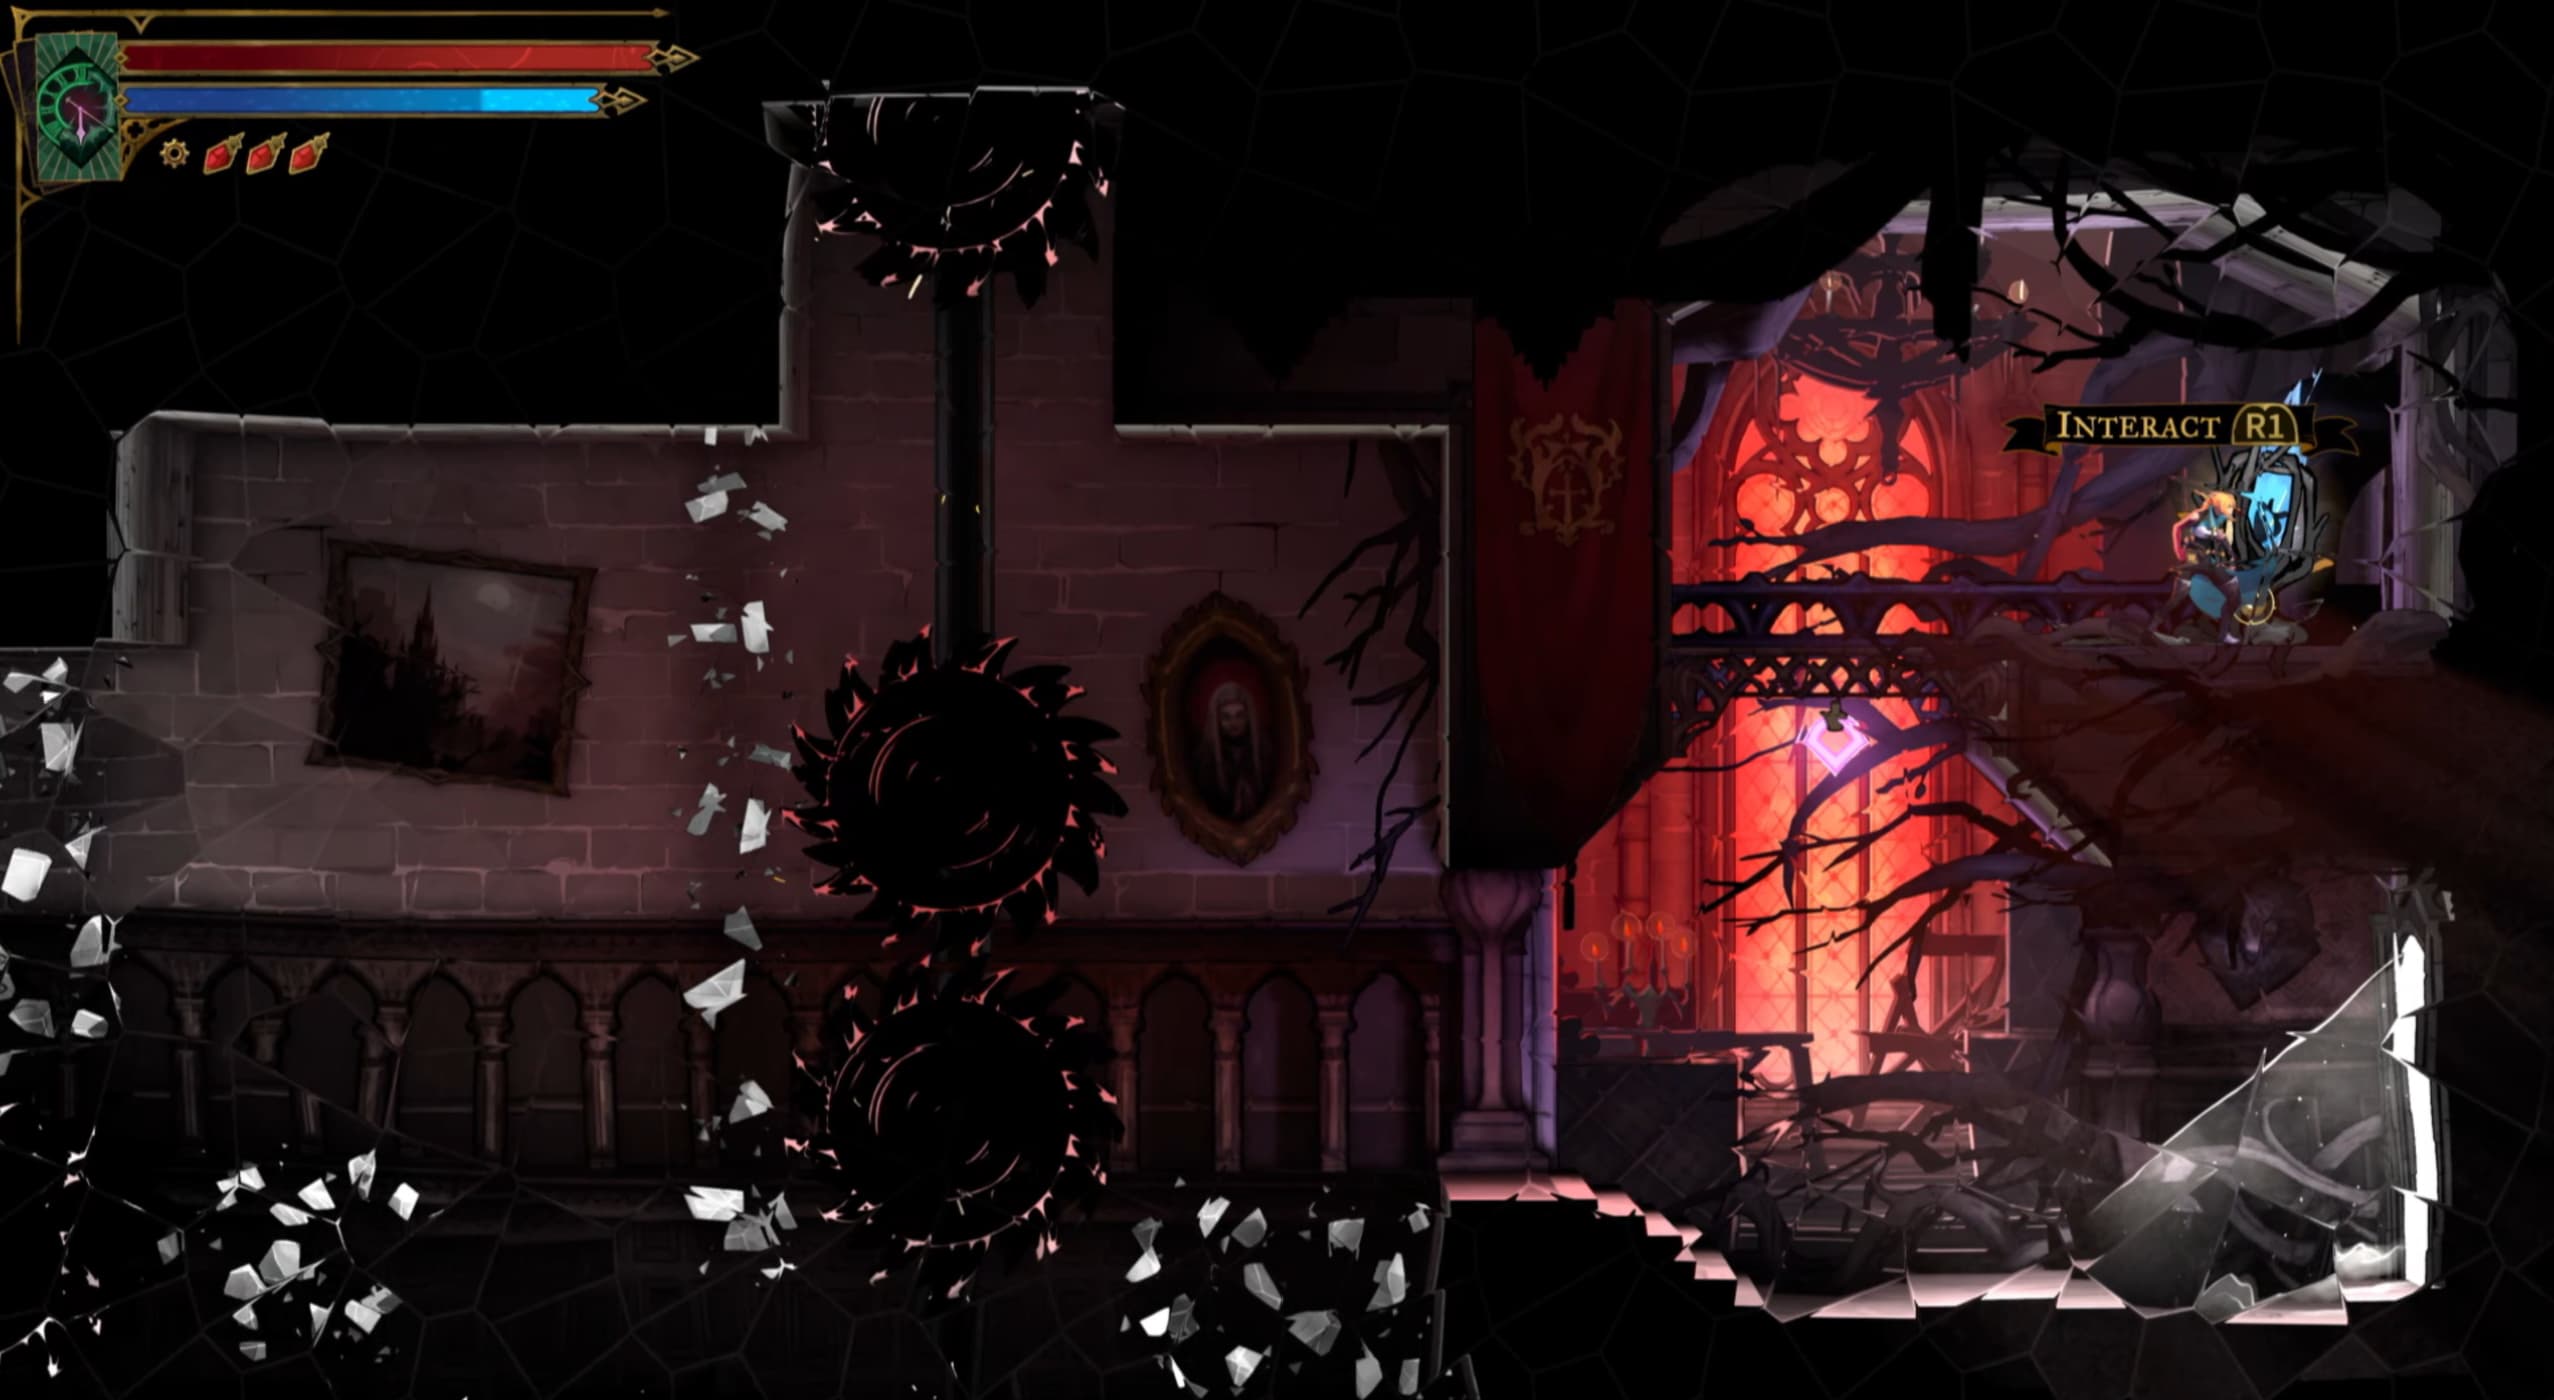
After making it out of the lower door, the Heart Fragment is located just above.
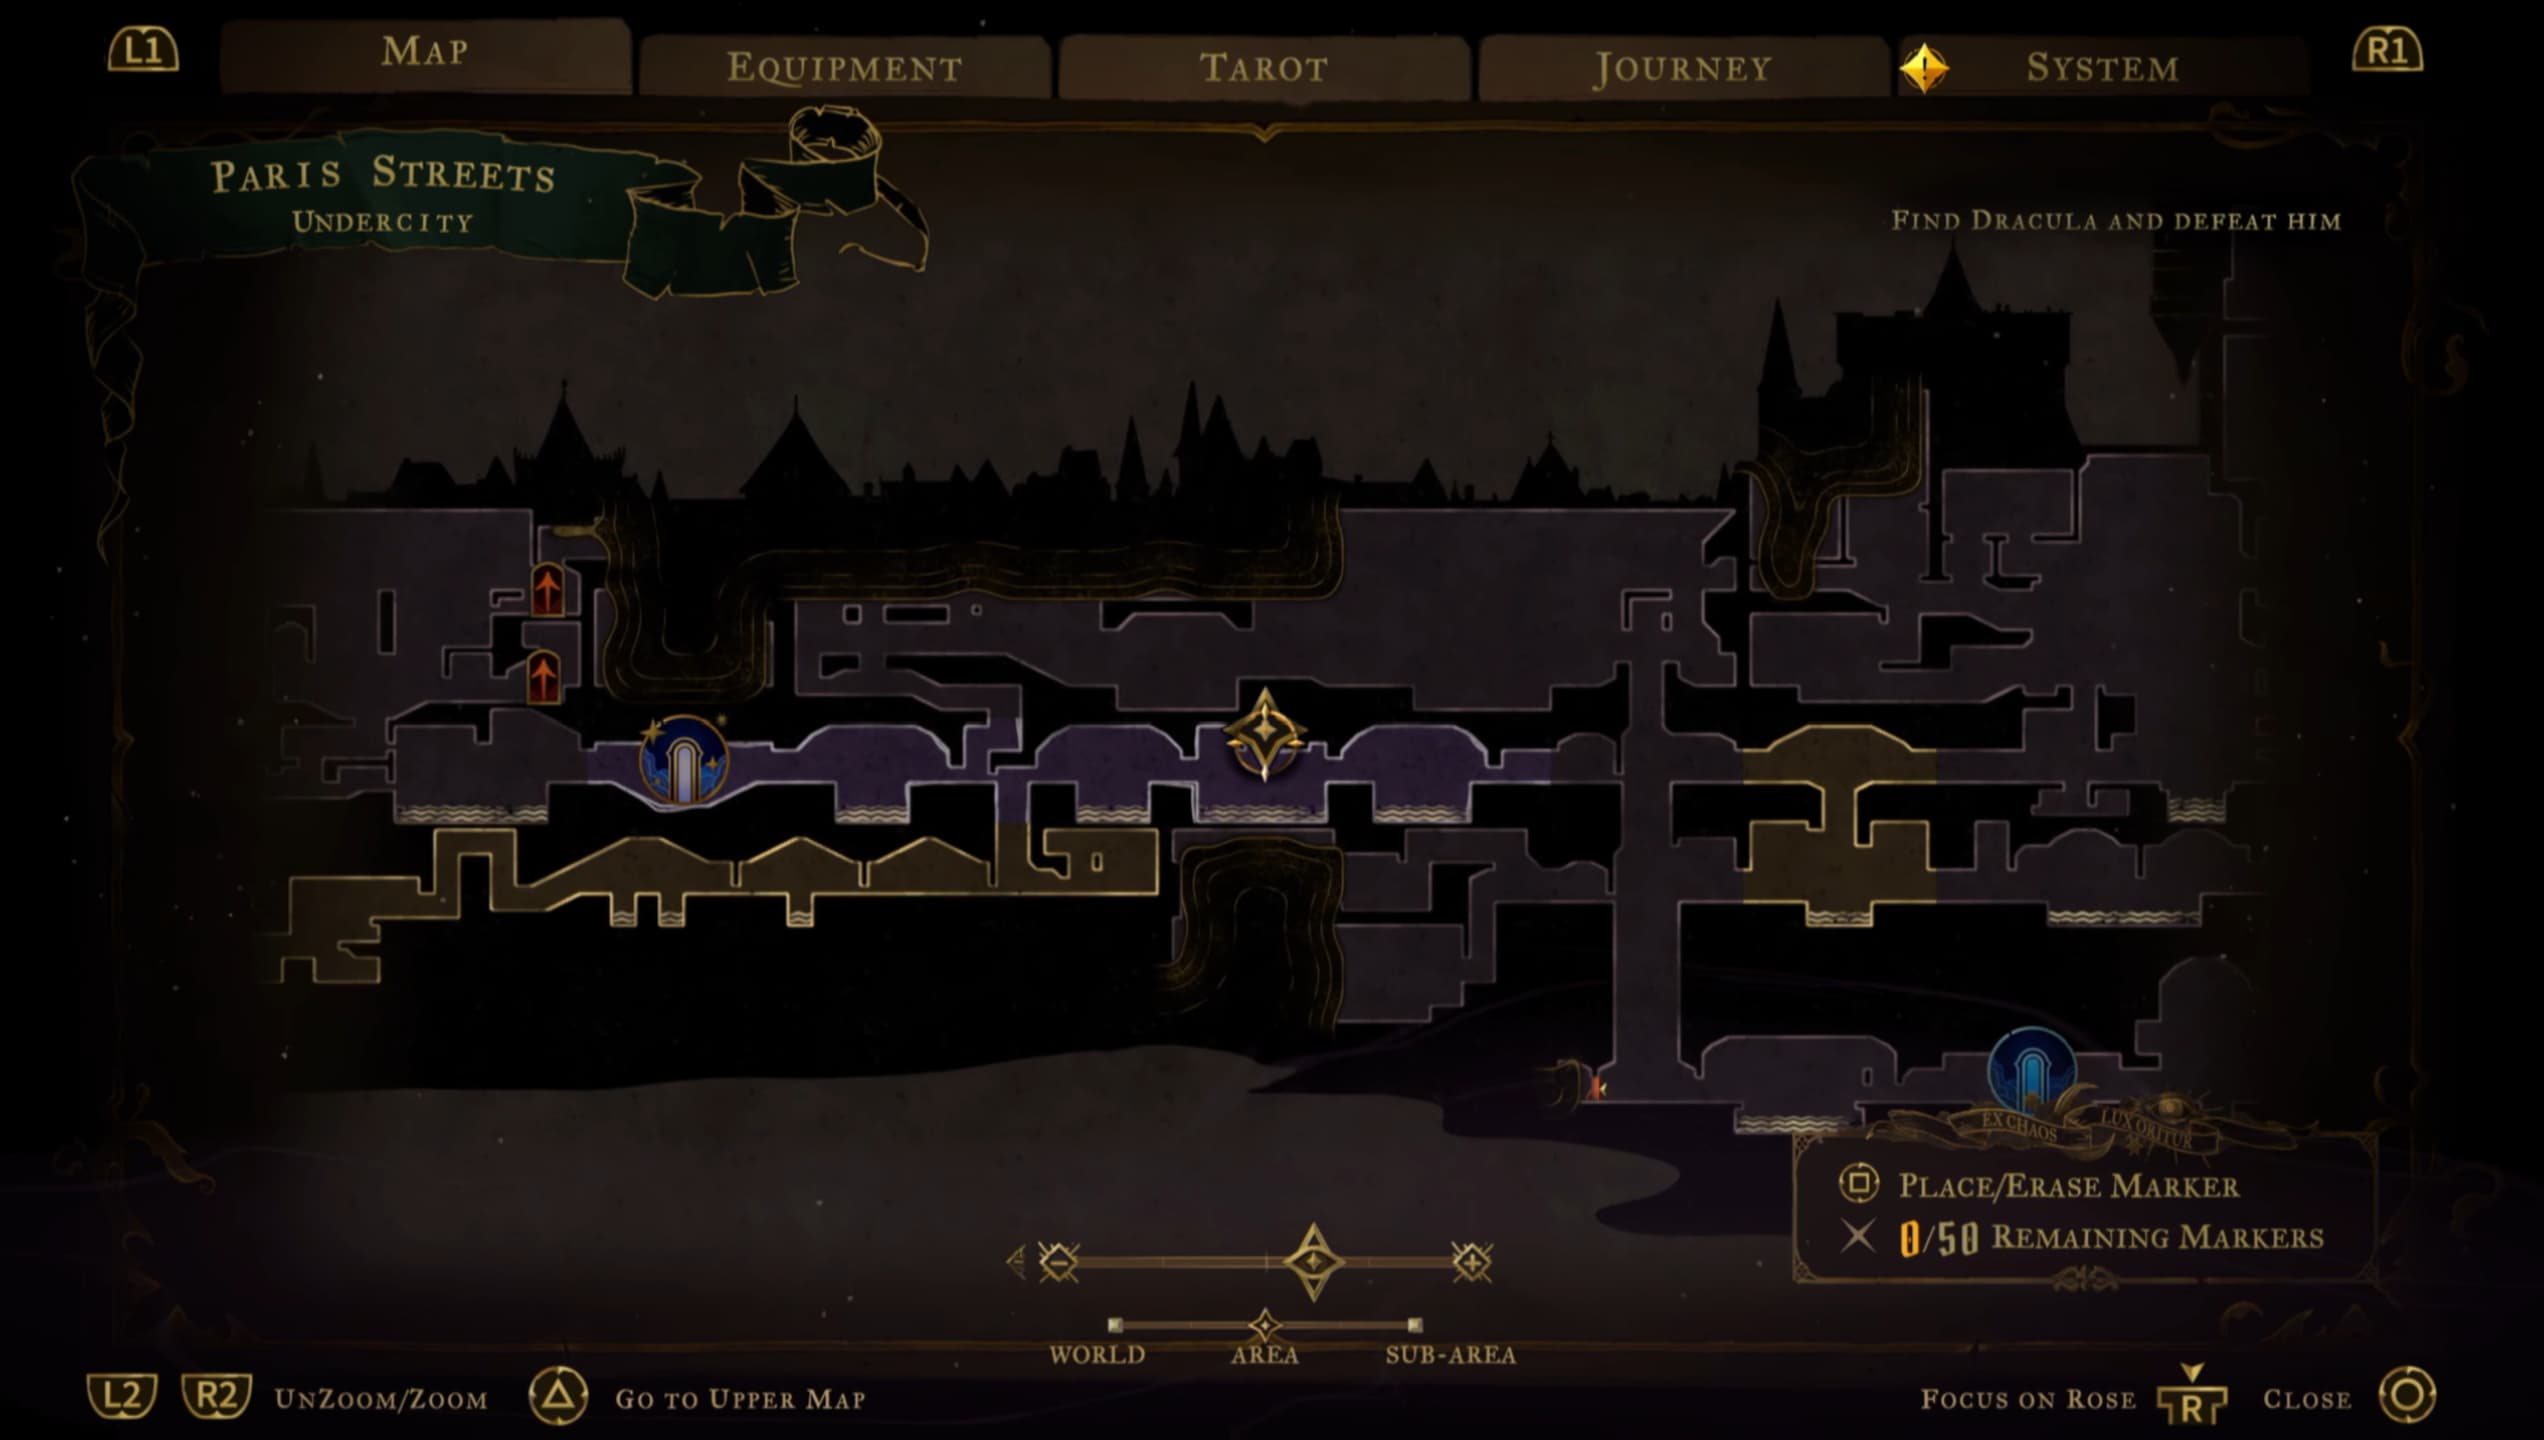
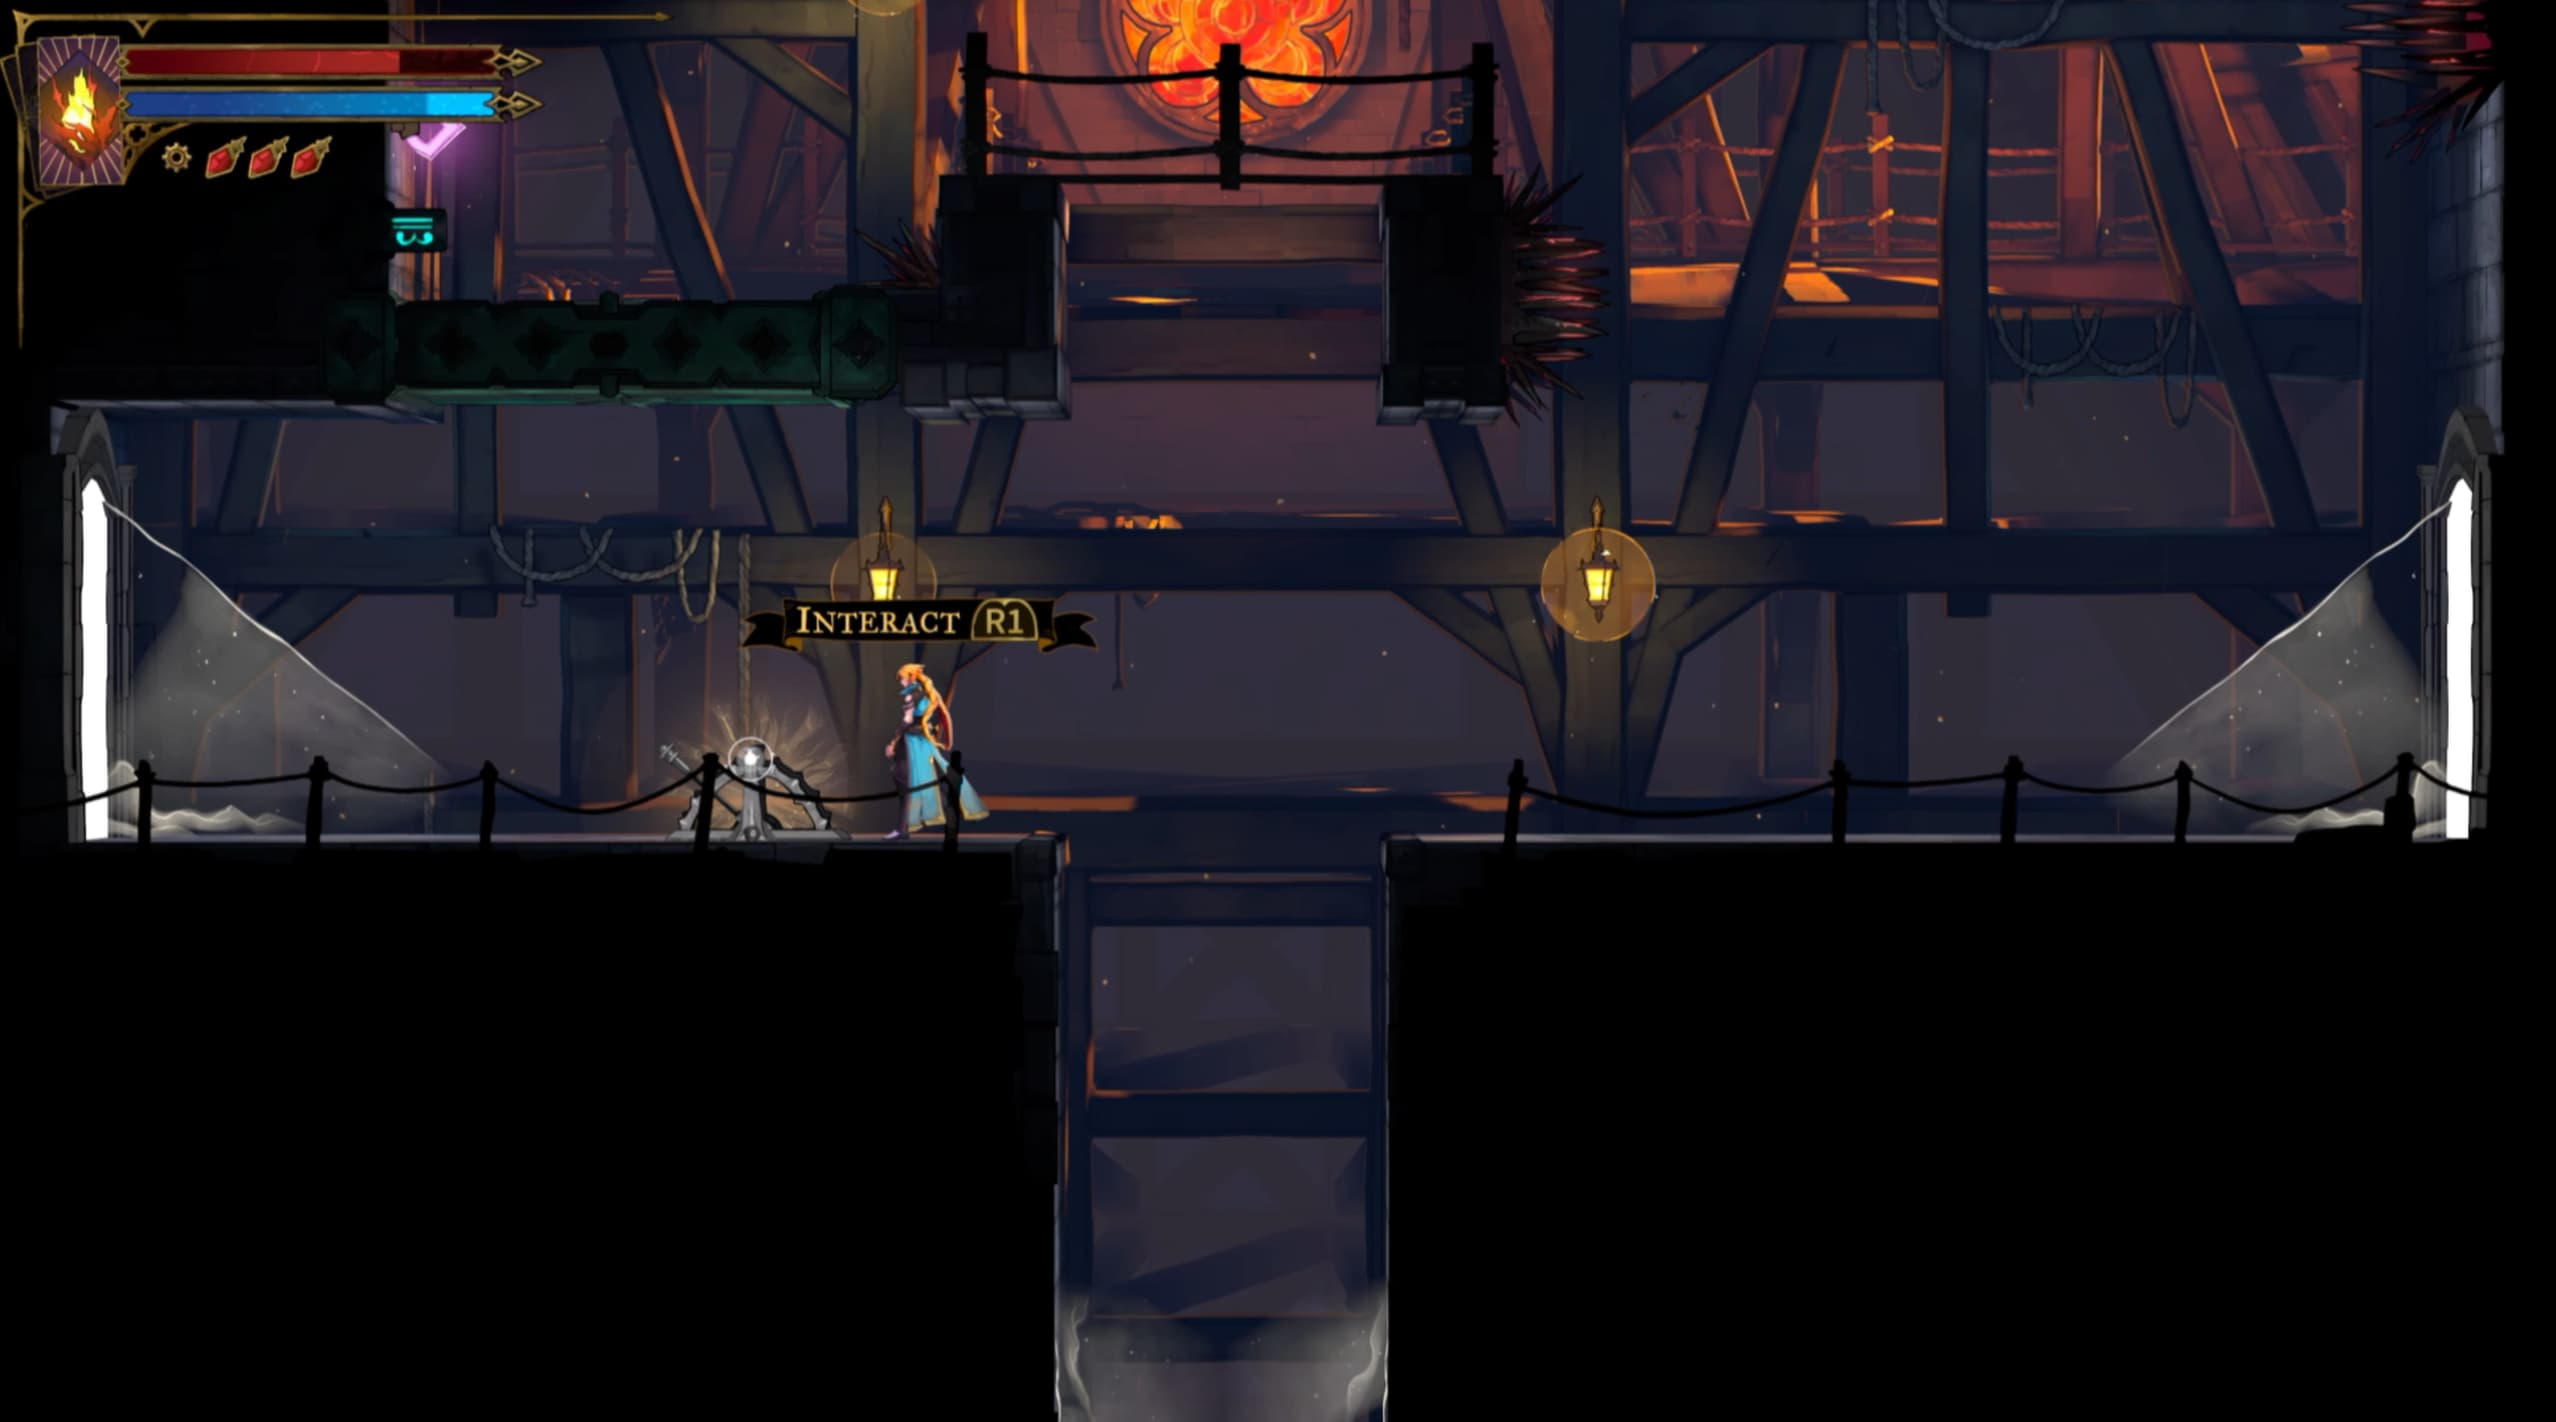
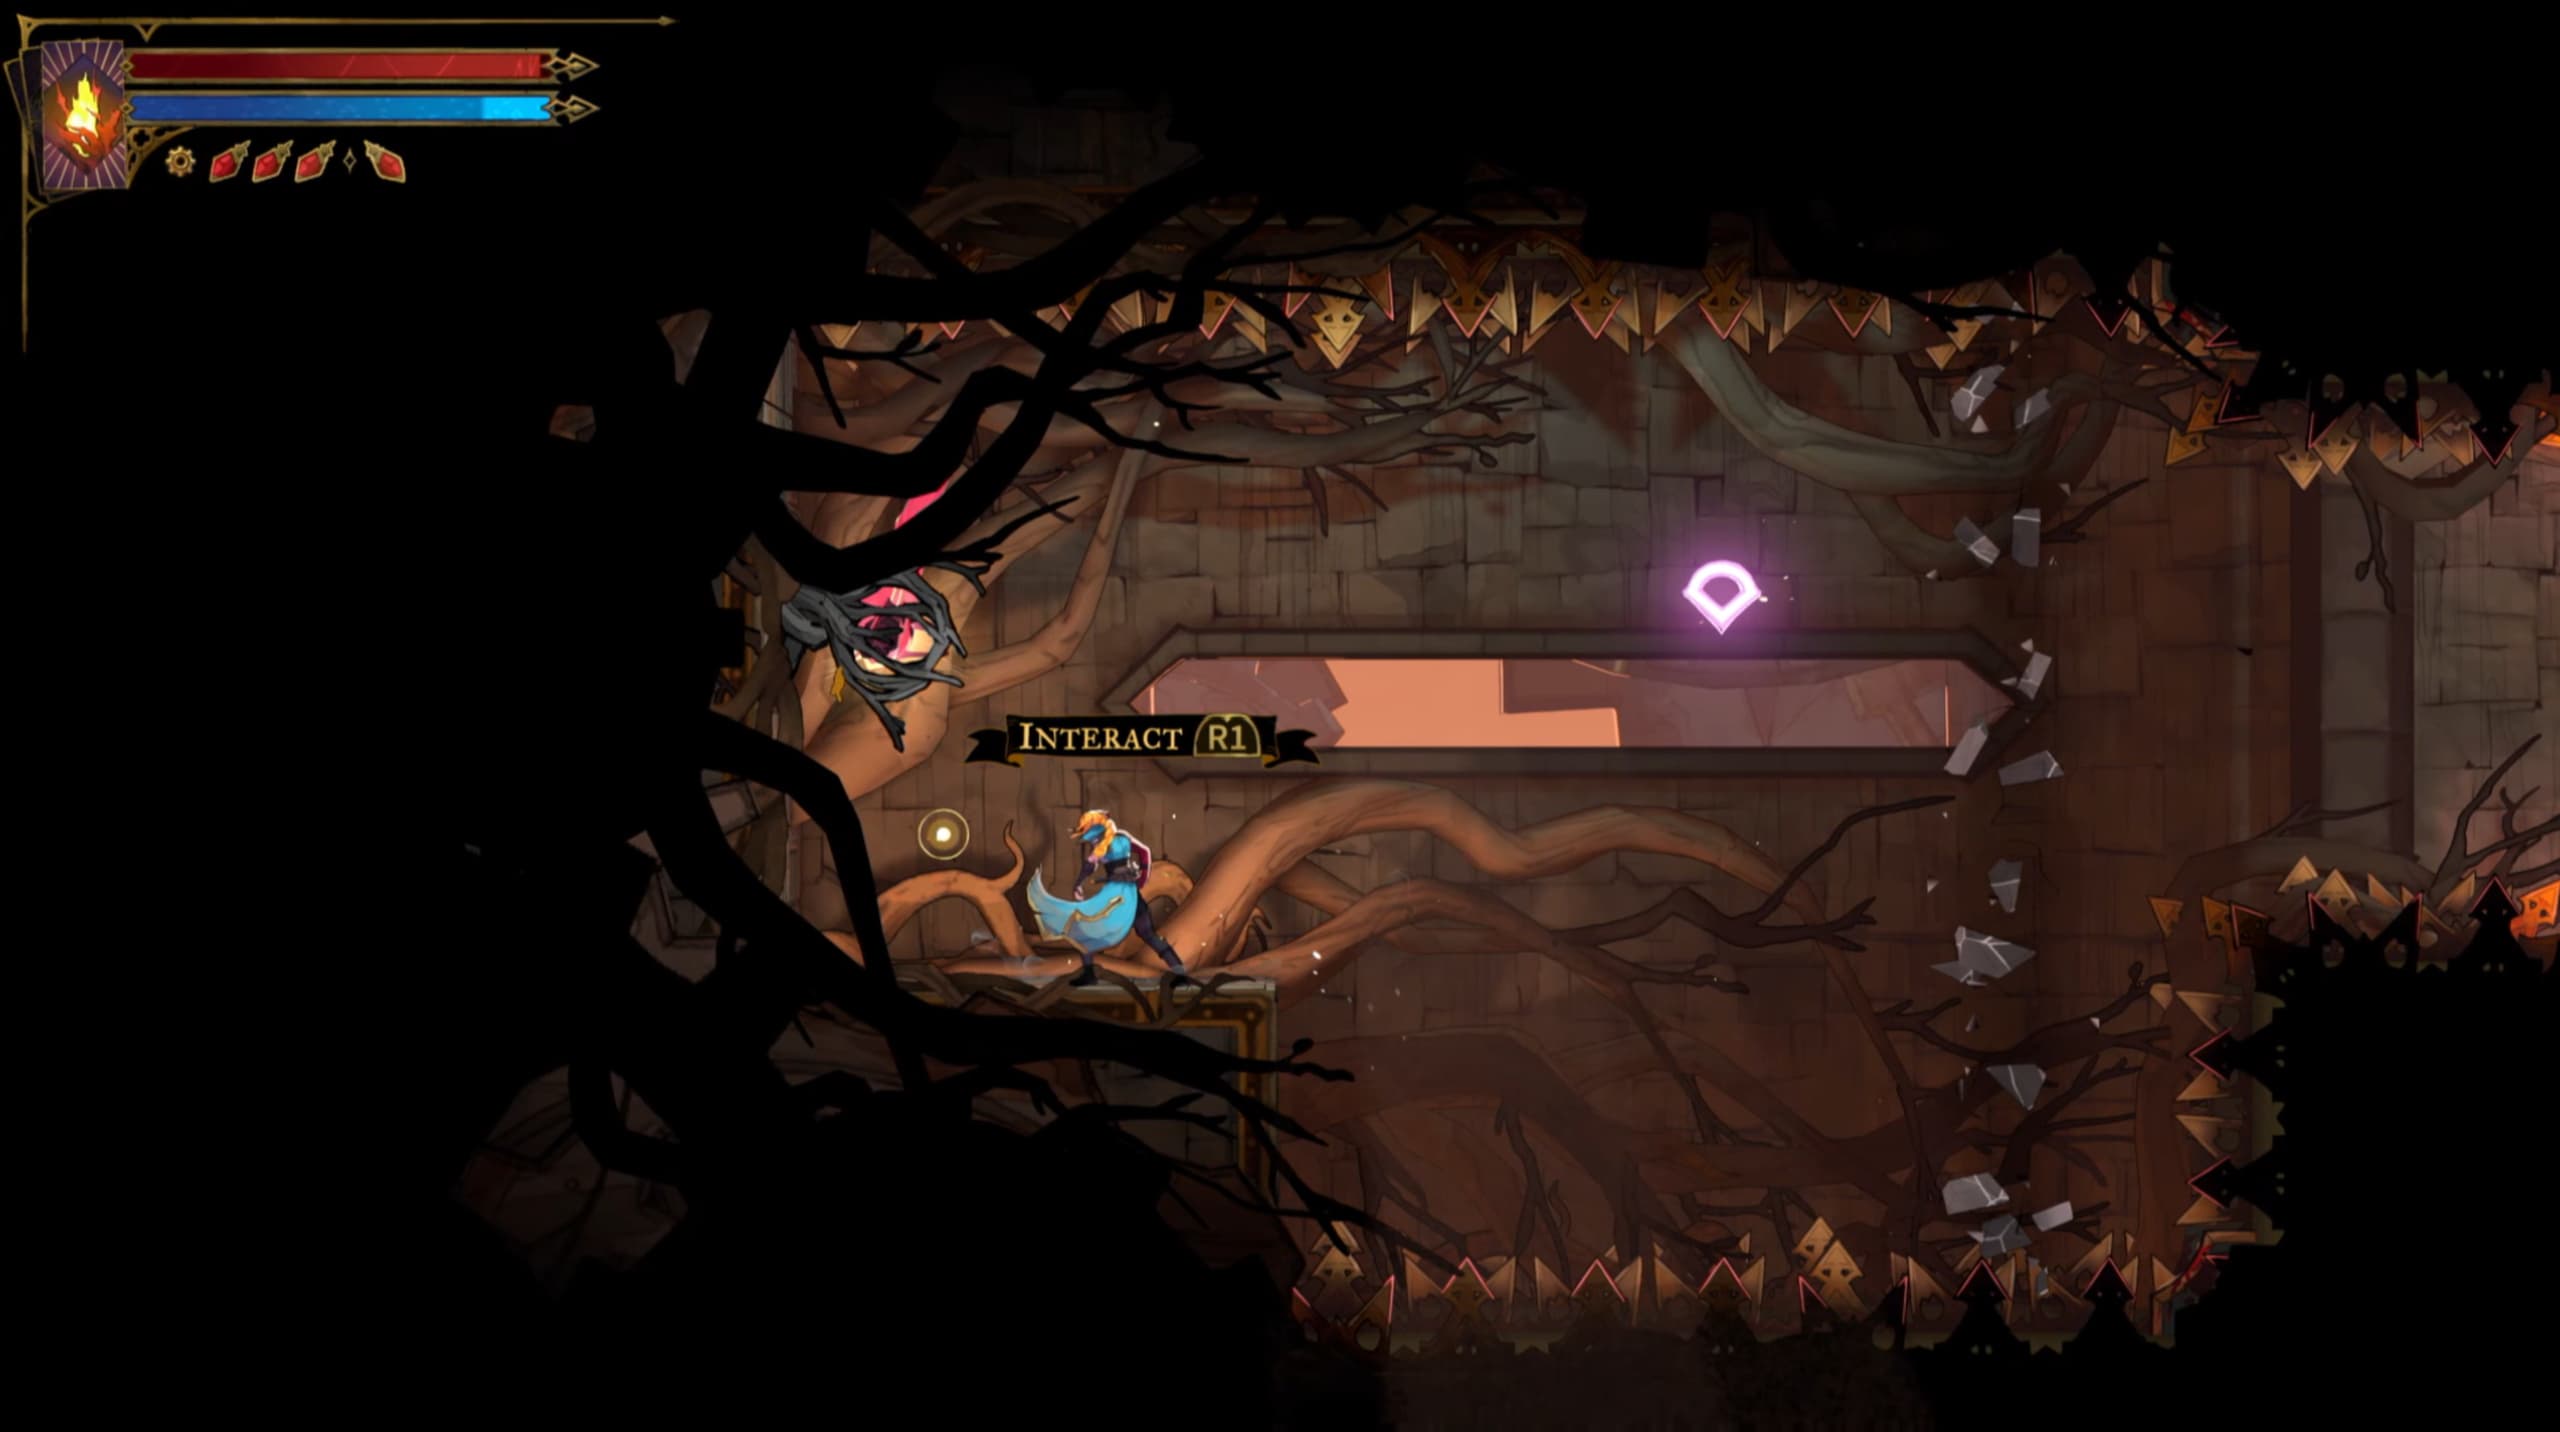
For the next Heart Fragment, make your way to the located marker on the map, and use the Arcane Whip to swing upwards to make it to the upper platform to reach the Fragment.
The next Heart Fragment as shown on the map and collecting image below.
And the next Fragment as shown in the map and collecting image below, use your abilities as required to traverse through the section to reach the Fragment.
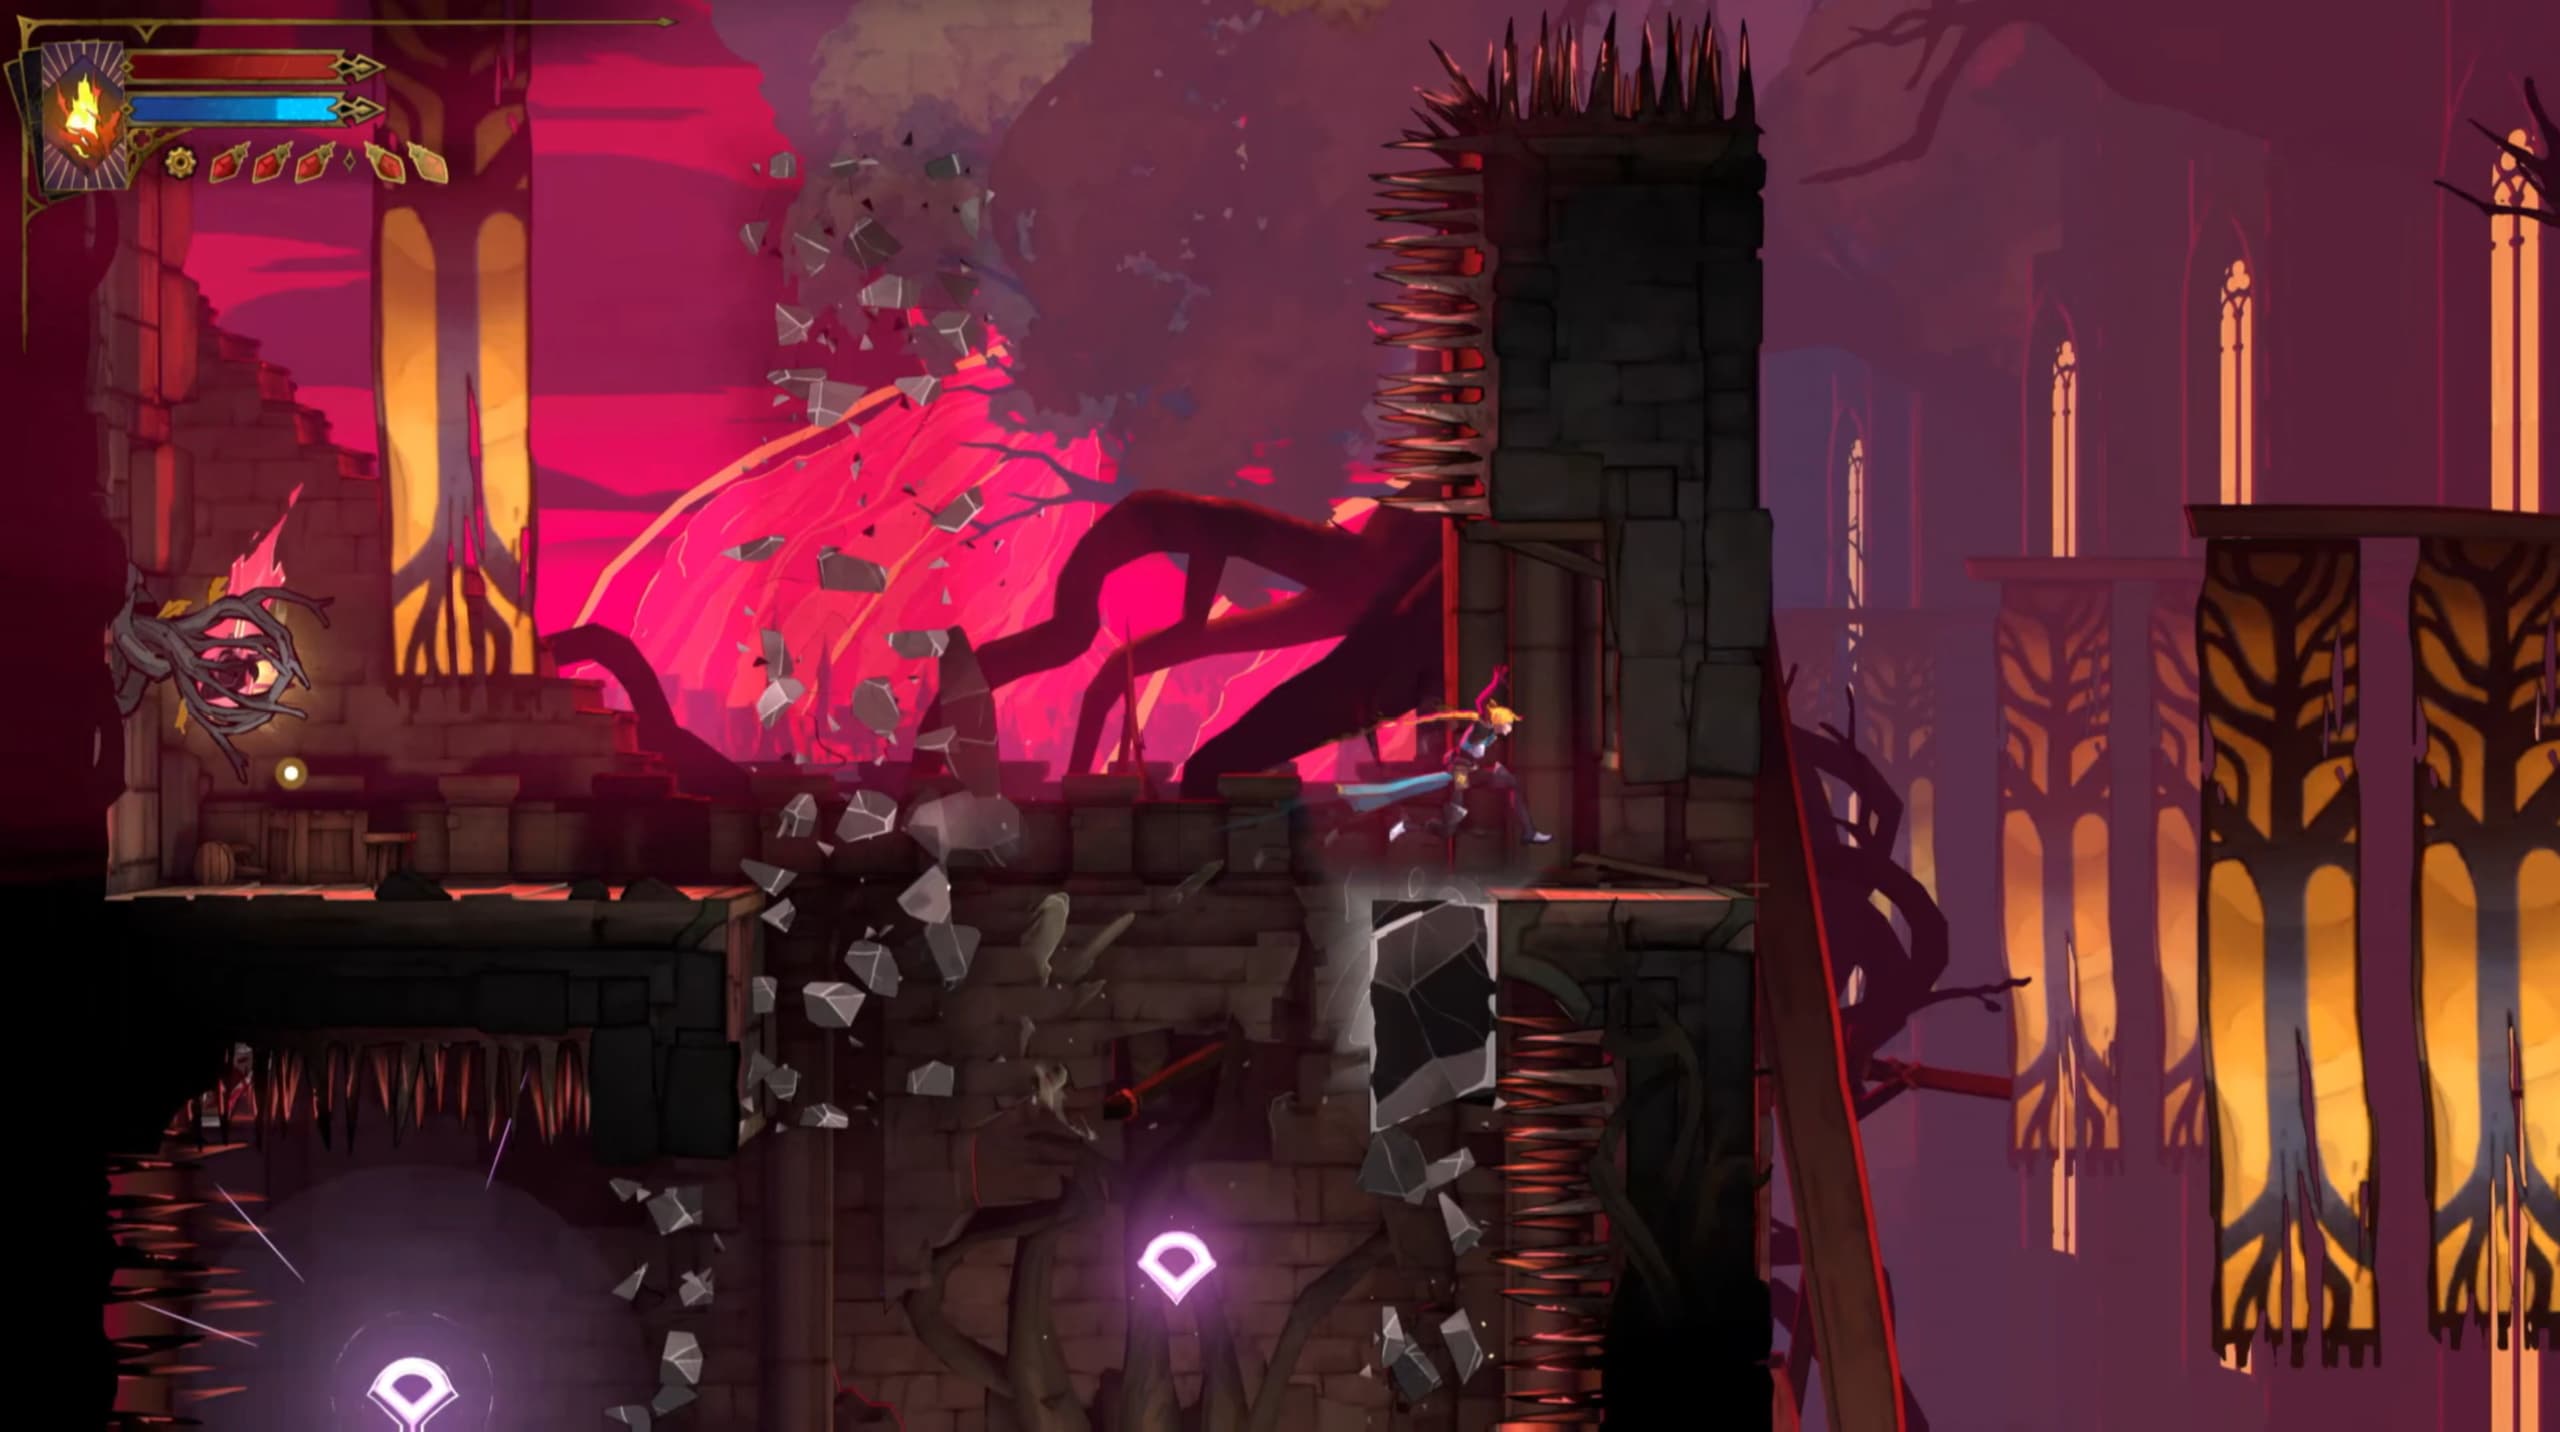
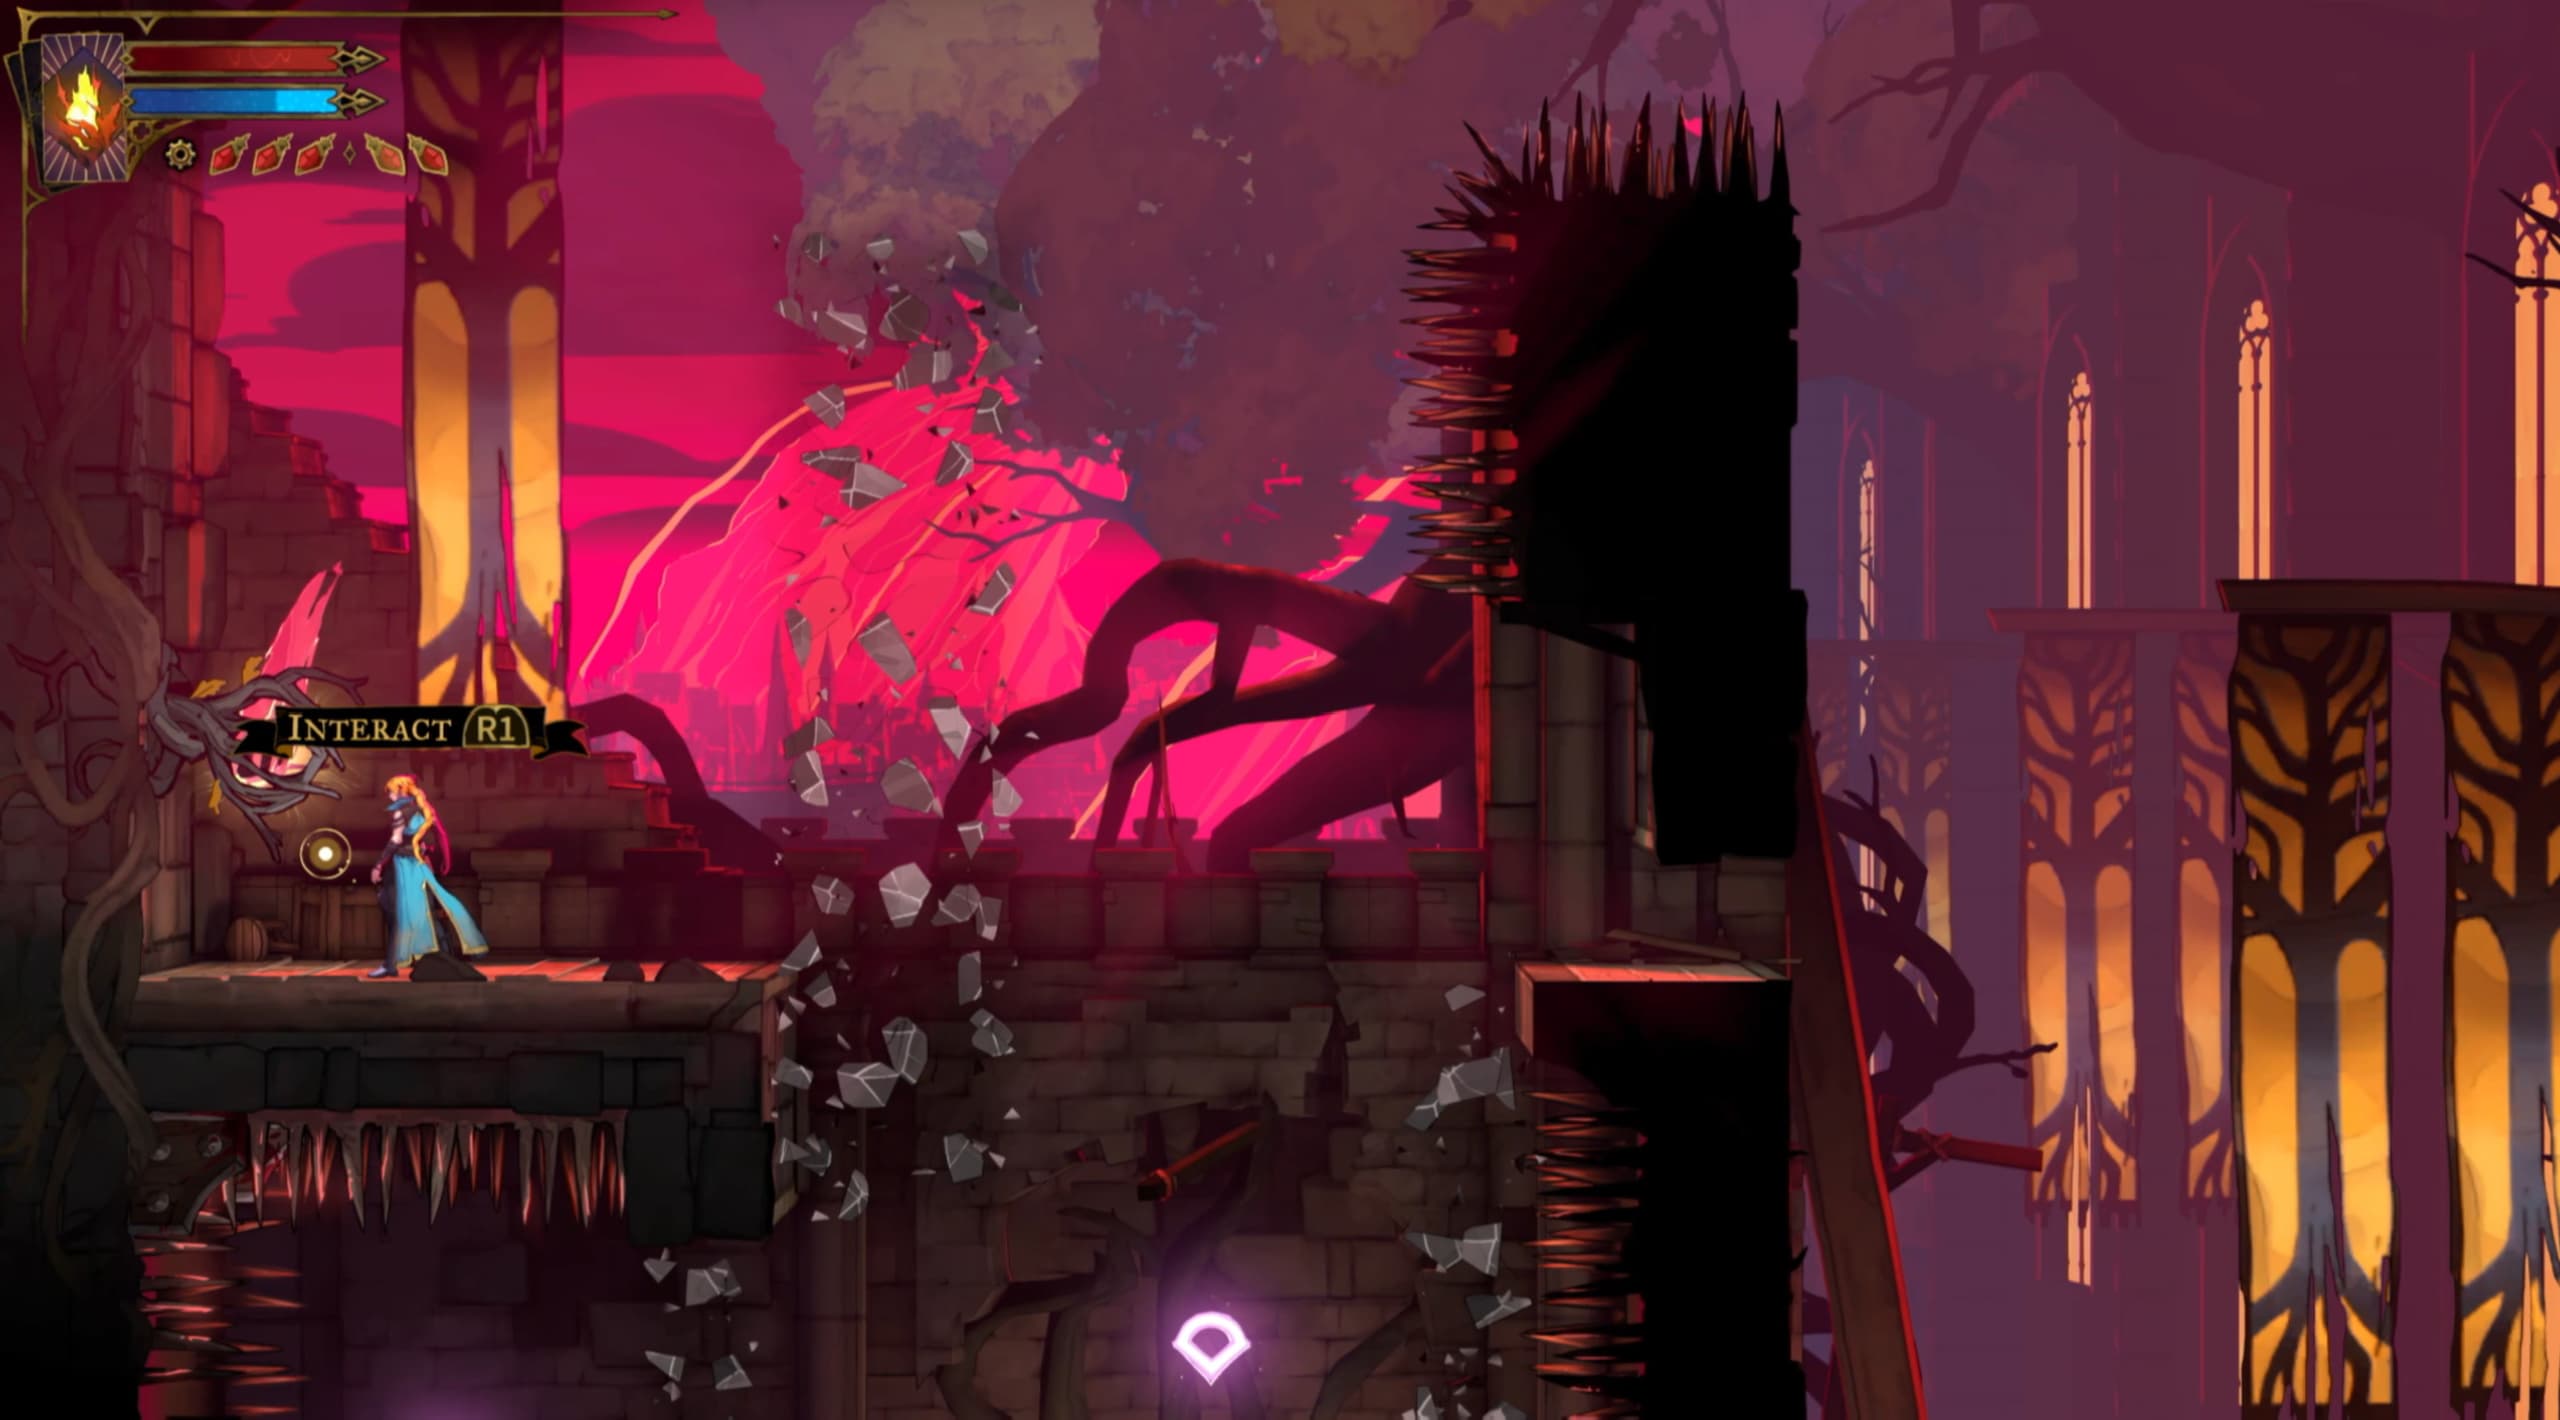
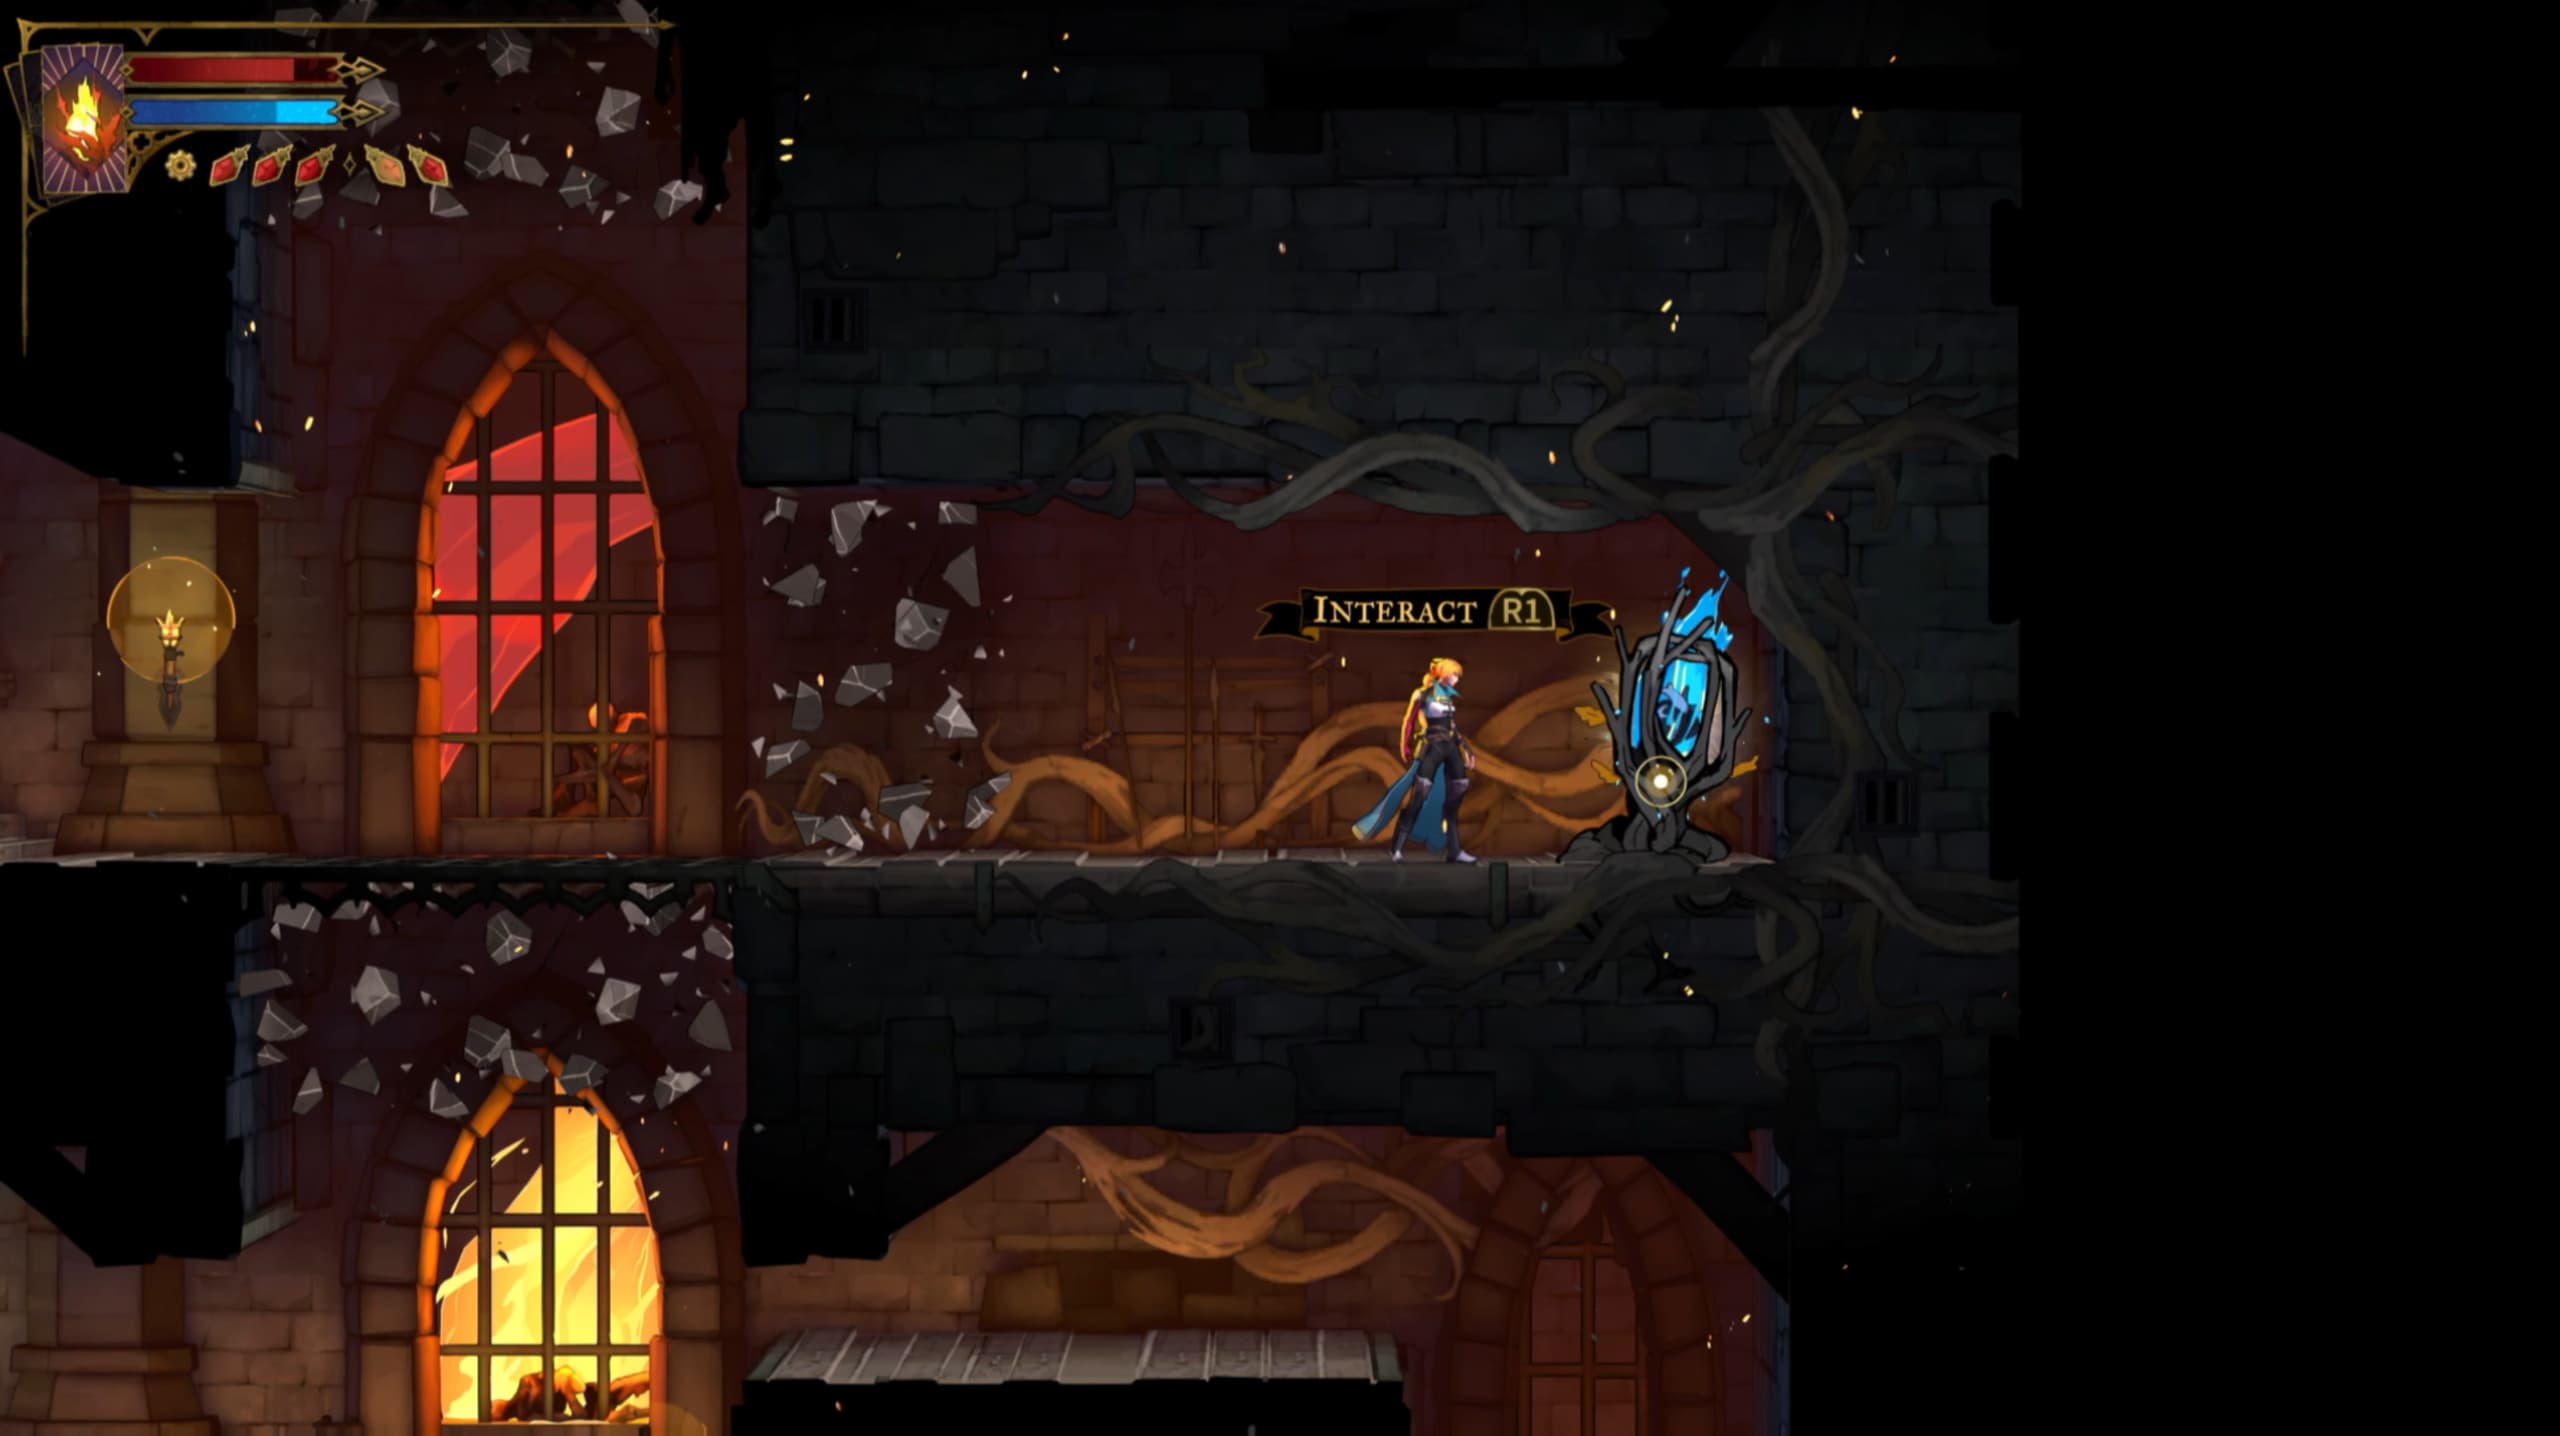
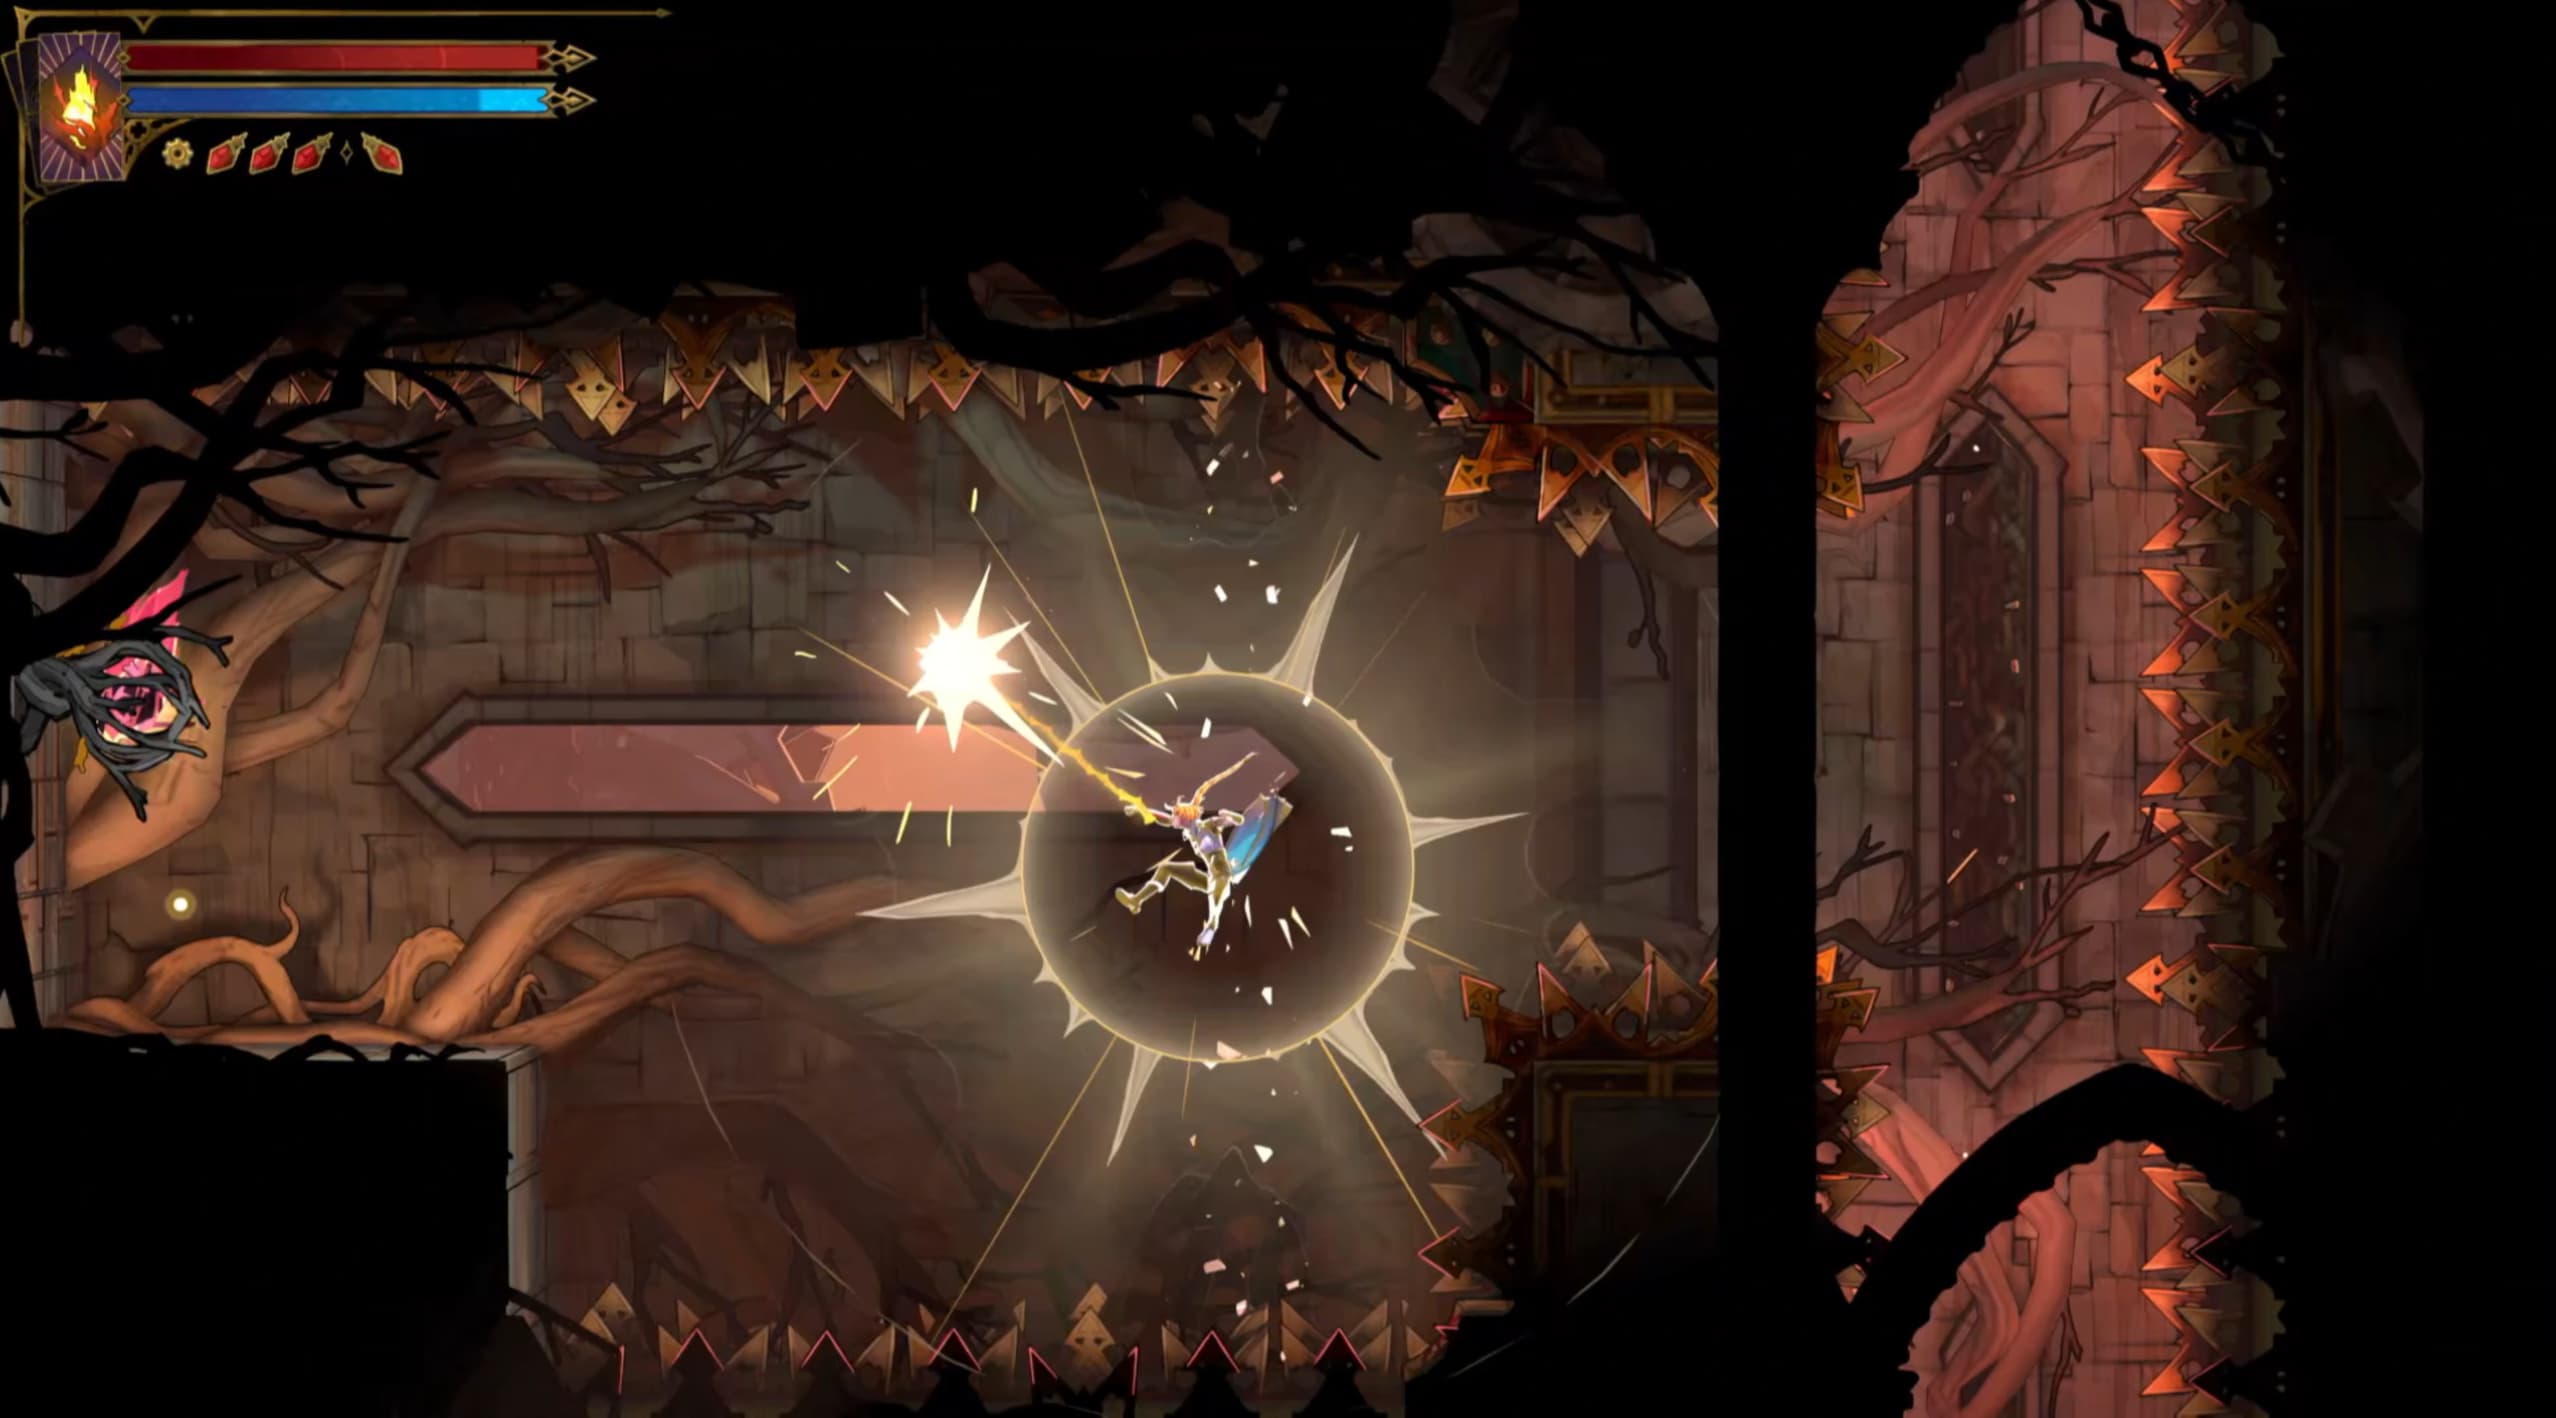
For the next Heart Fragment, you will need to make your way to the pointer as shown on the map below. From here, use your Whip to swing upwards and the Holy Light to make it through the crumbled wall, cautiously whip your way up and to the right again using the Holy Light when required, then make it up to the platform on the right to have a breather.
From here you jump and dash your way through the crumbled wall using the Holy Light again, to reach the Heart Fragment on the left.
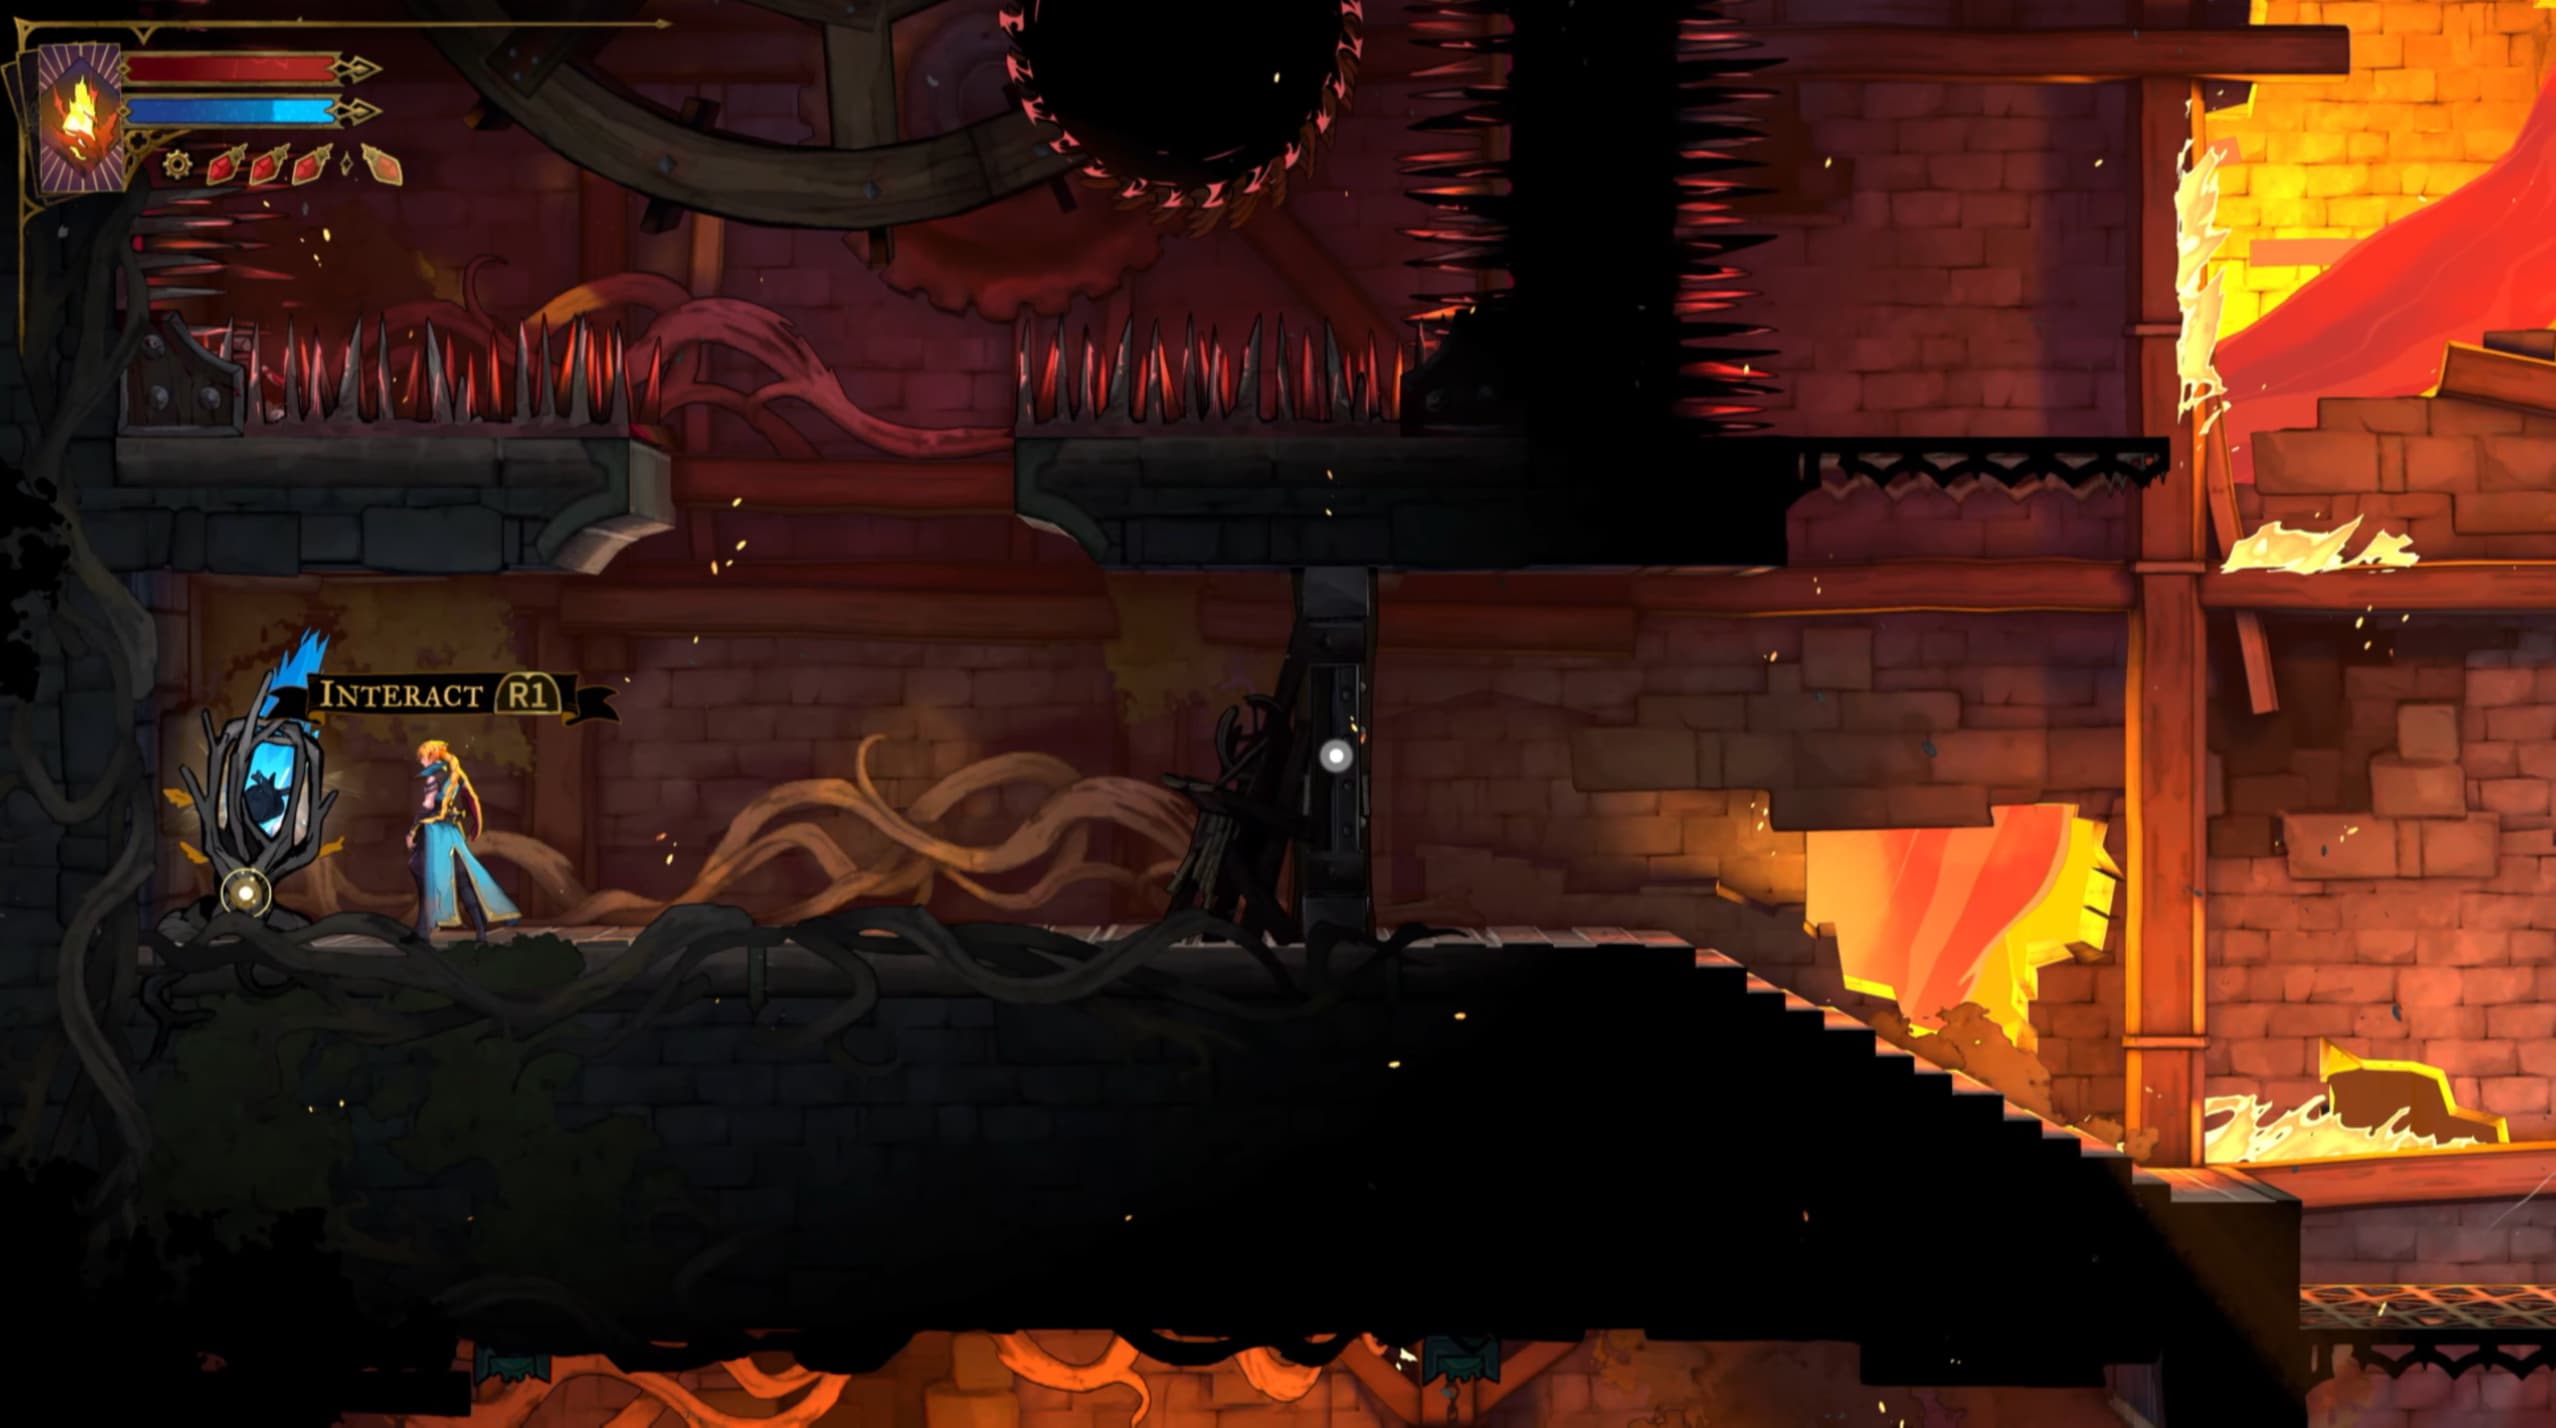
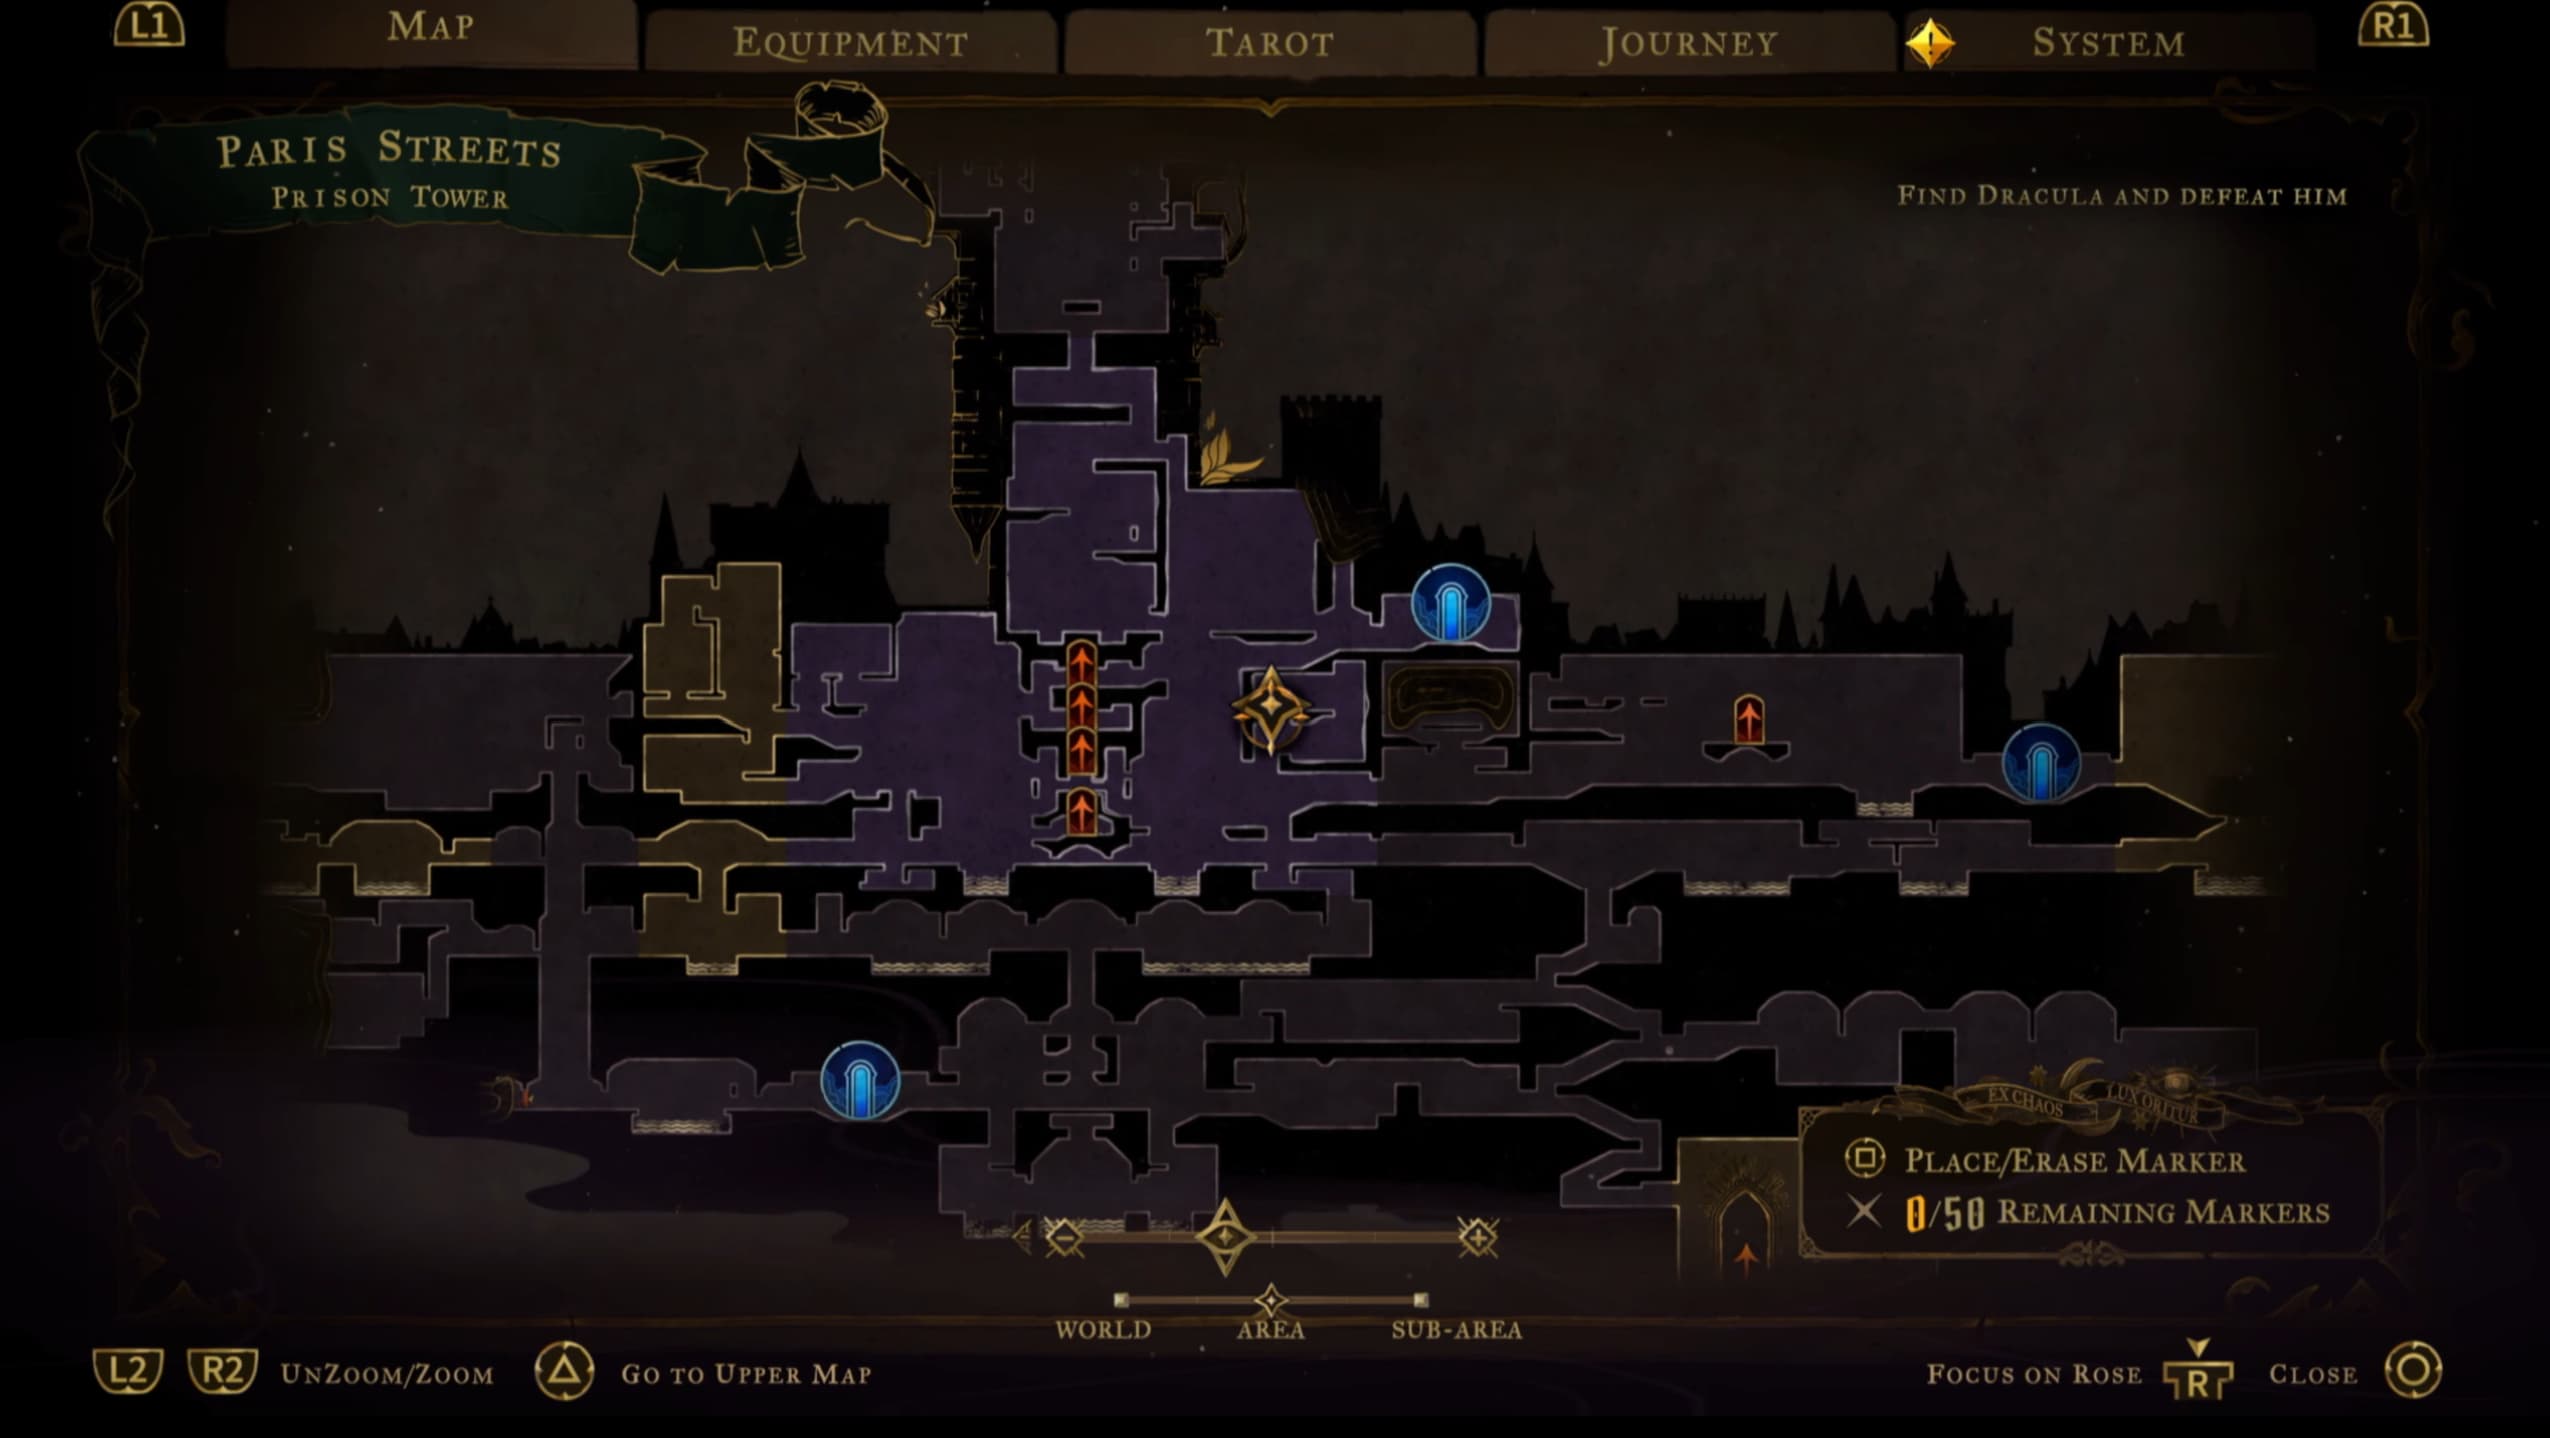
For the final Heart Fragment in Paris Streets, make your way to the following door on the map below.
This will lead you to the following door (the lower center of the map below), from here make it up to the pointer in the top right of the map shown below to find the last Fragment in this area.
Holy Innocents' Cemetery
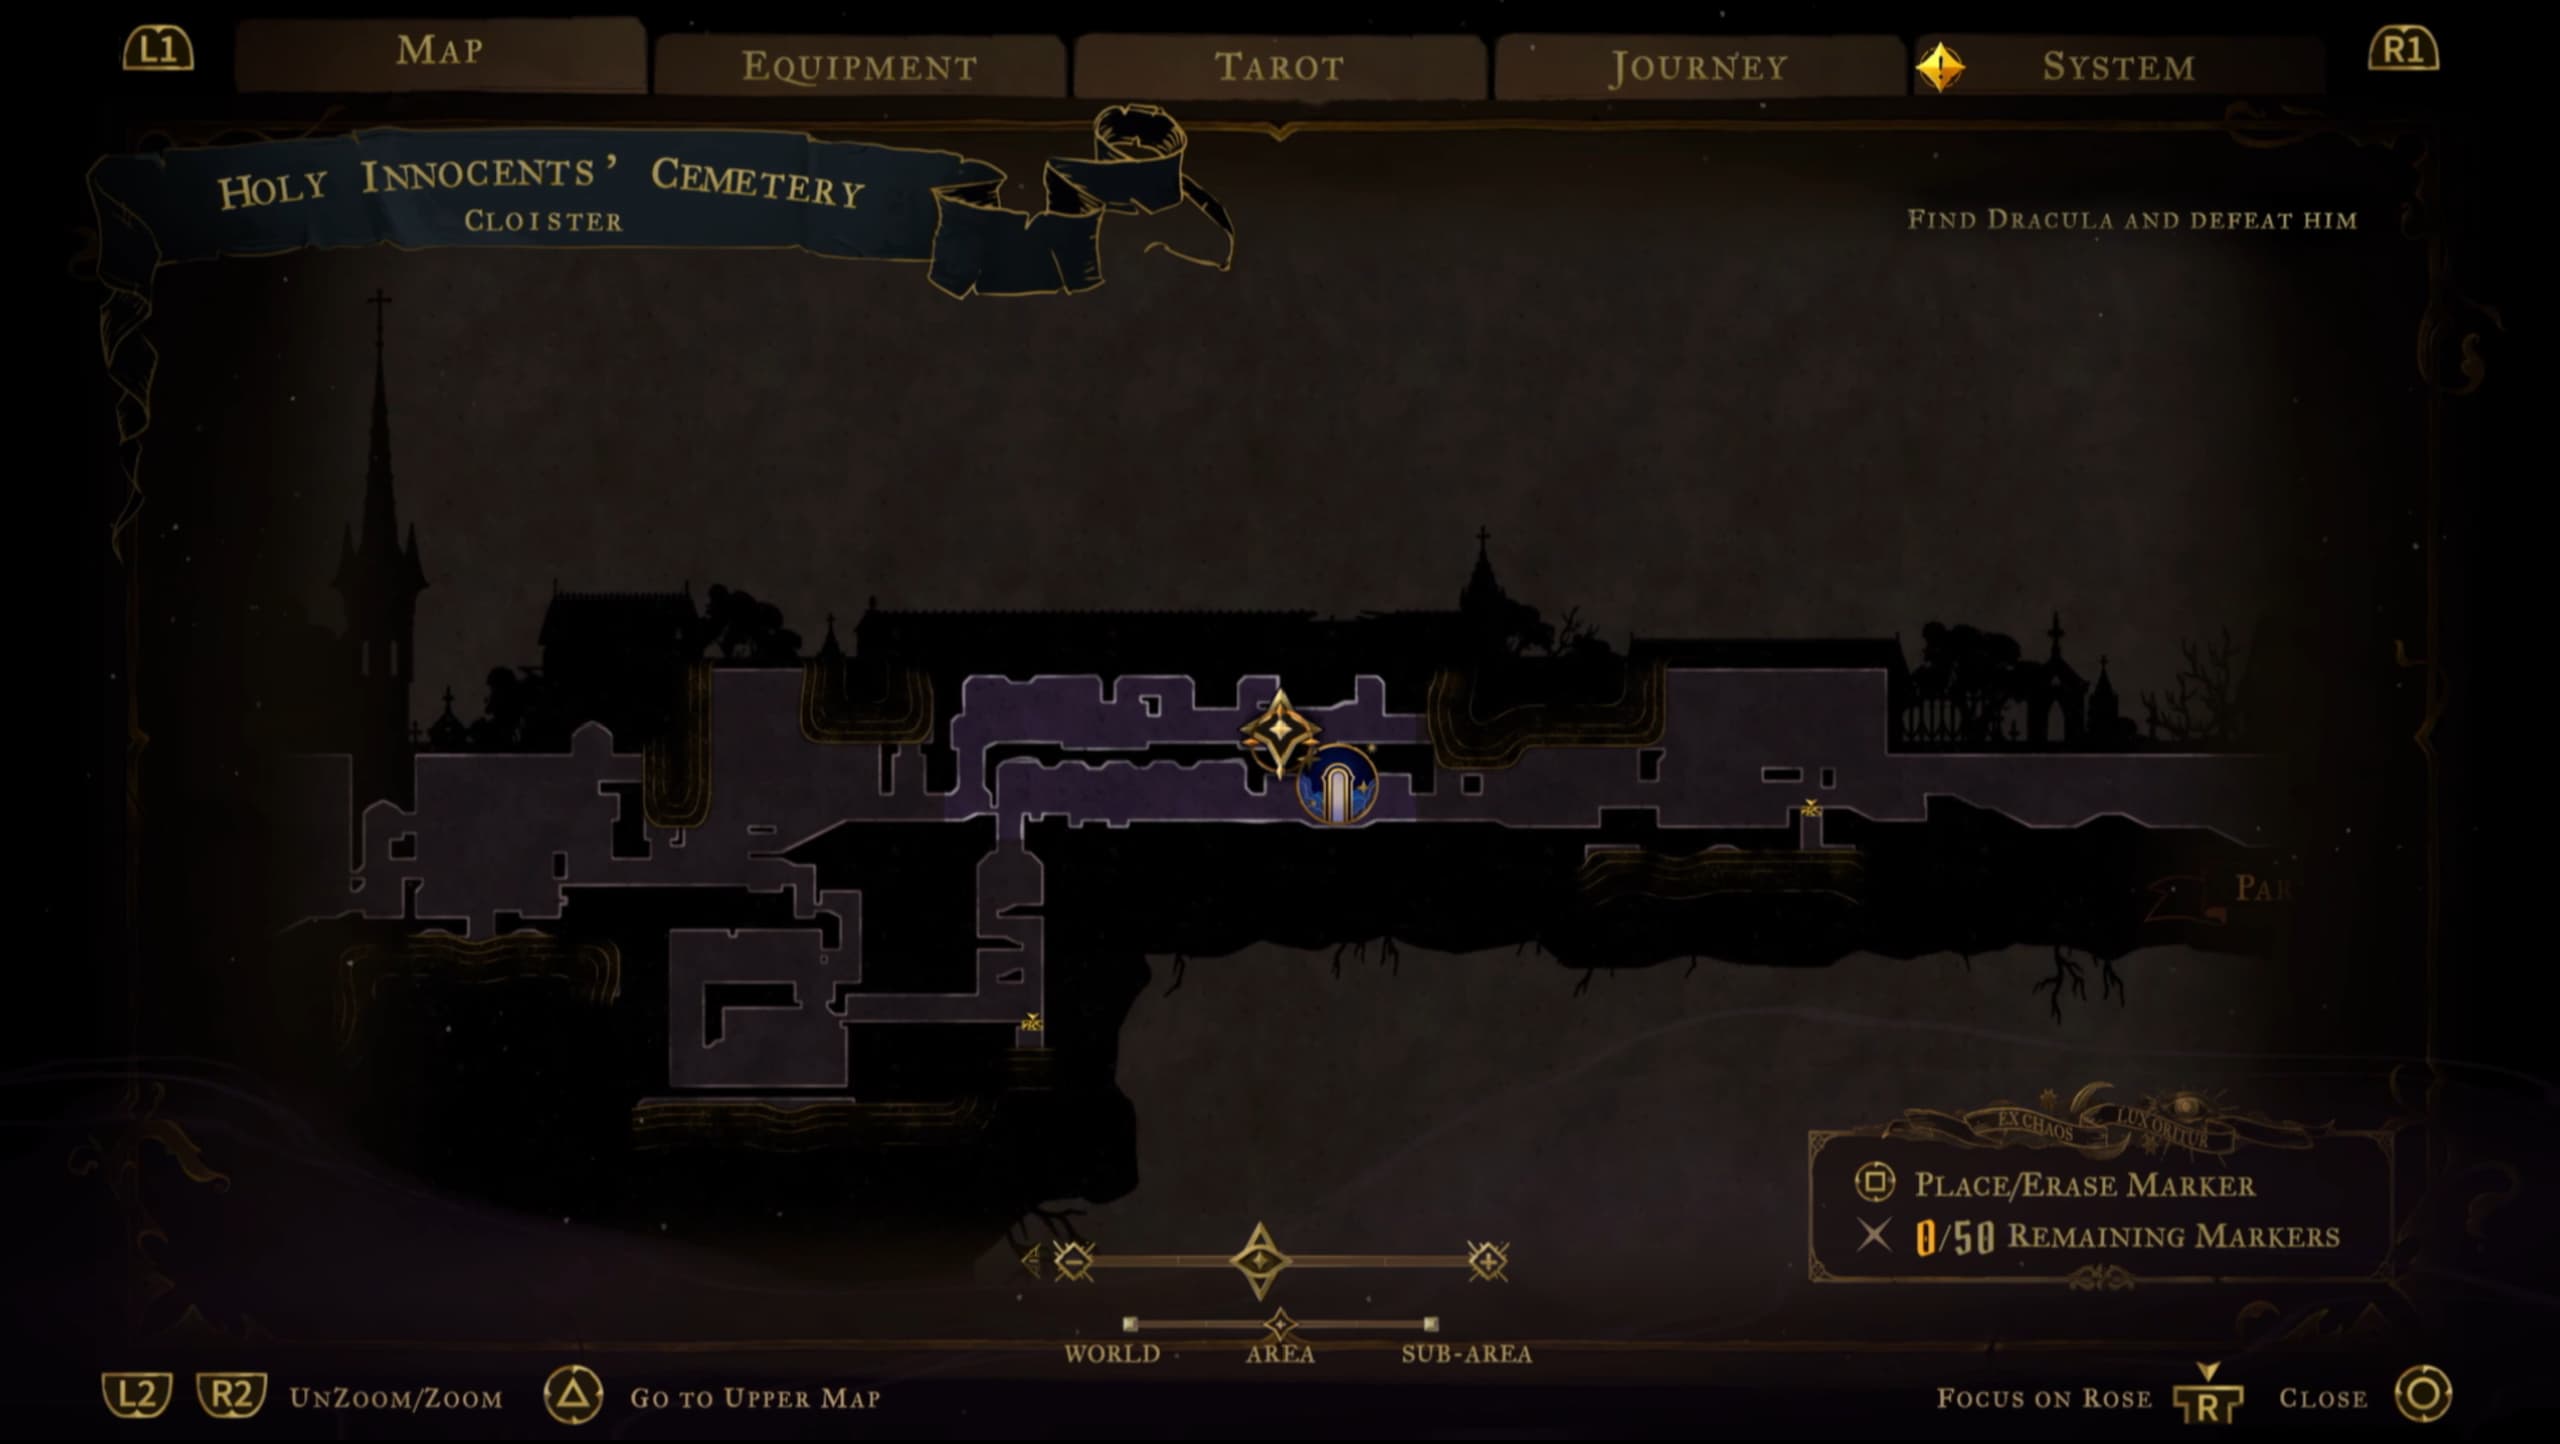
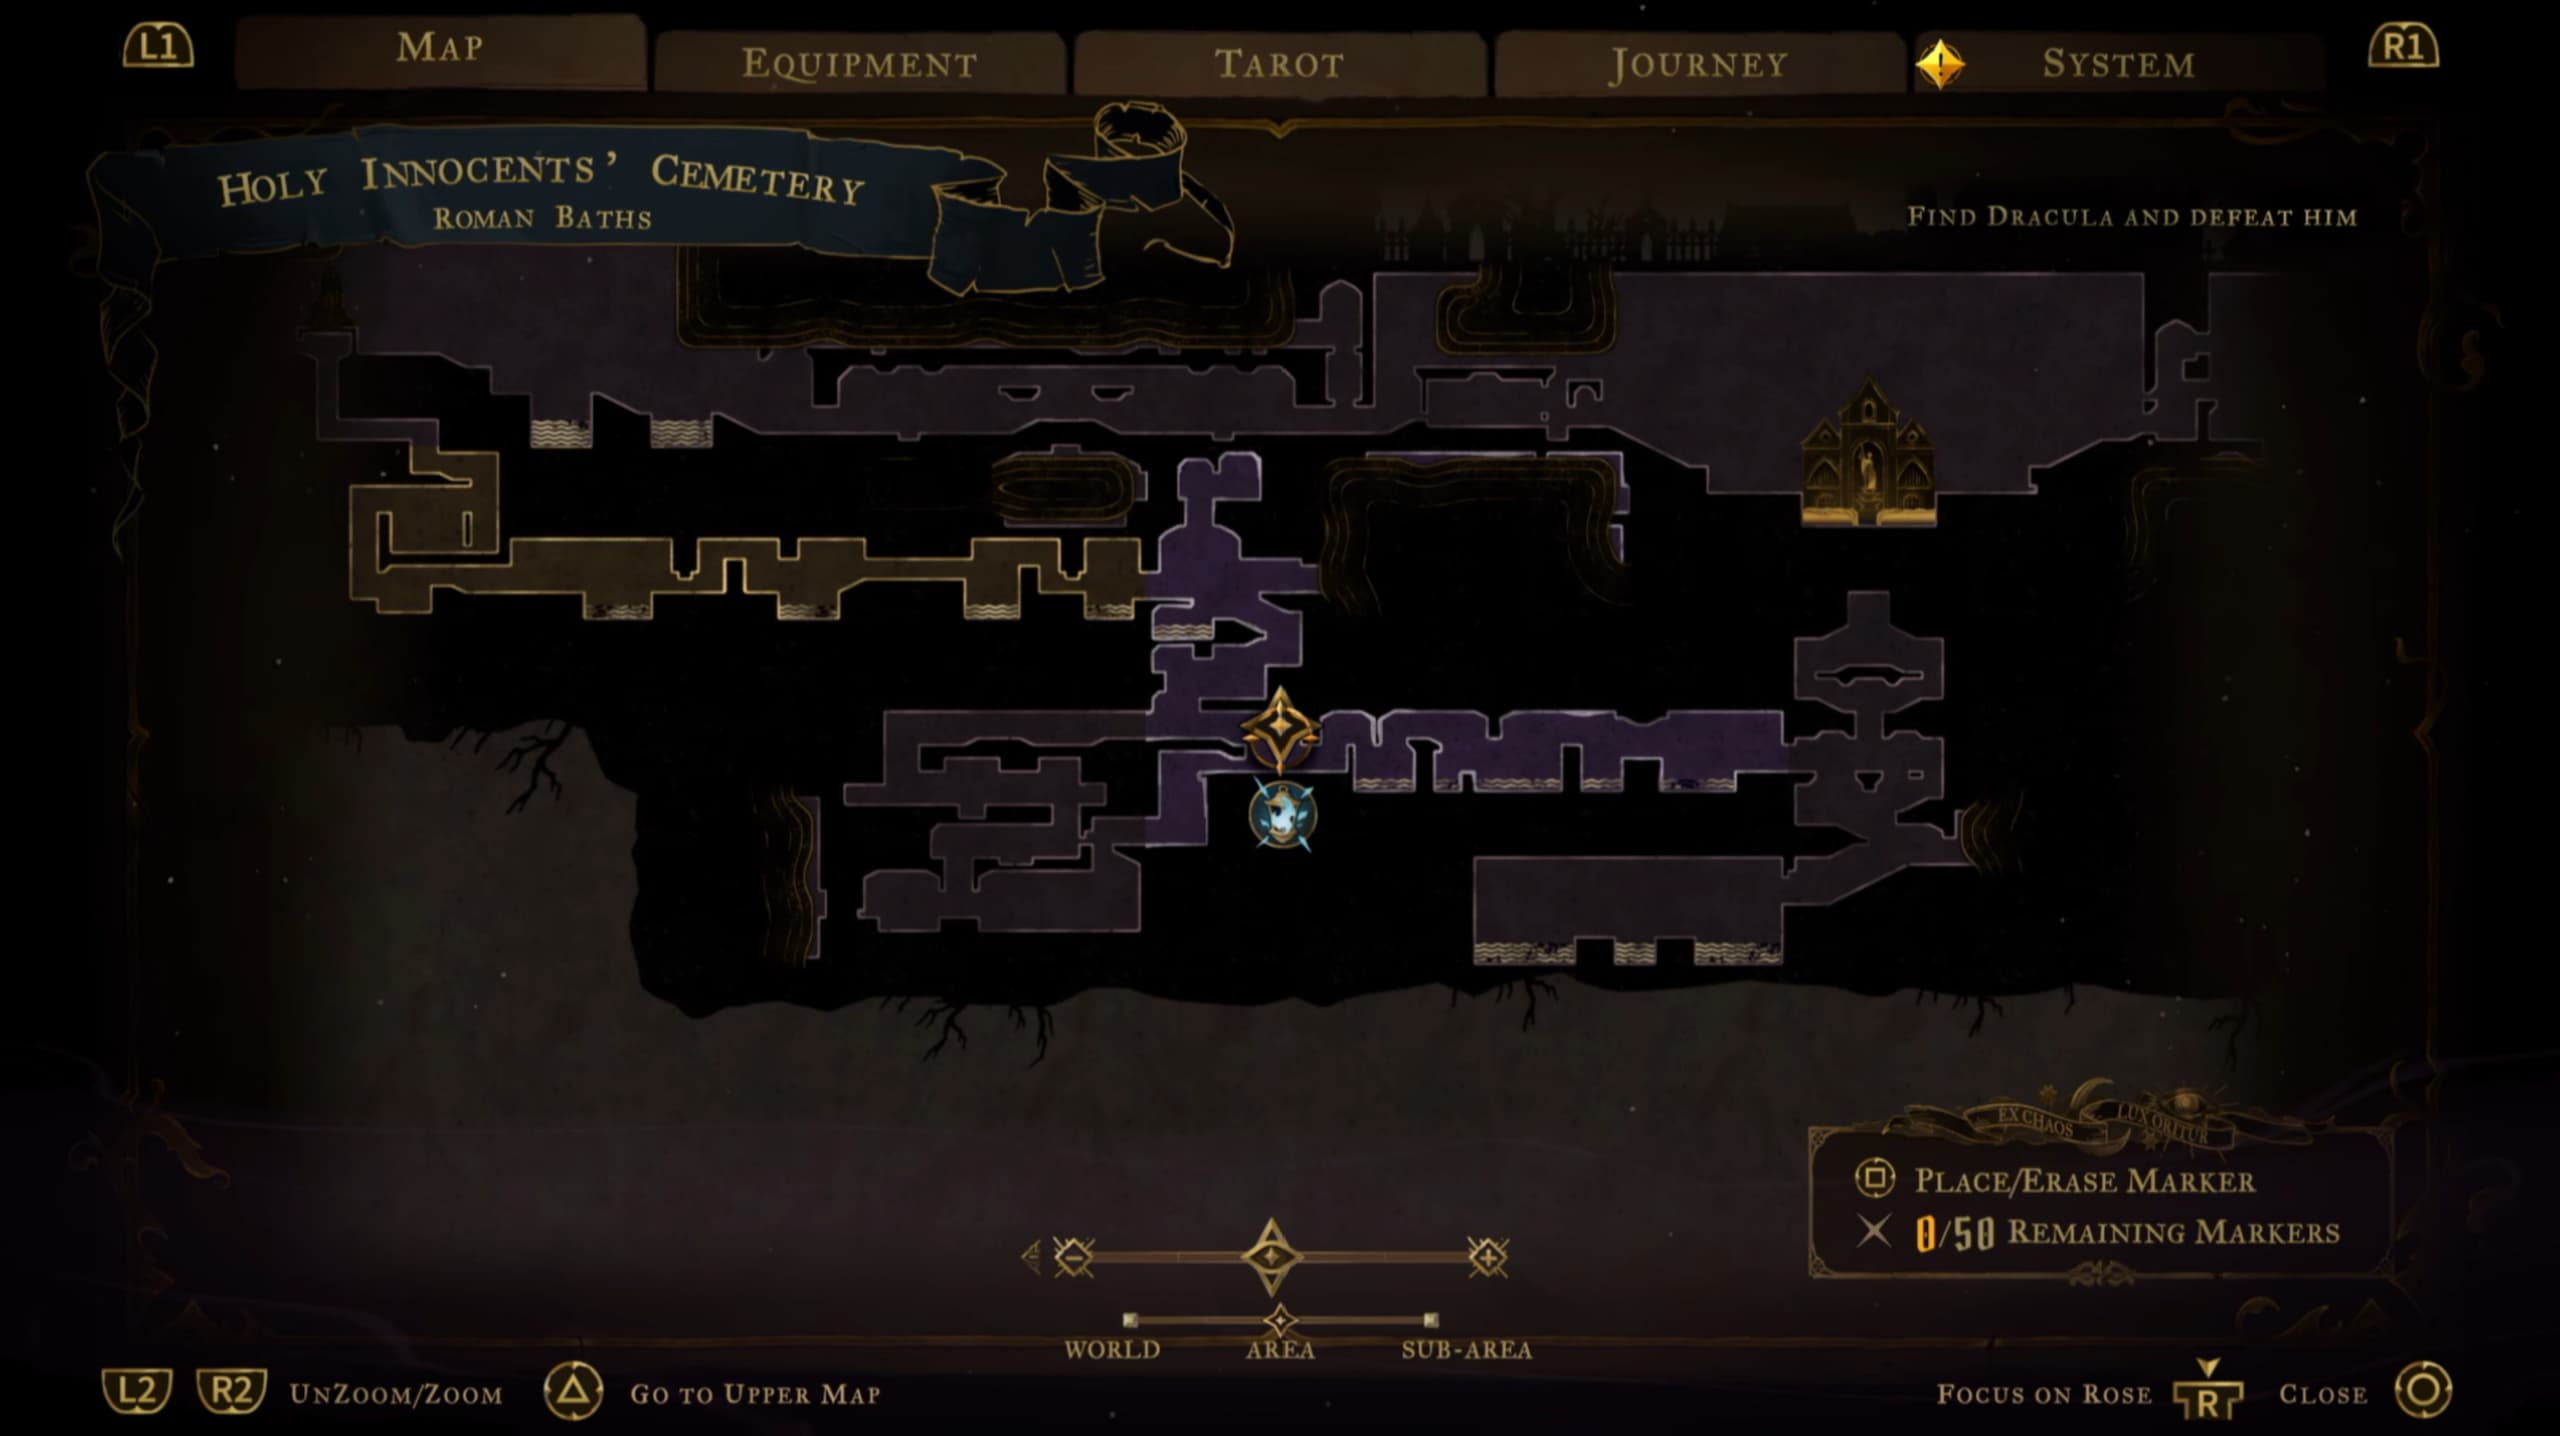
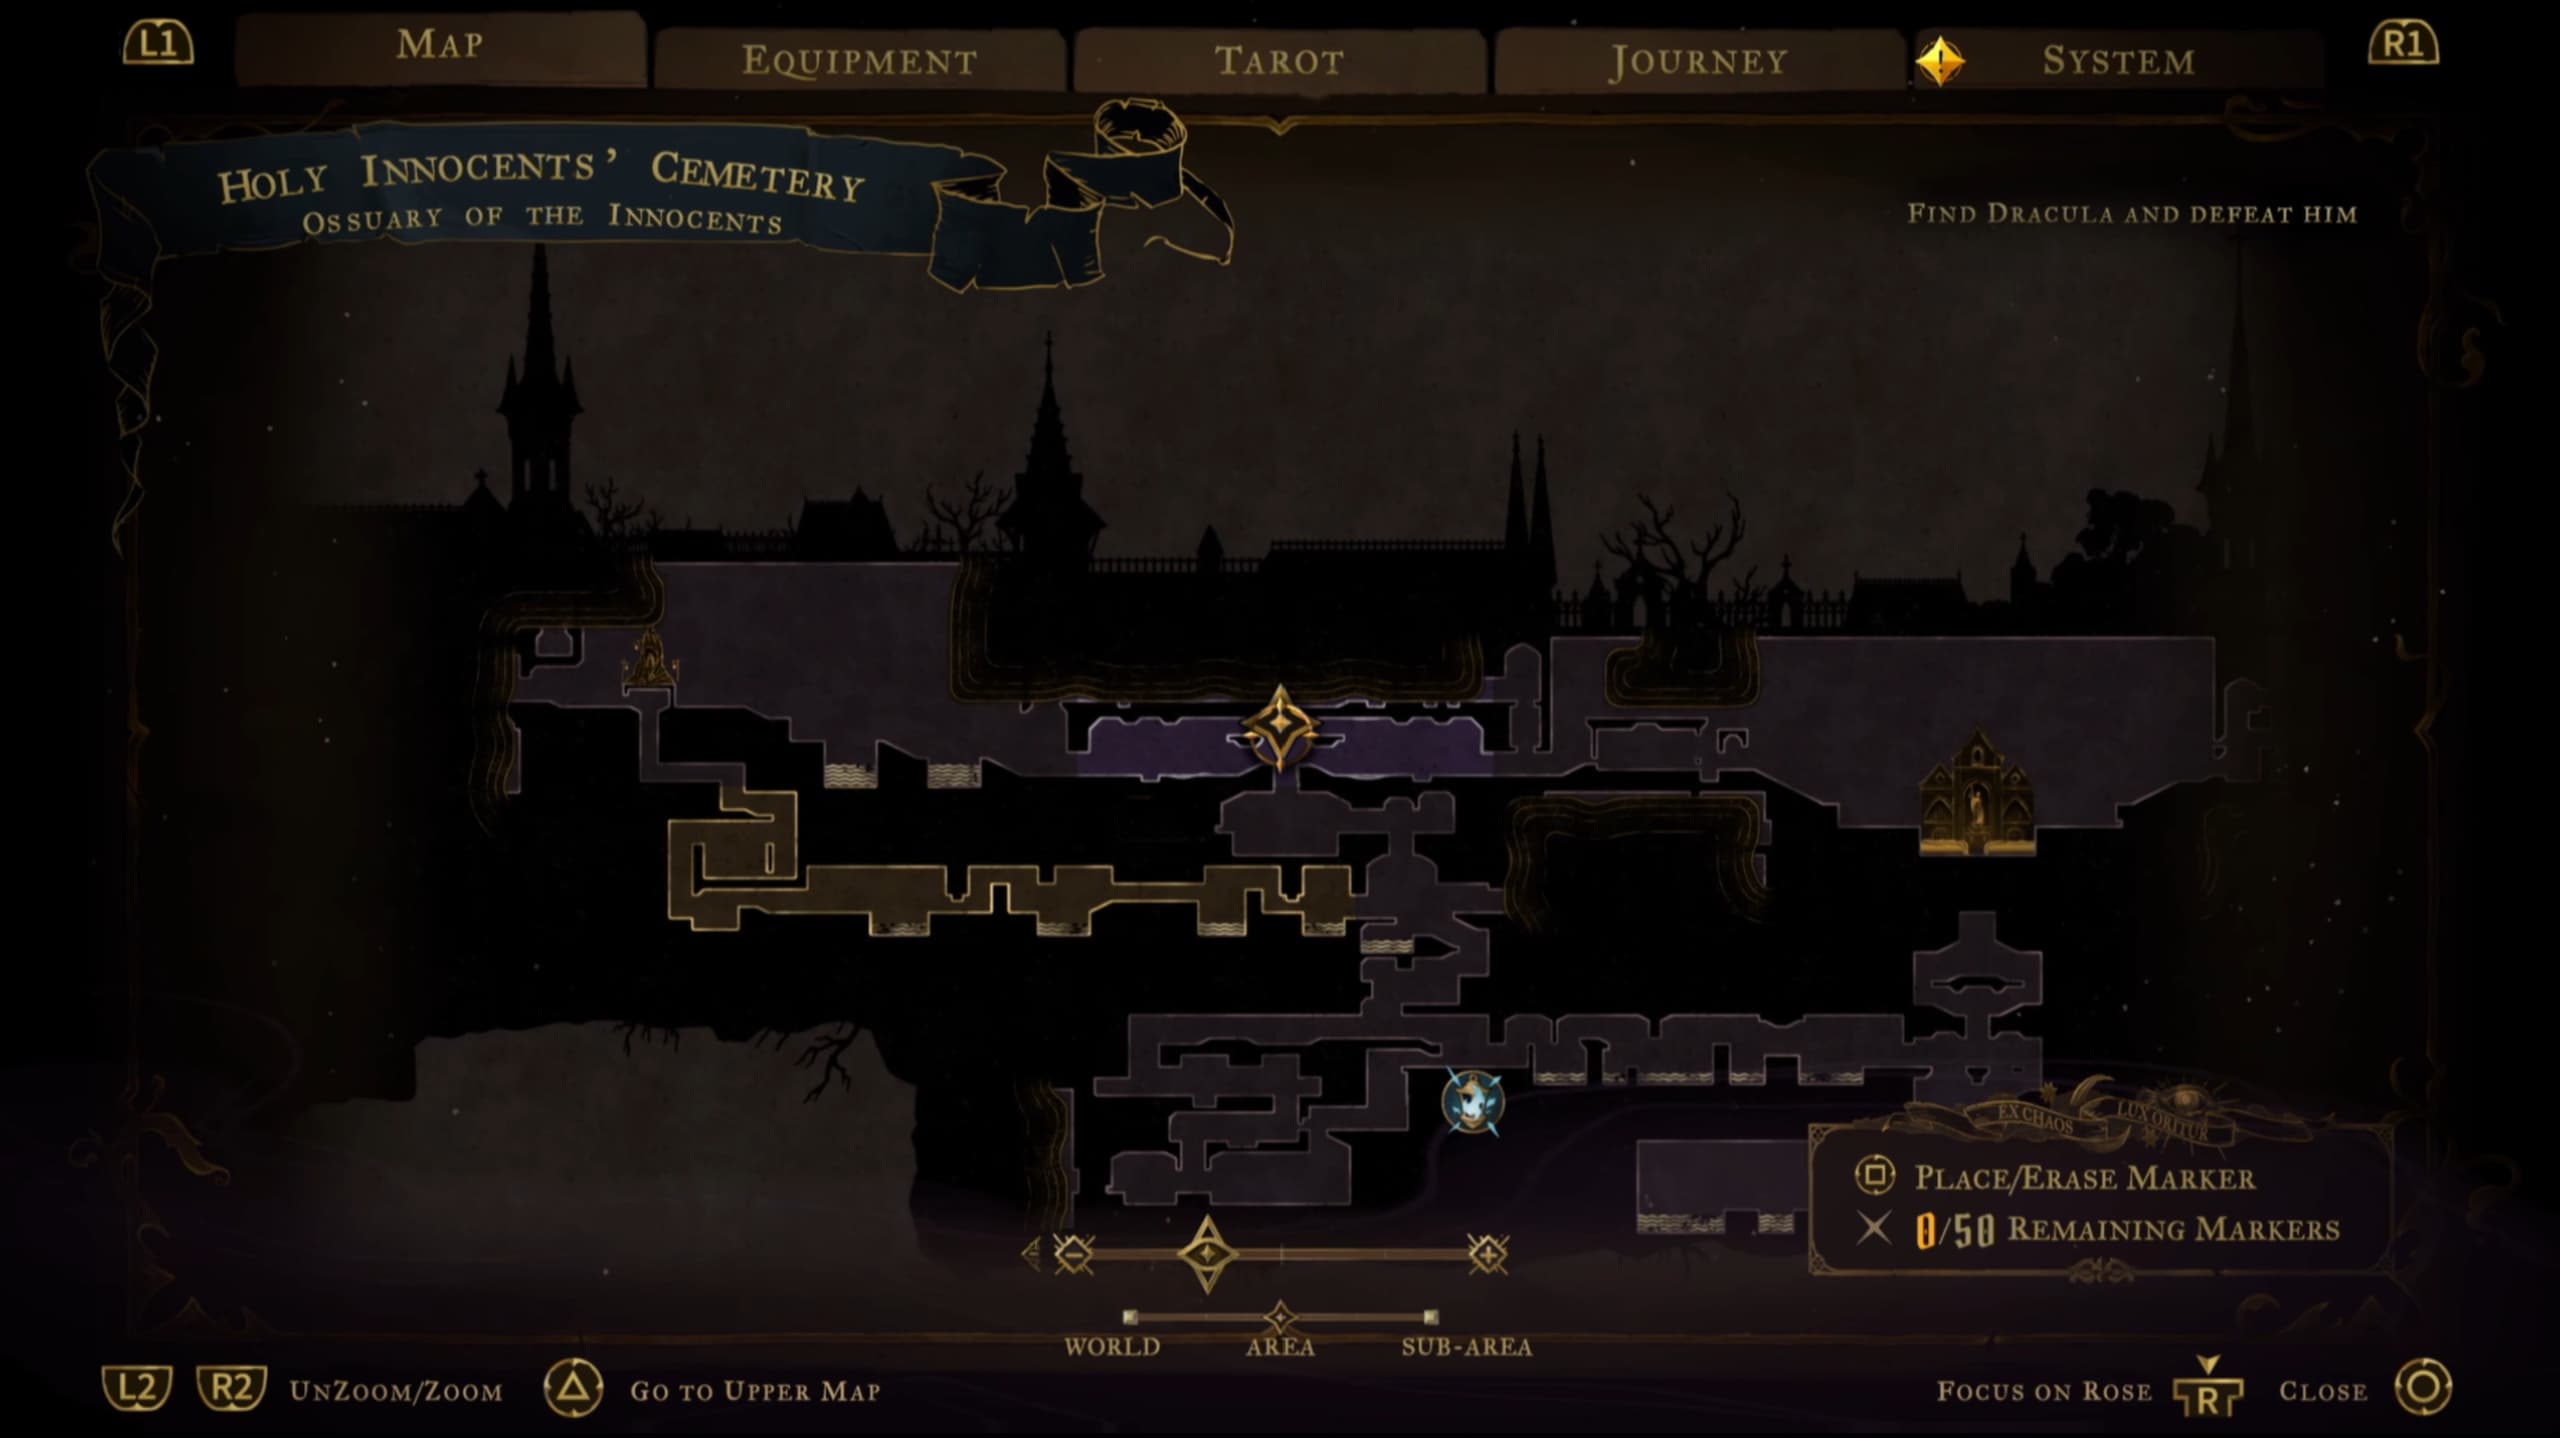
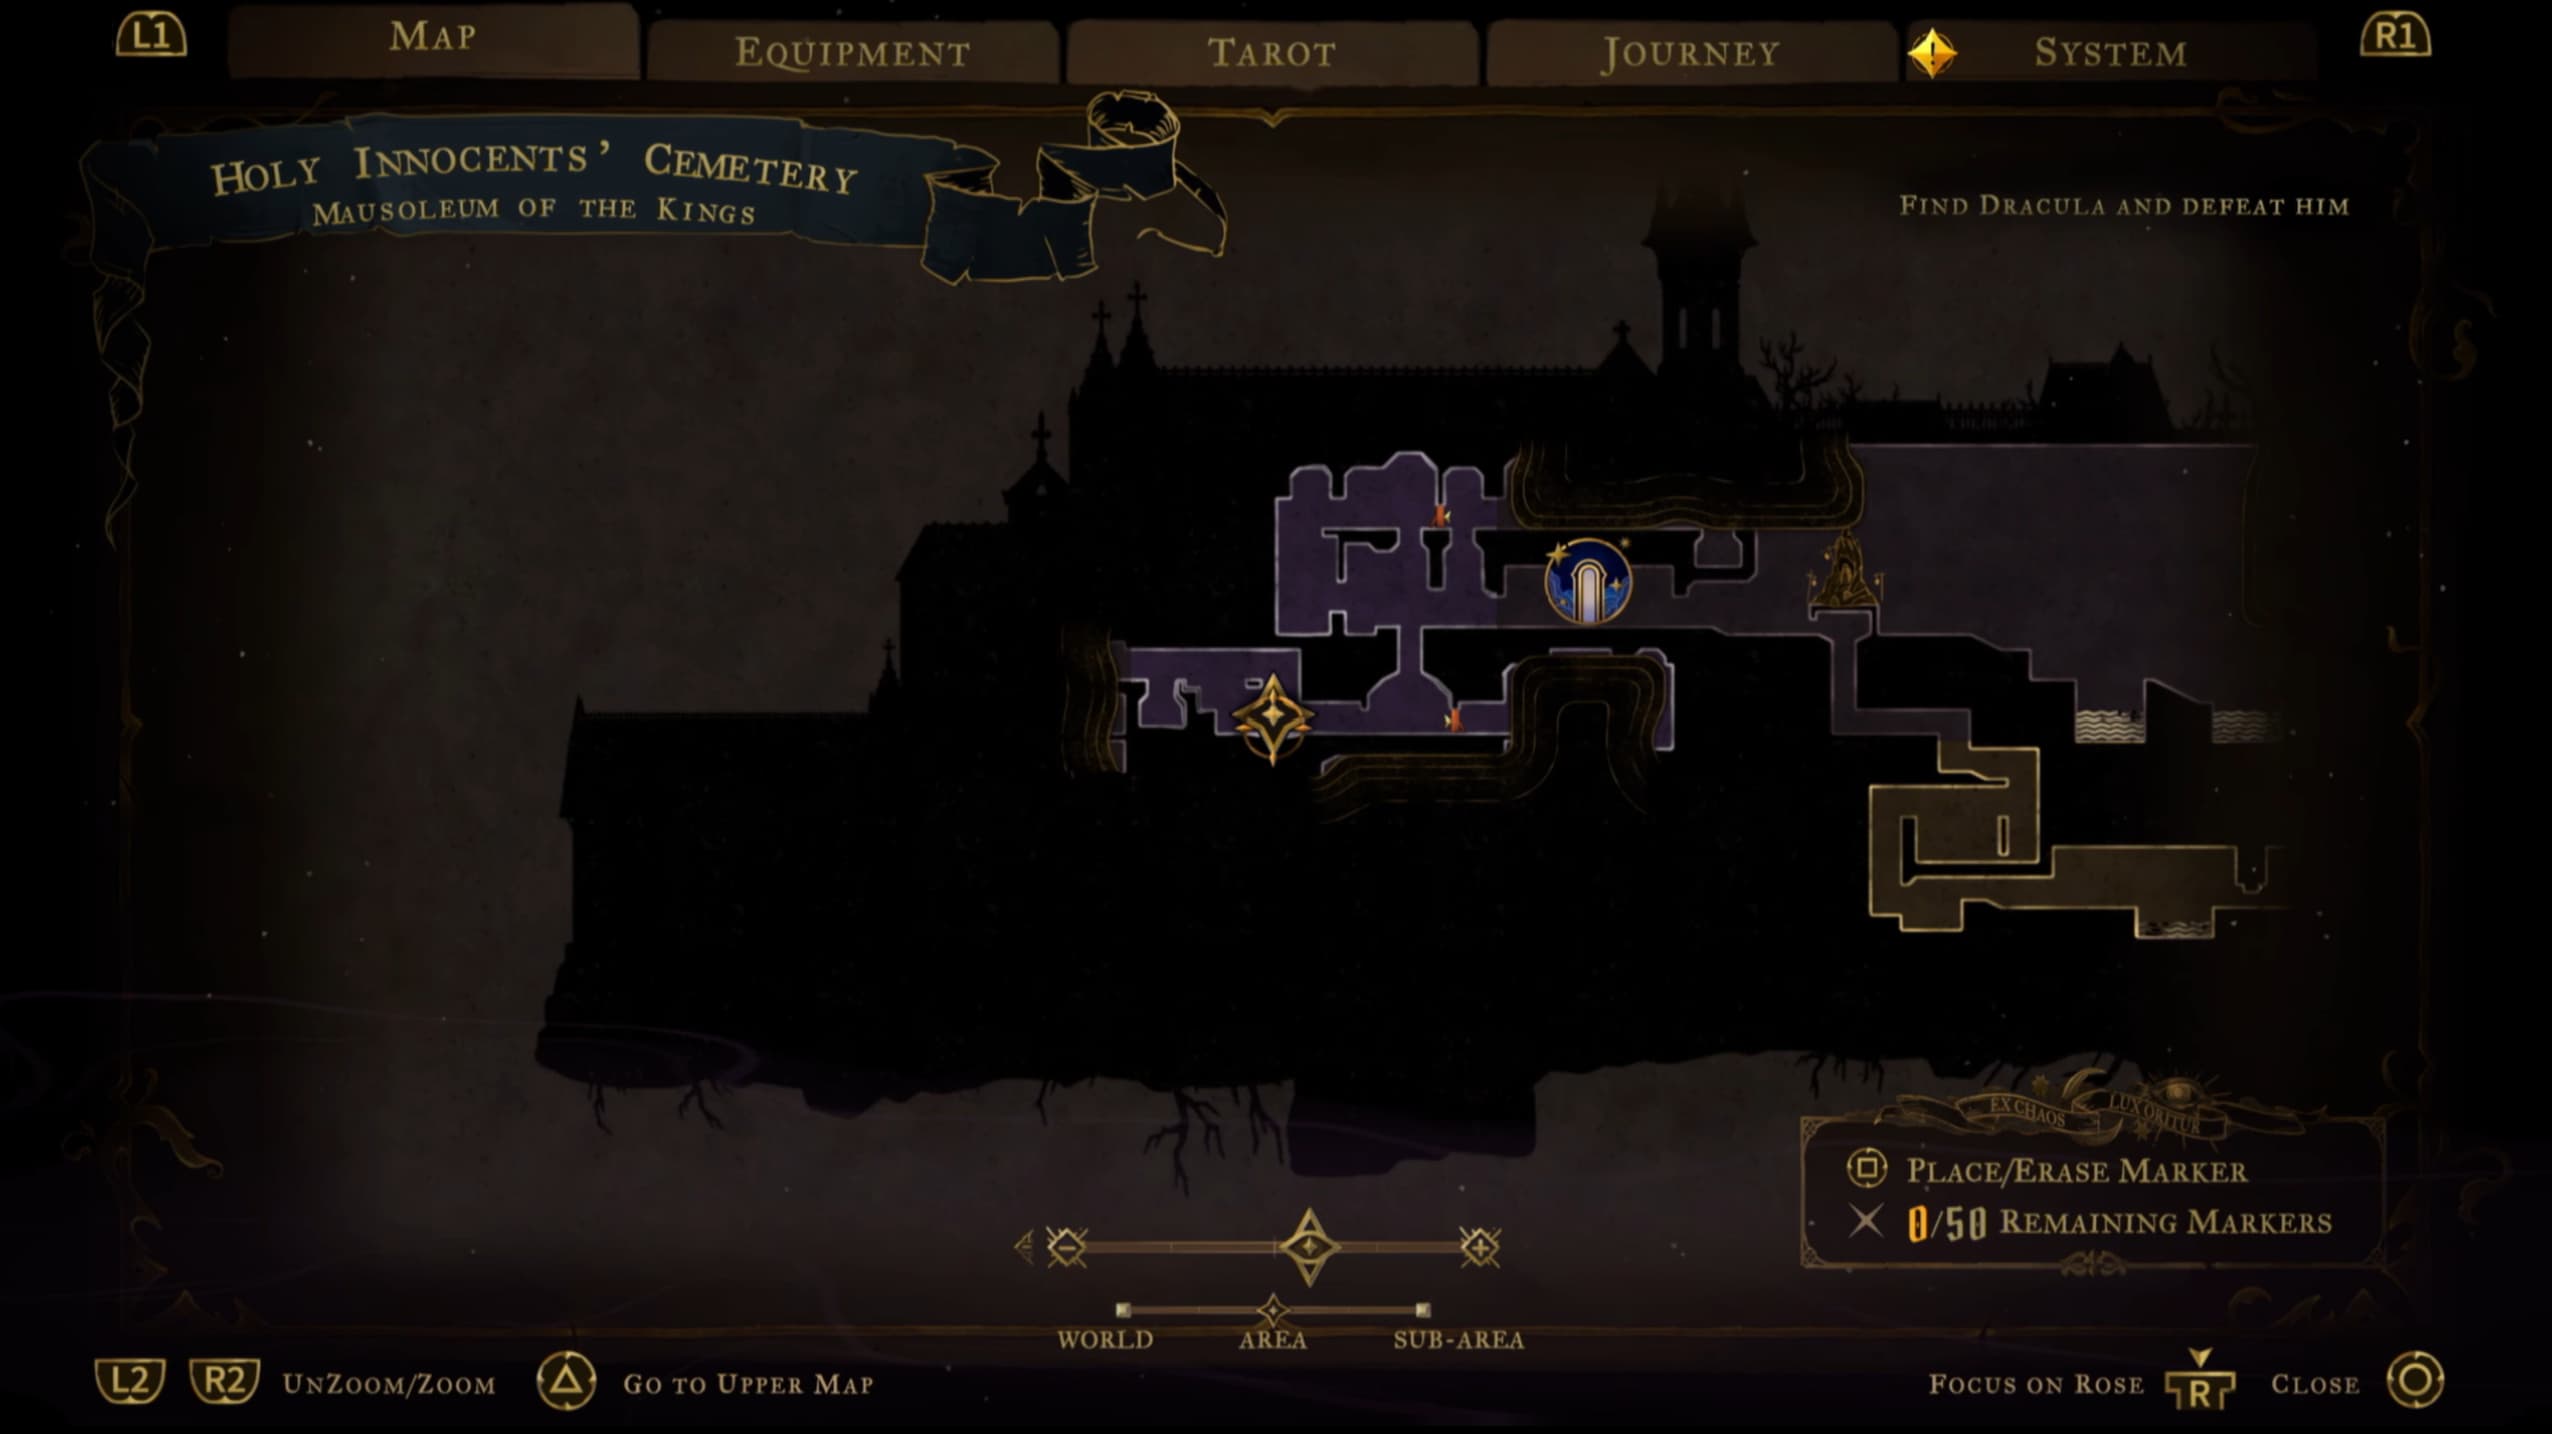
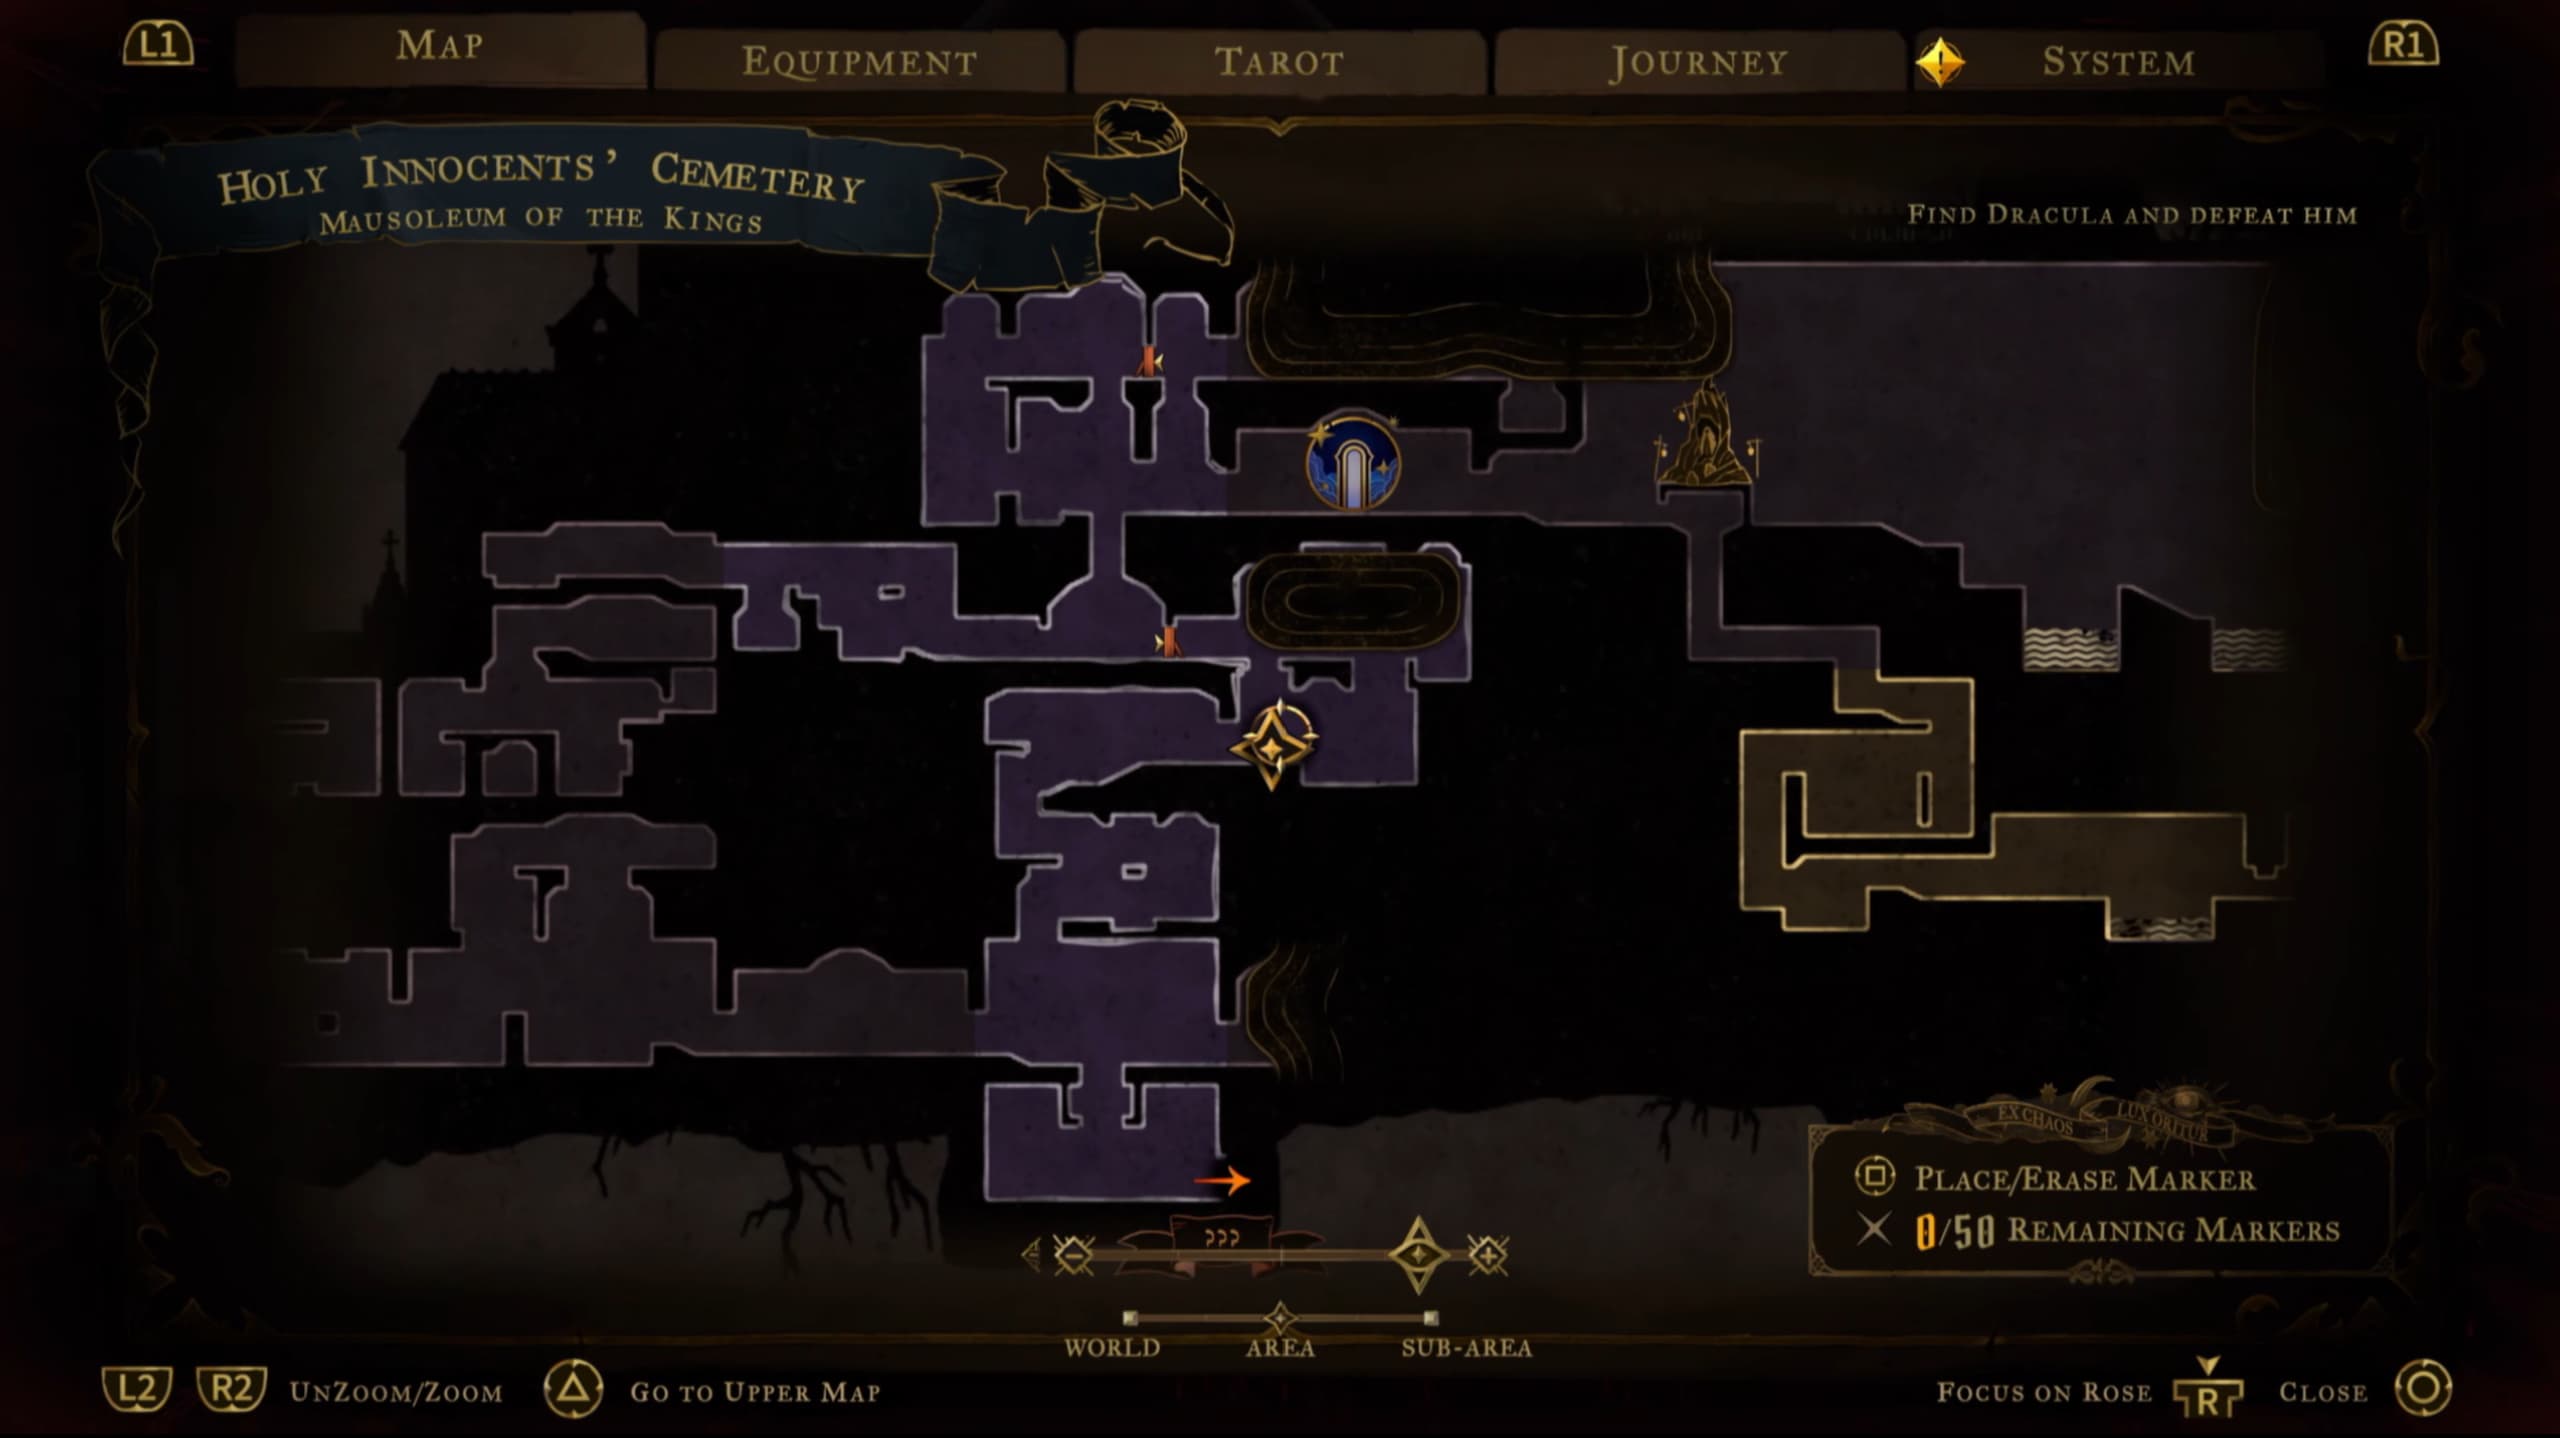
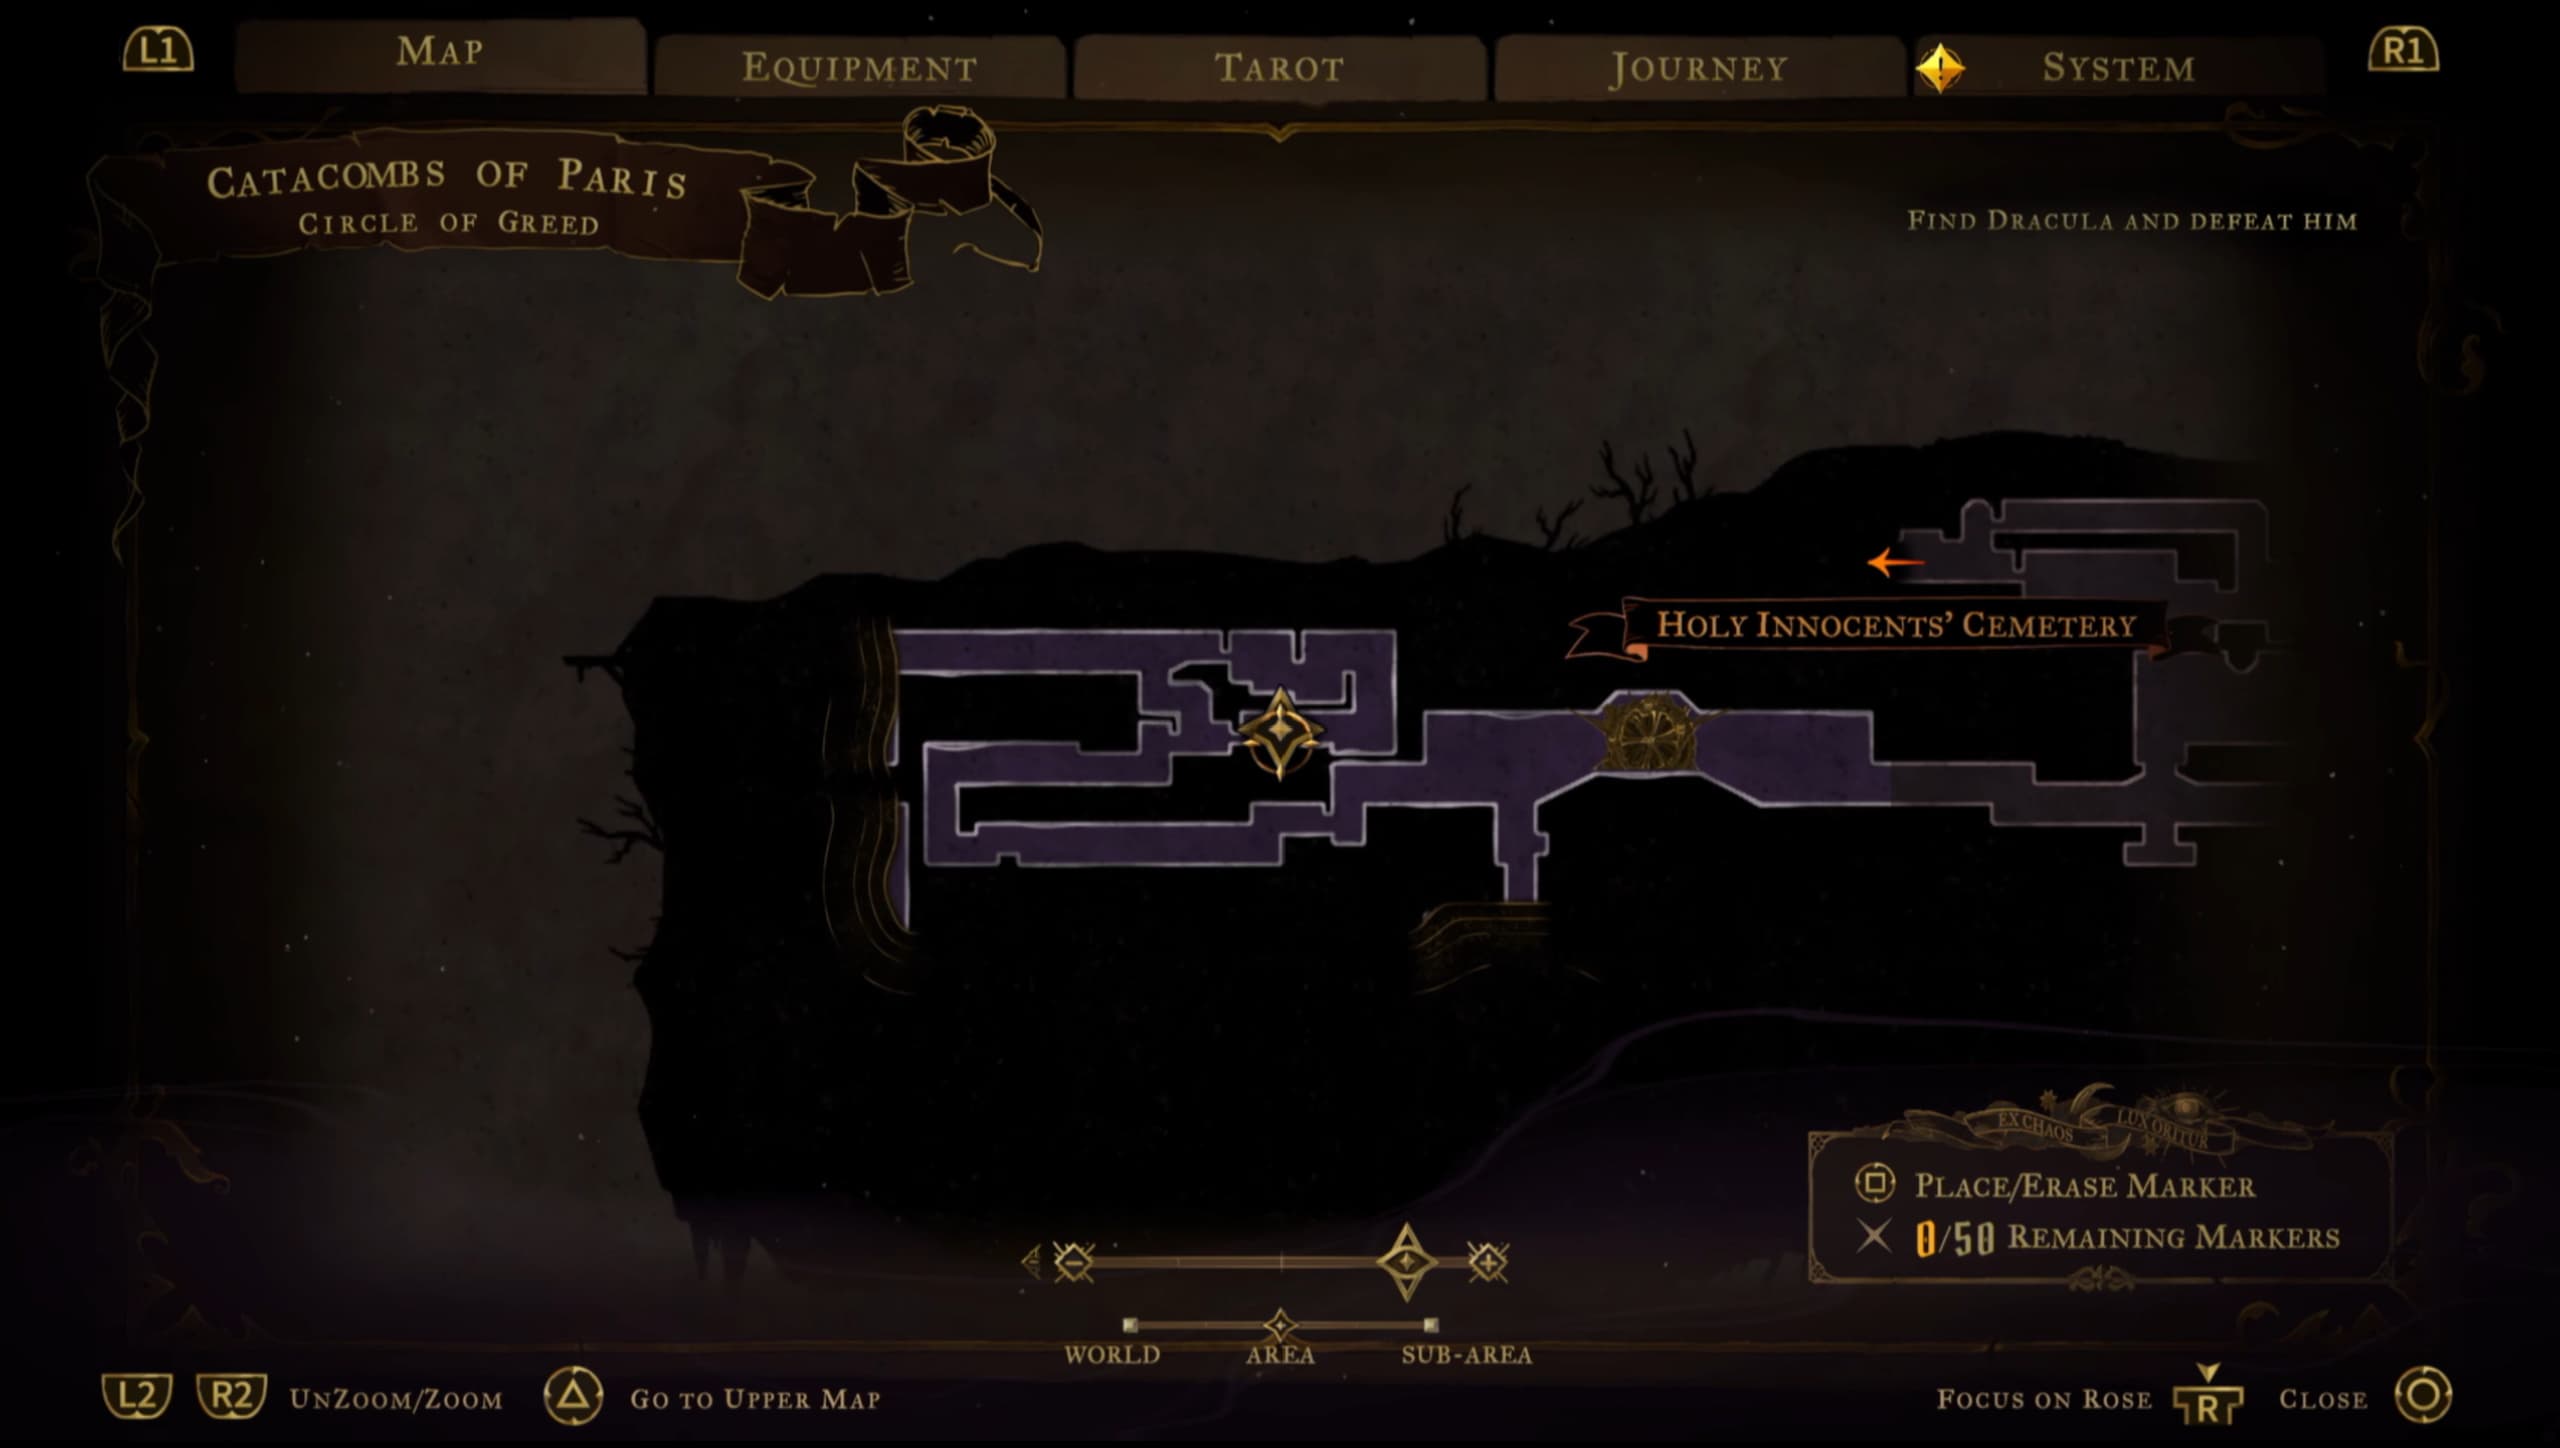
For the first Heart Fragment in this area, make your way over to the pointer as shown on the map below. You will see the Fragment directly above where you are, use the following instructions on how to get there.
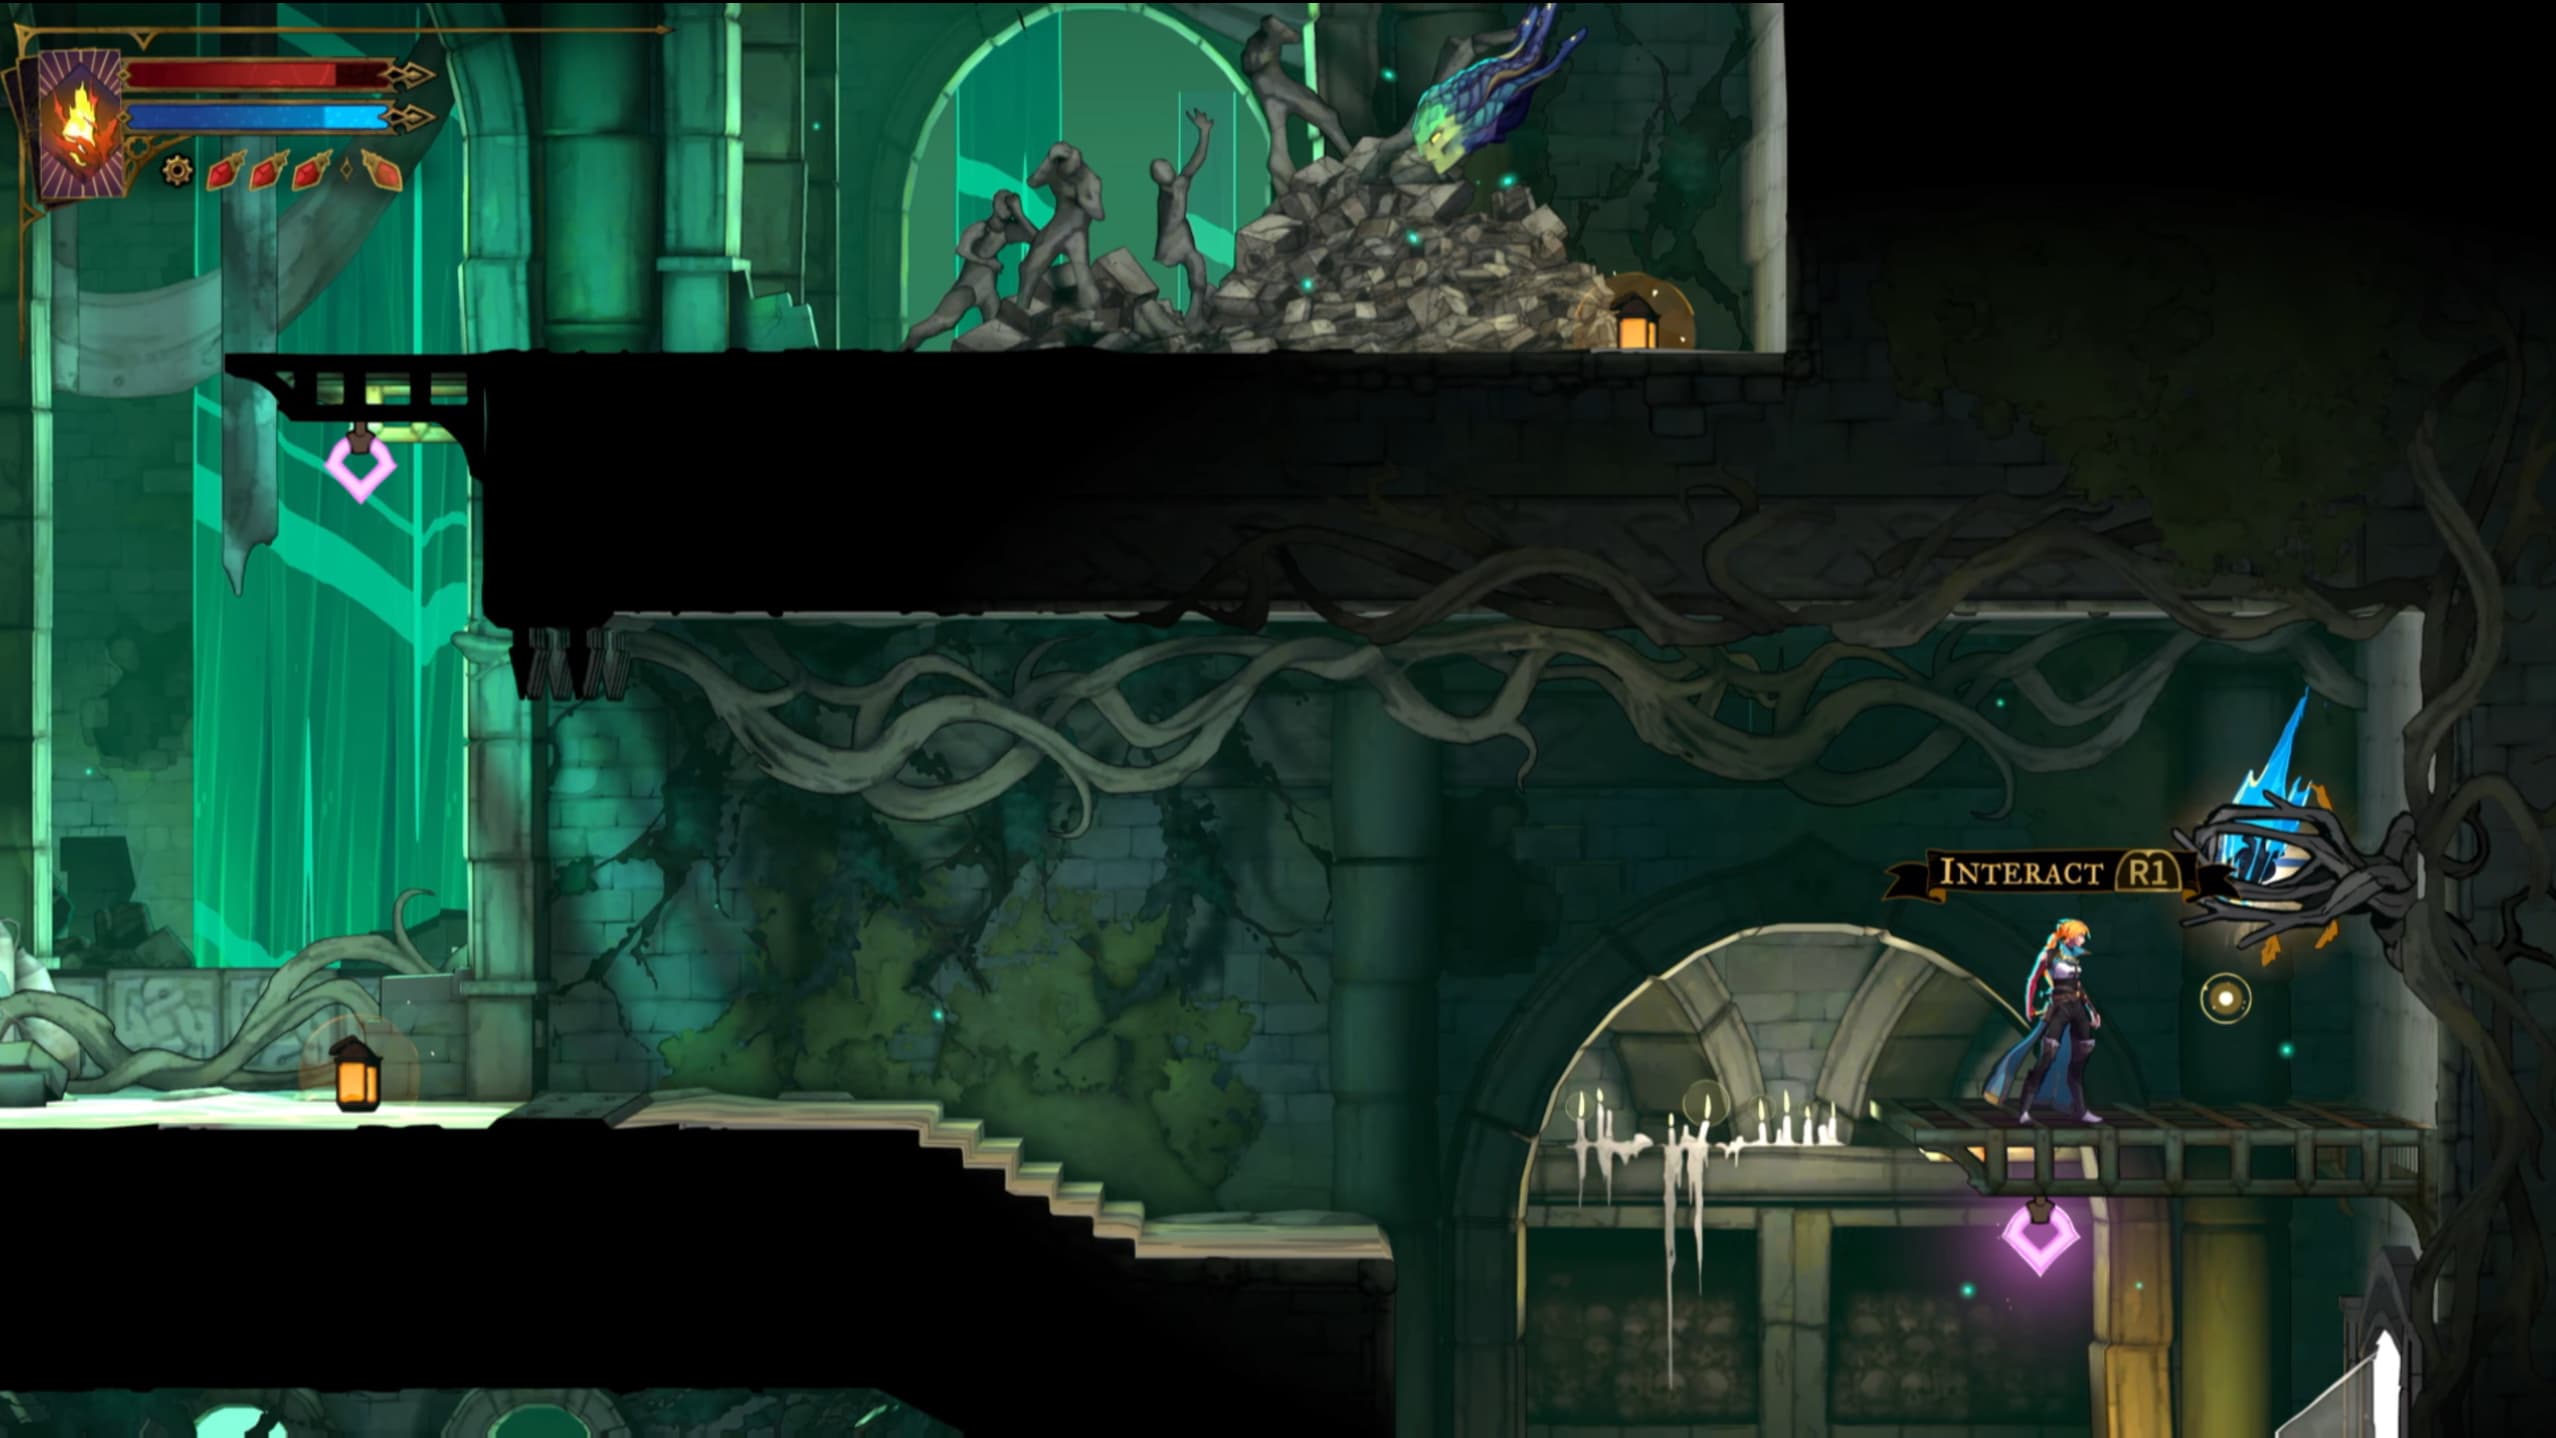
From here, jump to the right a little to see a gold hook/grappel, use this to swing up and to the right, latching onto to upper right wall. From here, jump to the left where it looks like a solid wall, and here you will reveal a hidden room, there will be an enemy here, and you can slide through the narrow gap to make it to the Fragment in the next room.
For the next Fragment, make your way to the indicator as shown on the map below.
For the next Fragment, make your way to the indicator as shown on the map below to find the Fragment in the lower right.
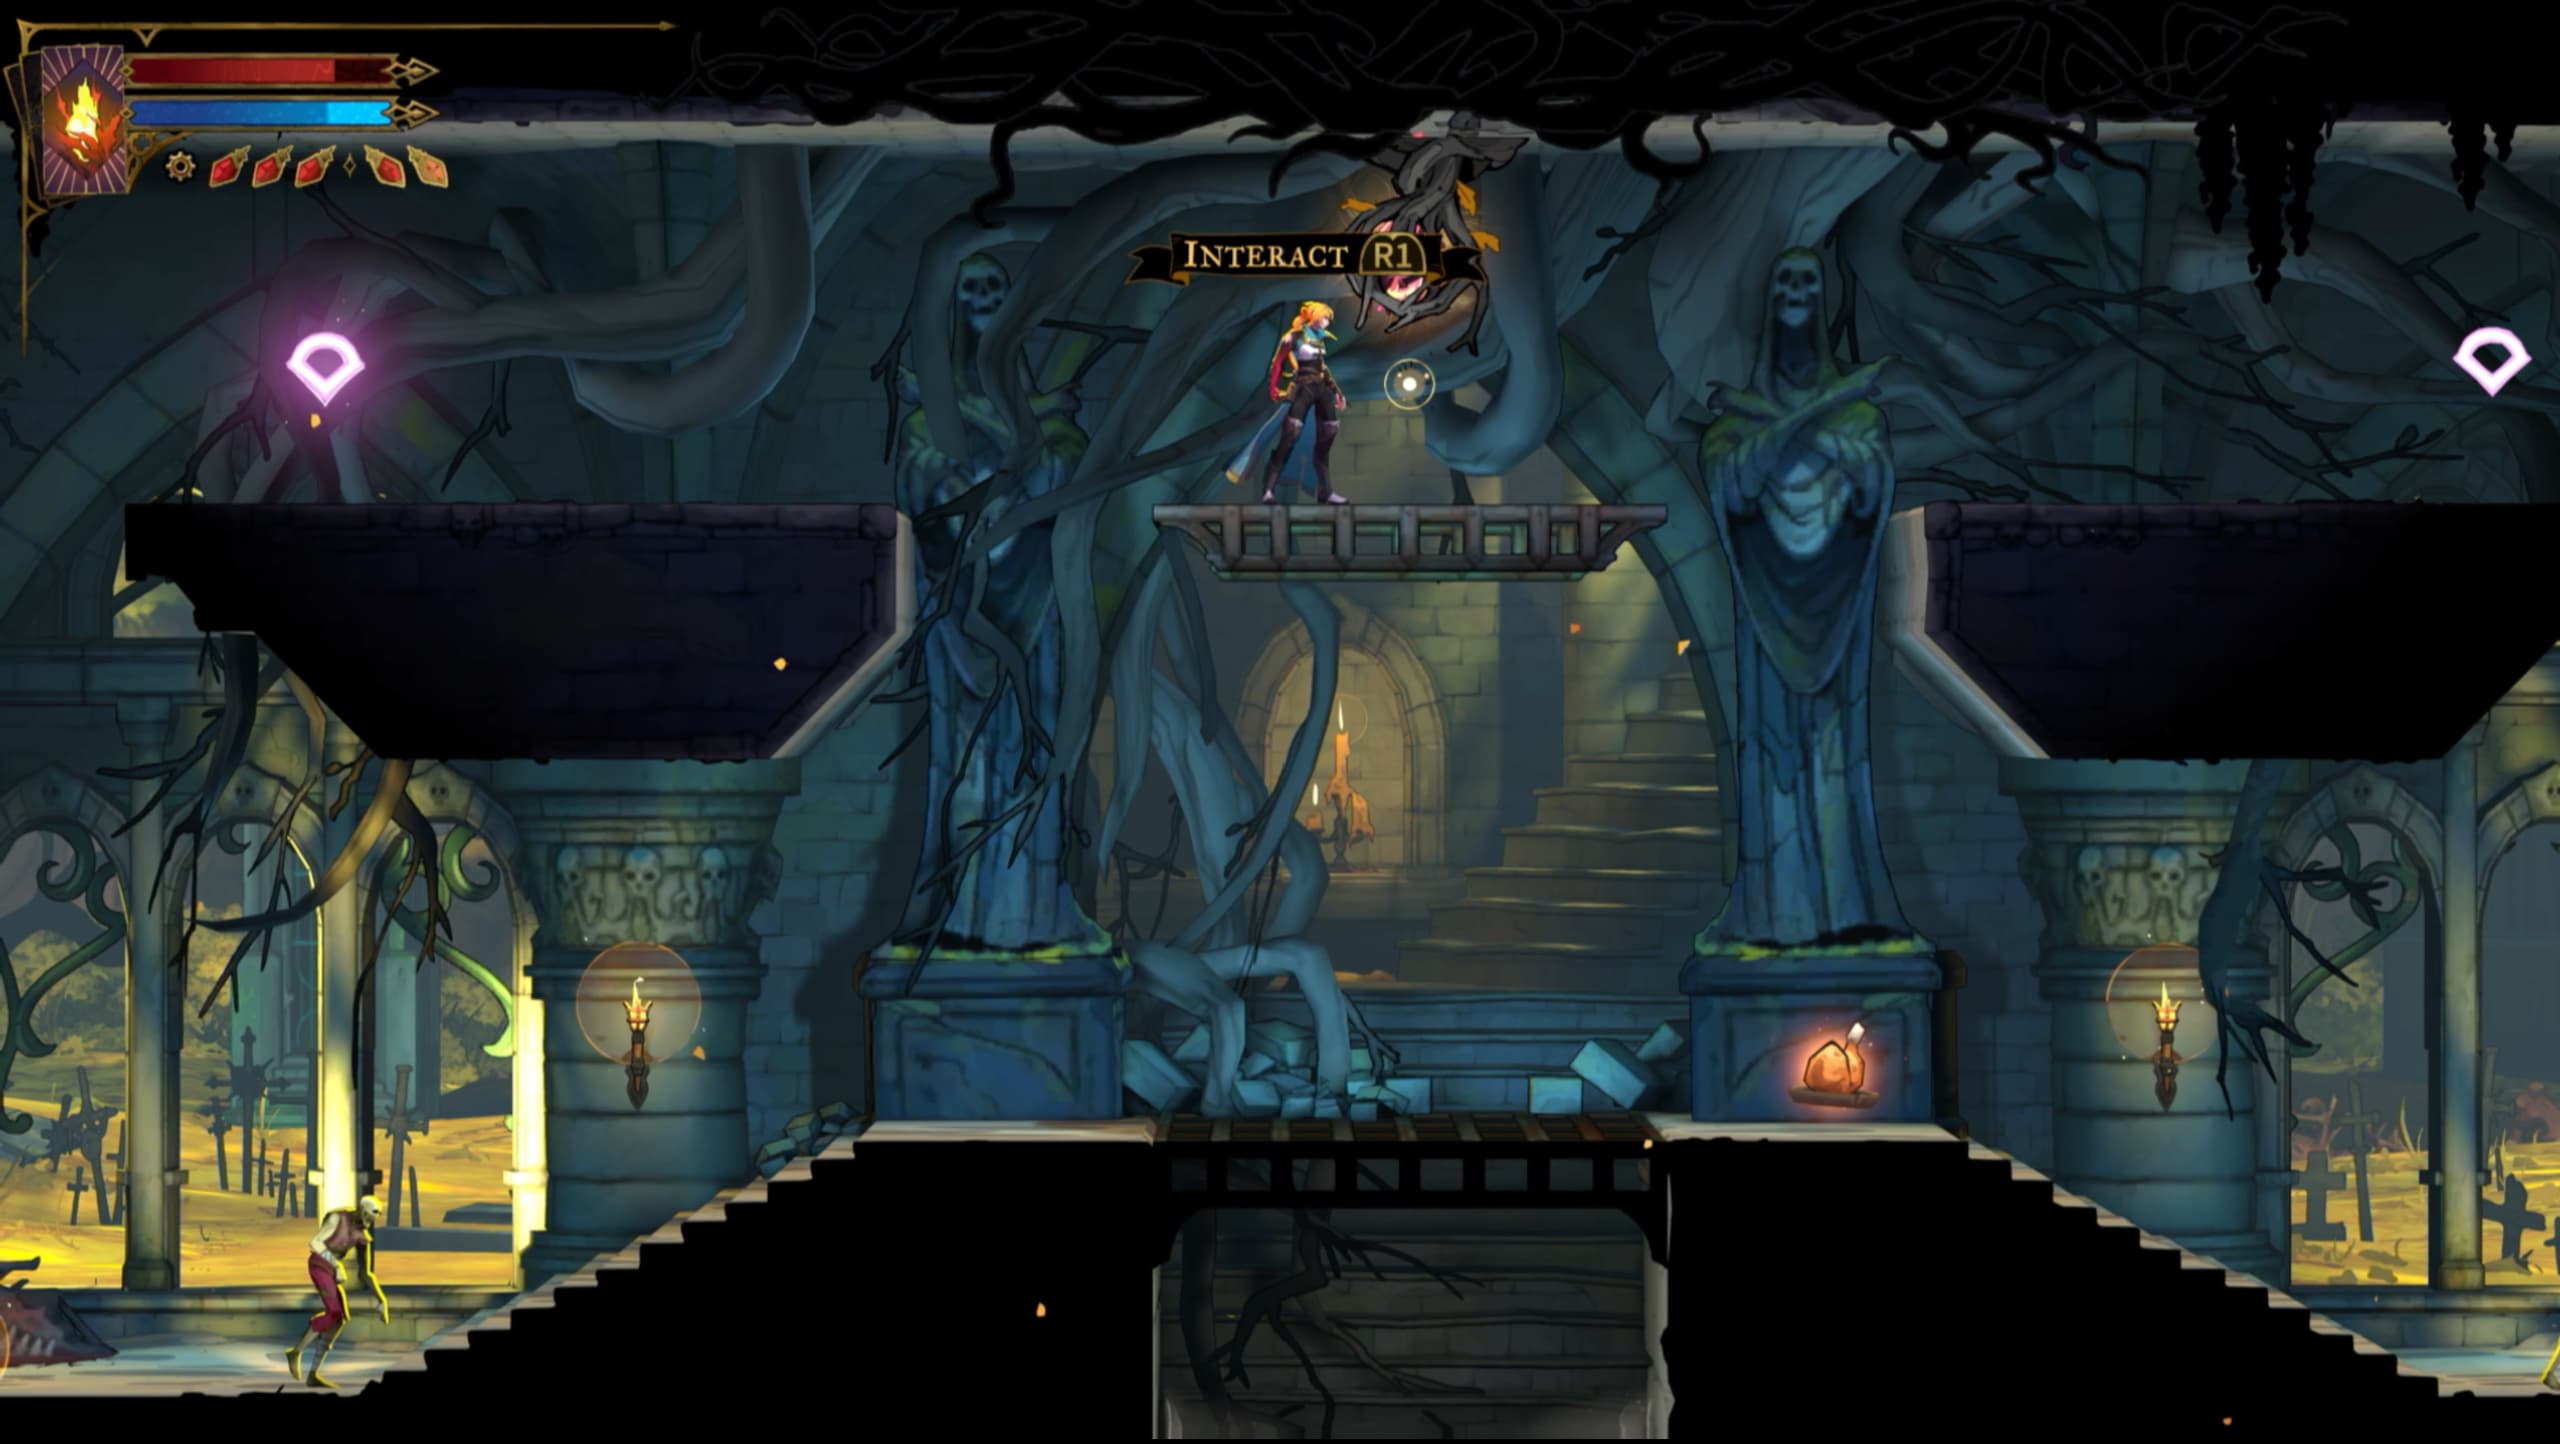
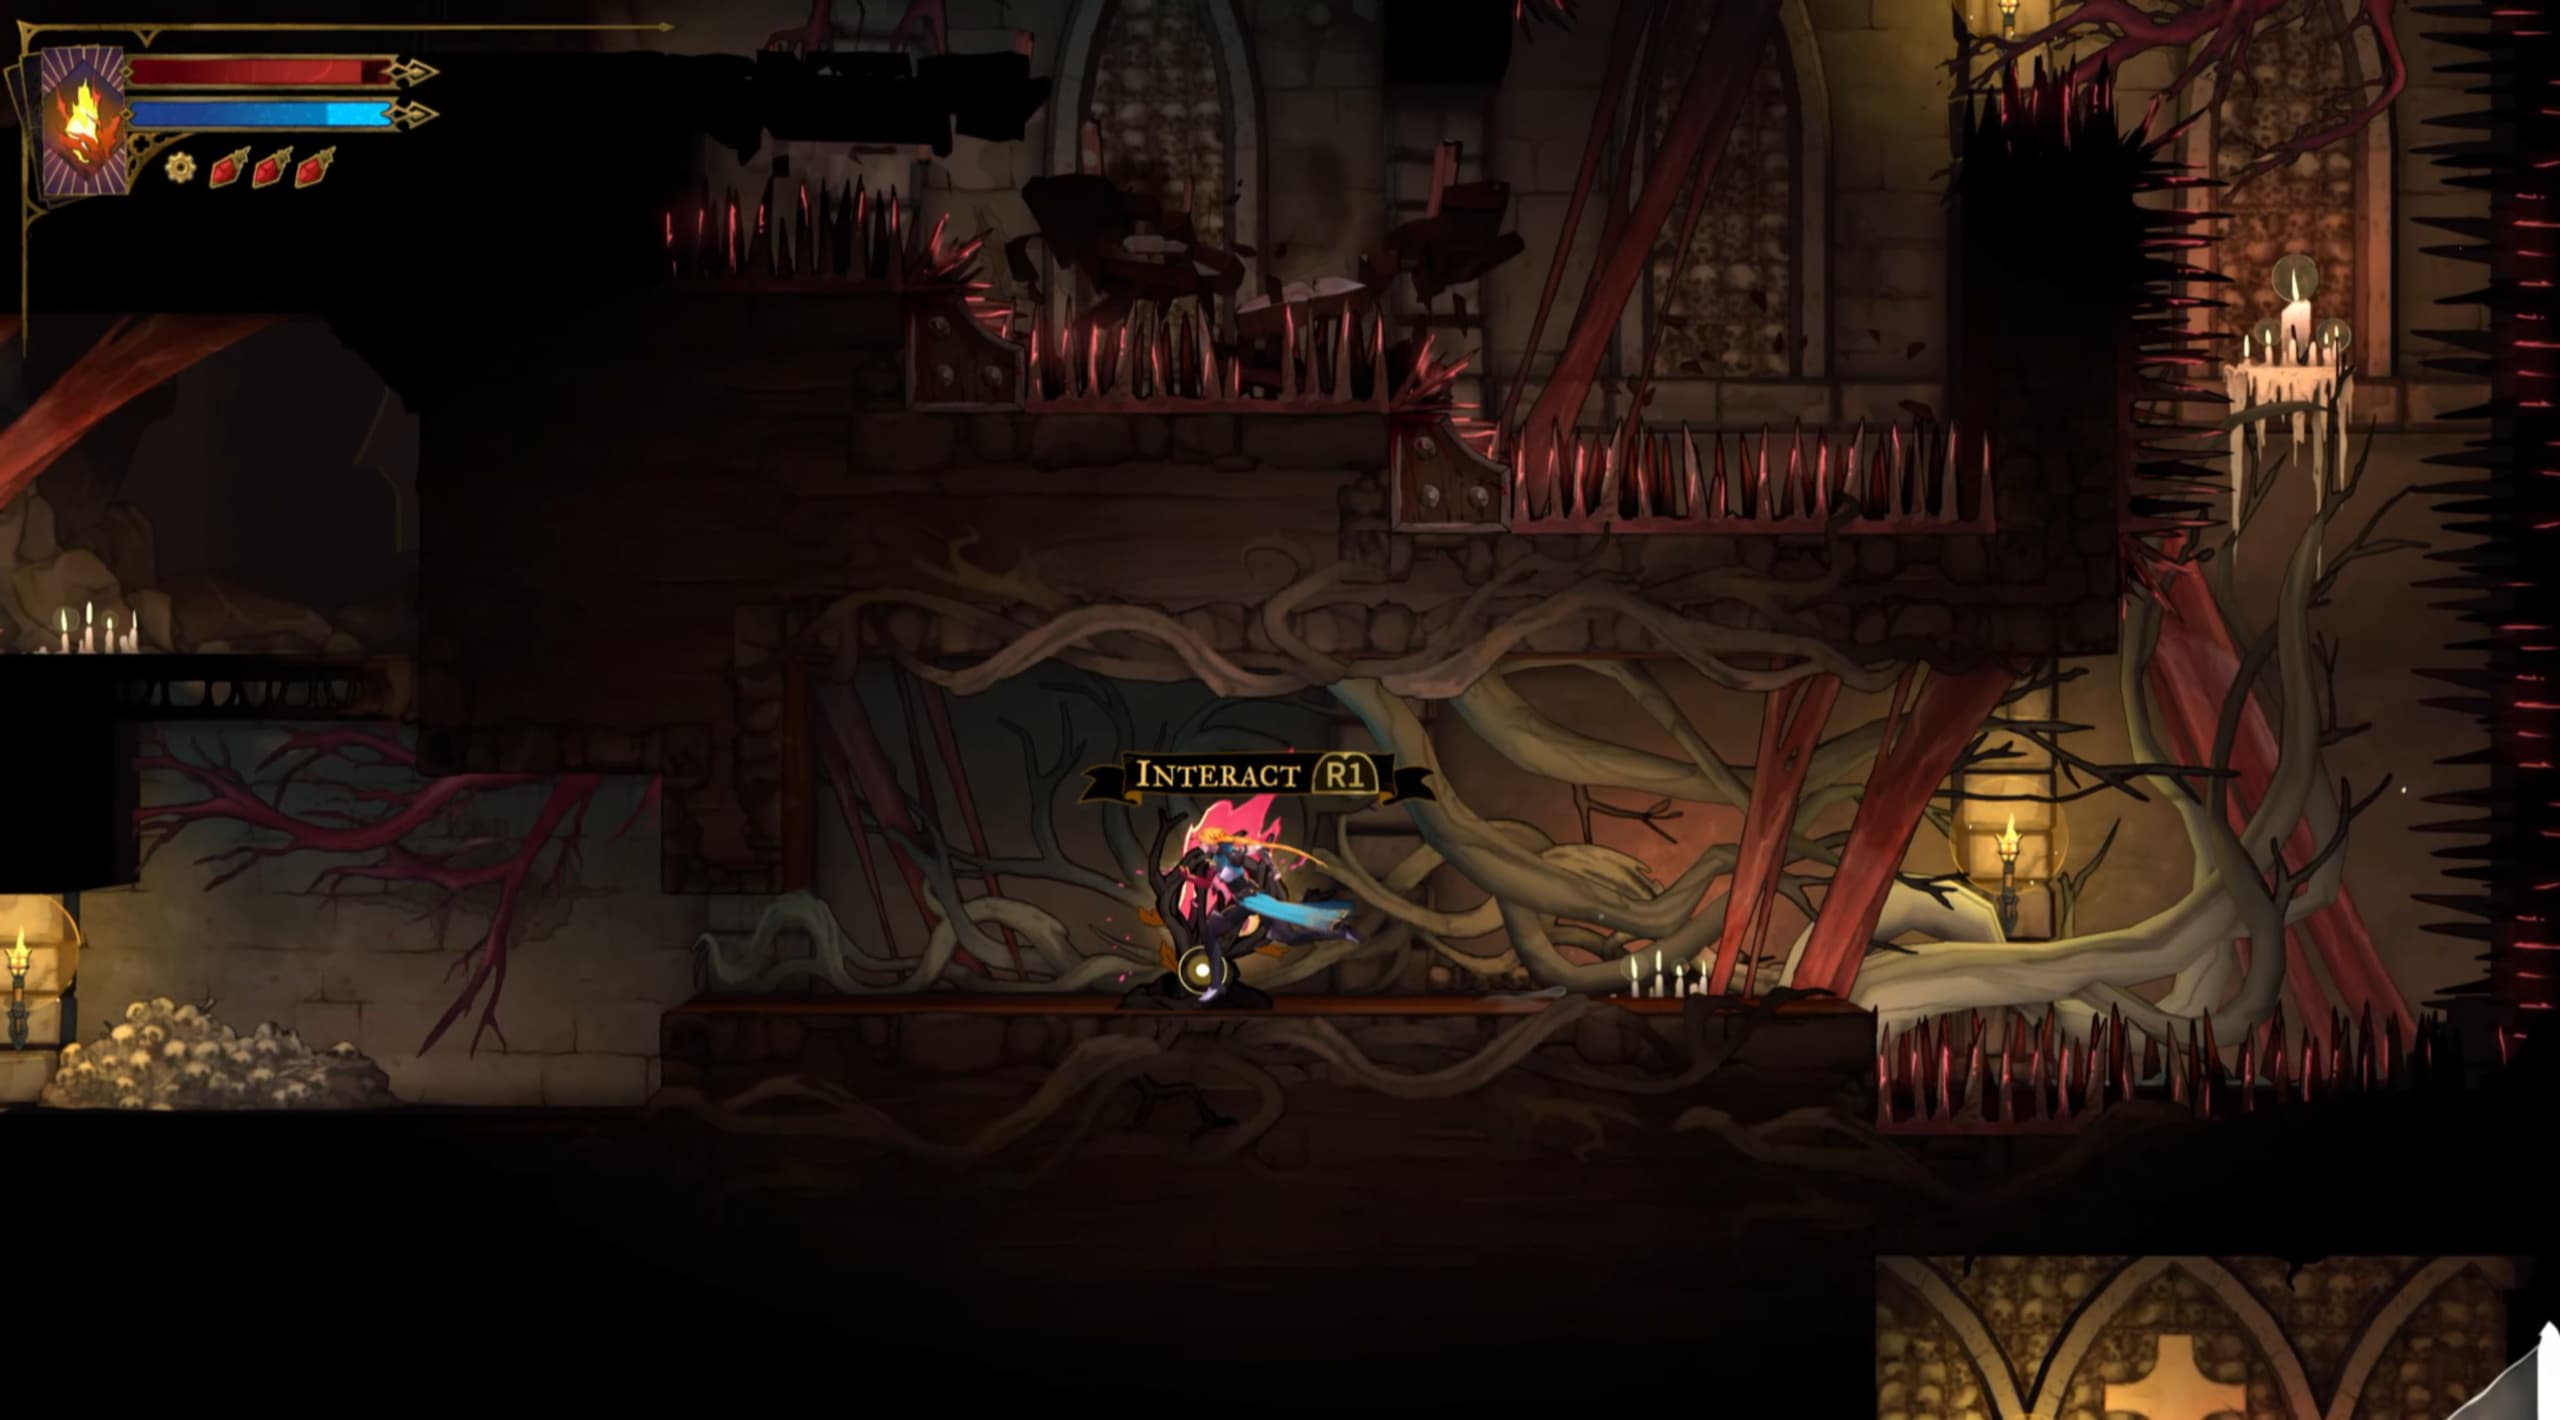
For the next Fragment, make your way to the indicator on the map, and head up to the central platform to interact.
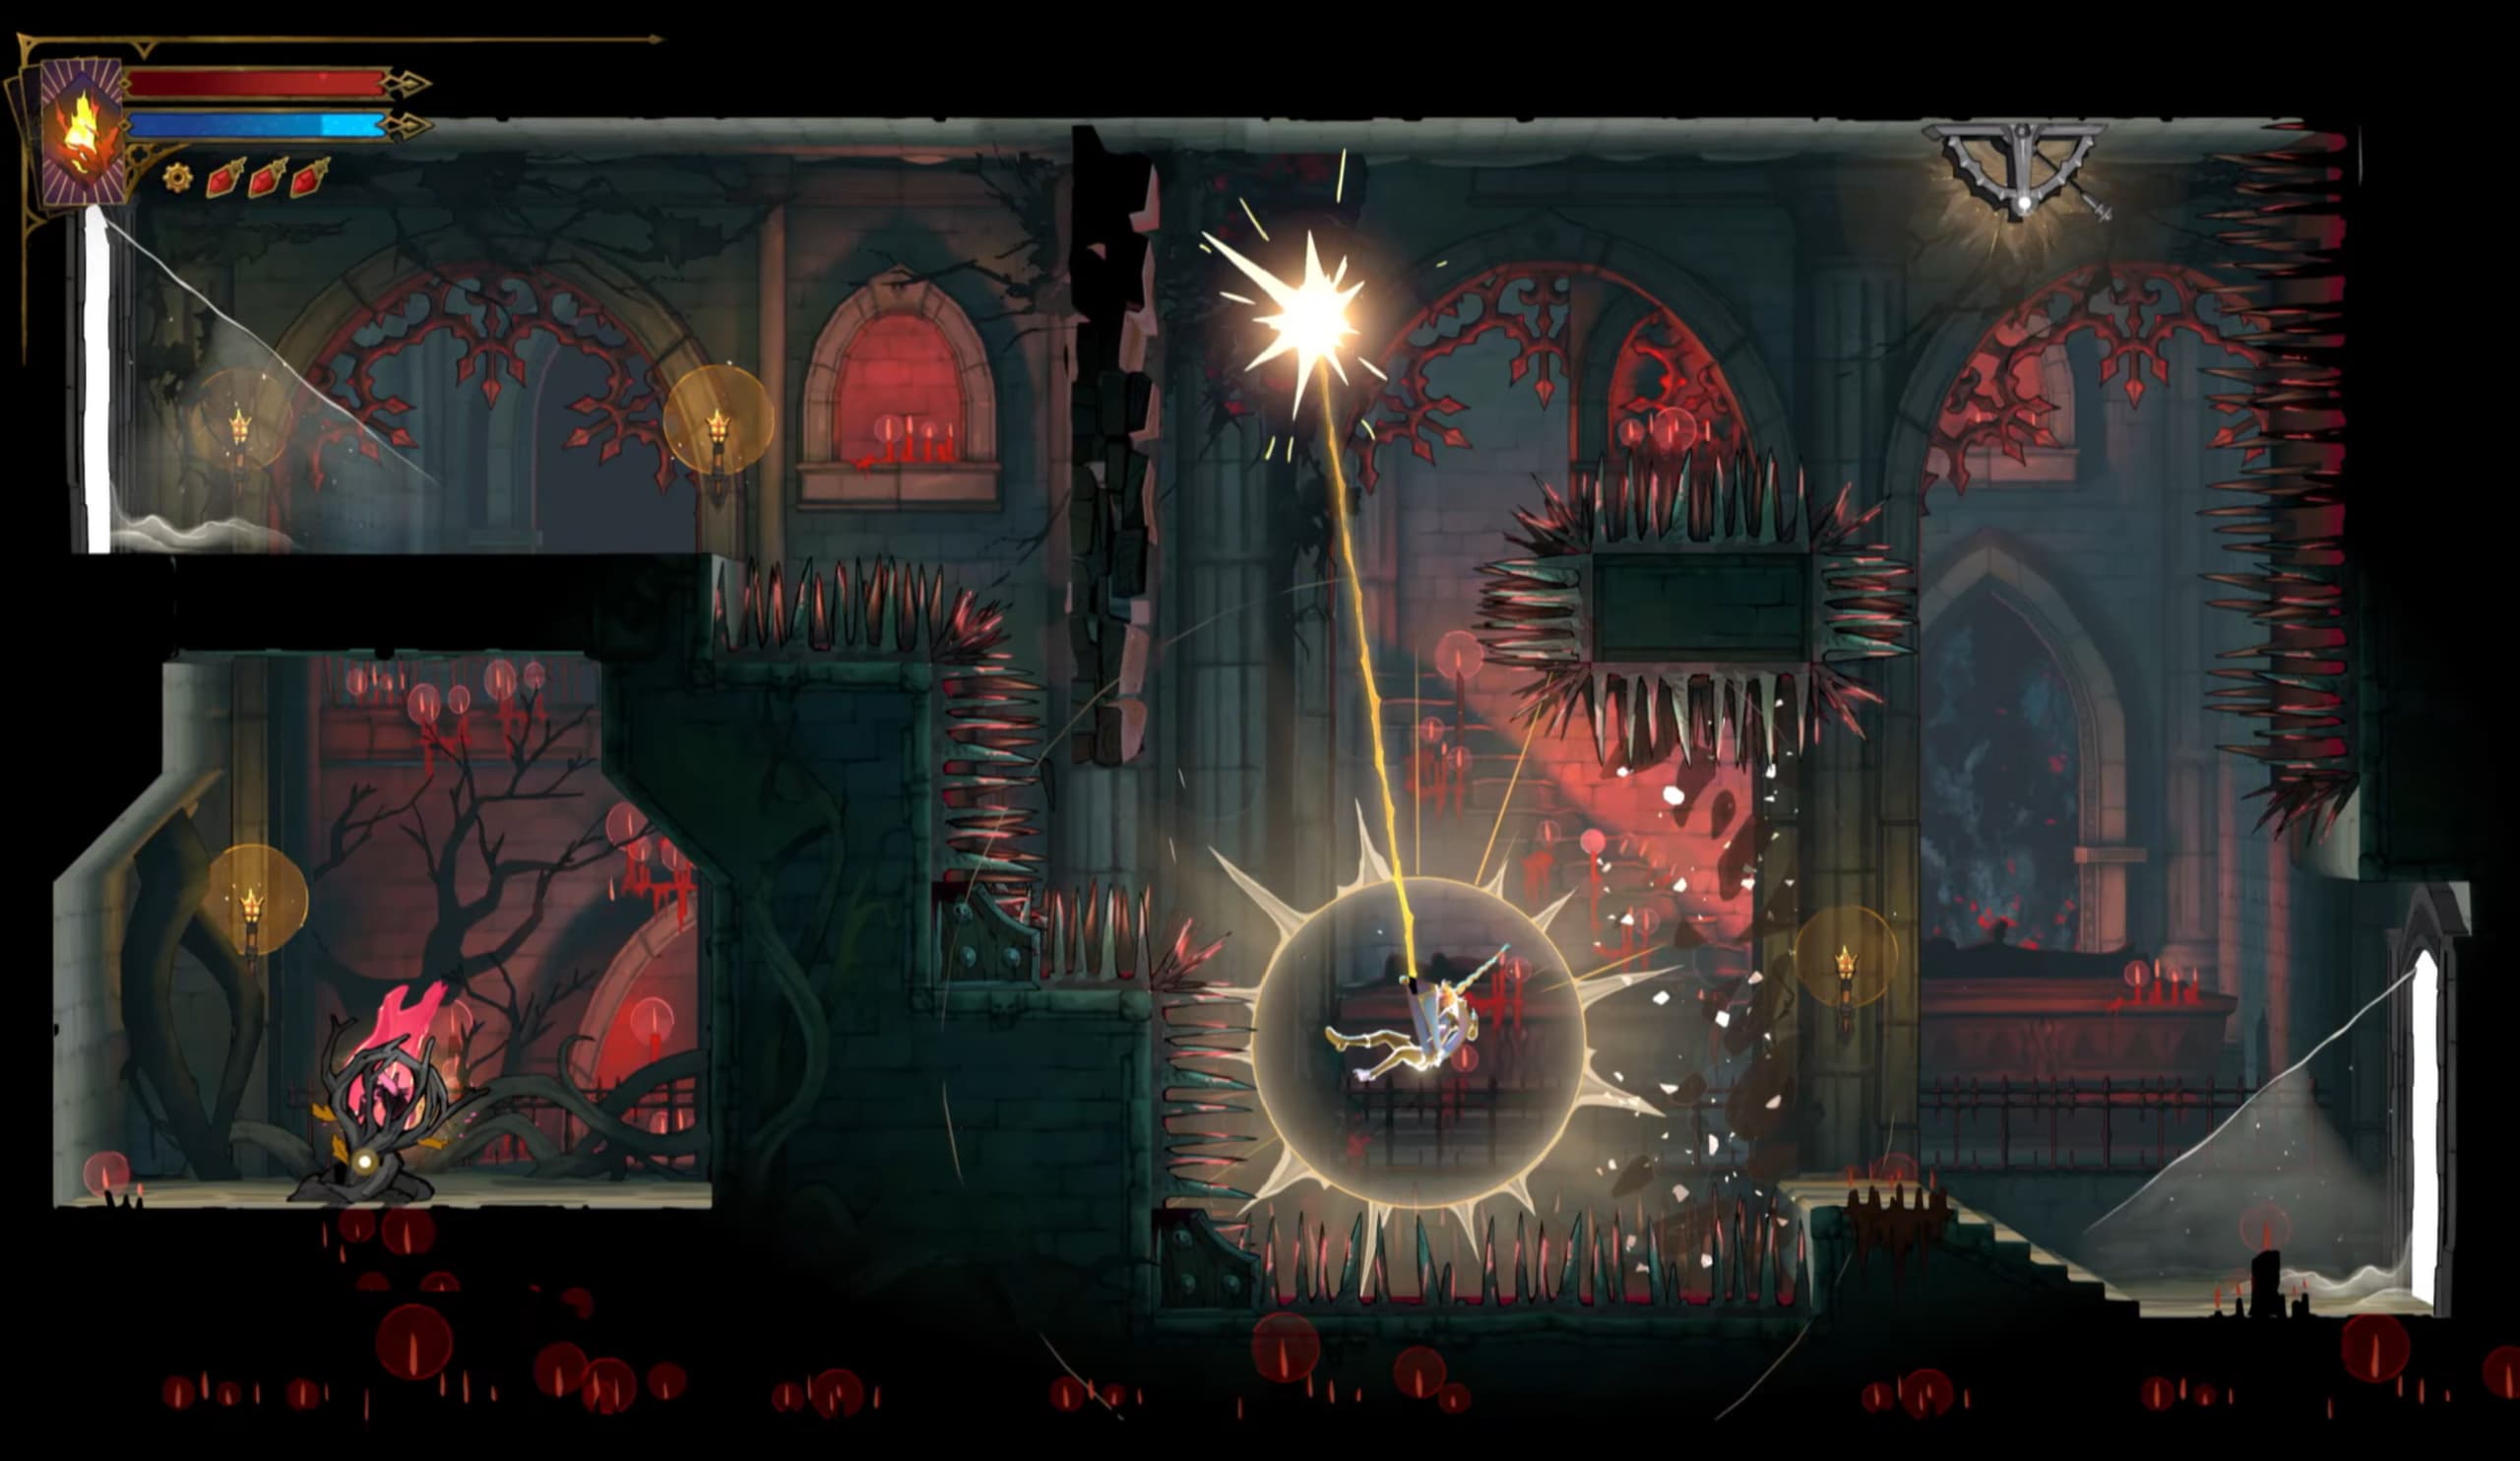
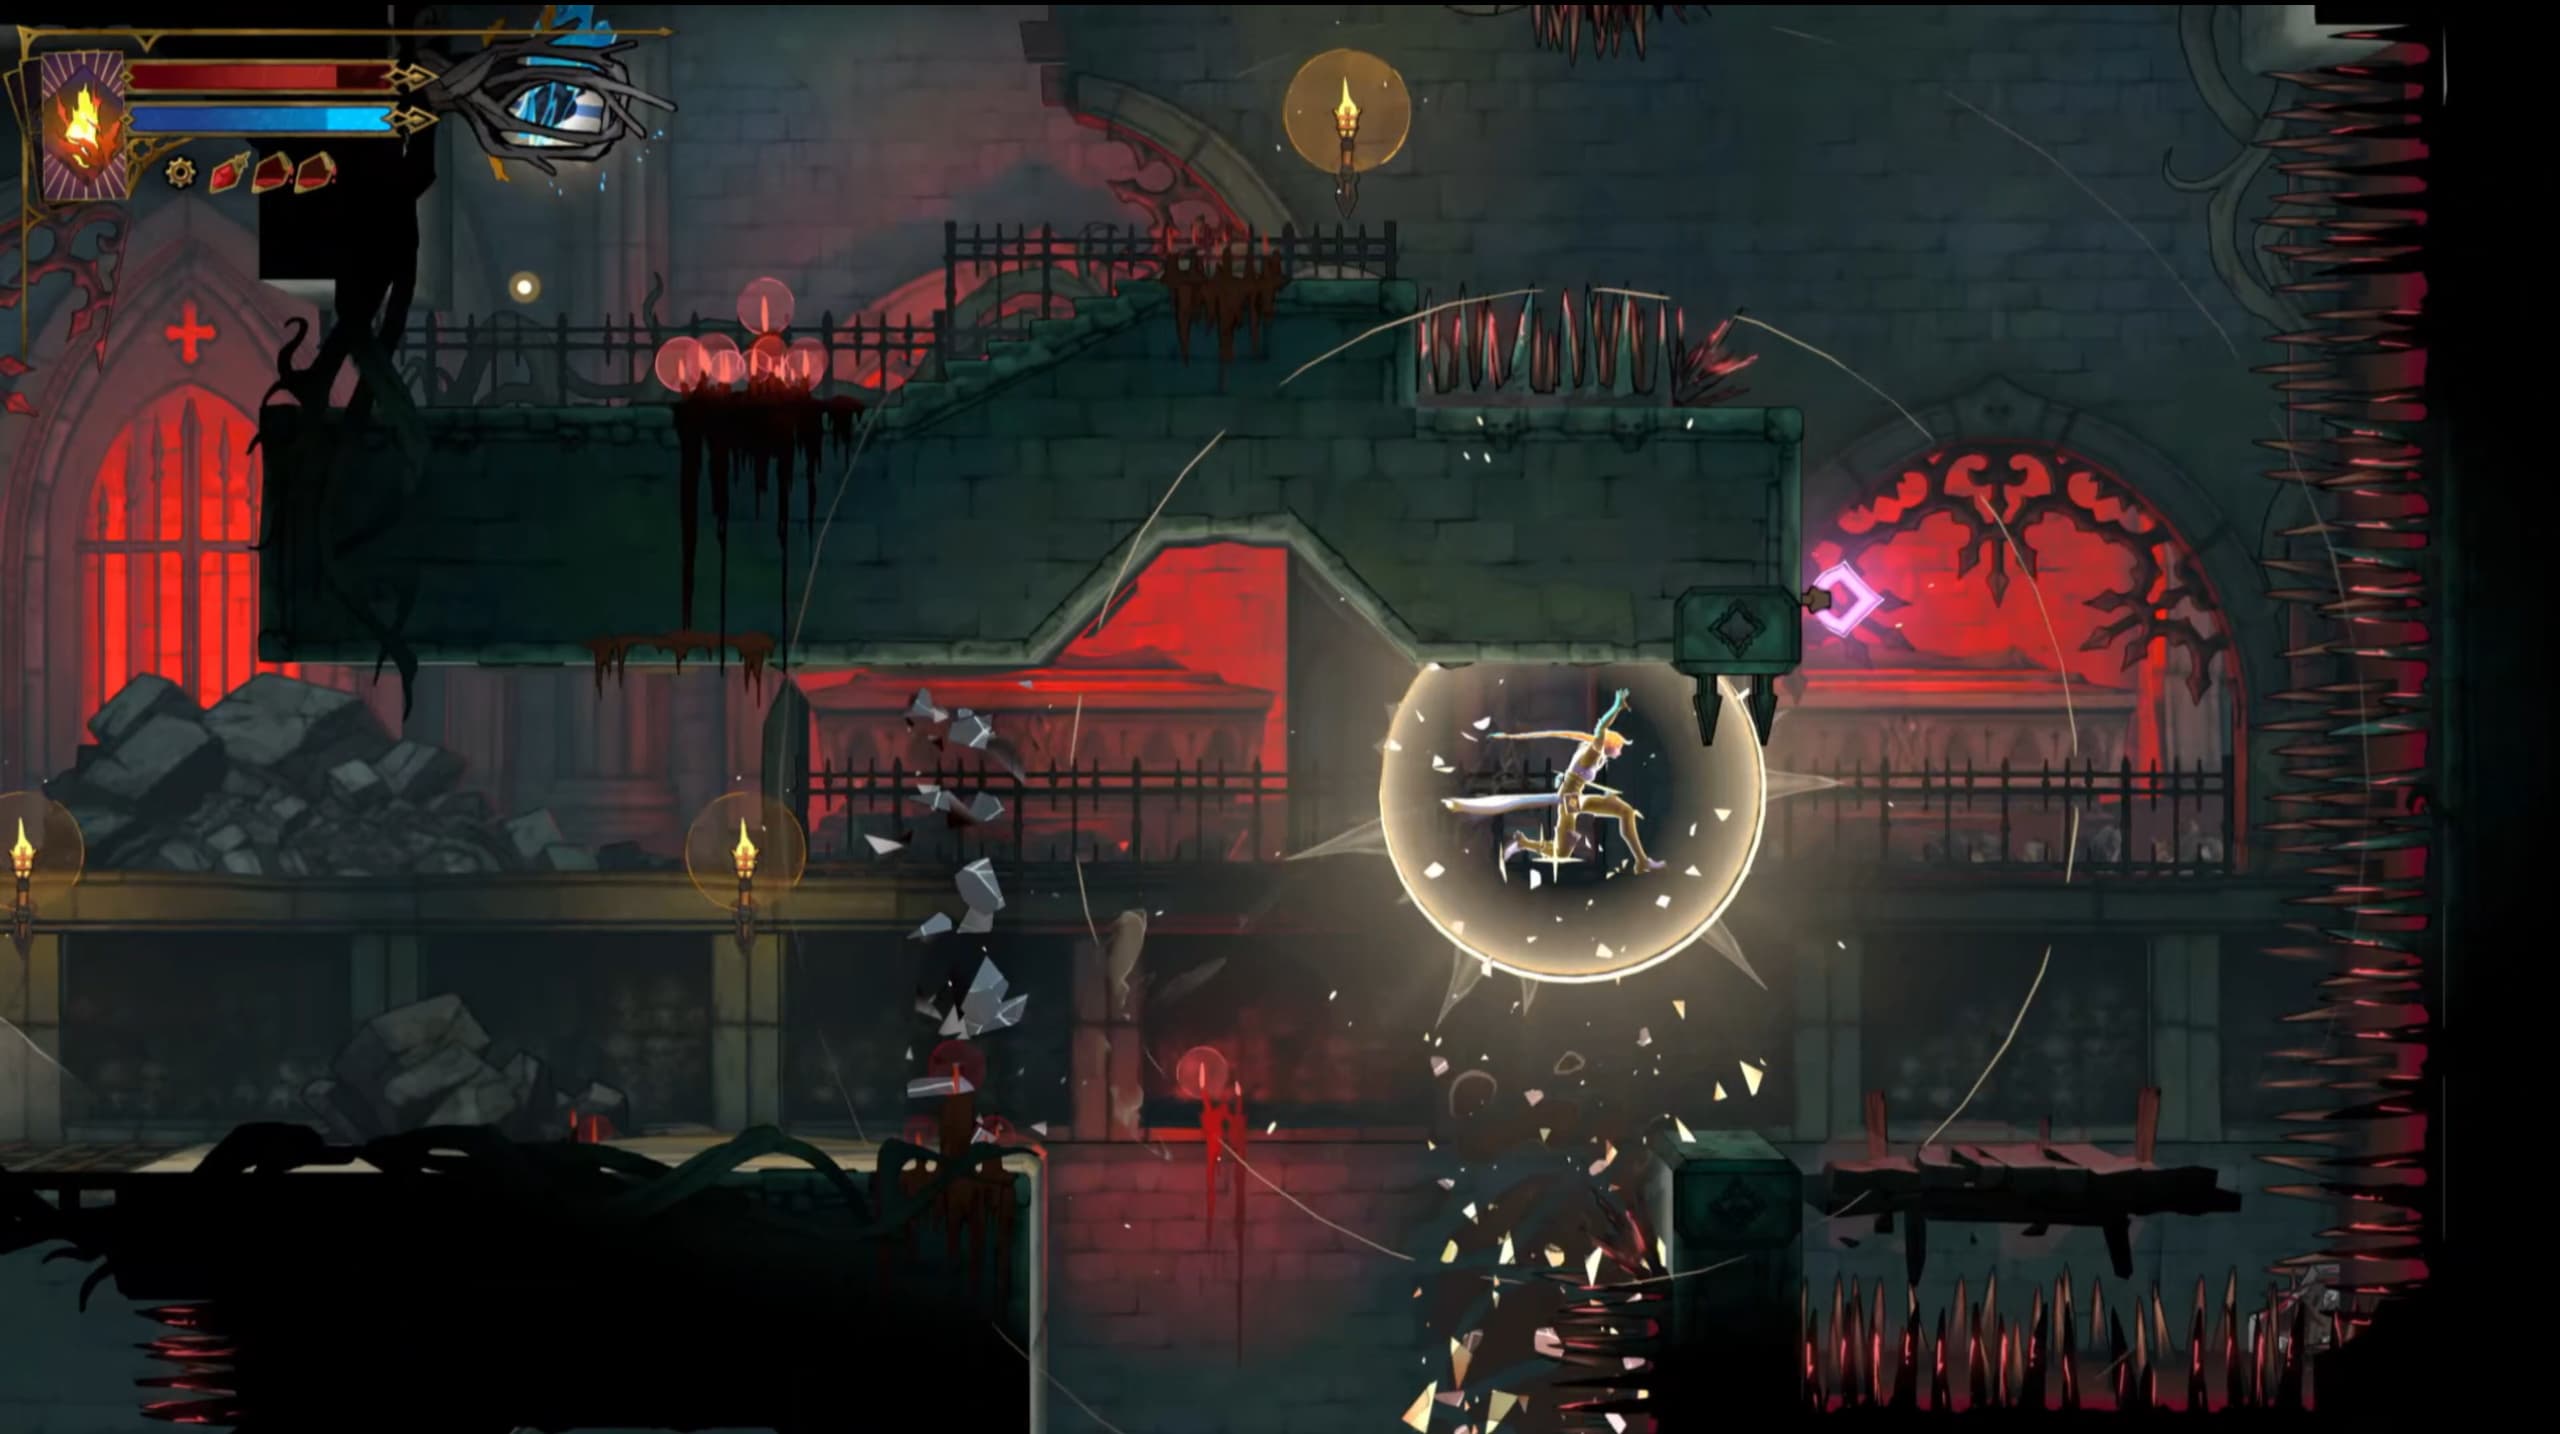
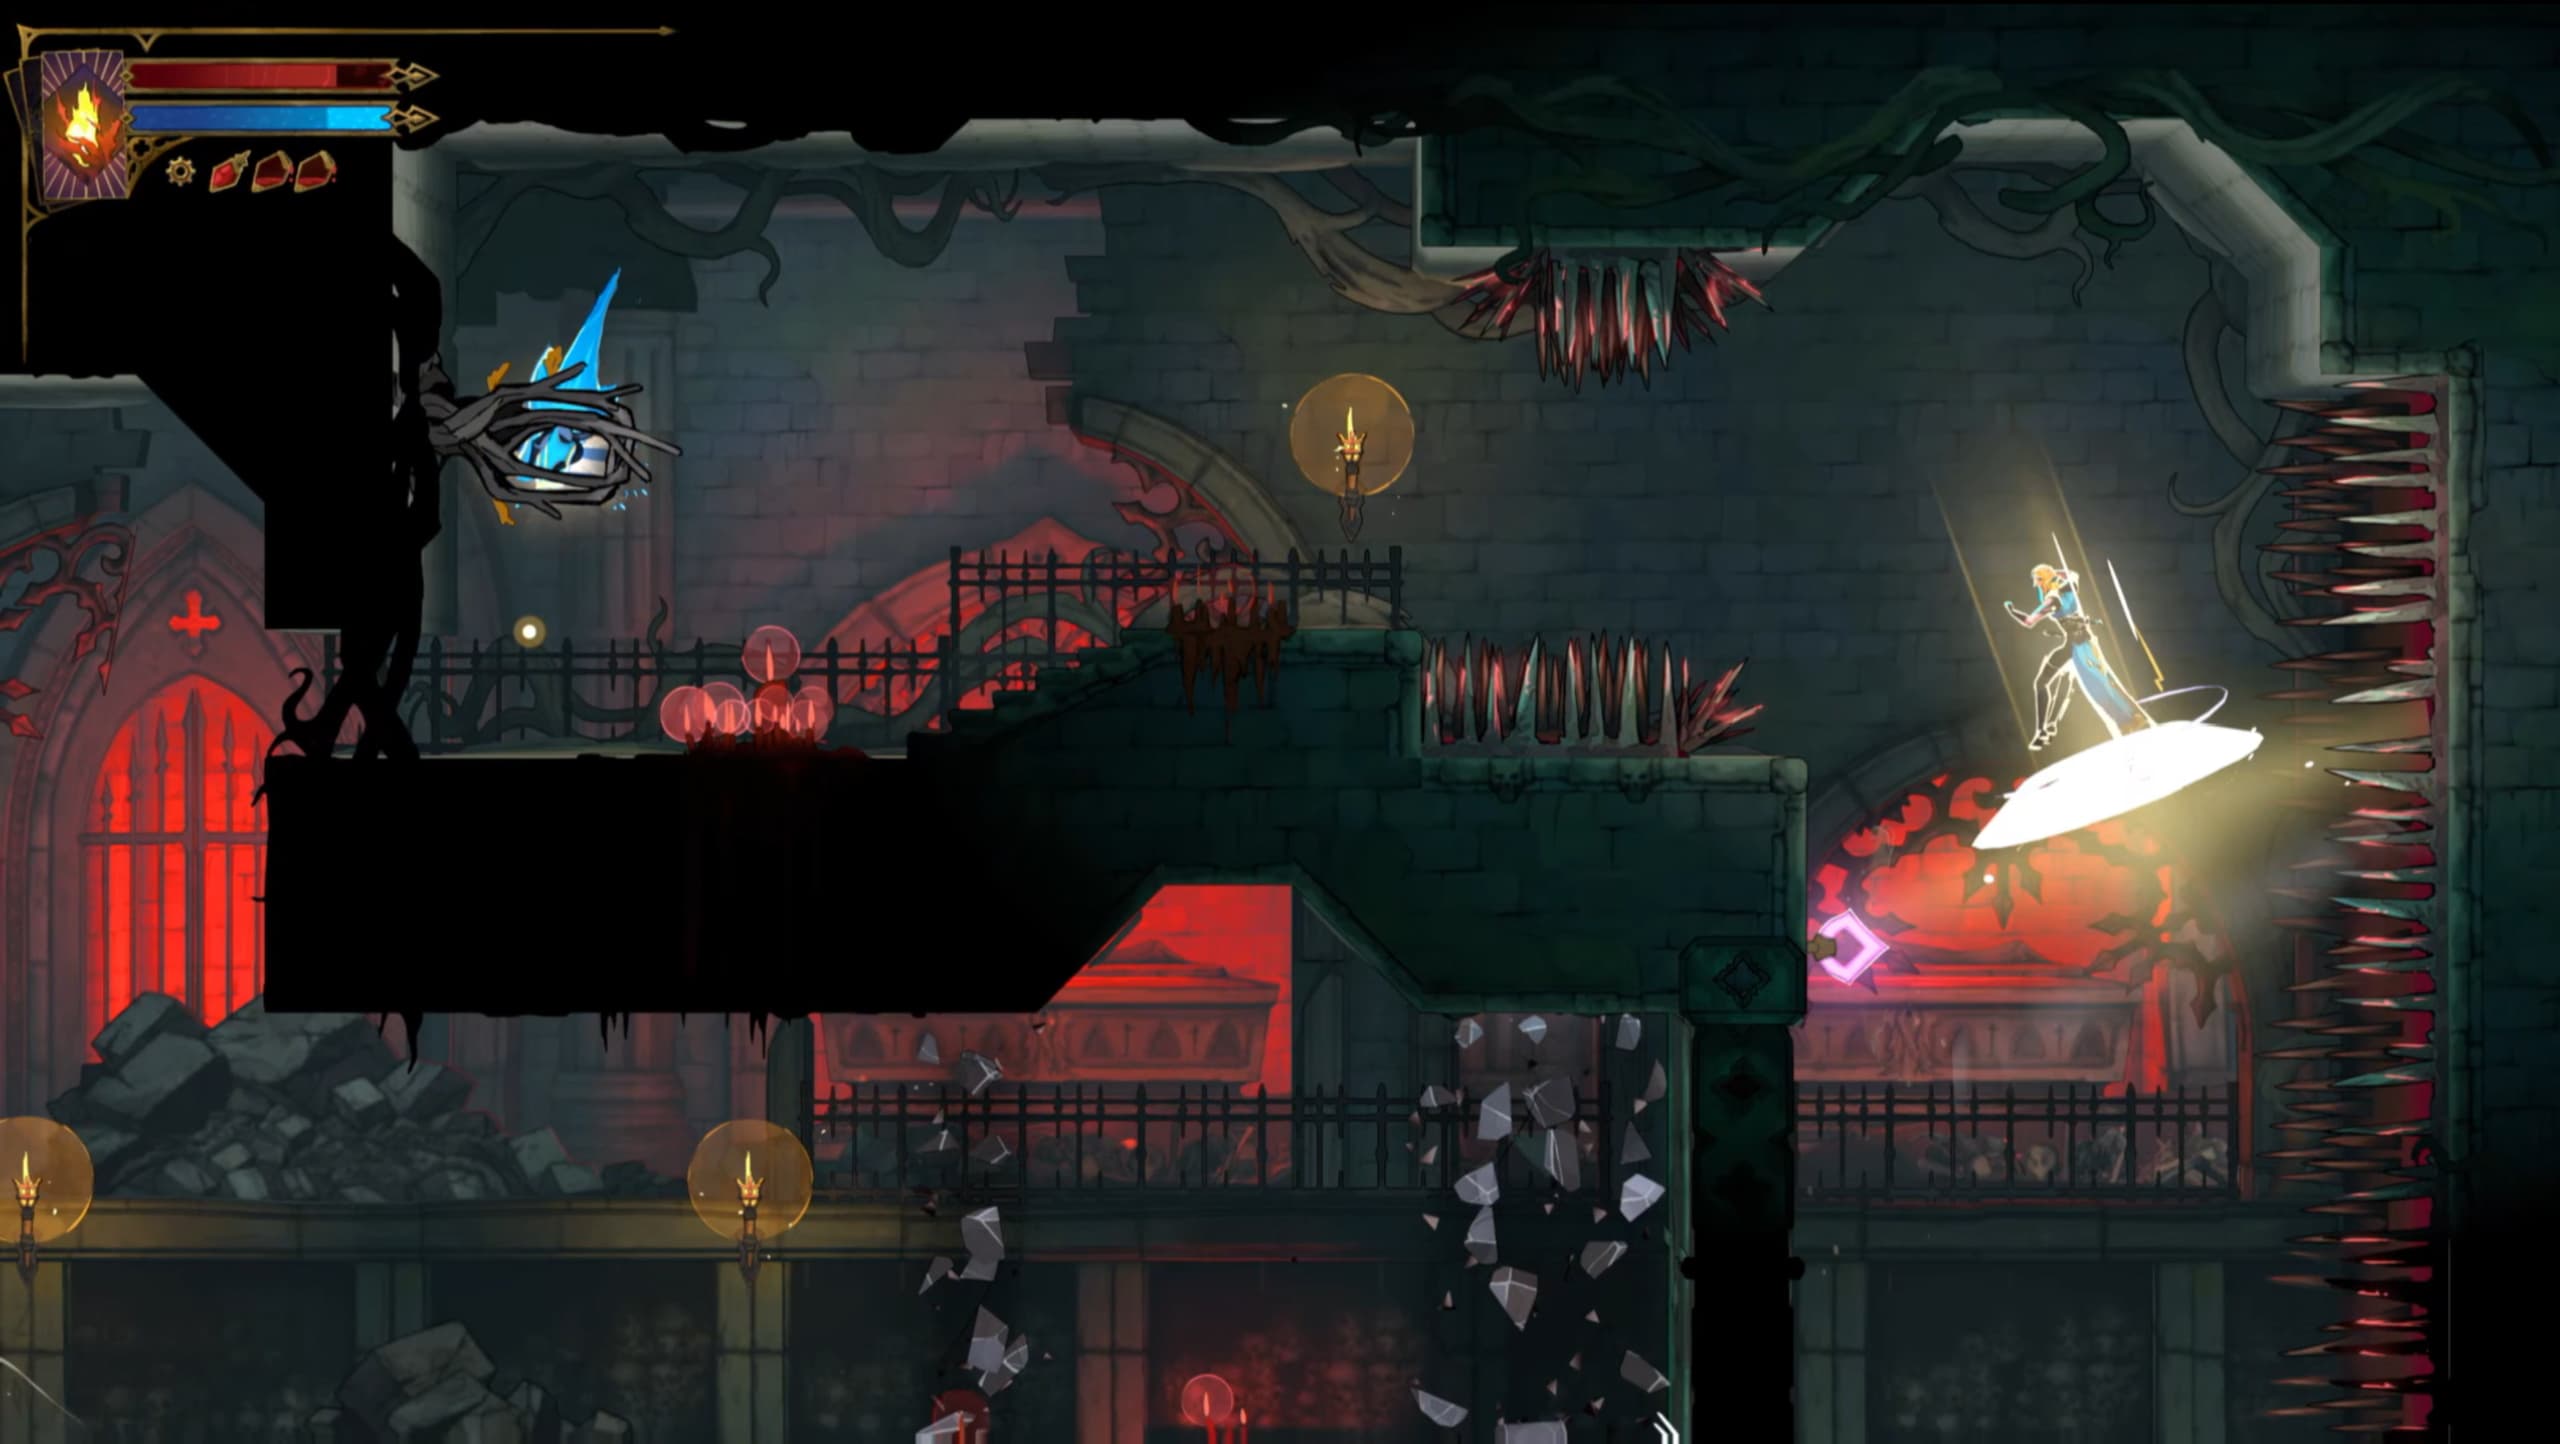
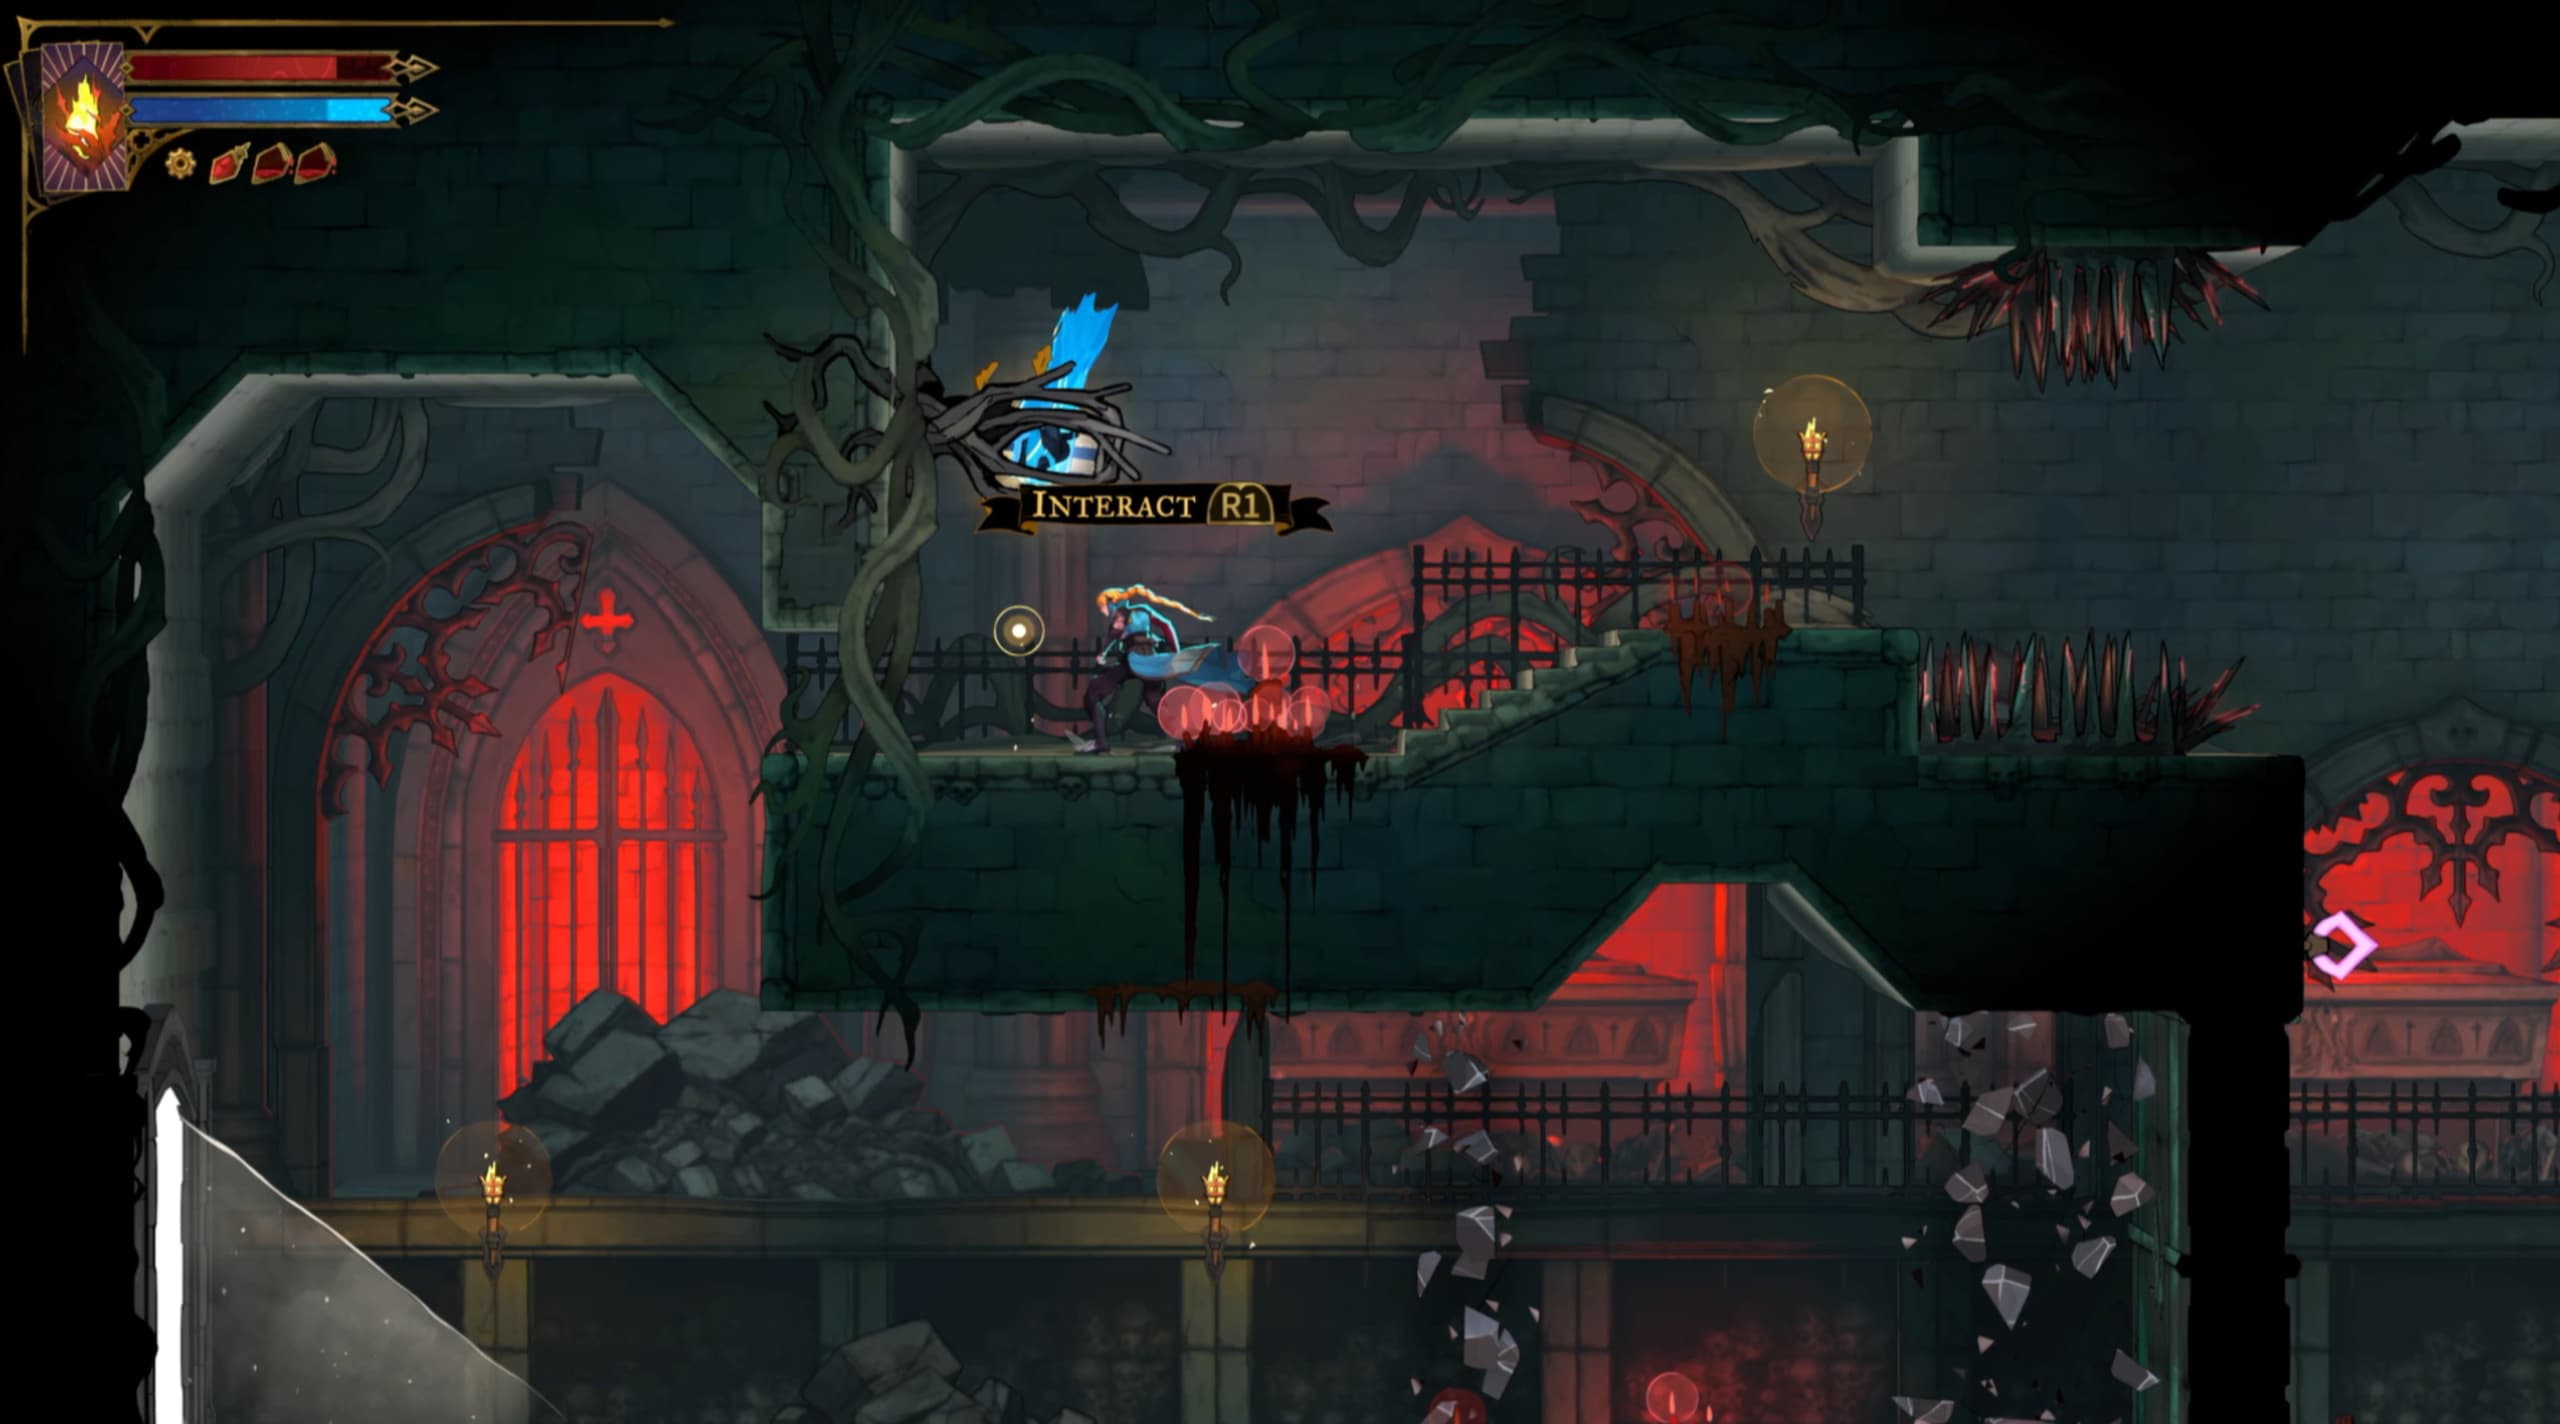
For the fifth Fragment in this area, make your way to the pointer as shown on the map below, then to get to the Fragment can be quite tricky.
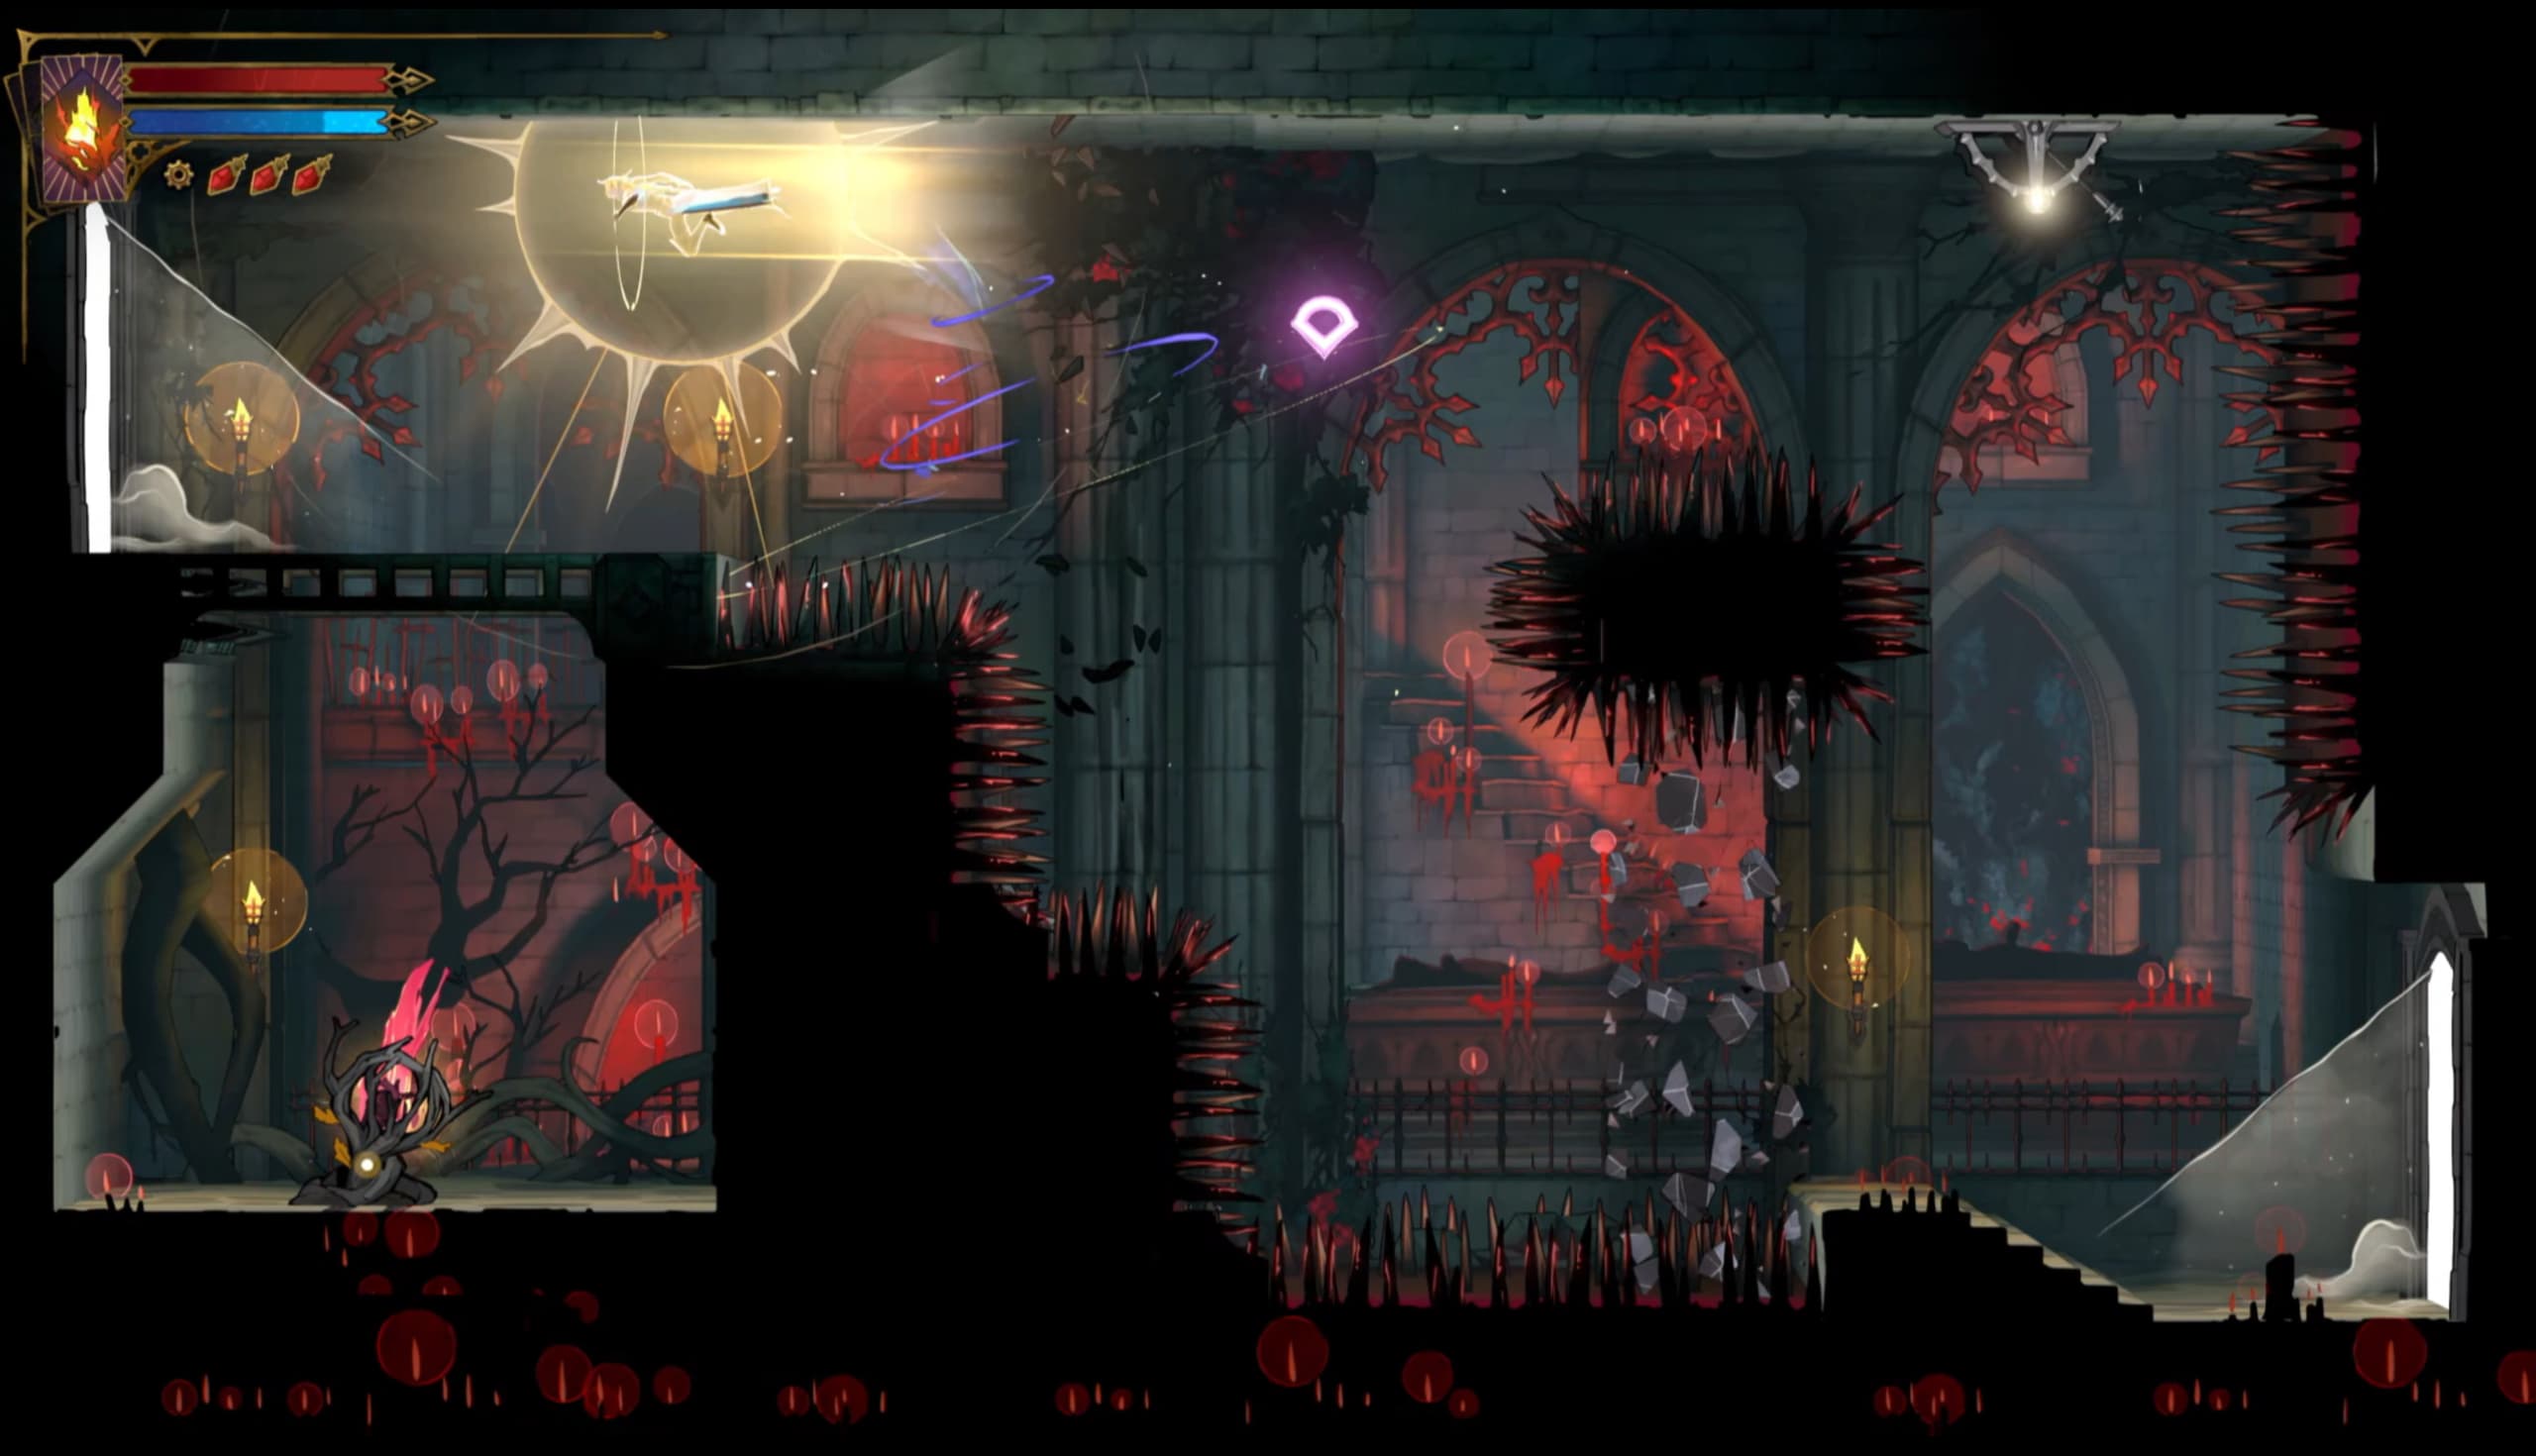
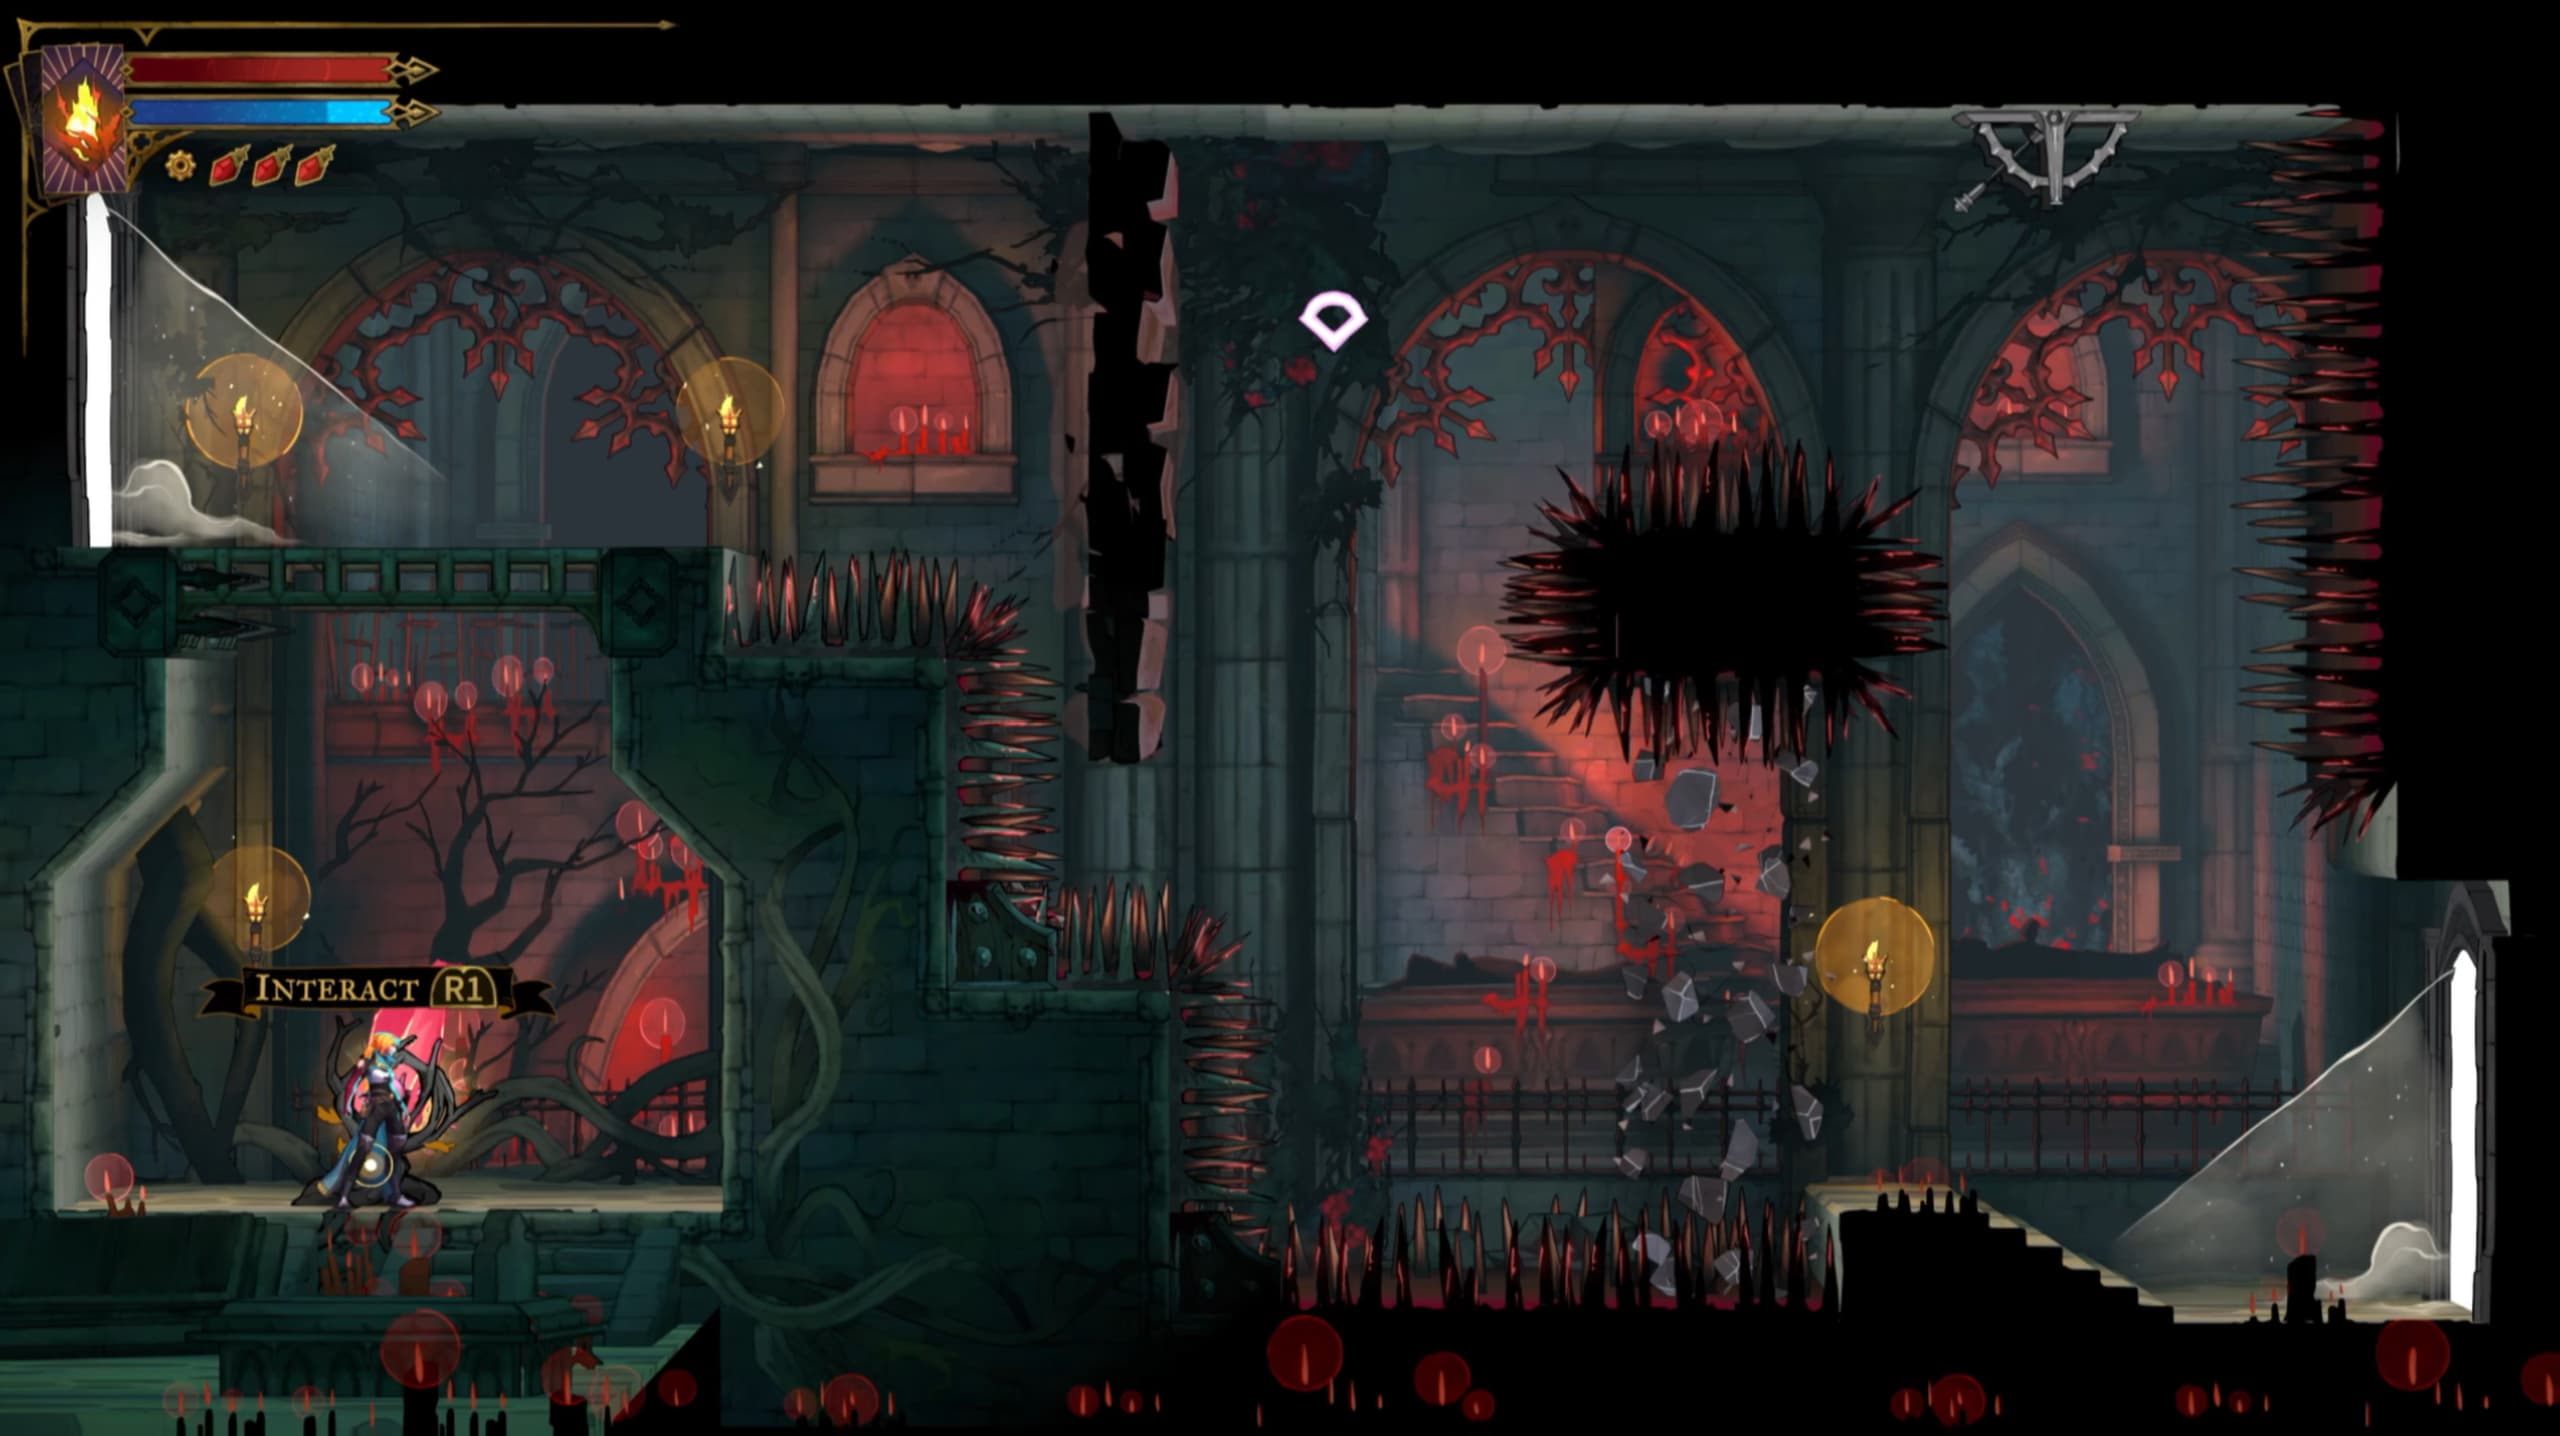
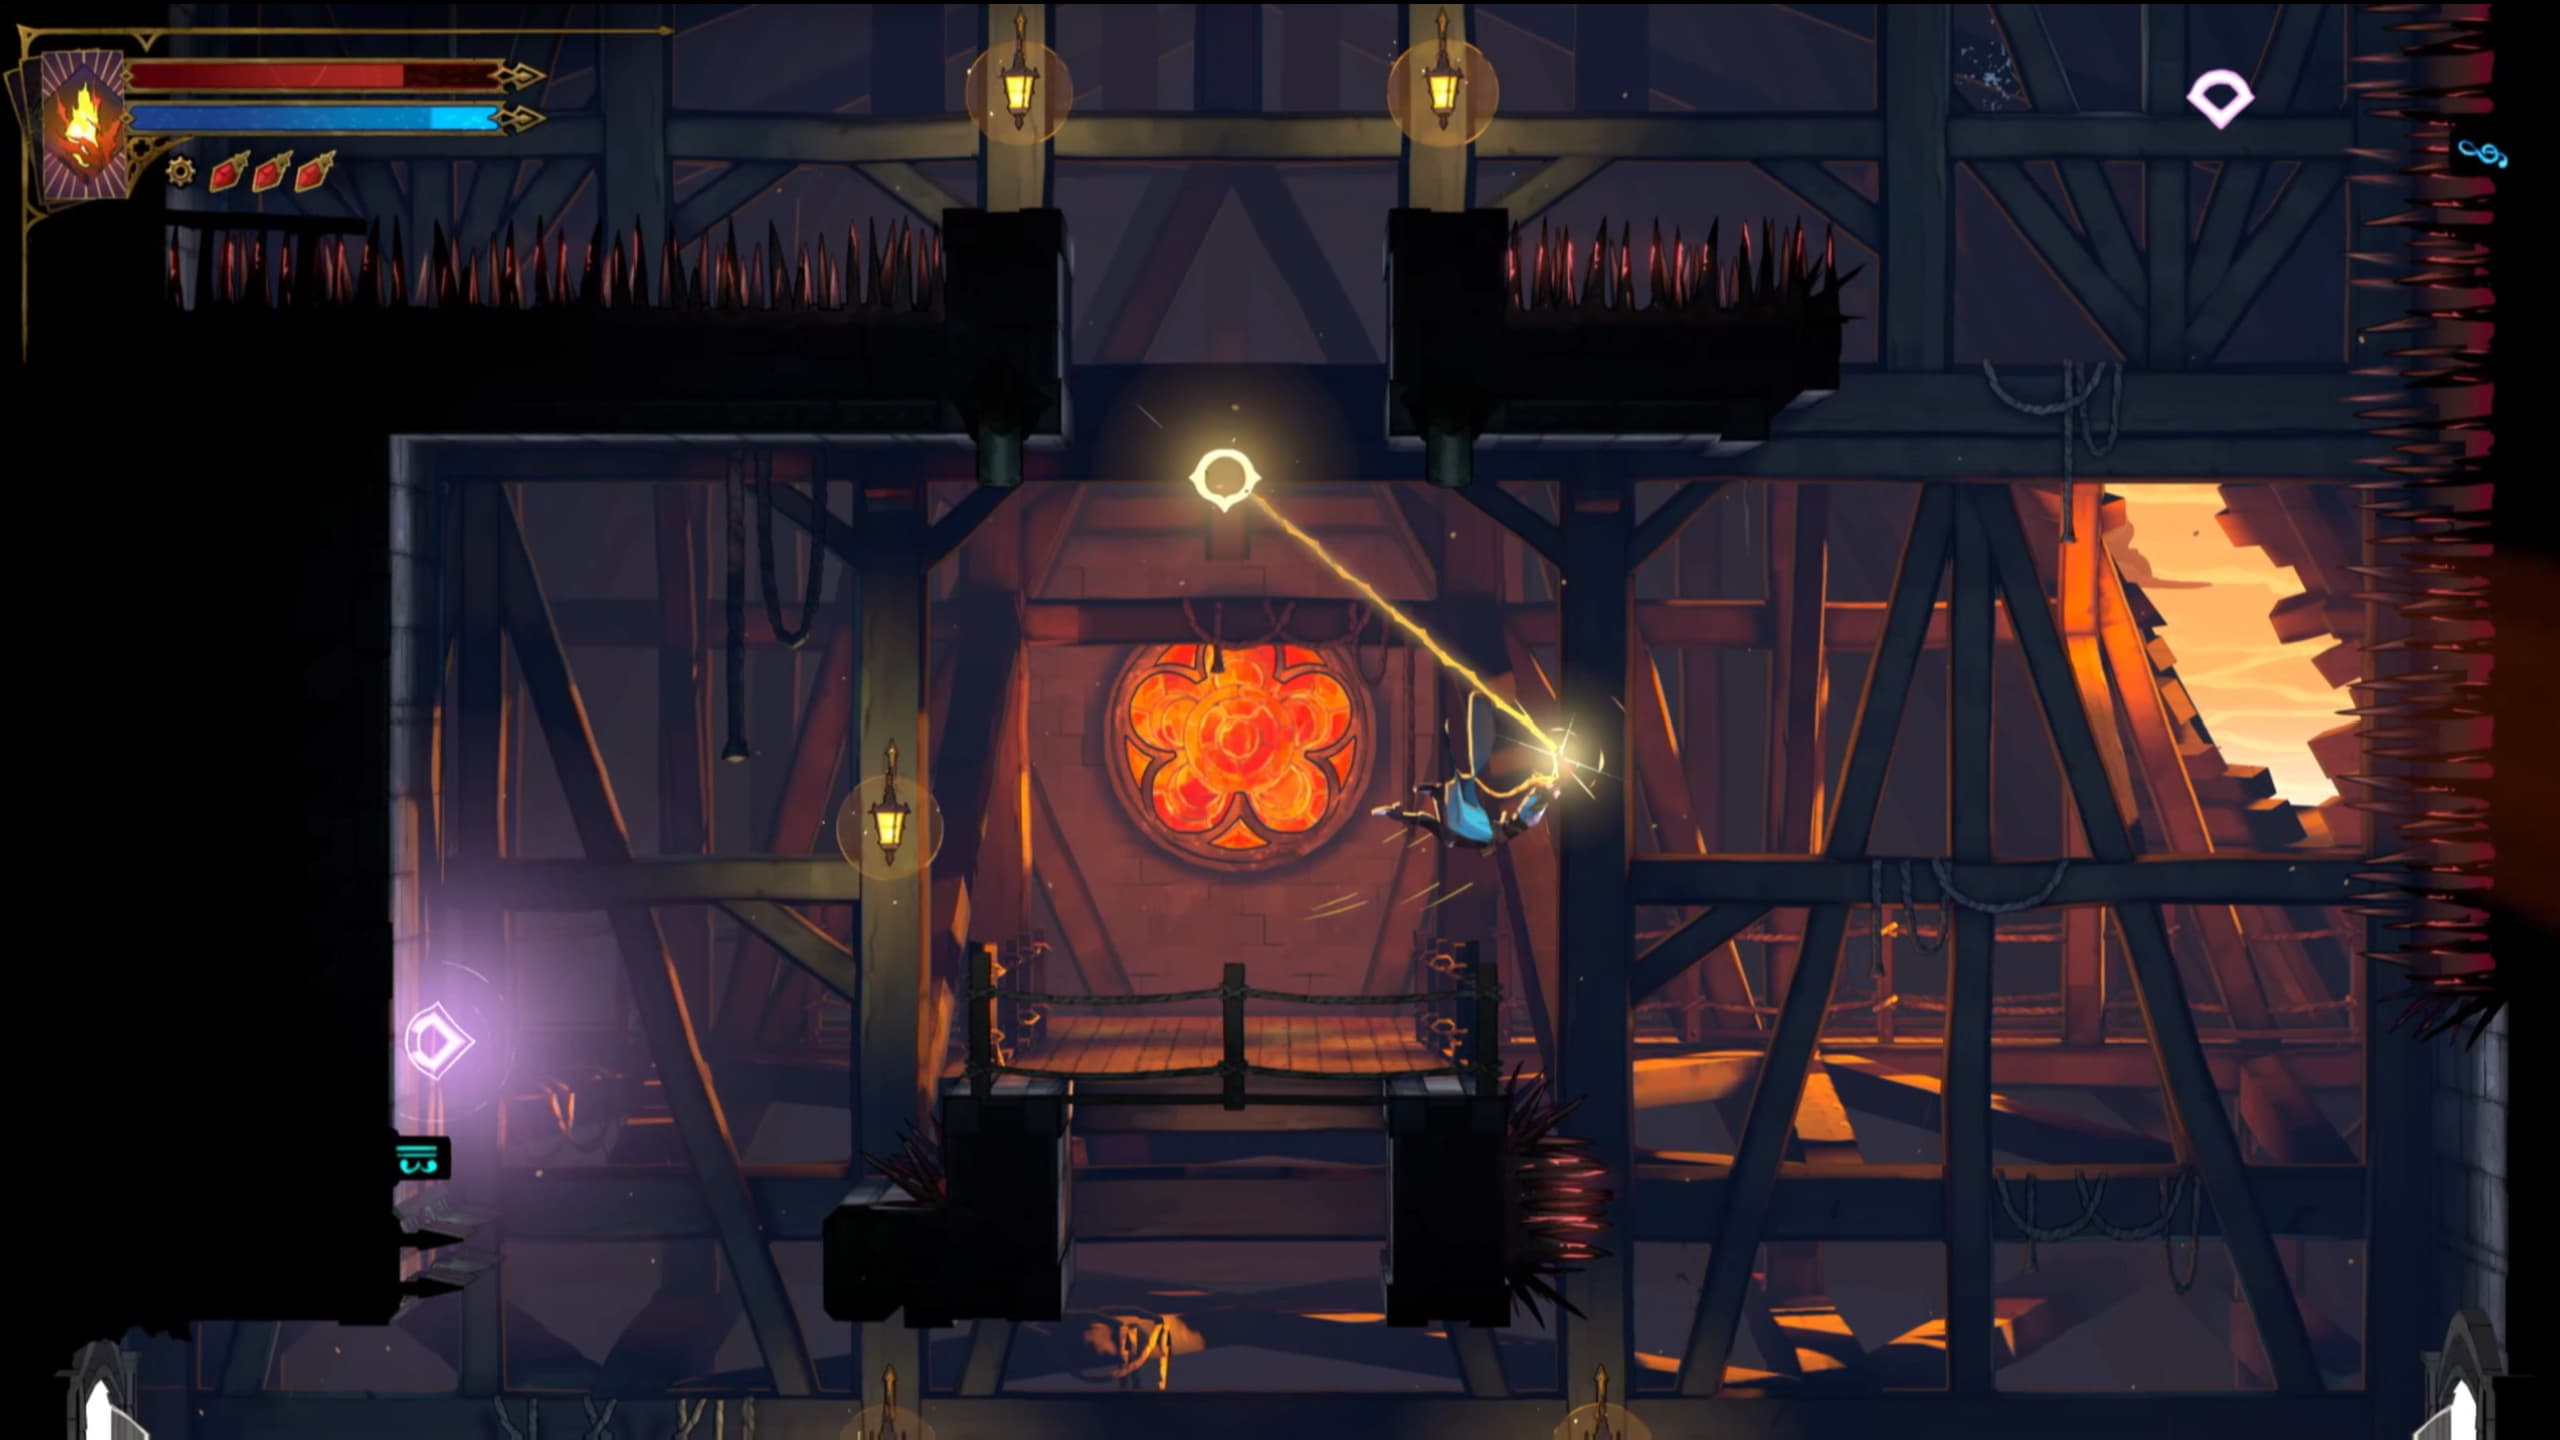
Using your Holy Light to get through the crumbled wall, quickly whip up to the above hook and dash back on yourself to hit the handle on the ceiling.
Now quickly drop back down and repeat the process, only this time latching onto the central crumbling wall, once the wall breaks down, dash through to the safe platform on the upper left, now you will be able to drop down to collect the Heart Fragment.
For the final Fragment in this area, make your way to the pointer as shown on the map below, for this one, you will have a timer to quickly make your way through to reach the Fragment on the other side.
After using the lever on the floor infront of you, quickly jump through the crumbled wall to latch onto the next crumbling wall along. After this one breaks, jump through to the right again and wall jump your way up to then use your Holy Light to dash through the crumbled wall on the right.
The small platform below you here will be weak, so quickly again, use the whip point to pull you up, double jump mid air to then dash through to the left, avoiding the spikes to finally make it to the Heart Fragment.
Catacombs of Paris
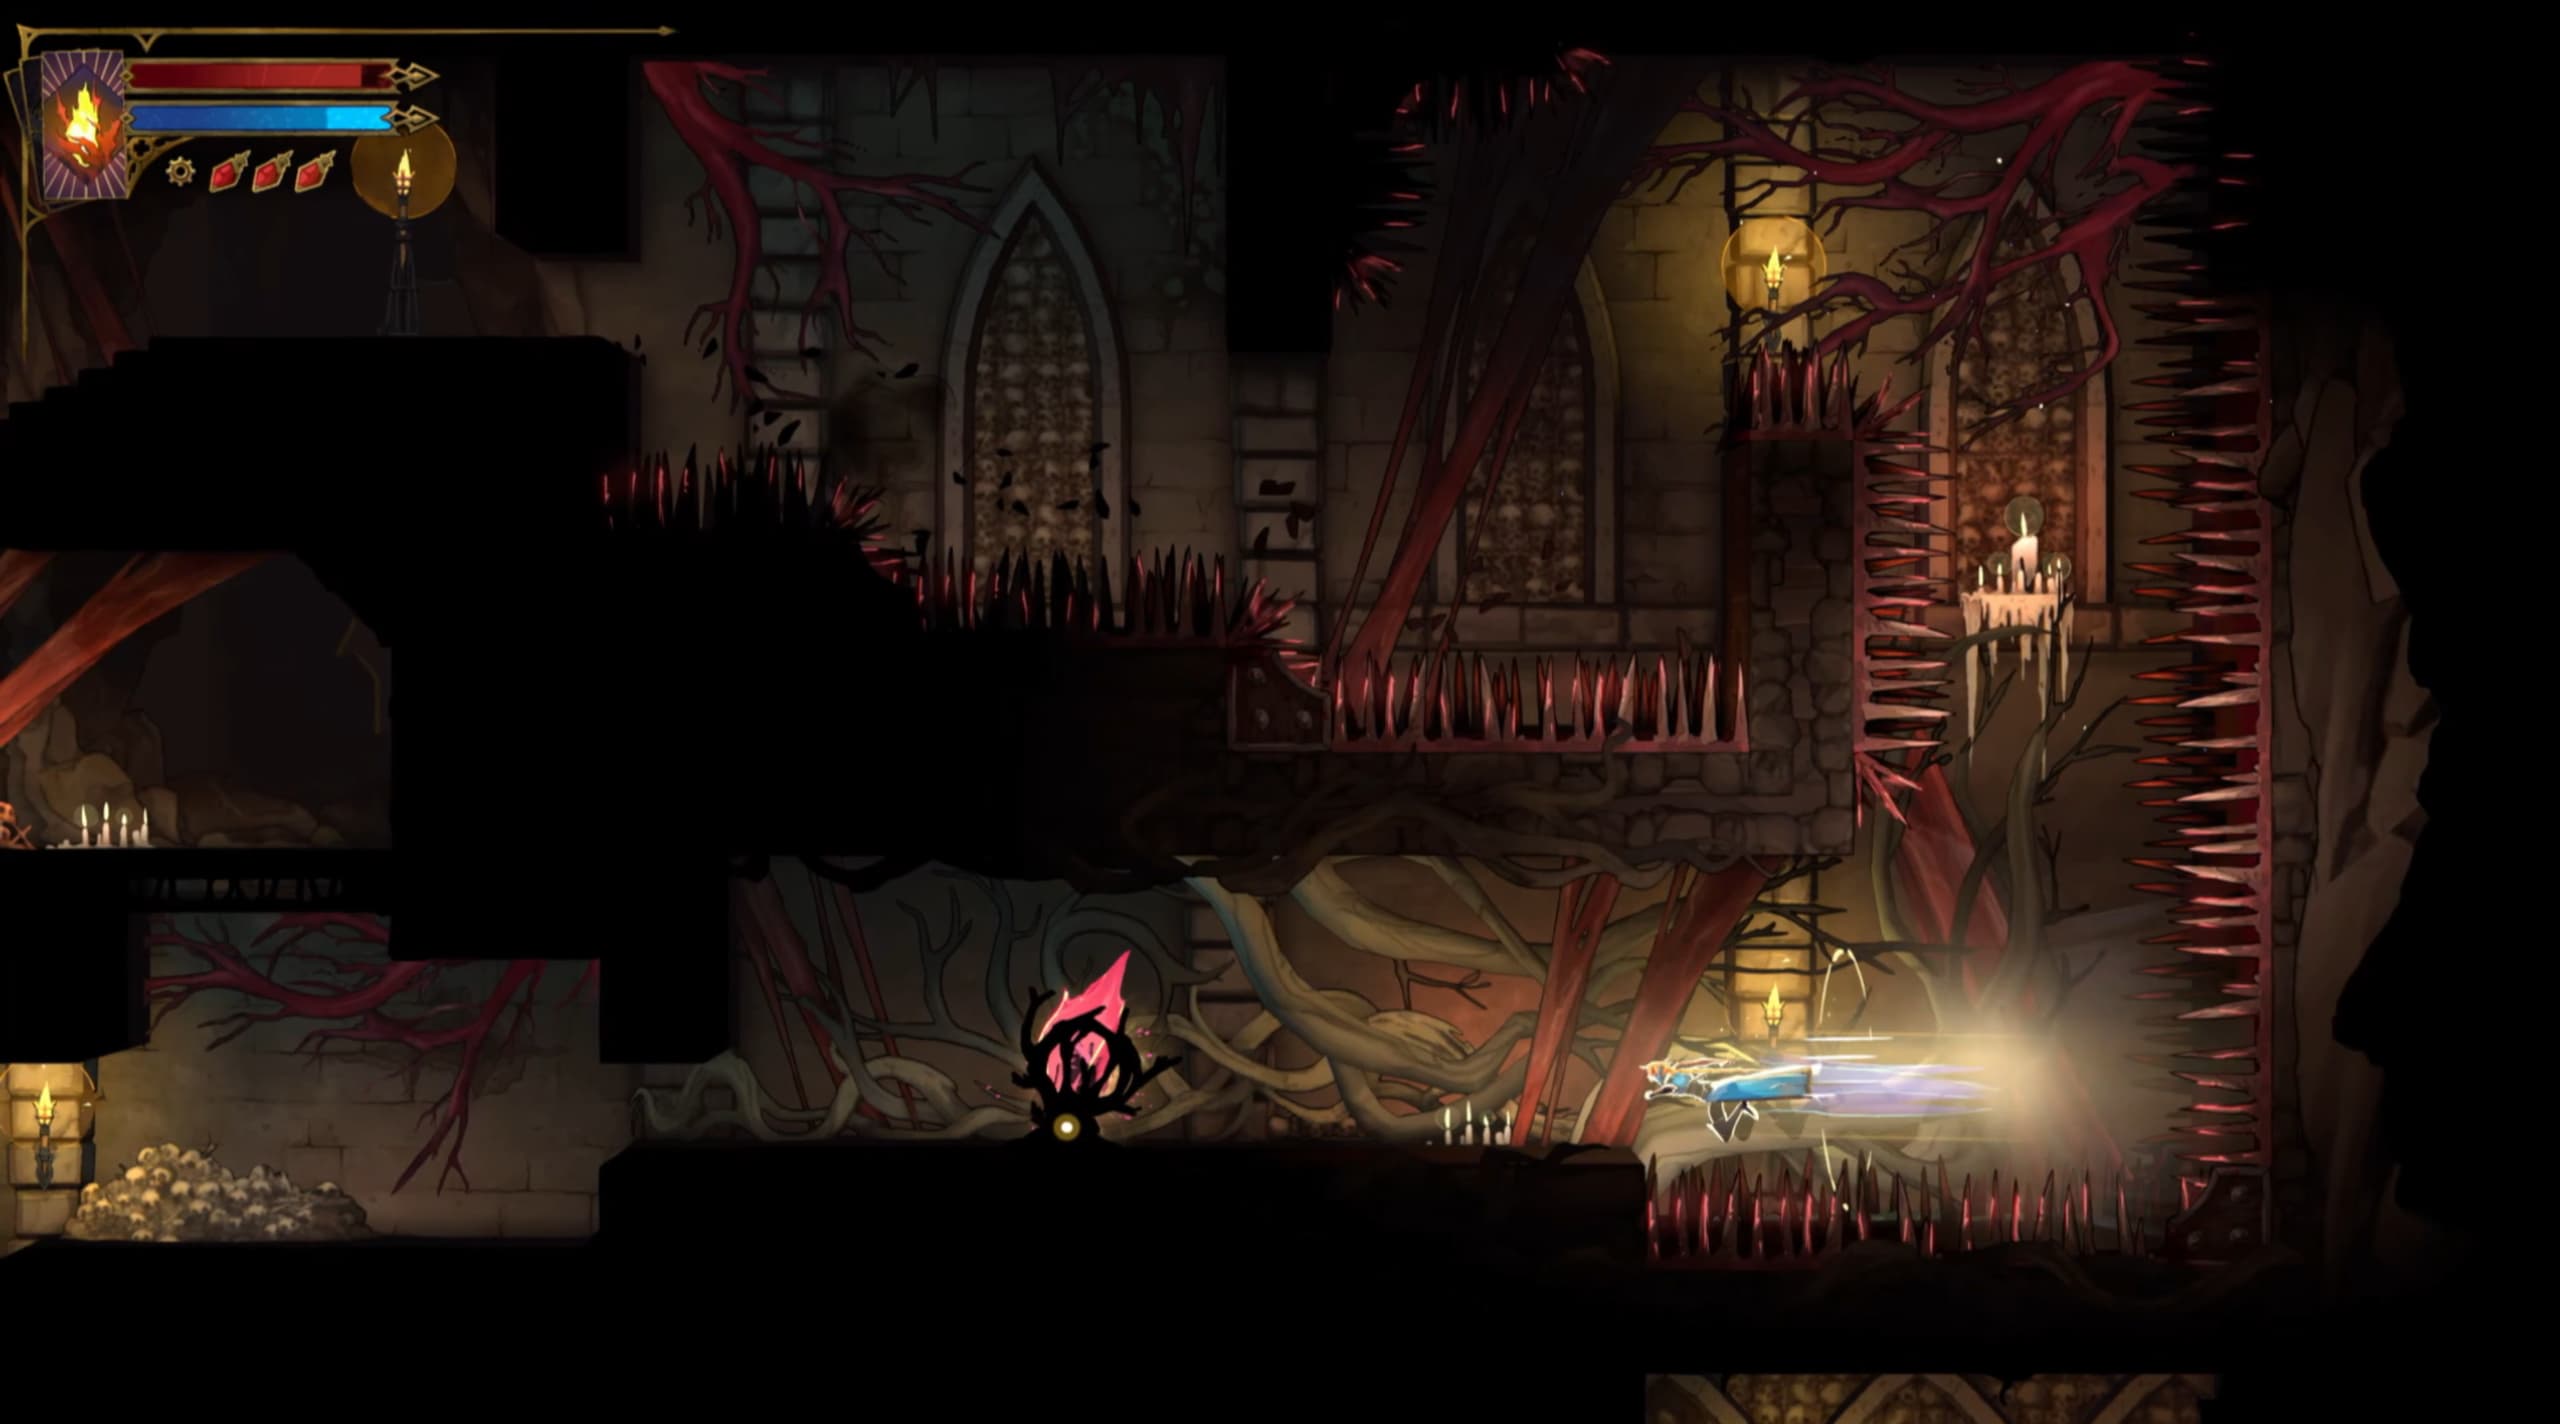
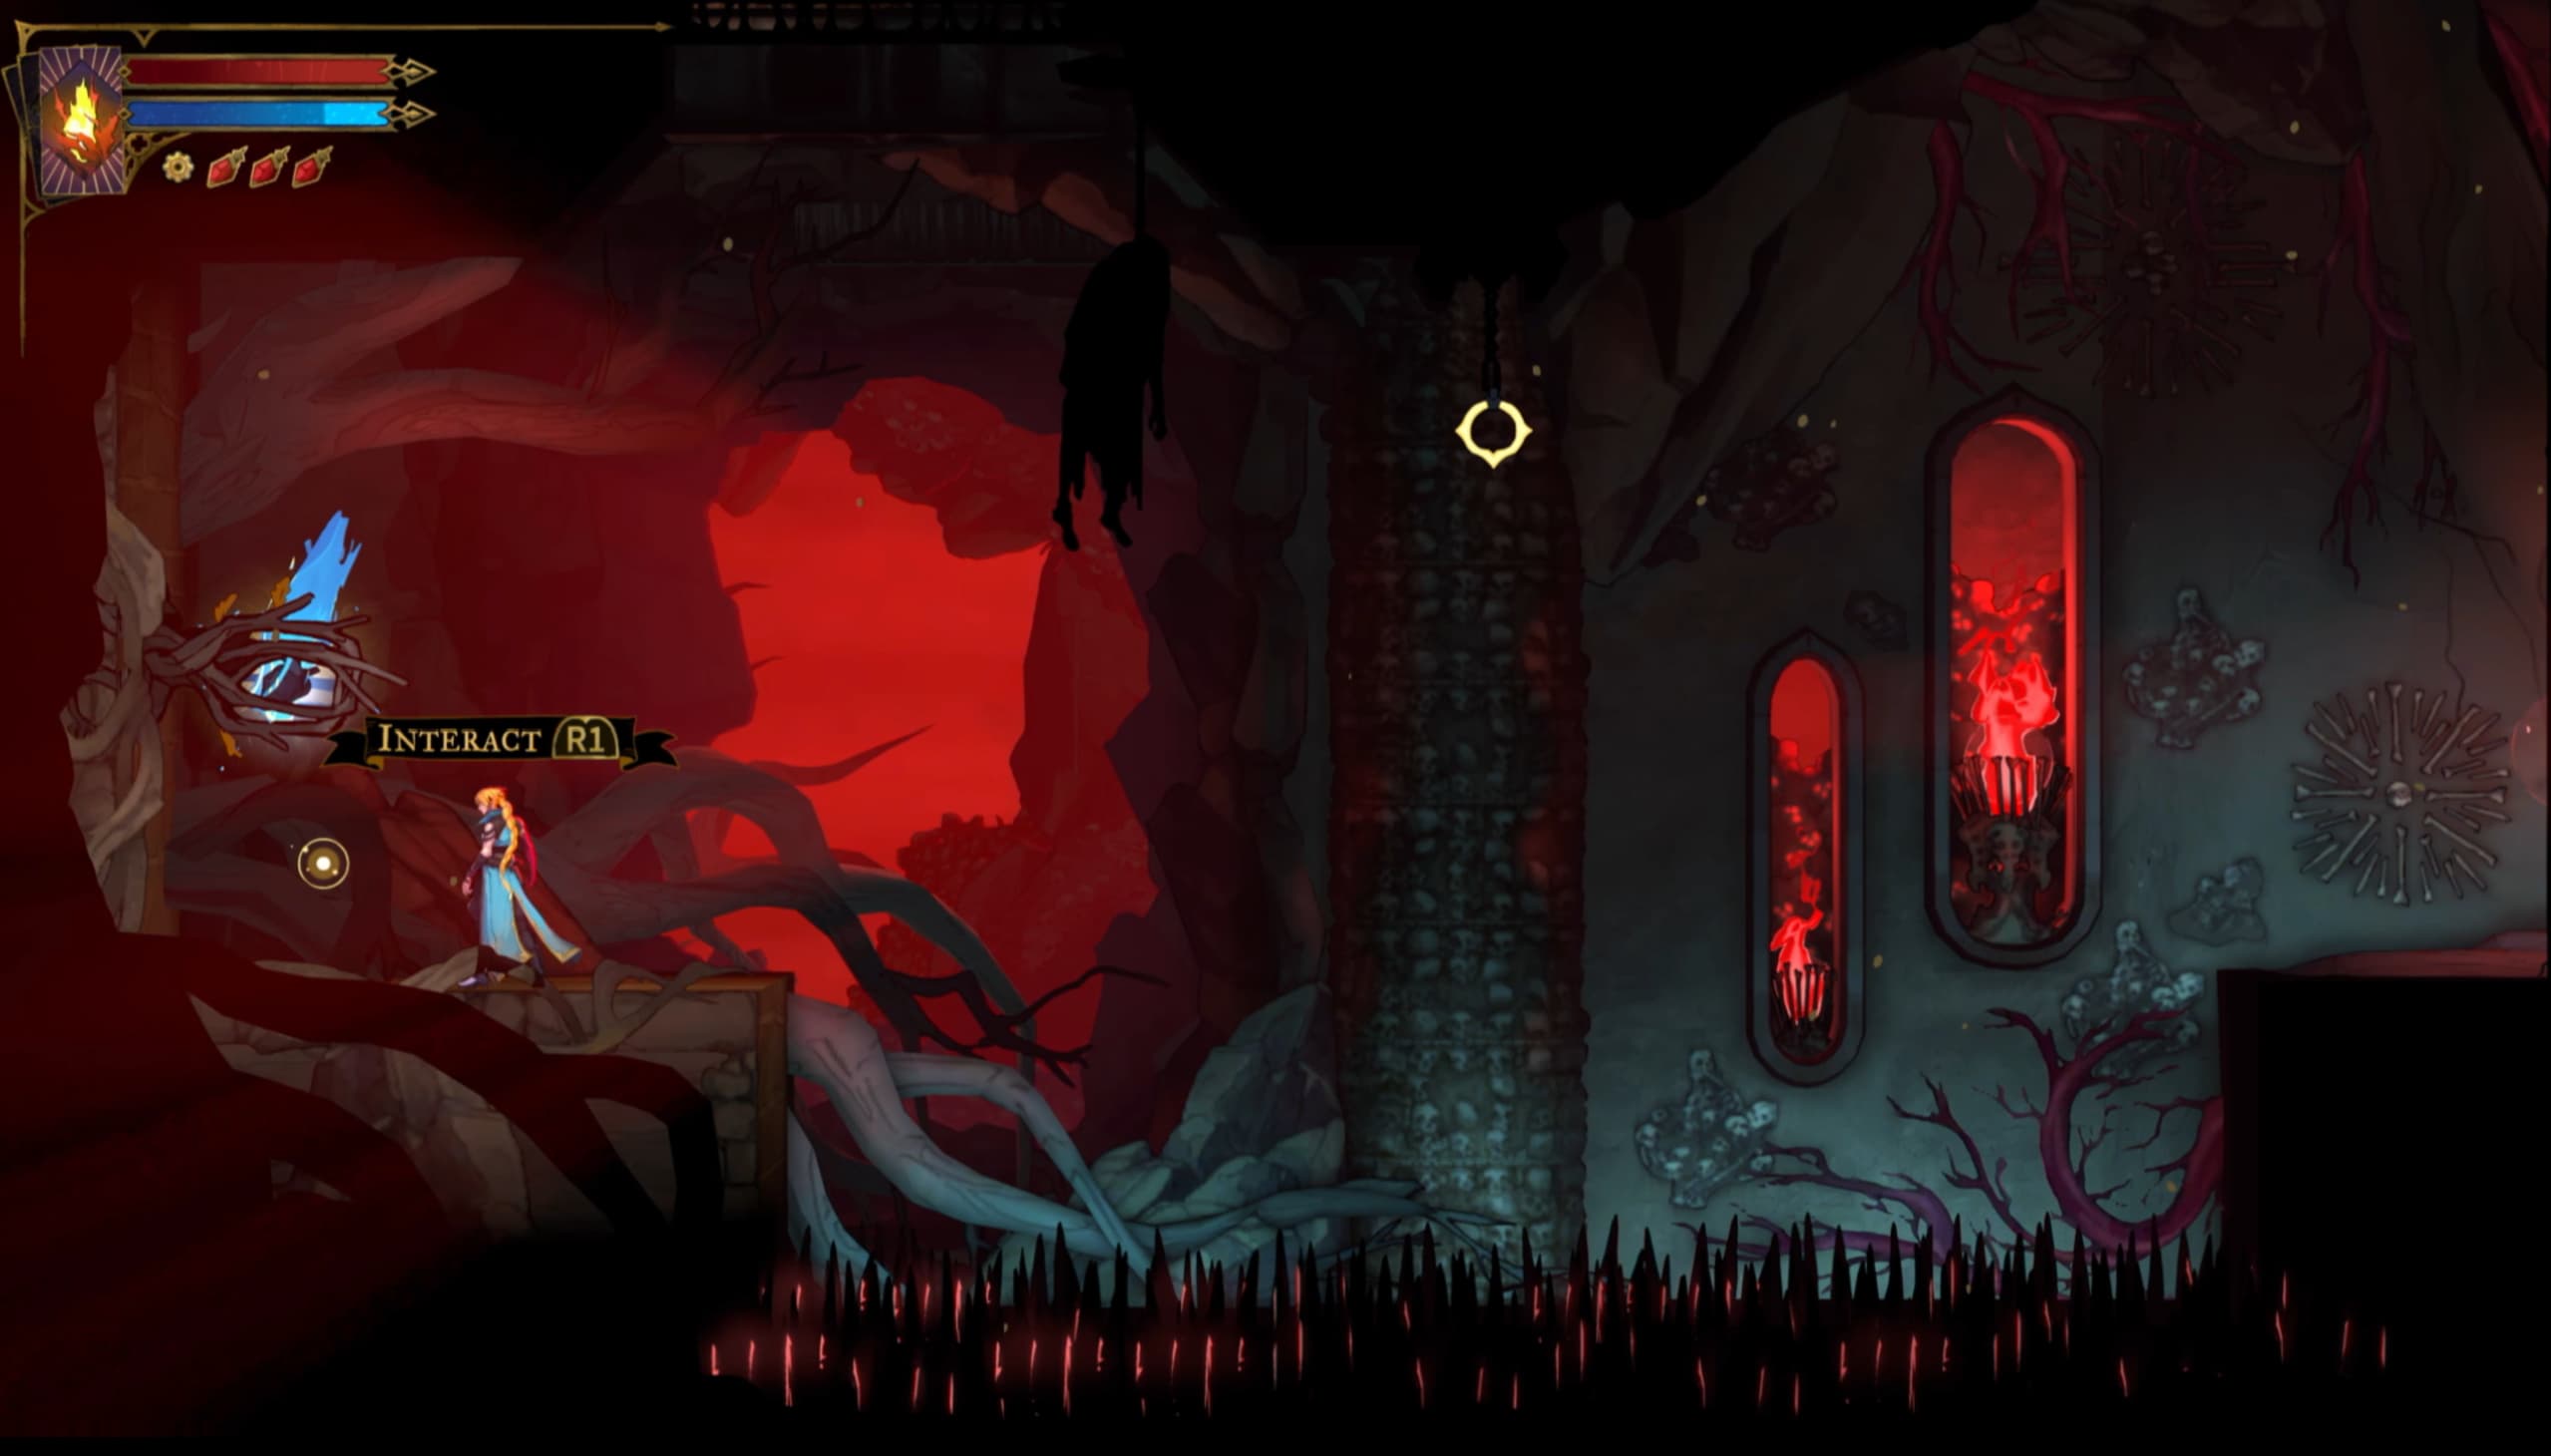
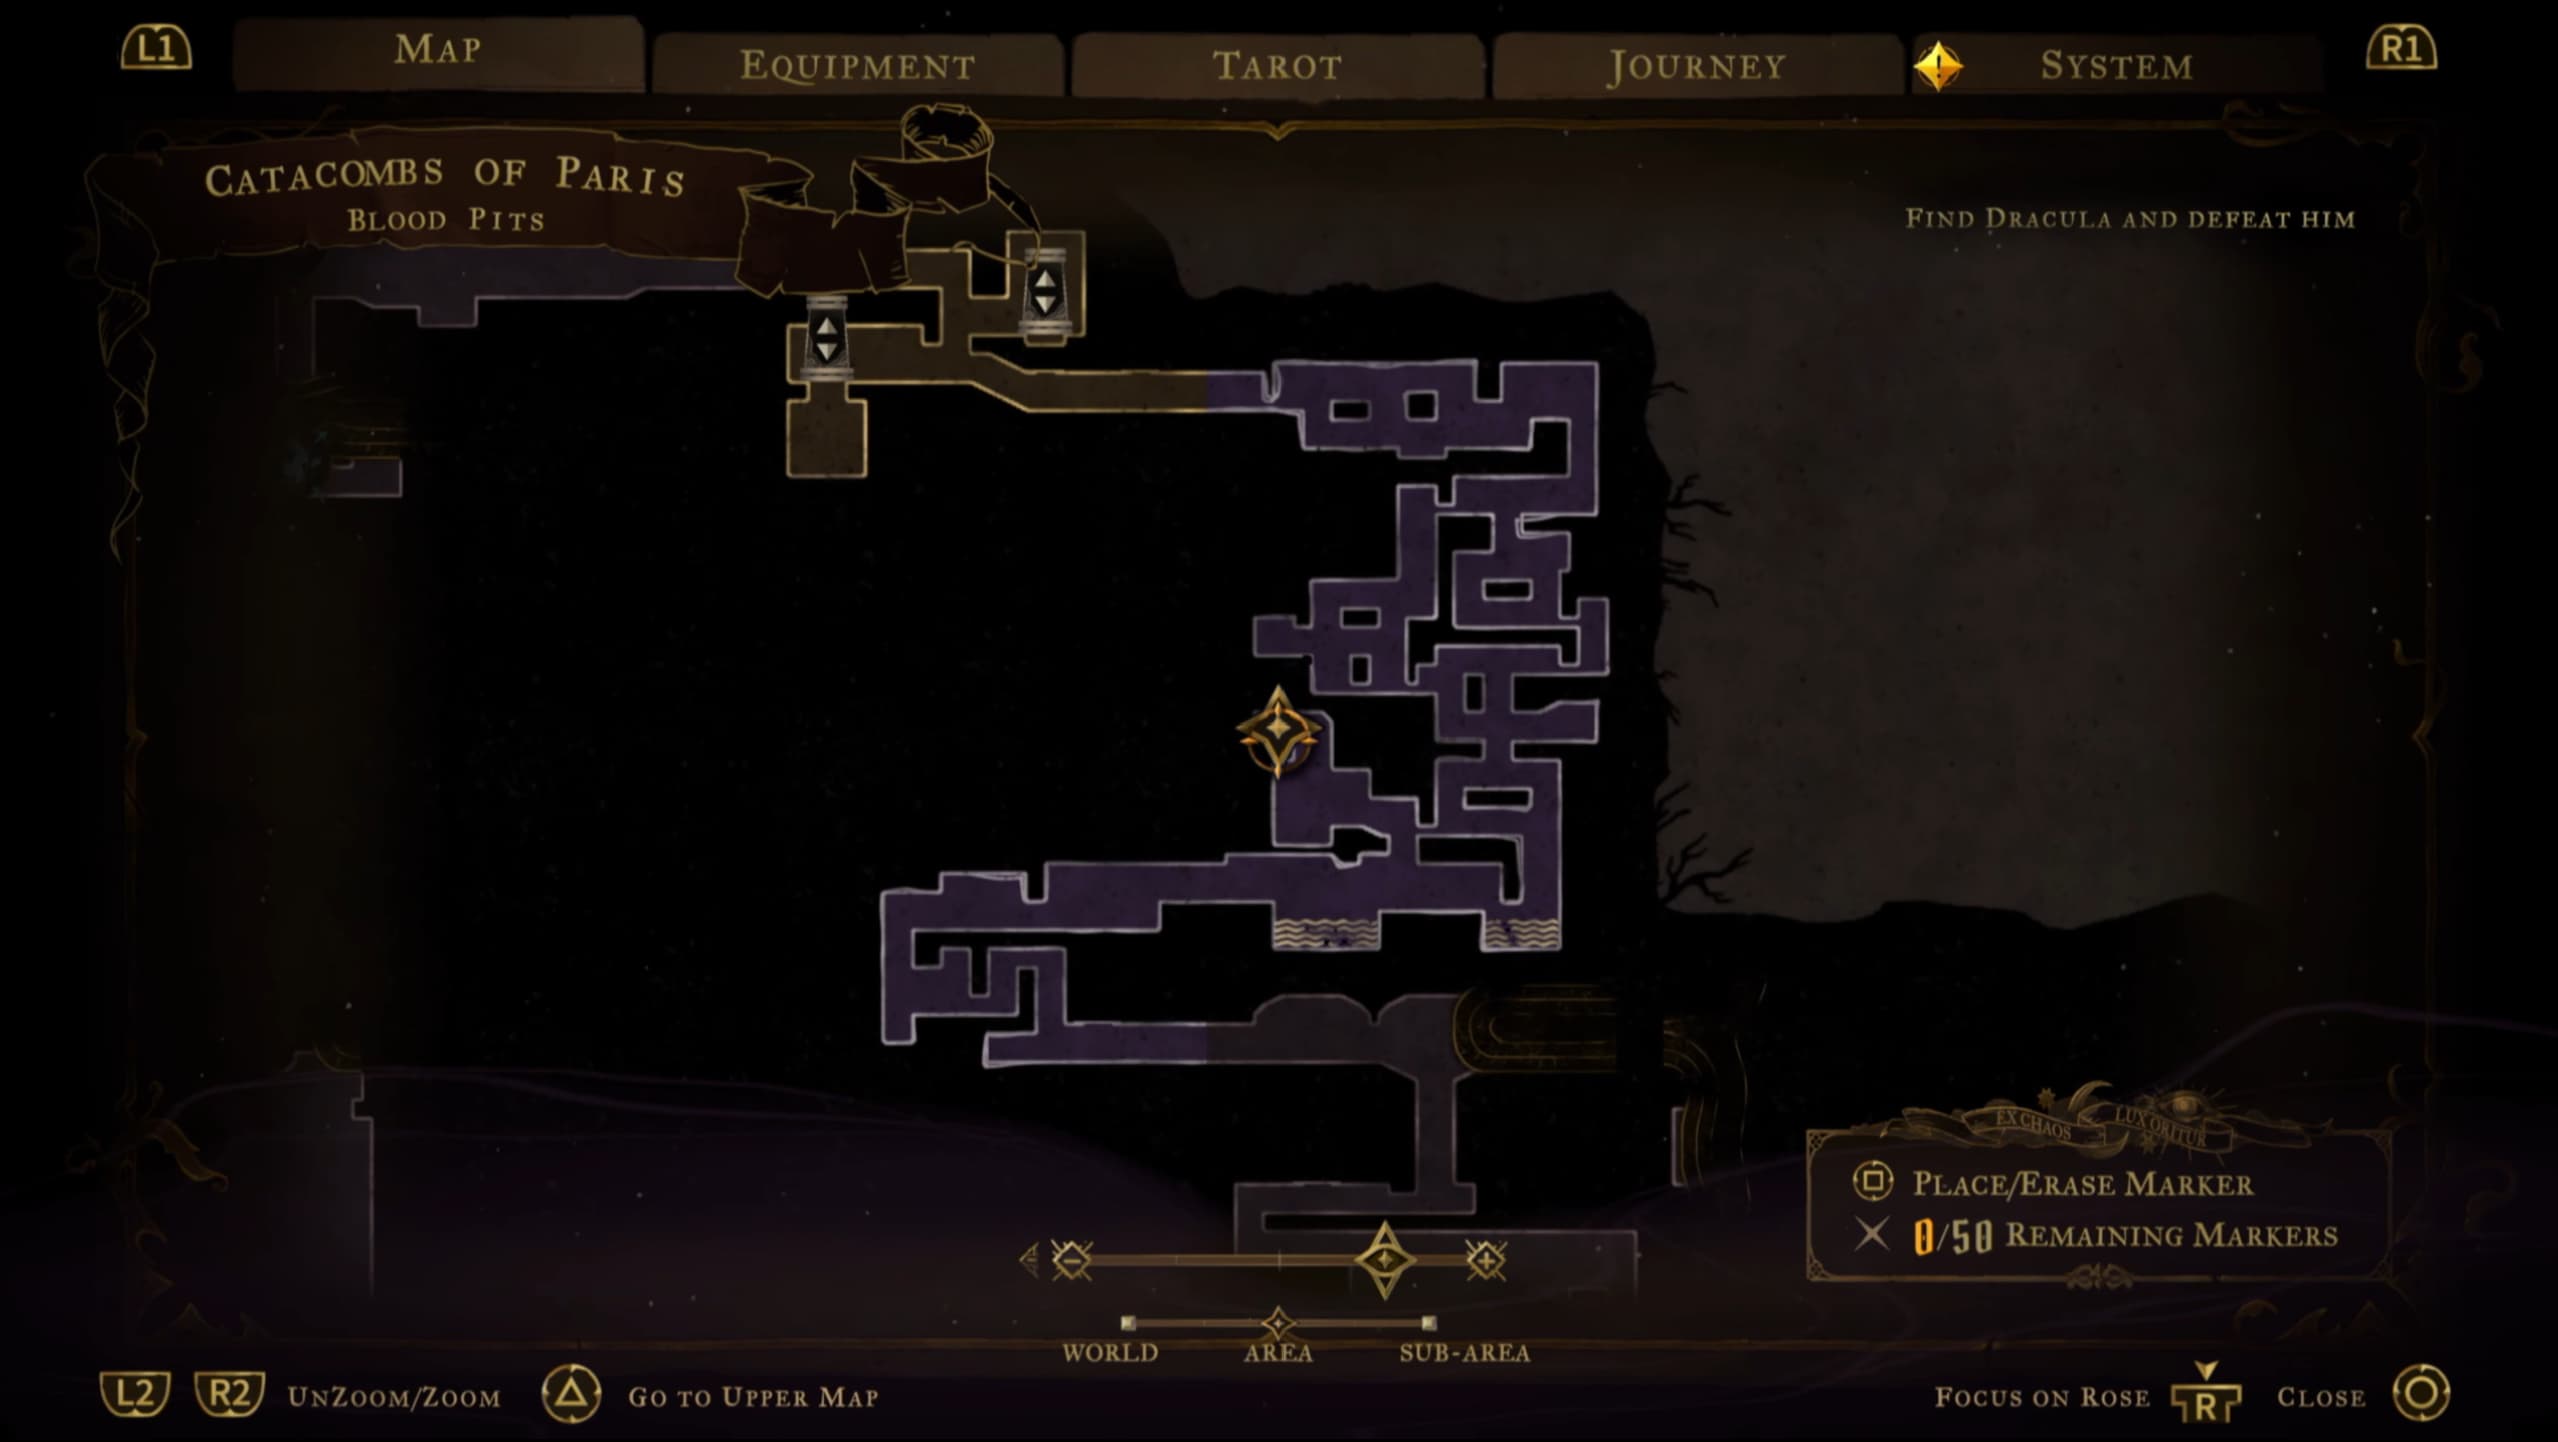
For the first Heart Fragment in this area, make your way to the following location on the map.
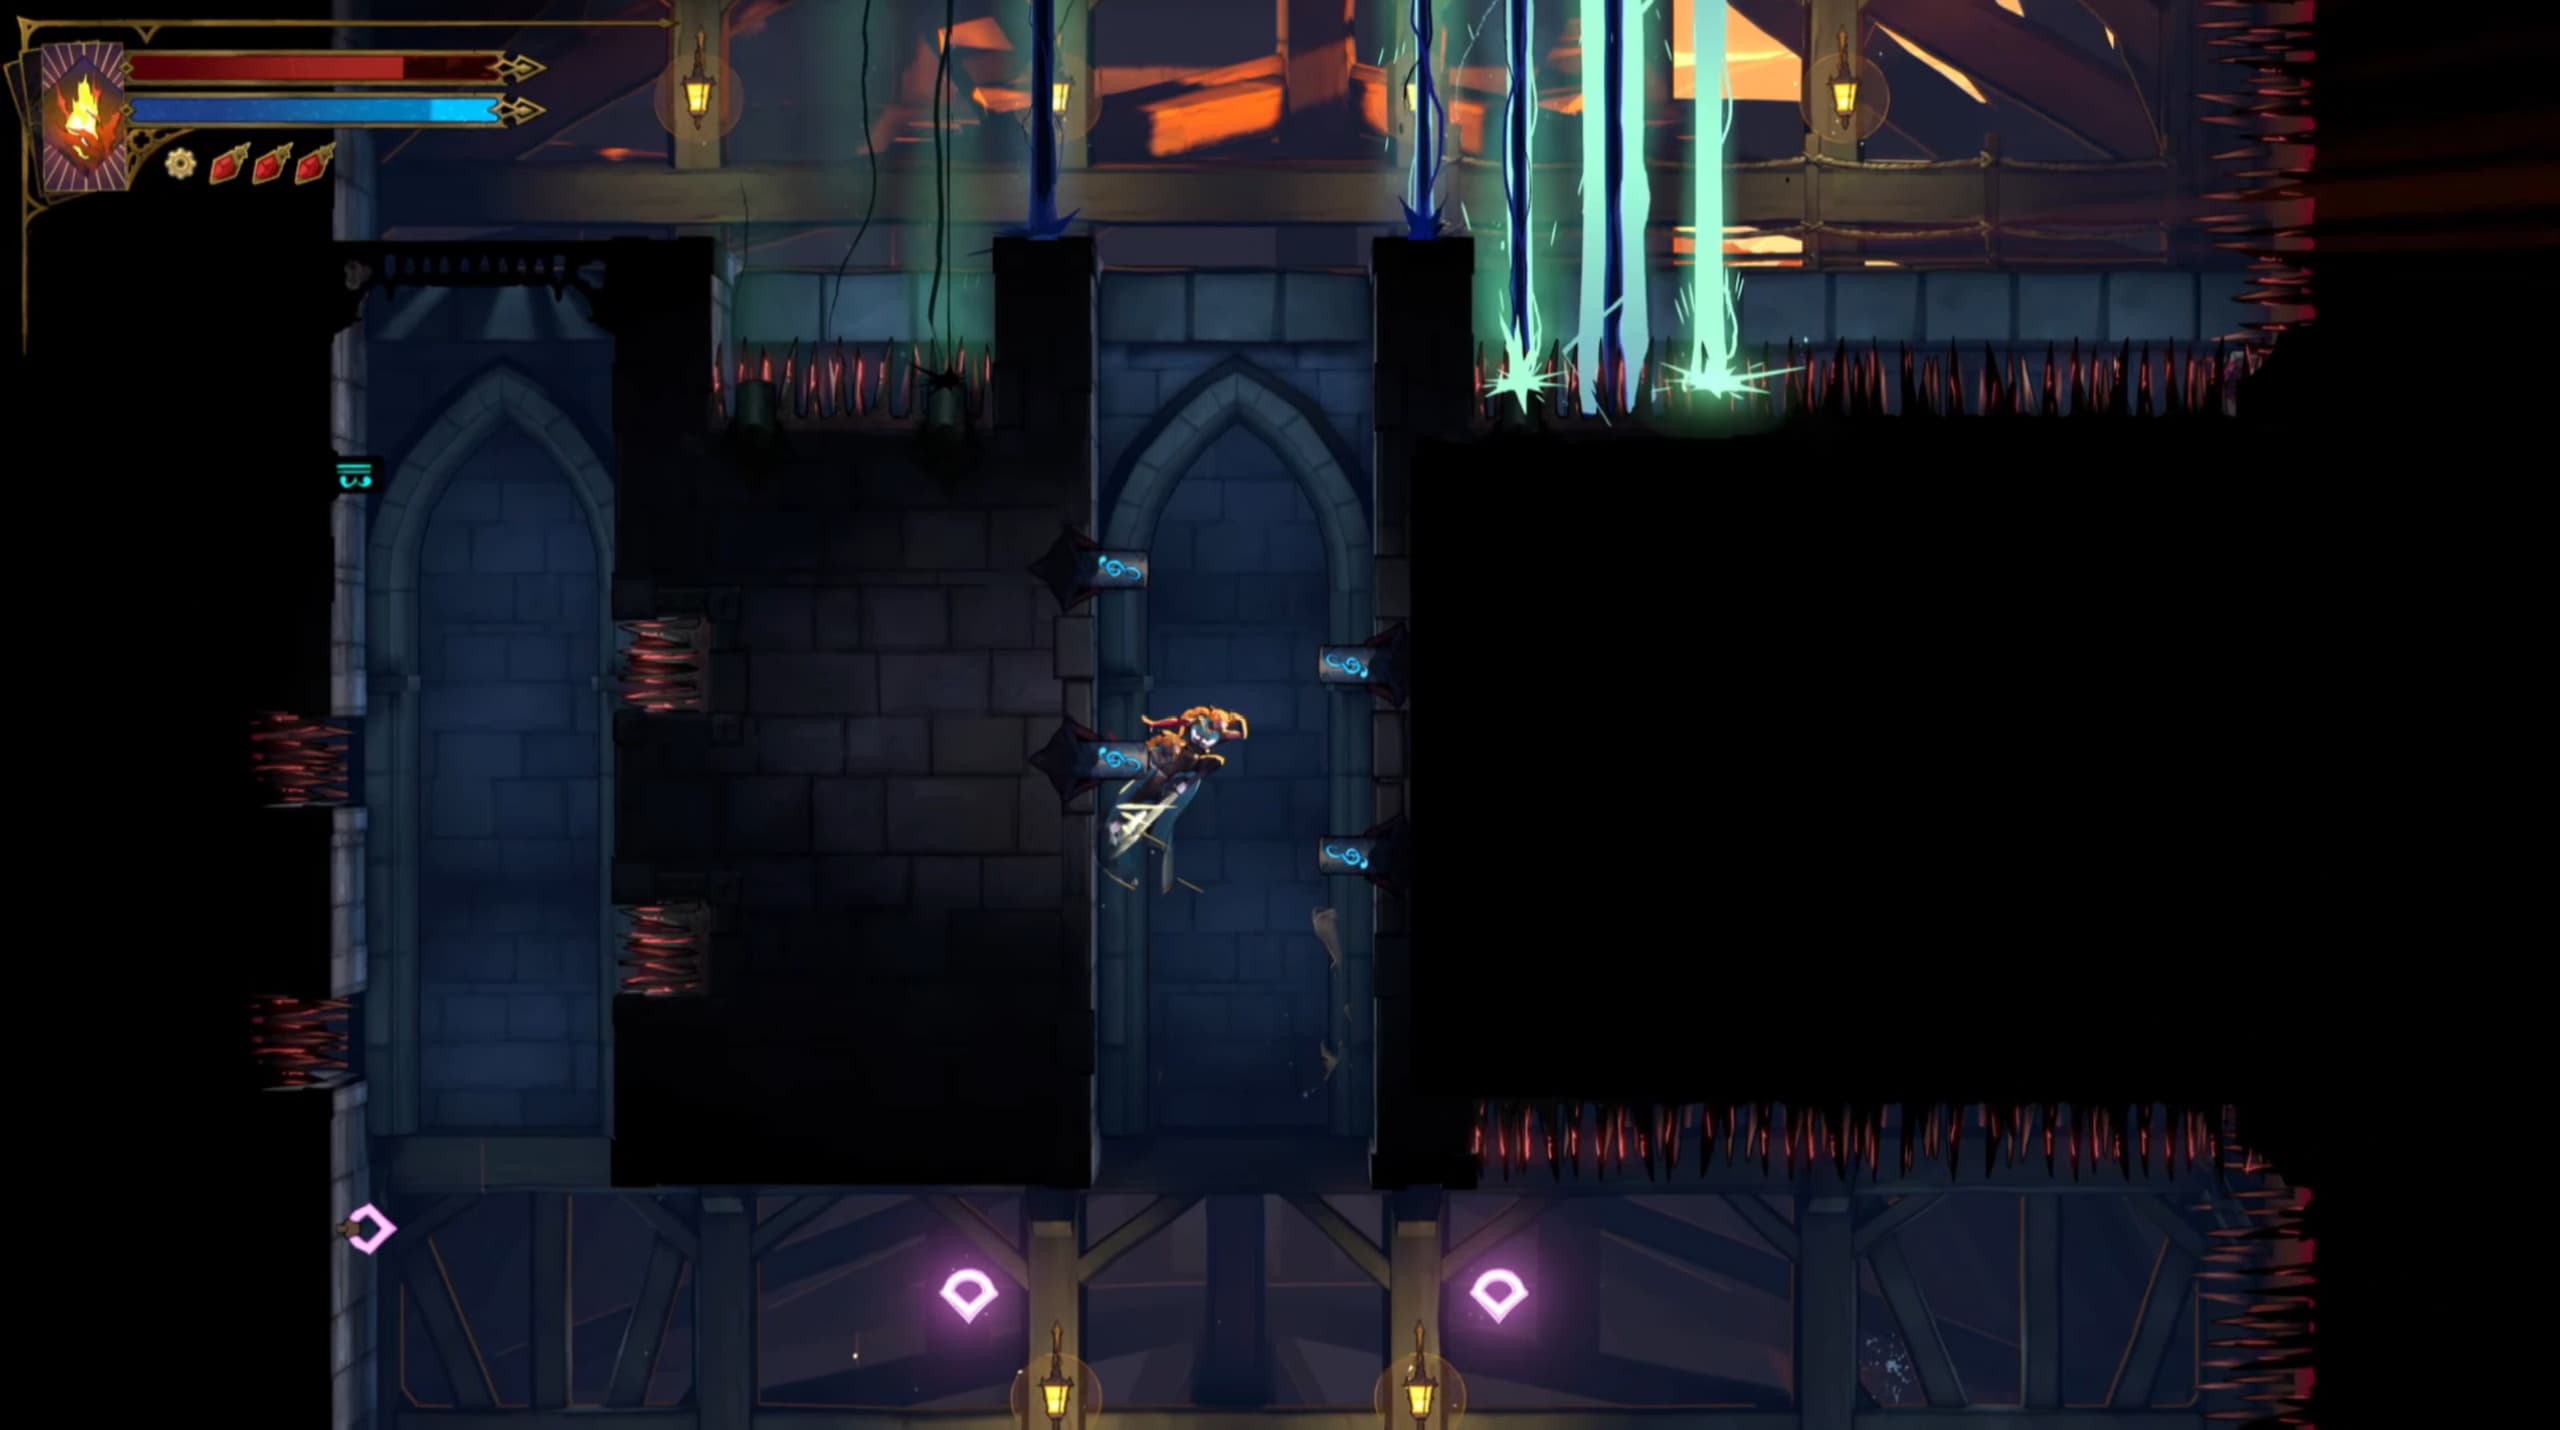
From here, you will need to move quickly as the small platforms above the spikes are weak and will break after standing on them for a short time. Quickly make your way across all of these and at the spikes on the right, carefully drop down and at the last second, dash to the left to make it onto the safe platform where the Heart Fragment is located.
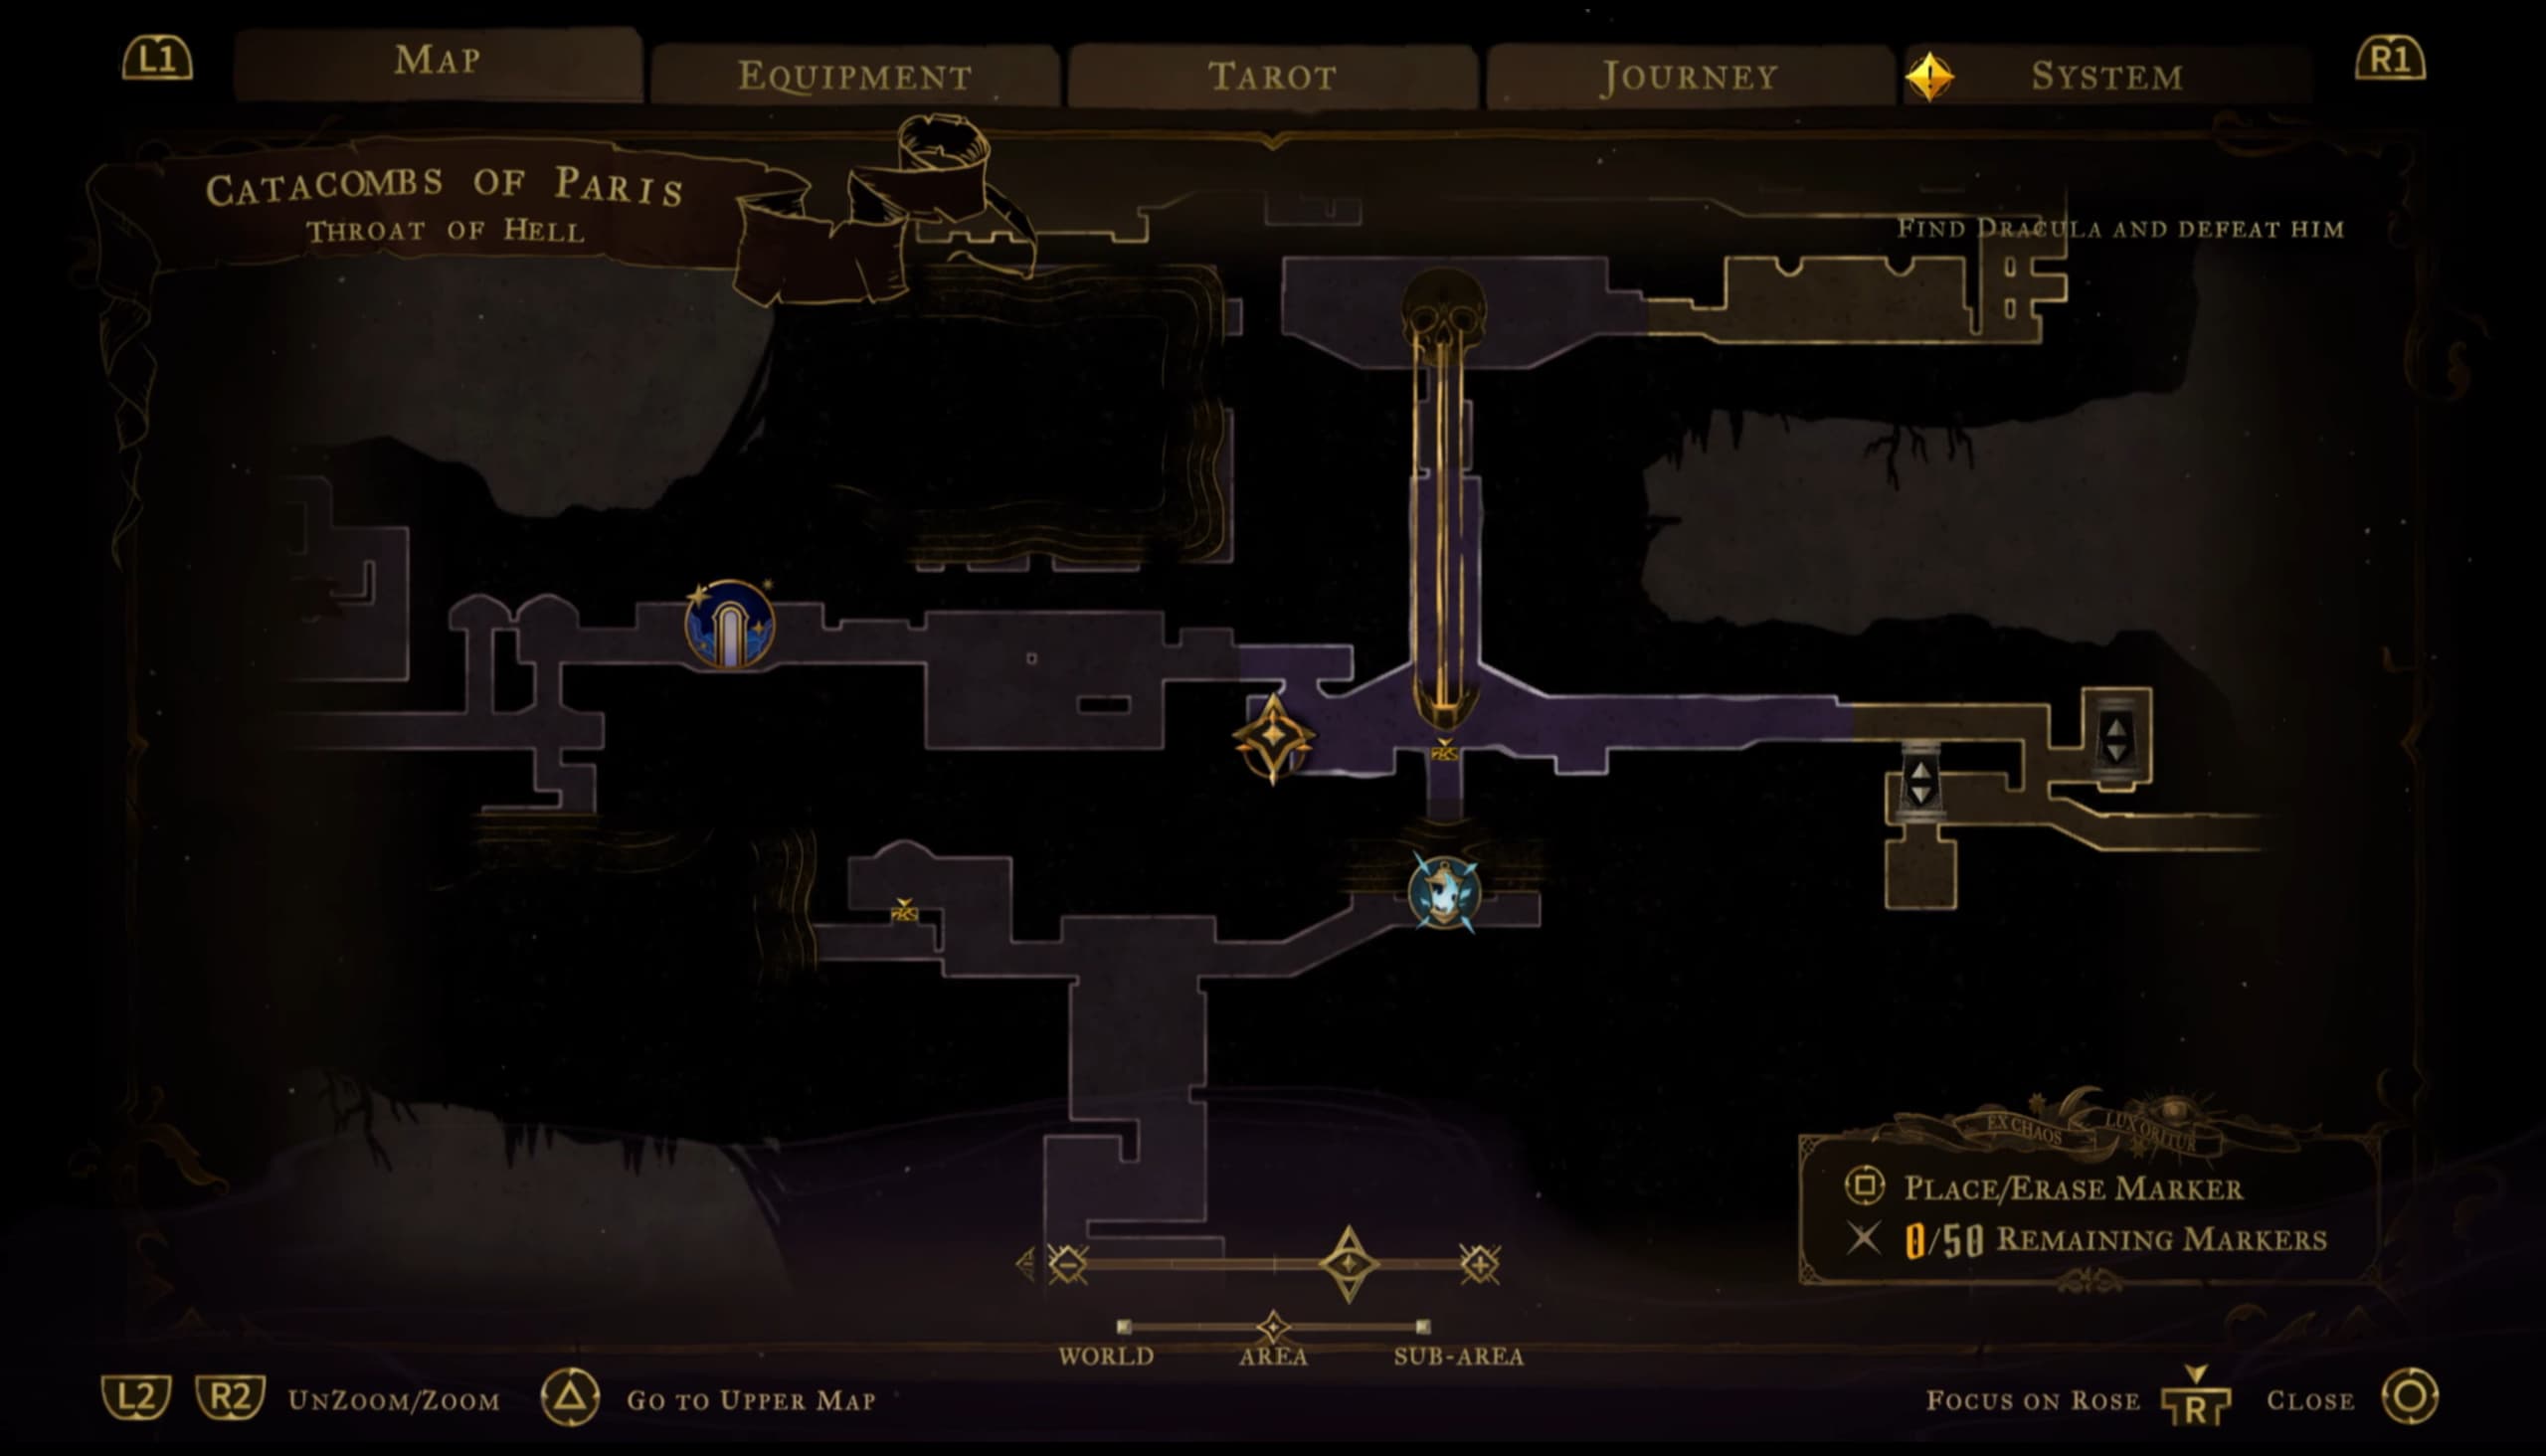
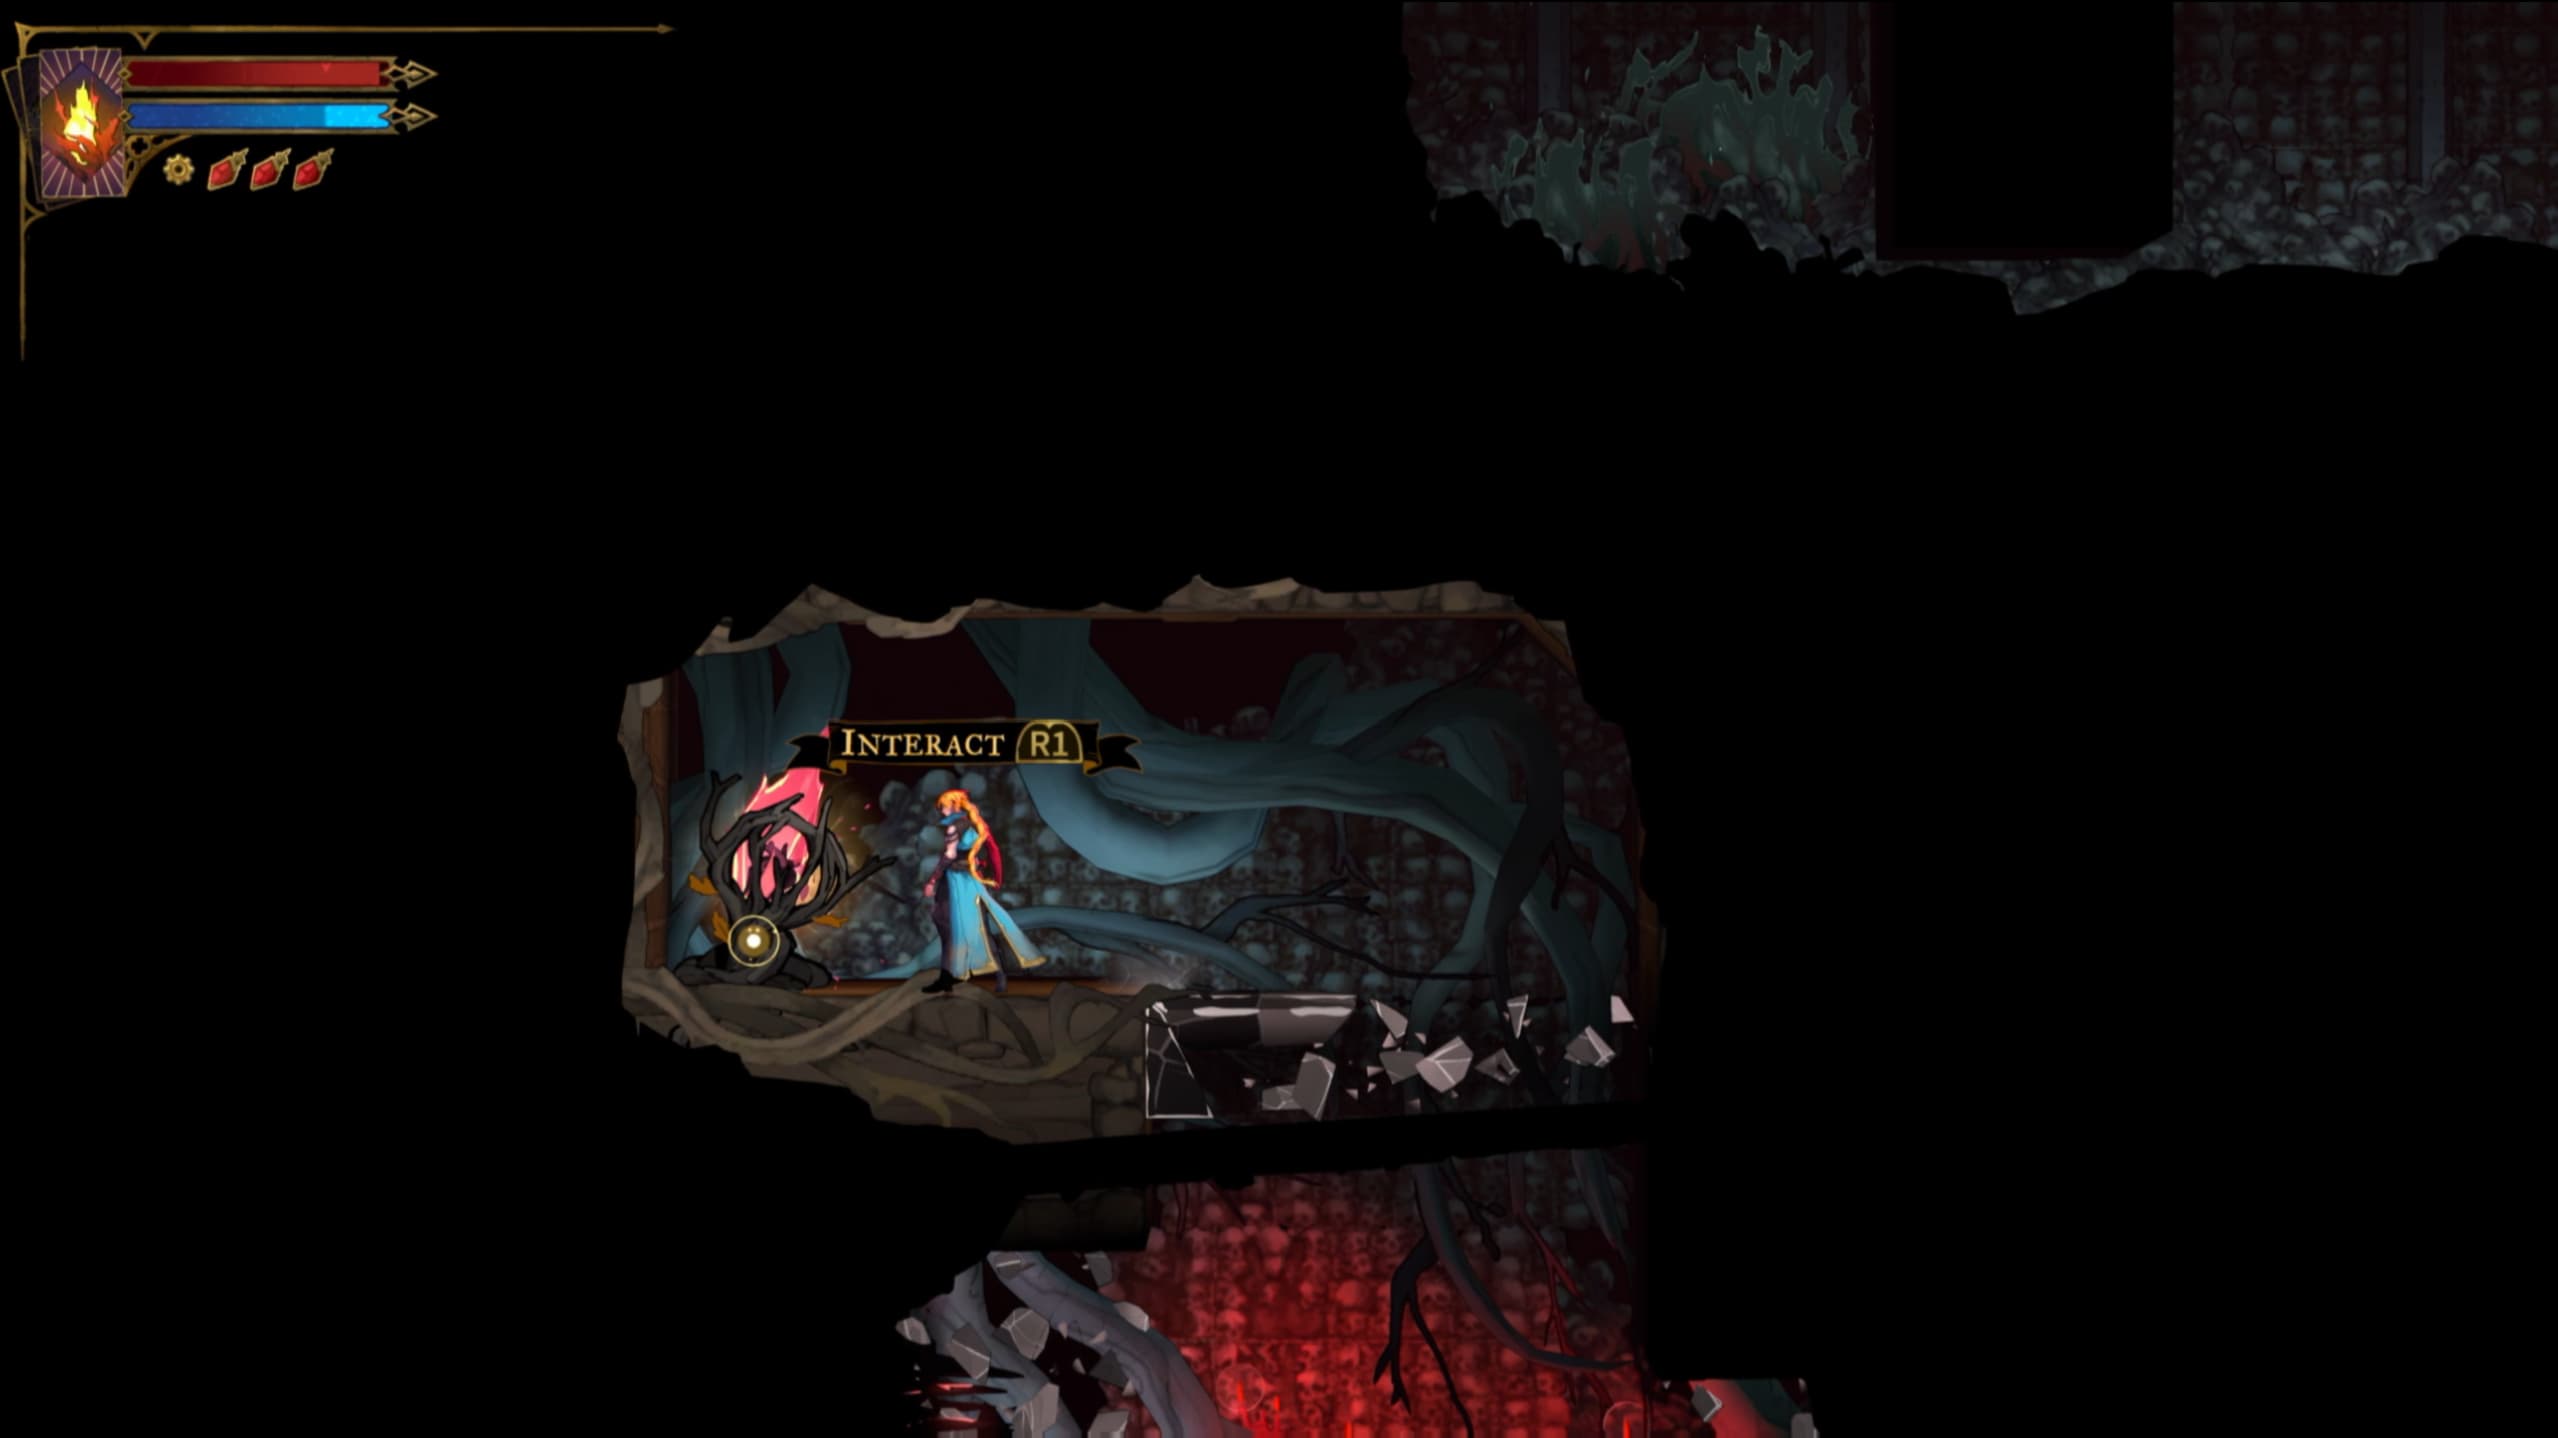
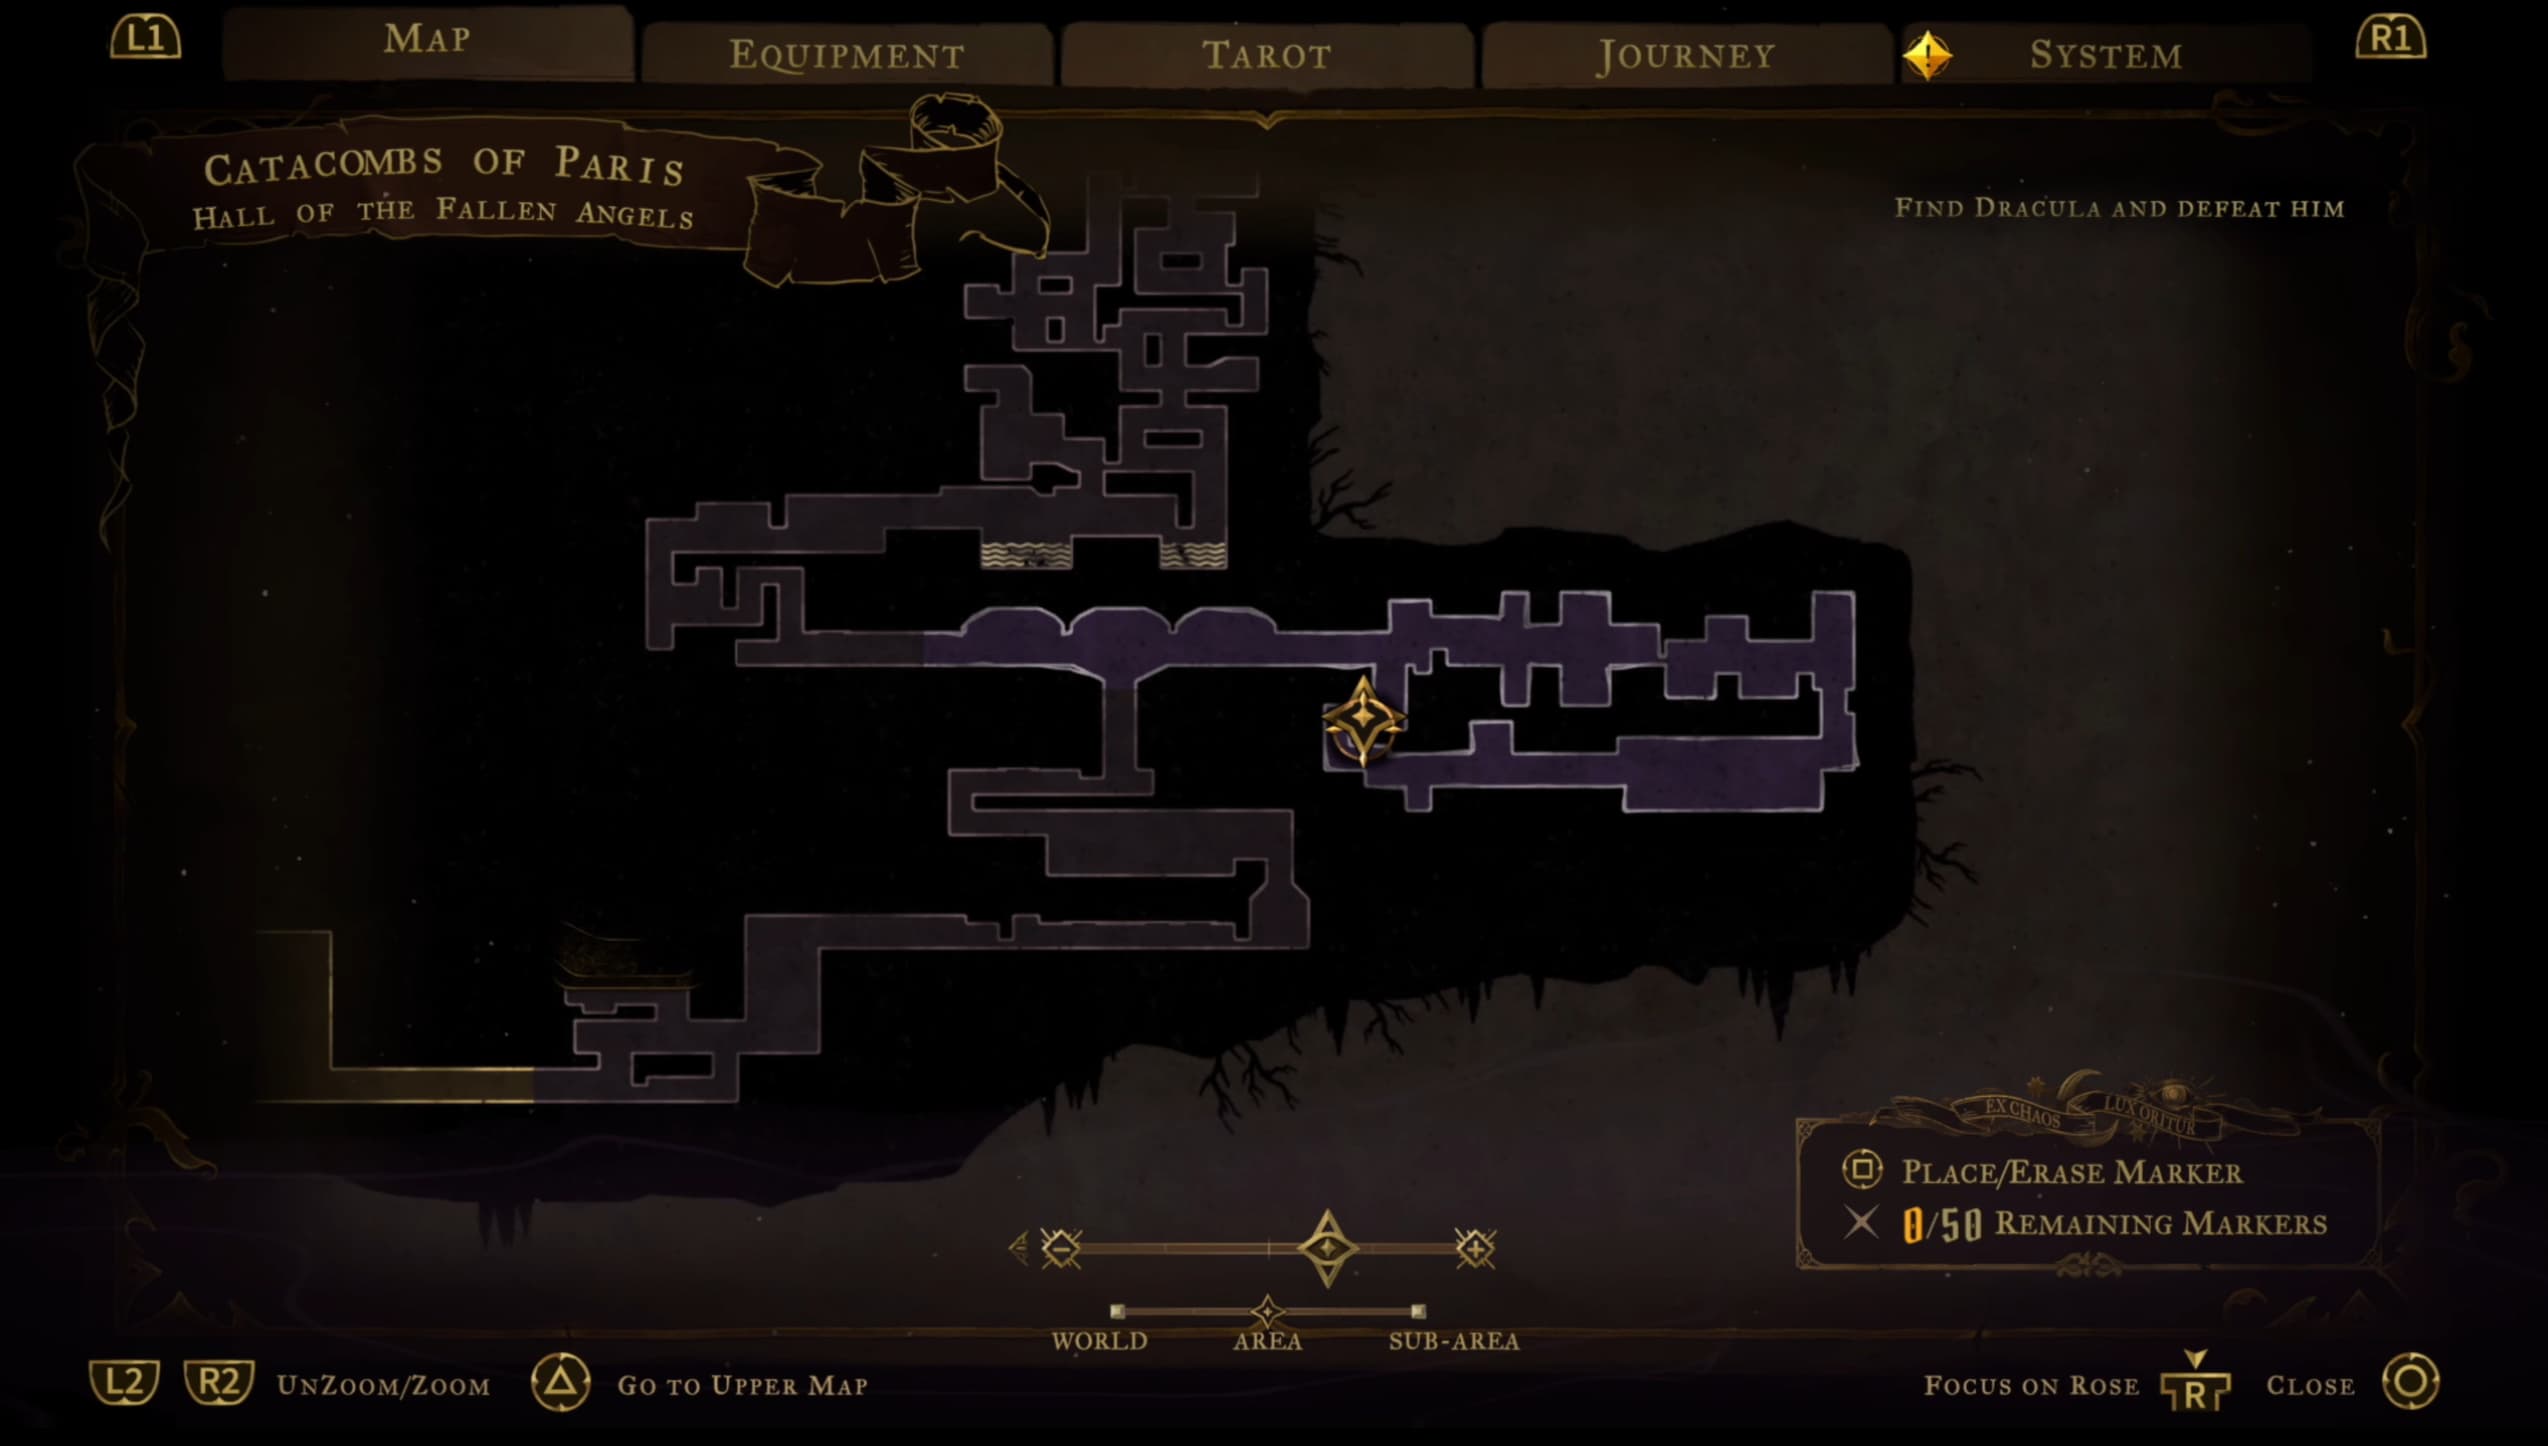
For the next Heart Fragment, make your way to the pointer on the map shown below.
For the next Fragment, make your way to the pointer shown on the map below, to get here, you will need to slide through the narrow passage in the lower right of this area, and then progress up to the left to make it to the Heart Fragment at the top.
For the next Heart Fragment, you will enter this area and need to make a full clockwise progression to make it around and back up to the location of the Heart Fragment, so advancing right all the way, dropping down, then advancing left and up to locate it.
Hint: You can hit the handle above you at the Heart Fragment to briefly open a gate above to make it back out of here.
For the next Fragment, make your way to the pointer as shown on the map below, entering into this section from the left, to find the Fragment all the way to the right.
For the final Heart Fragment in this area, make your way to the pointer as shown on the map below, to get here, you will need to climb up (just to the right of where the pointer is) make your way up and around to the left to drop down to find this Fragment at the bottom of this section.
You will be able to use your Holy Light and slide out to the right to exit here.
Main Hall
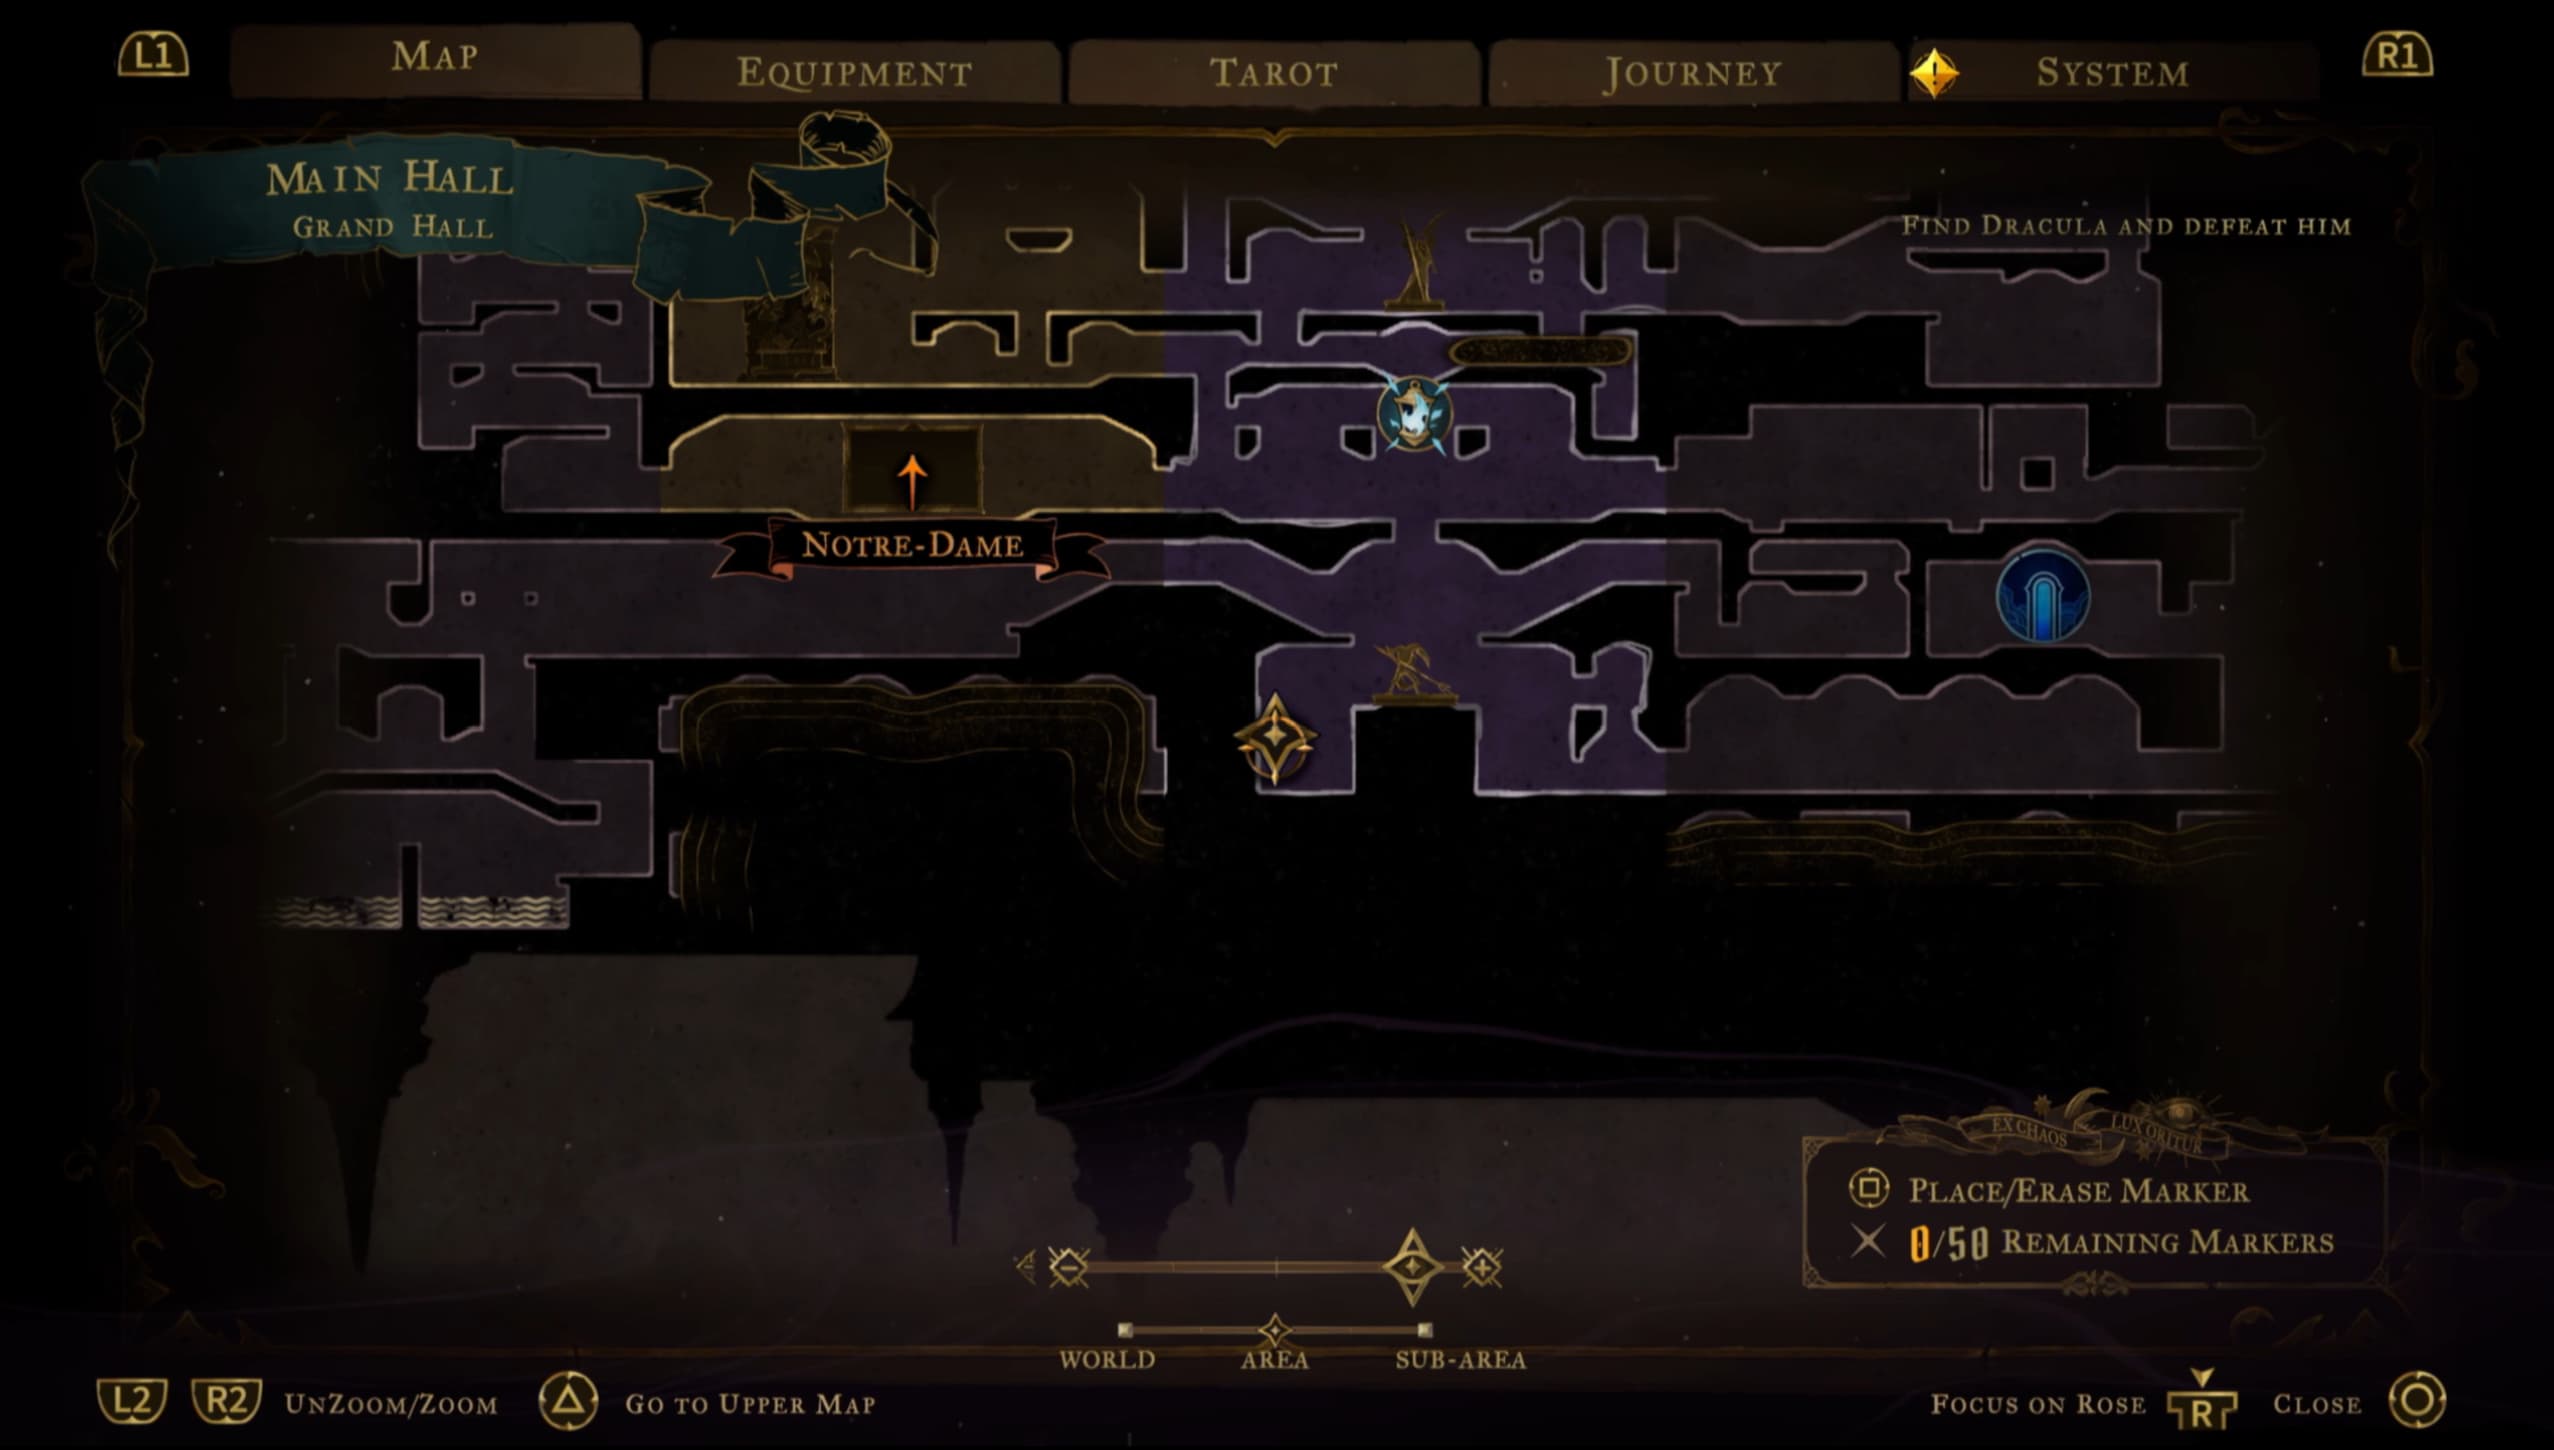
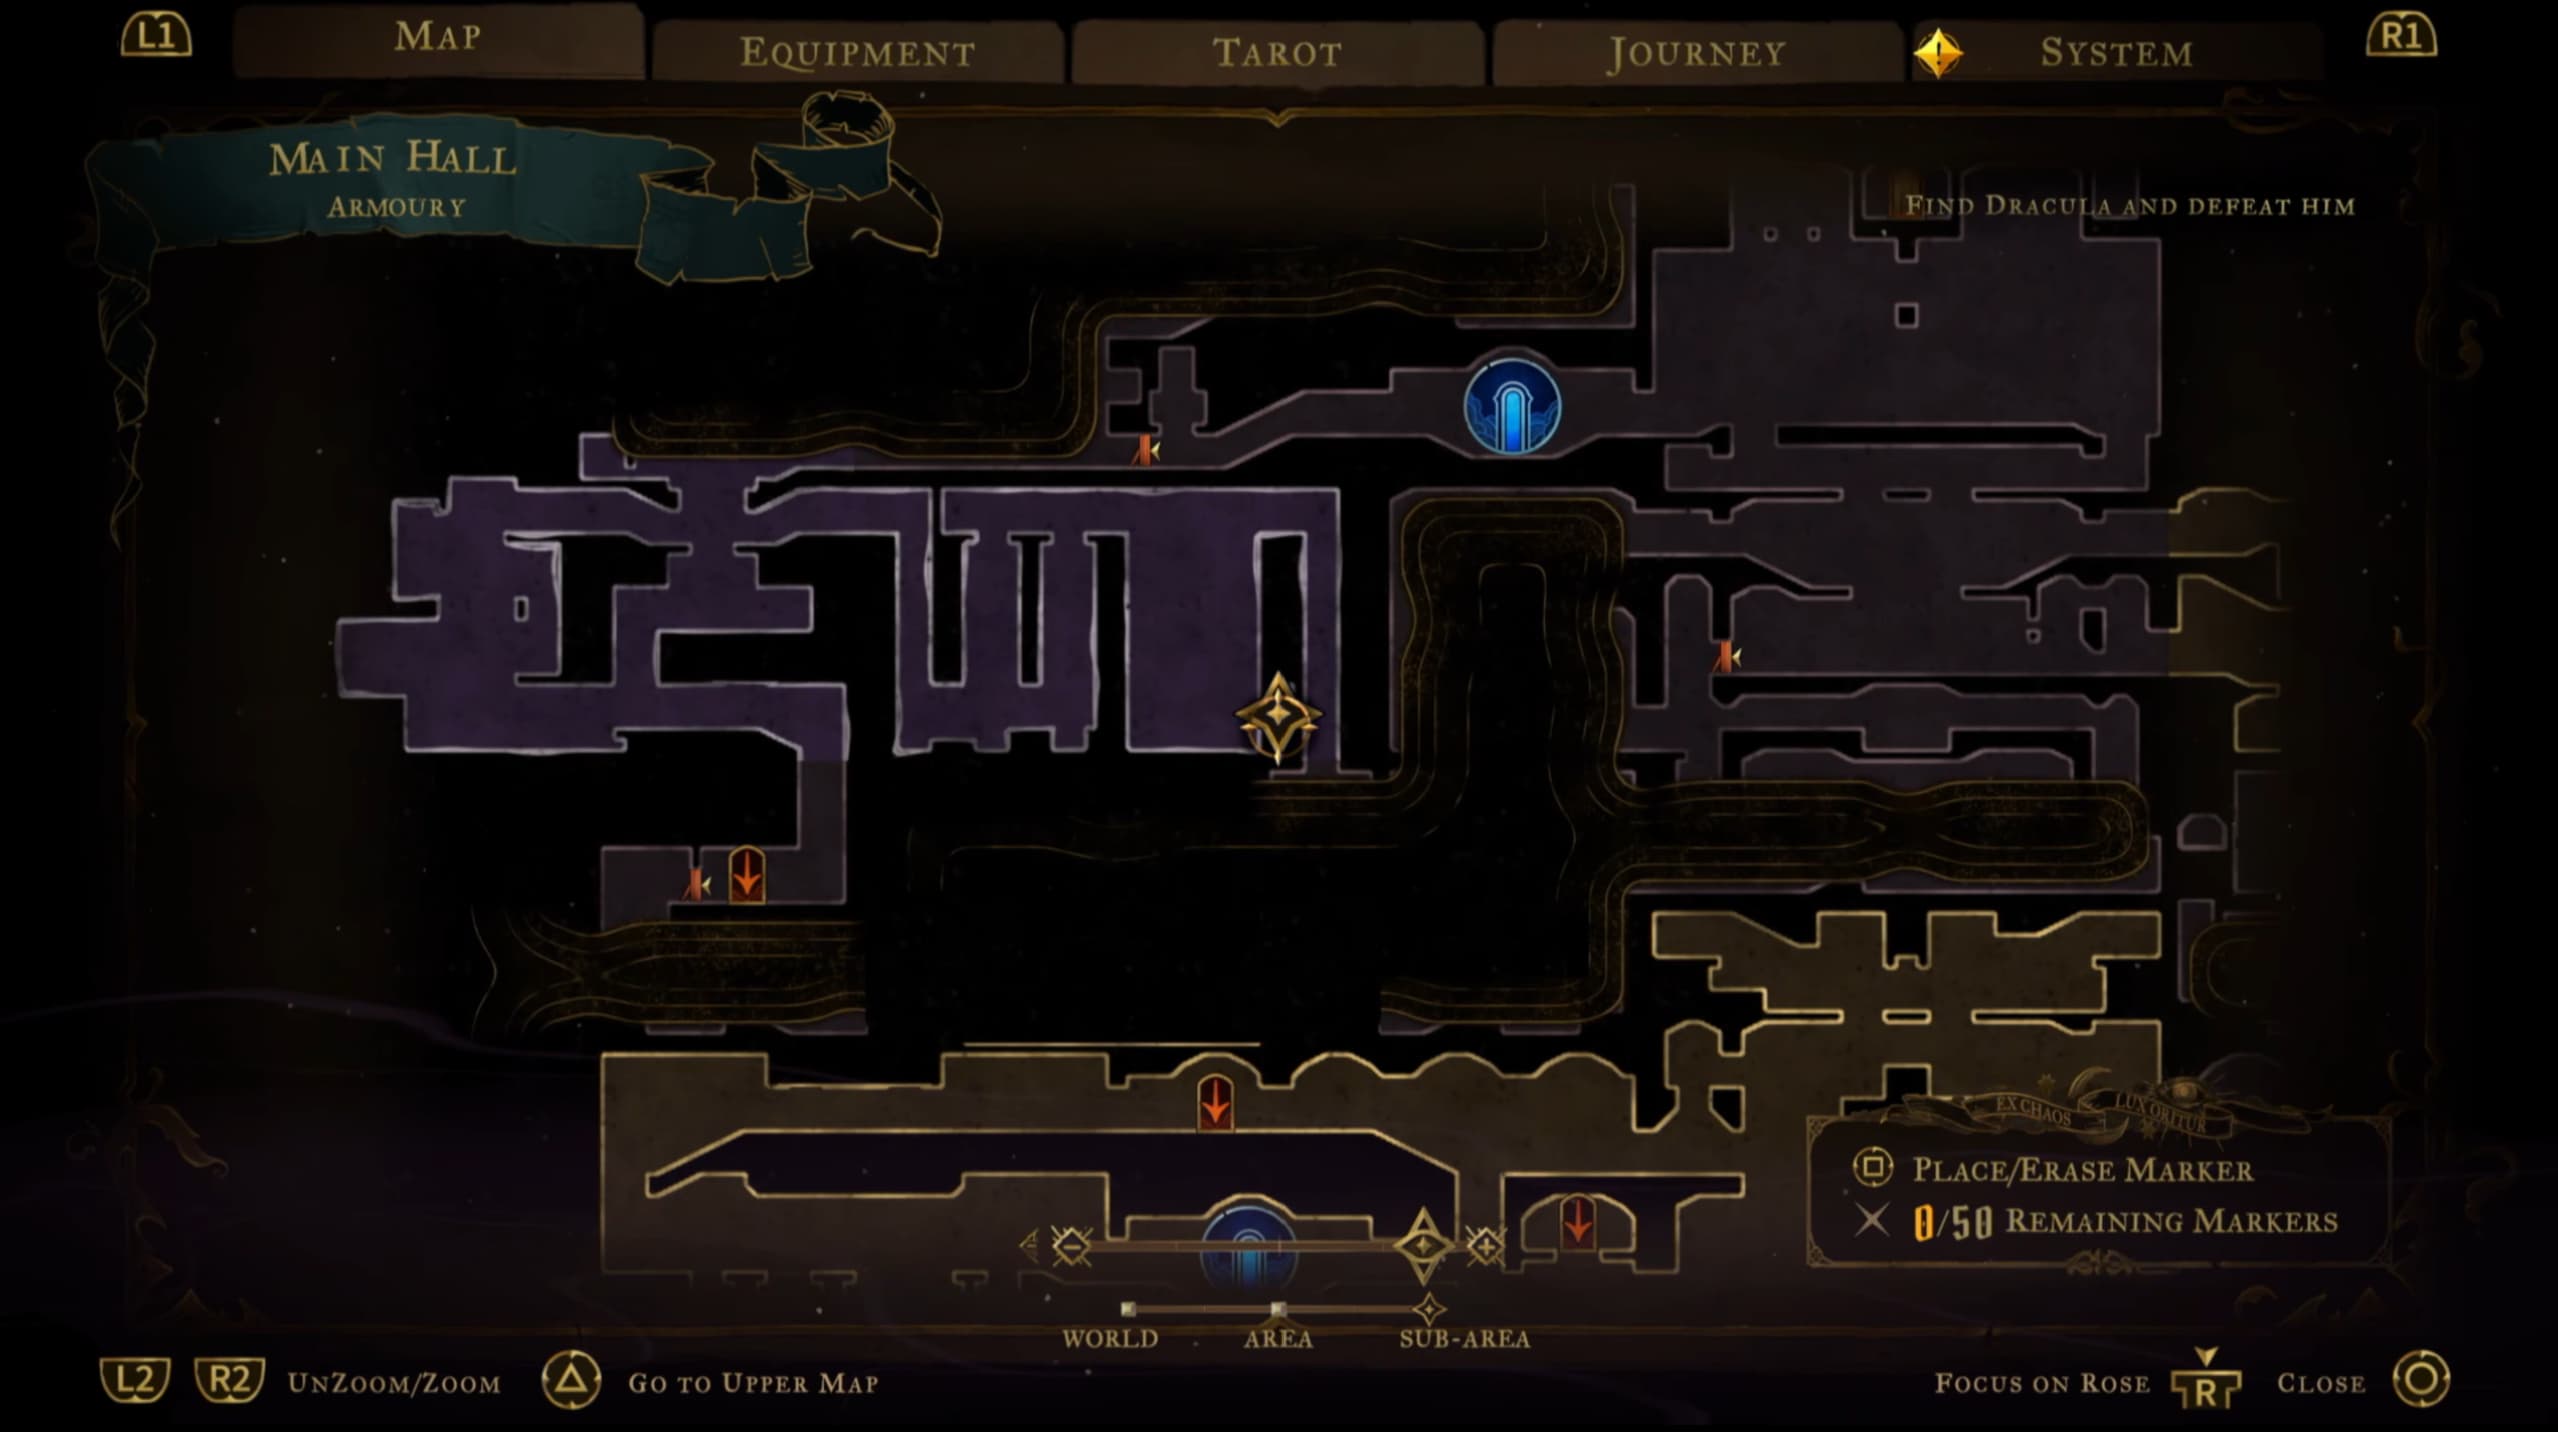
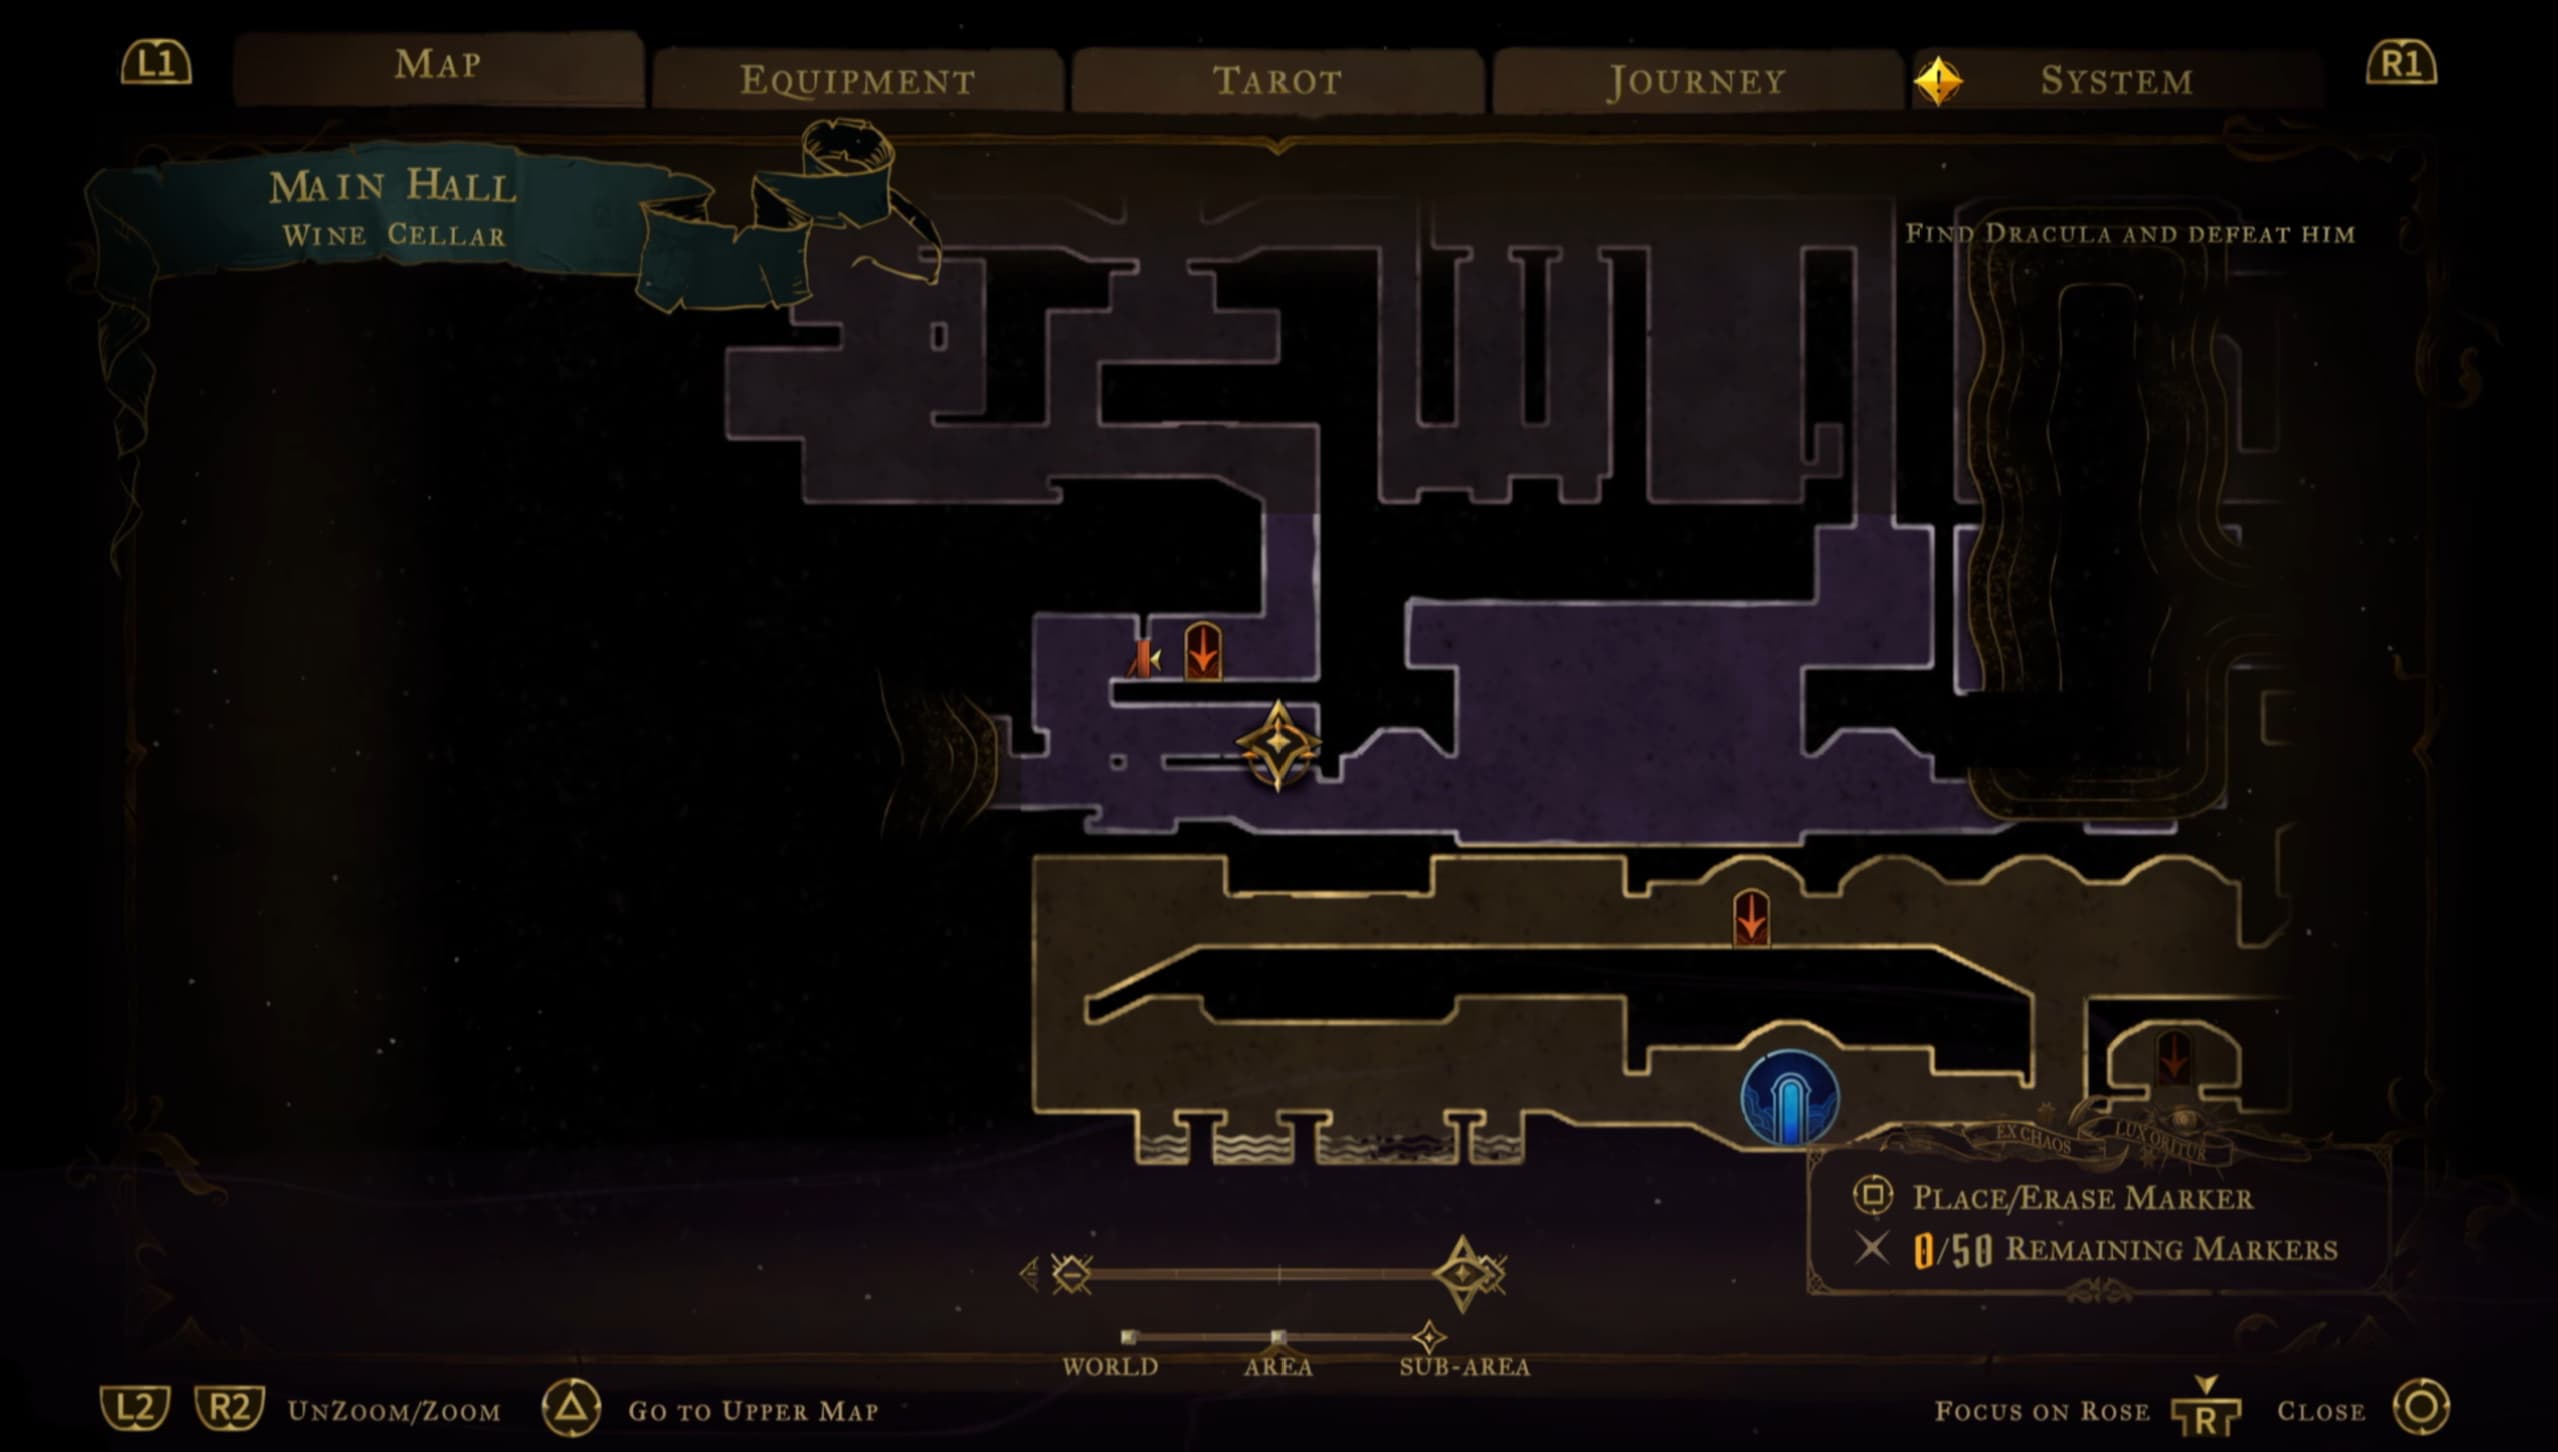
For the first Heart Fragment in this area, make your way to the pointer as shown on the map below.
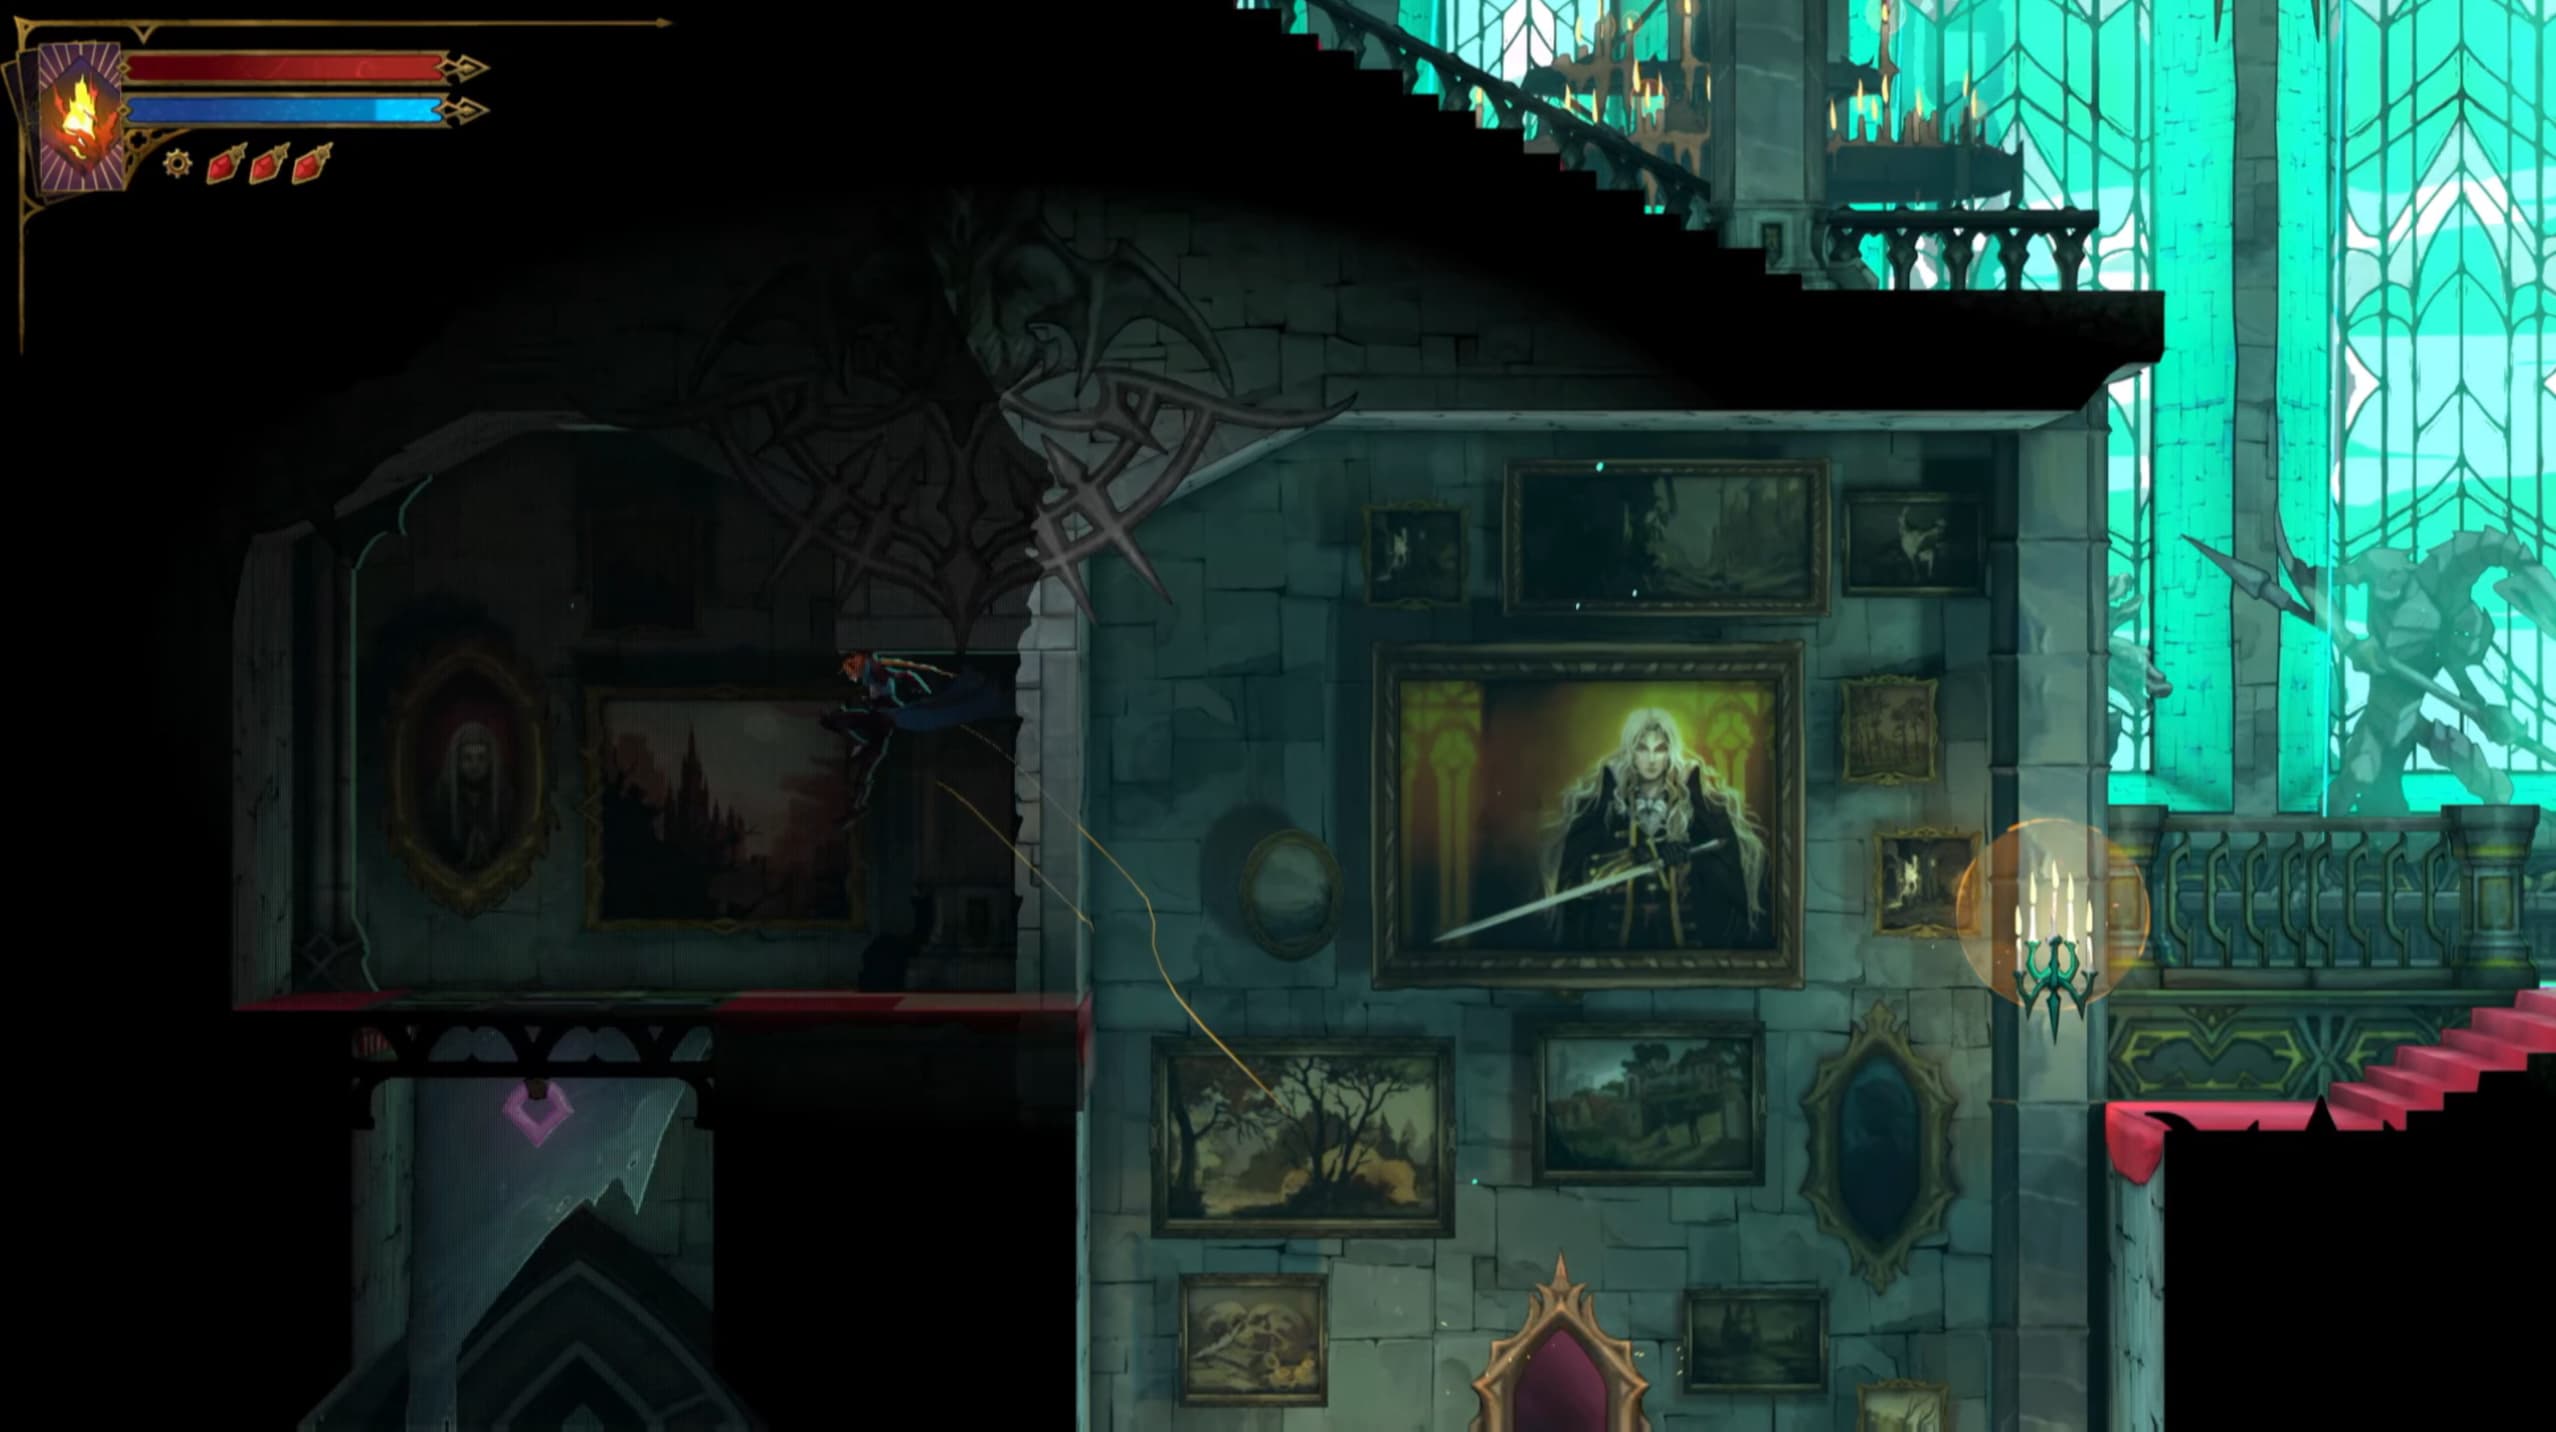
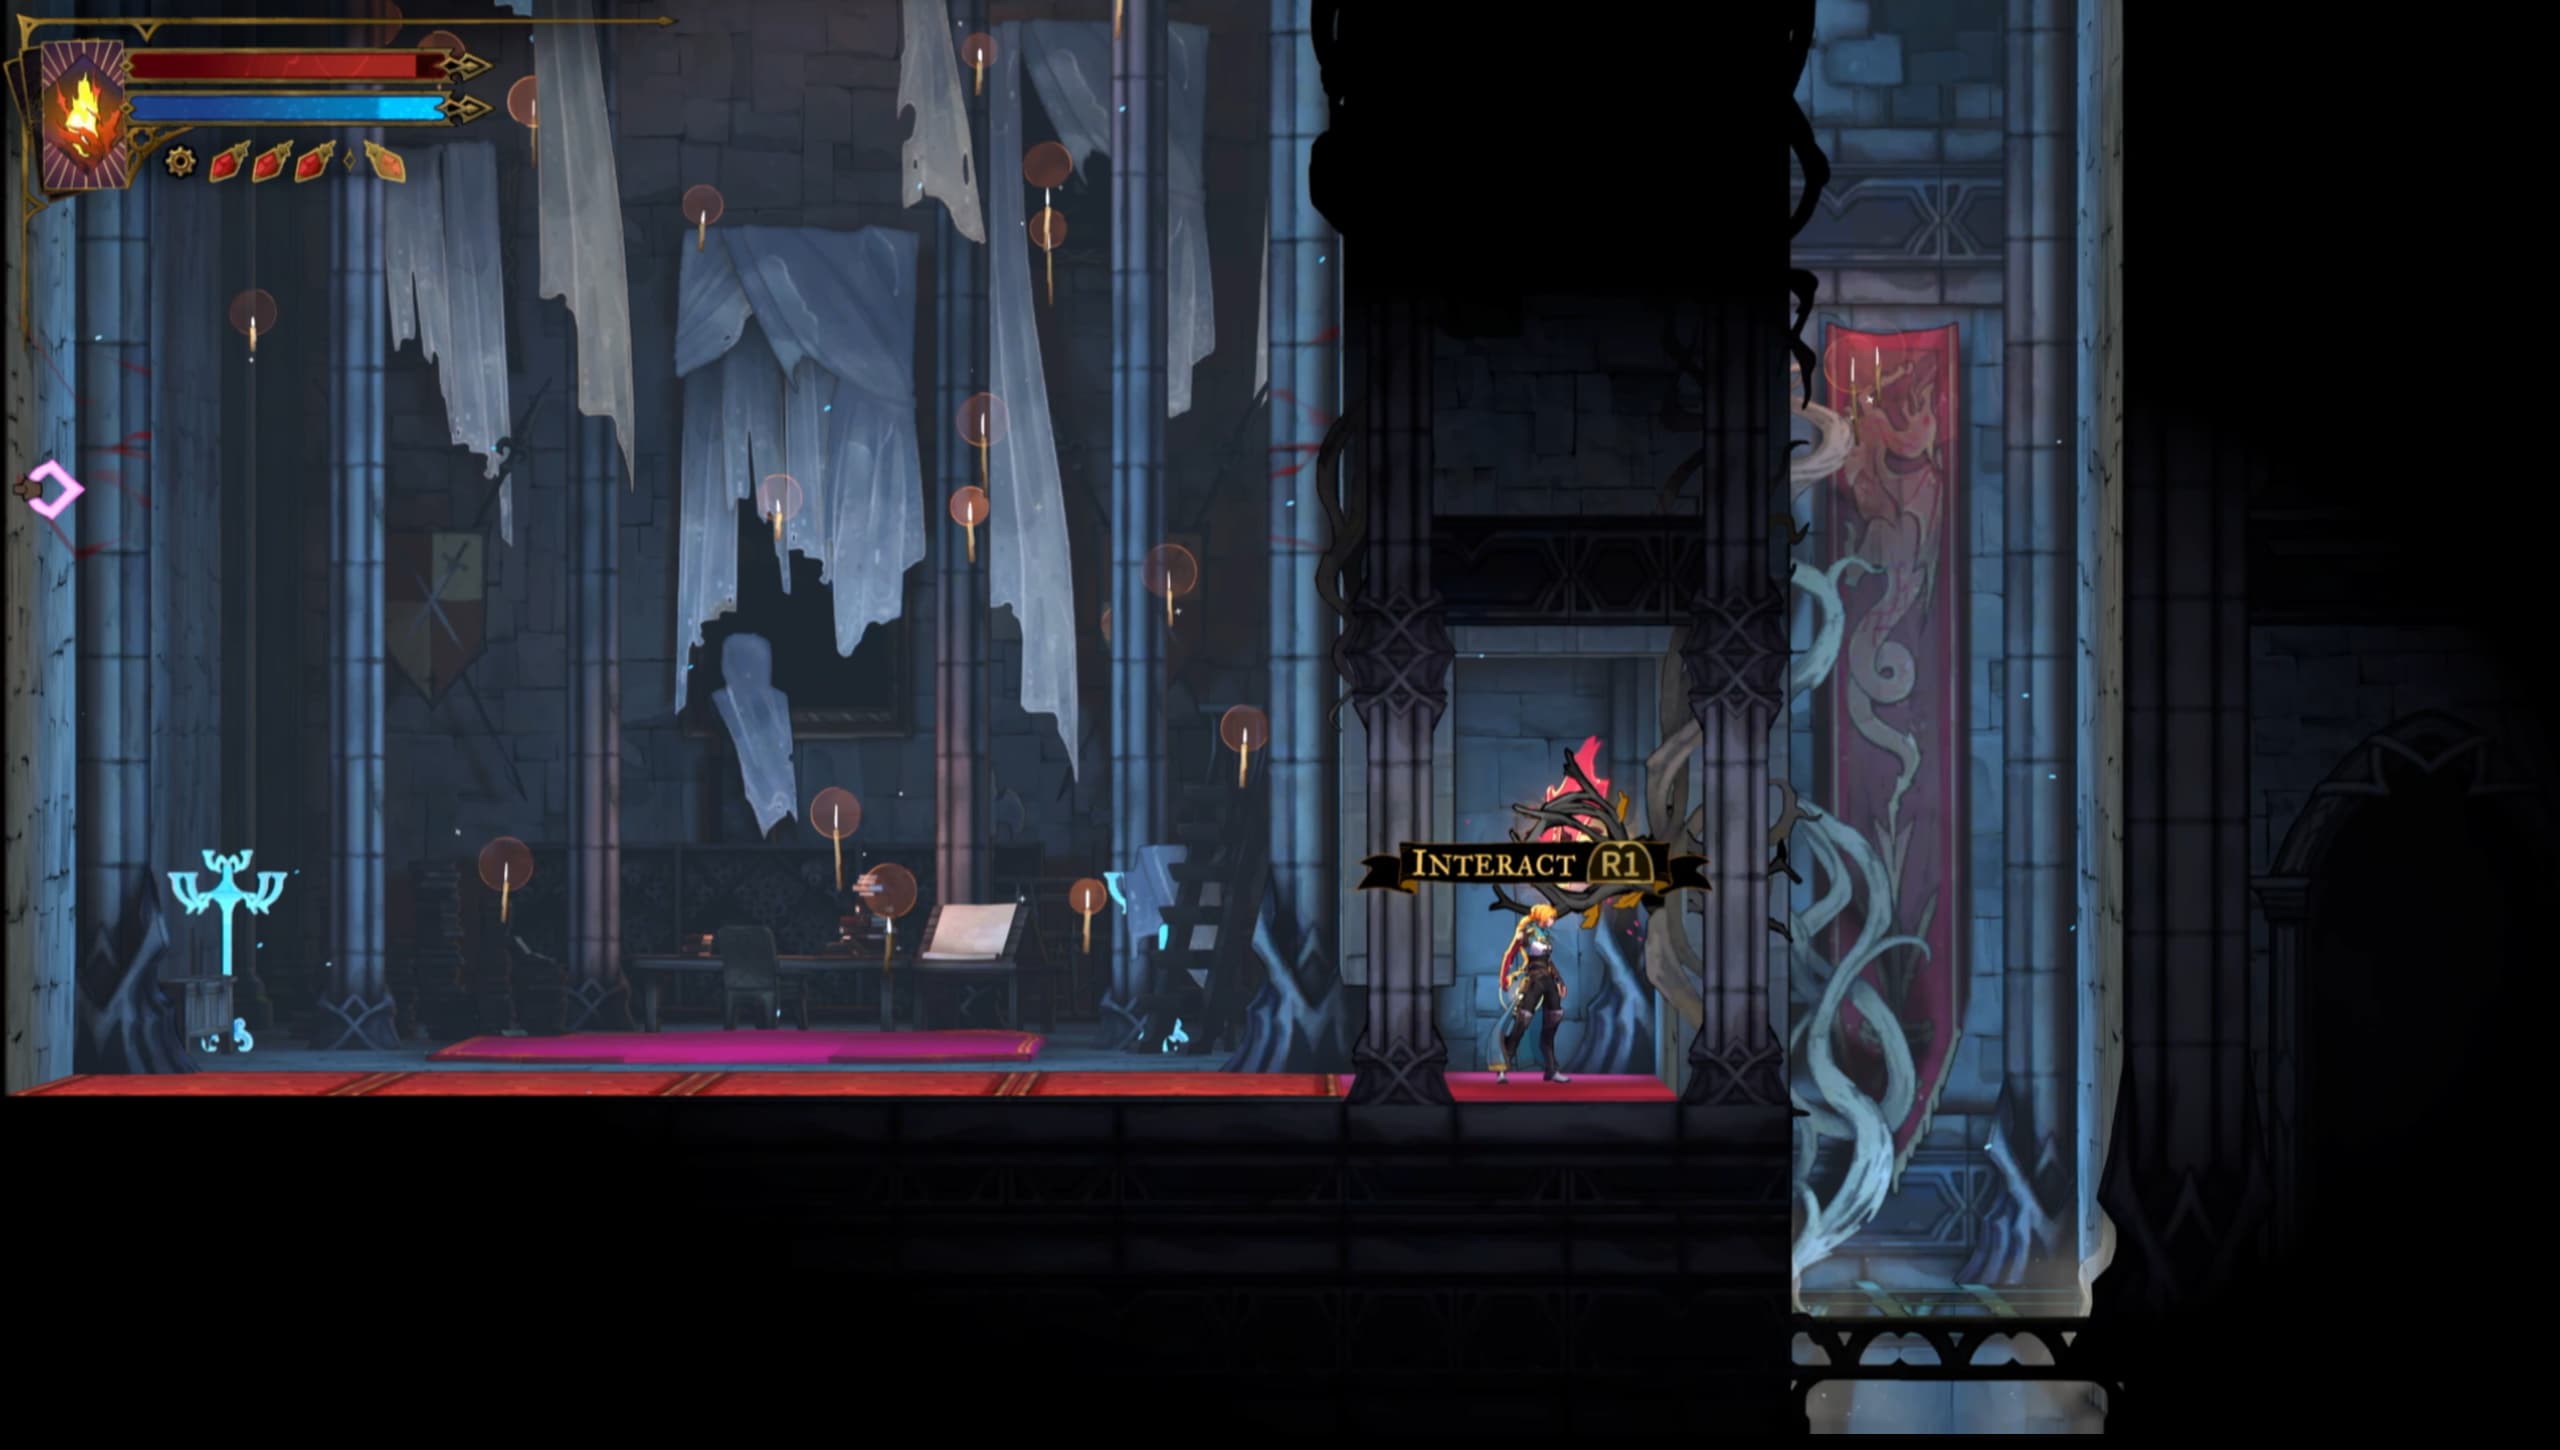
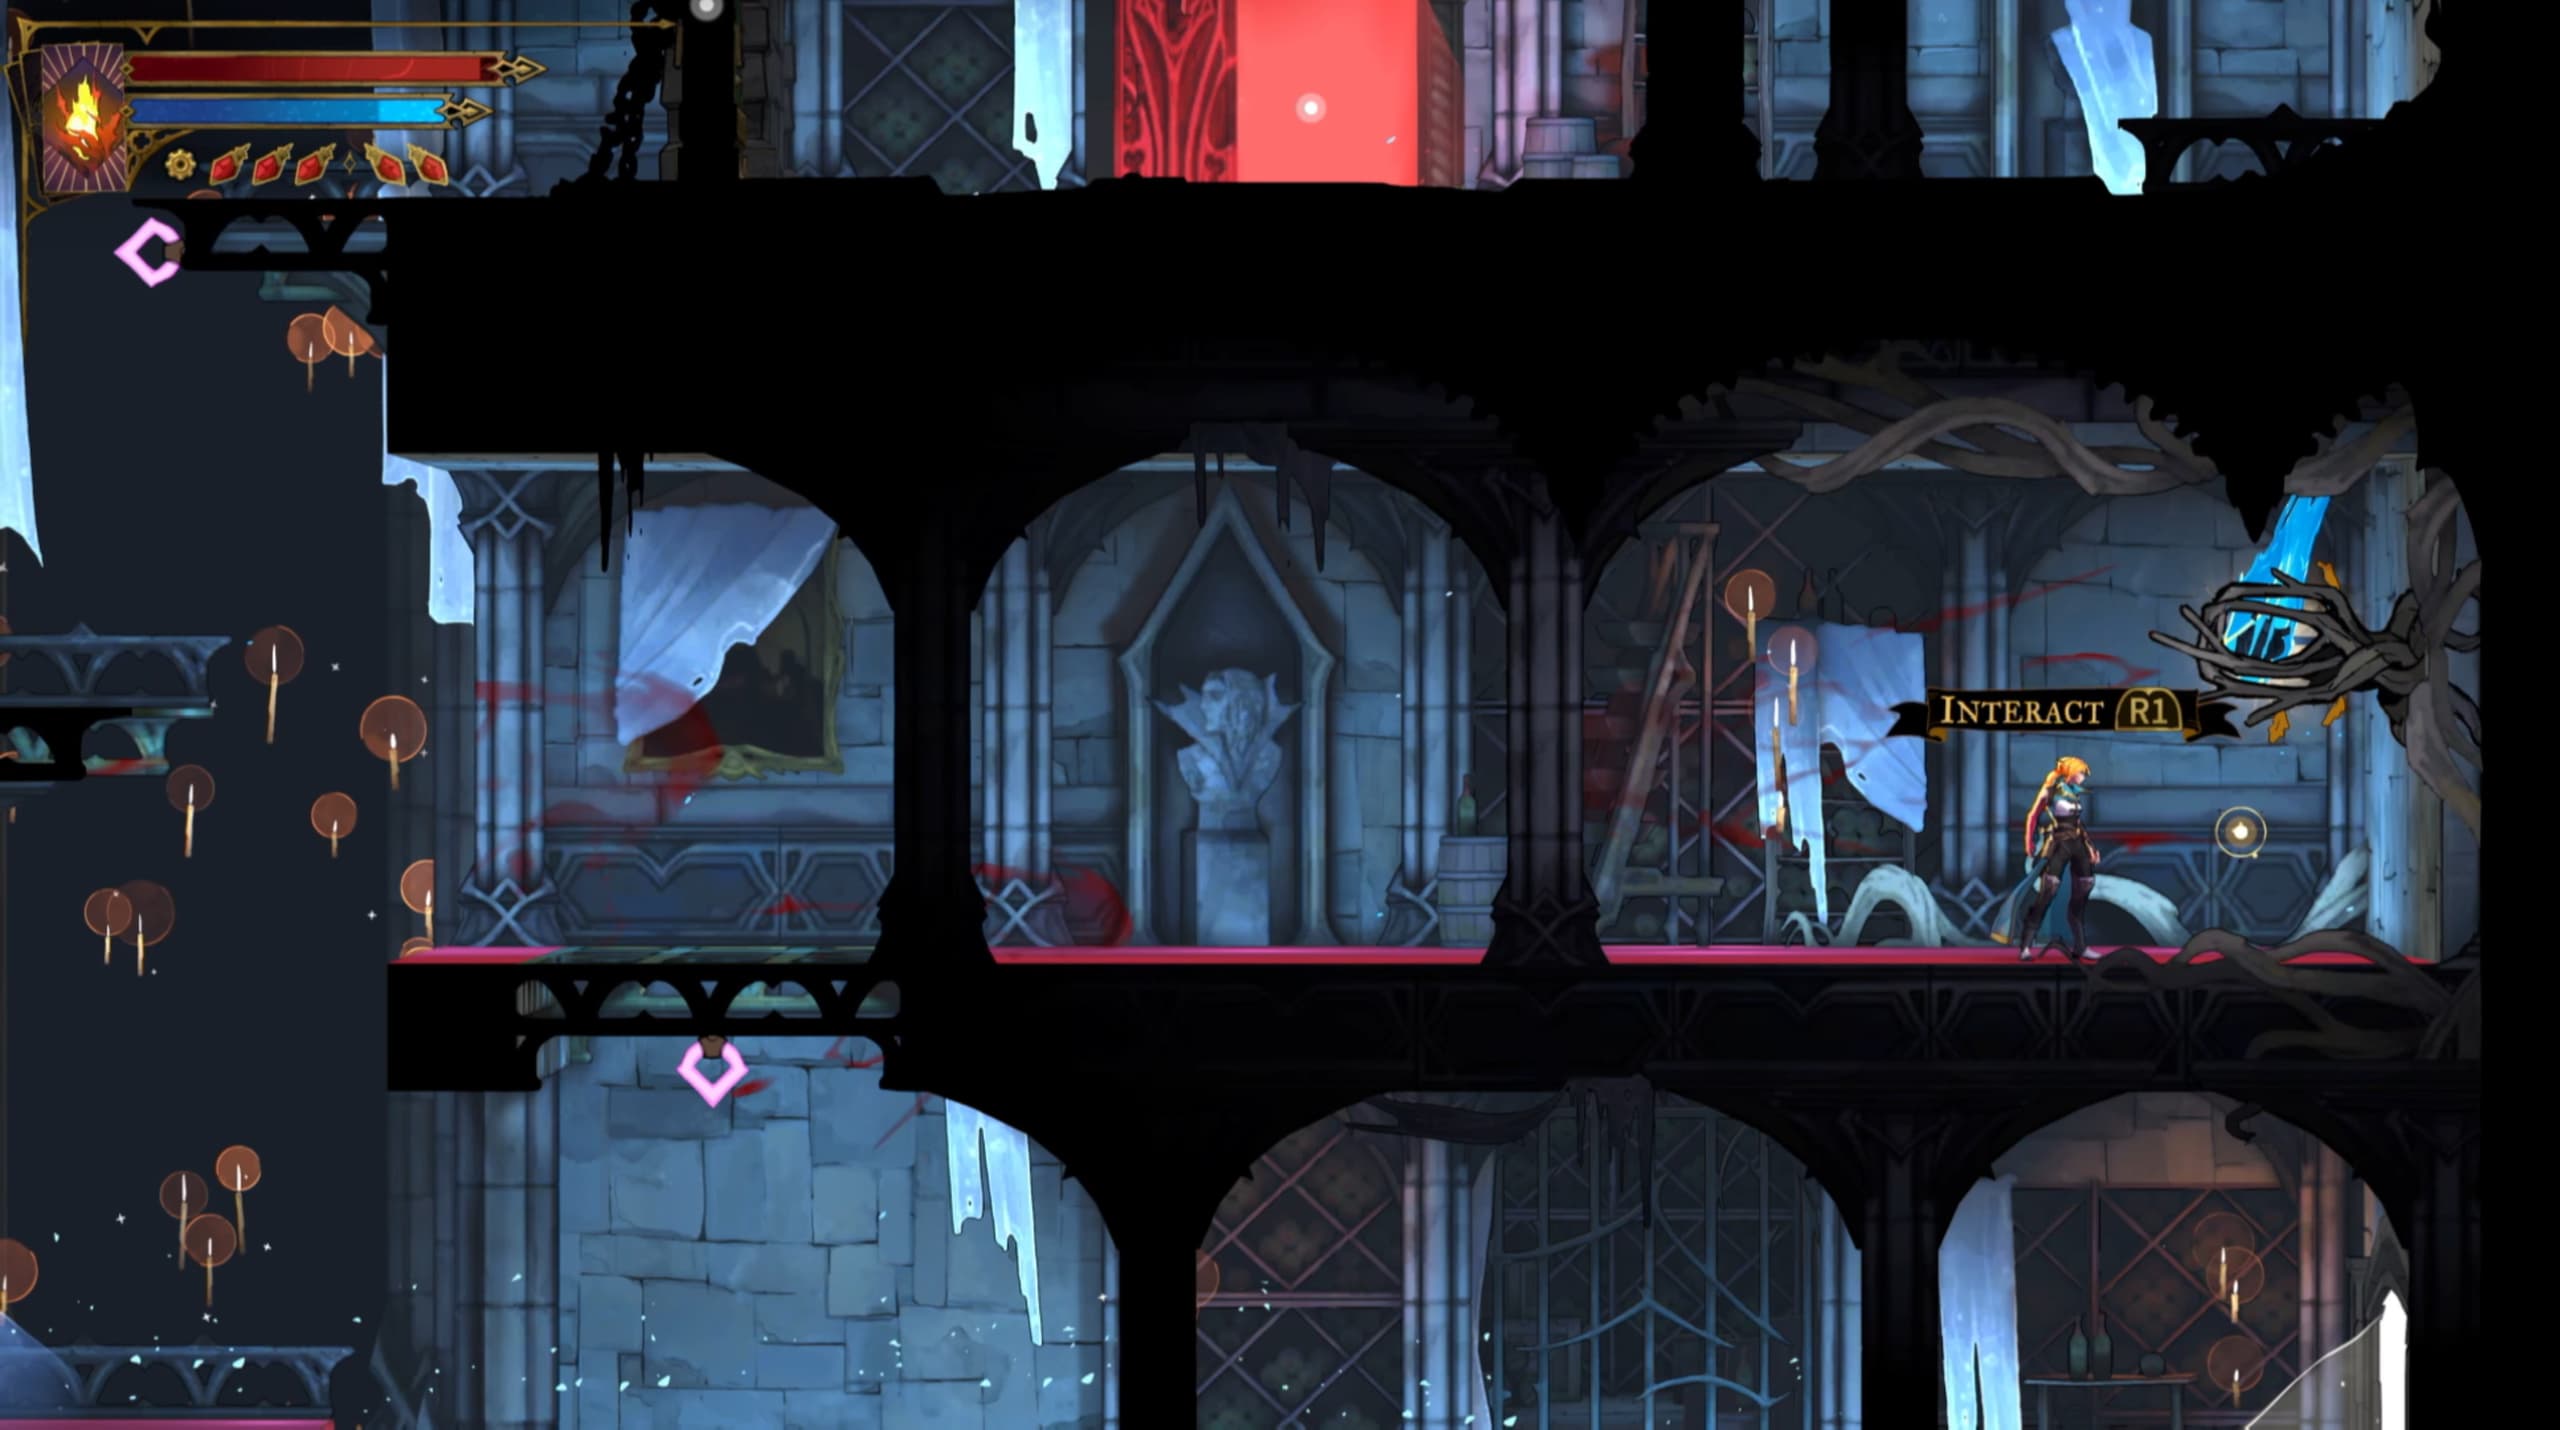
From here, you will need to whip your way up into the picture frame, and up and out into the hidden room on the left.
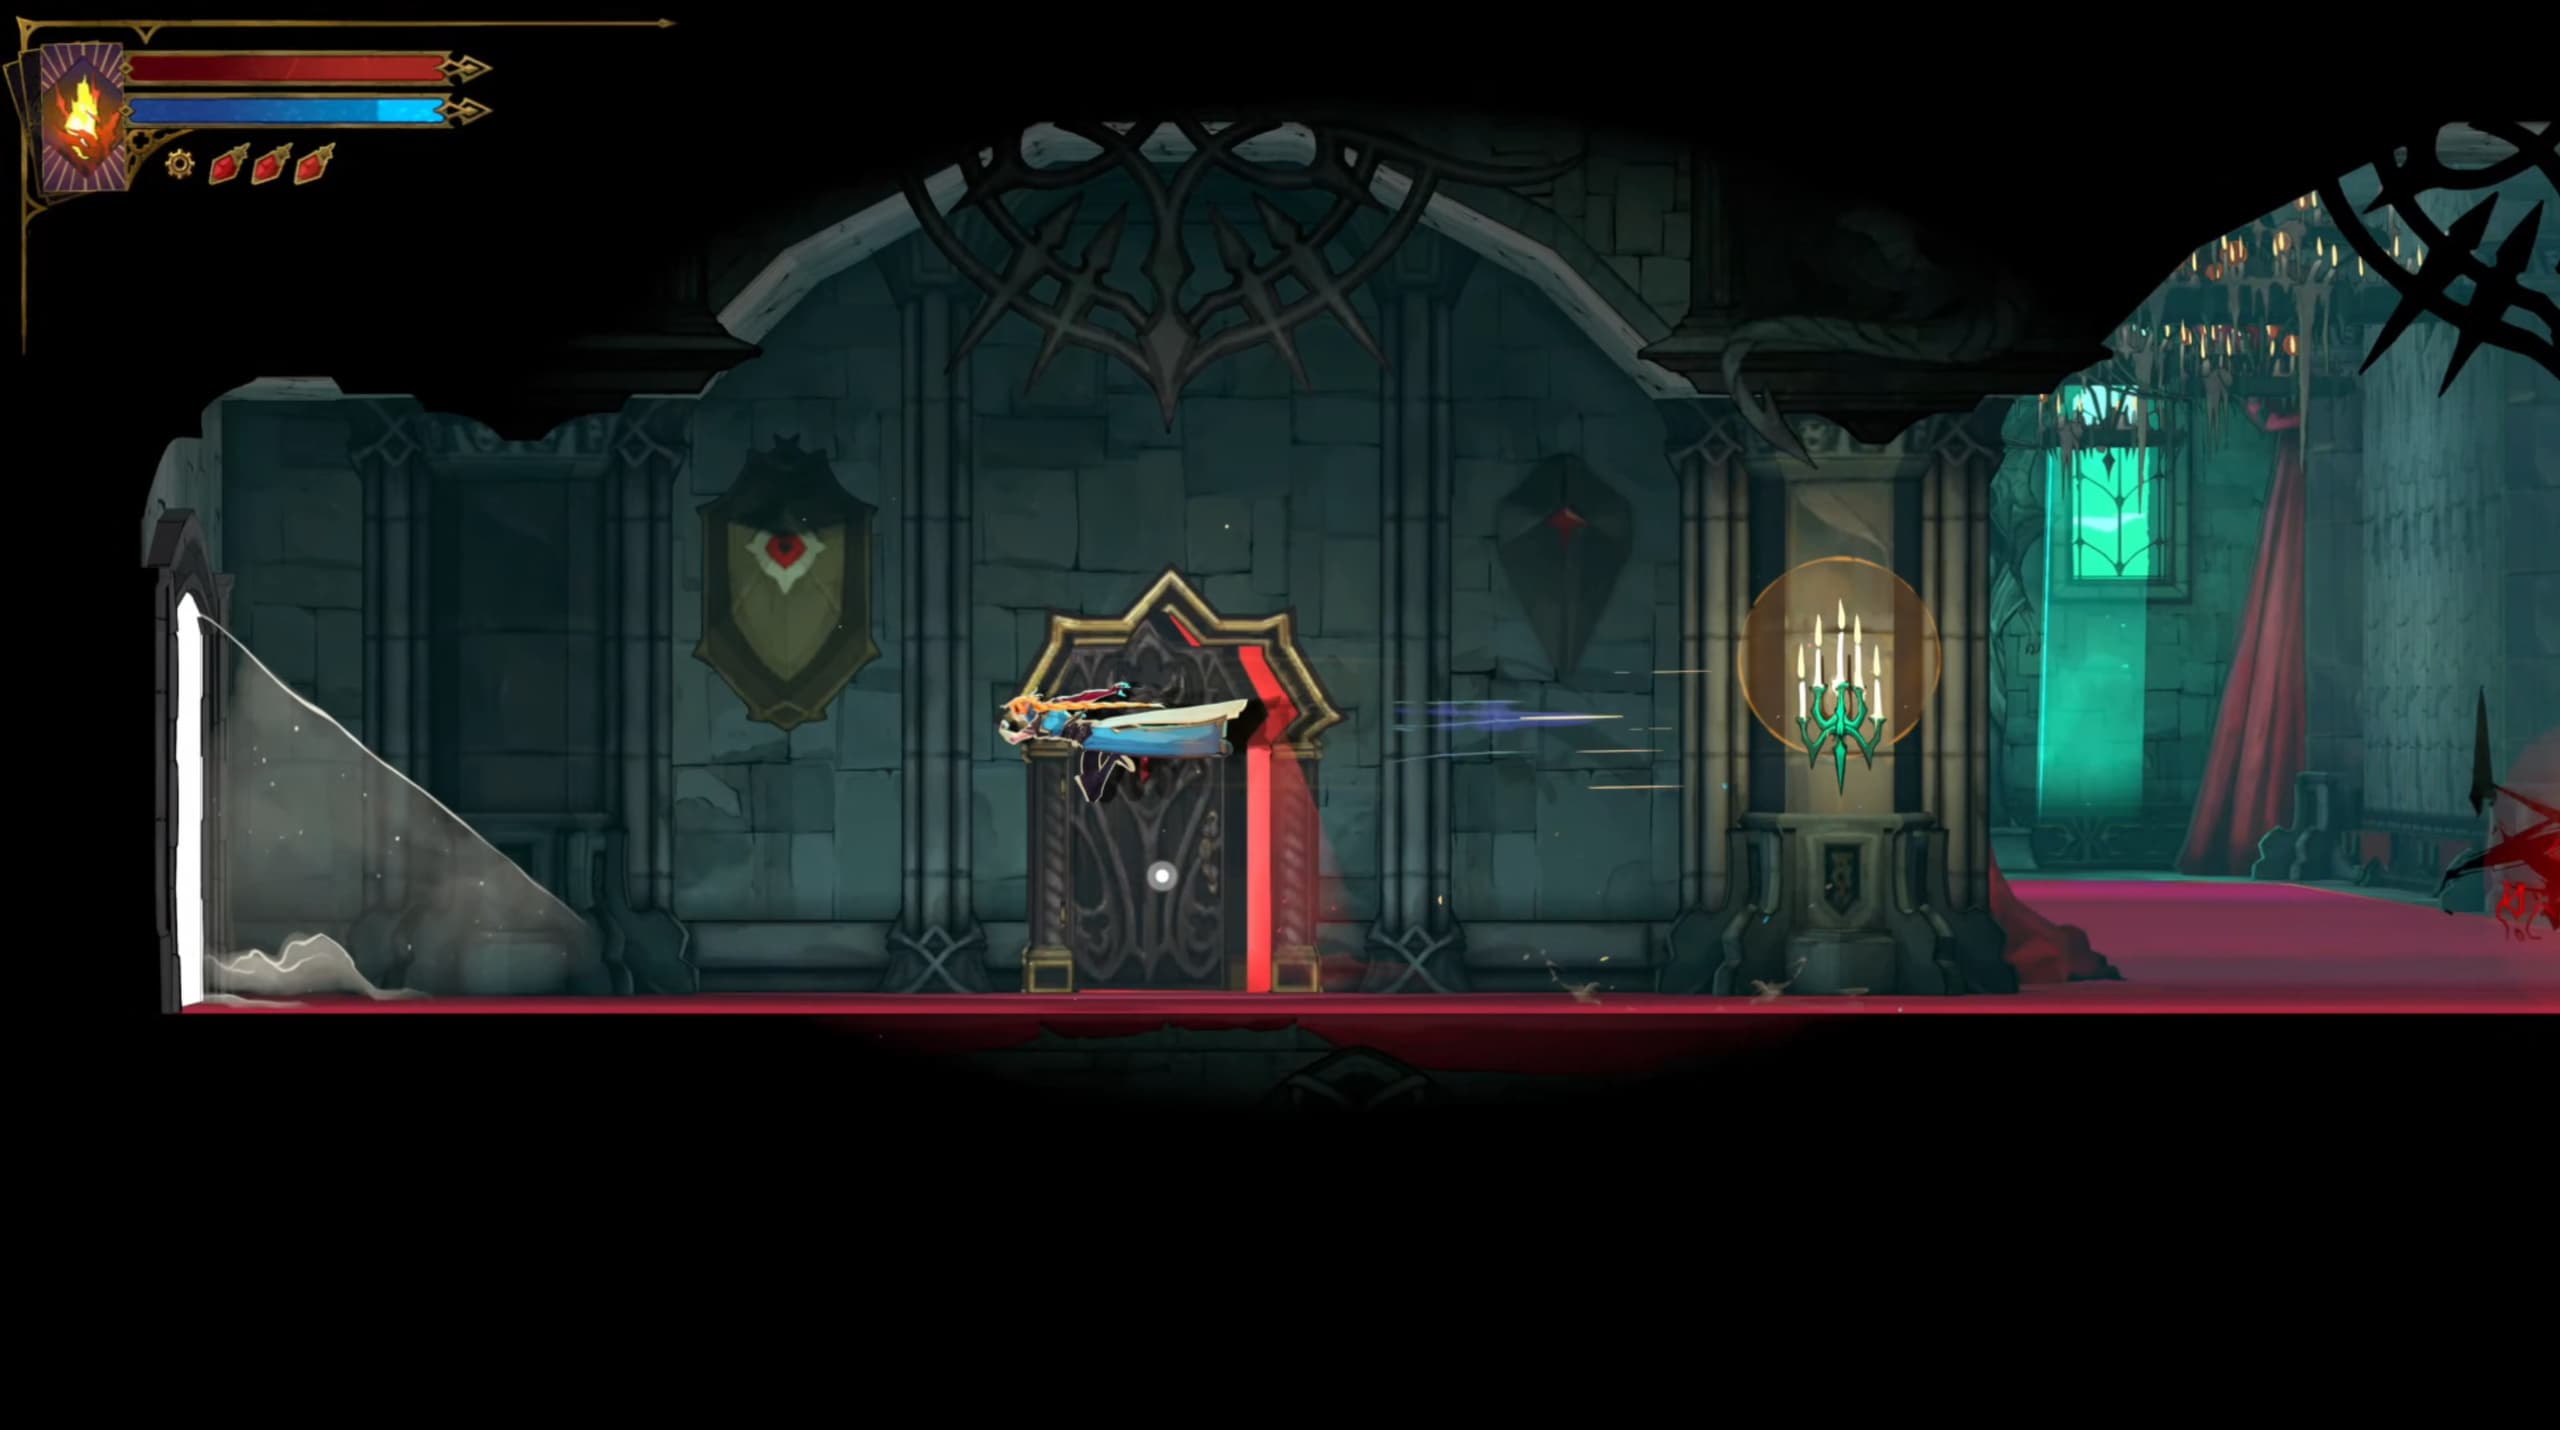
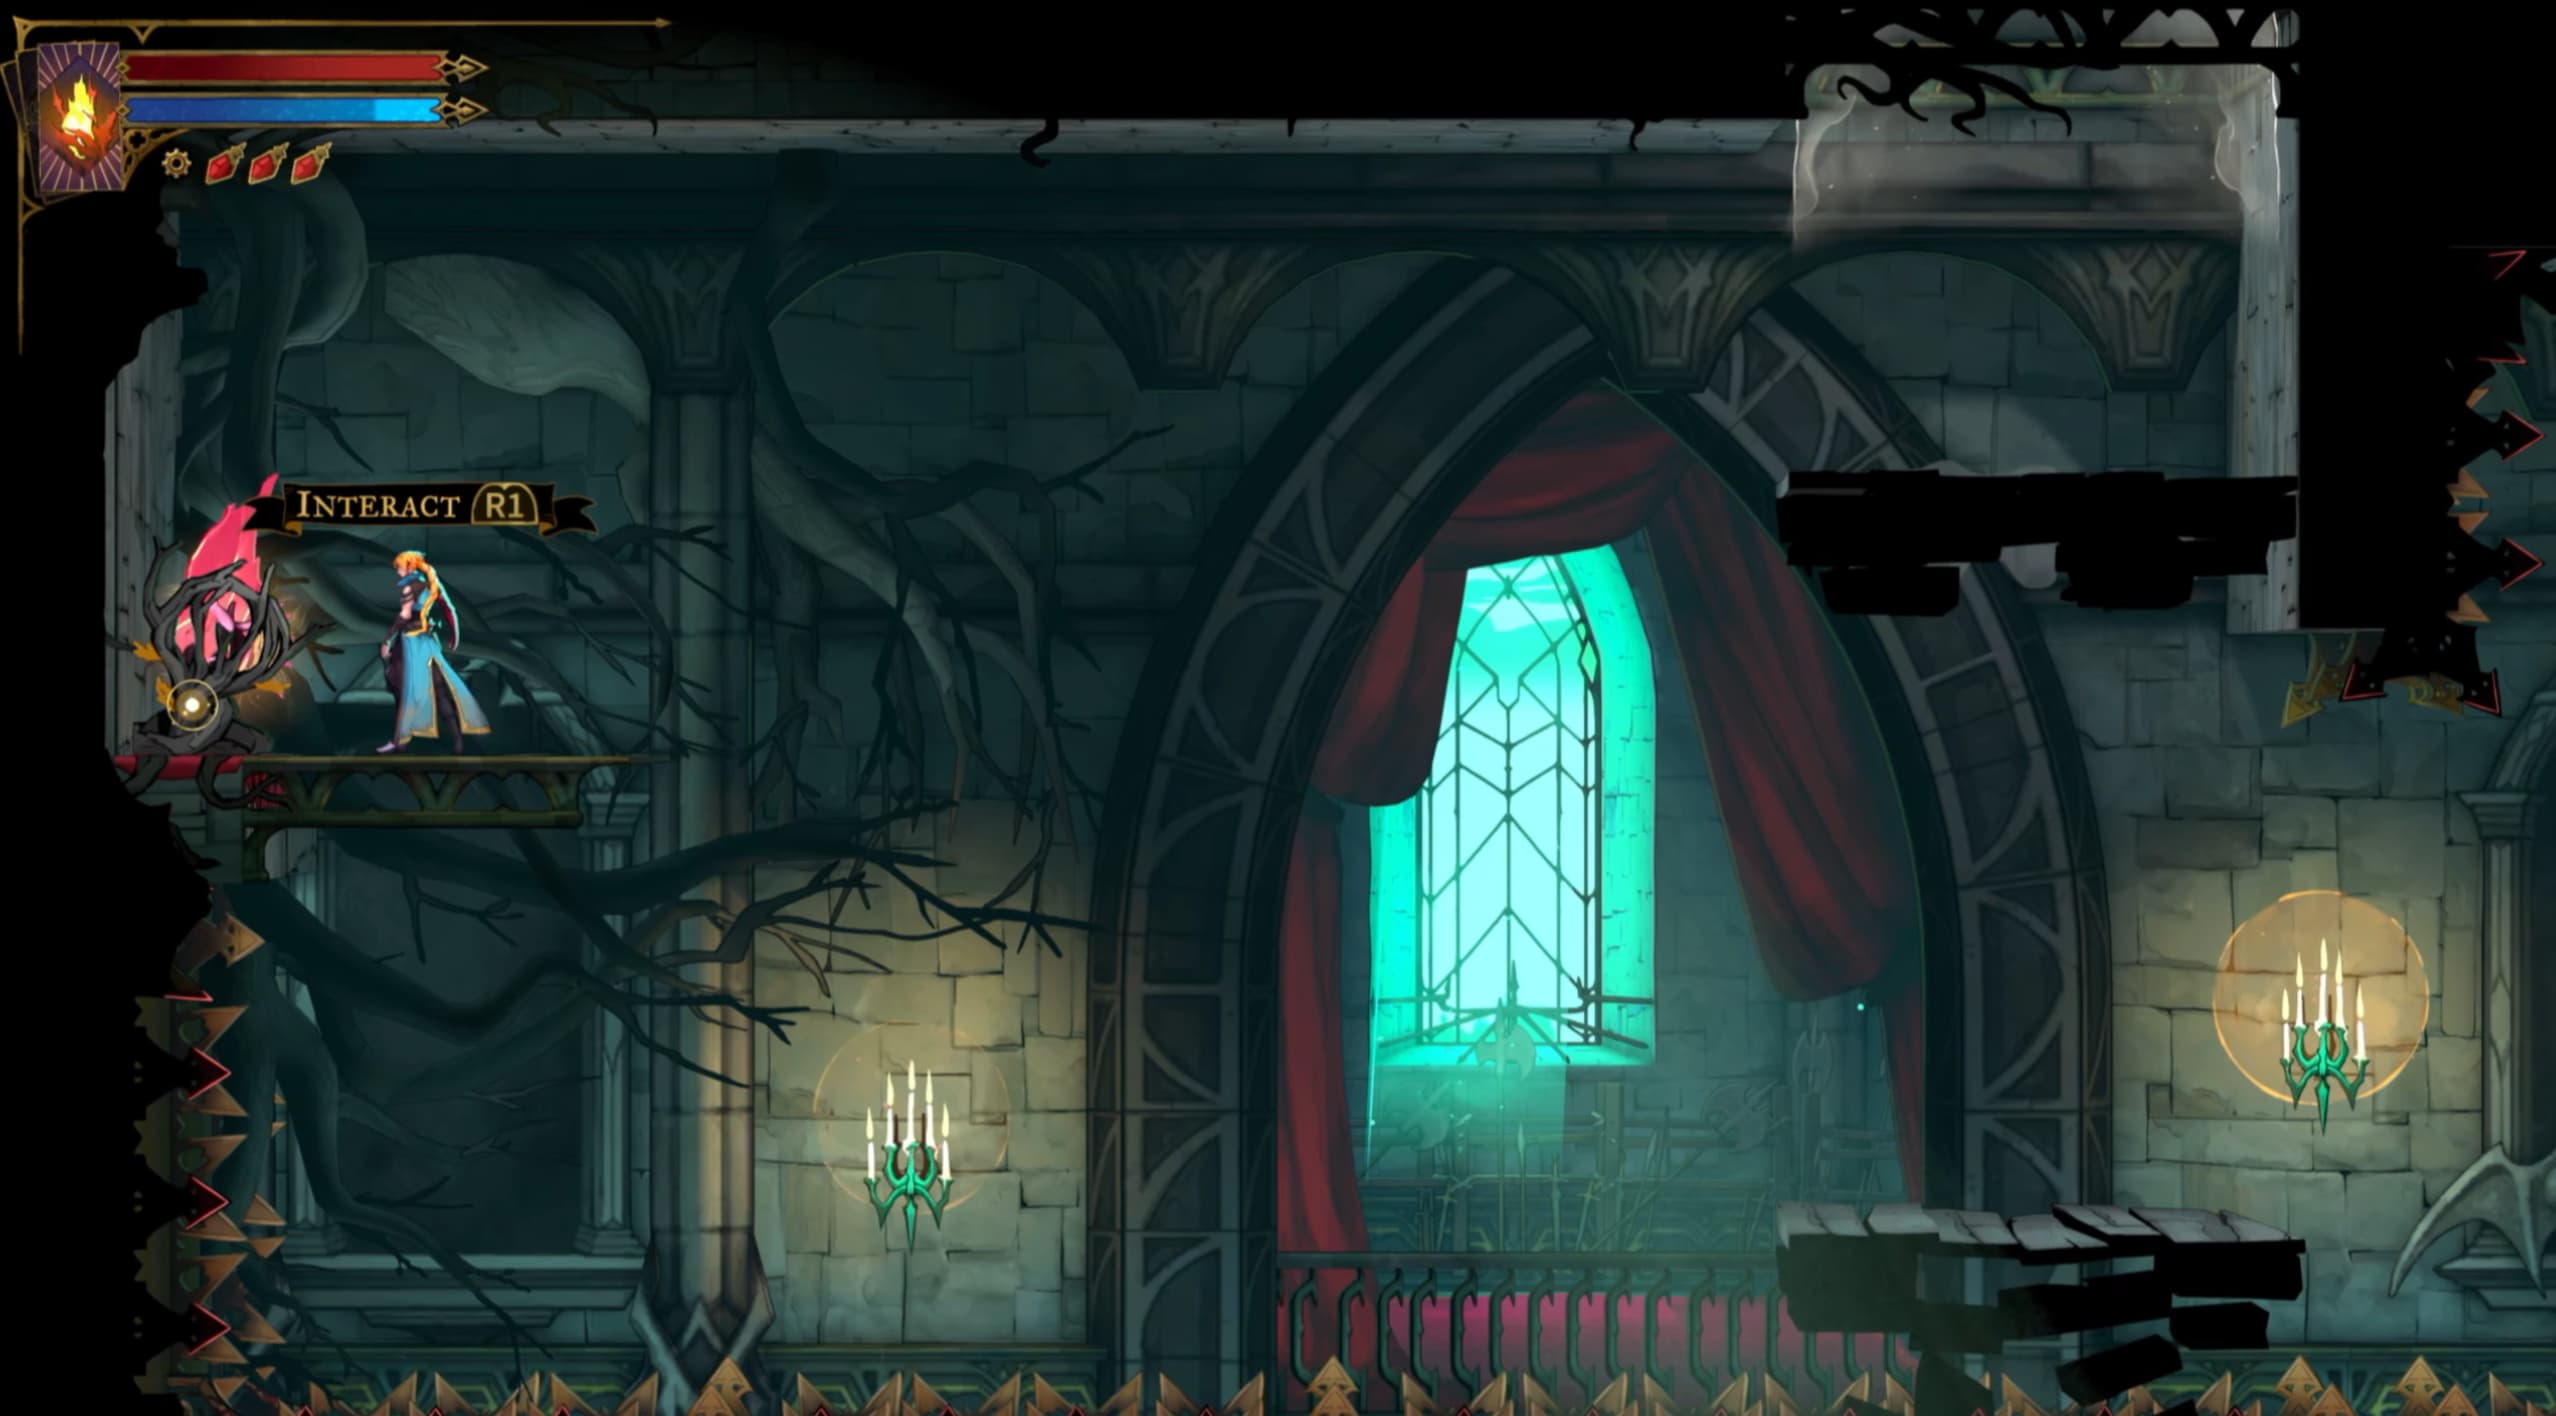
From here, drop down and make your way through the white glowing door on the left. Keep running all the way to the left to see another white glowing door to head through, on the other side, look up to the left to whip up and collect the next Heart Fragment.
For the next Heart Fragment, you will want to backtrack a little bit from the previous one, you'll have noticed a red door just by the white glowing door, this is where we're heading next.
Progress through this section until you make it to the next red door.
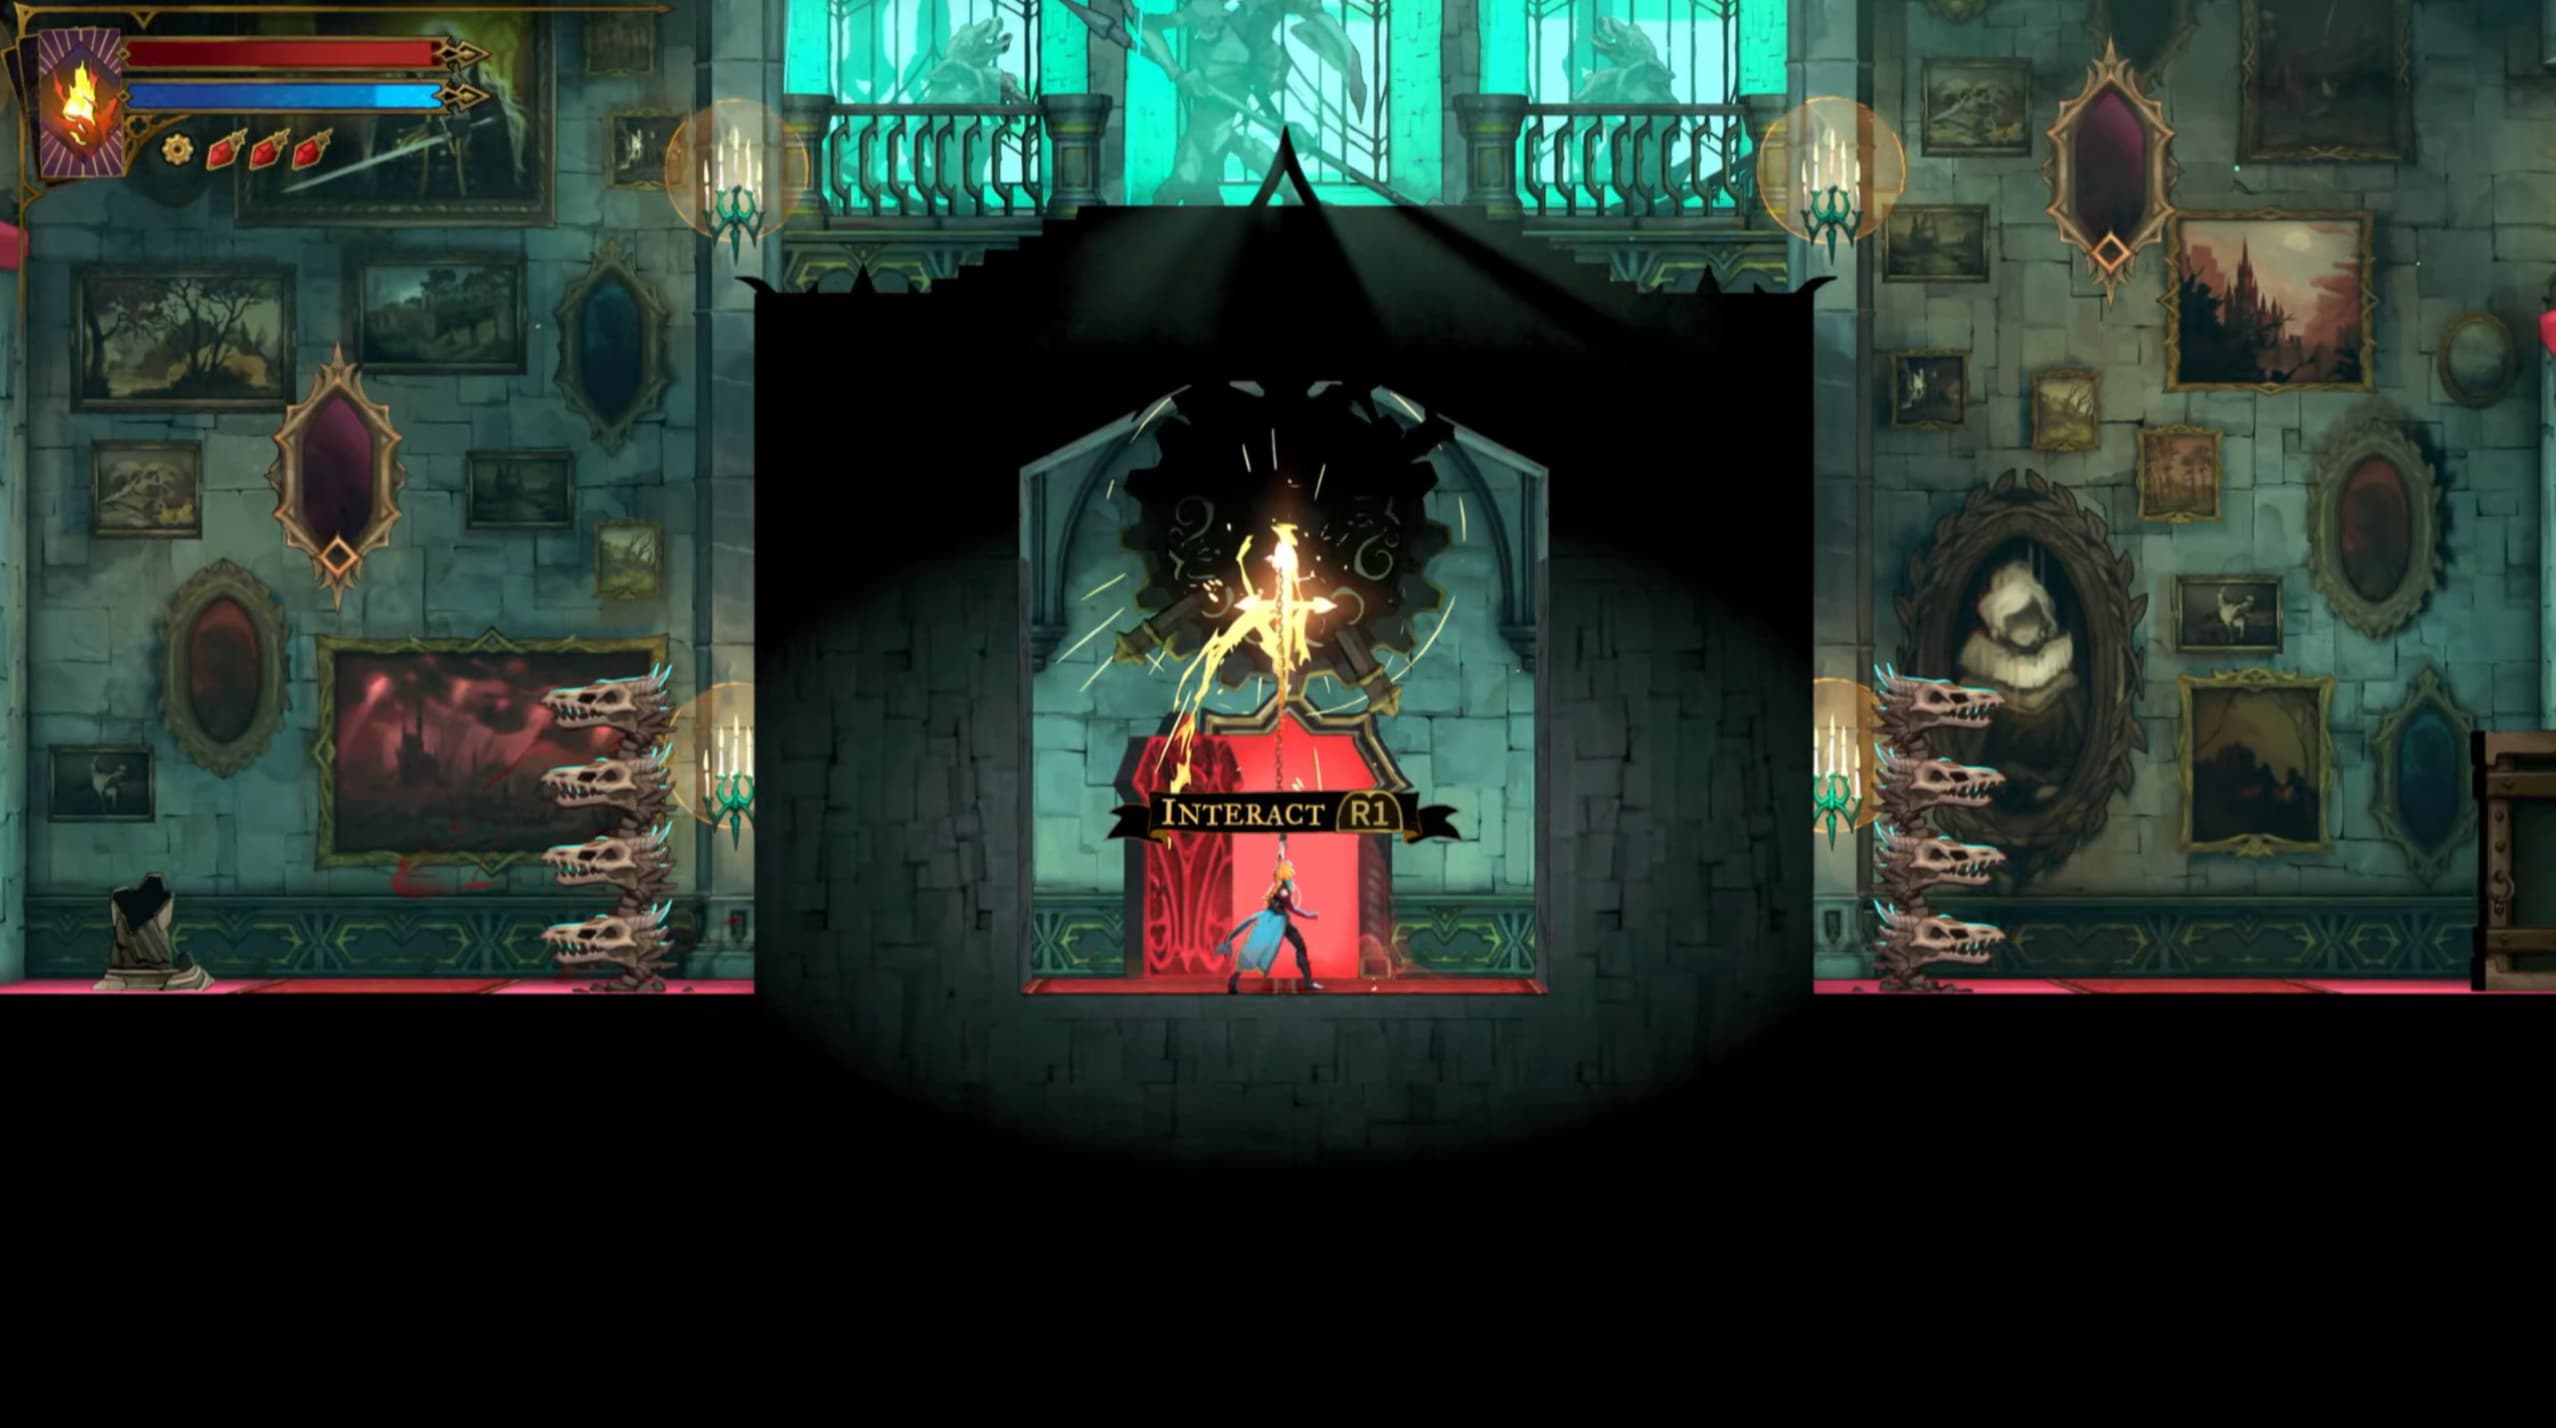
In here, you will want to interact with the giant cog above you, keep whipping it to reveal an entirely new section below.
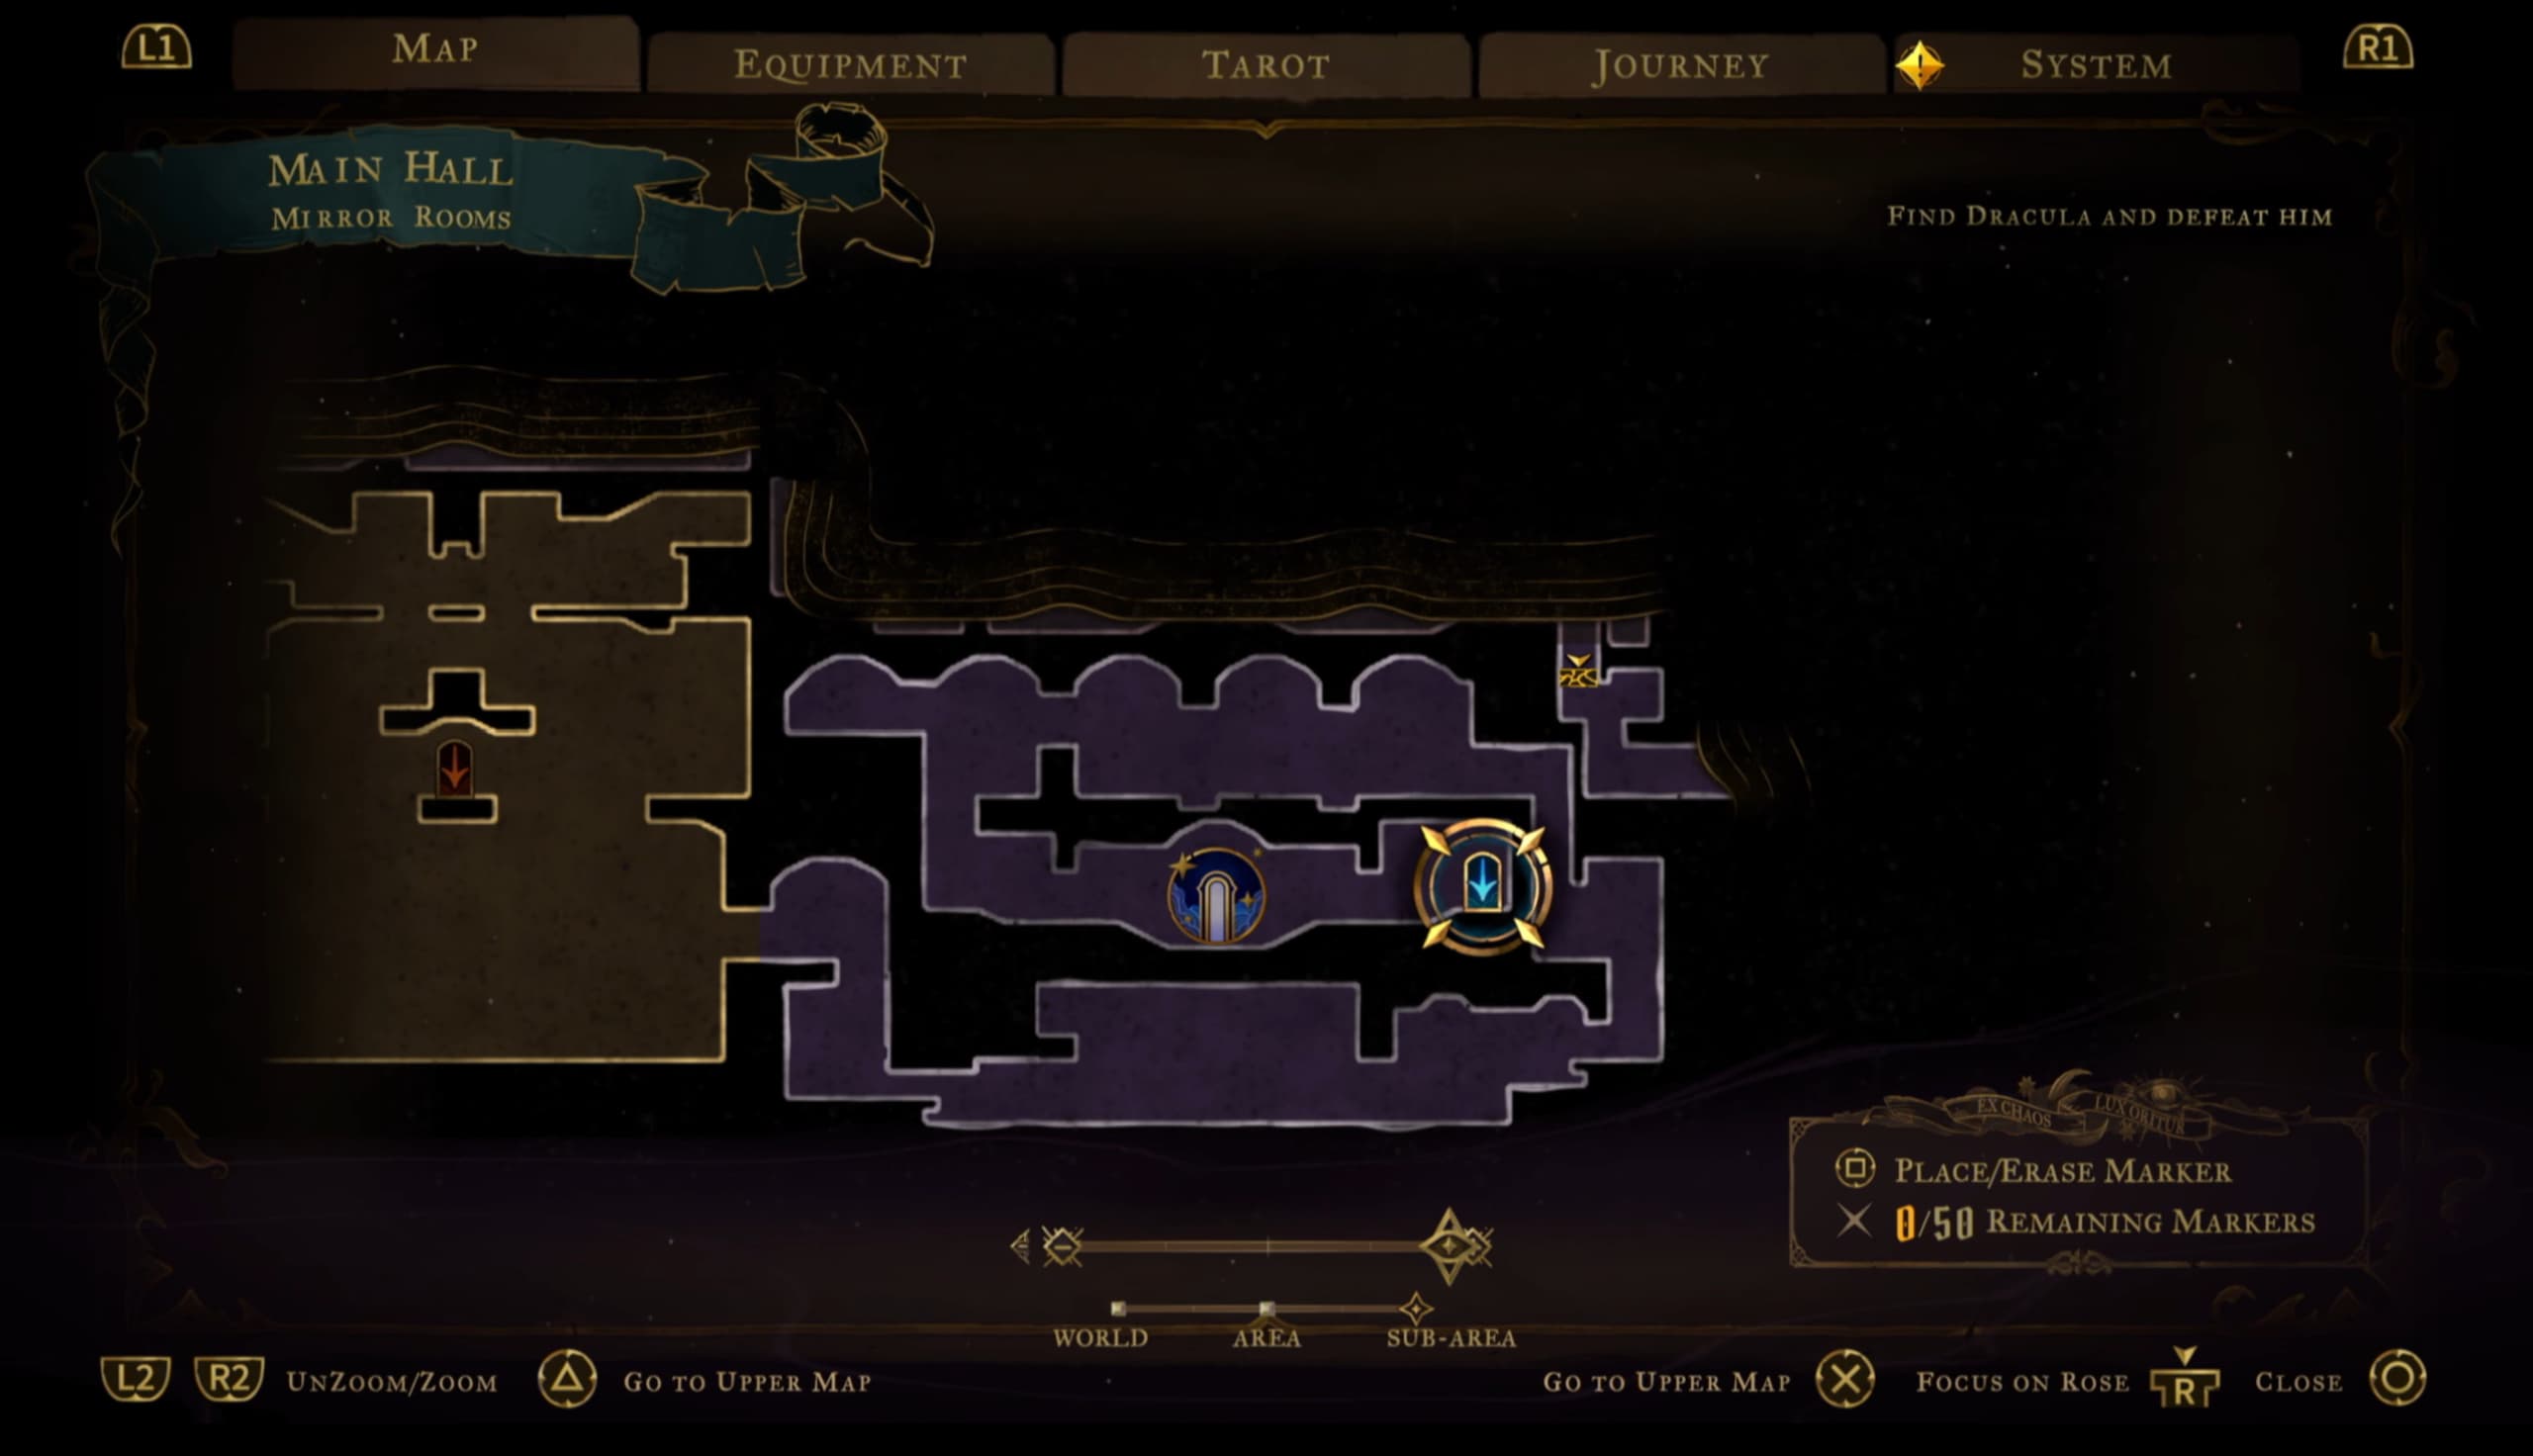
Now you need to be dropping down into this new area and taking the door in the center of the room. This will bring you out in the center of a new room, now make your way over to the very right of the map to the door highlighted in the map shown below.
This will now bring you out in another new area, so now make your way to the newly highlighted area on the map below for the Heart Fragment location.
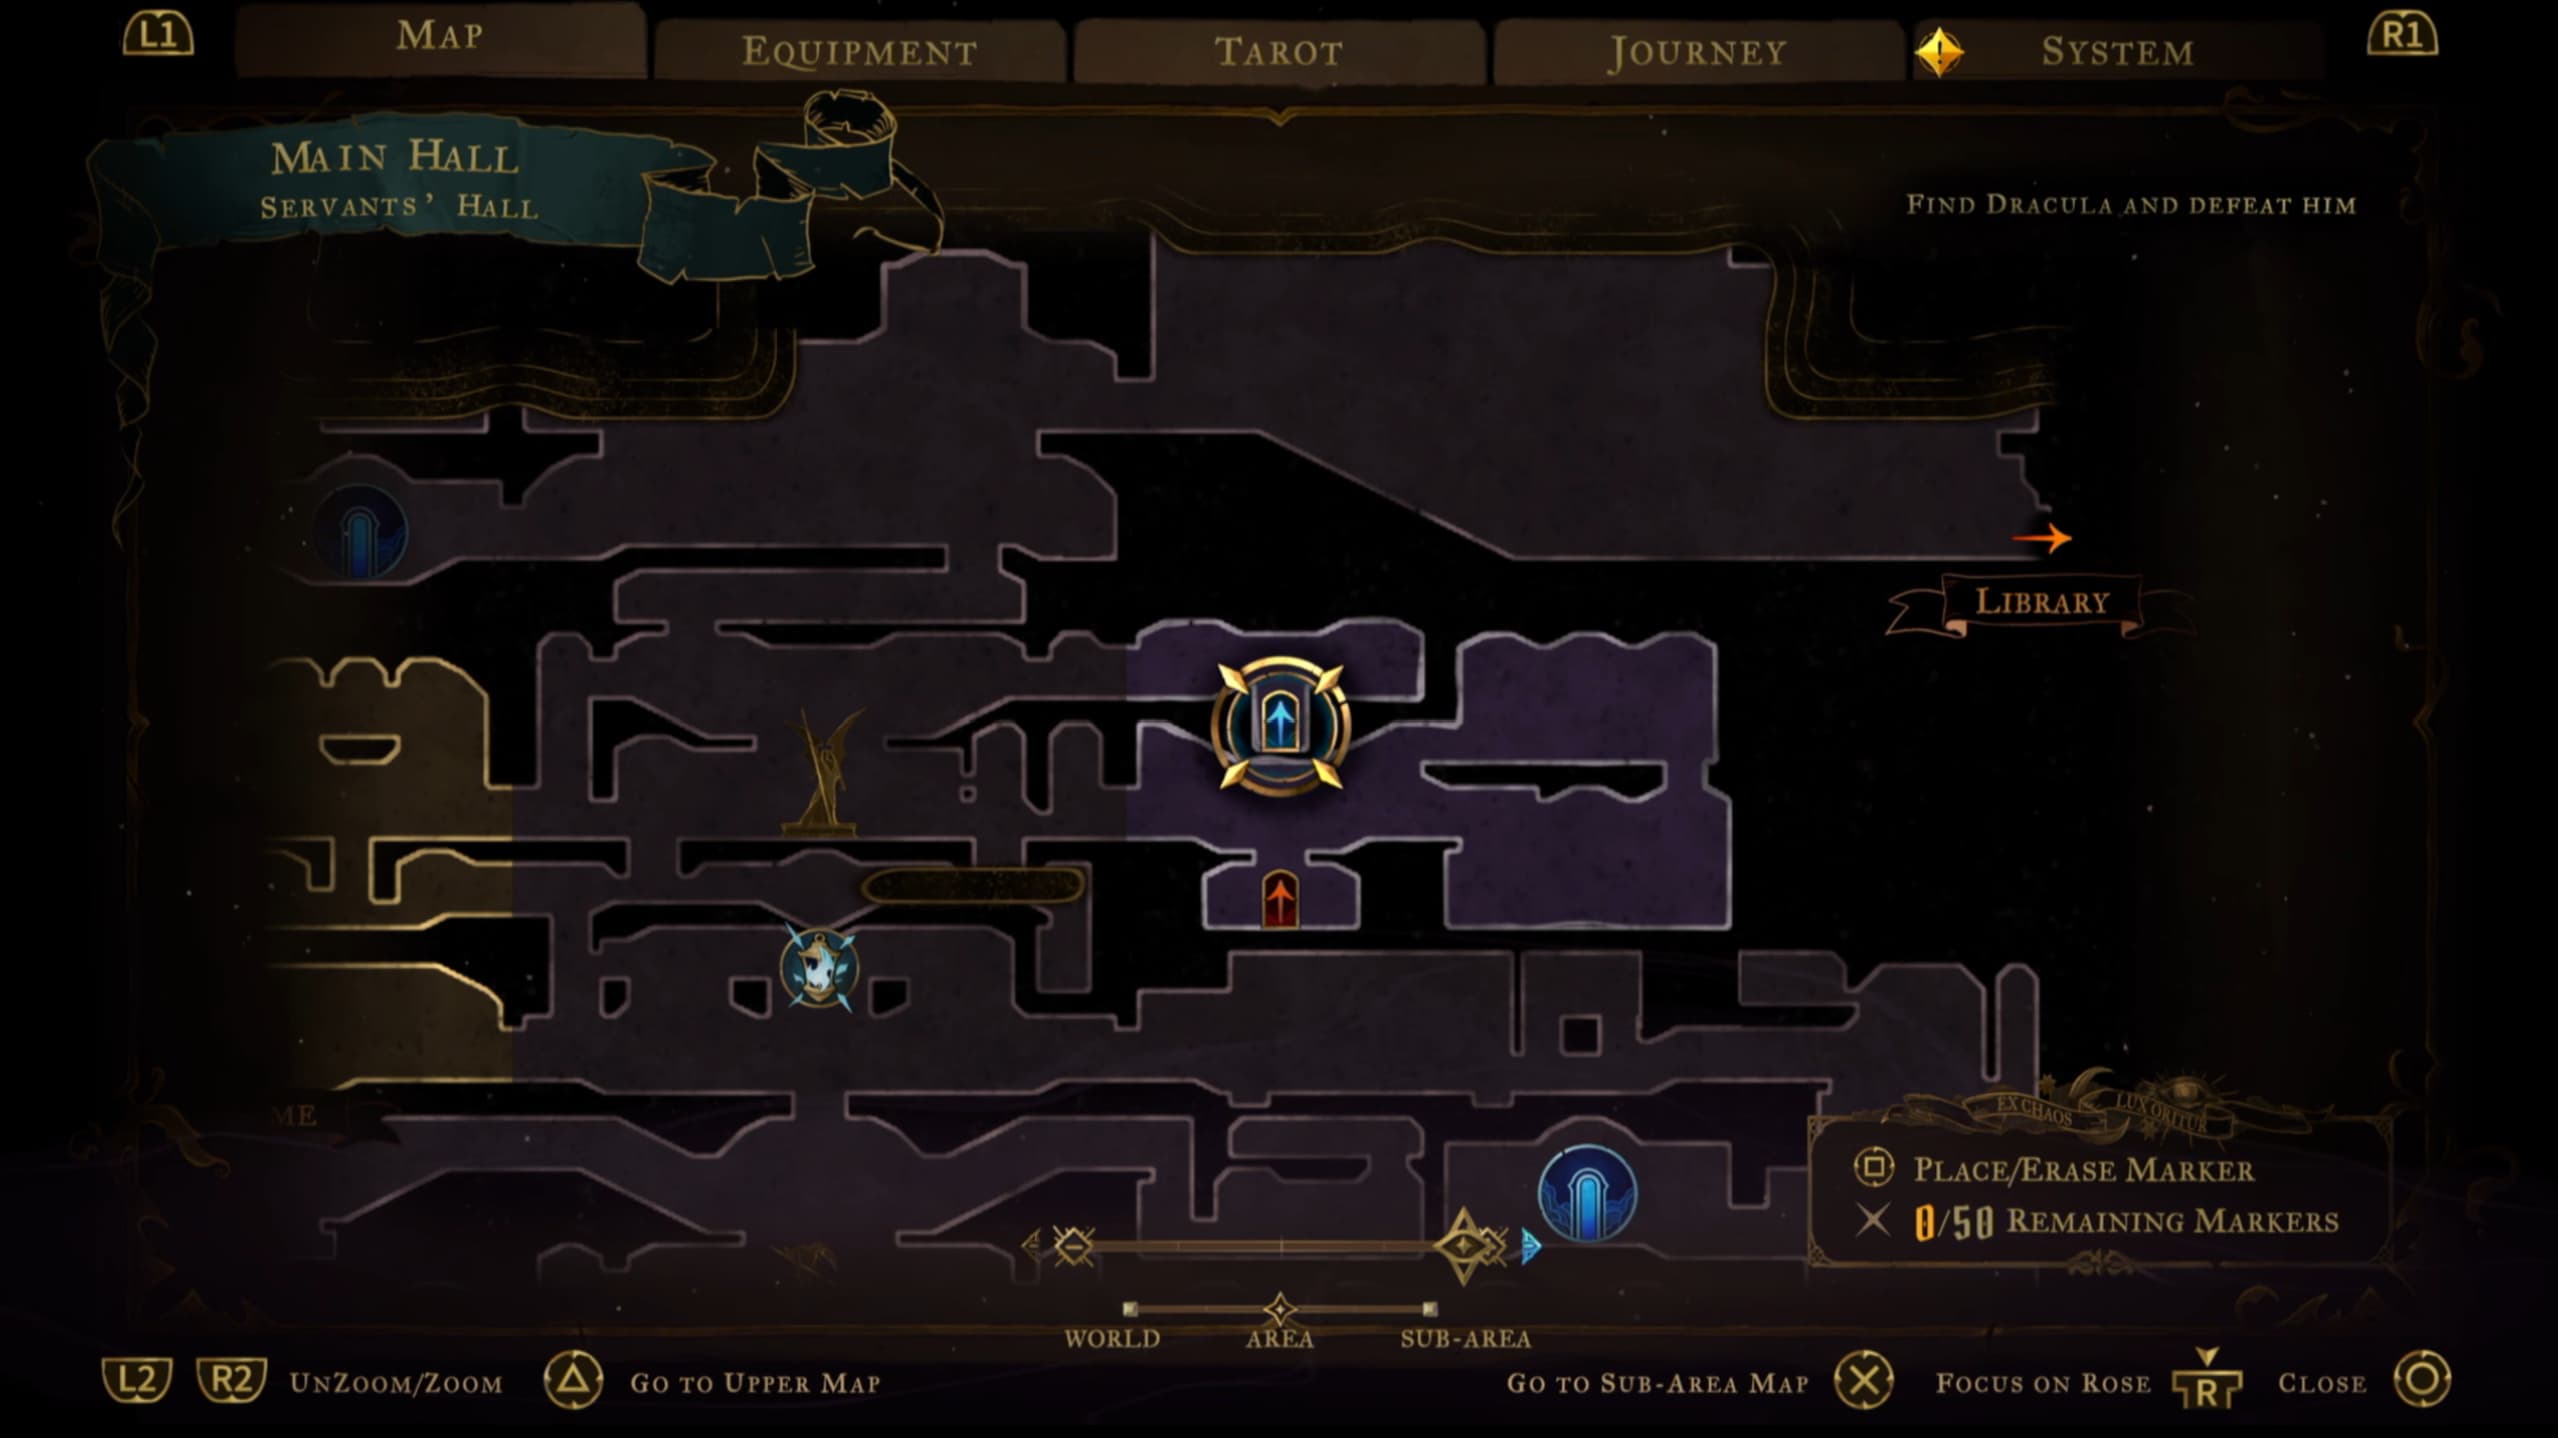
For the next Heart Fragments (there are 2 to collect here), make your way to the door on the map as shown below.
Through here make your way down and to the right of the area to make it to the next highlighted door as shown below.
In the next room will be the final door to take for these Fragments, so use the door in here to make it outside to find the 2 Heart Fragments near to each other.
For the next Fragment, make your way to the pointer as shown on the map below.
And for the final Fragment in this area, make your way to the pointer on the map as shown below.
Notre-Dame
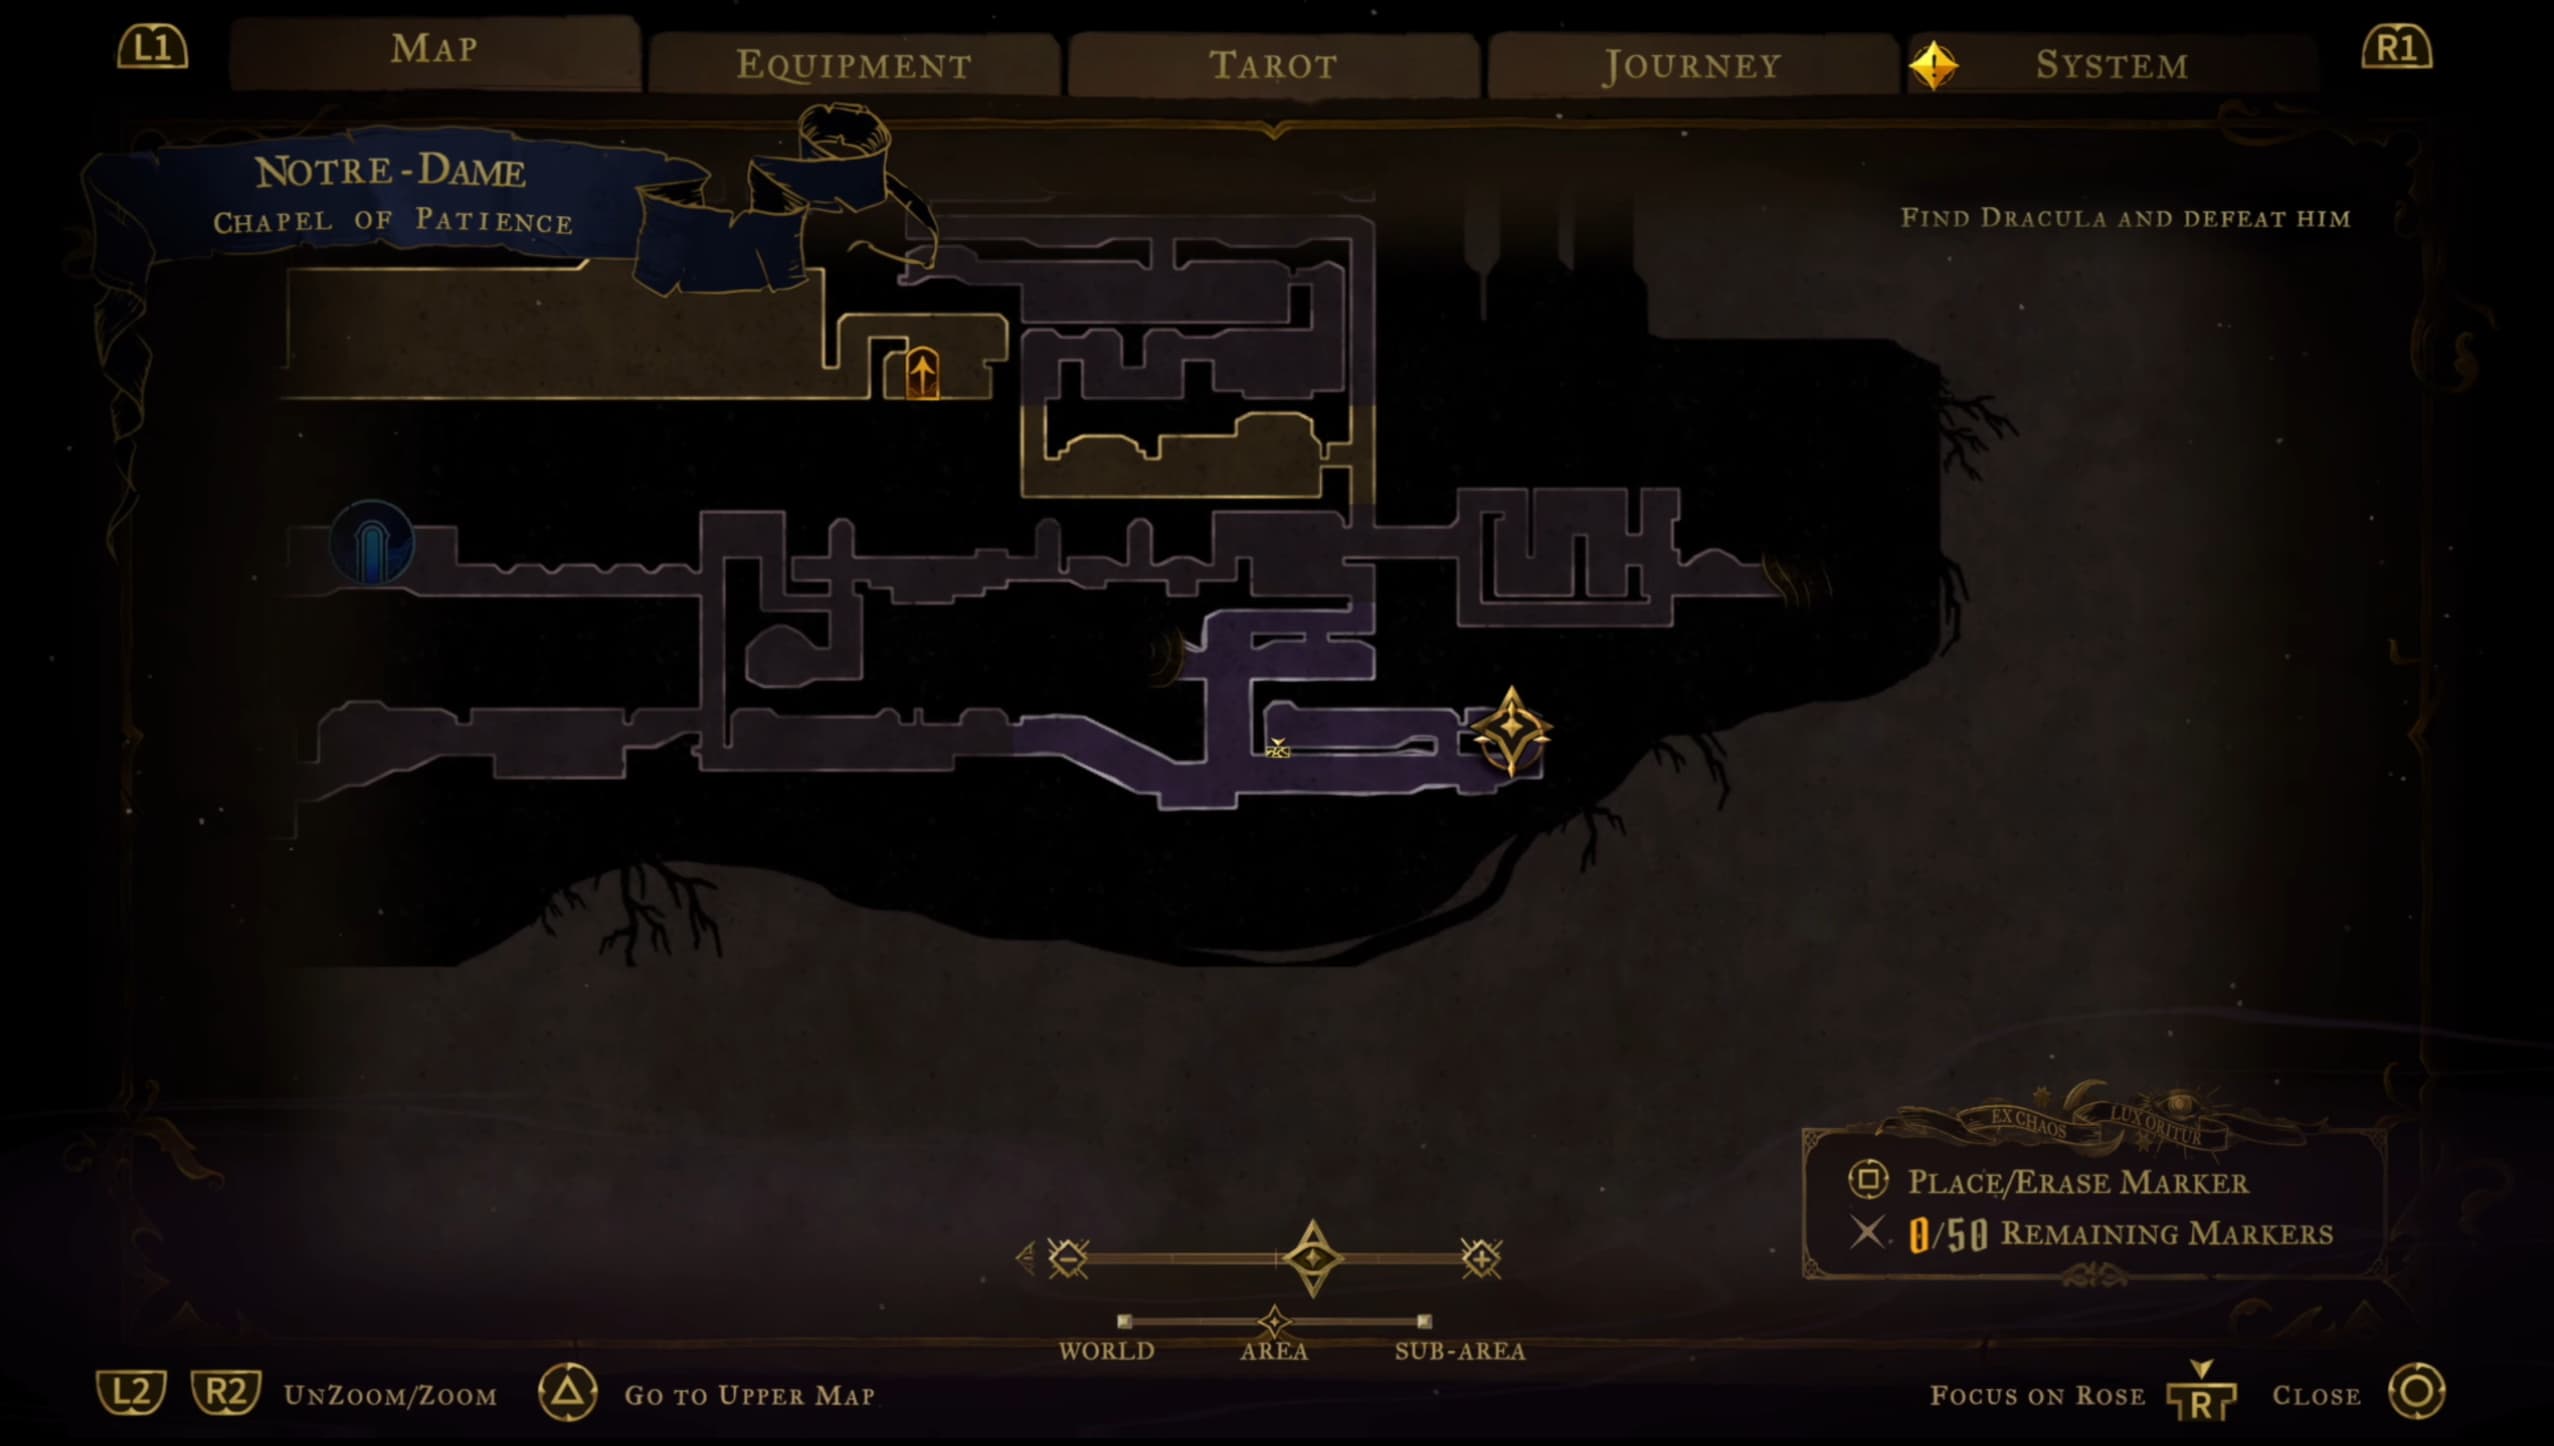
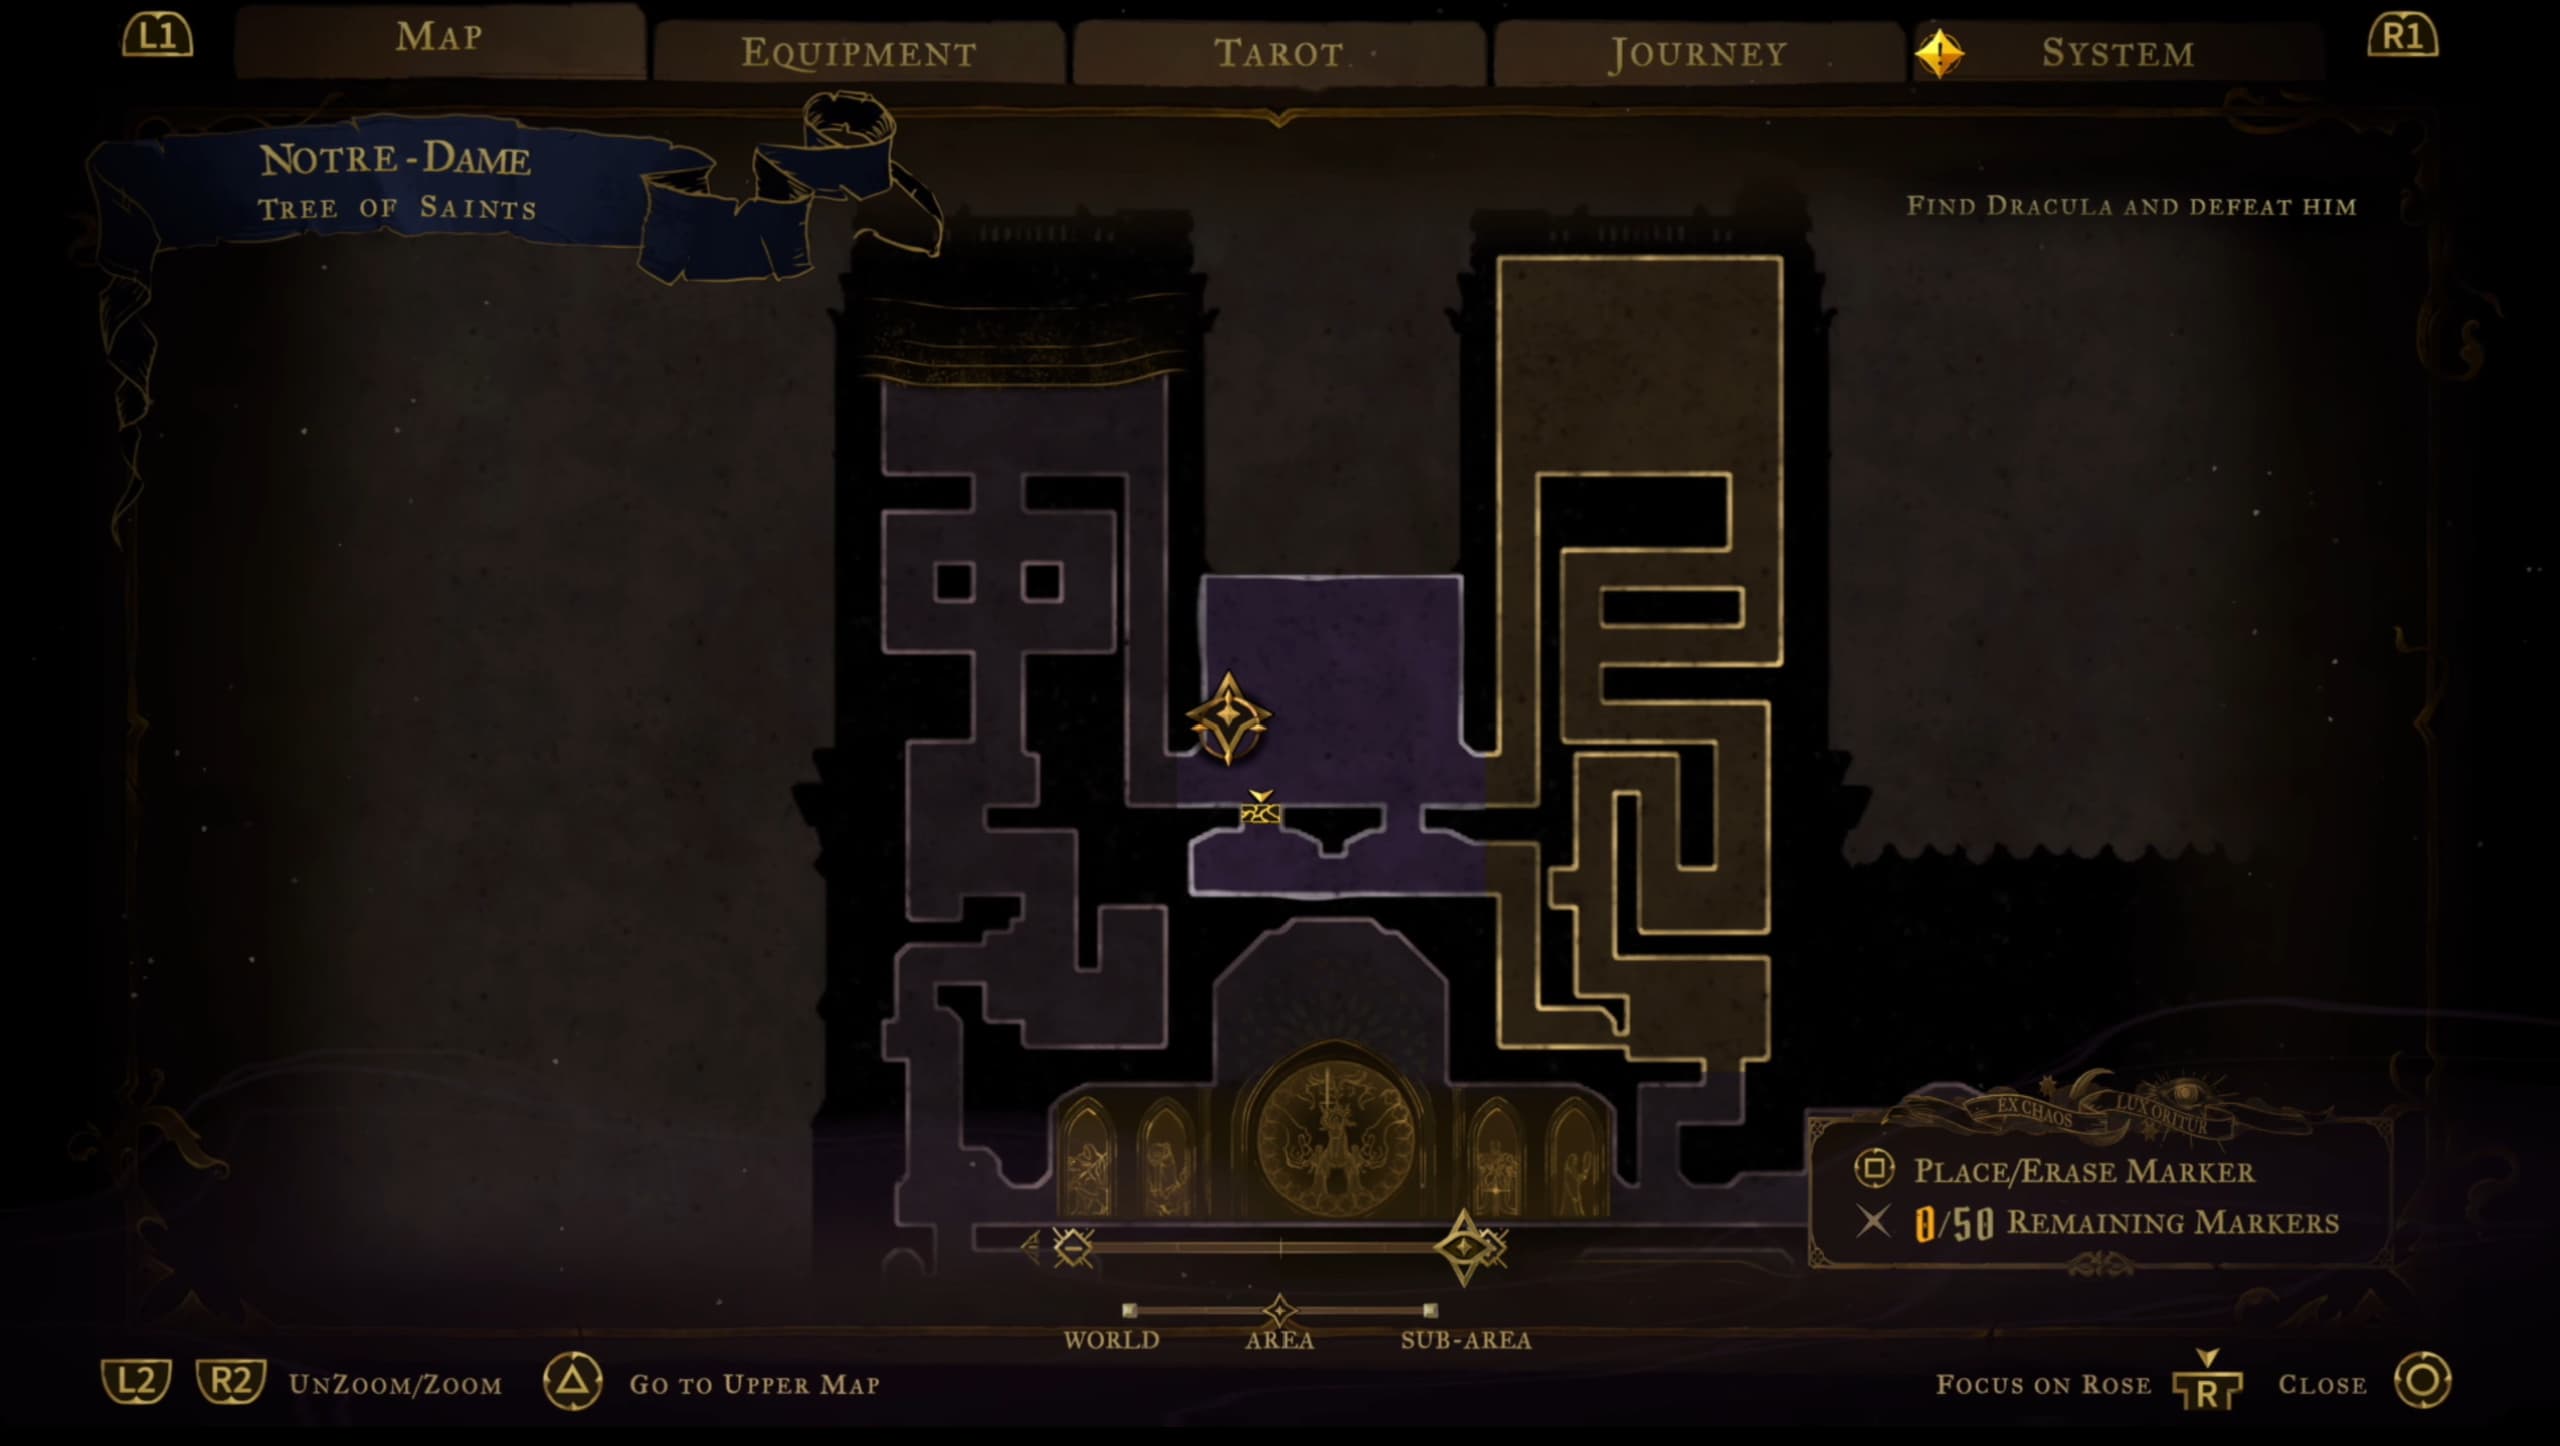
For the first Heart Fragment in this area, make your way to the pointer as shown on the map below.
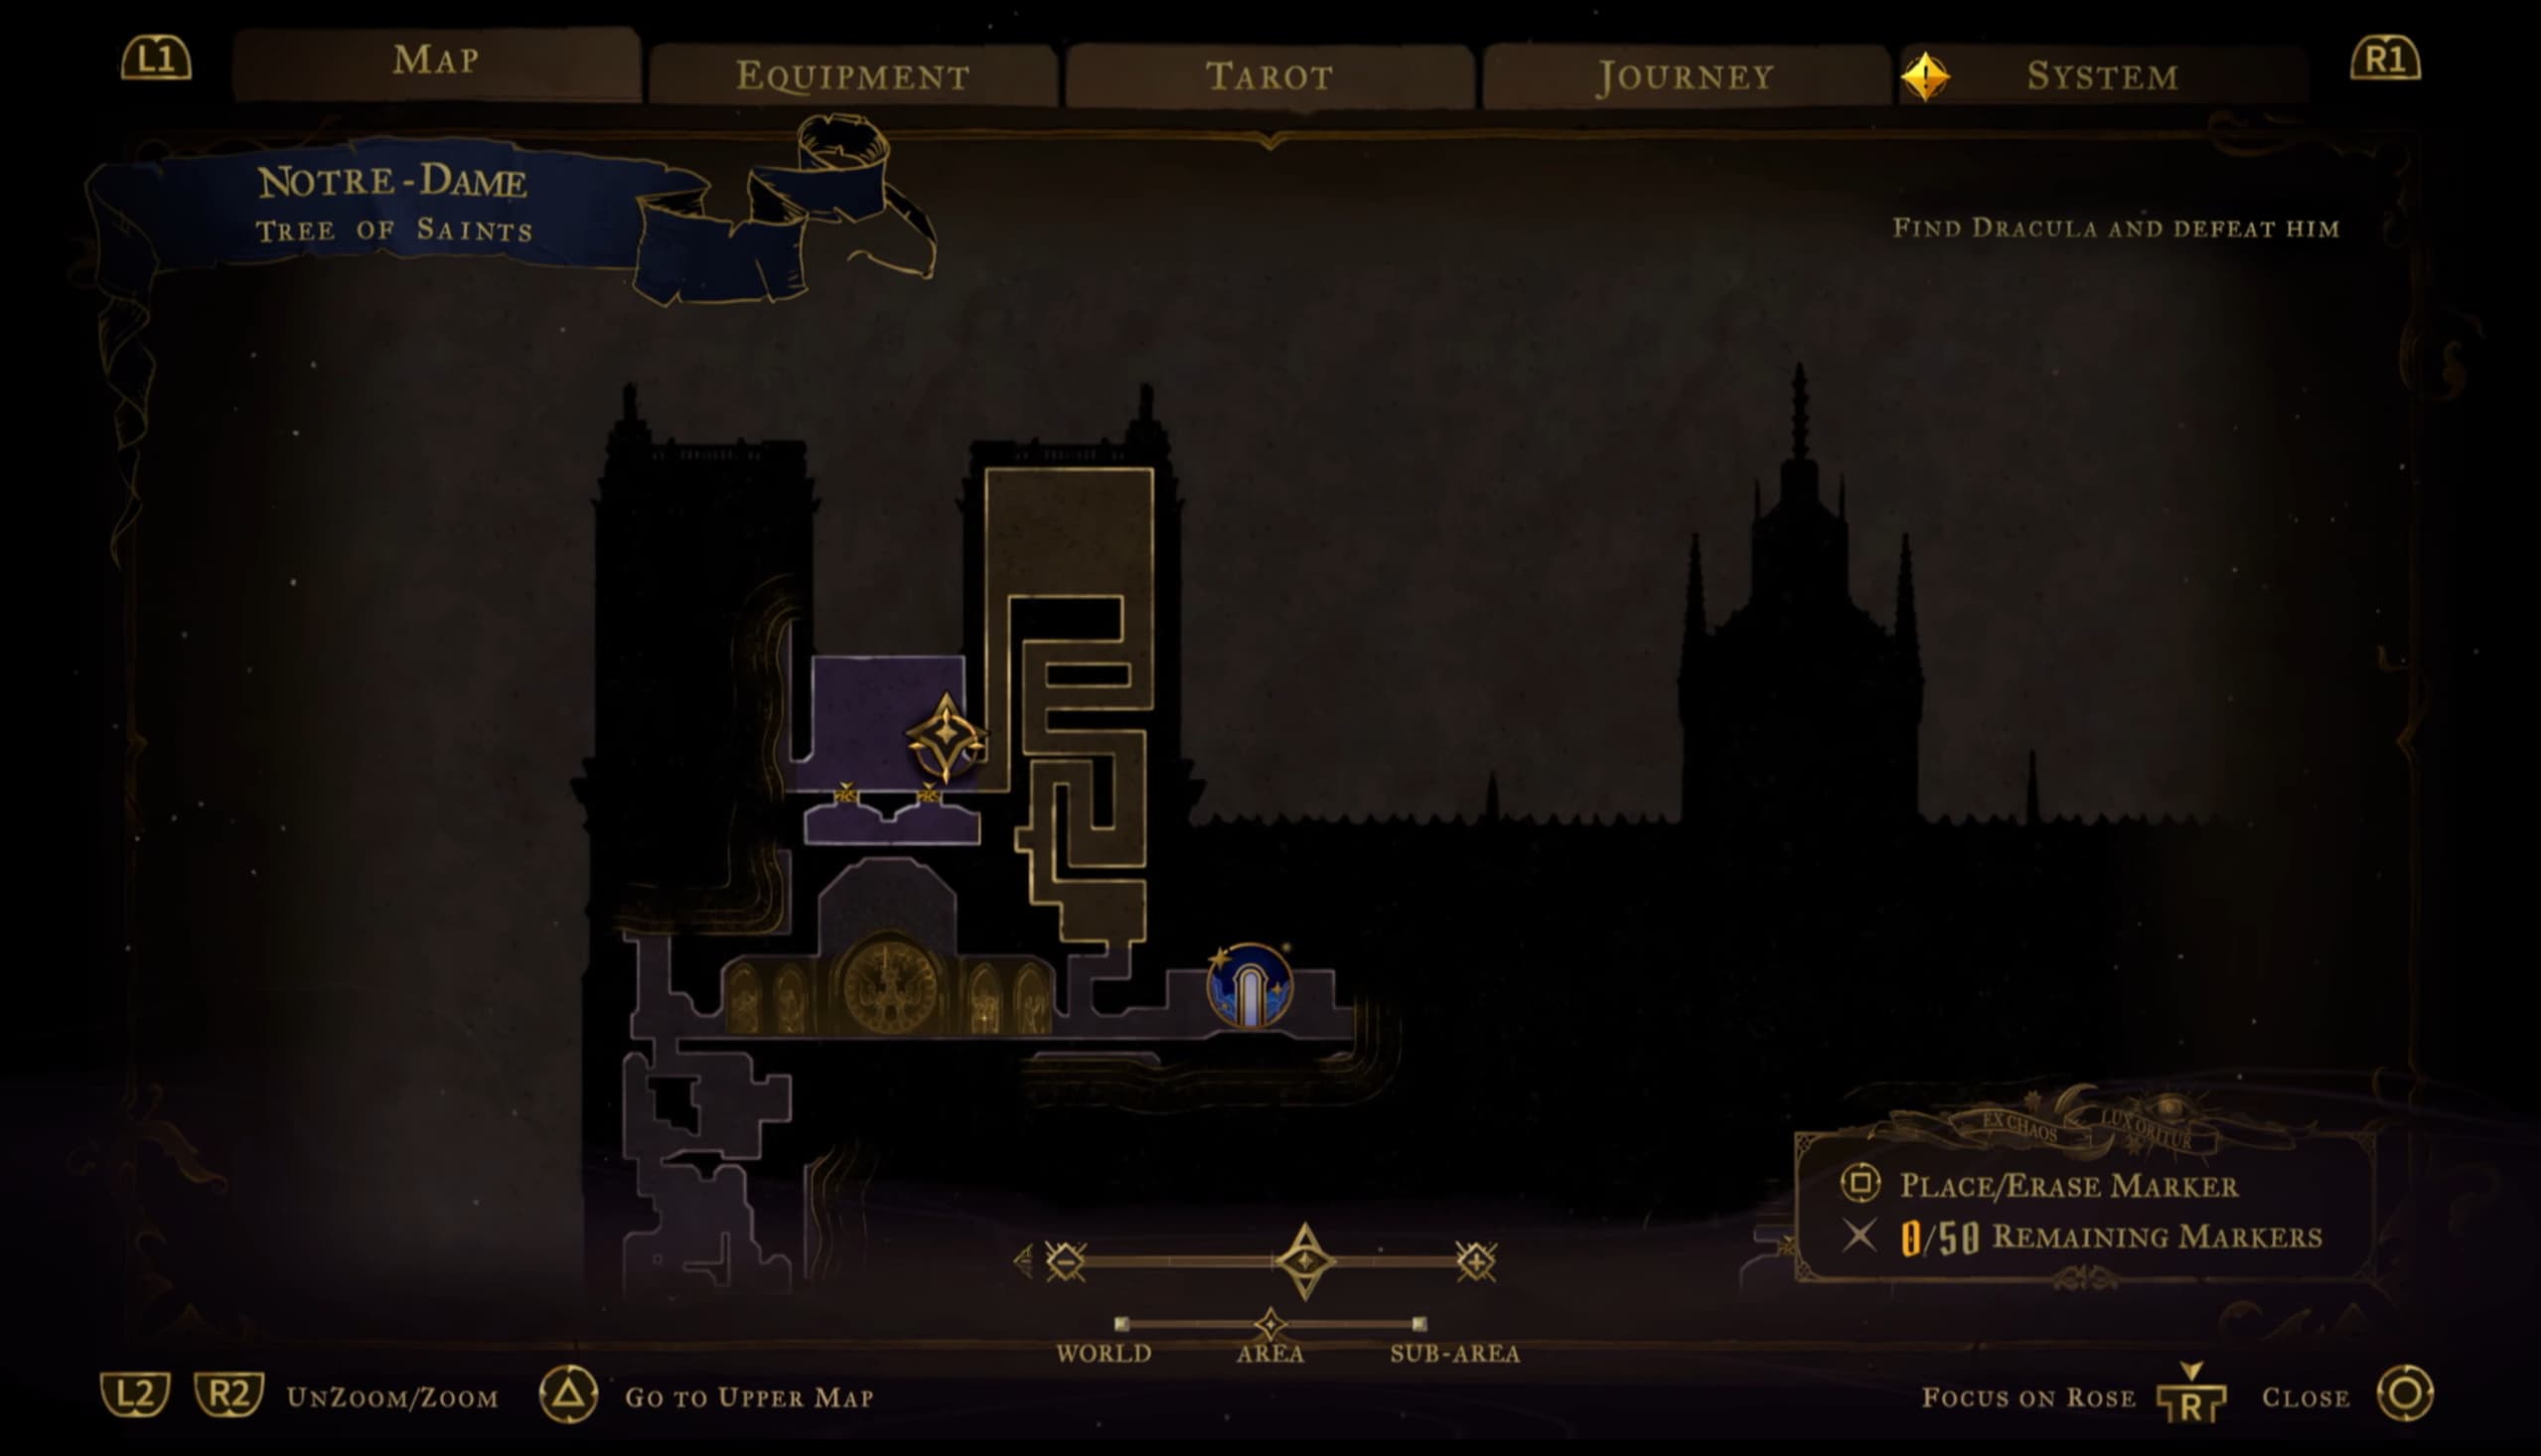
For the next Fragment, make your way to the pointer as shown on the map below.
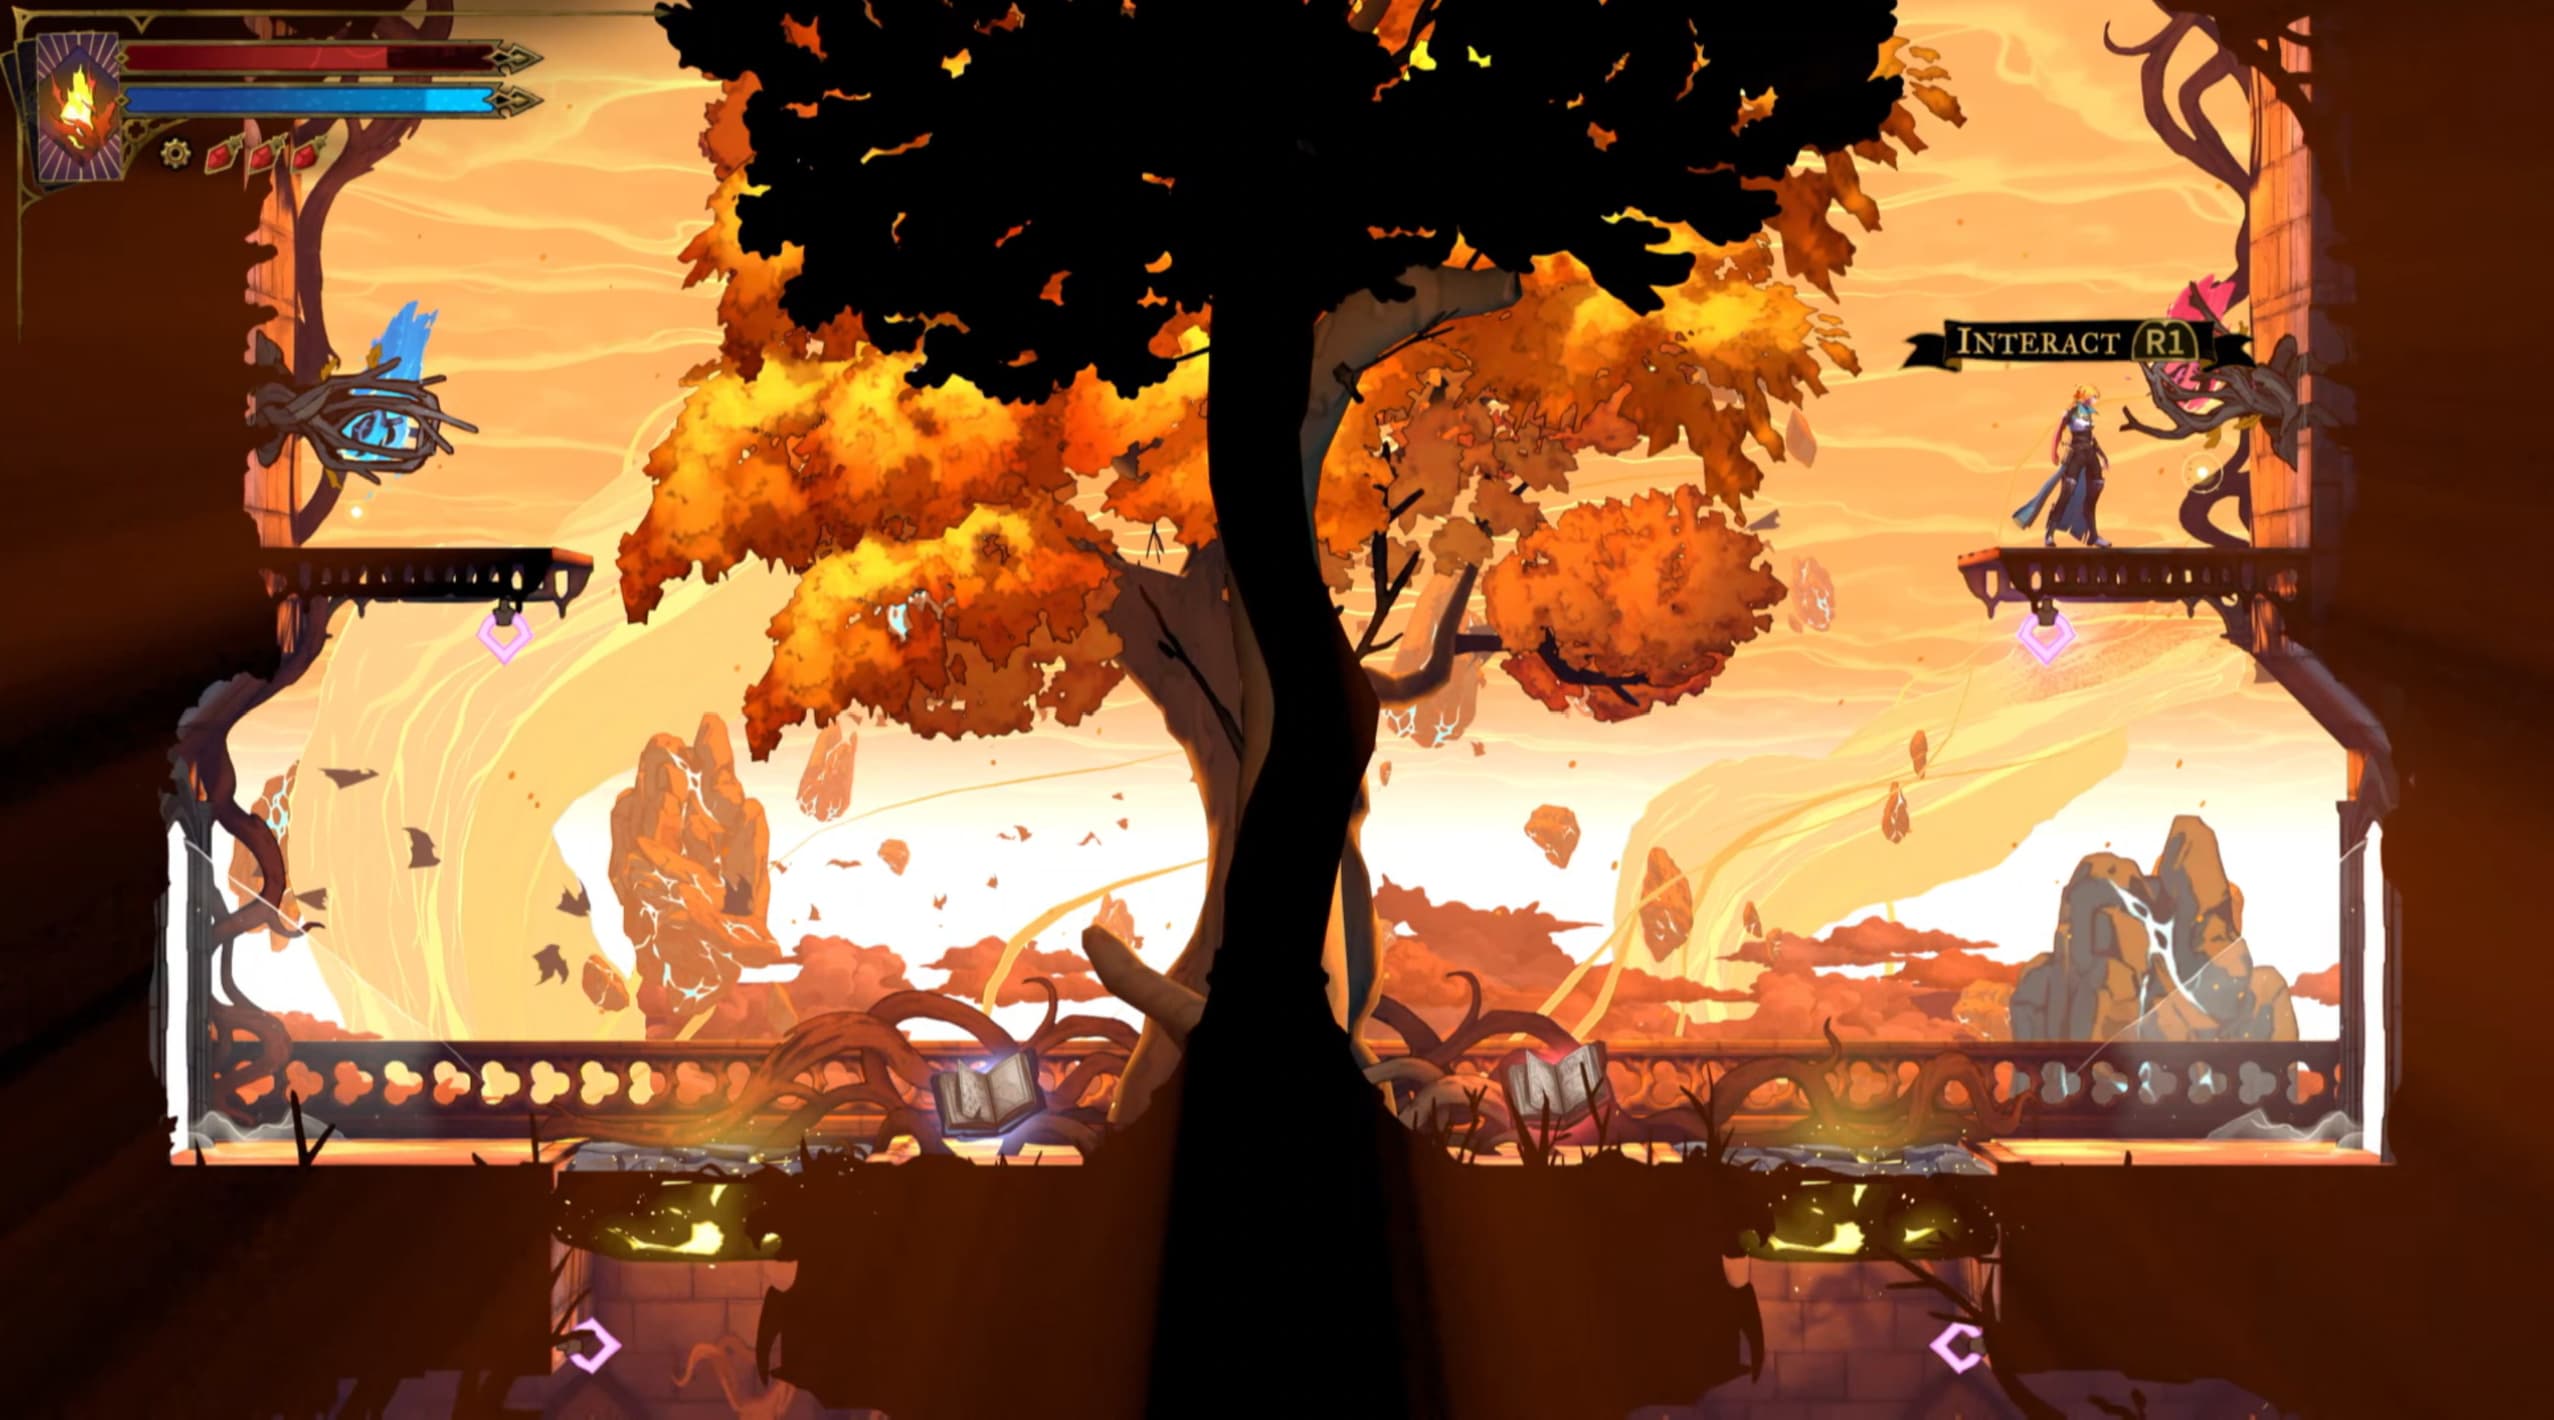
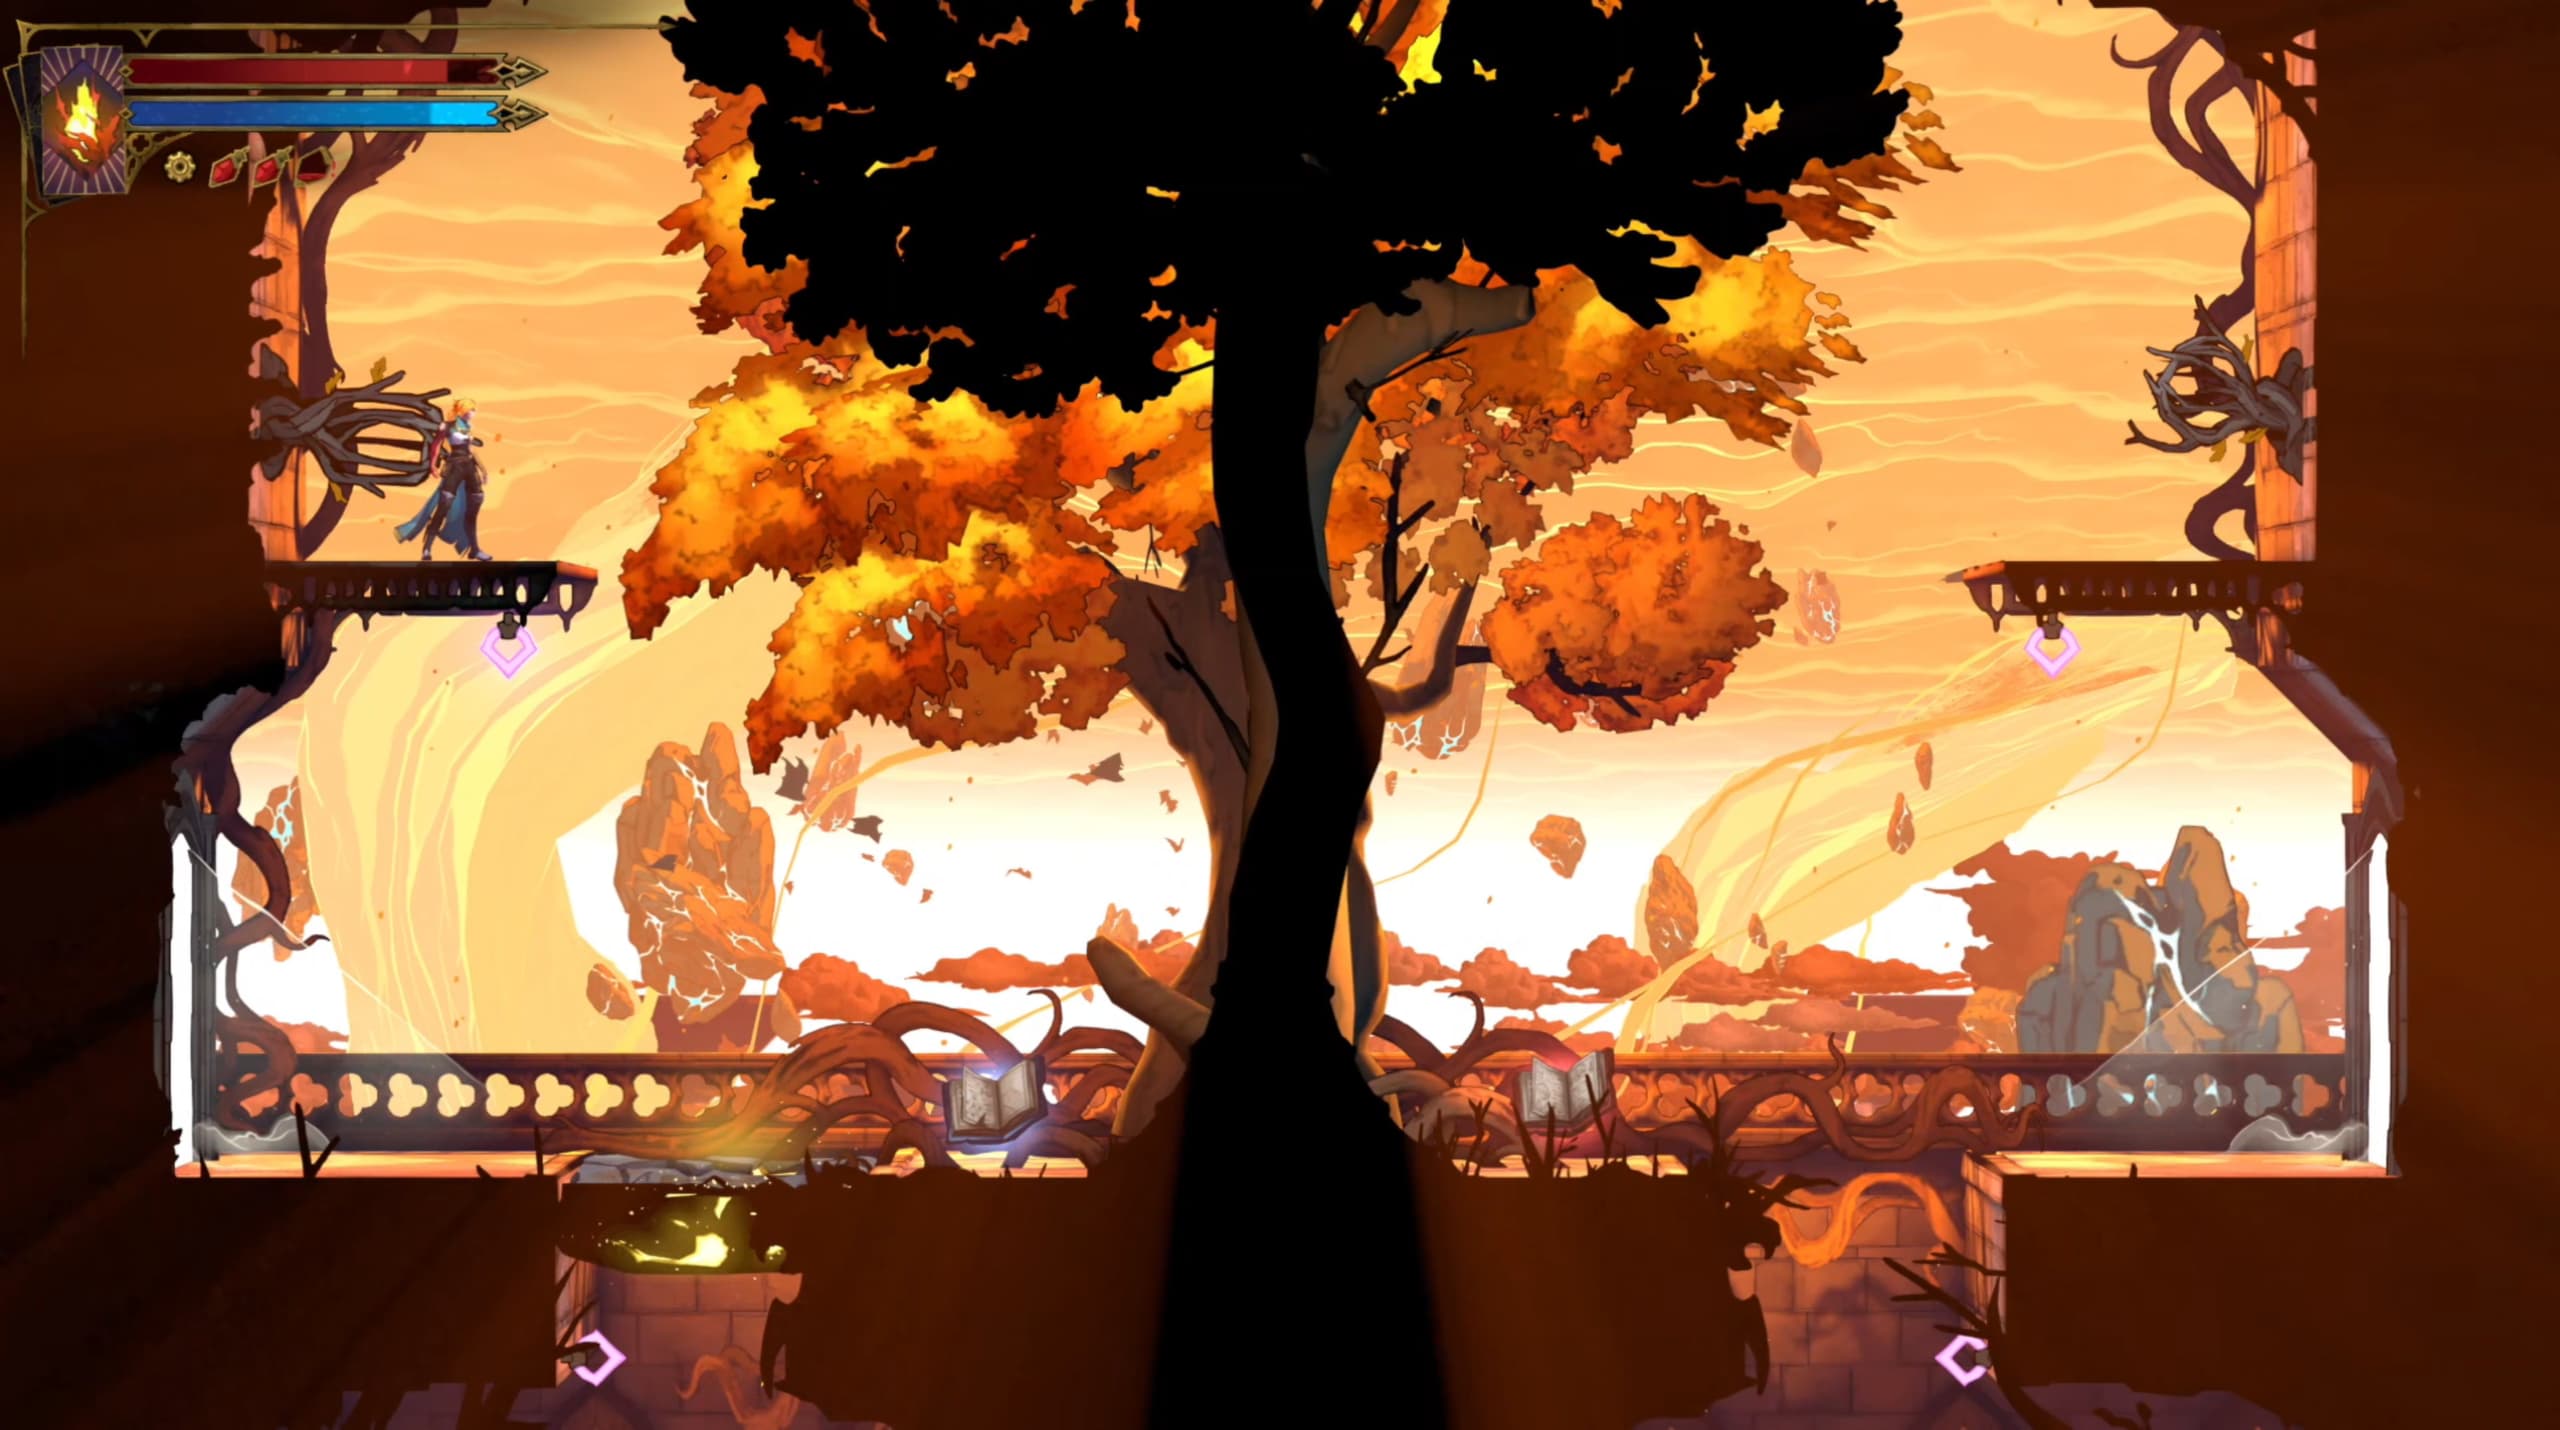
For the next 2 Heart Fragments, make your way to the pointer on the map as shown below, you will need to make your wall all the way up and through the section to the left of the pointer to get here, this will be the location of the right Fragment of the 2 to collect here.
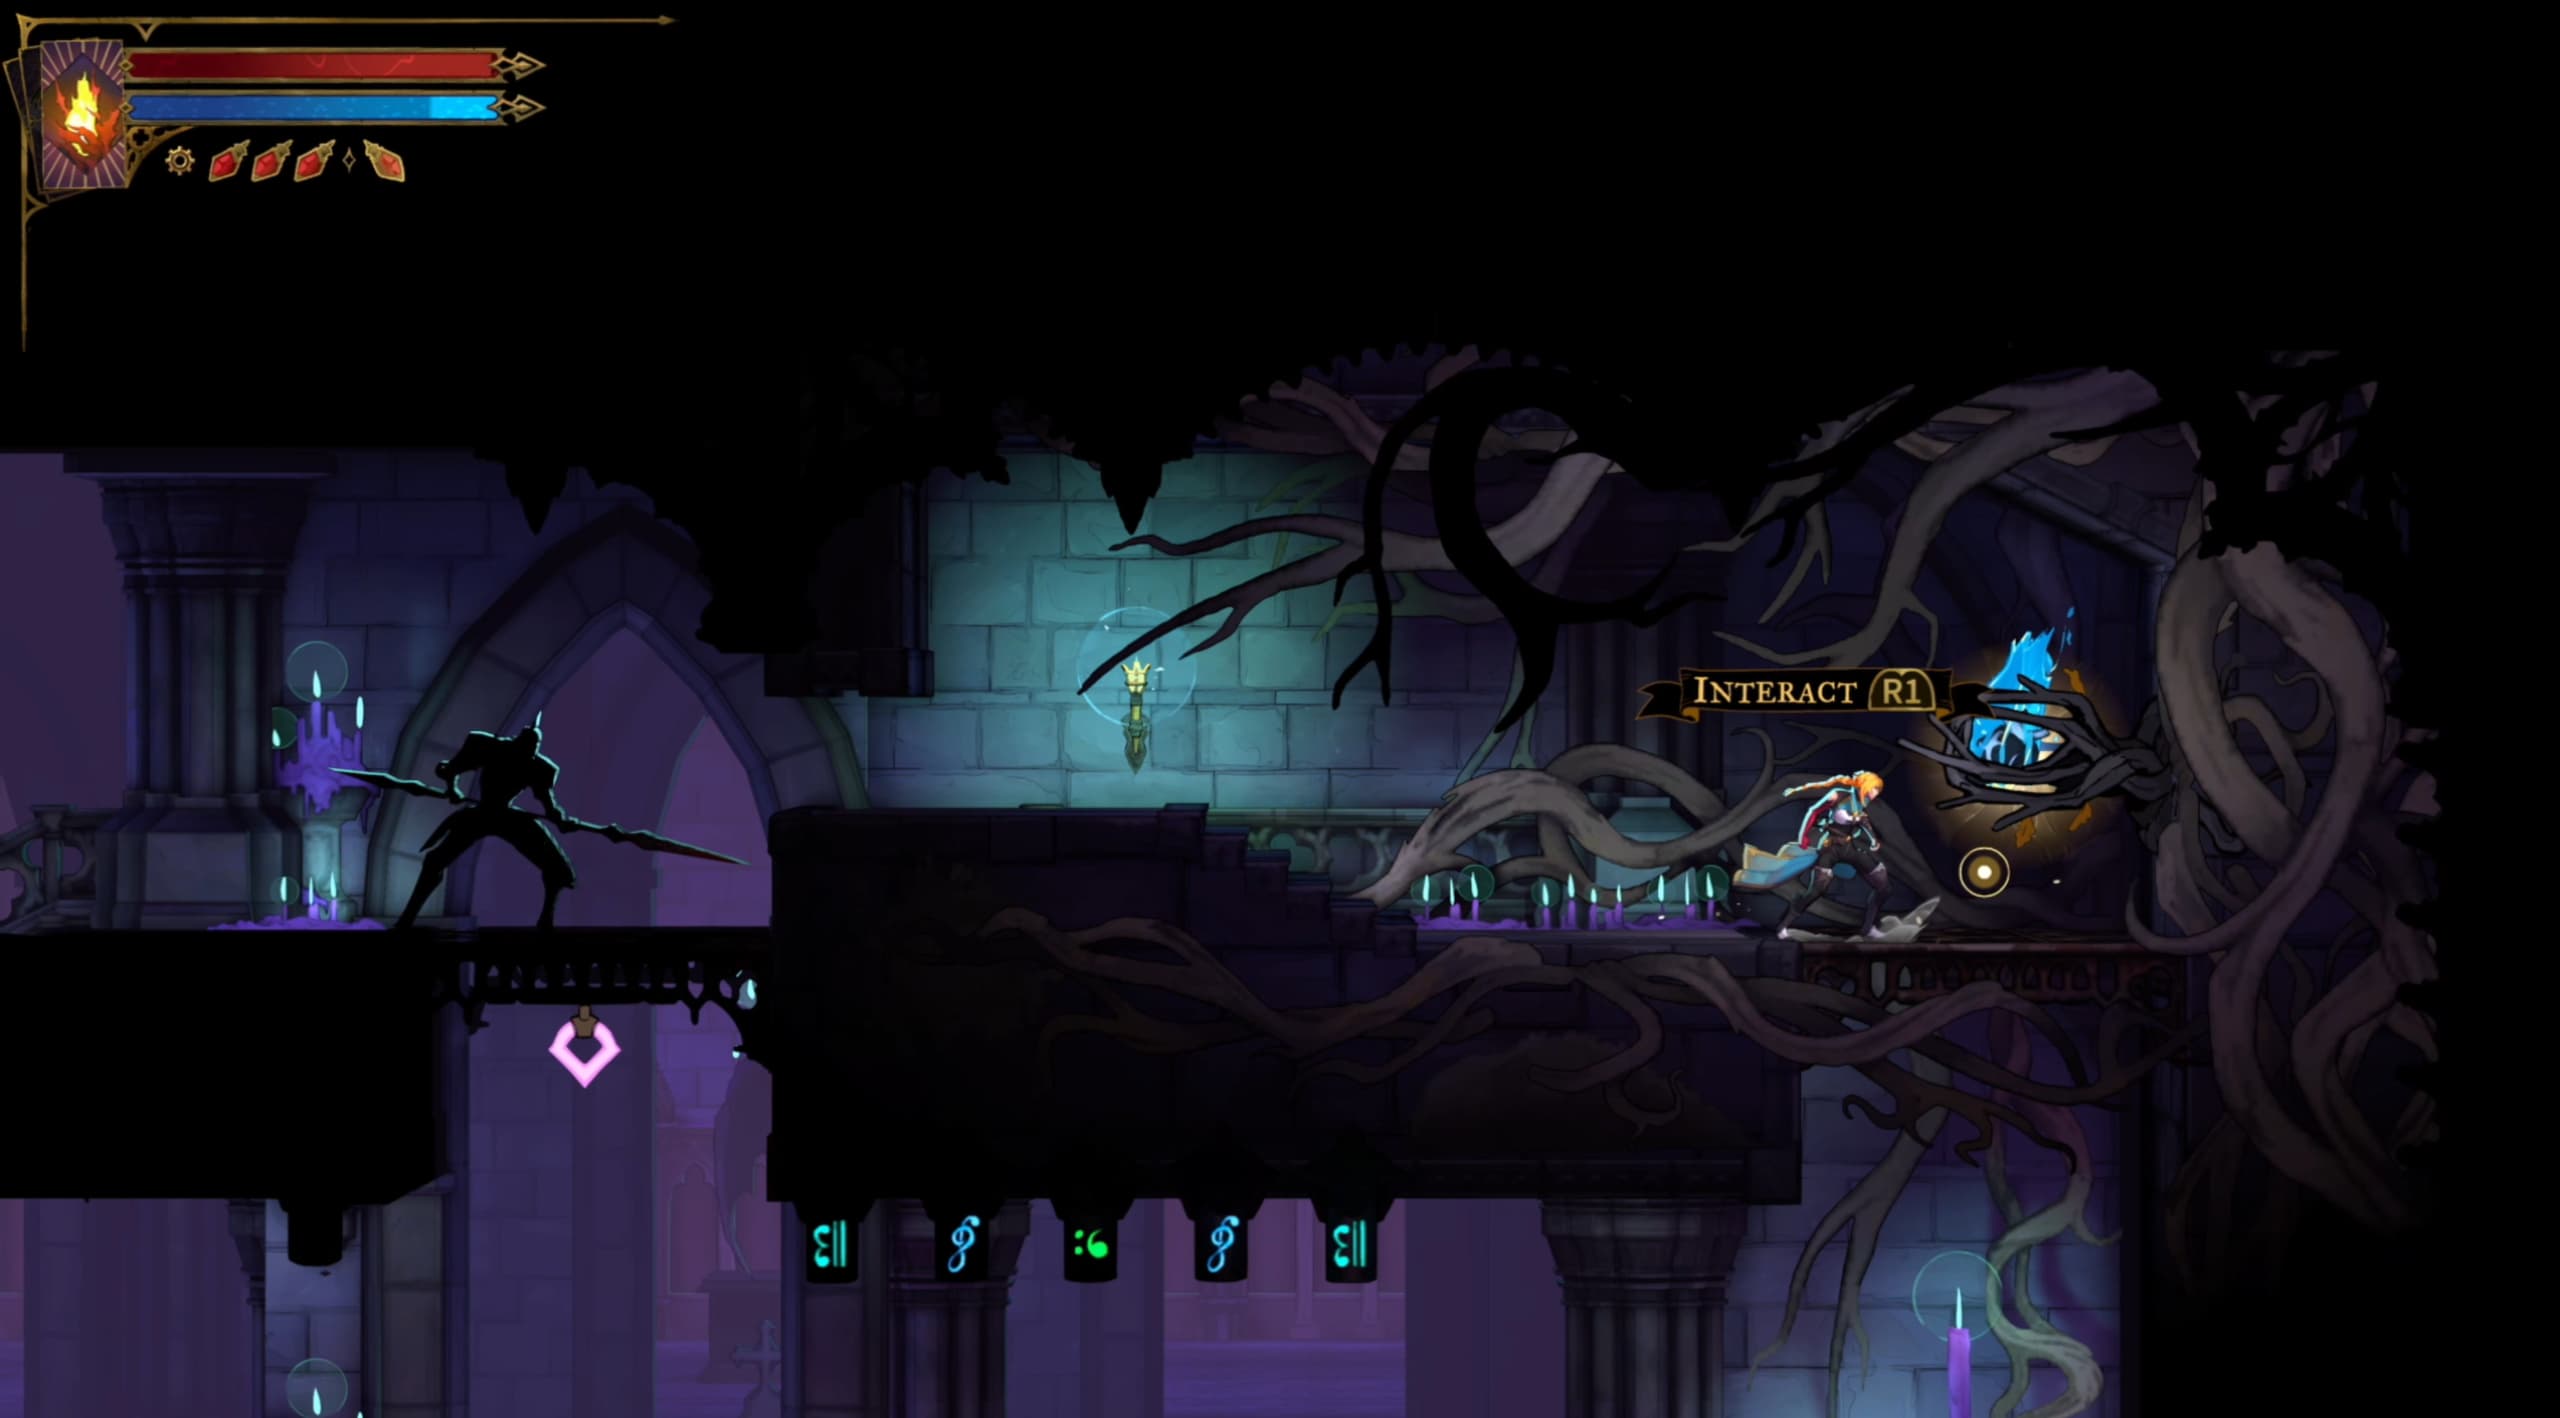
In the main room, you will see the blue Fragment on the left, I will explain how to get to this one in a moment.
To access the left blue Fragment, use your Smash ability to drop down below where the red Fragment was located, then head to the right and down, to then make it to the left and up and round to make it out to the blue Fragment.
For the next Heart Fragment, I will give you a few pointers on how to get there since it is one of the more ticky ones to access.
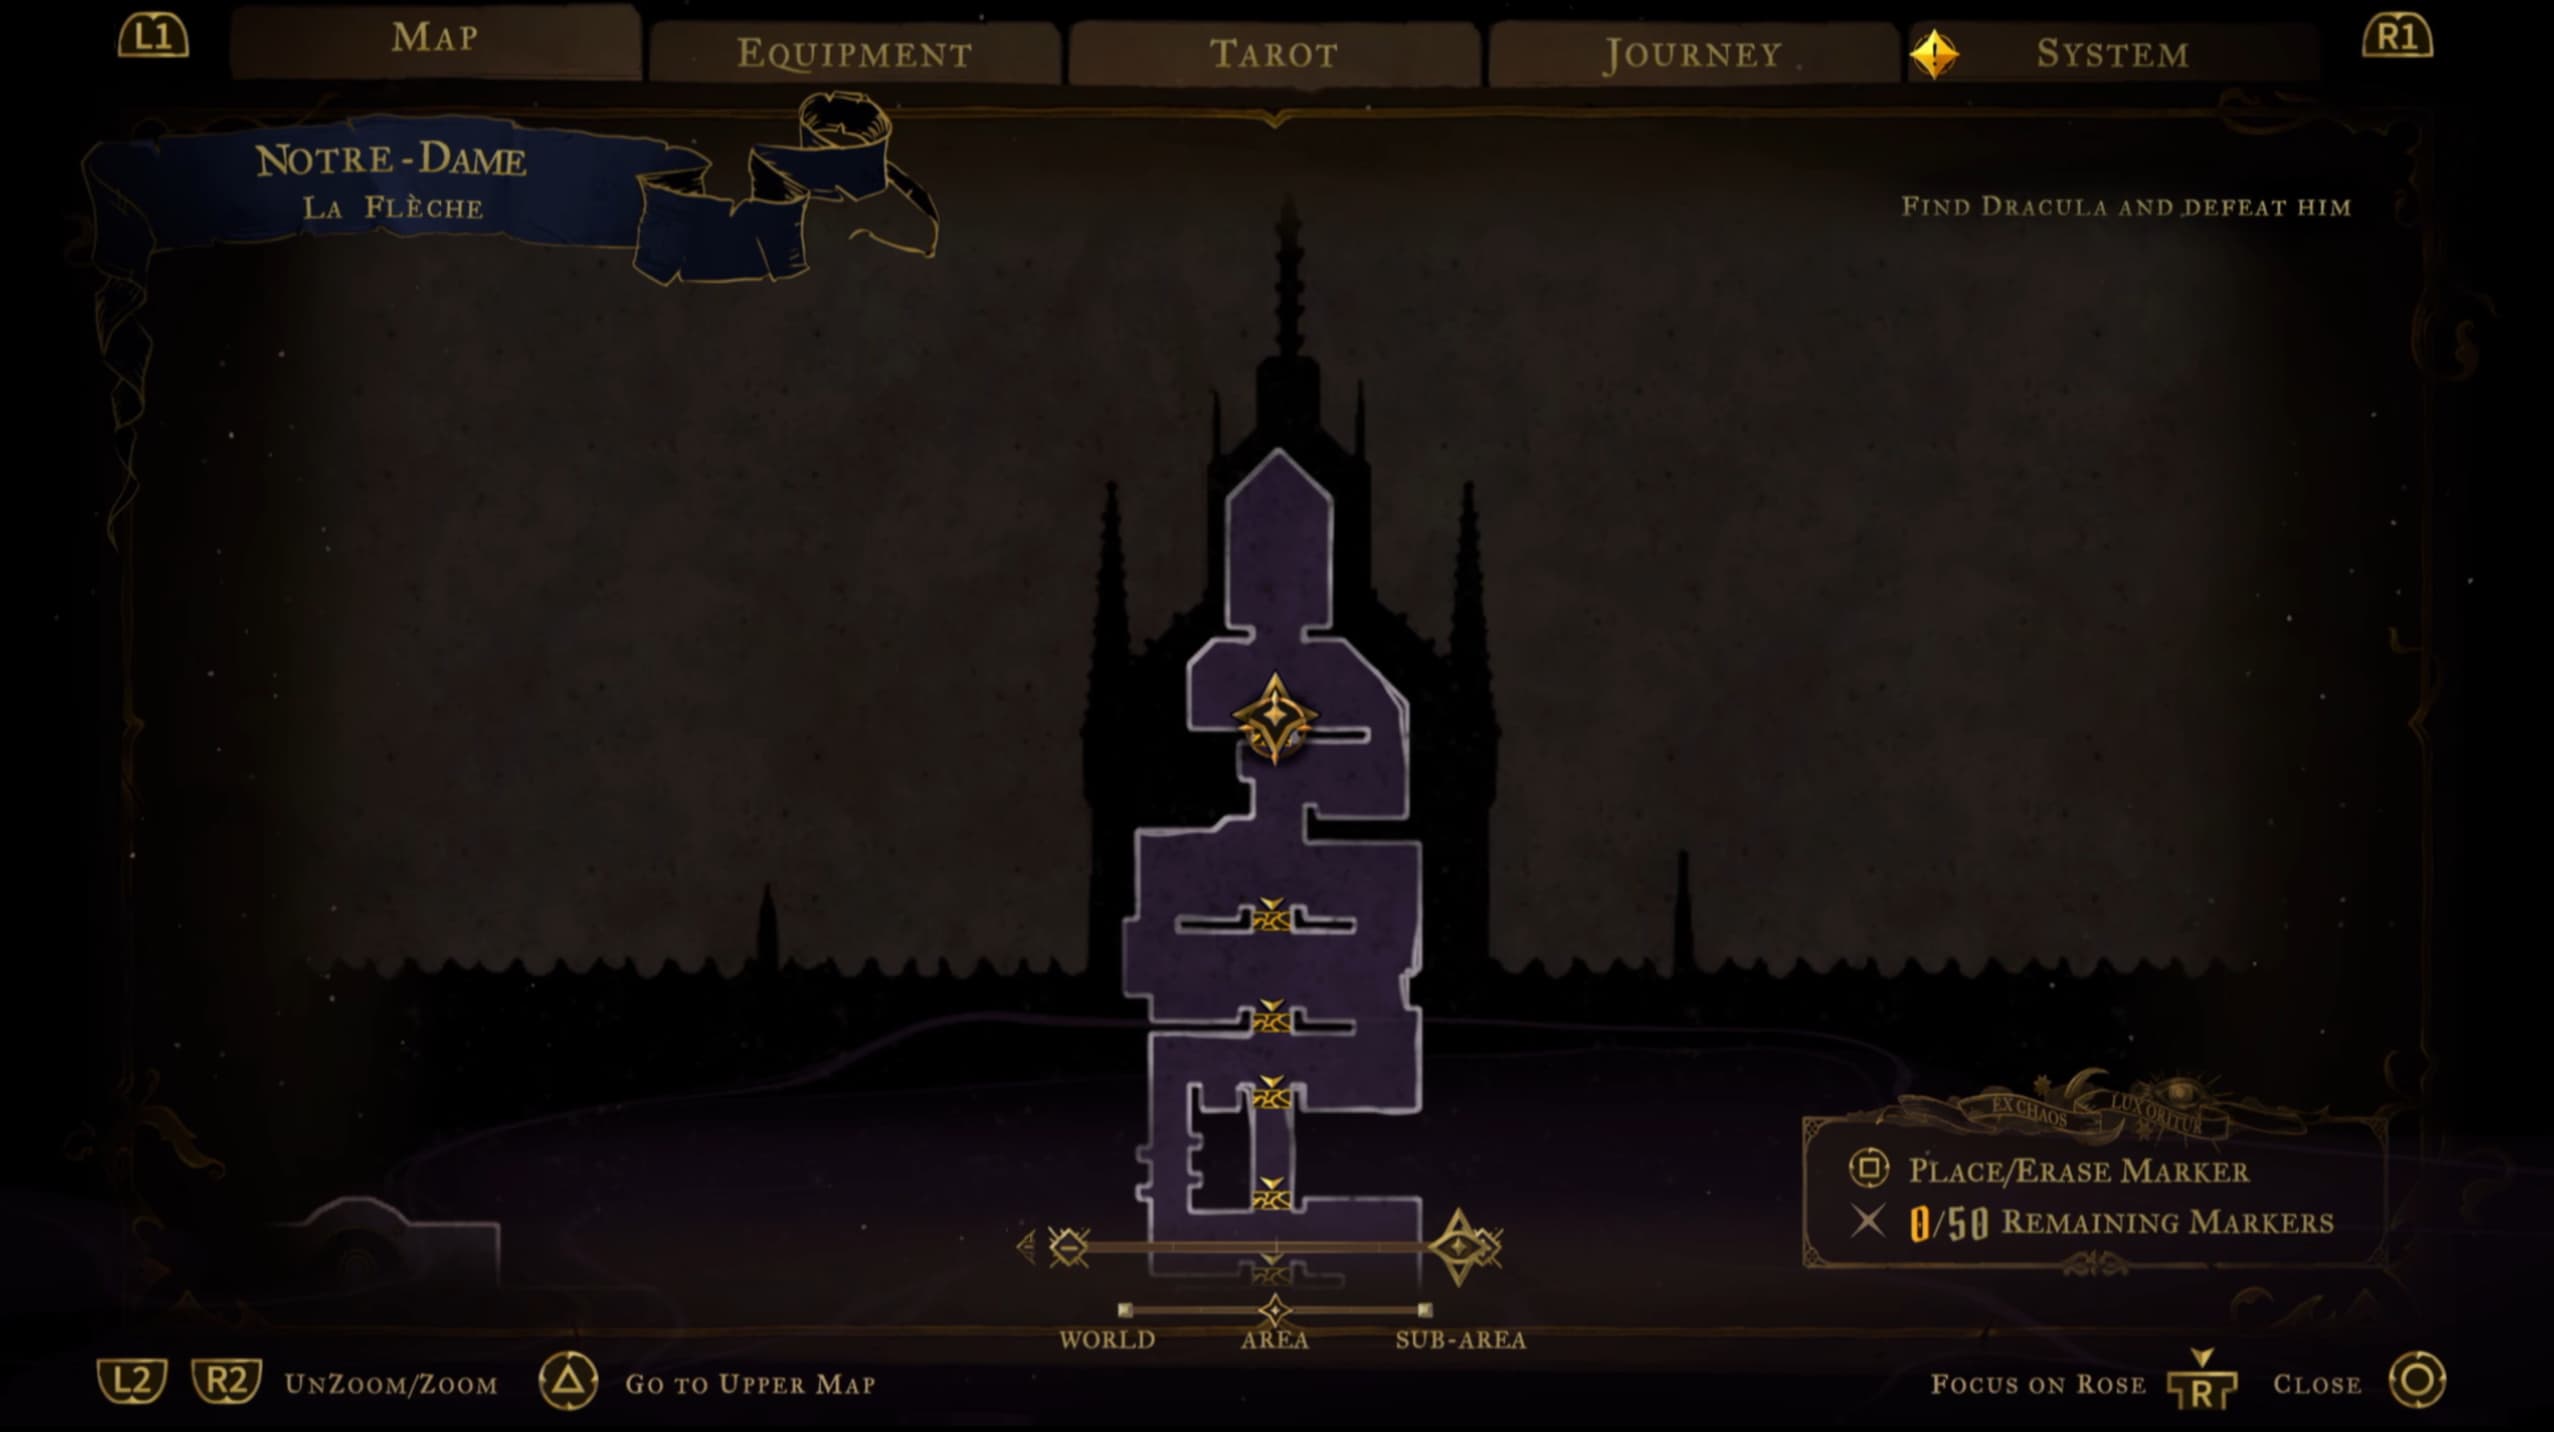
Firstly, make your way all the way to the top of the section as shown on the map below.
Now you want to use your Smash ability to slam down until you see a white glowing door on the left and a lever near it, make your way to the lever and activate it, be aware that you will be on a timer as soon as you activate the lever to make it back up to the top where the Heart Fragment is located, this might take you a number of goes to get right.
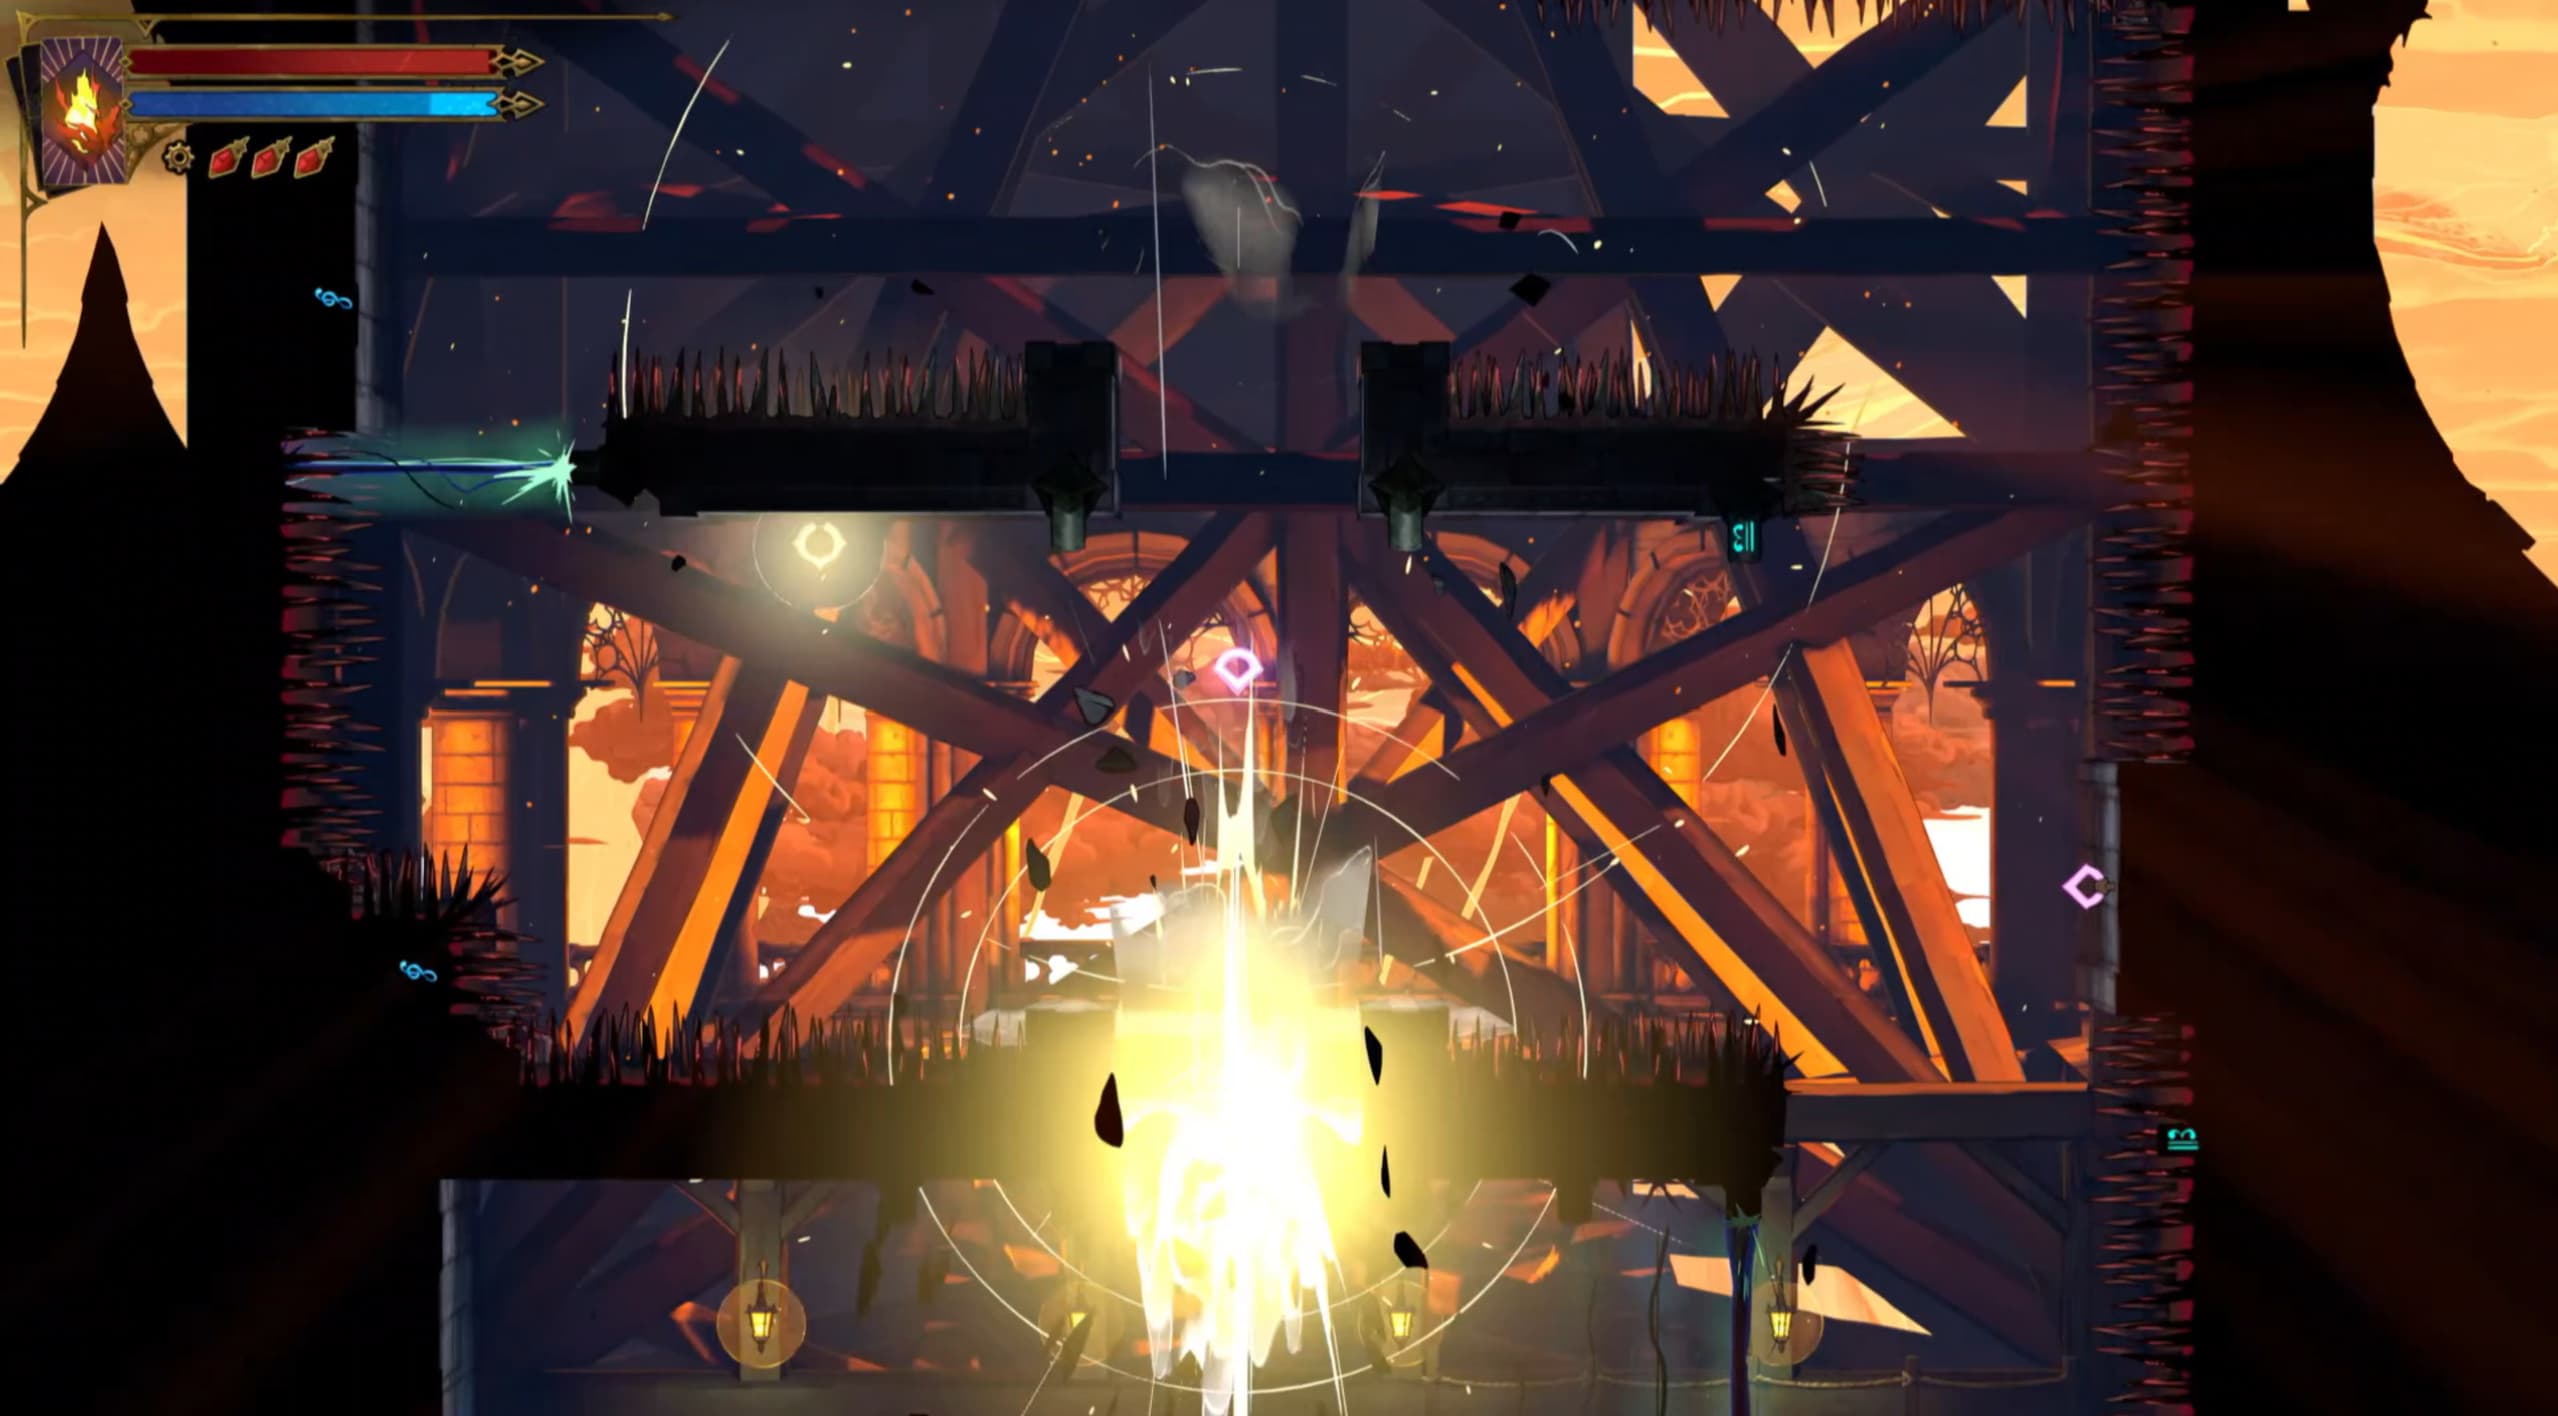
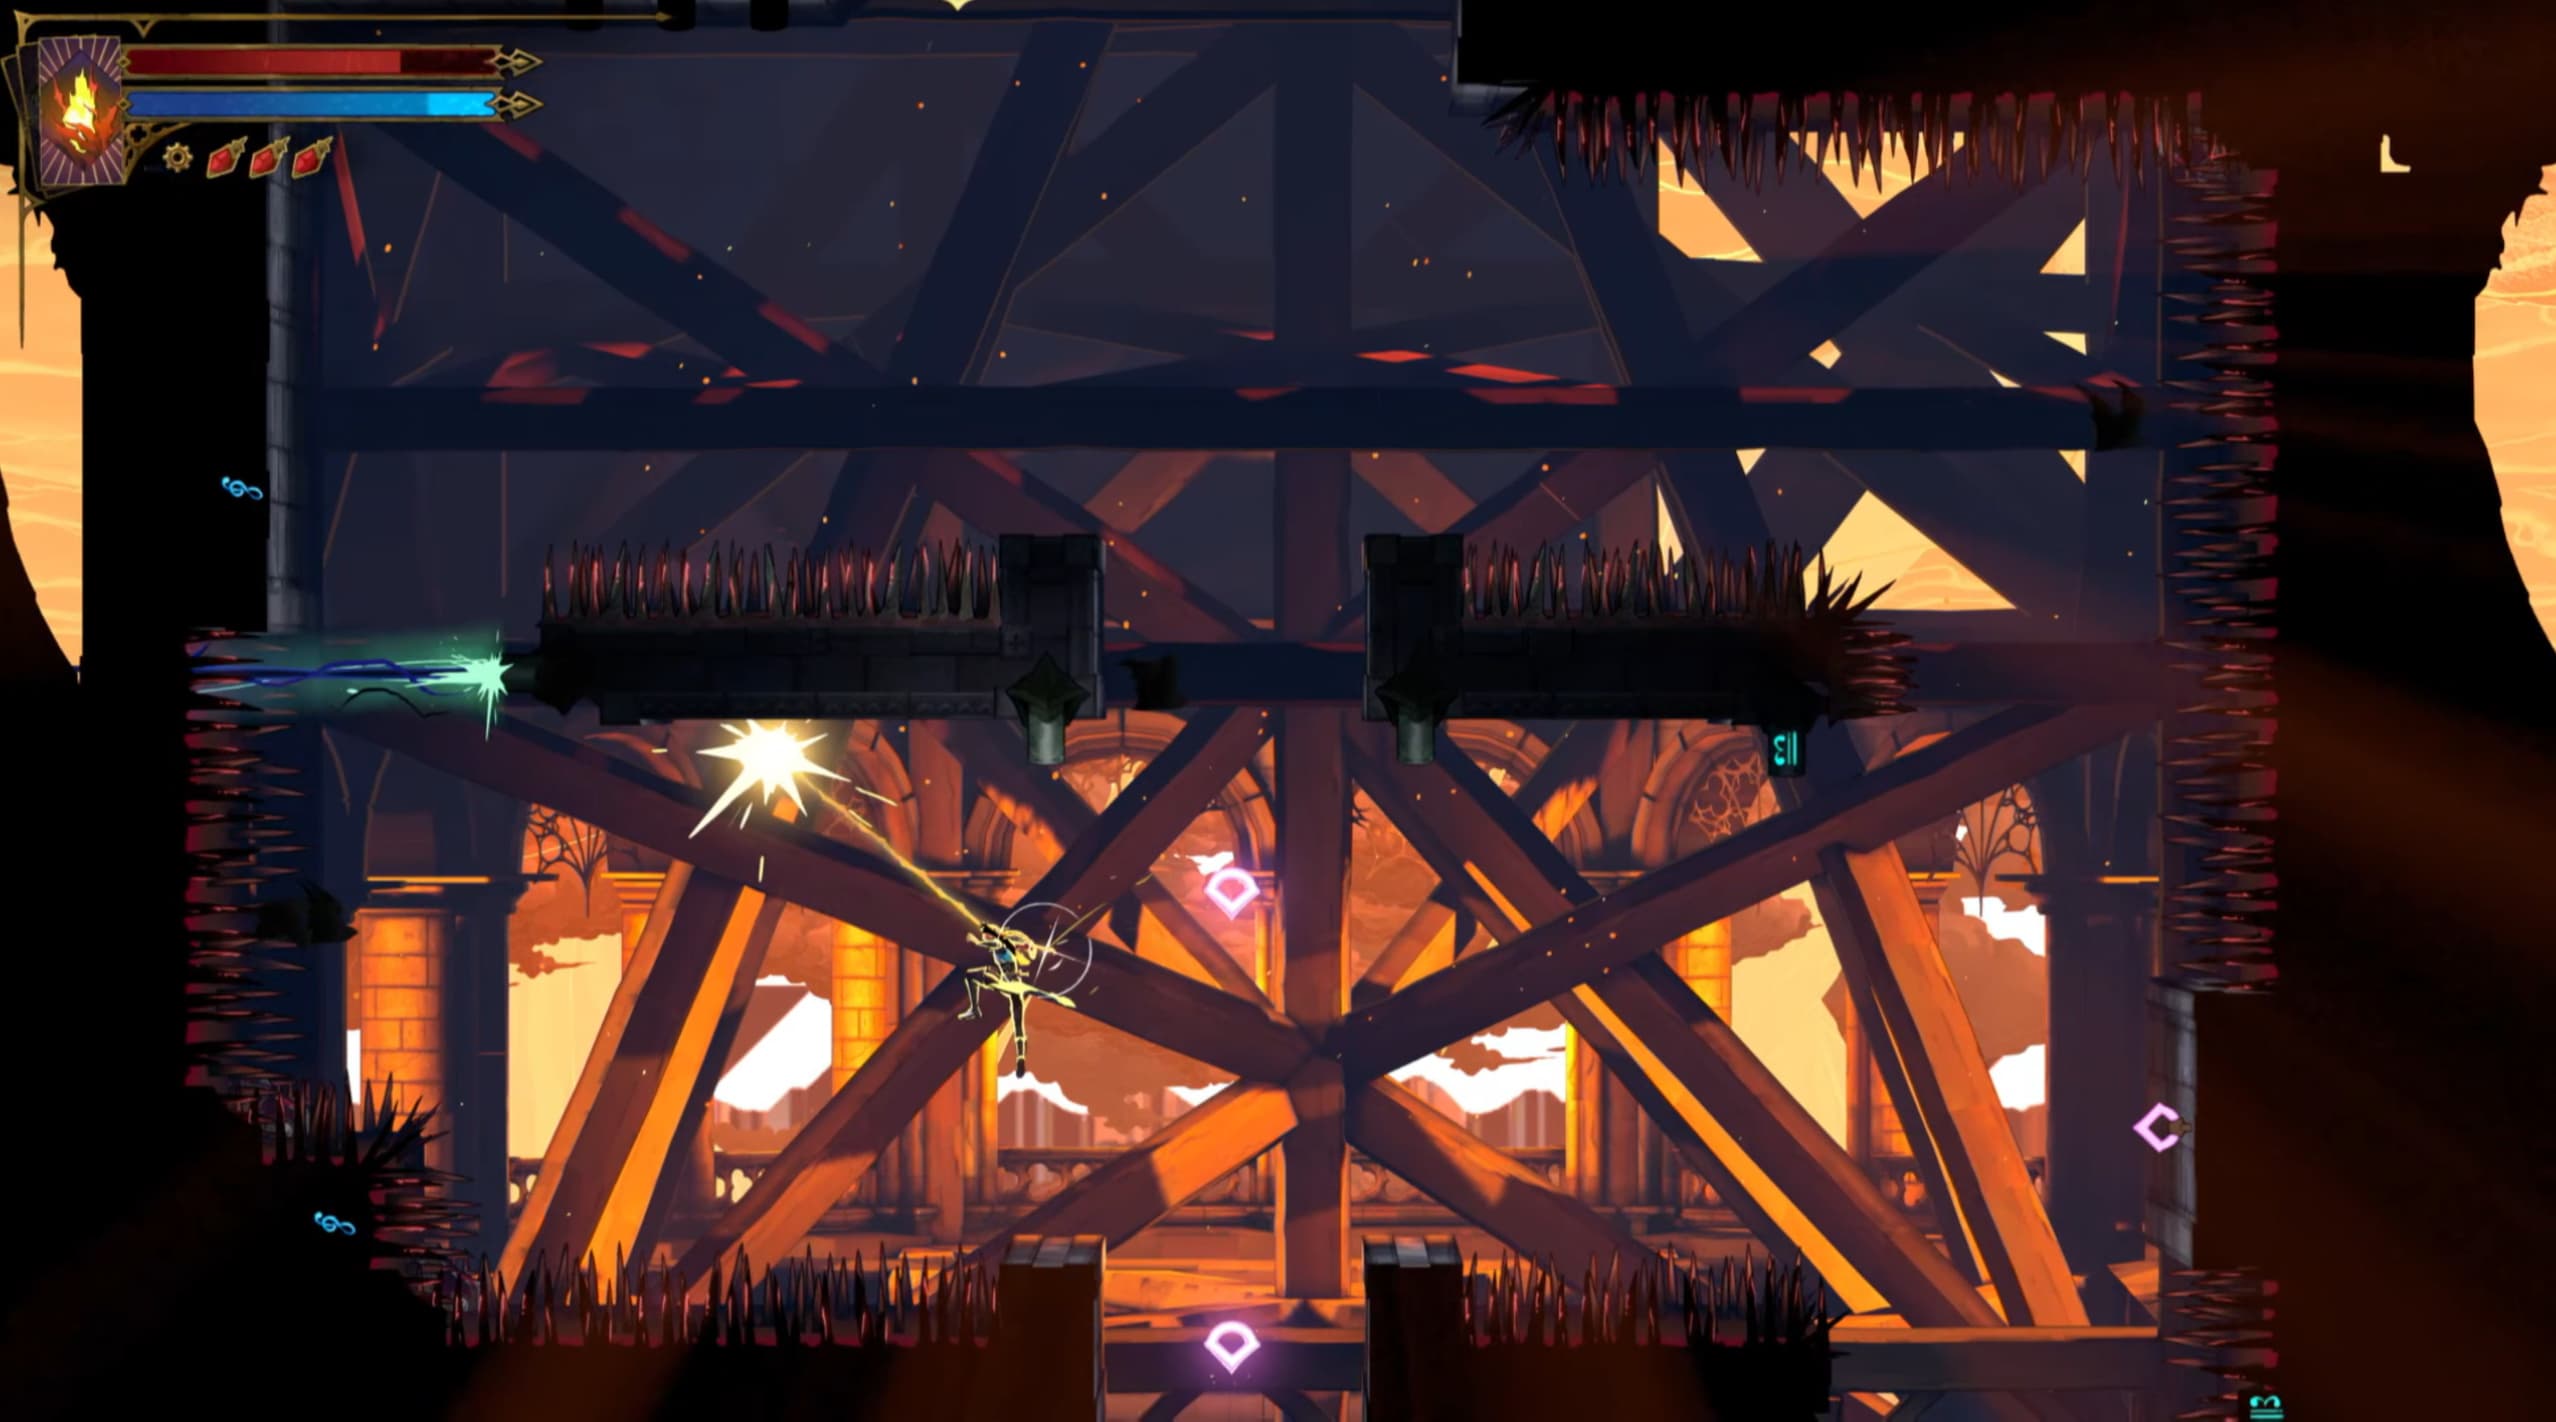
After activating the lever, you want to whip your way up to the hook on the left above you, and then time it right to swing to the right in-between the lasers.
Using the above hooks to whip your way around, take the central gap, where you Smashed down through earlier, to wall jump up. By doing this you will save time making it to the top, where if you didn't Smash through, you would lose time here.
Using the following 2 whips up, after the second one, time it right to use the hook on the left to swing through.
Timing it right again in-between the lasers, you can latch onto the wall if needed, swing up and to the right again to make it to the next wall jump section.
Finally, timing it right again, use your whip to swing to the right and to the safe platform, have a breather here if needed, then use the final 2 hooks to whip up to the very top where the Heart Fragment is located.
For the final Fragment in this area, make your way to the door shown on the right in the map below. This will take you to a small corridor to take the door on the left.
Out of this door to the right is the final Fragment for Notre-Dame.
Clock Tower
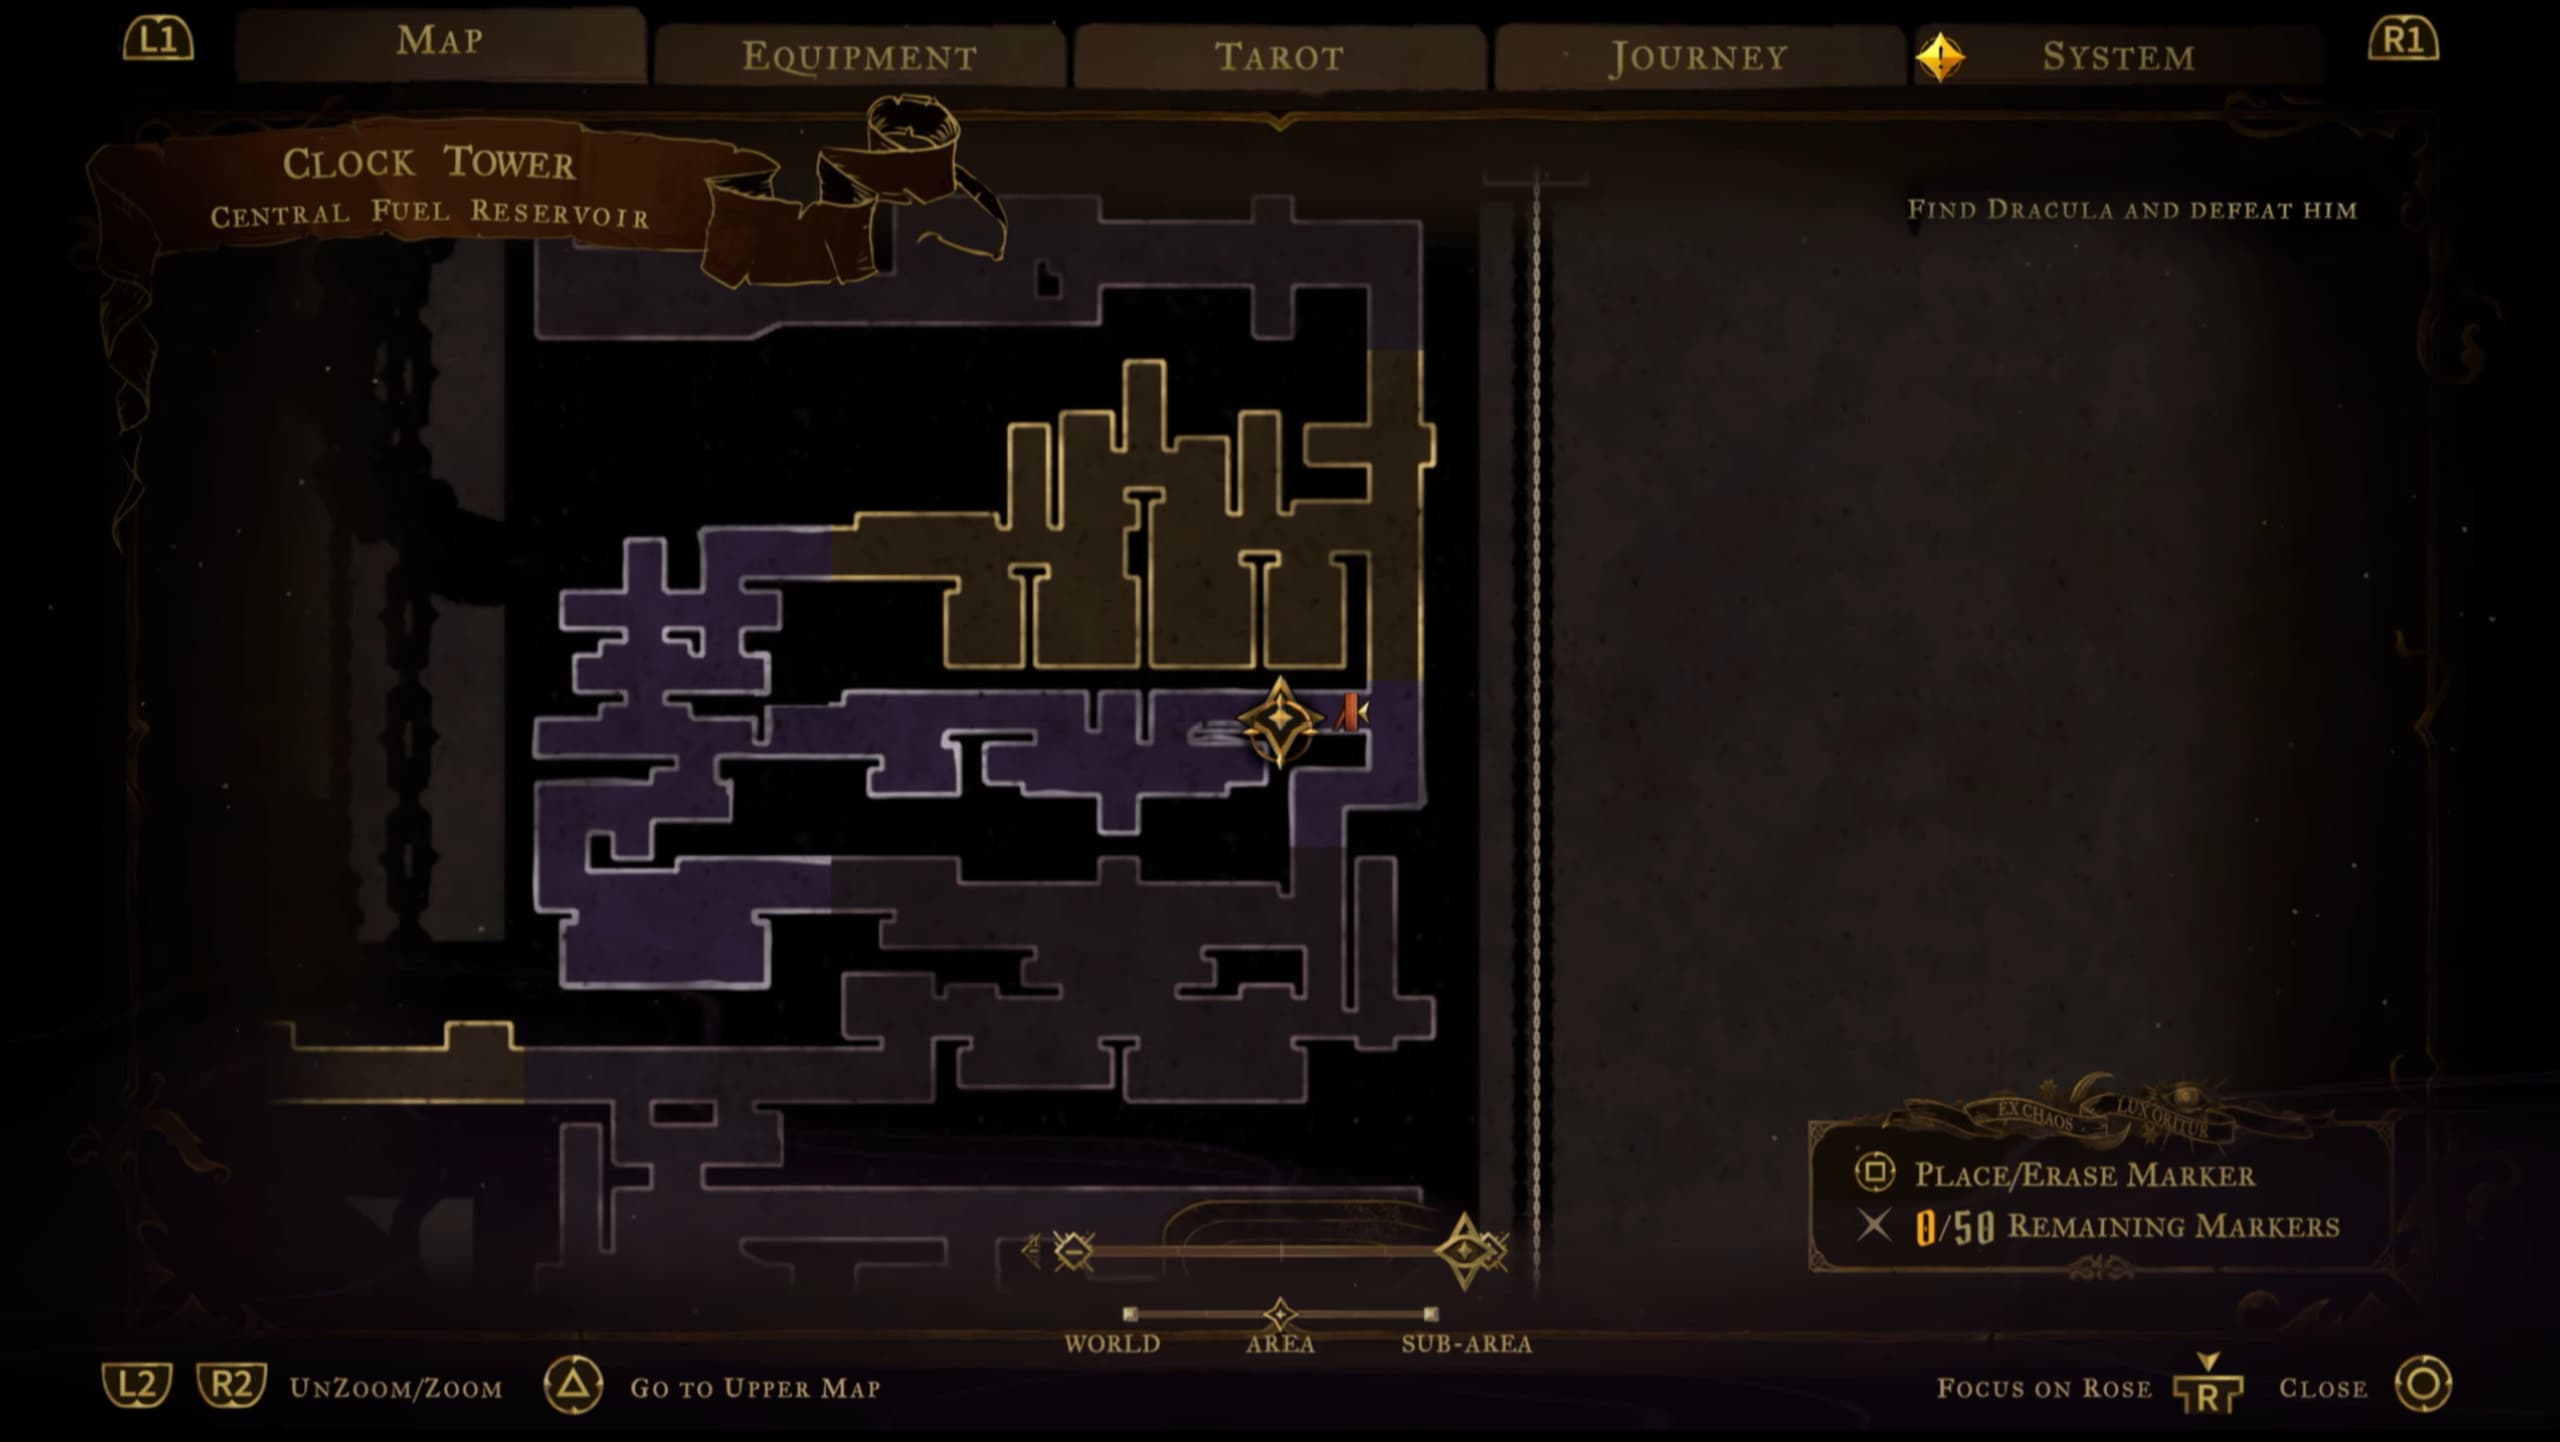
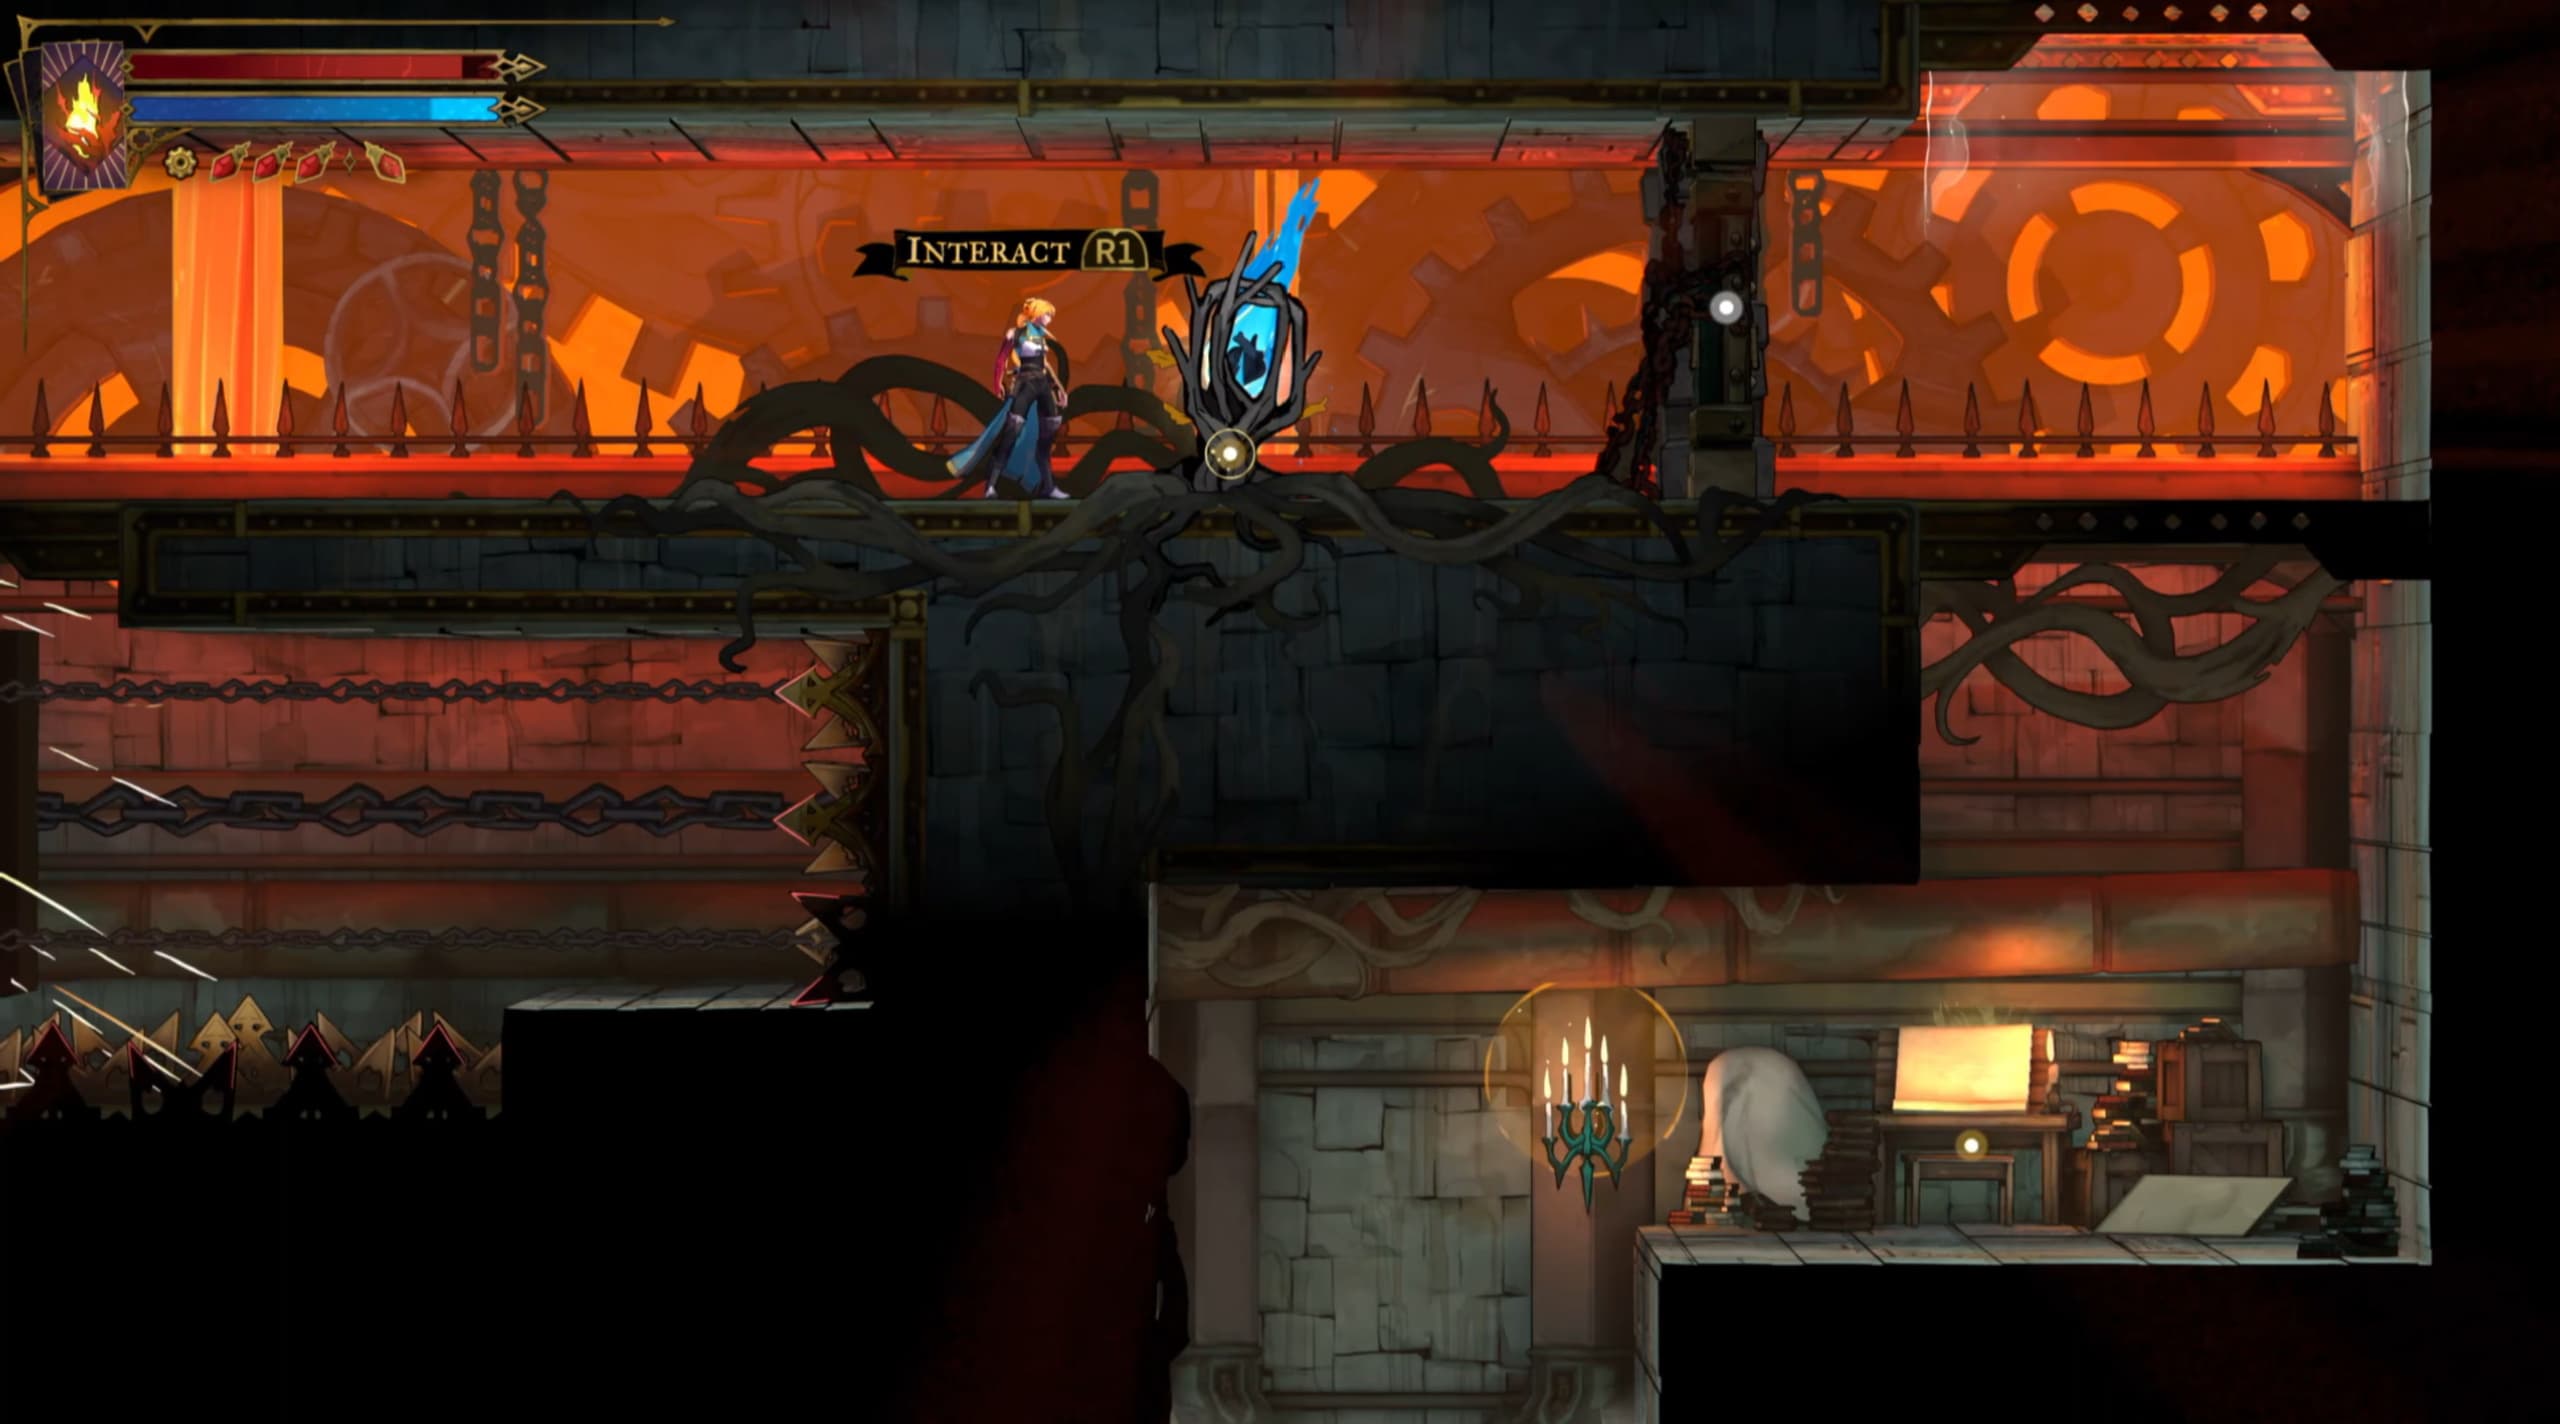
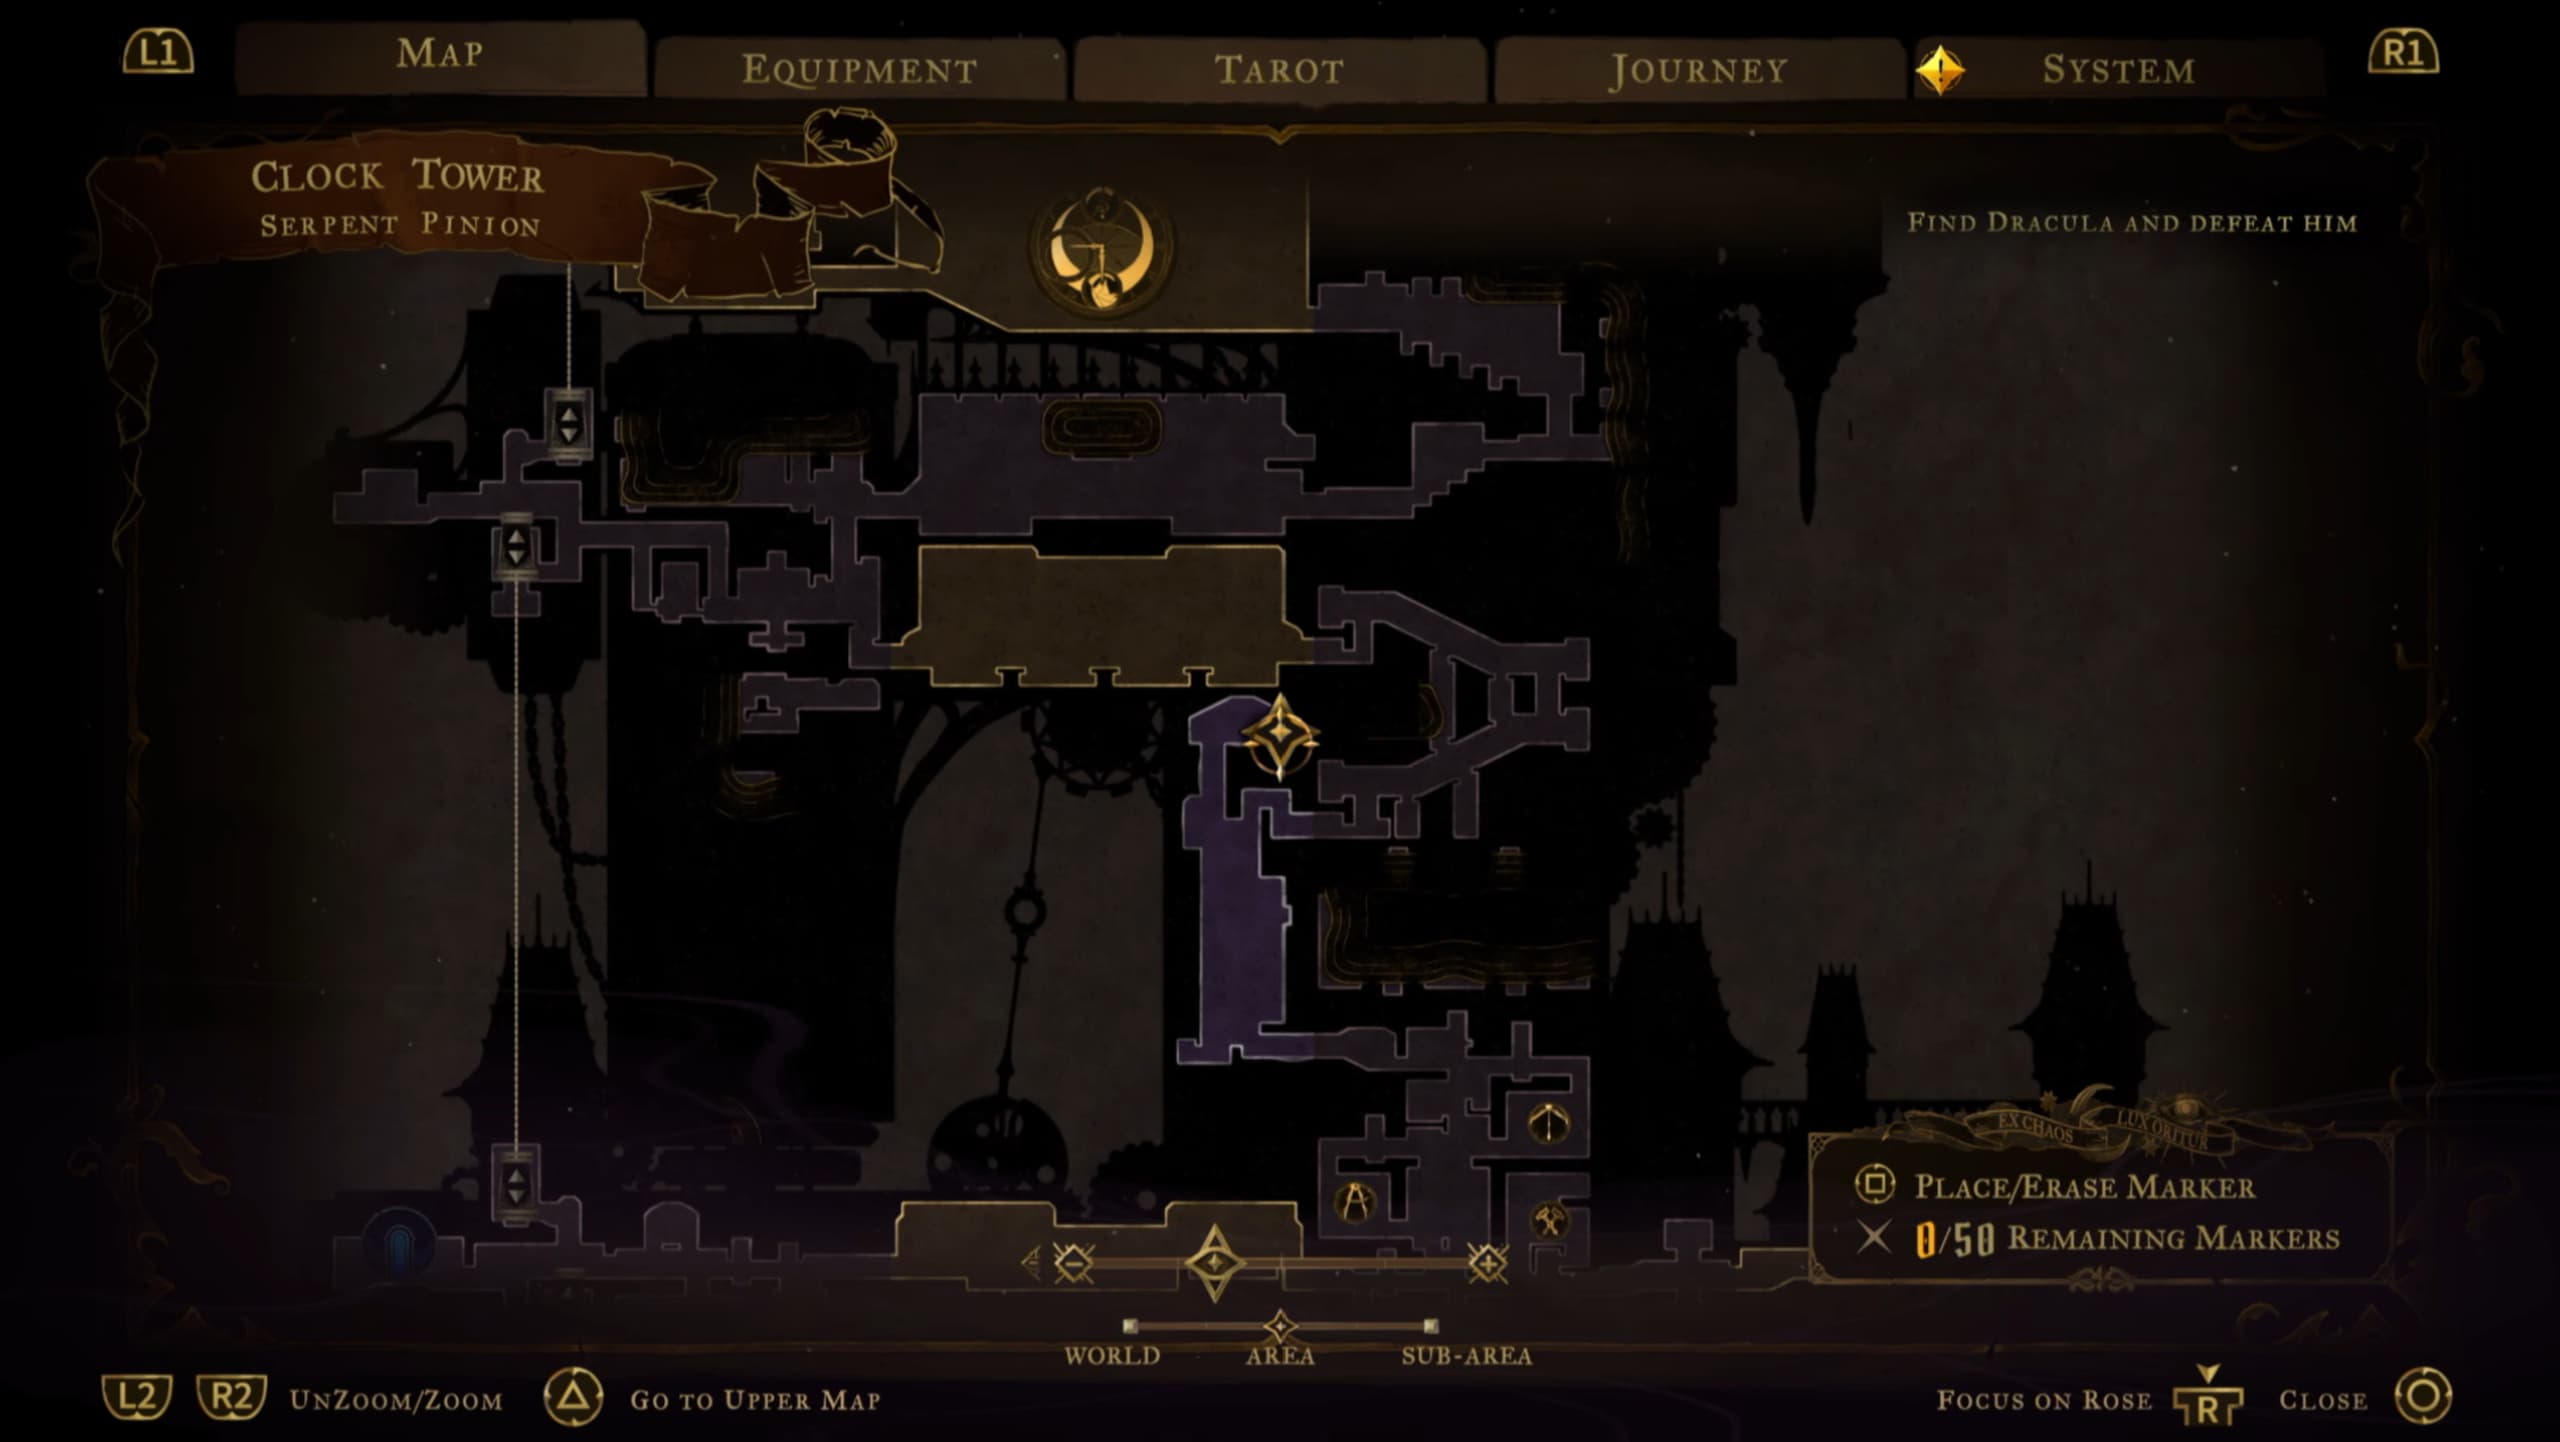
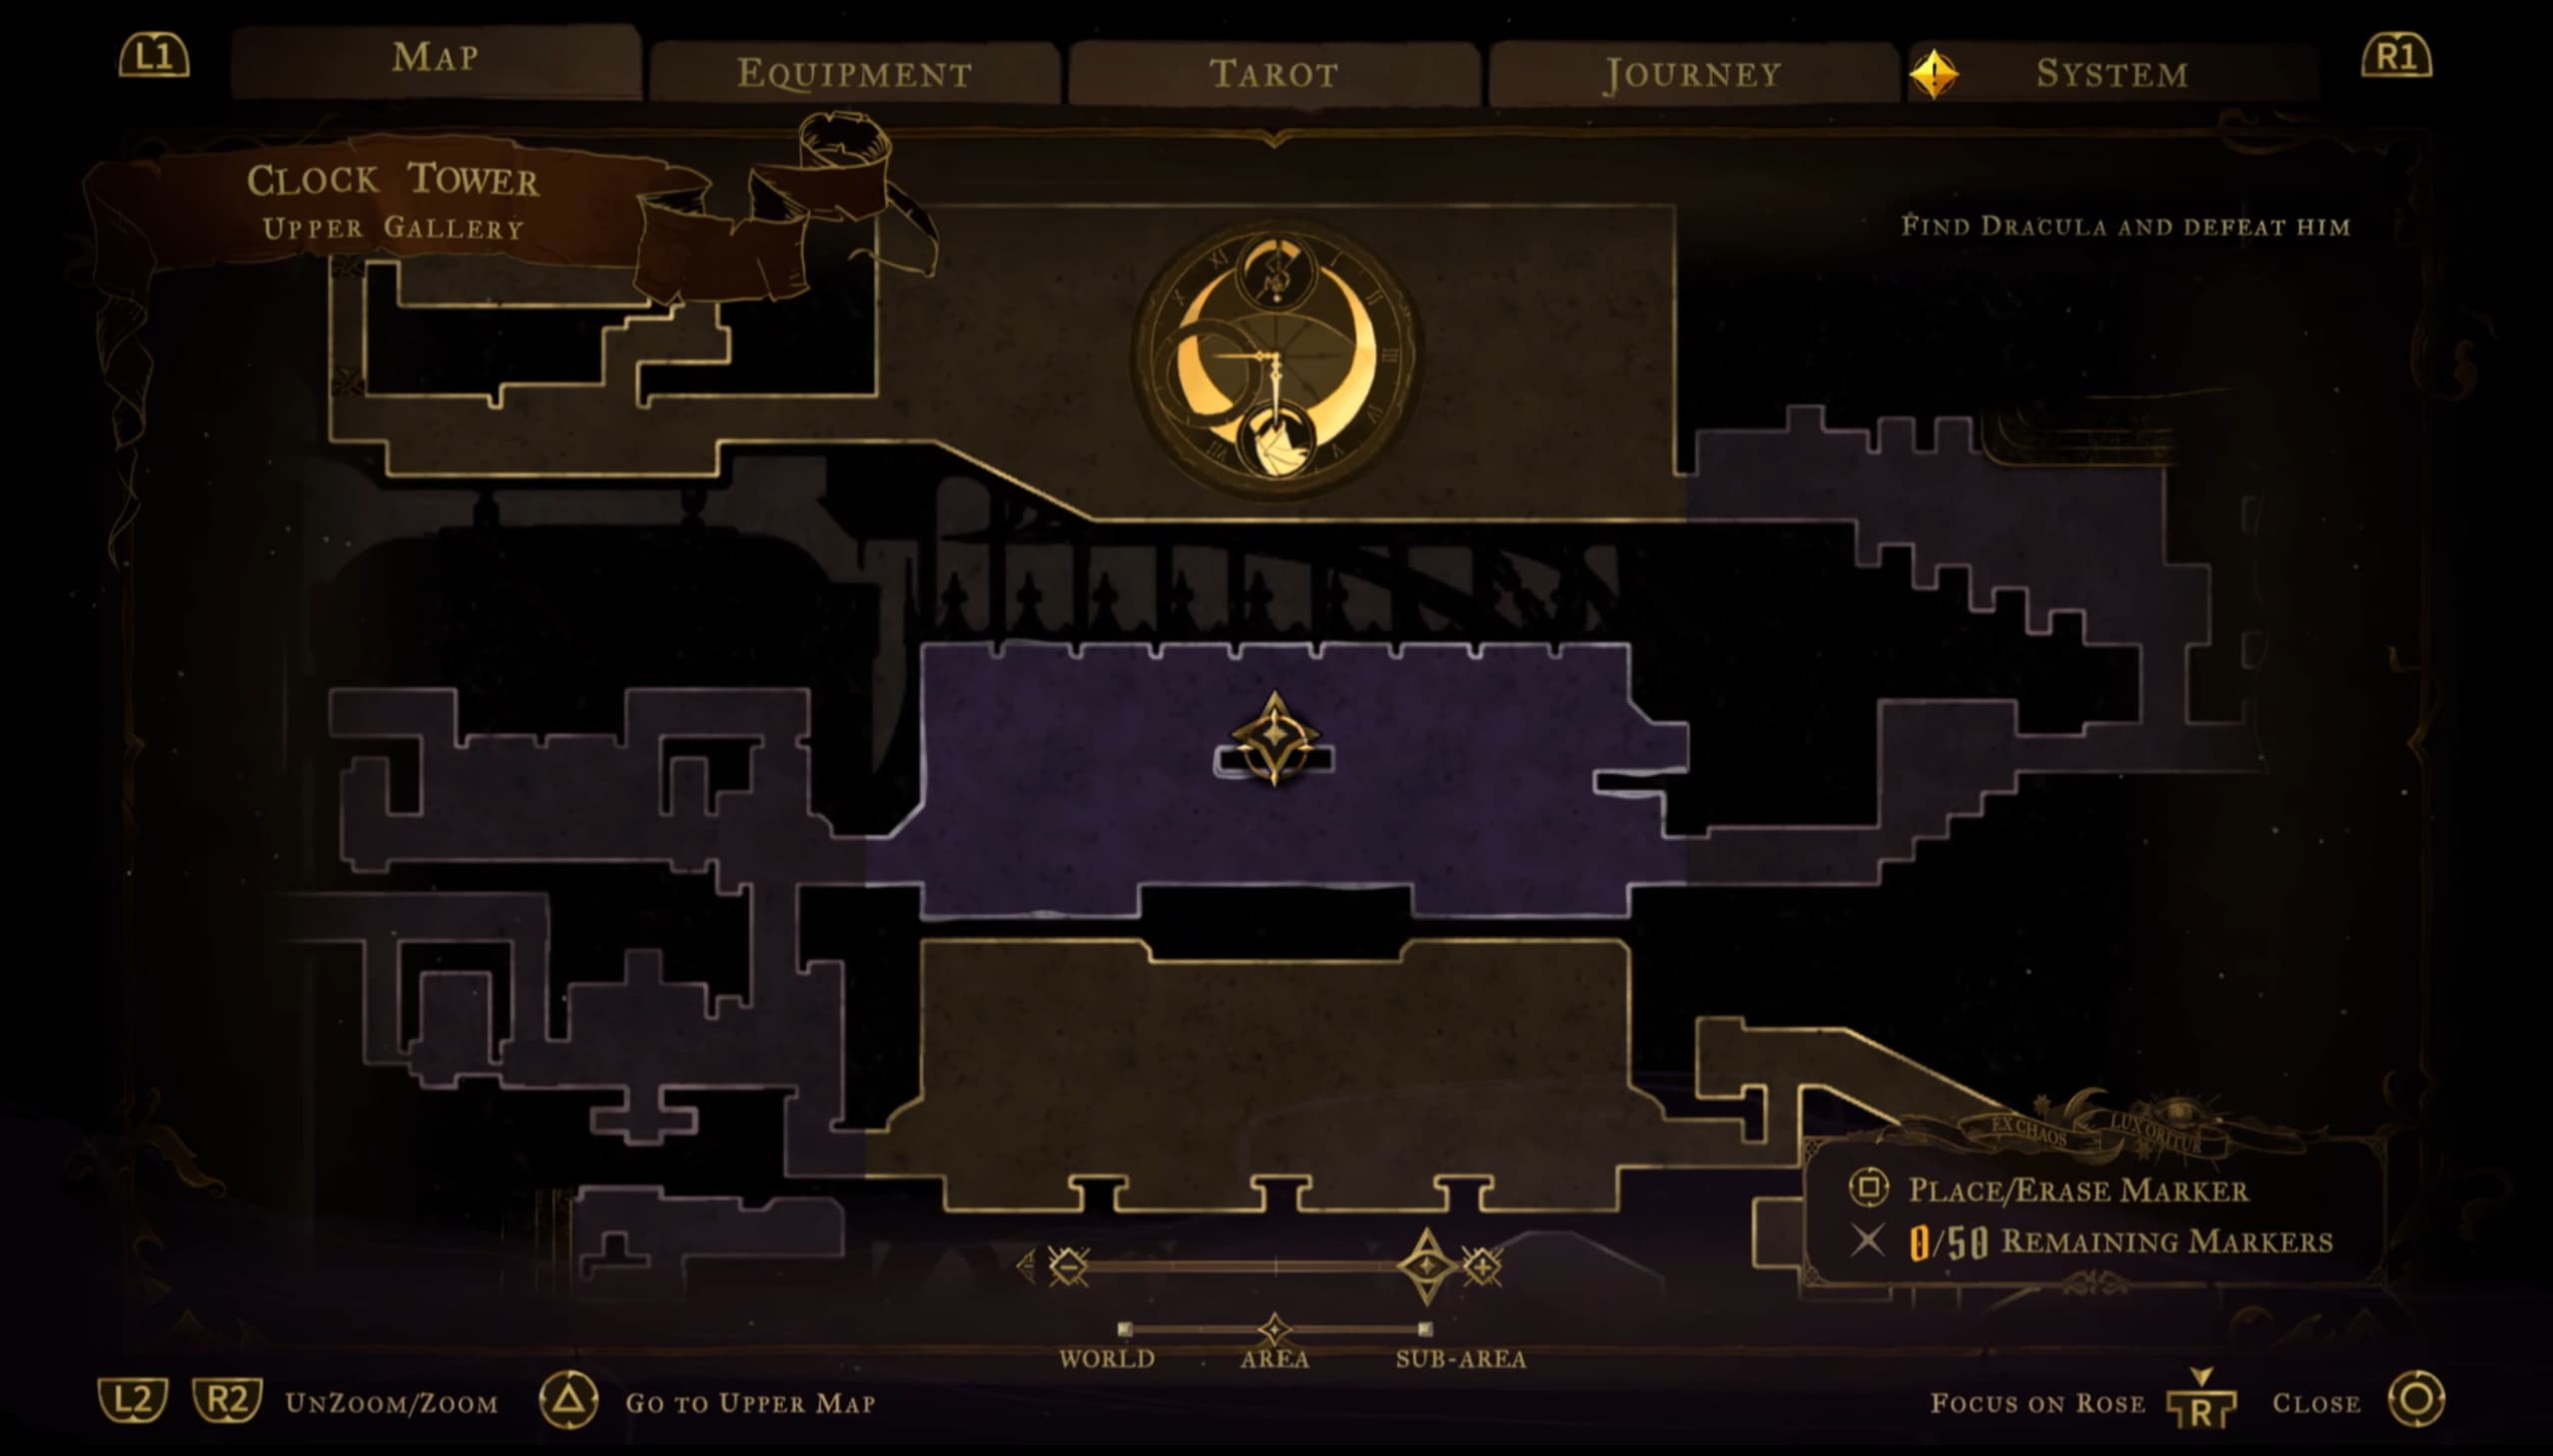
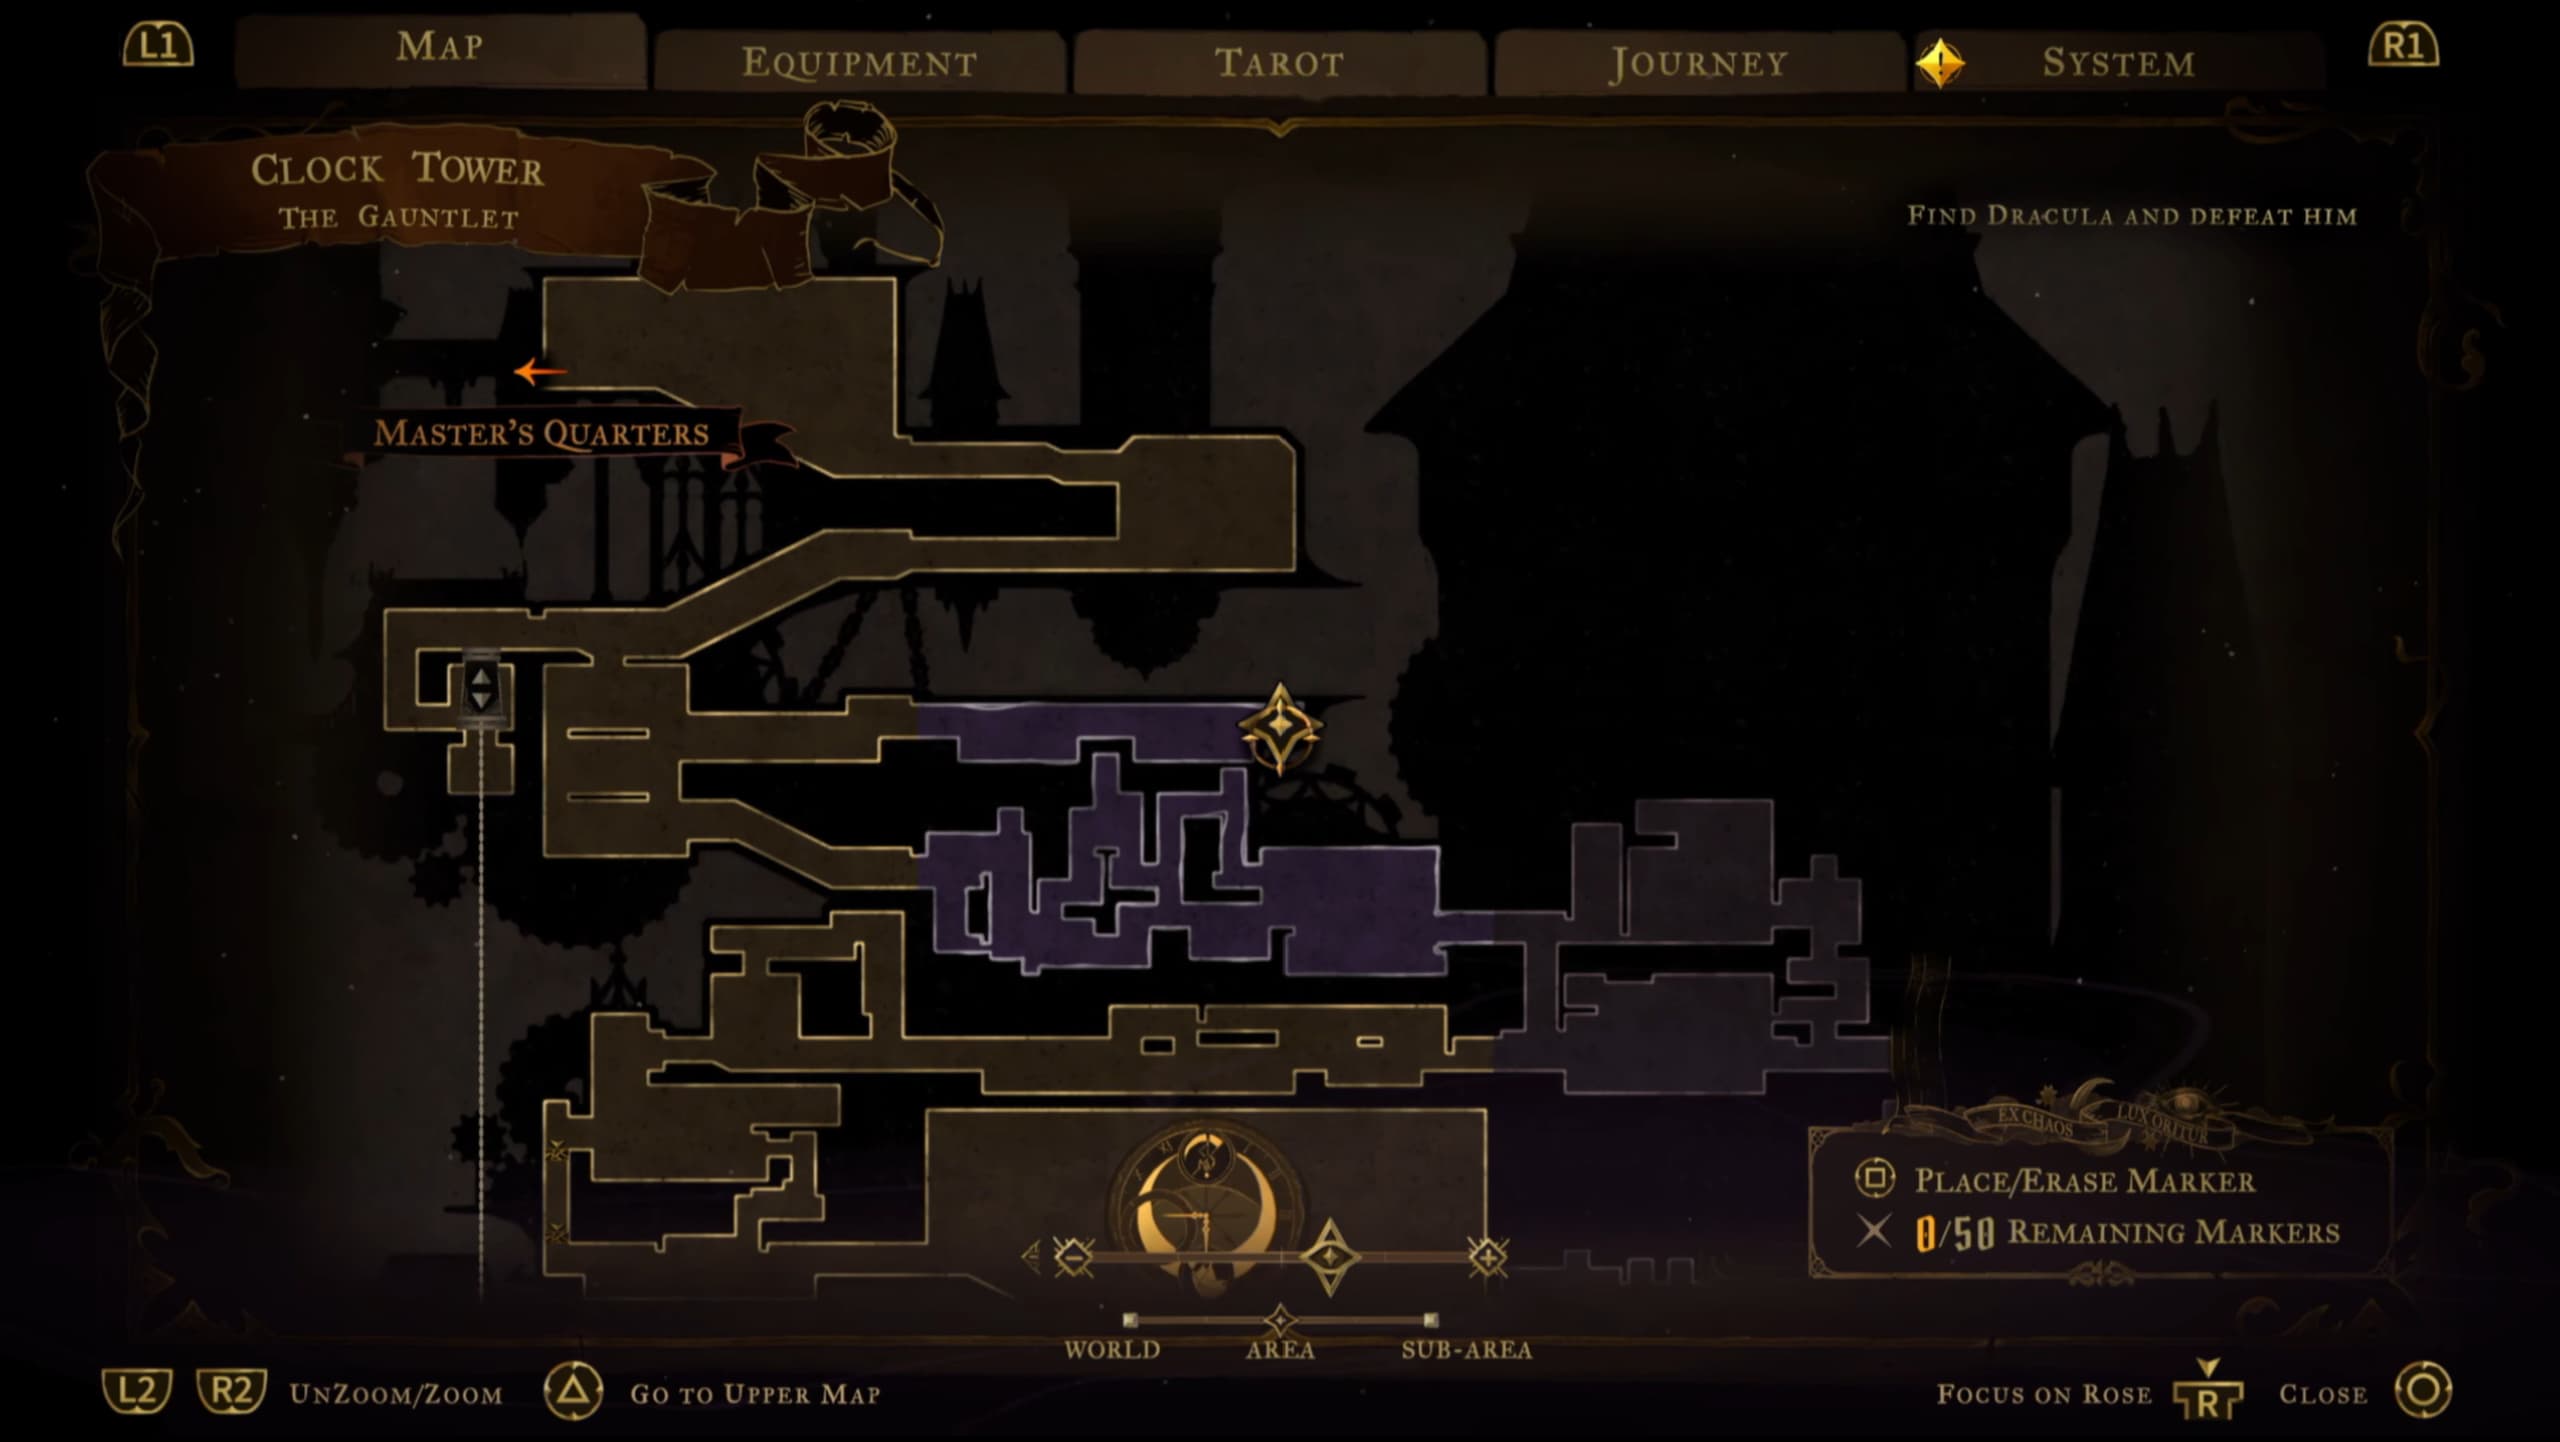
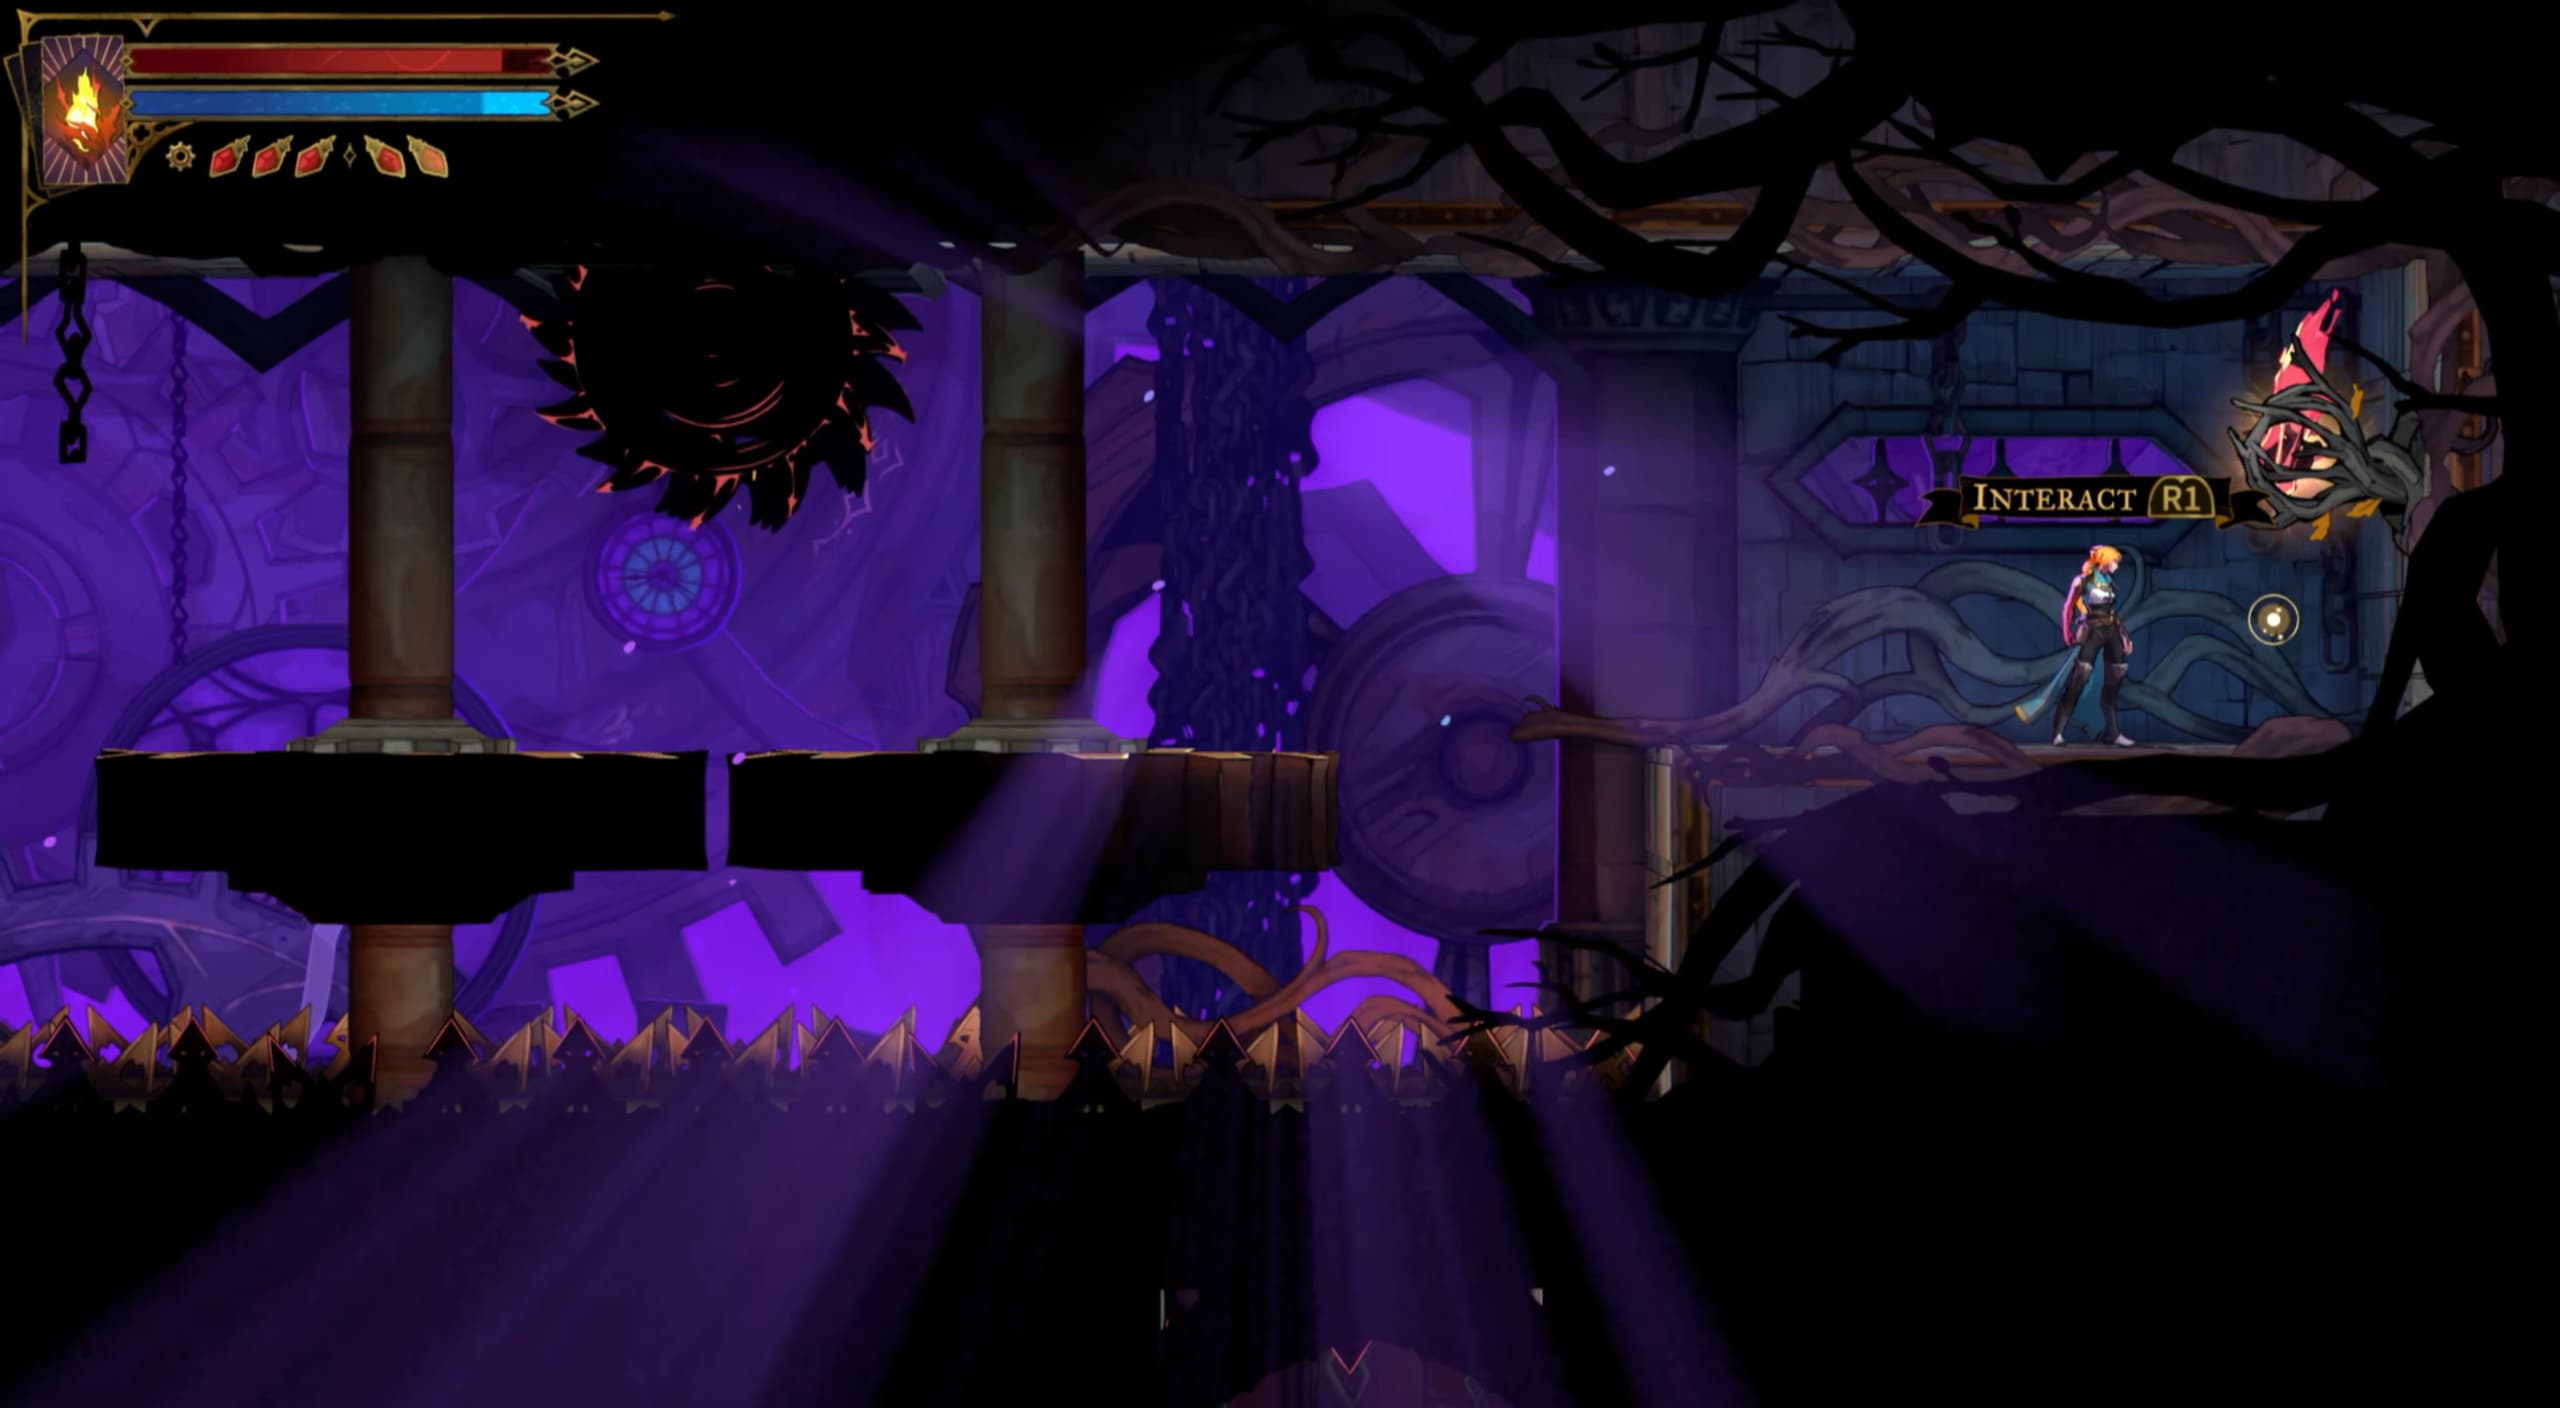
For the first Heart Fragment in this area, make your way to the pointer as shown on the map below, you will need to access this segment on the very left in the narrow slide through section.
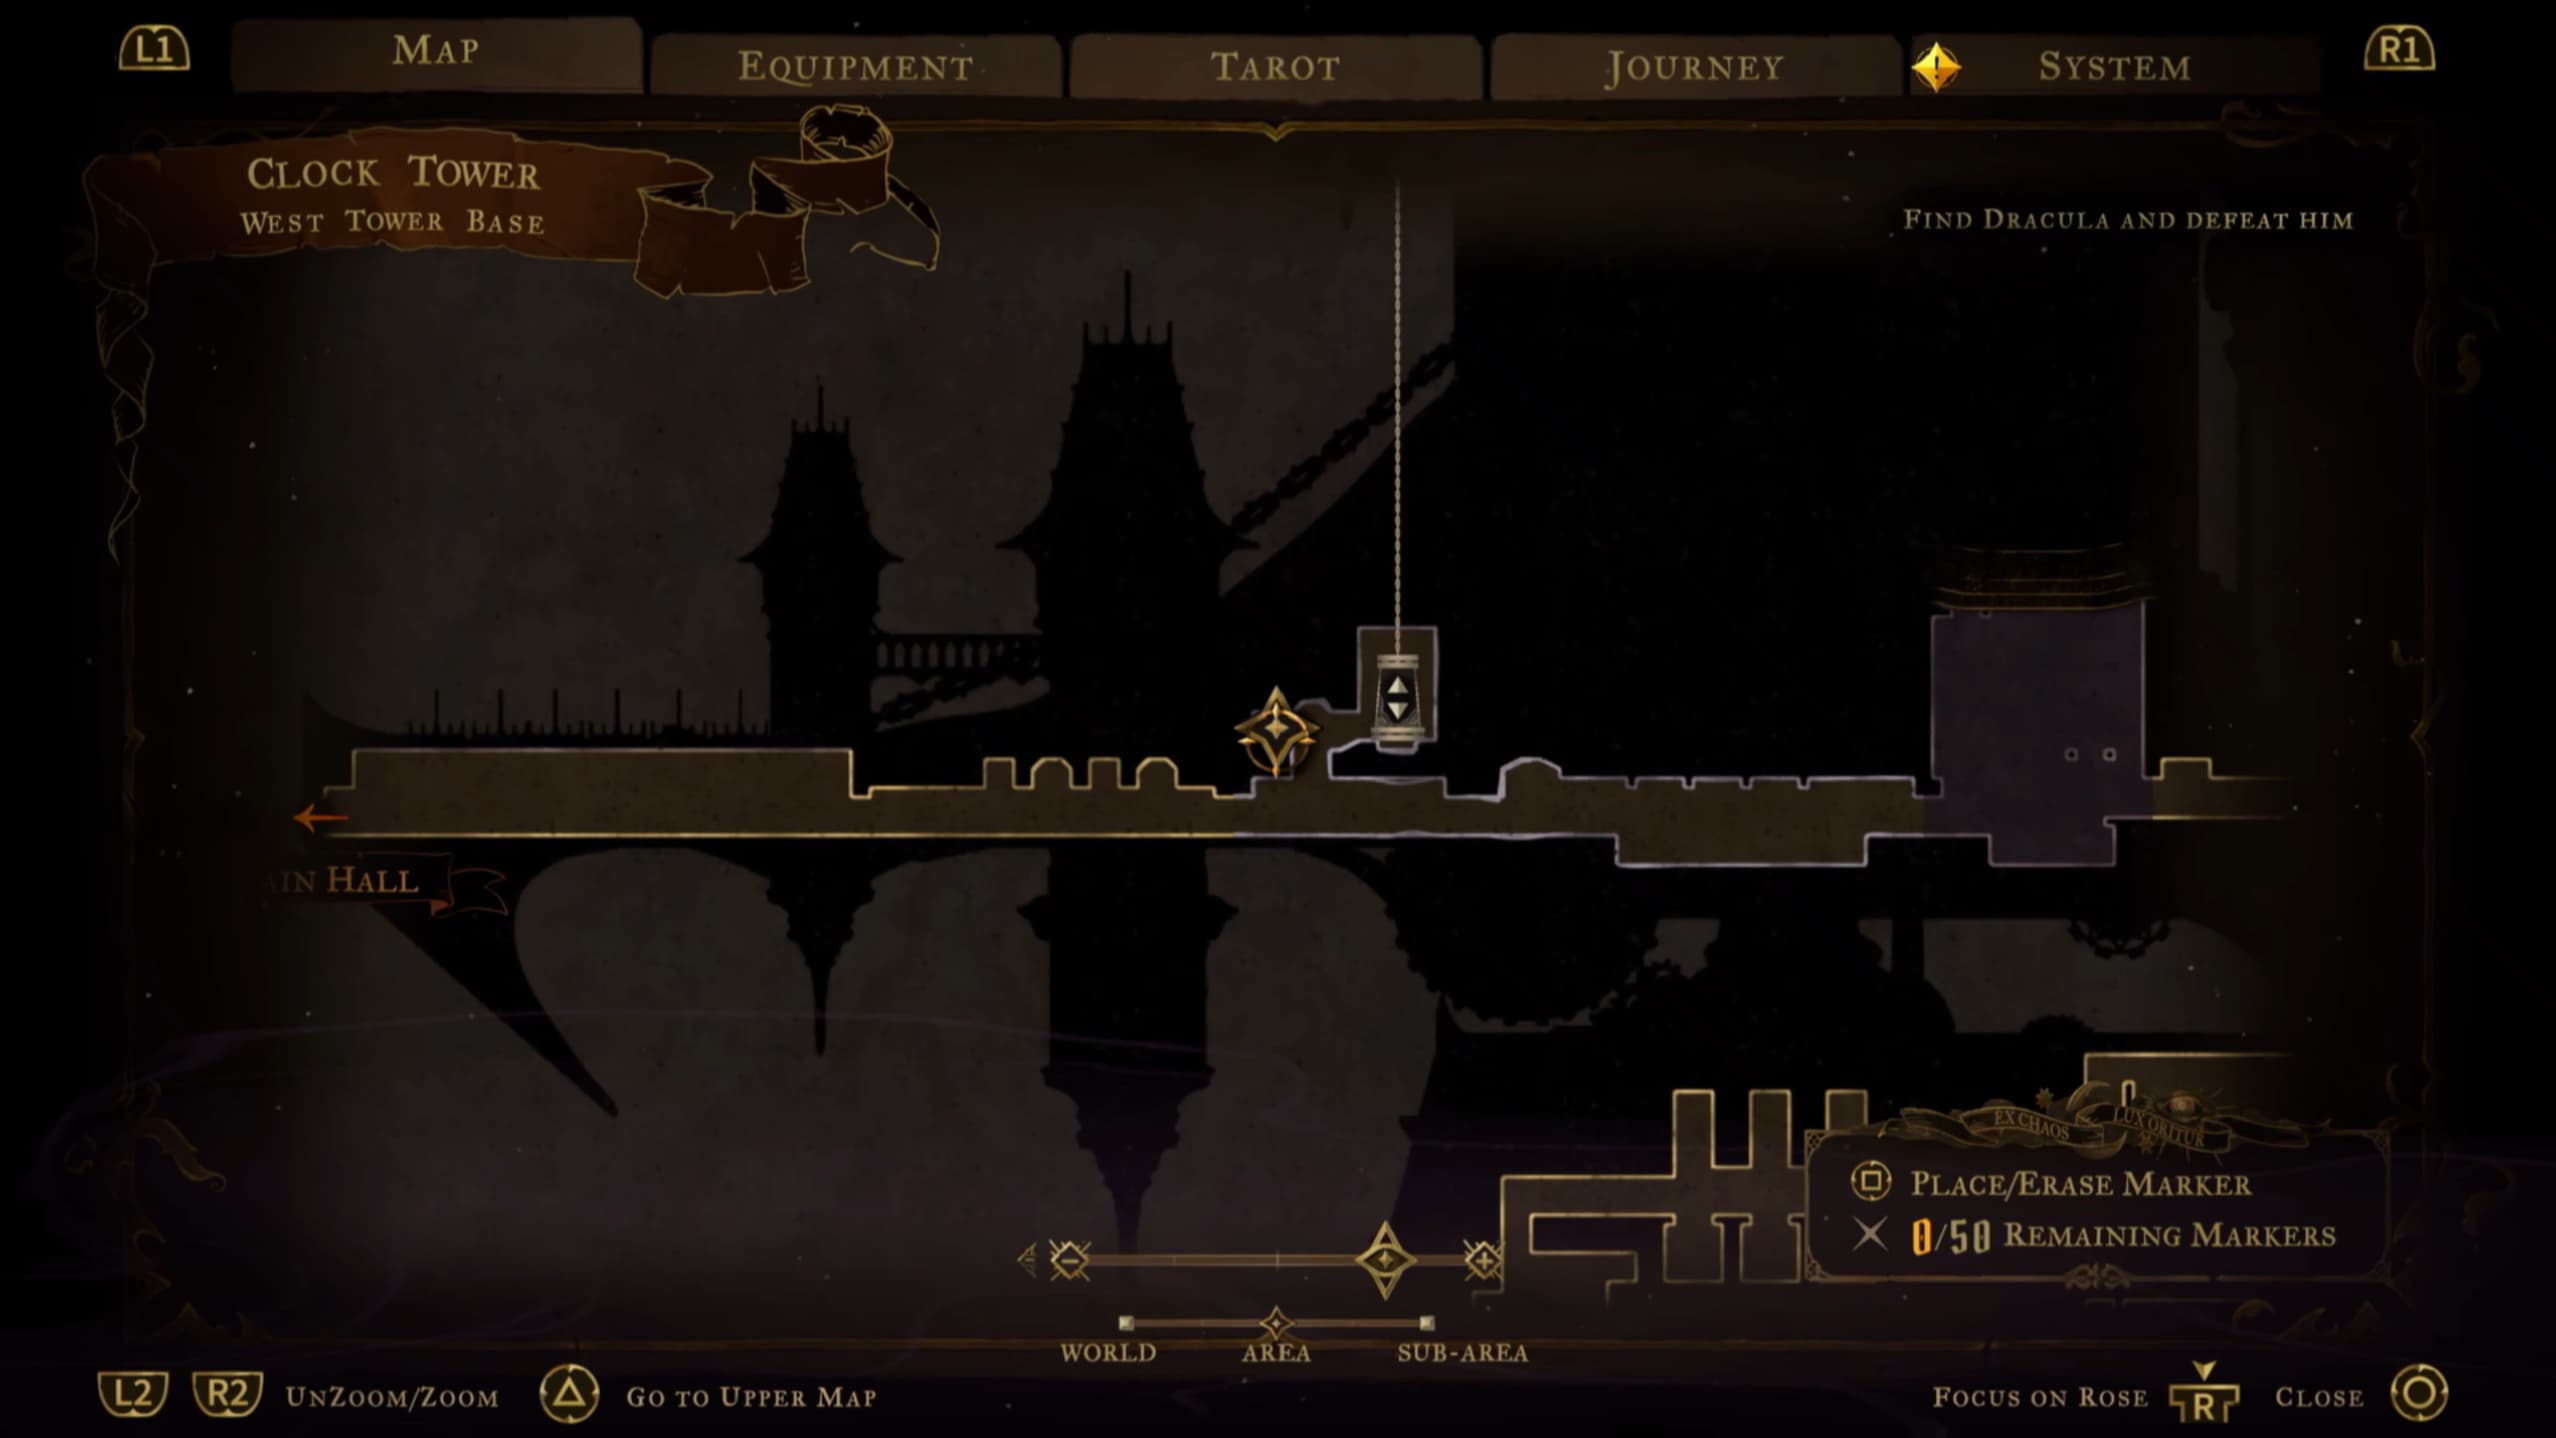
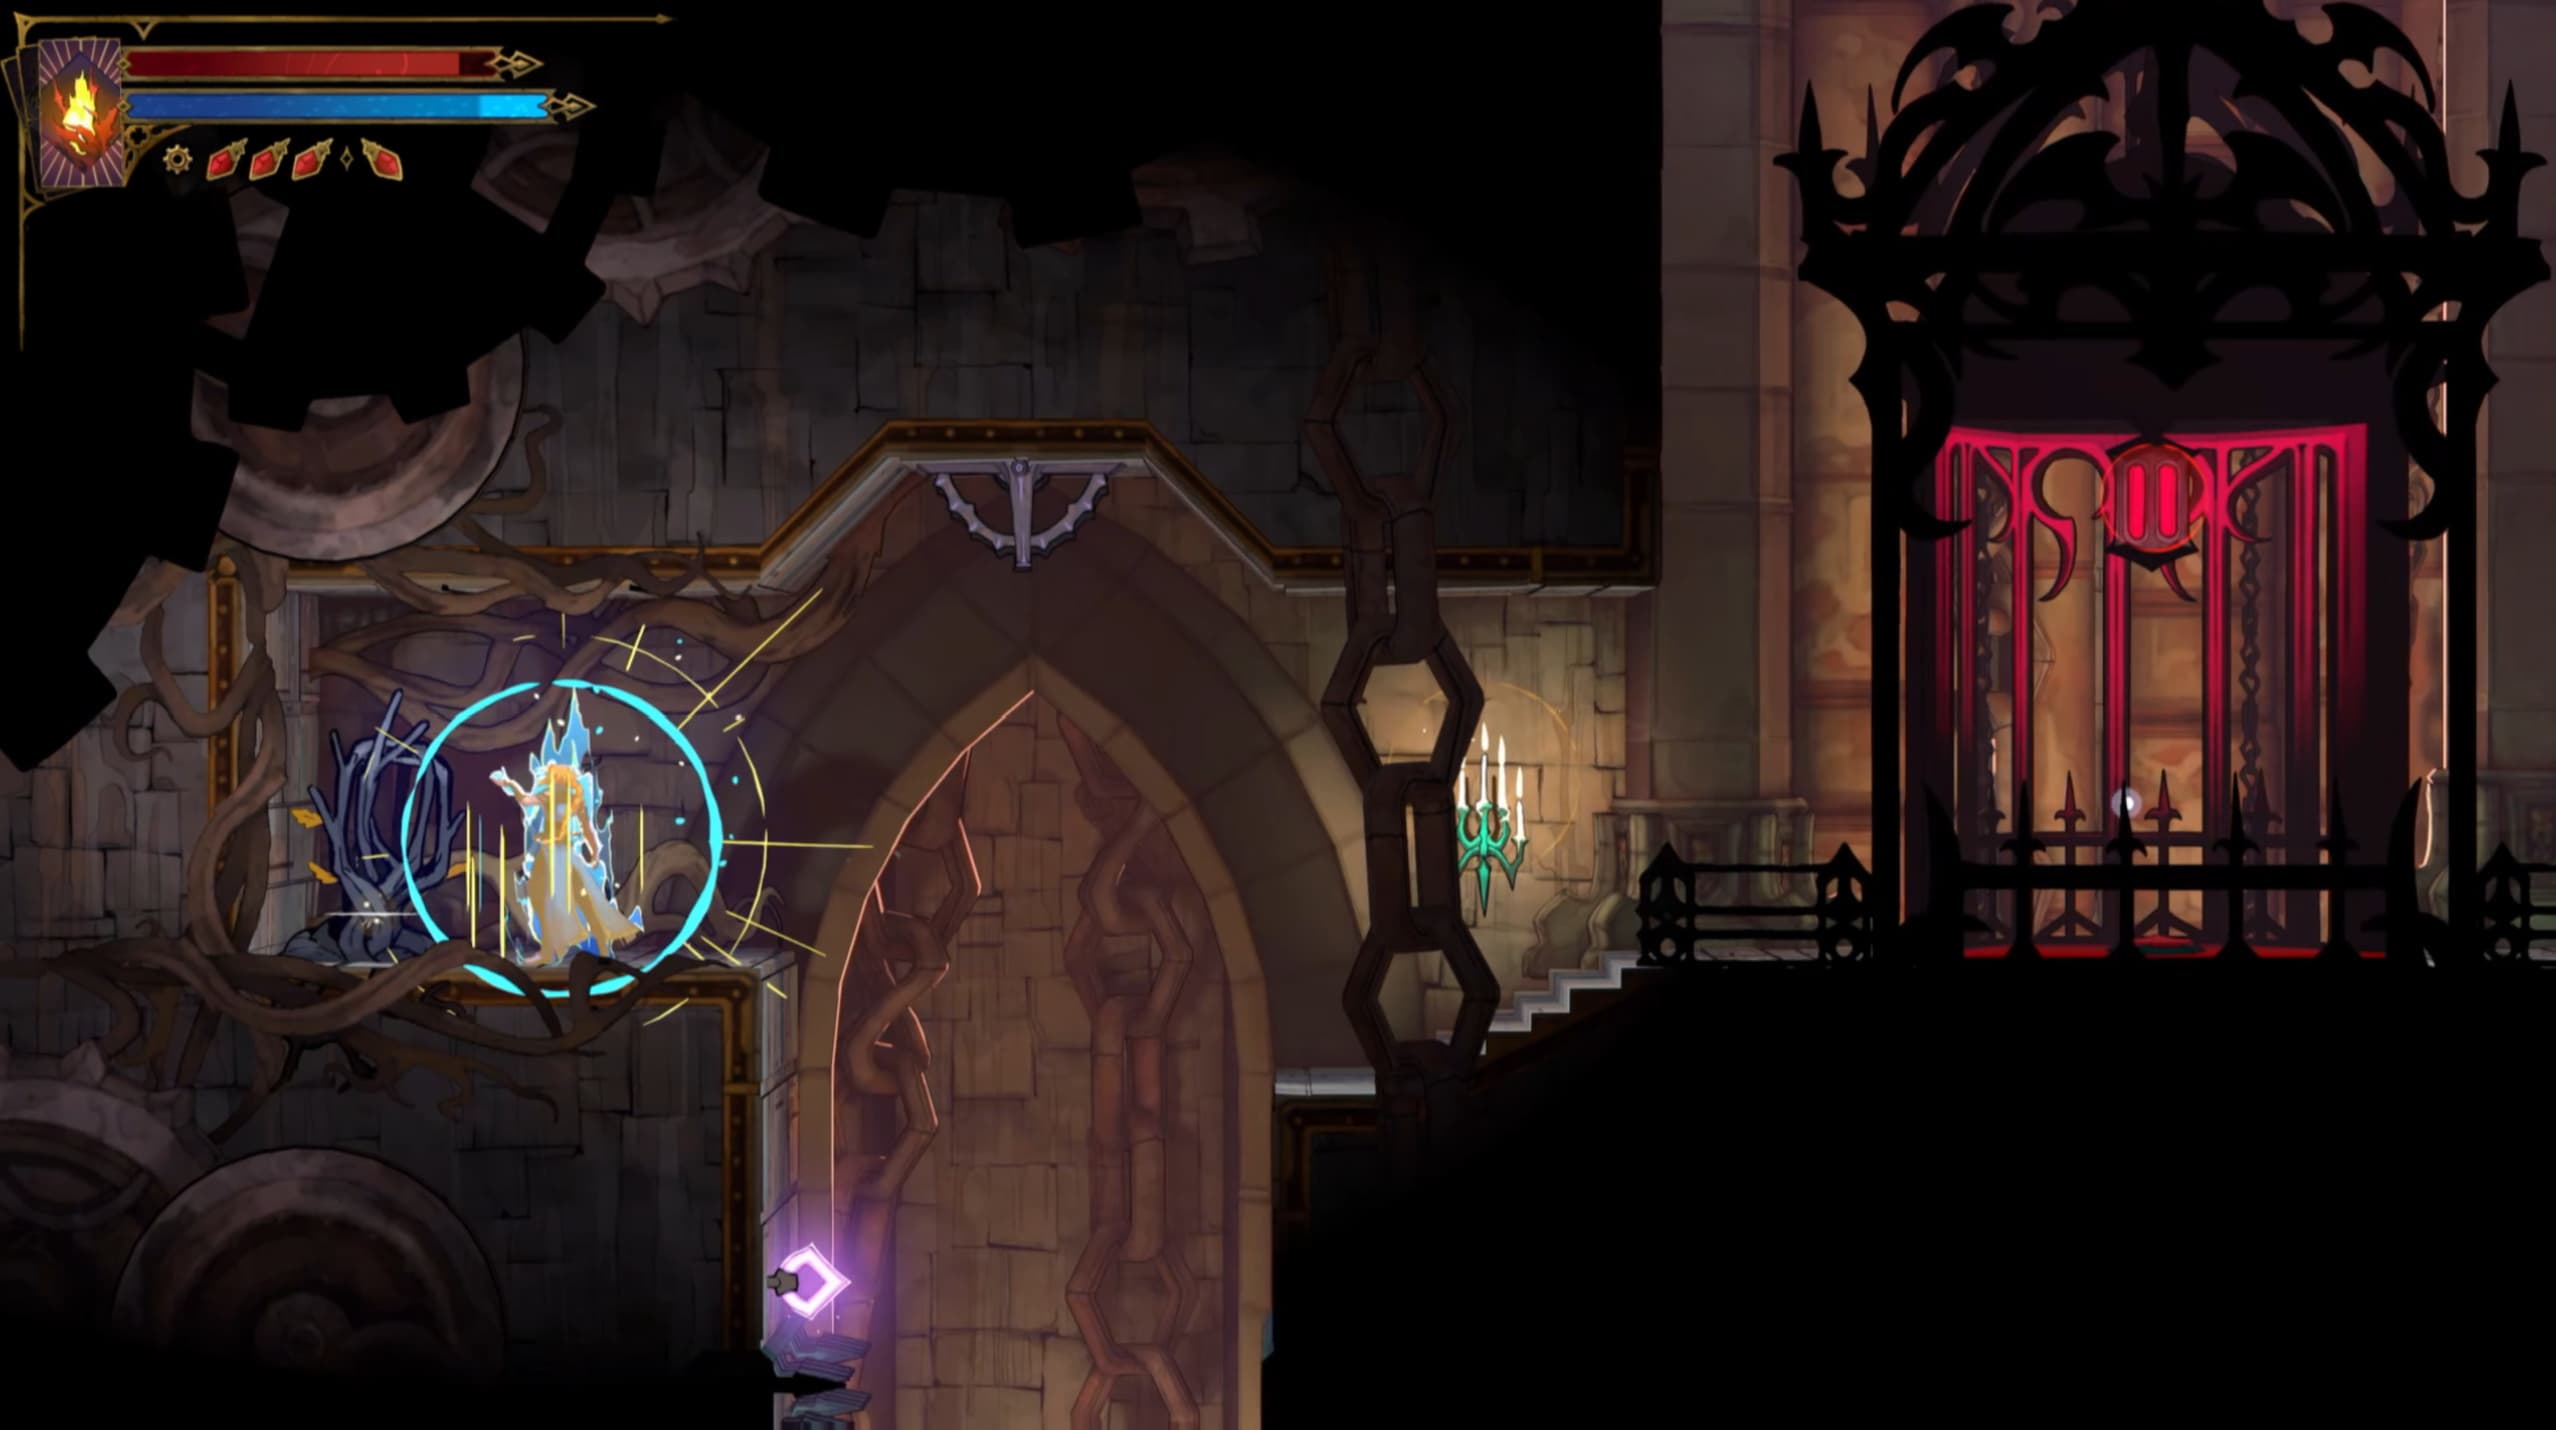
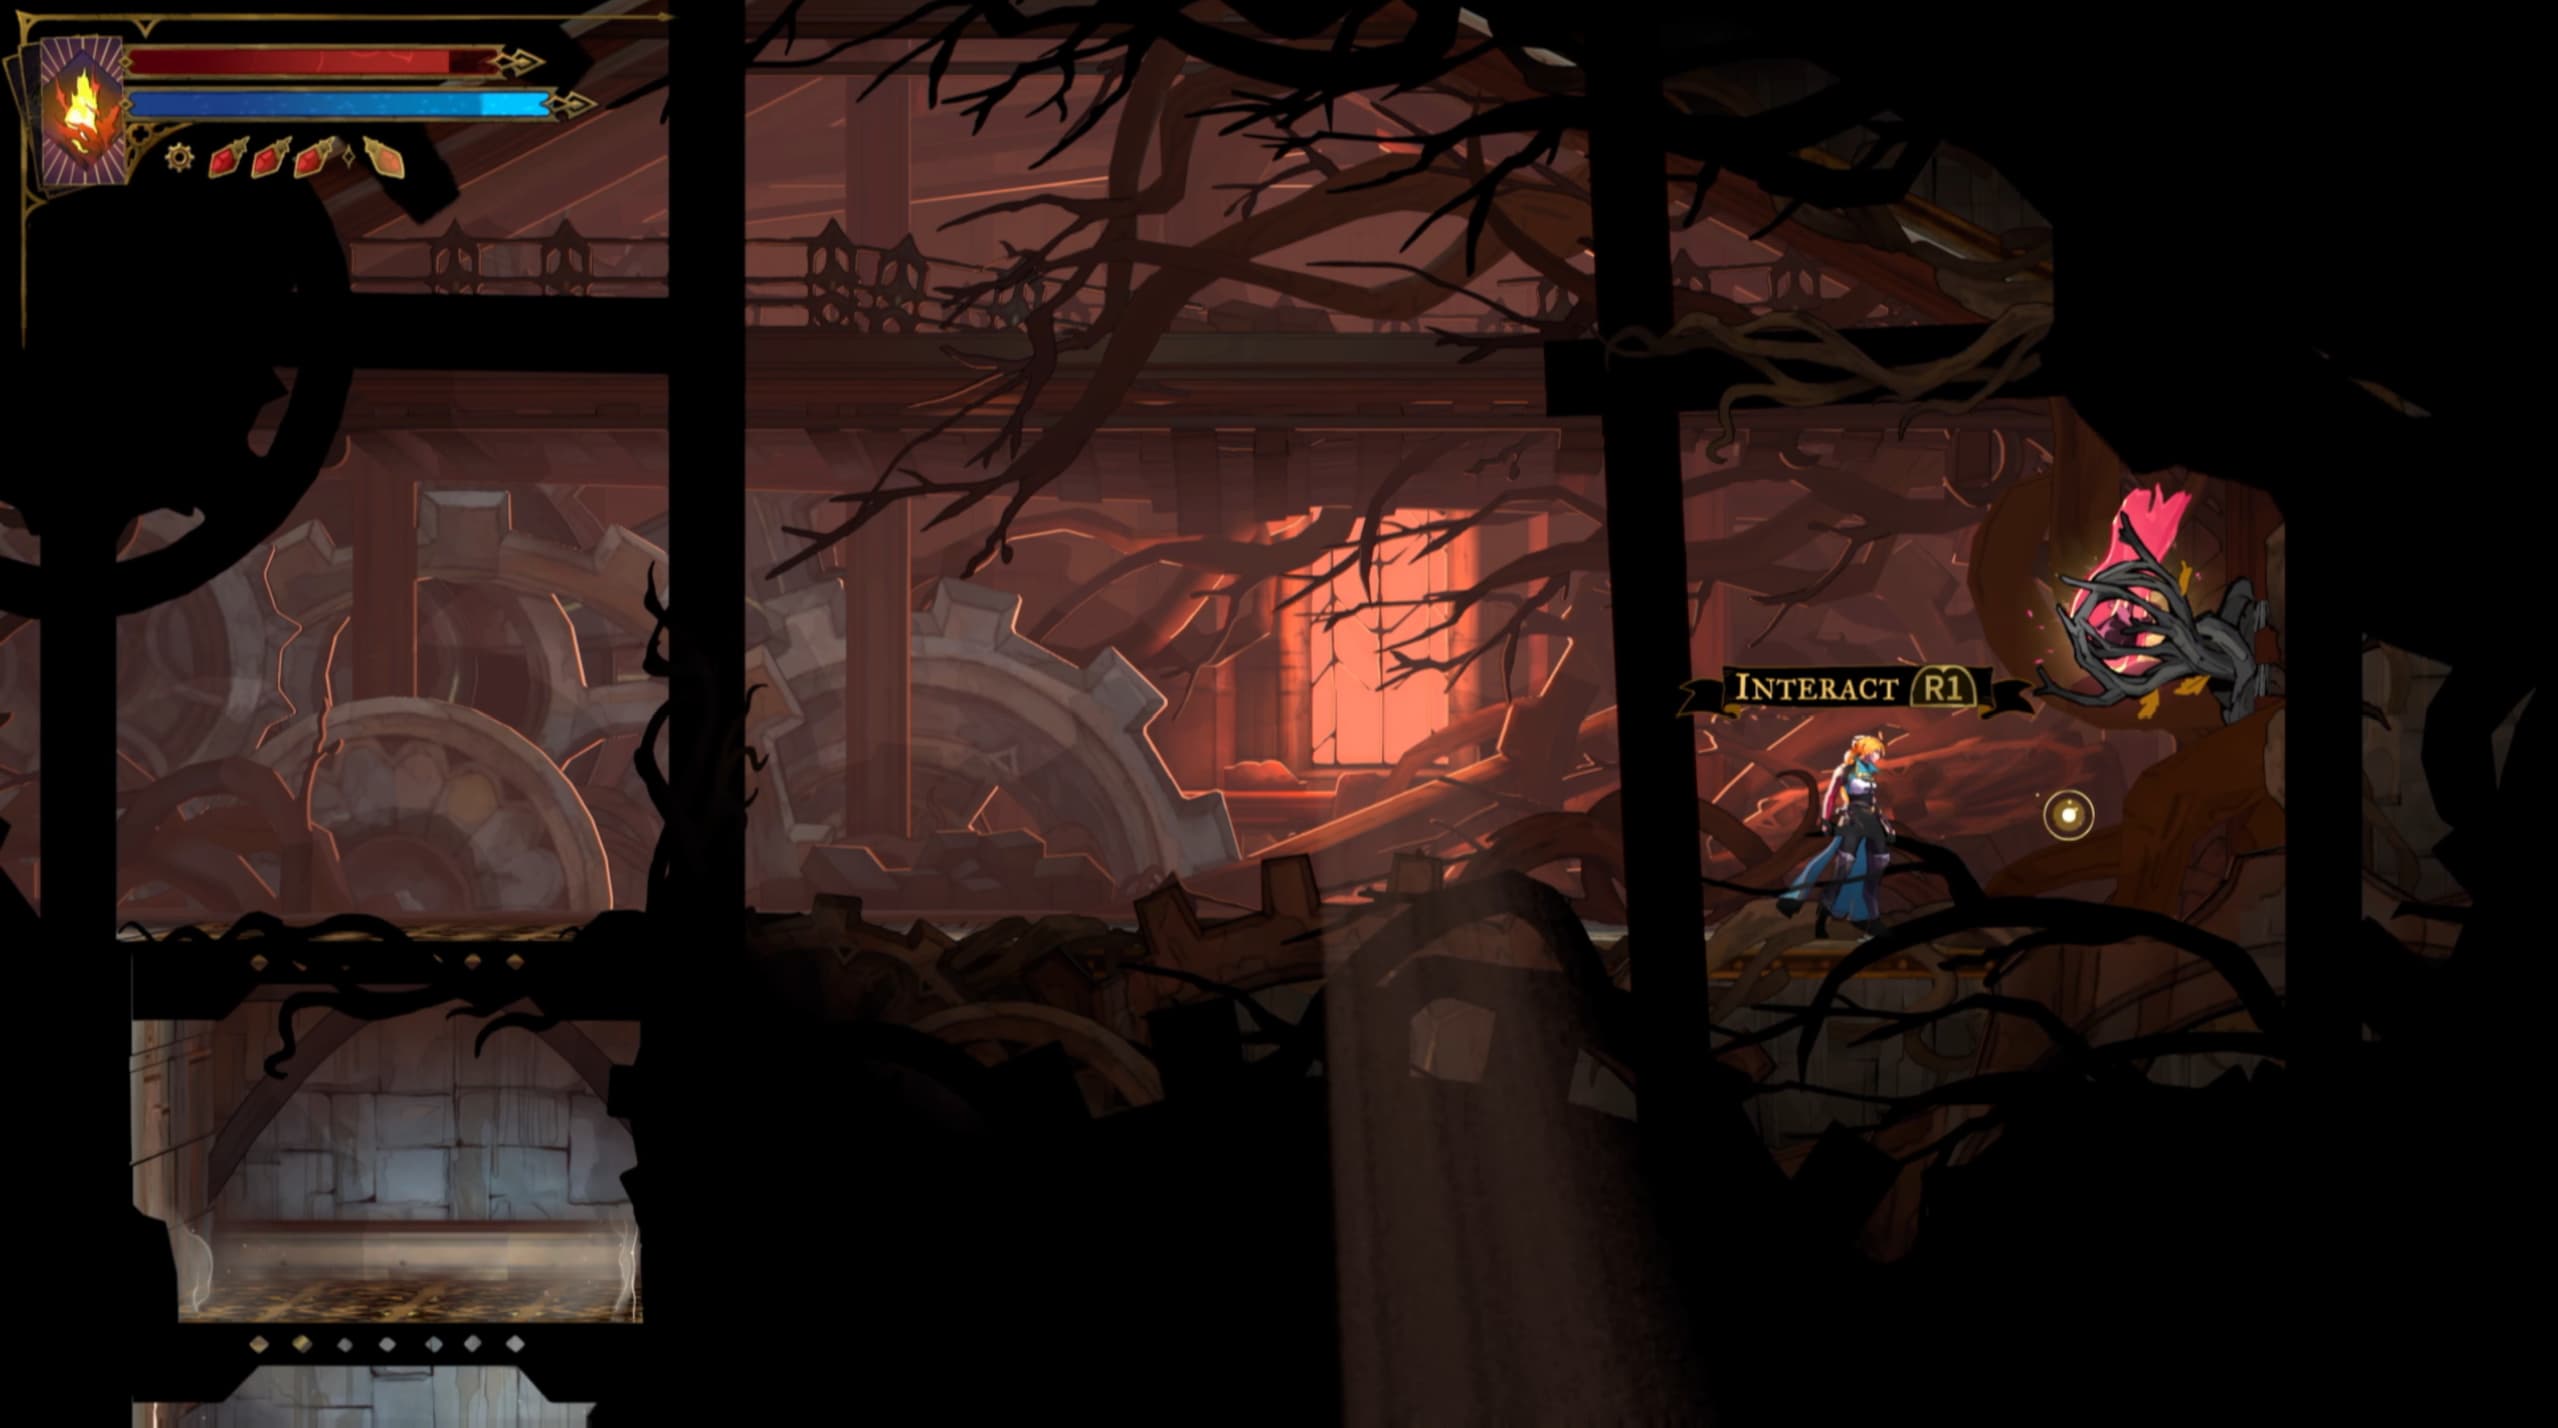
For the next Fragment, you will need to make your way to the upper section of the elevator, take the elevator down to make it to the pointer shown on the map below, to access the Fragment.
For the next Fragment, make your way to the pointer as shown on the map below.
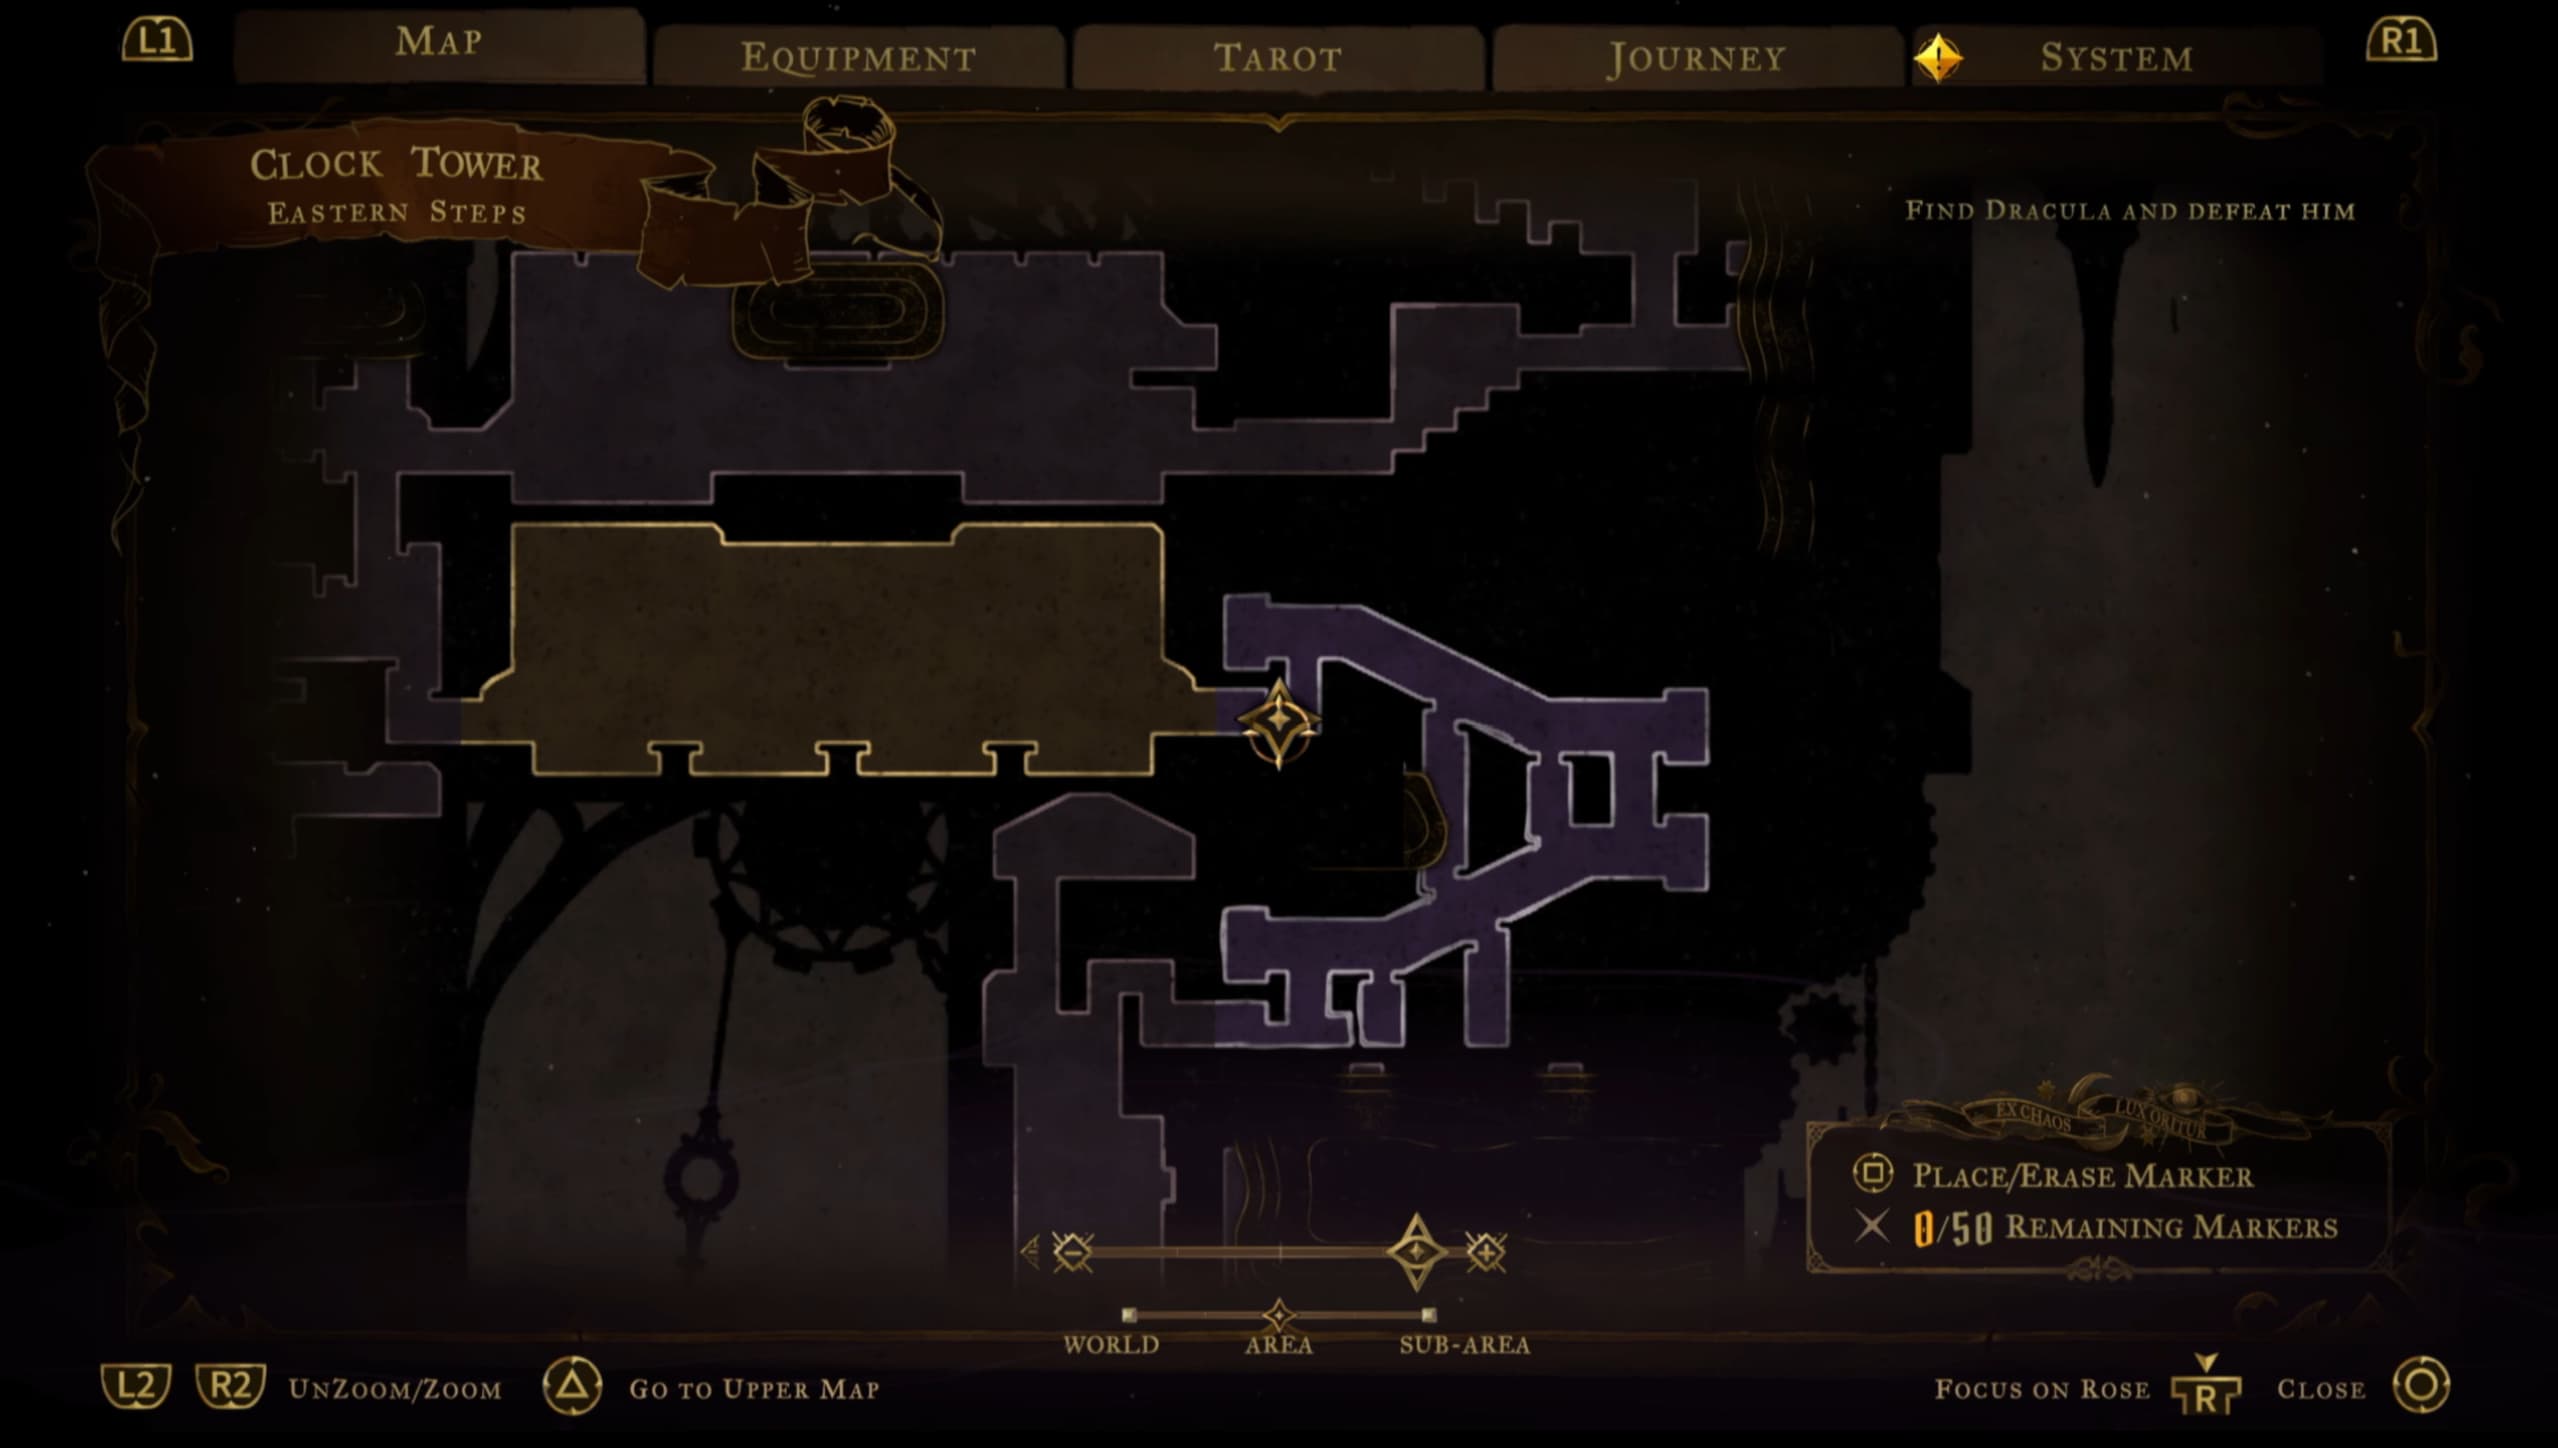
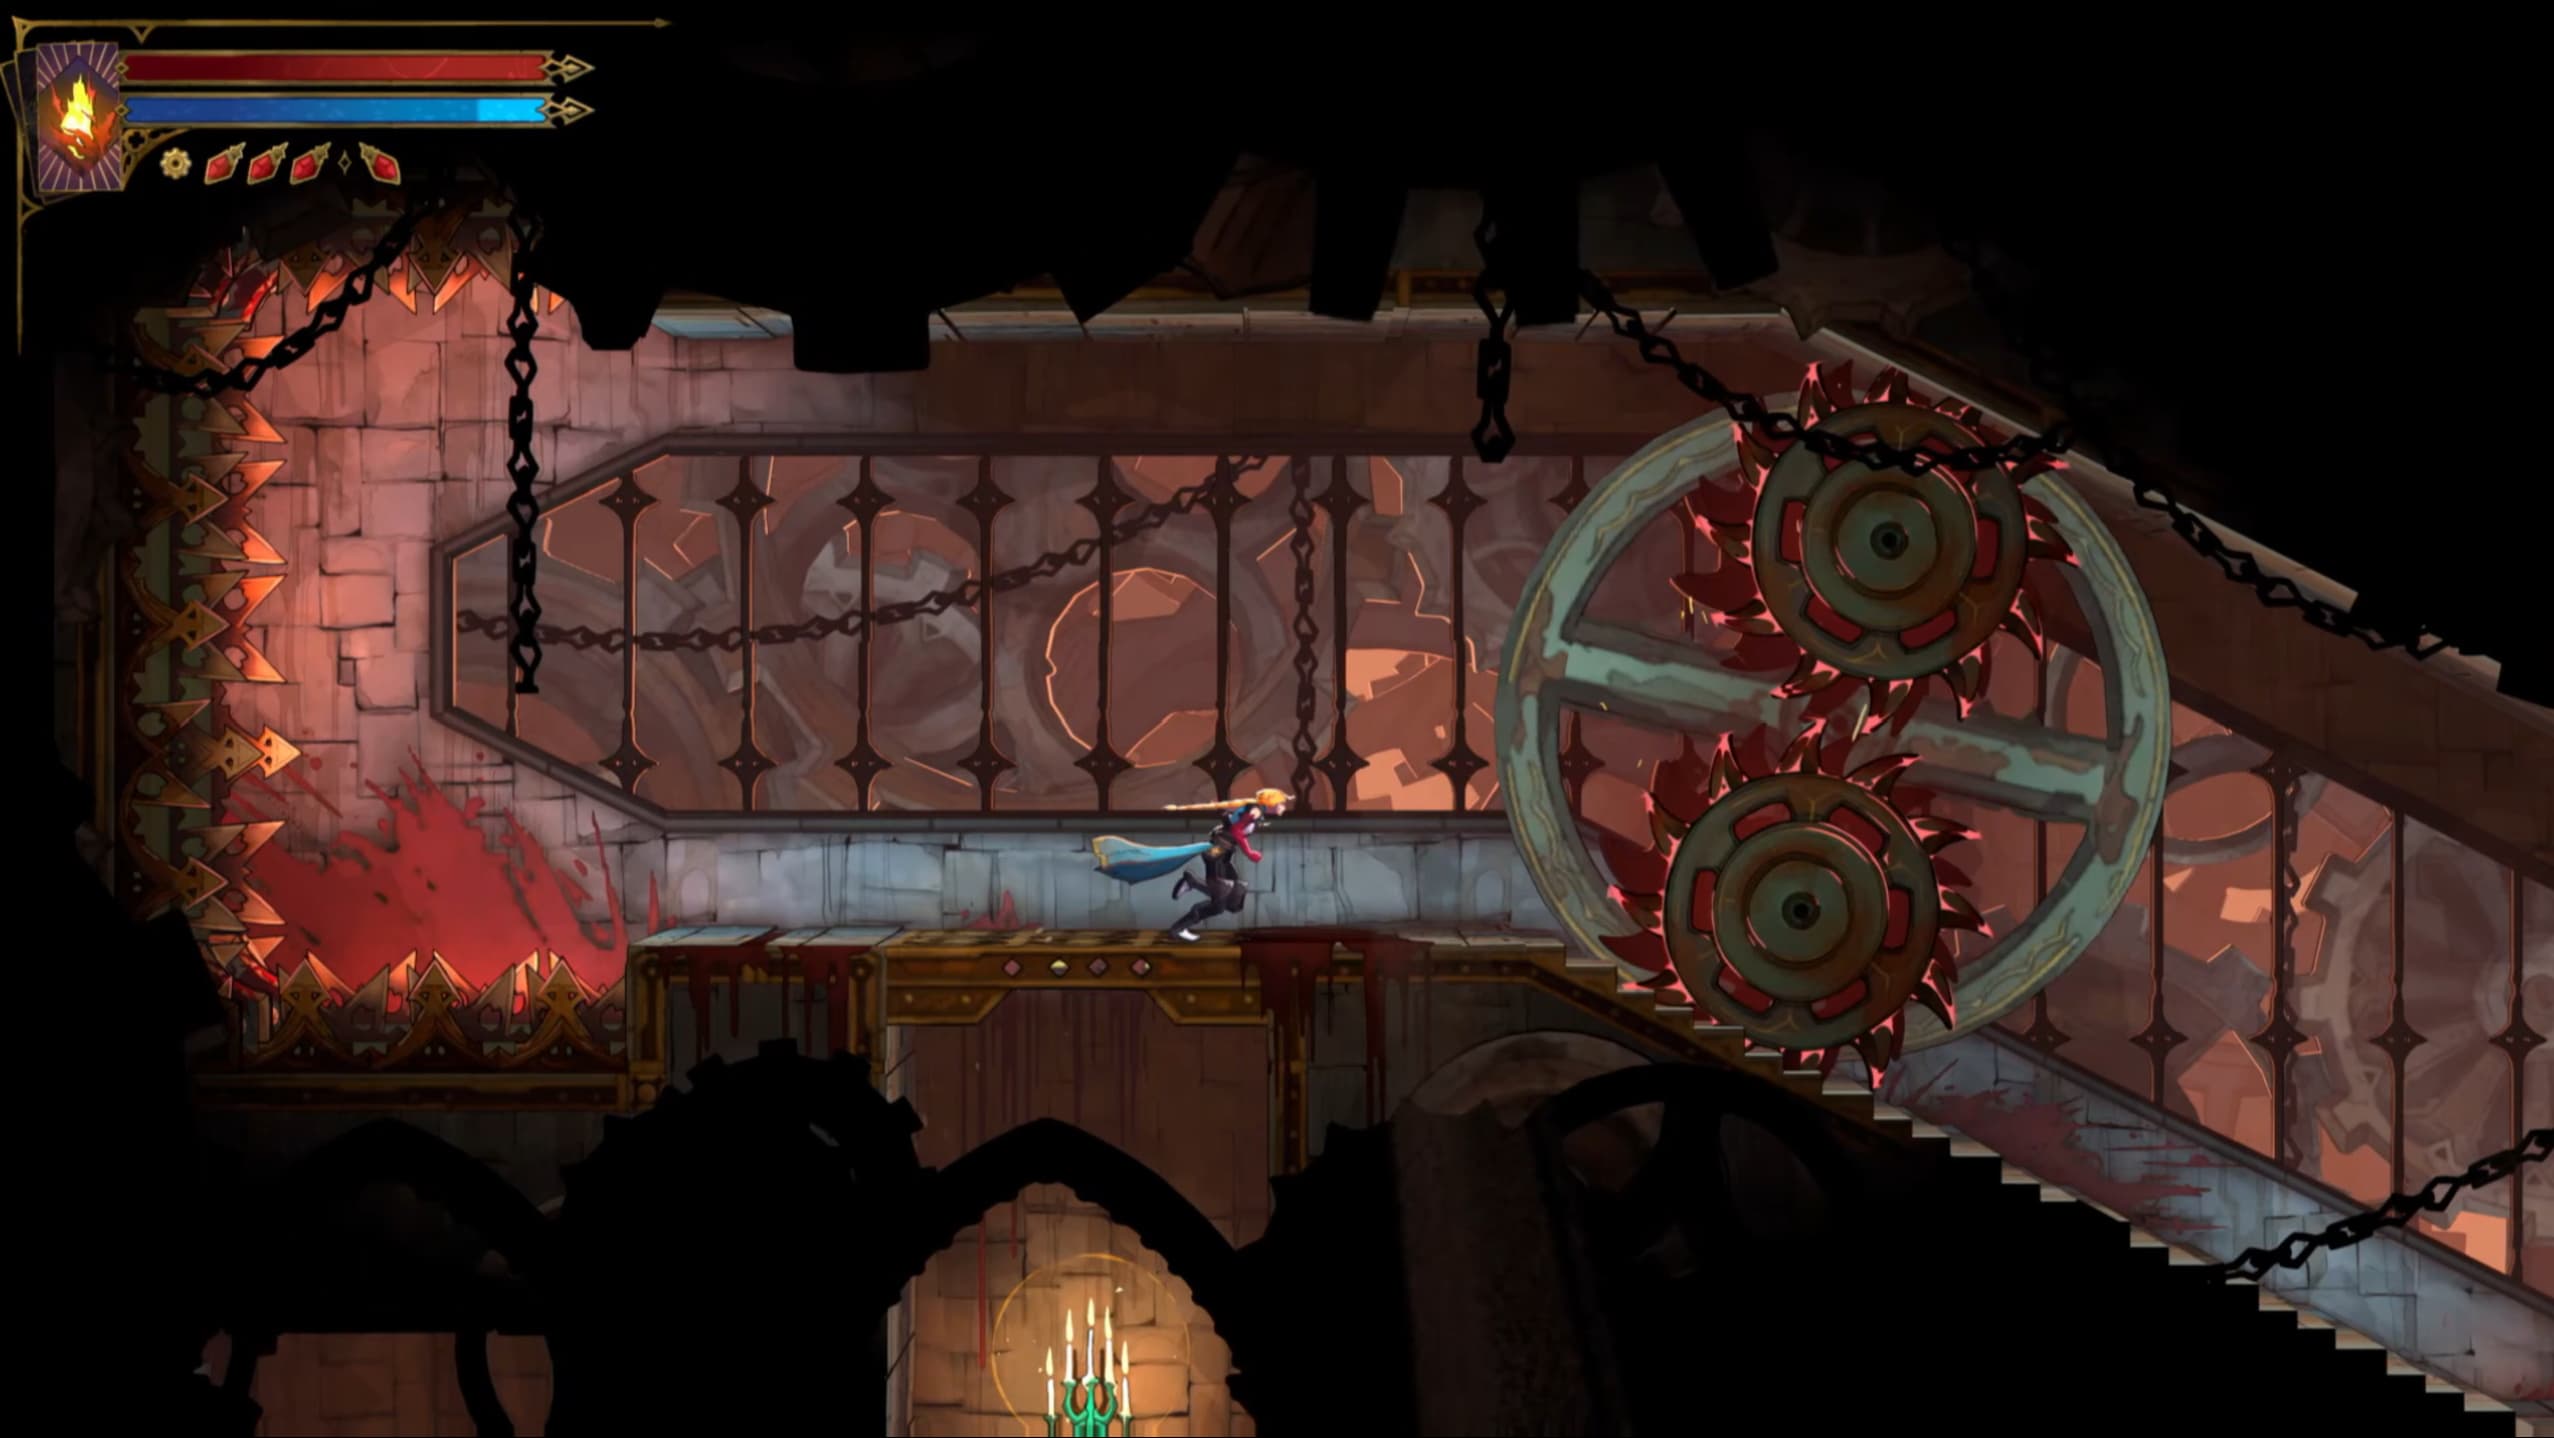
For the next Fragment, make your way to the pointer on the map, and jump up to the stairs section above at the right time, you want to be following the spinning saw mechanic down the stairs.
At the first opportunity to drop down, do so carefully getting ready to dash to the left with your Holy Light active and quickly use your whip to swing across to the Heart Fragment on the left.
For the next Heart Fragment, make your way to the pointer on the map shown below, and to access the upper middle platform, you need to be using your whip on the flying enemies to swing your way up.
For the final Heart Fragment in this area, you will need to make it to the elevator on the left of the map shown below and traverse through the segment to make it to the pointer on the map.
Library
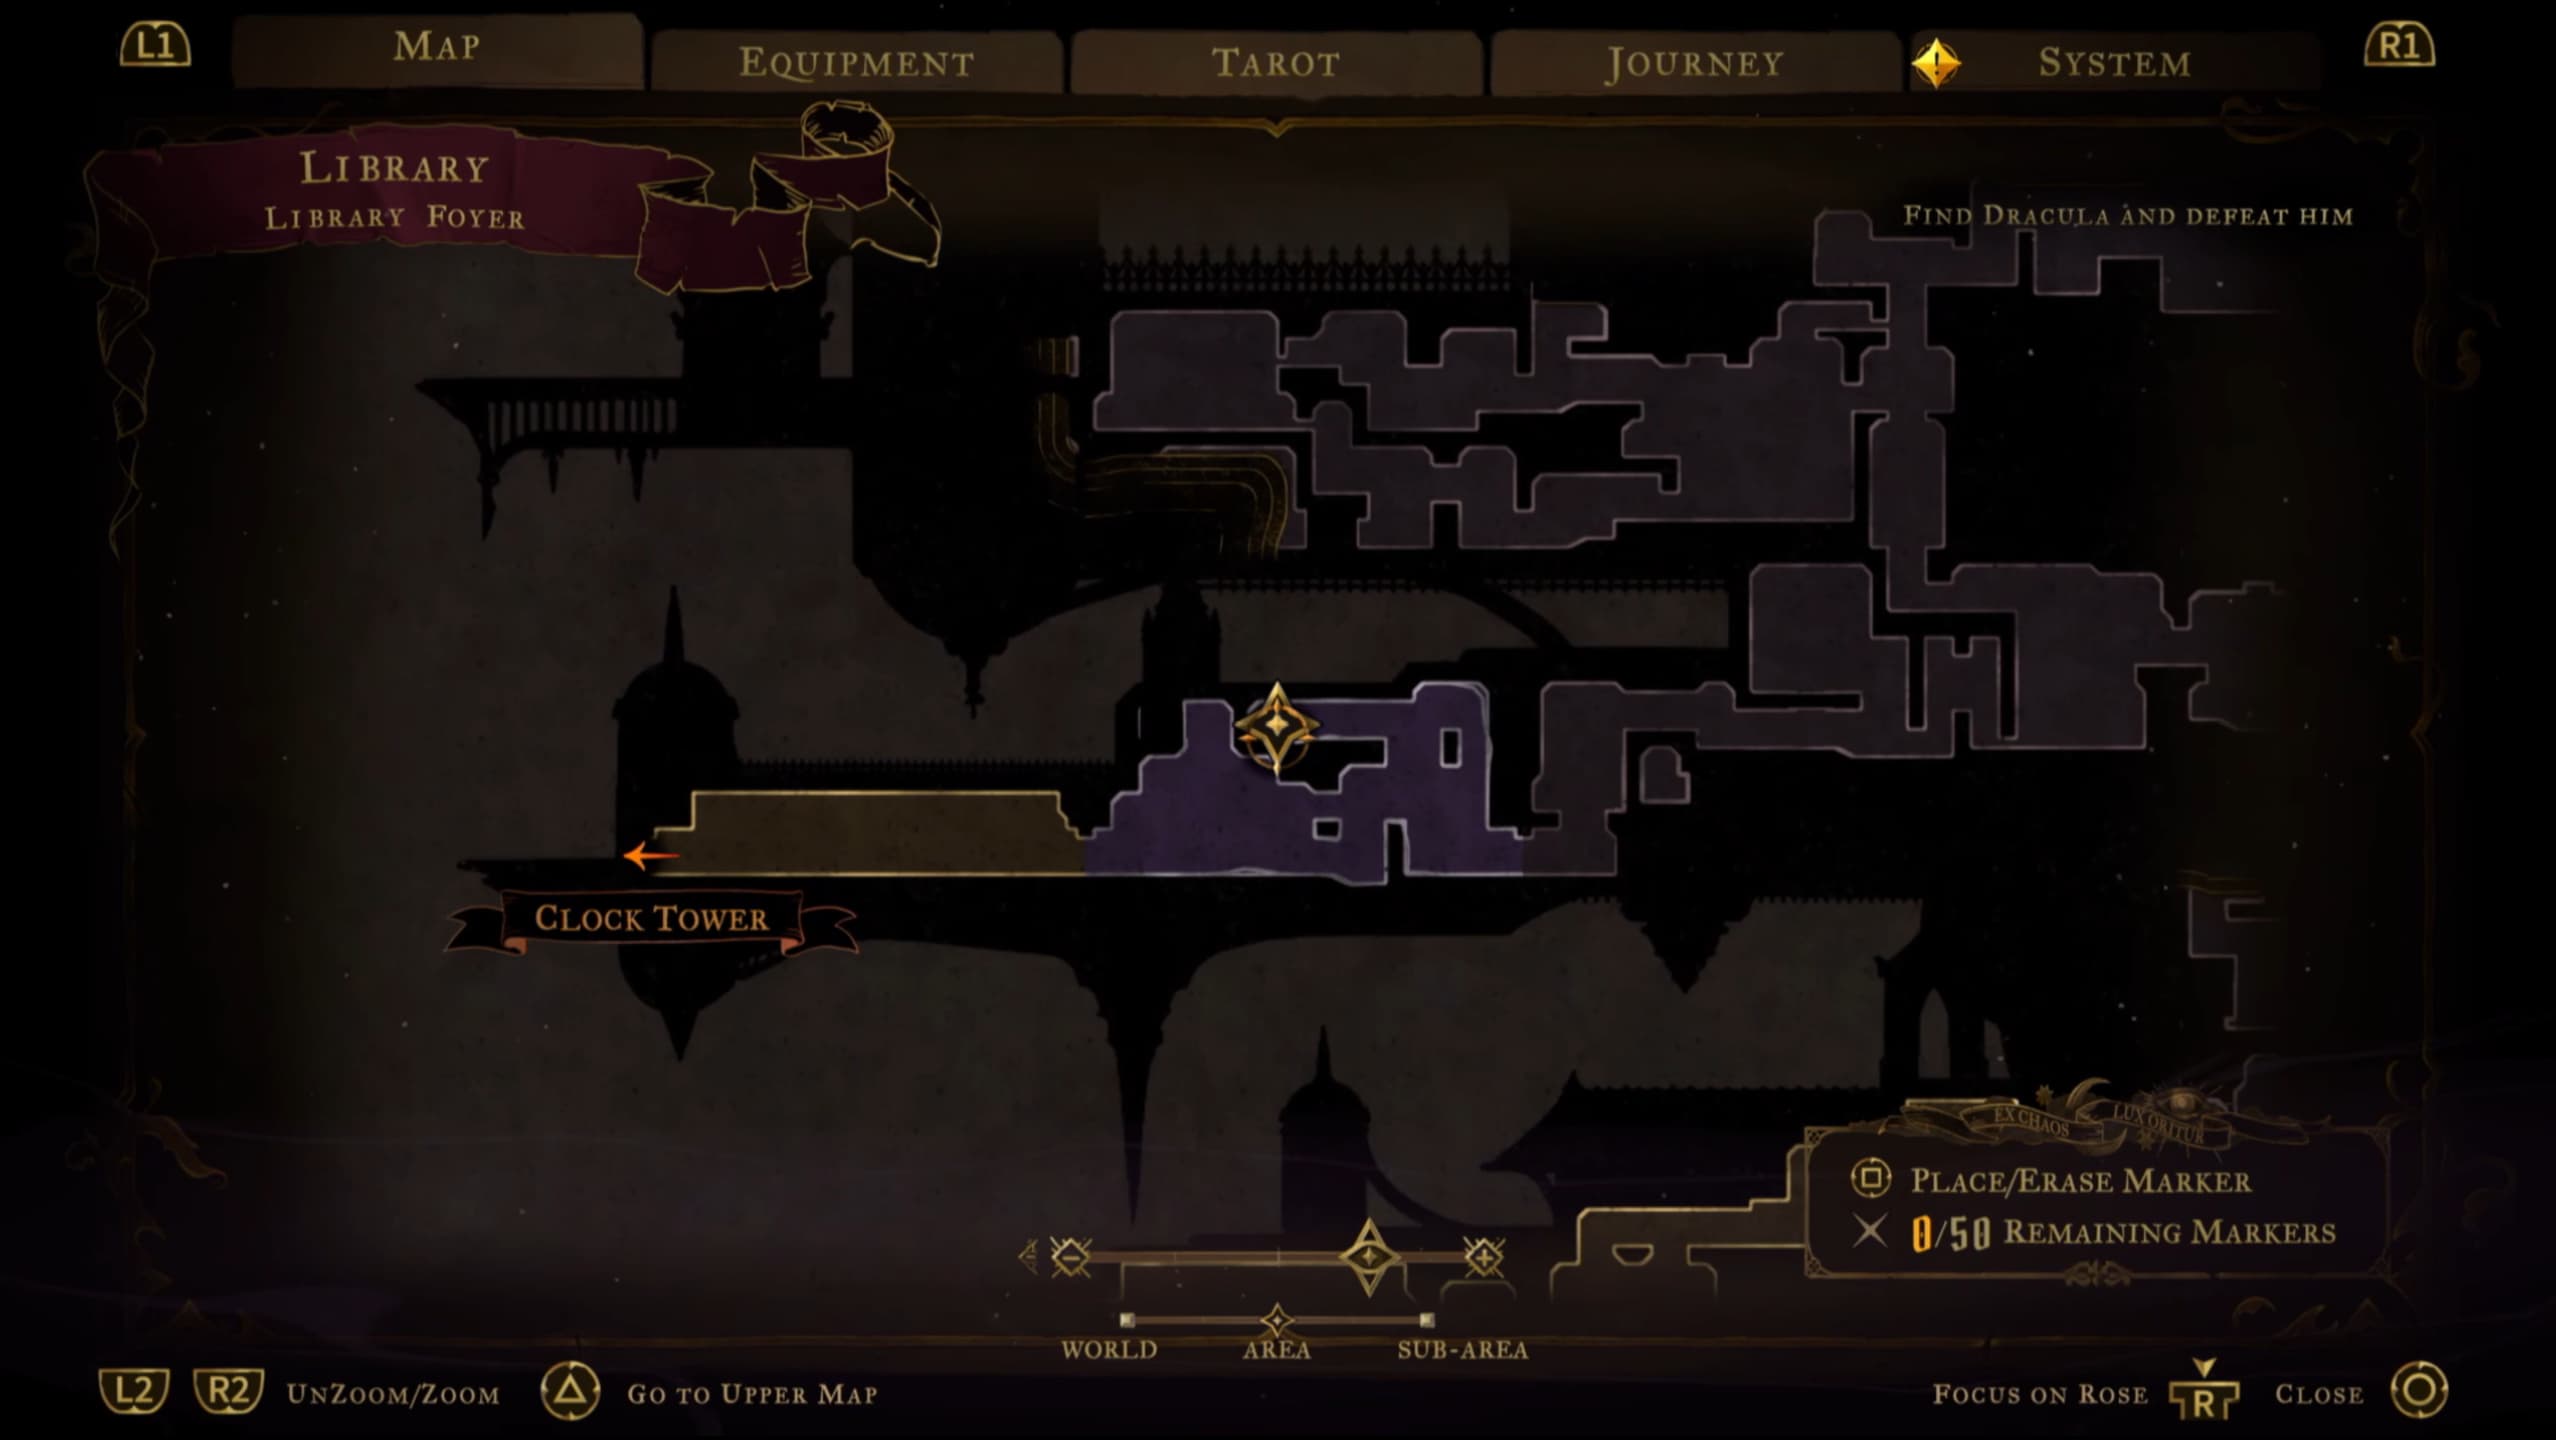
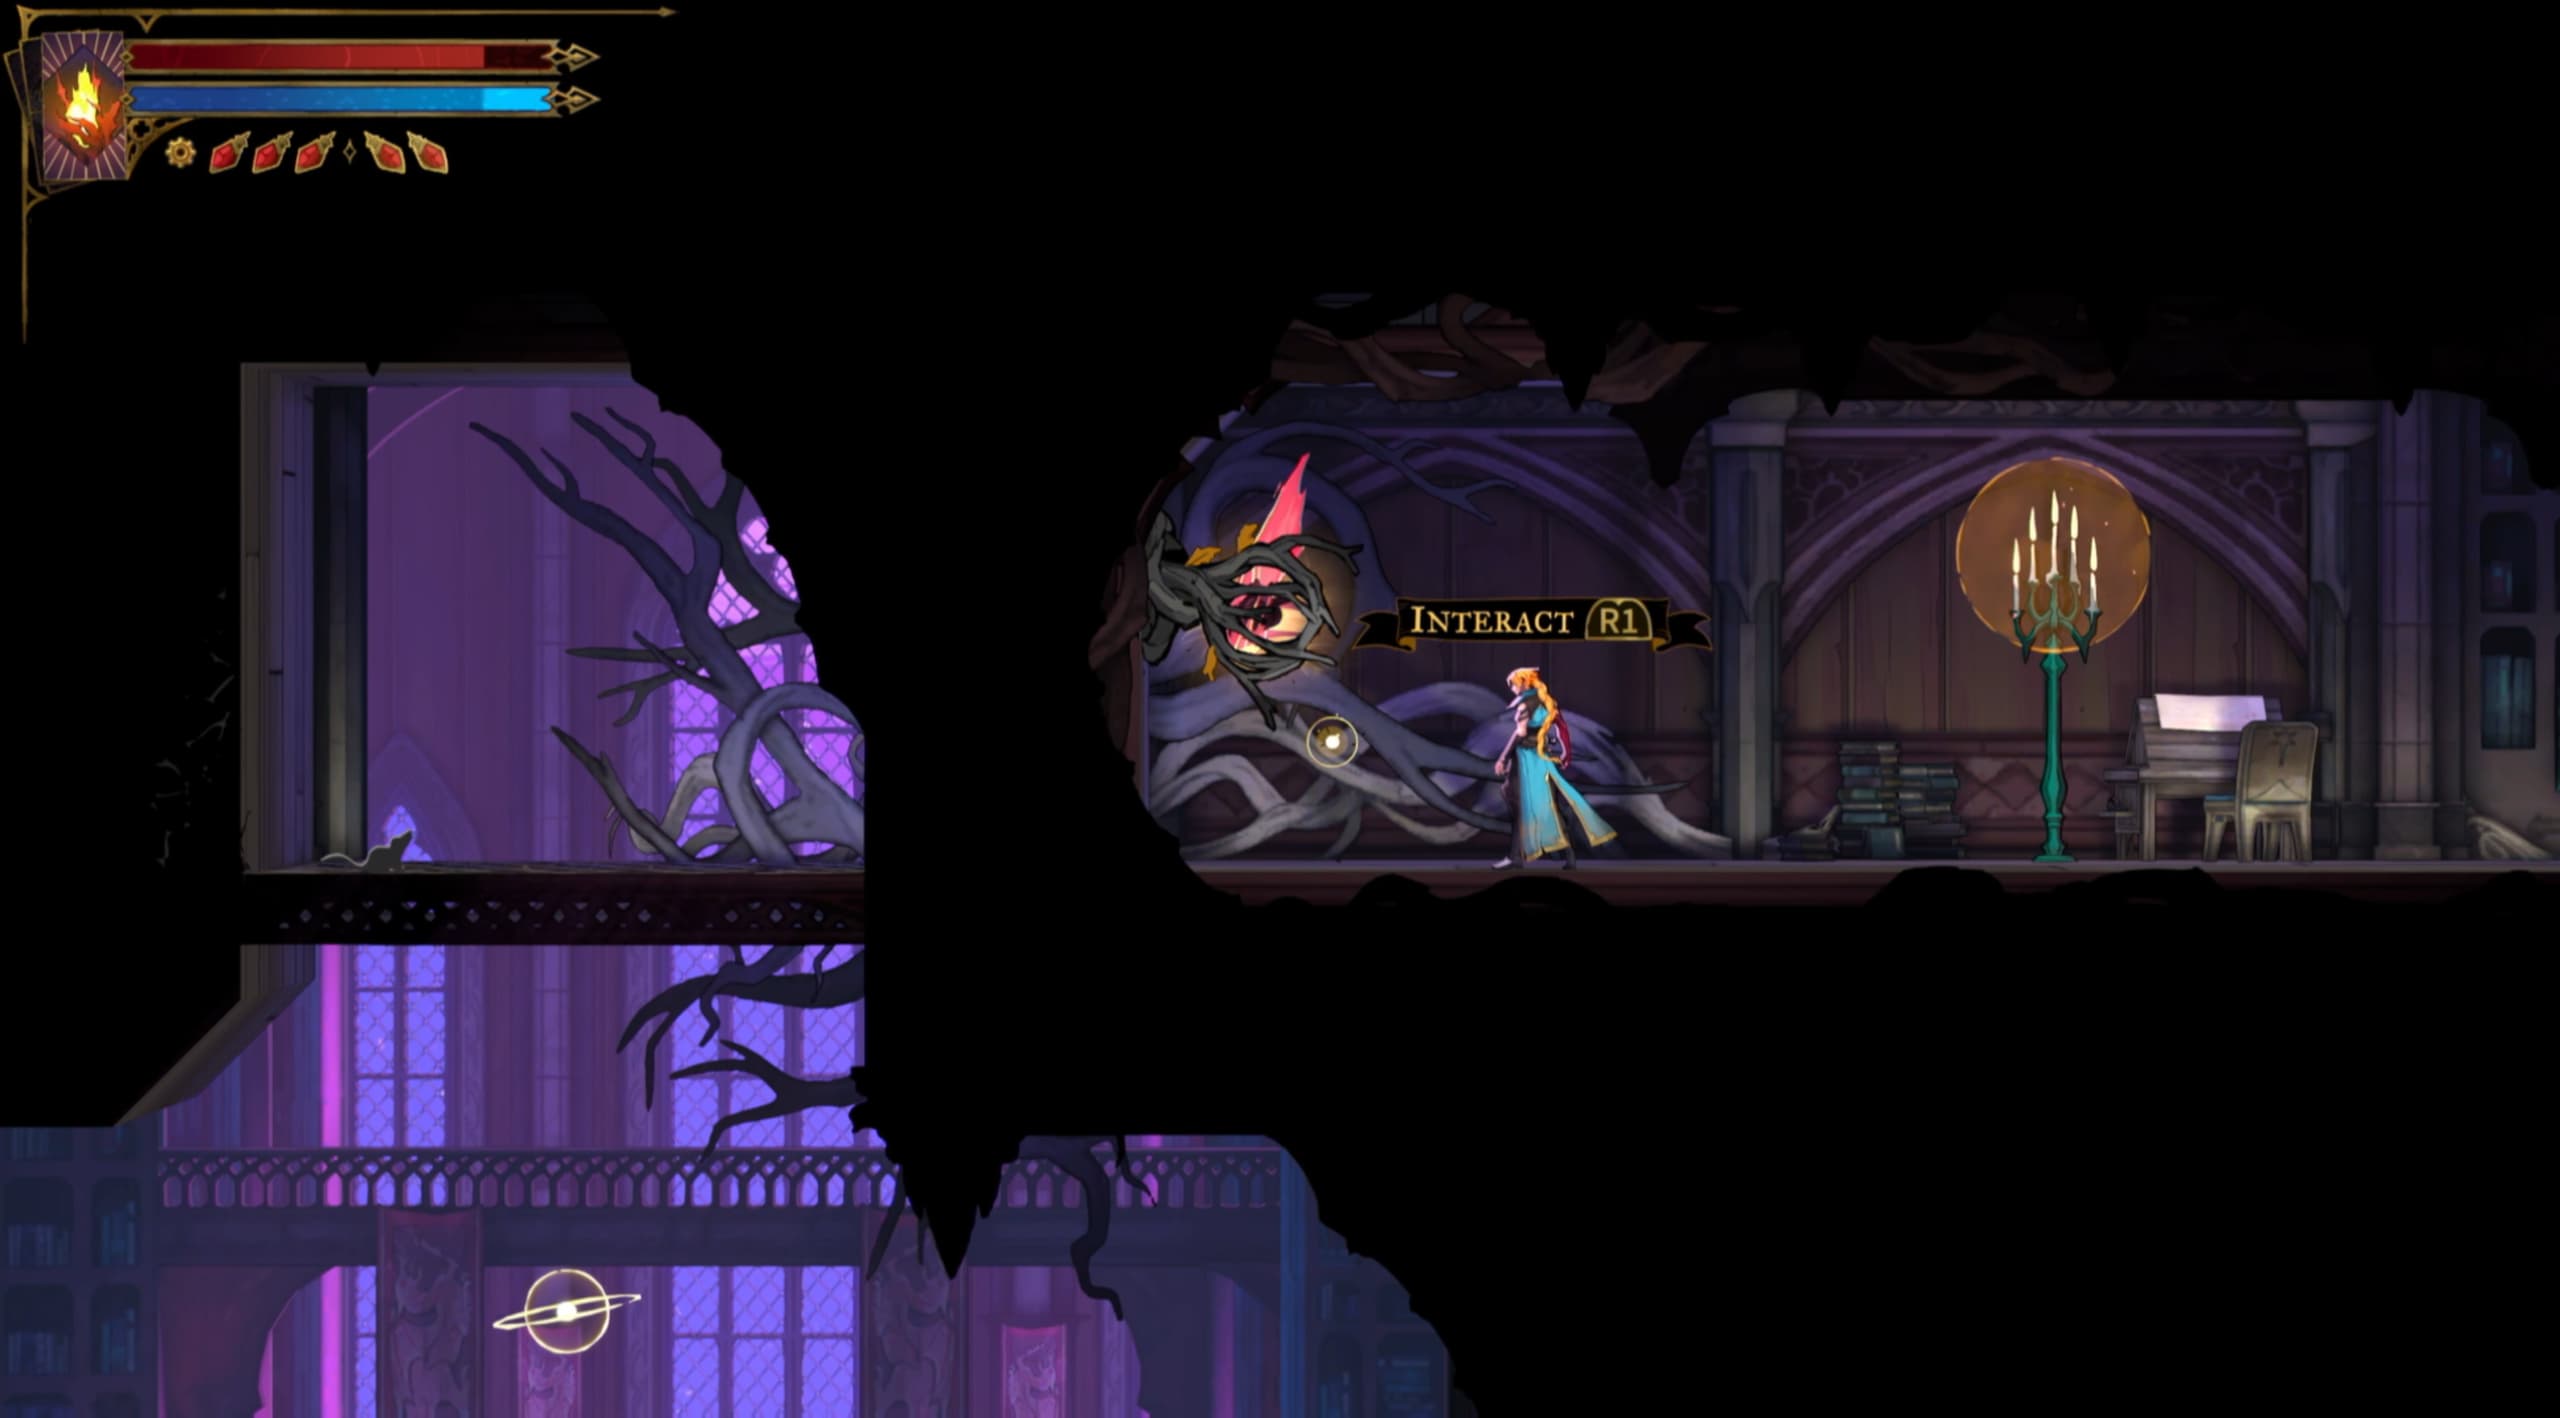
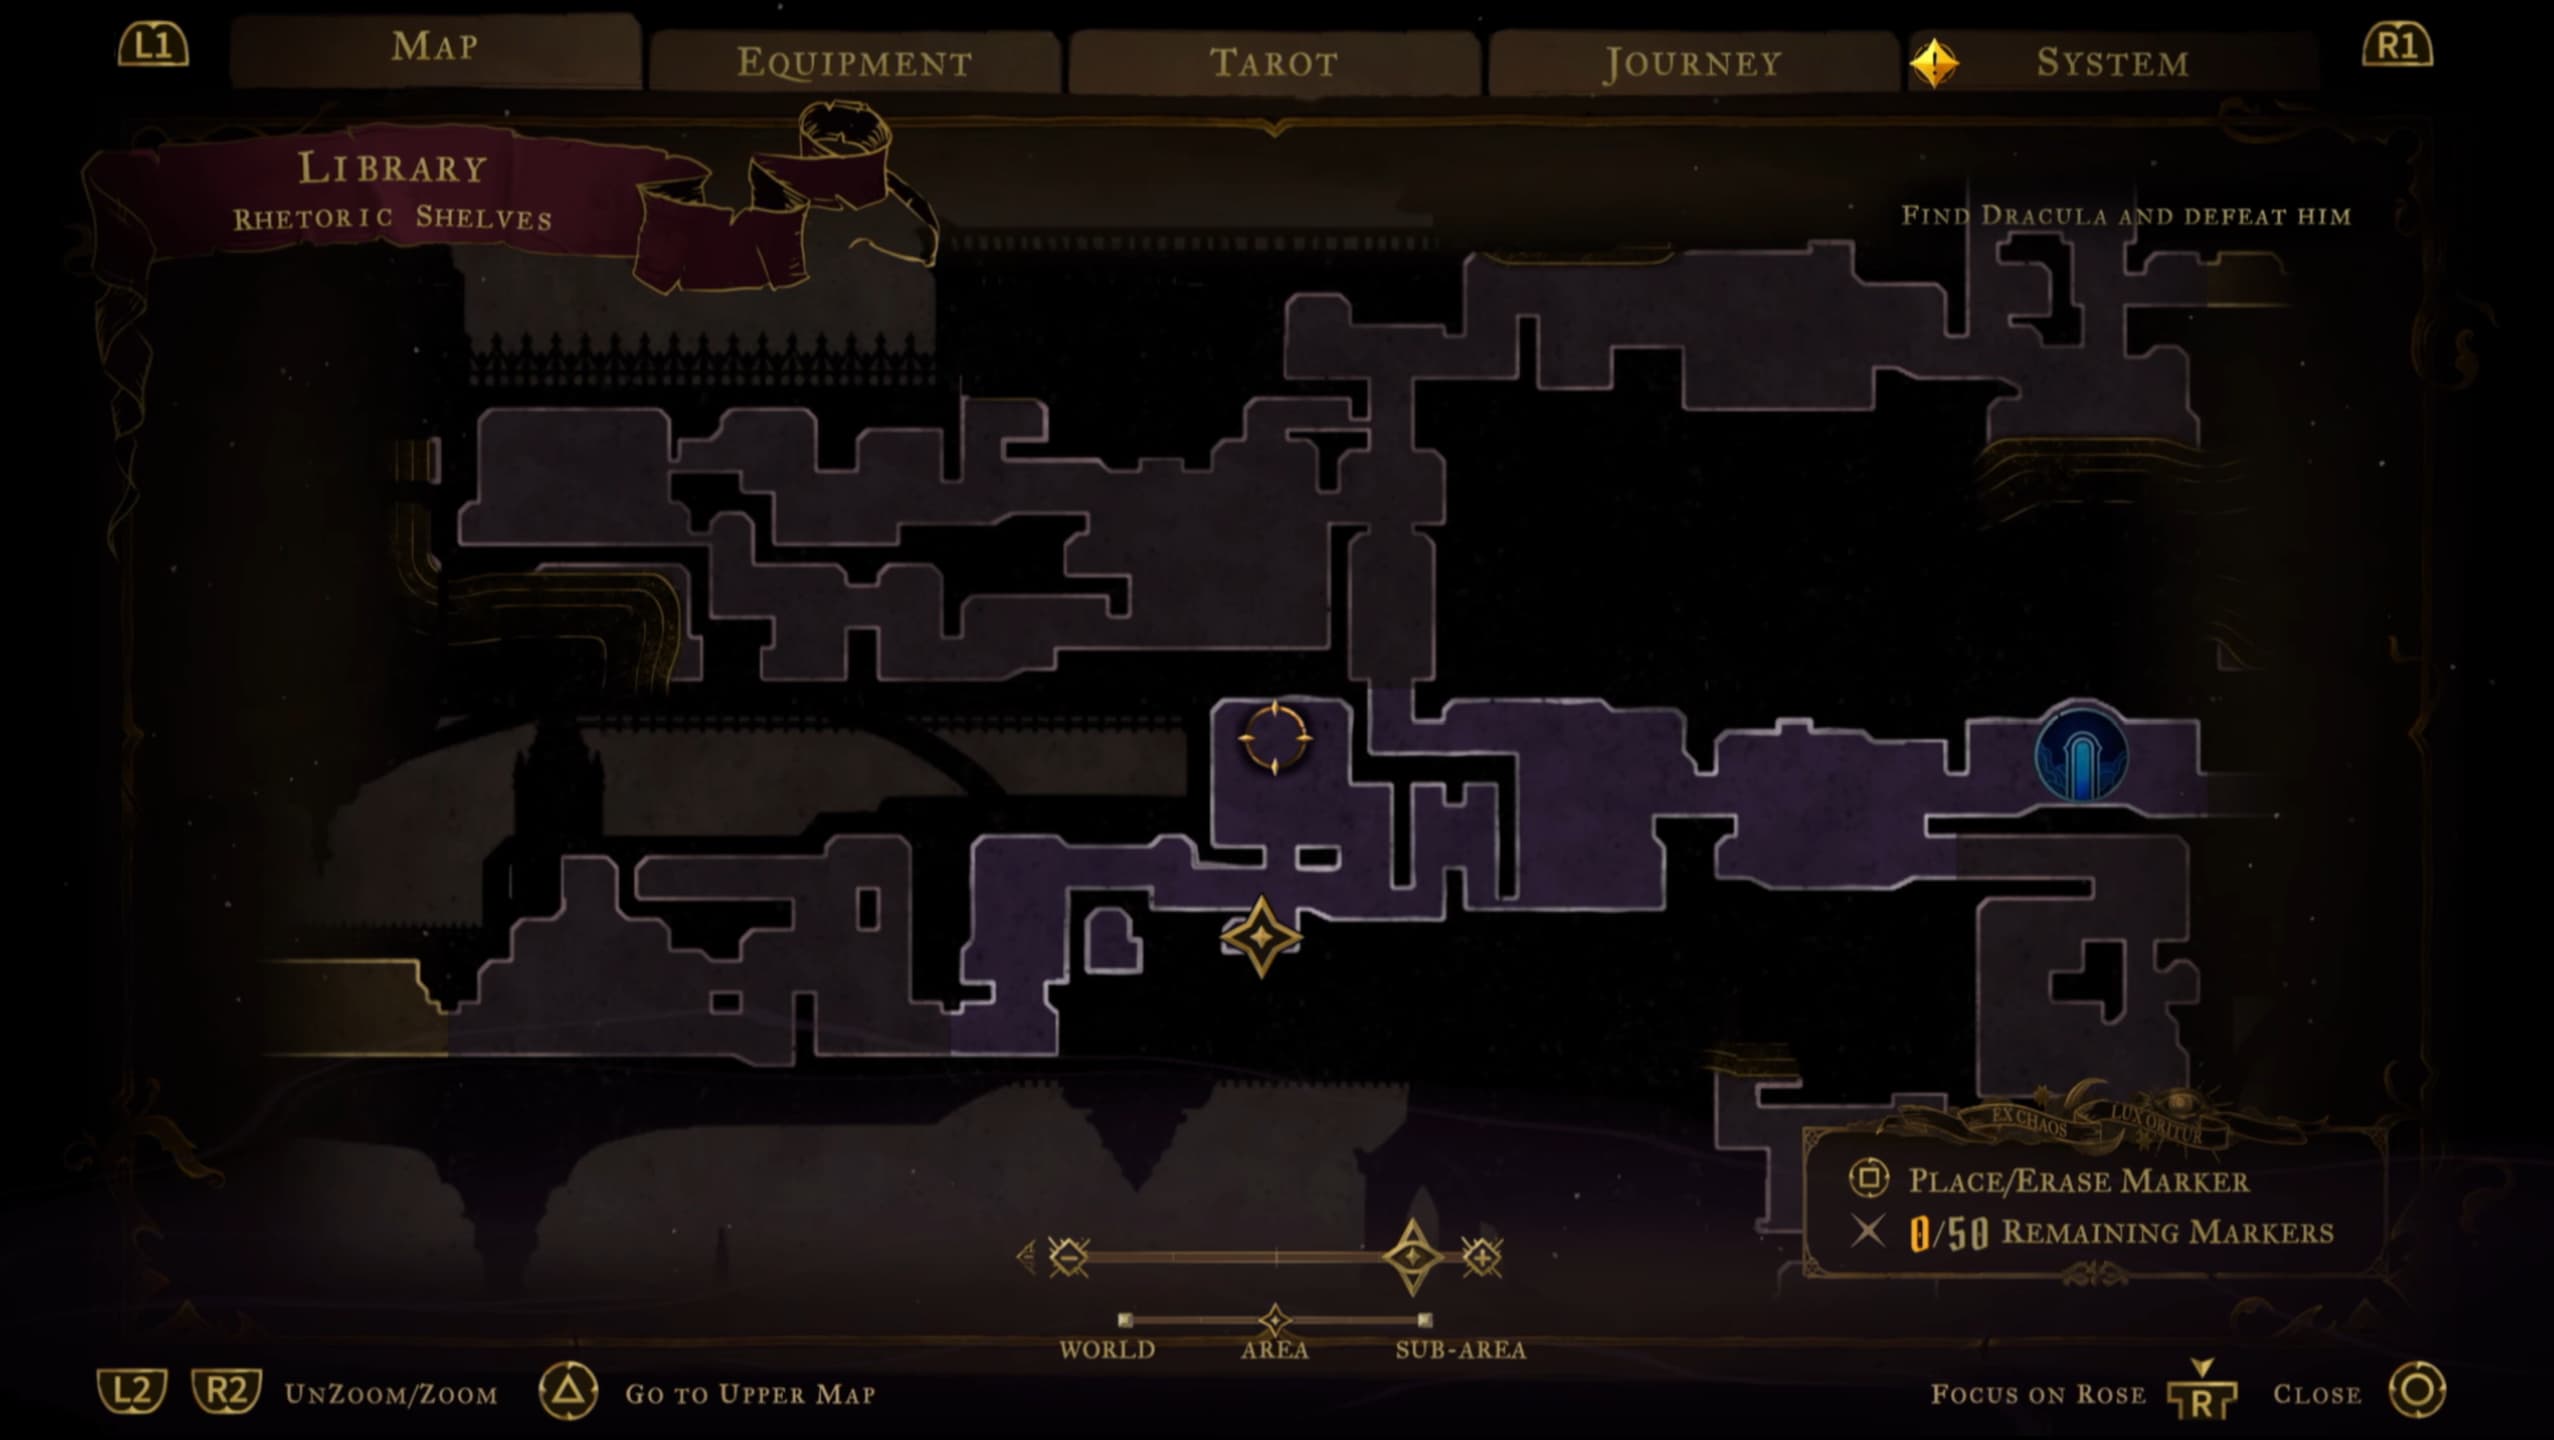
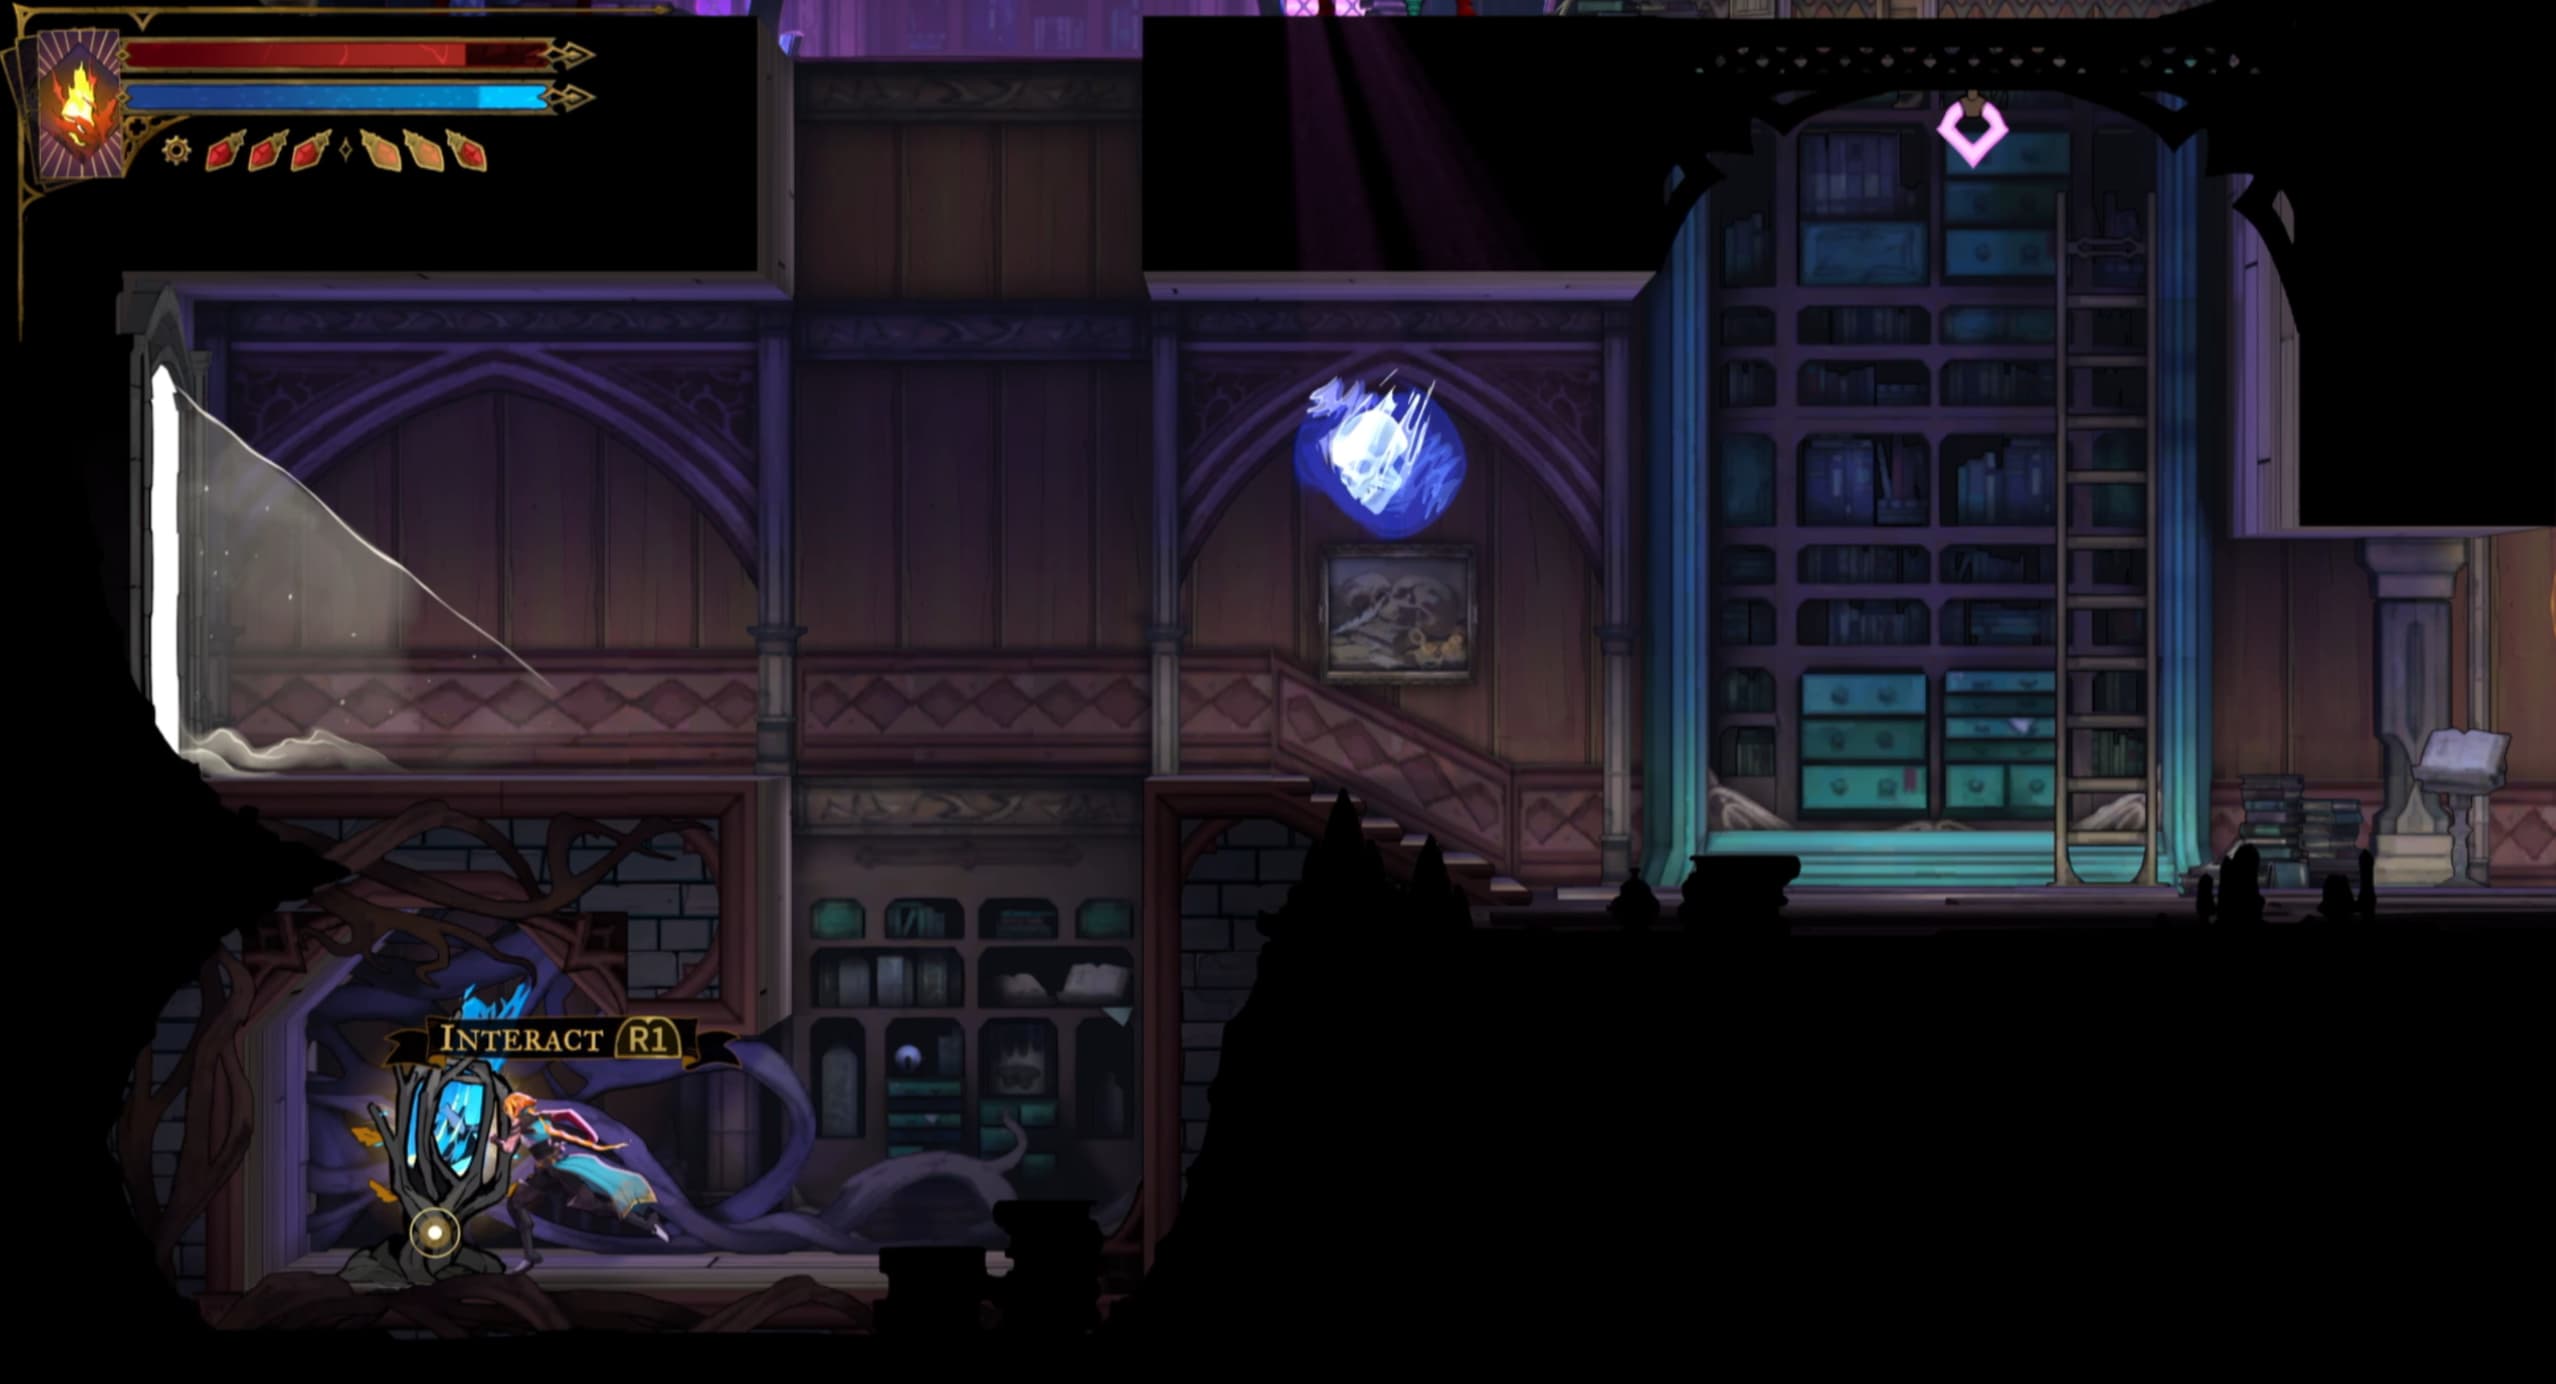
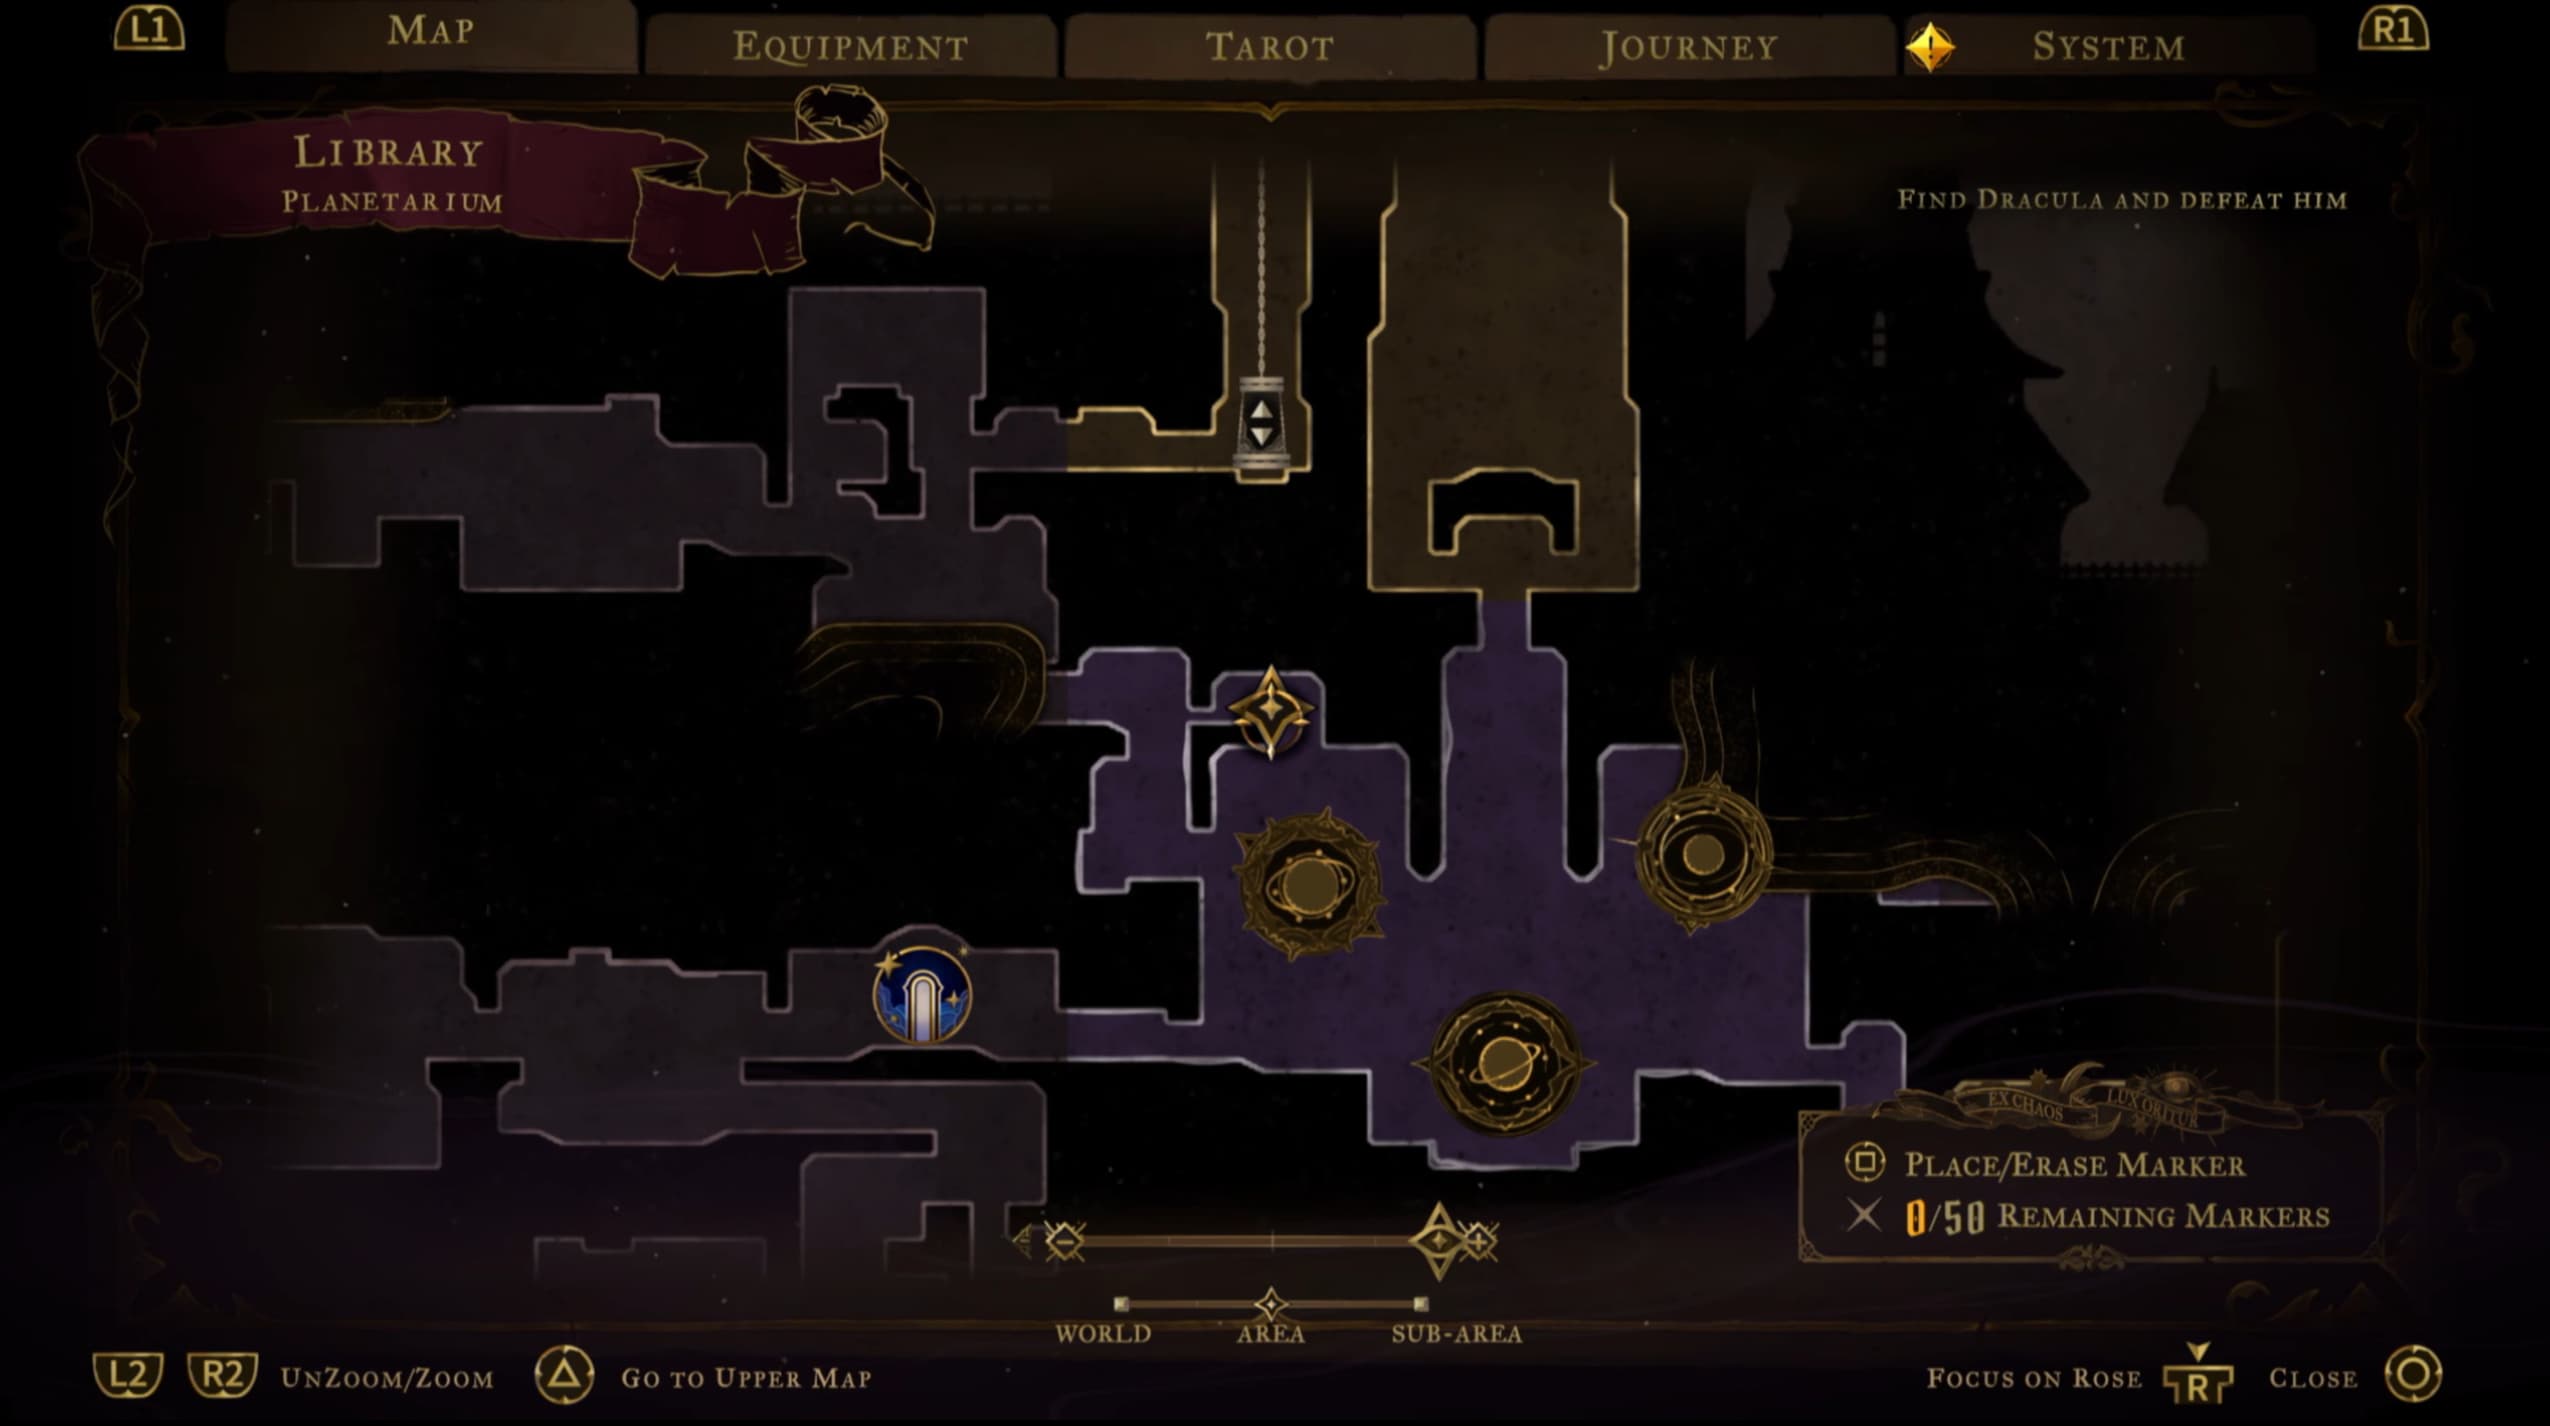
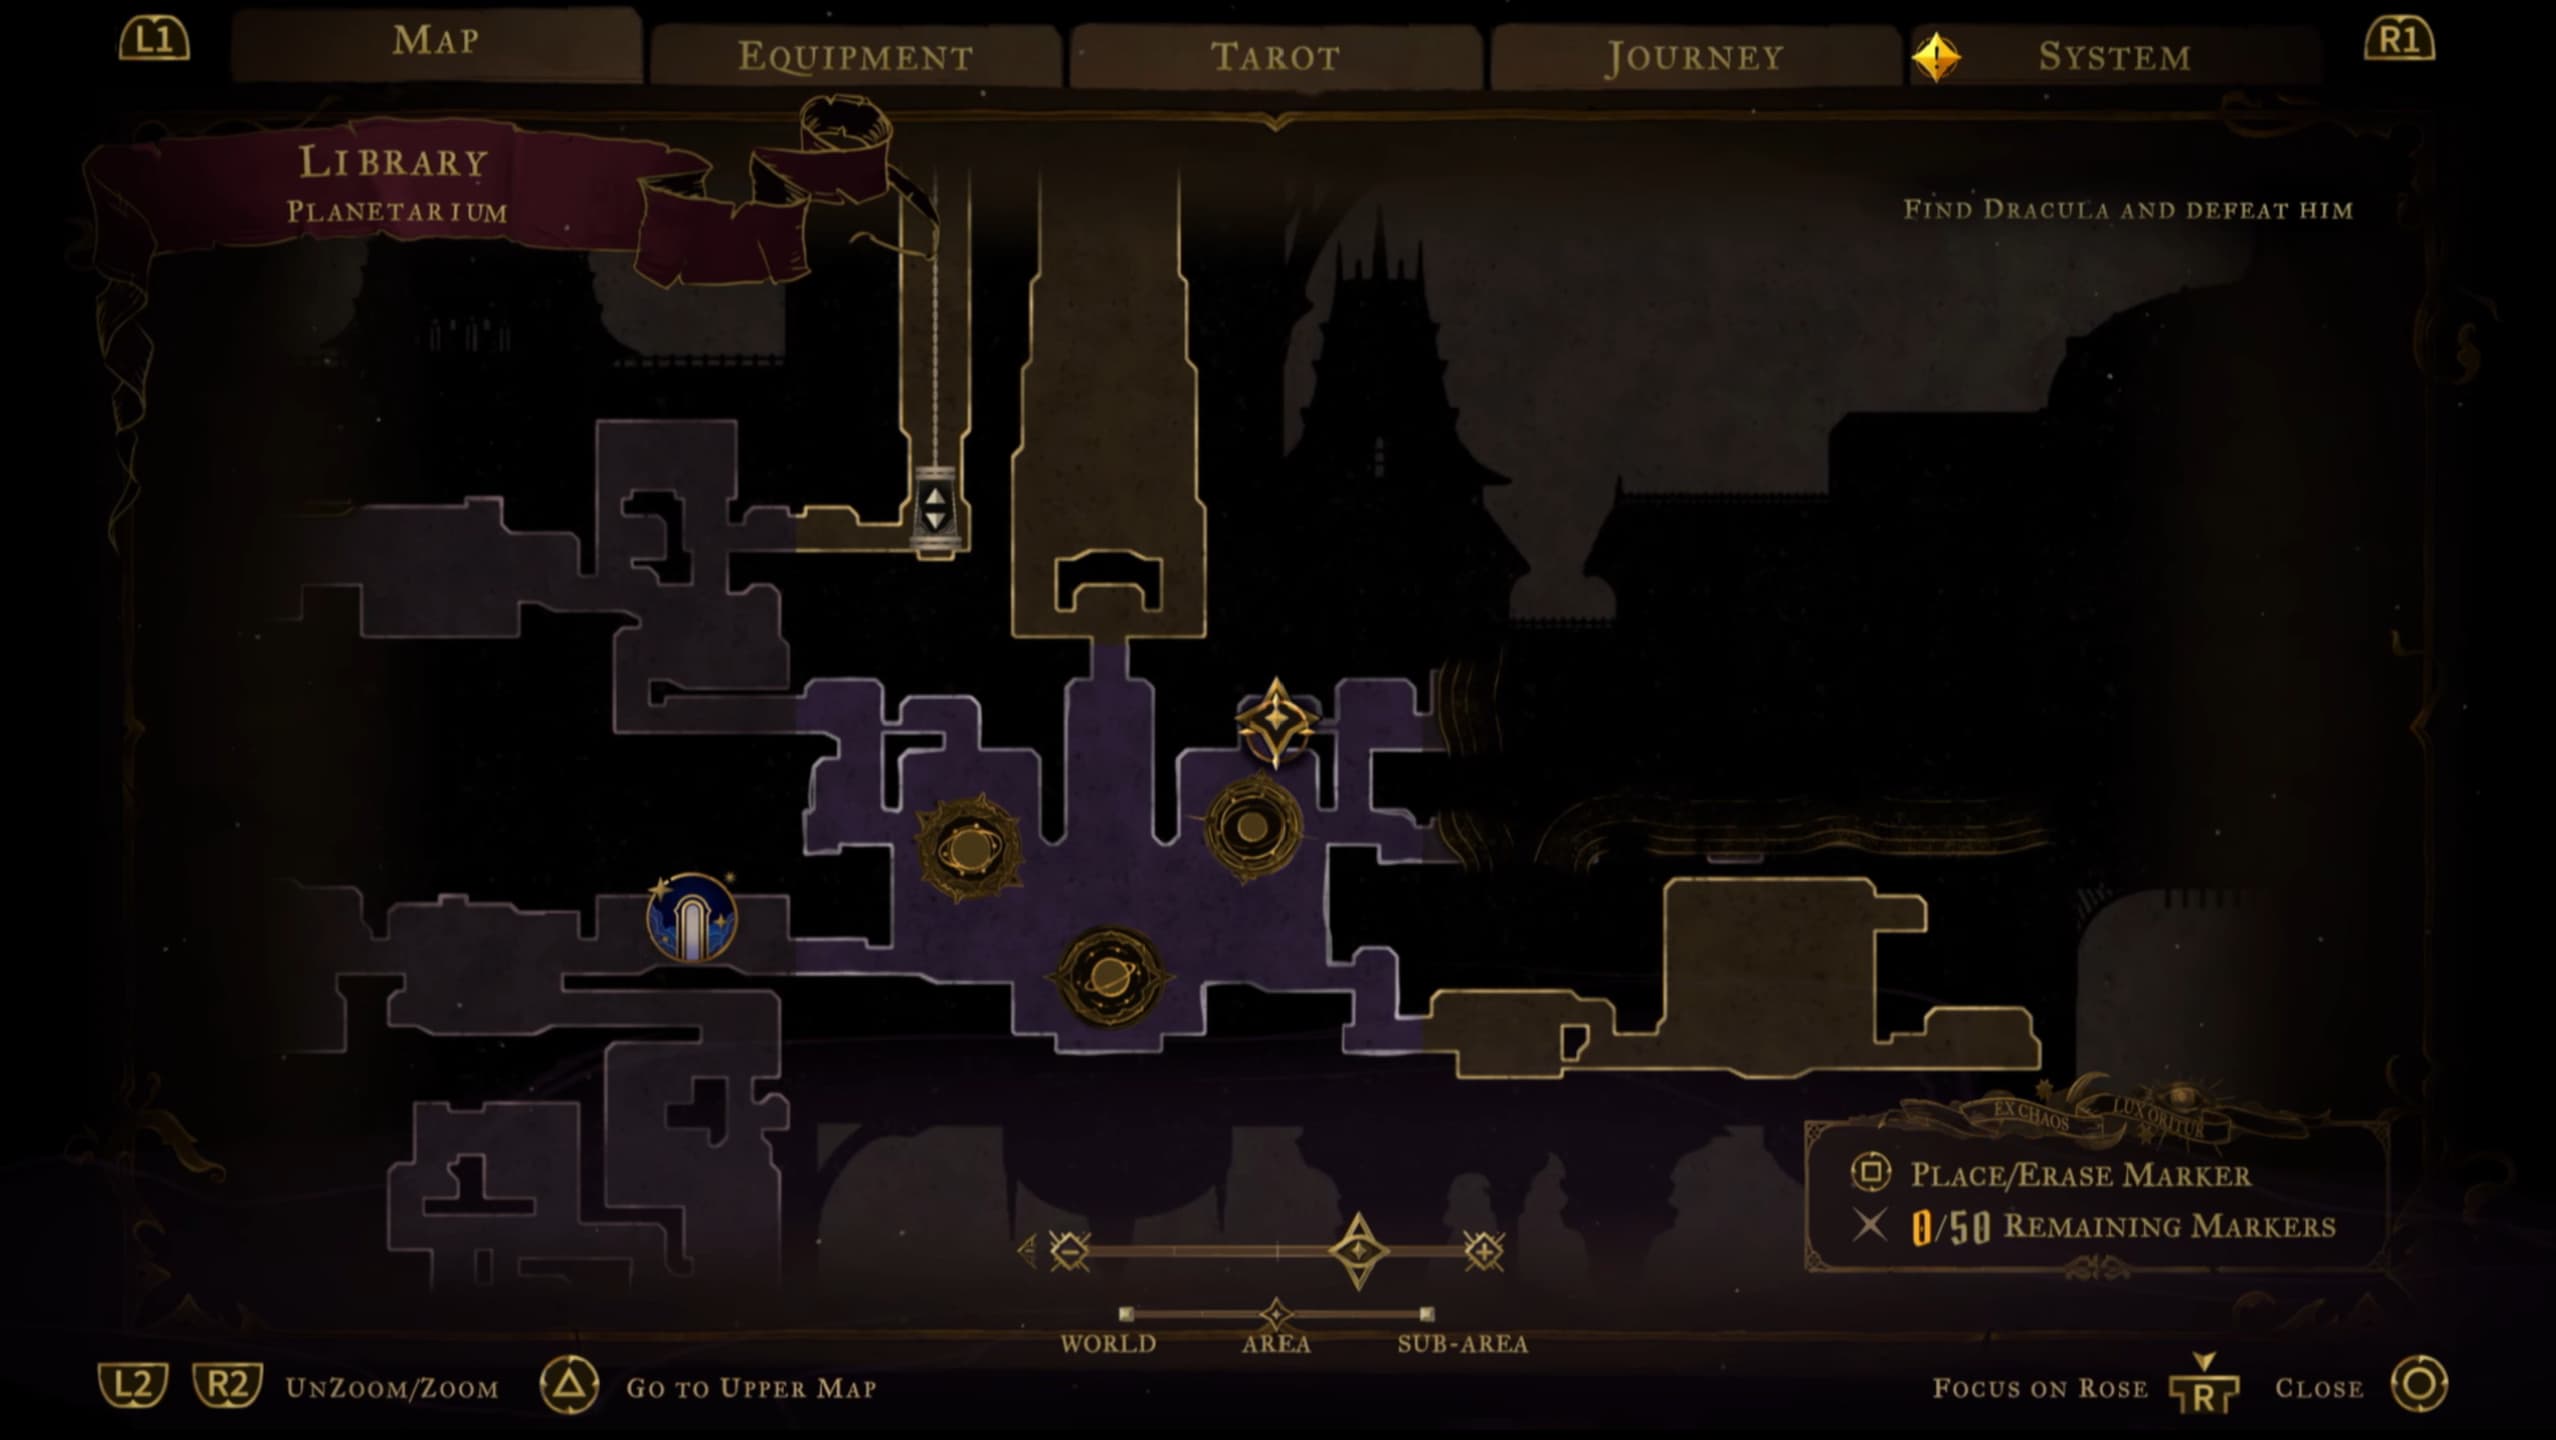
For the first Heart Fragment in the Library, make your way to the pointer on the map shown below.
For the next Fragment, make your way to the circle pointer on the map shown below, and you will need to drop all the way down to find the Fragment a the bottom of this section.
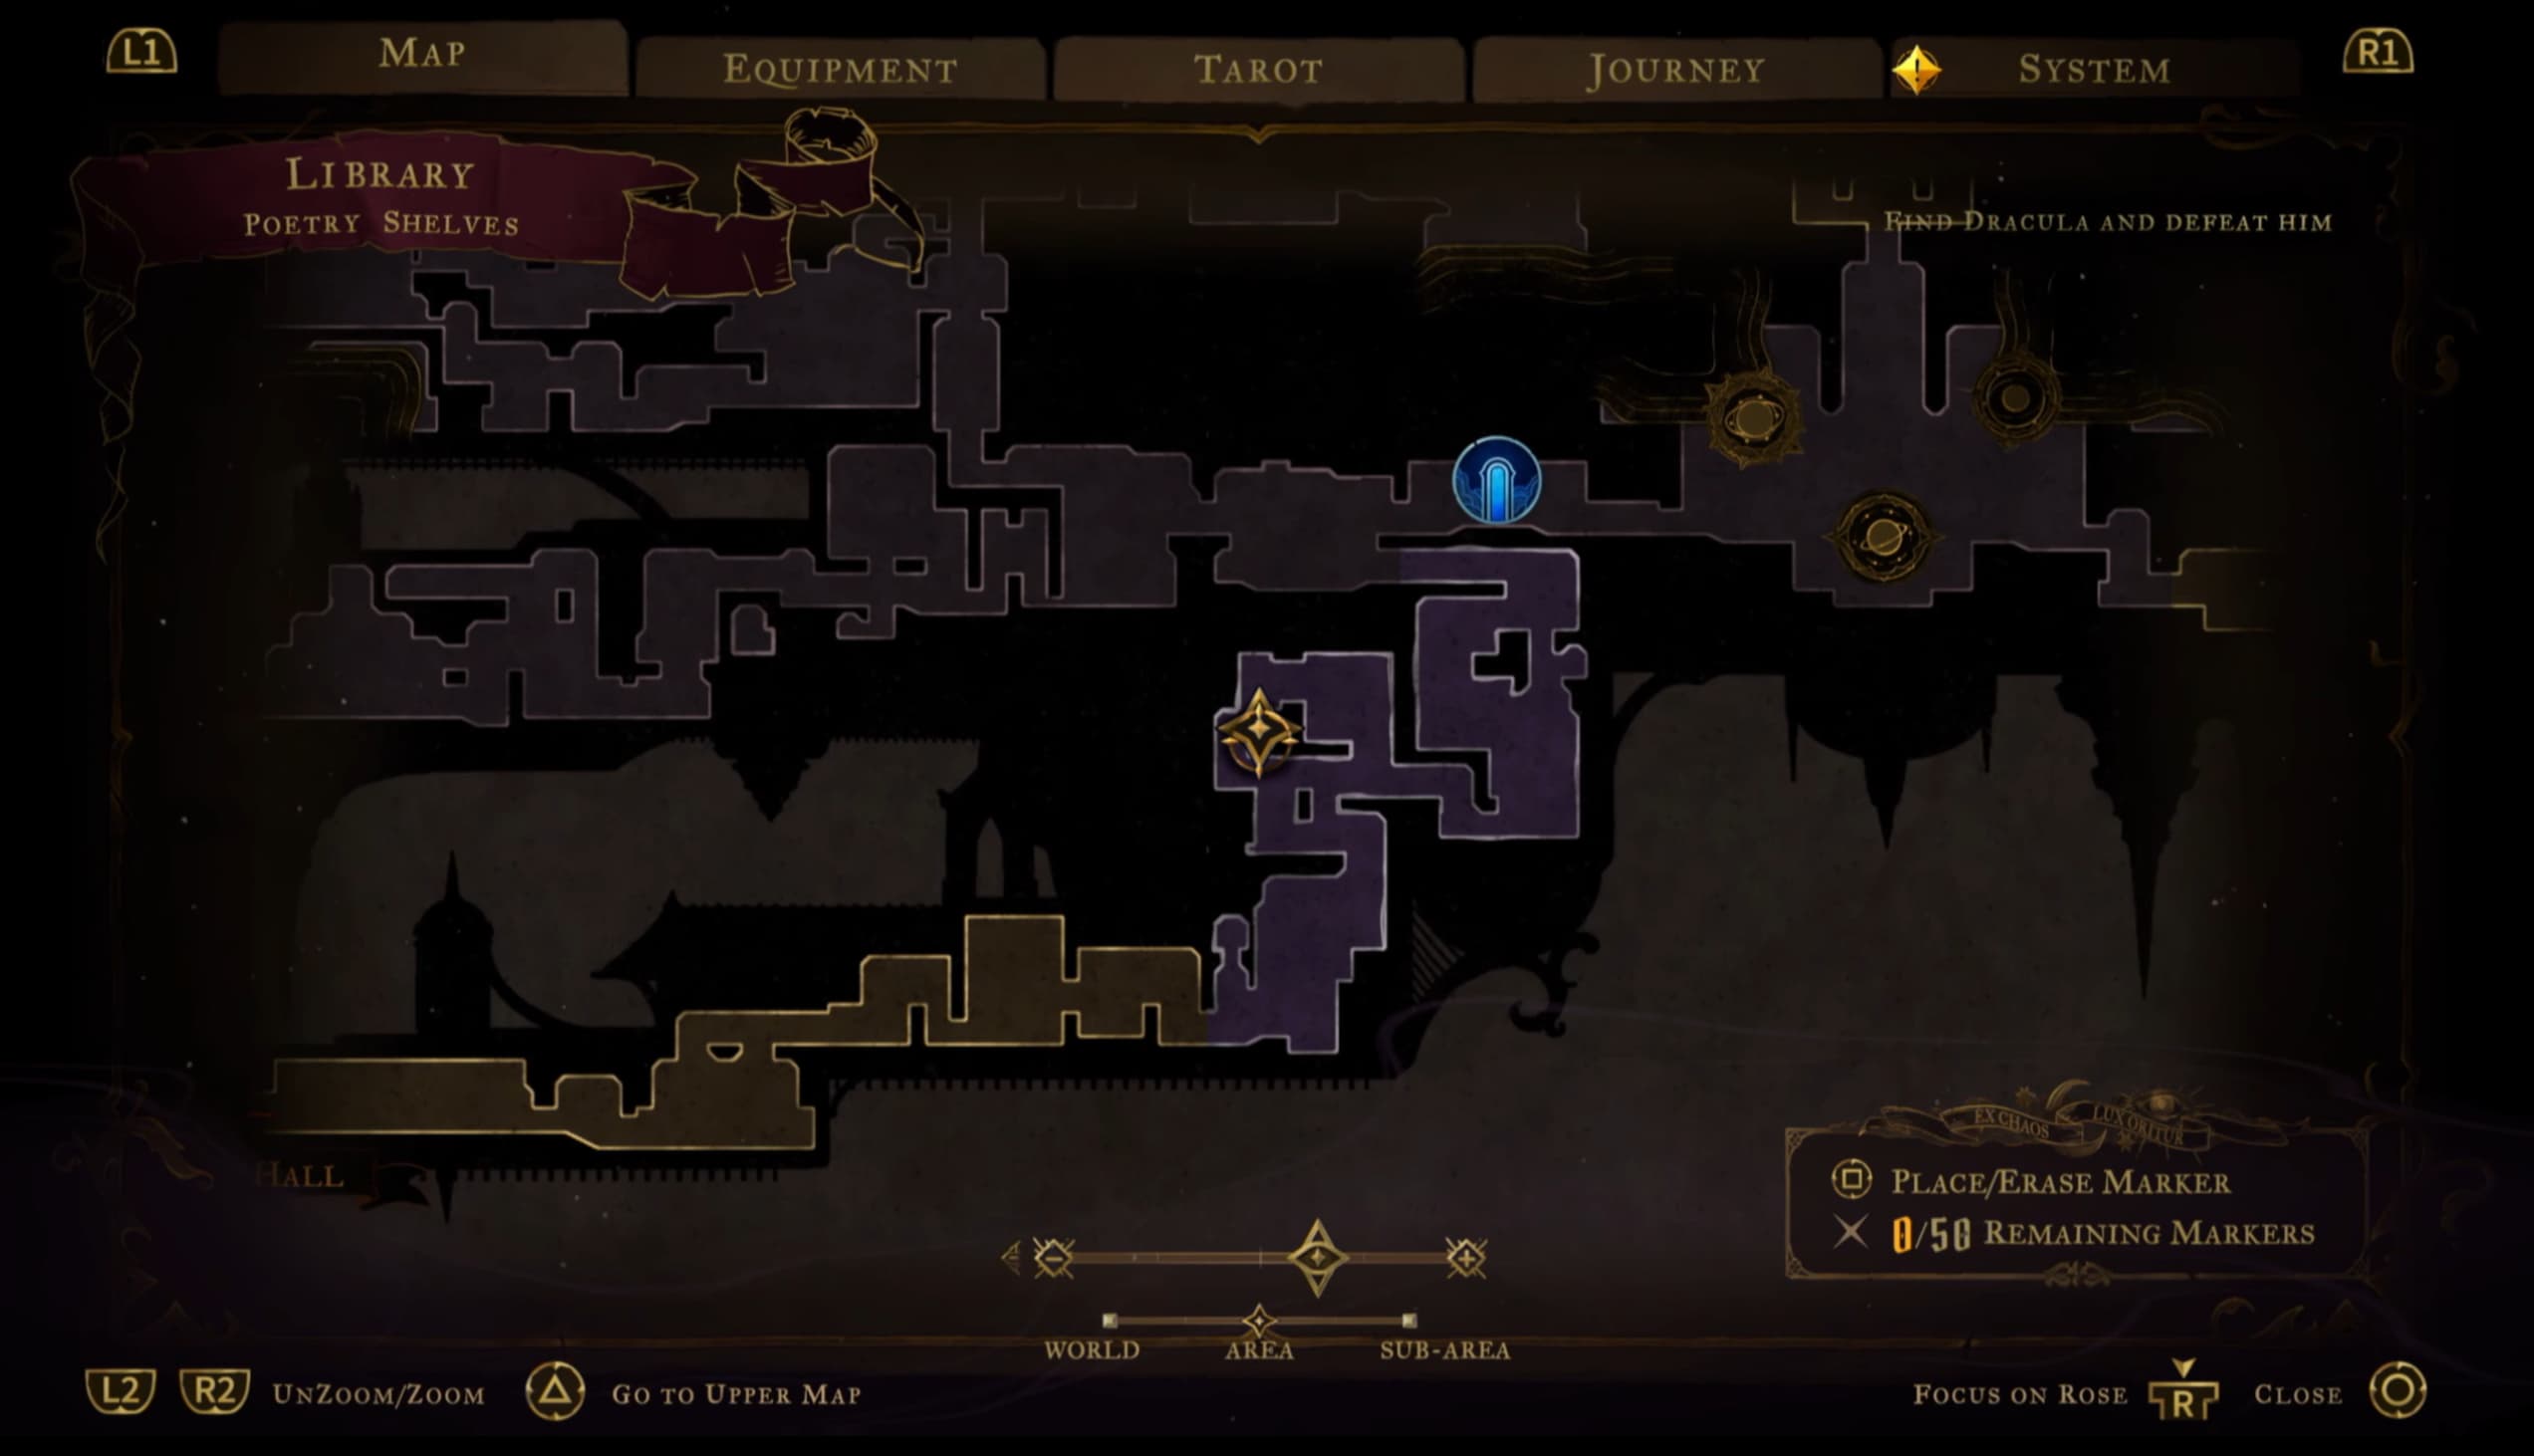
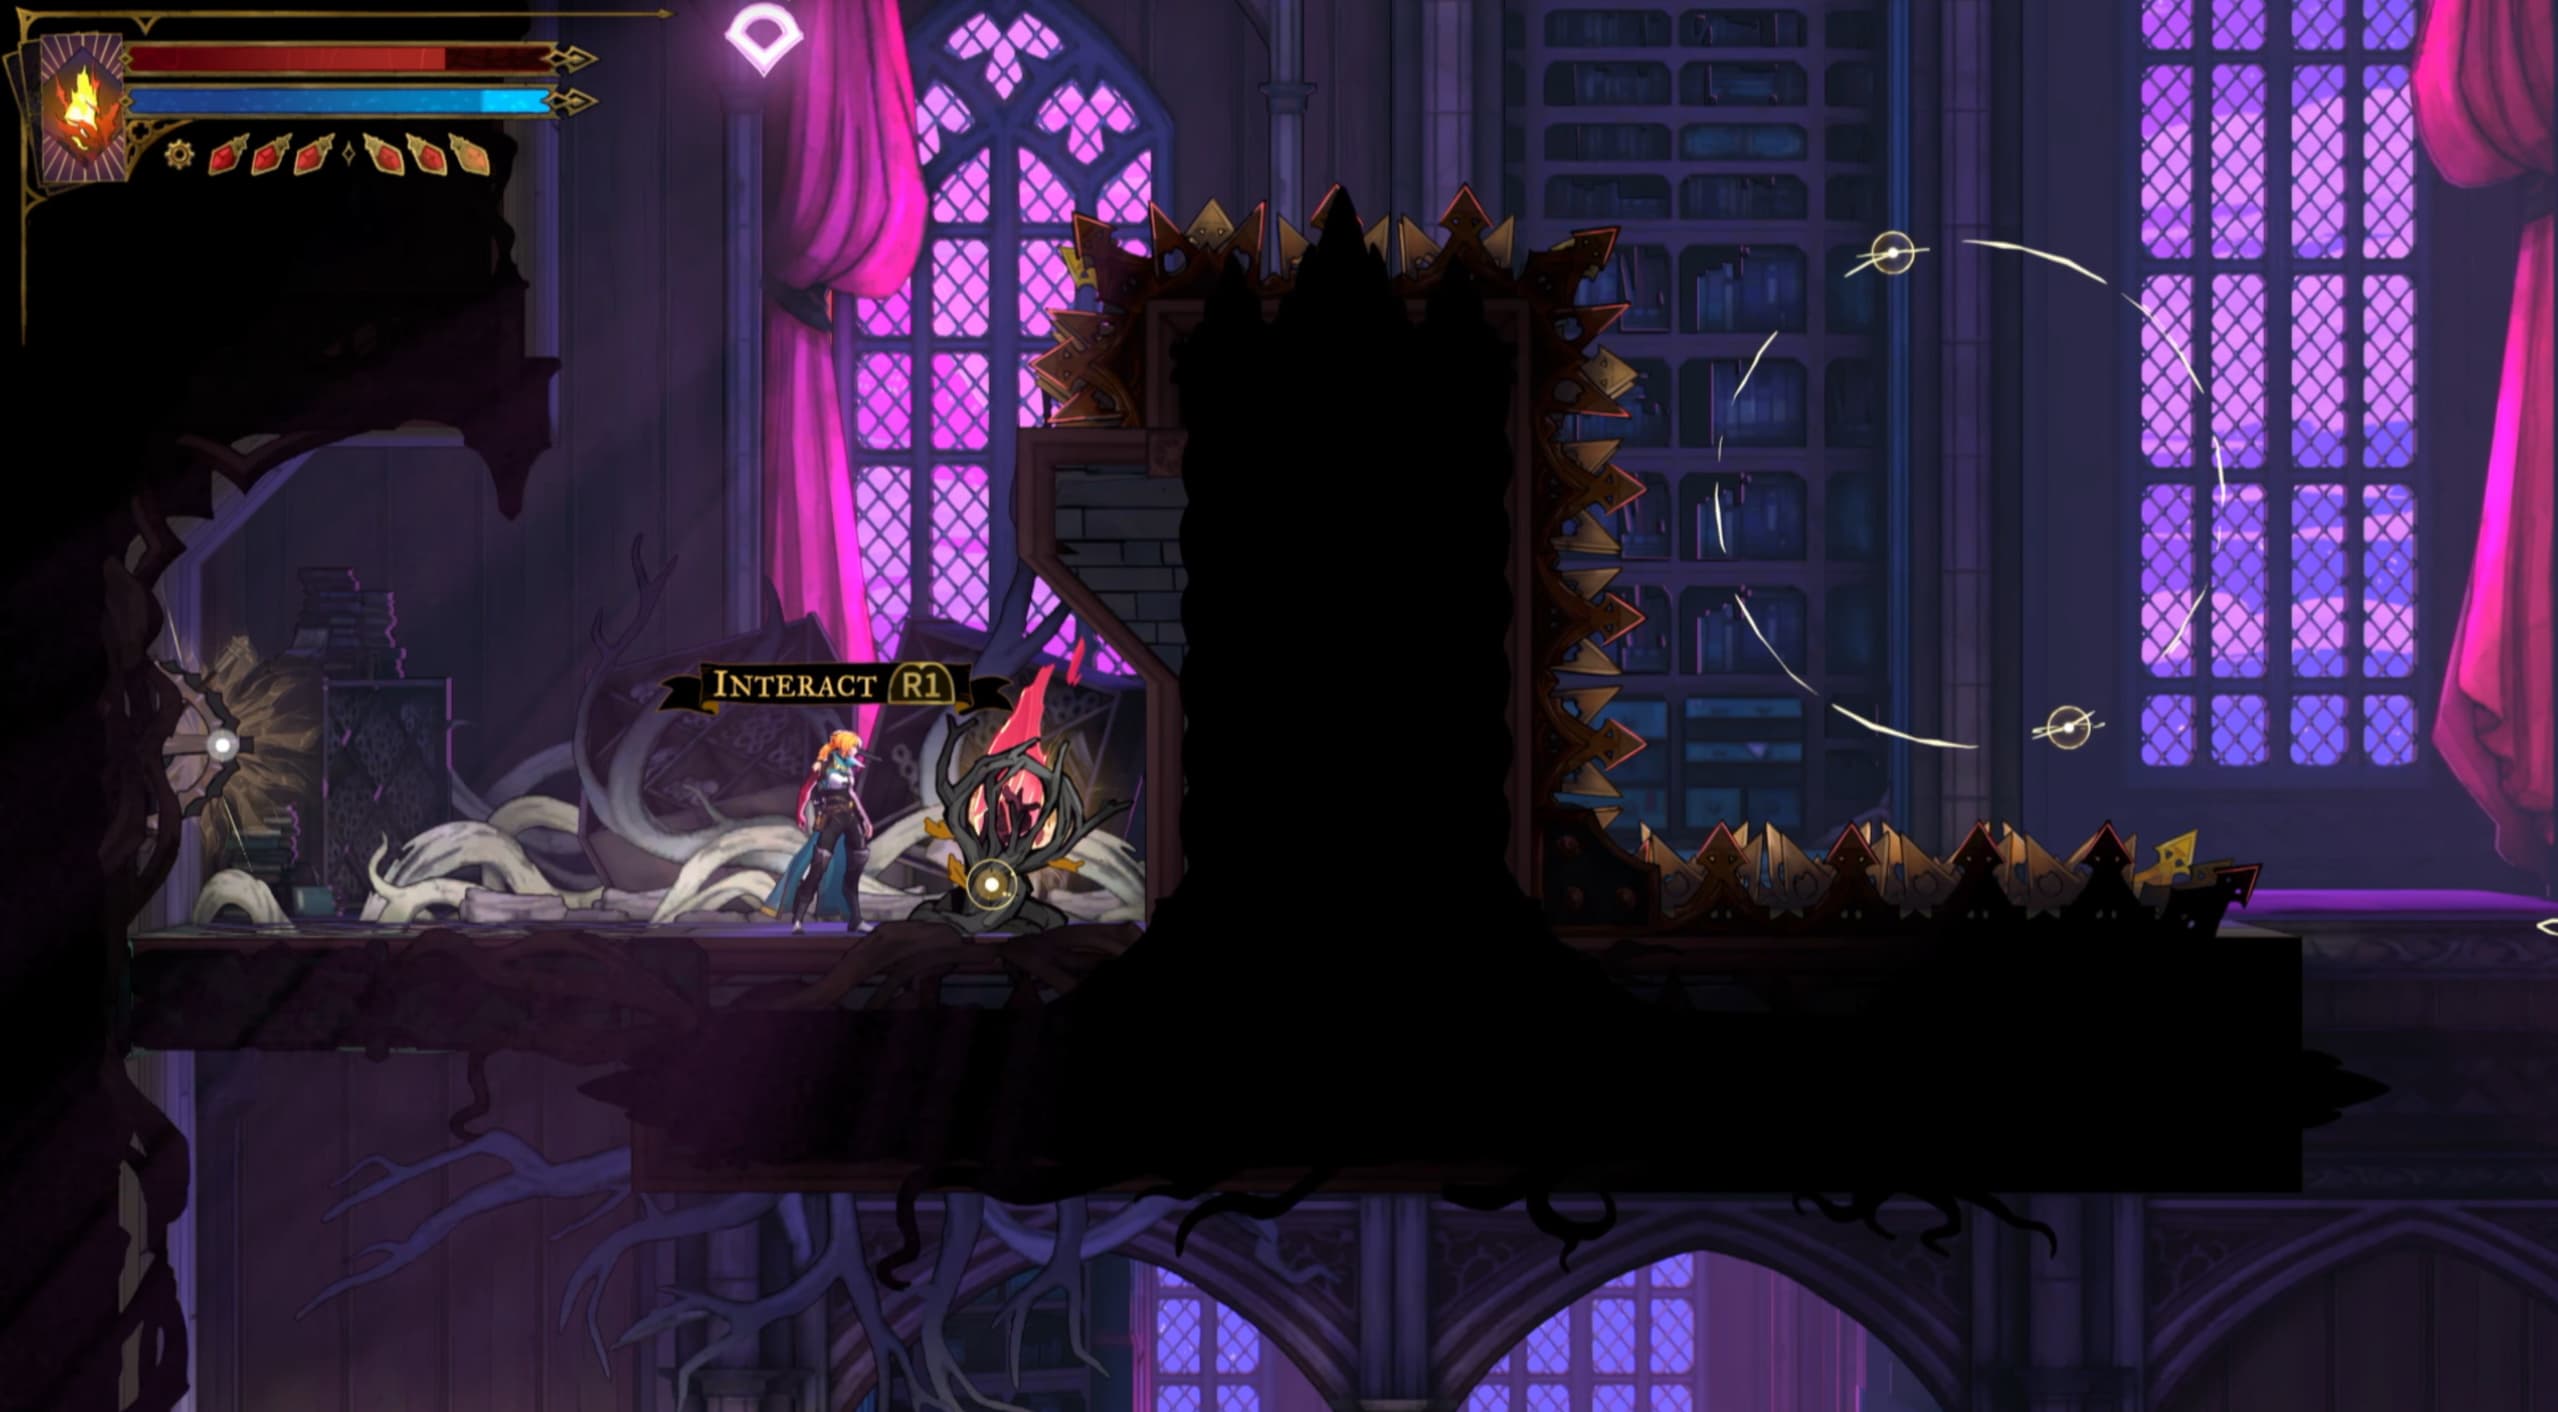
For the next Fragment, make your way to the pointer shown in the map below, you will access this room from the right and will make your way up and over to the left to get to the Fragment.
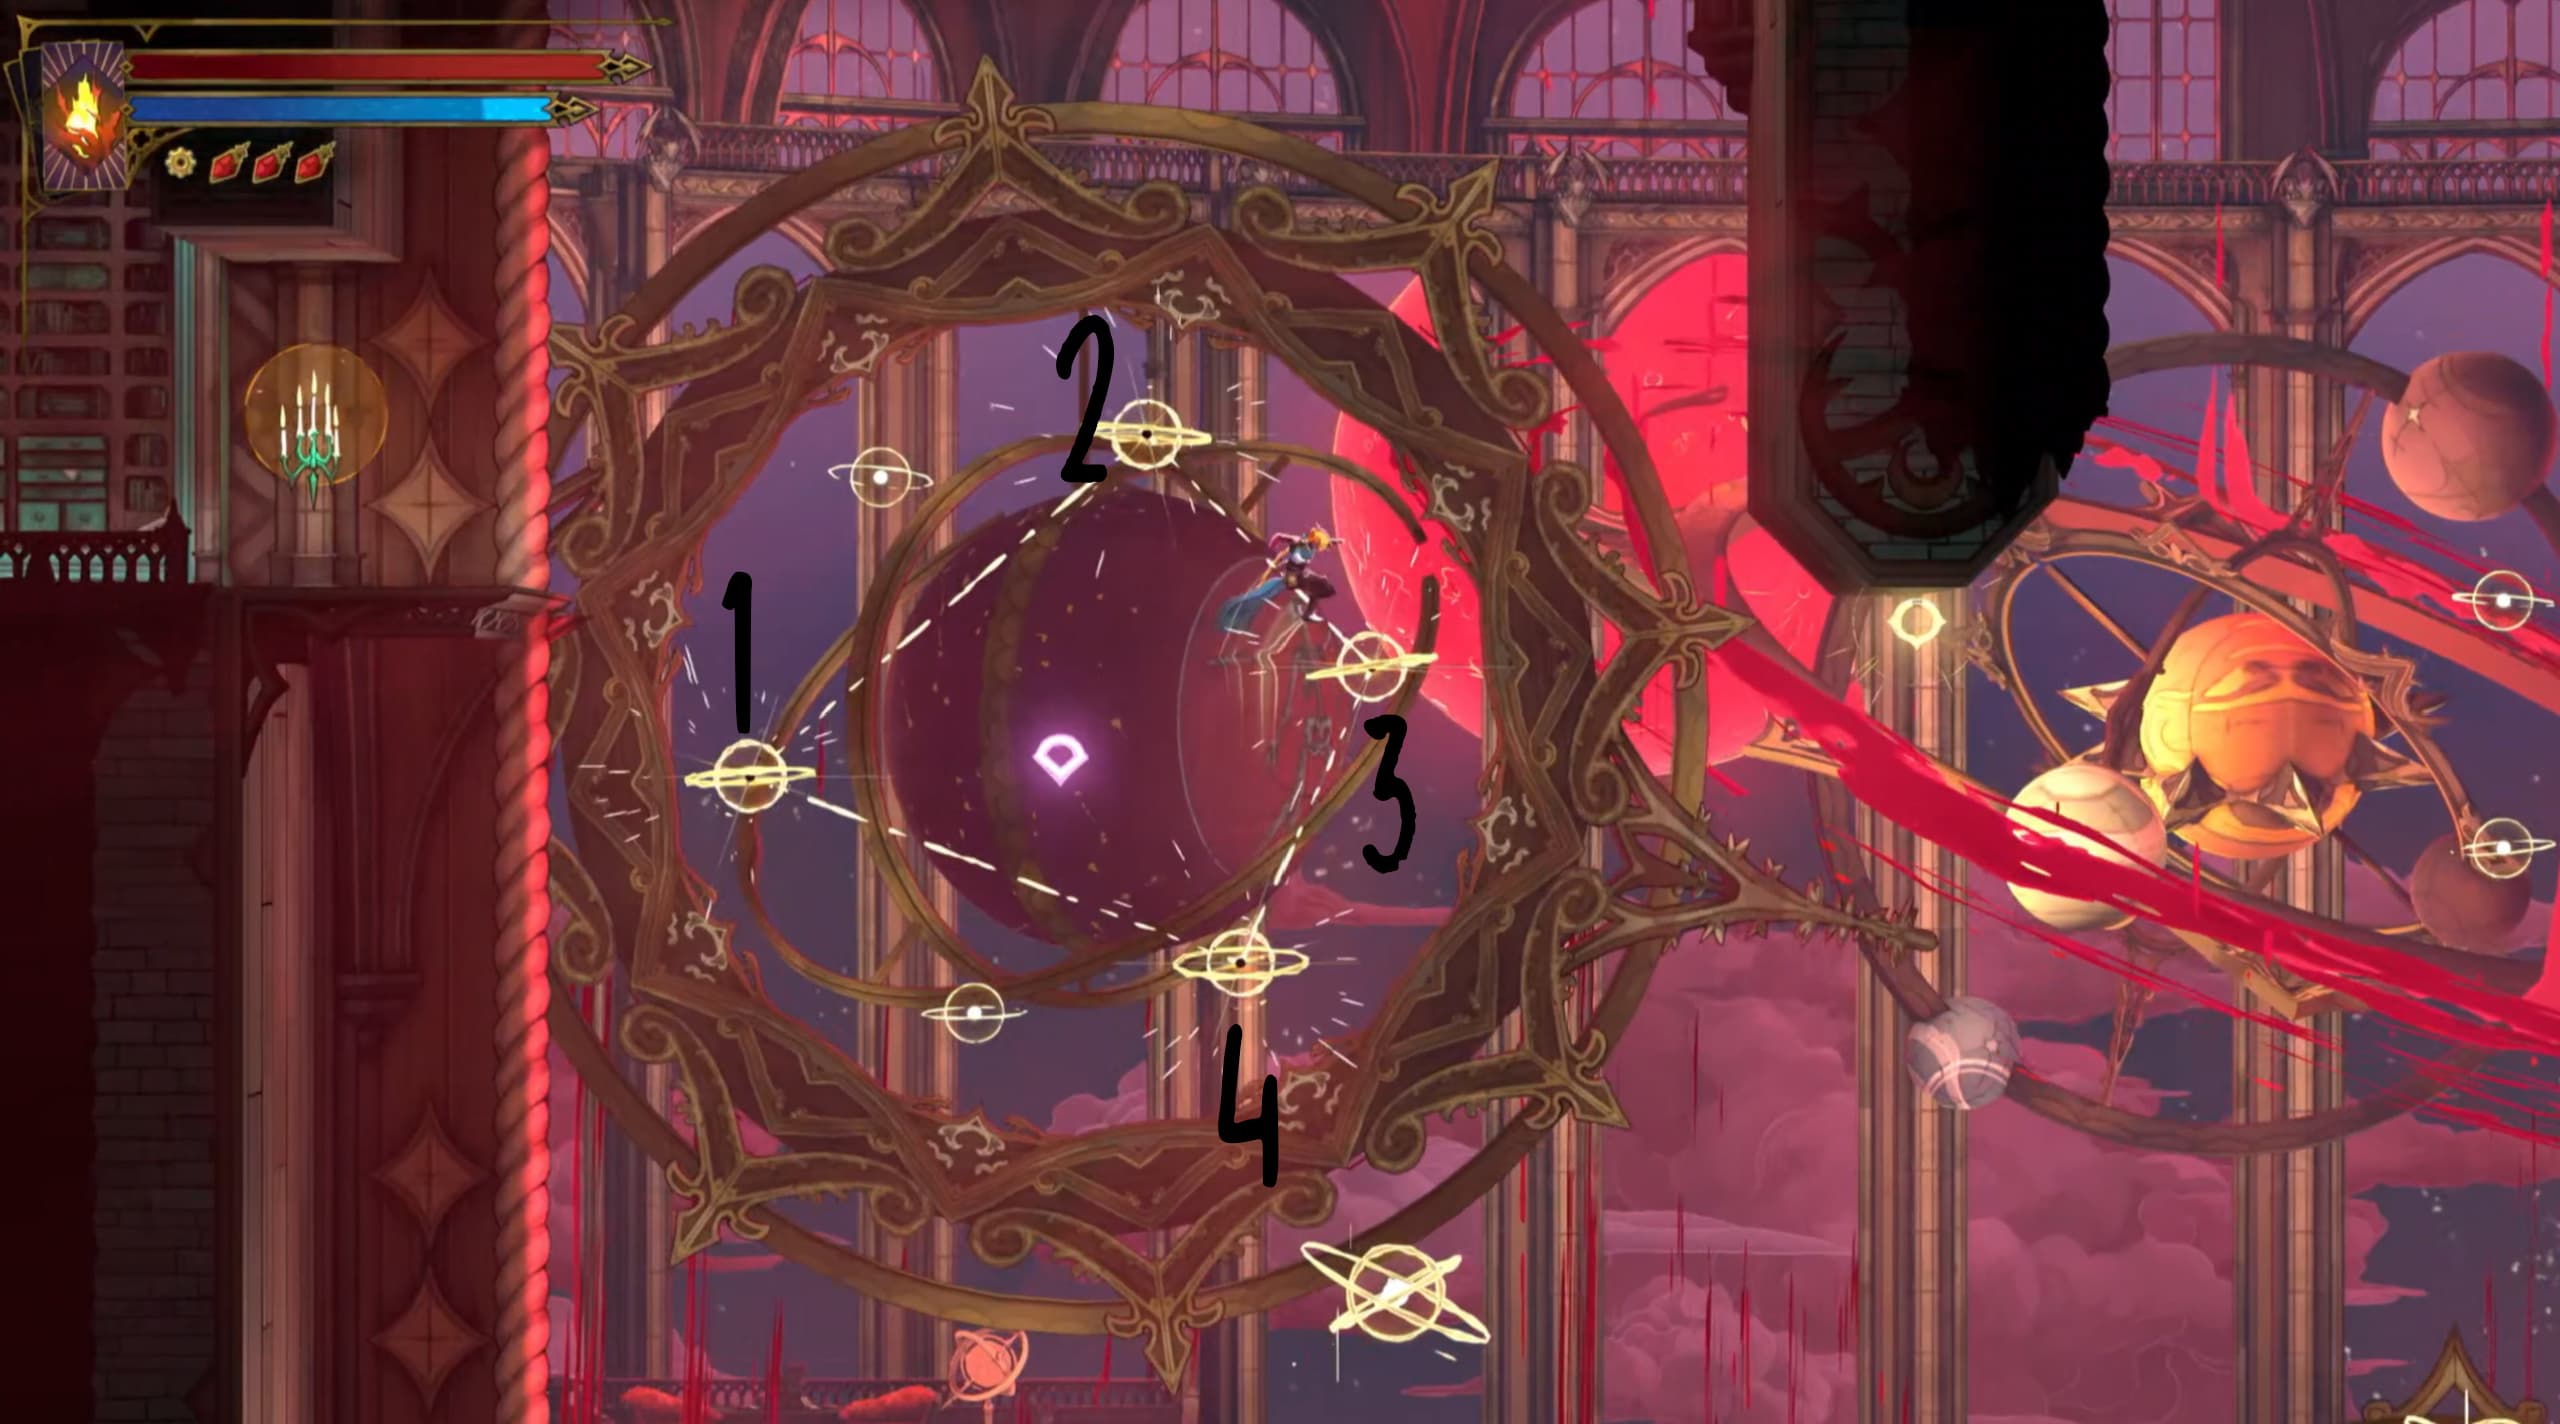
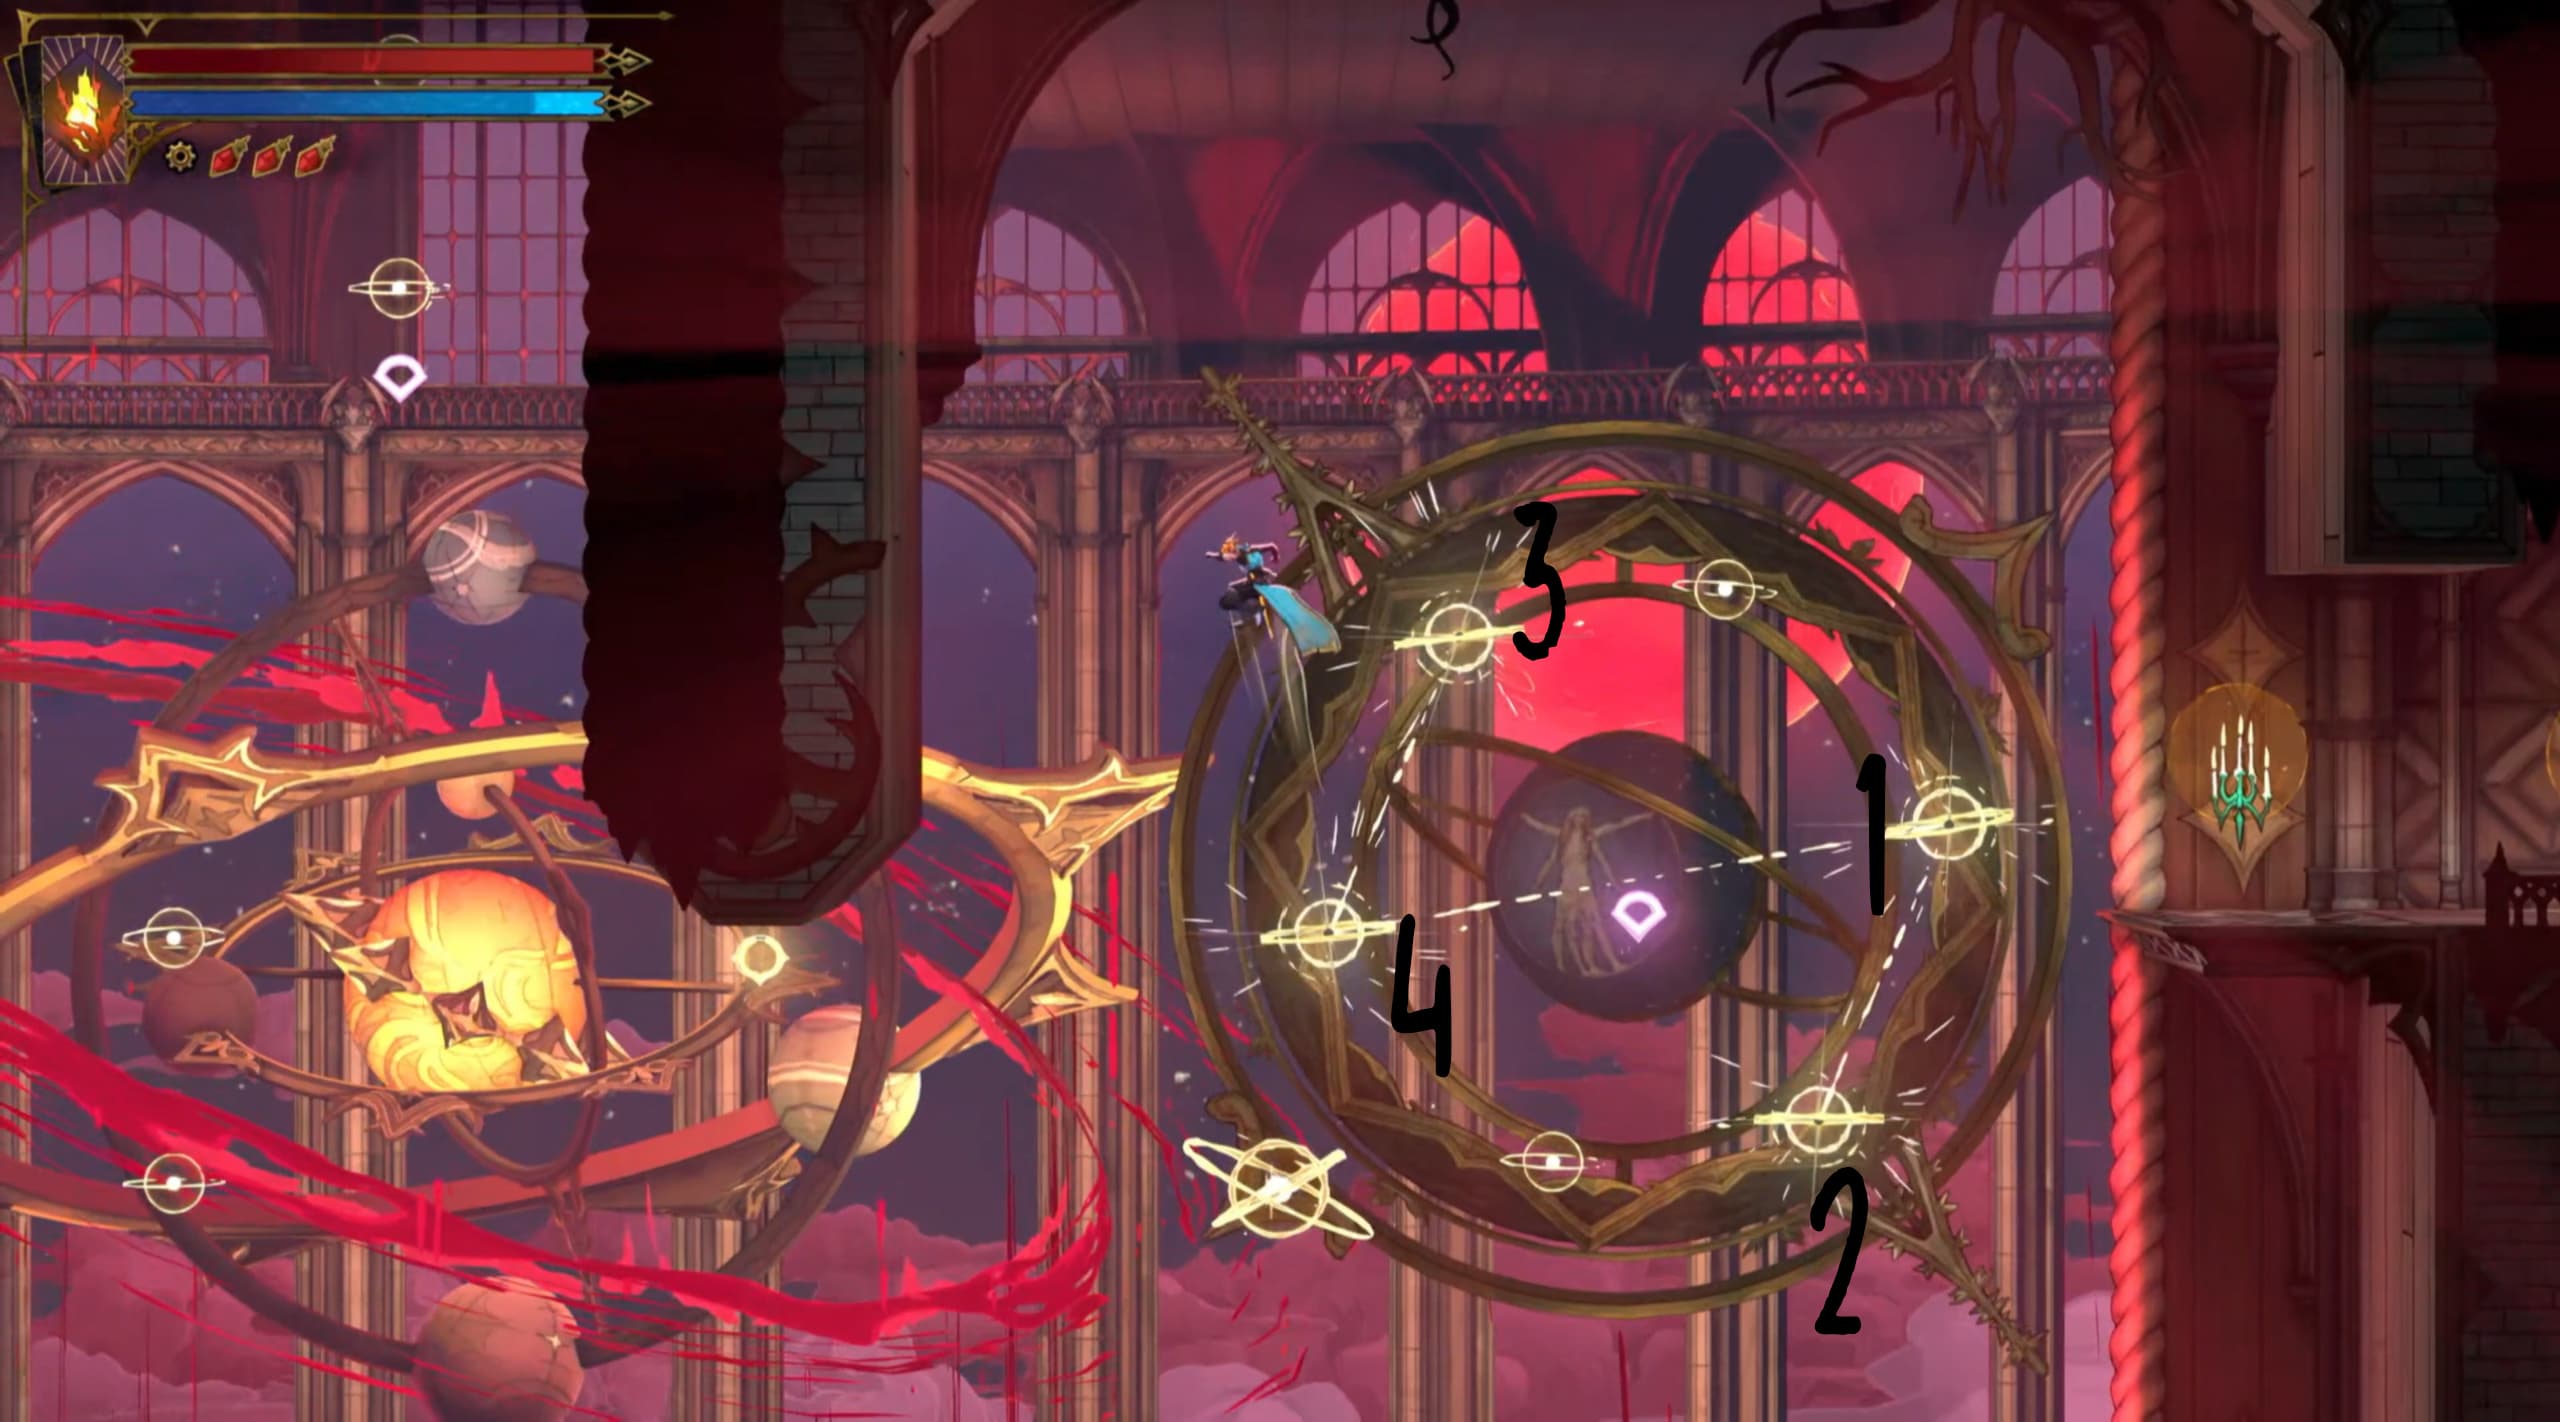
For the next Fragment, you will need to copy the exact constellation pattern as I show below to access the Fragment above, there will be 2 like this, the first being located here on the map.
Make sure that you are jumping on the stars in the right order to create to constellation, this will then reveal a new jump point to use to access the Fragment above.
Note: You can jump on the stars in any pattern AFTER the constellation is made to make your way upwards to the Fragment.
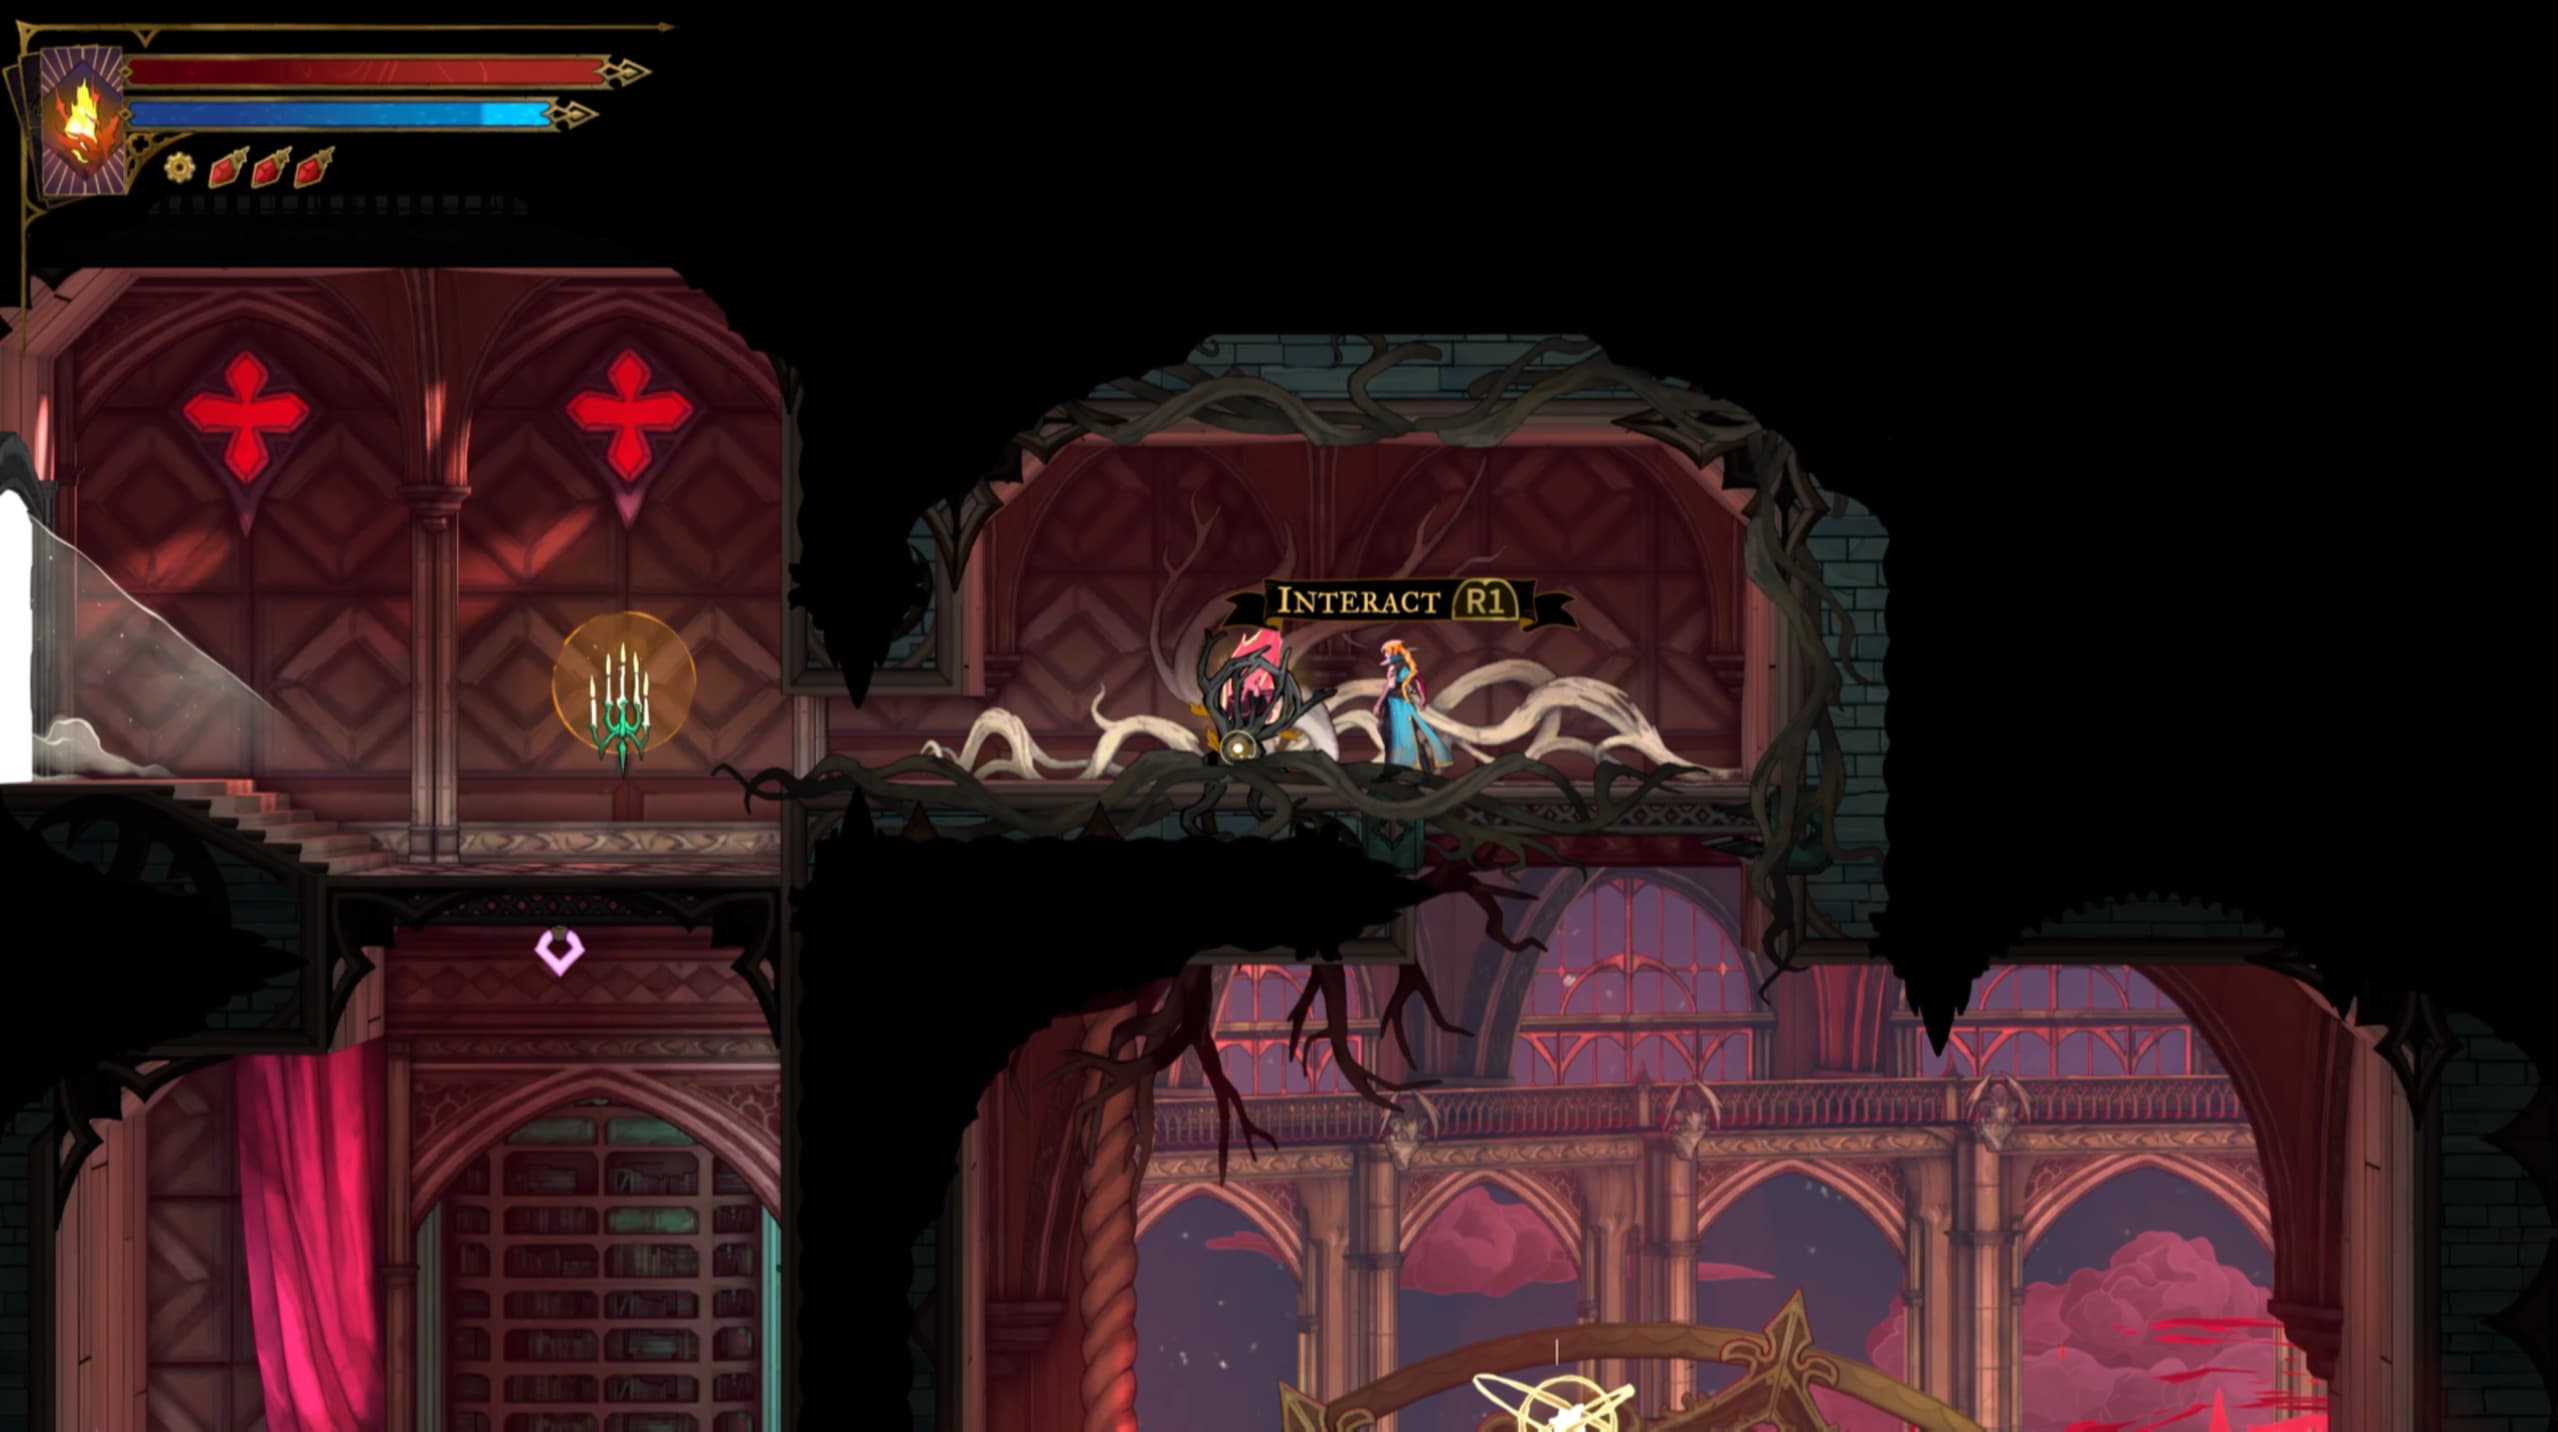
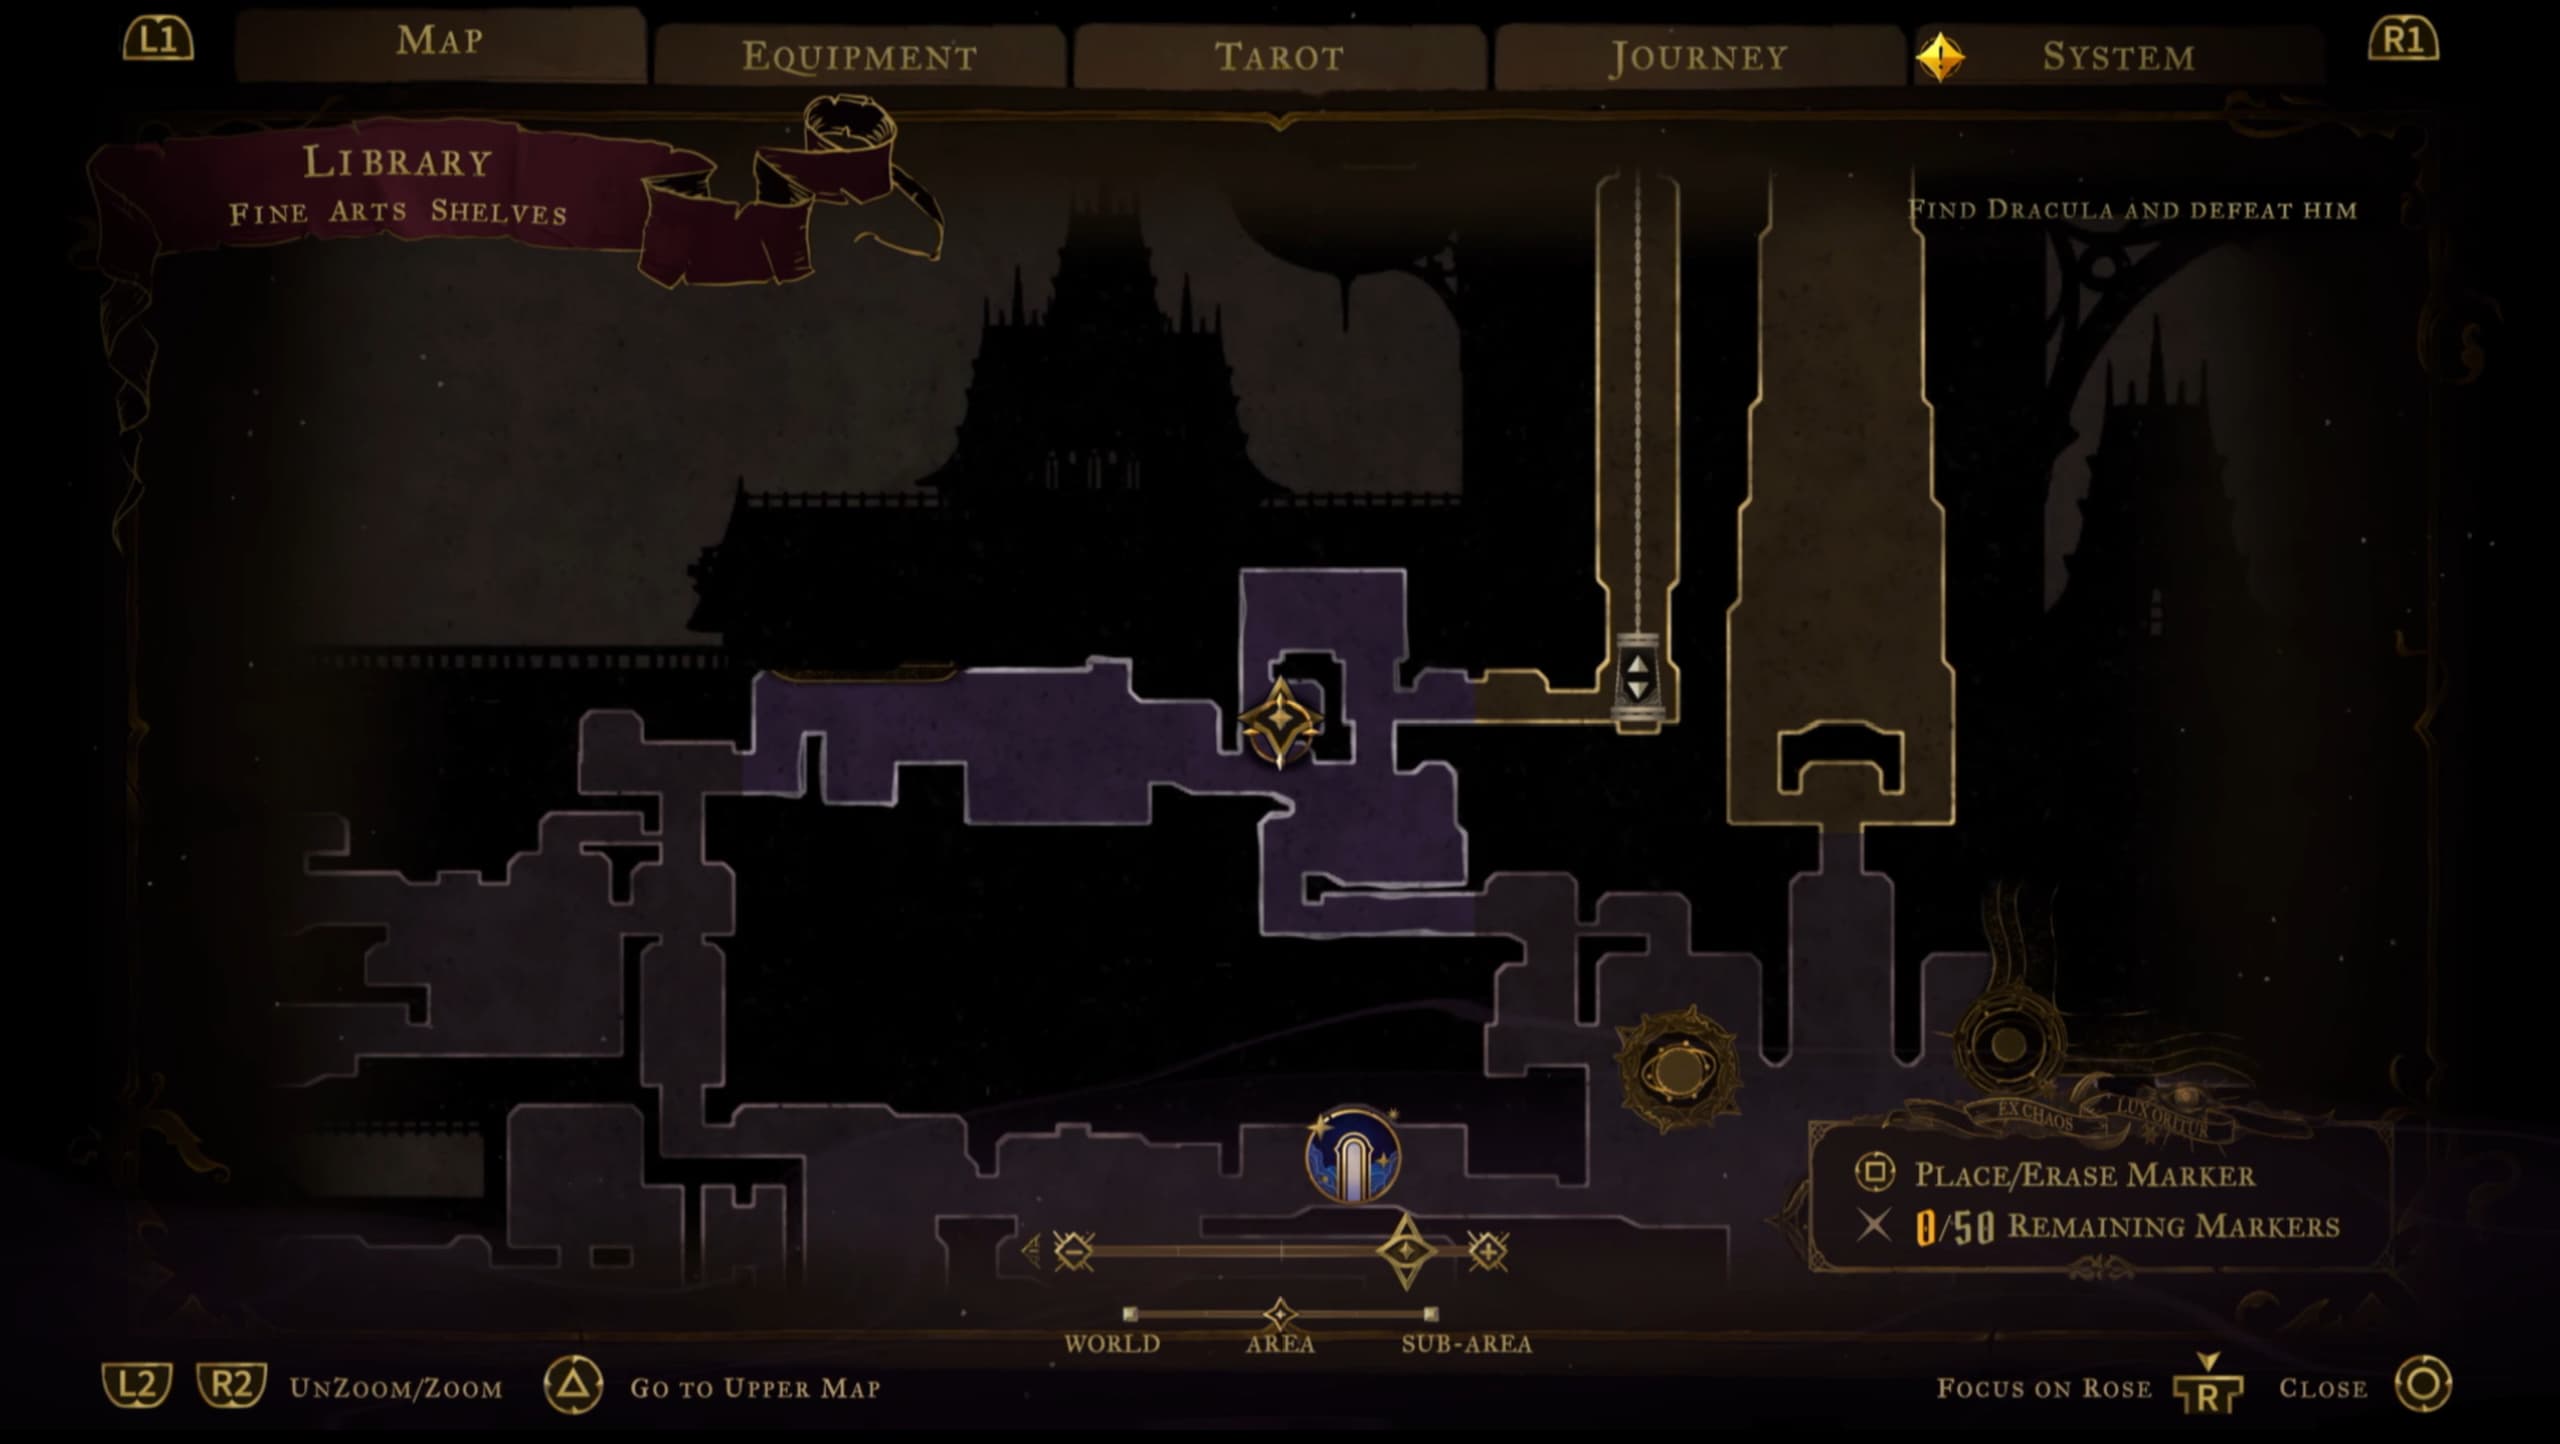
Coming back to the constellations in a moment, for now, make your way up to the left from the constellation room, to the pointer shown on the map below for the next Fragment.
For the final Fragment in this section, make your way back to the constellation room, but this time to the right side of it.
Just the same as before, make sure that you are jumping on the stars in the right order to create to constellation, this will then reveal a new jump point to use to access the Fragment above.
Note: You can jump on the stars in any pattern AFTER the constellation is made to make your way upwards to the Fragment.
Hall Of Mirrors
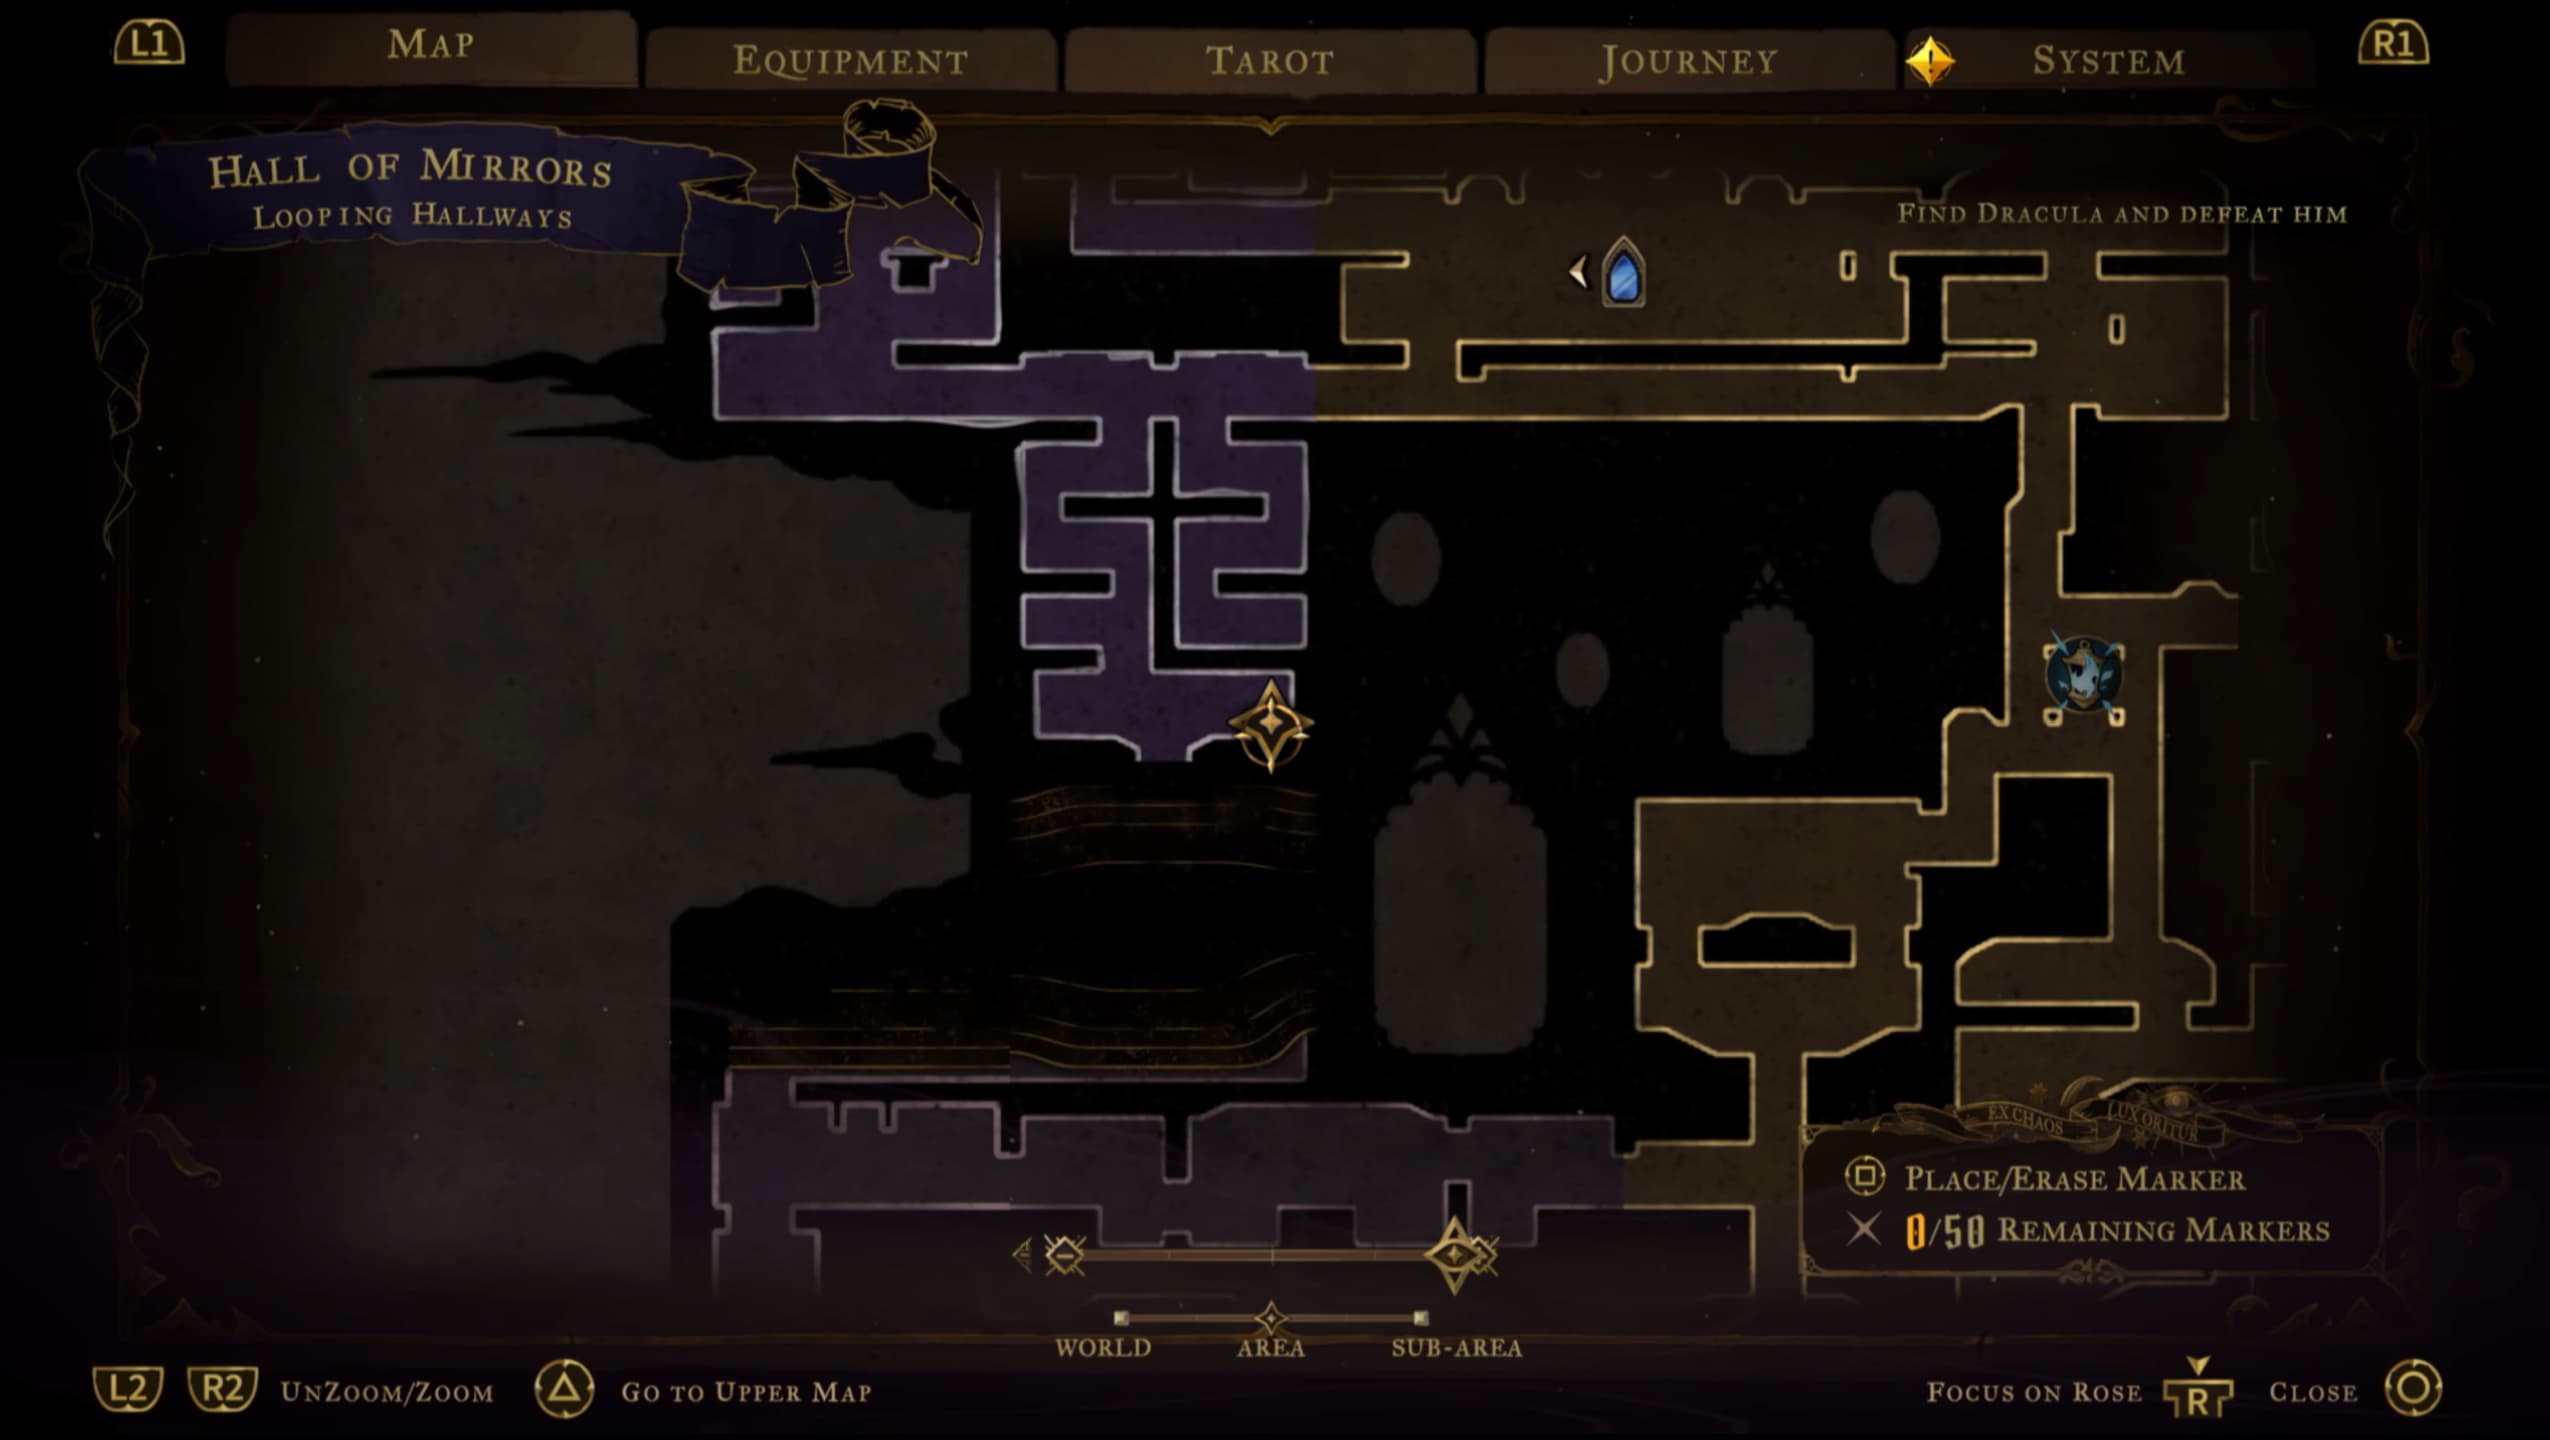
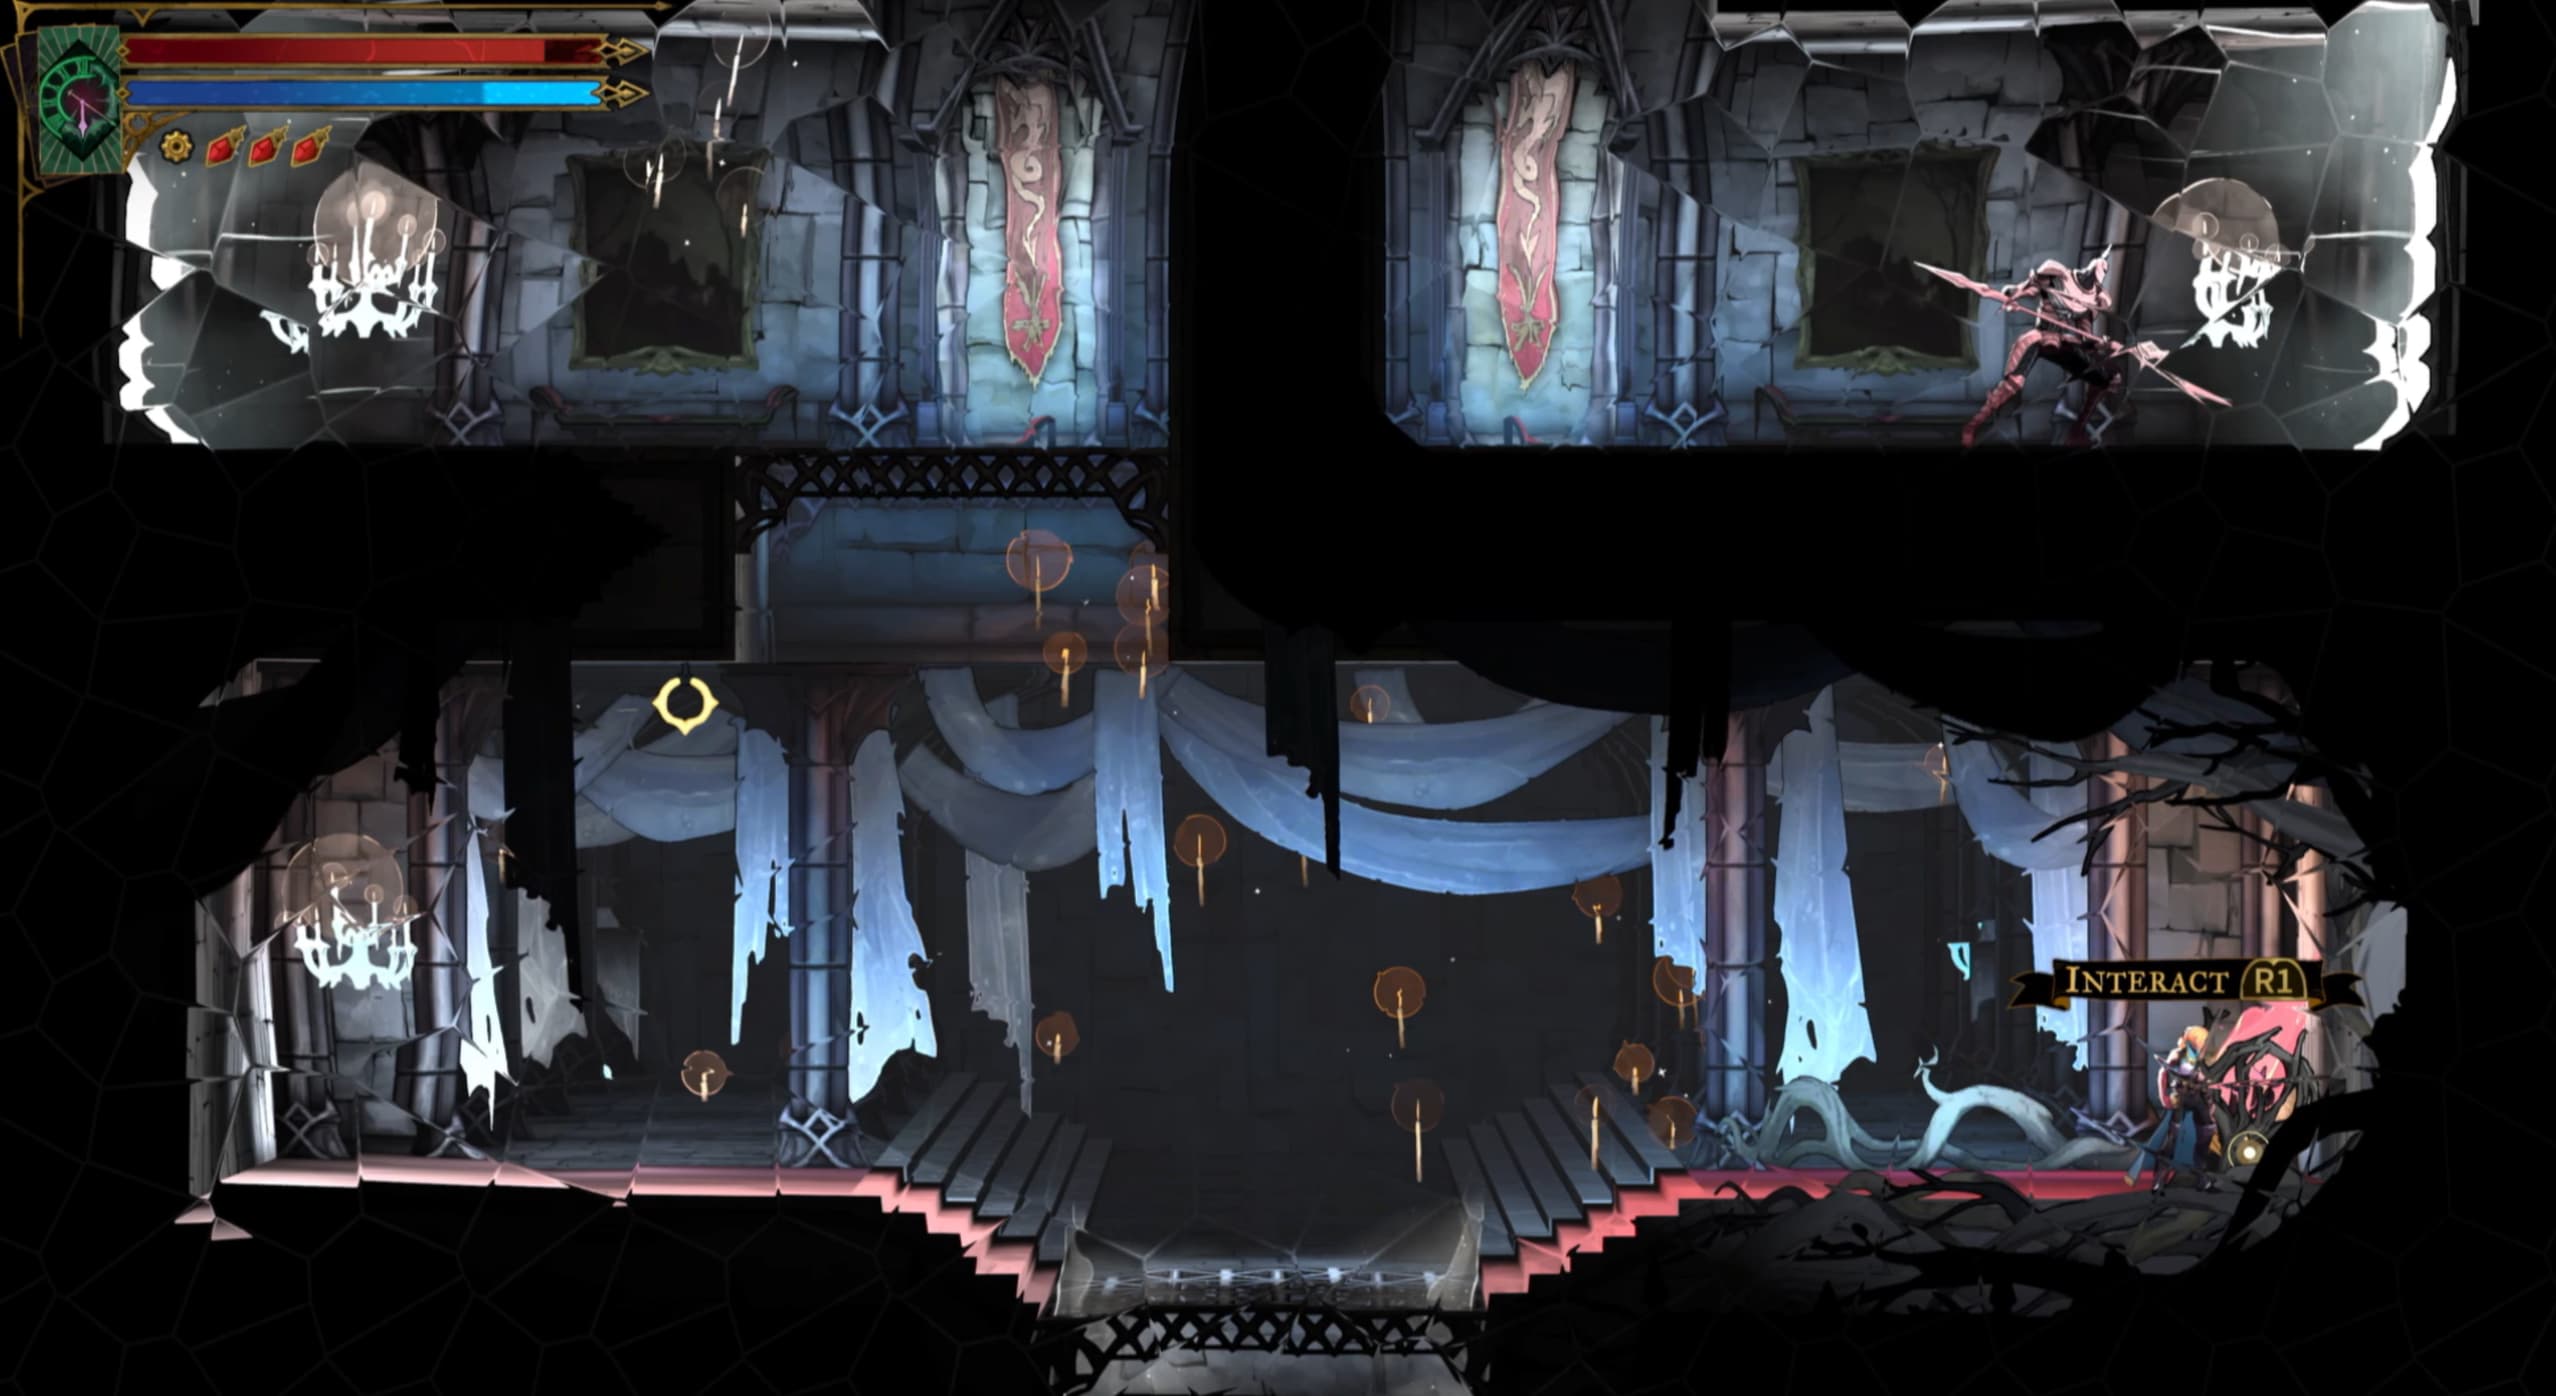
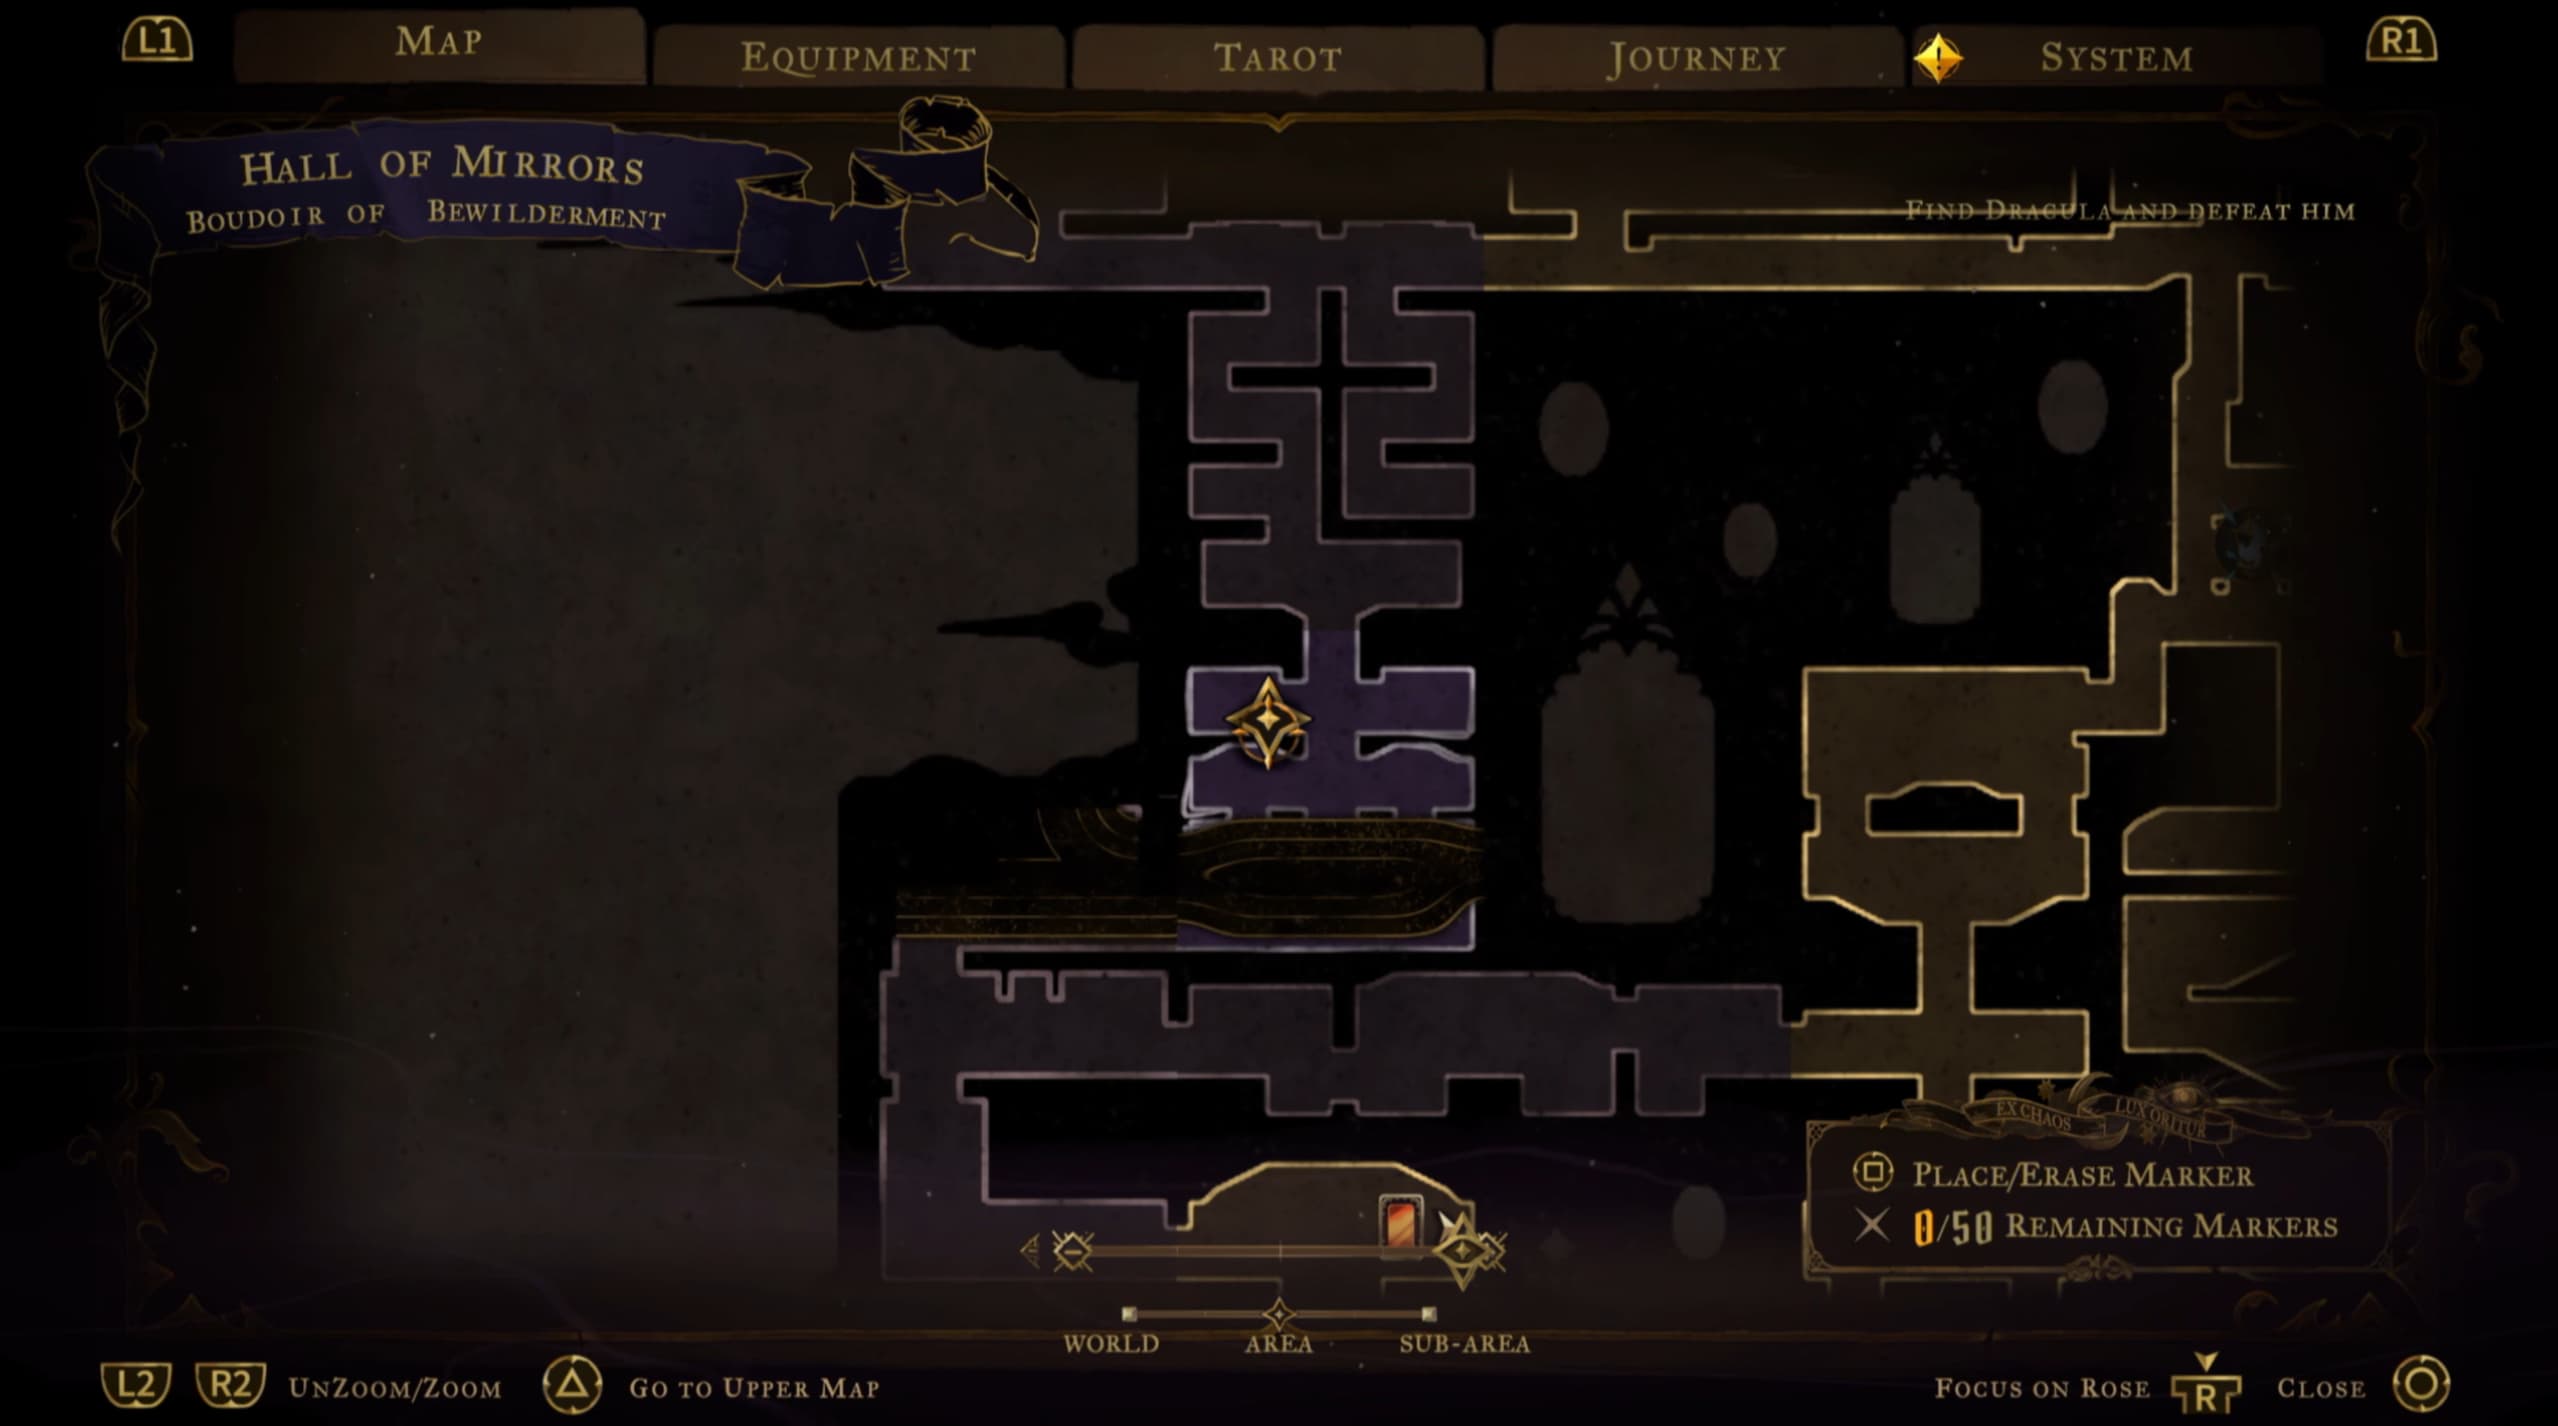
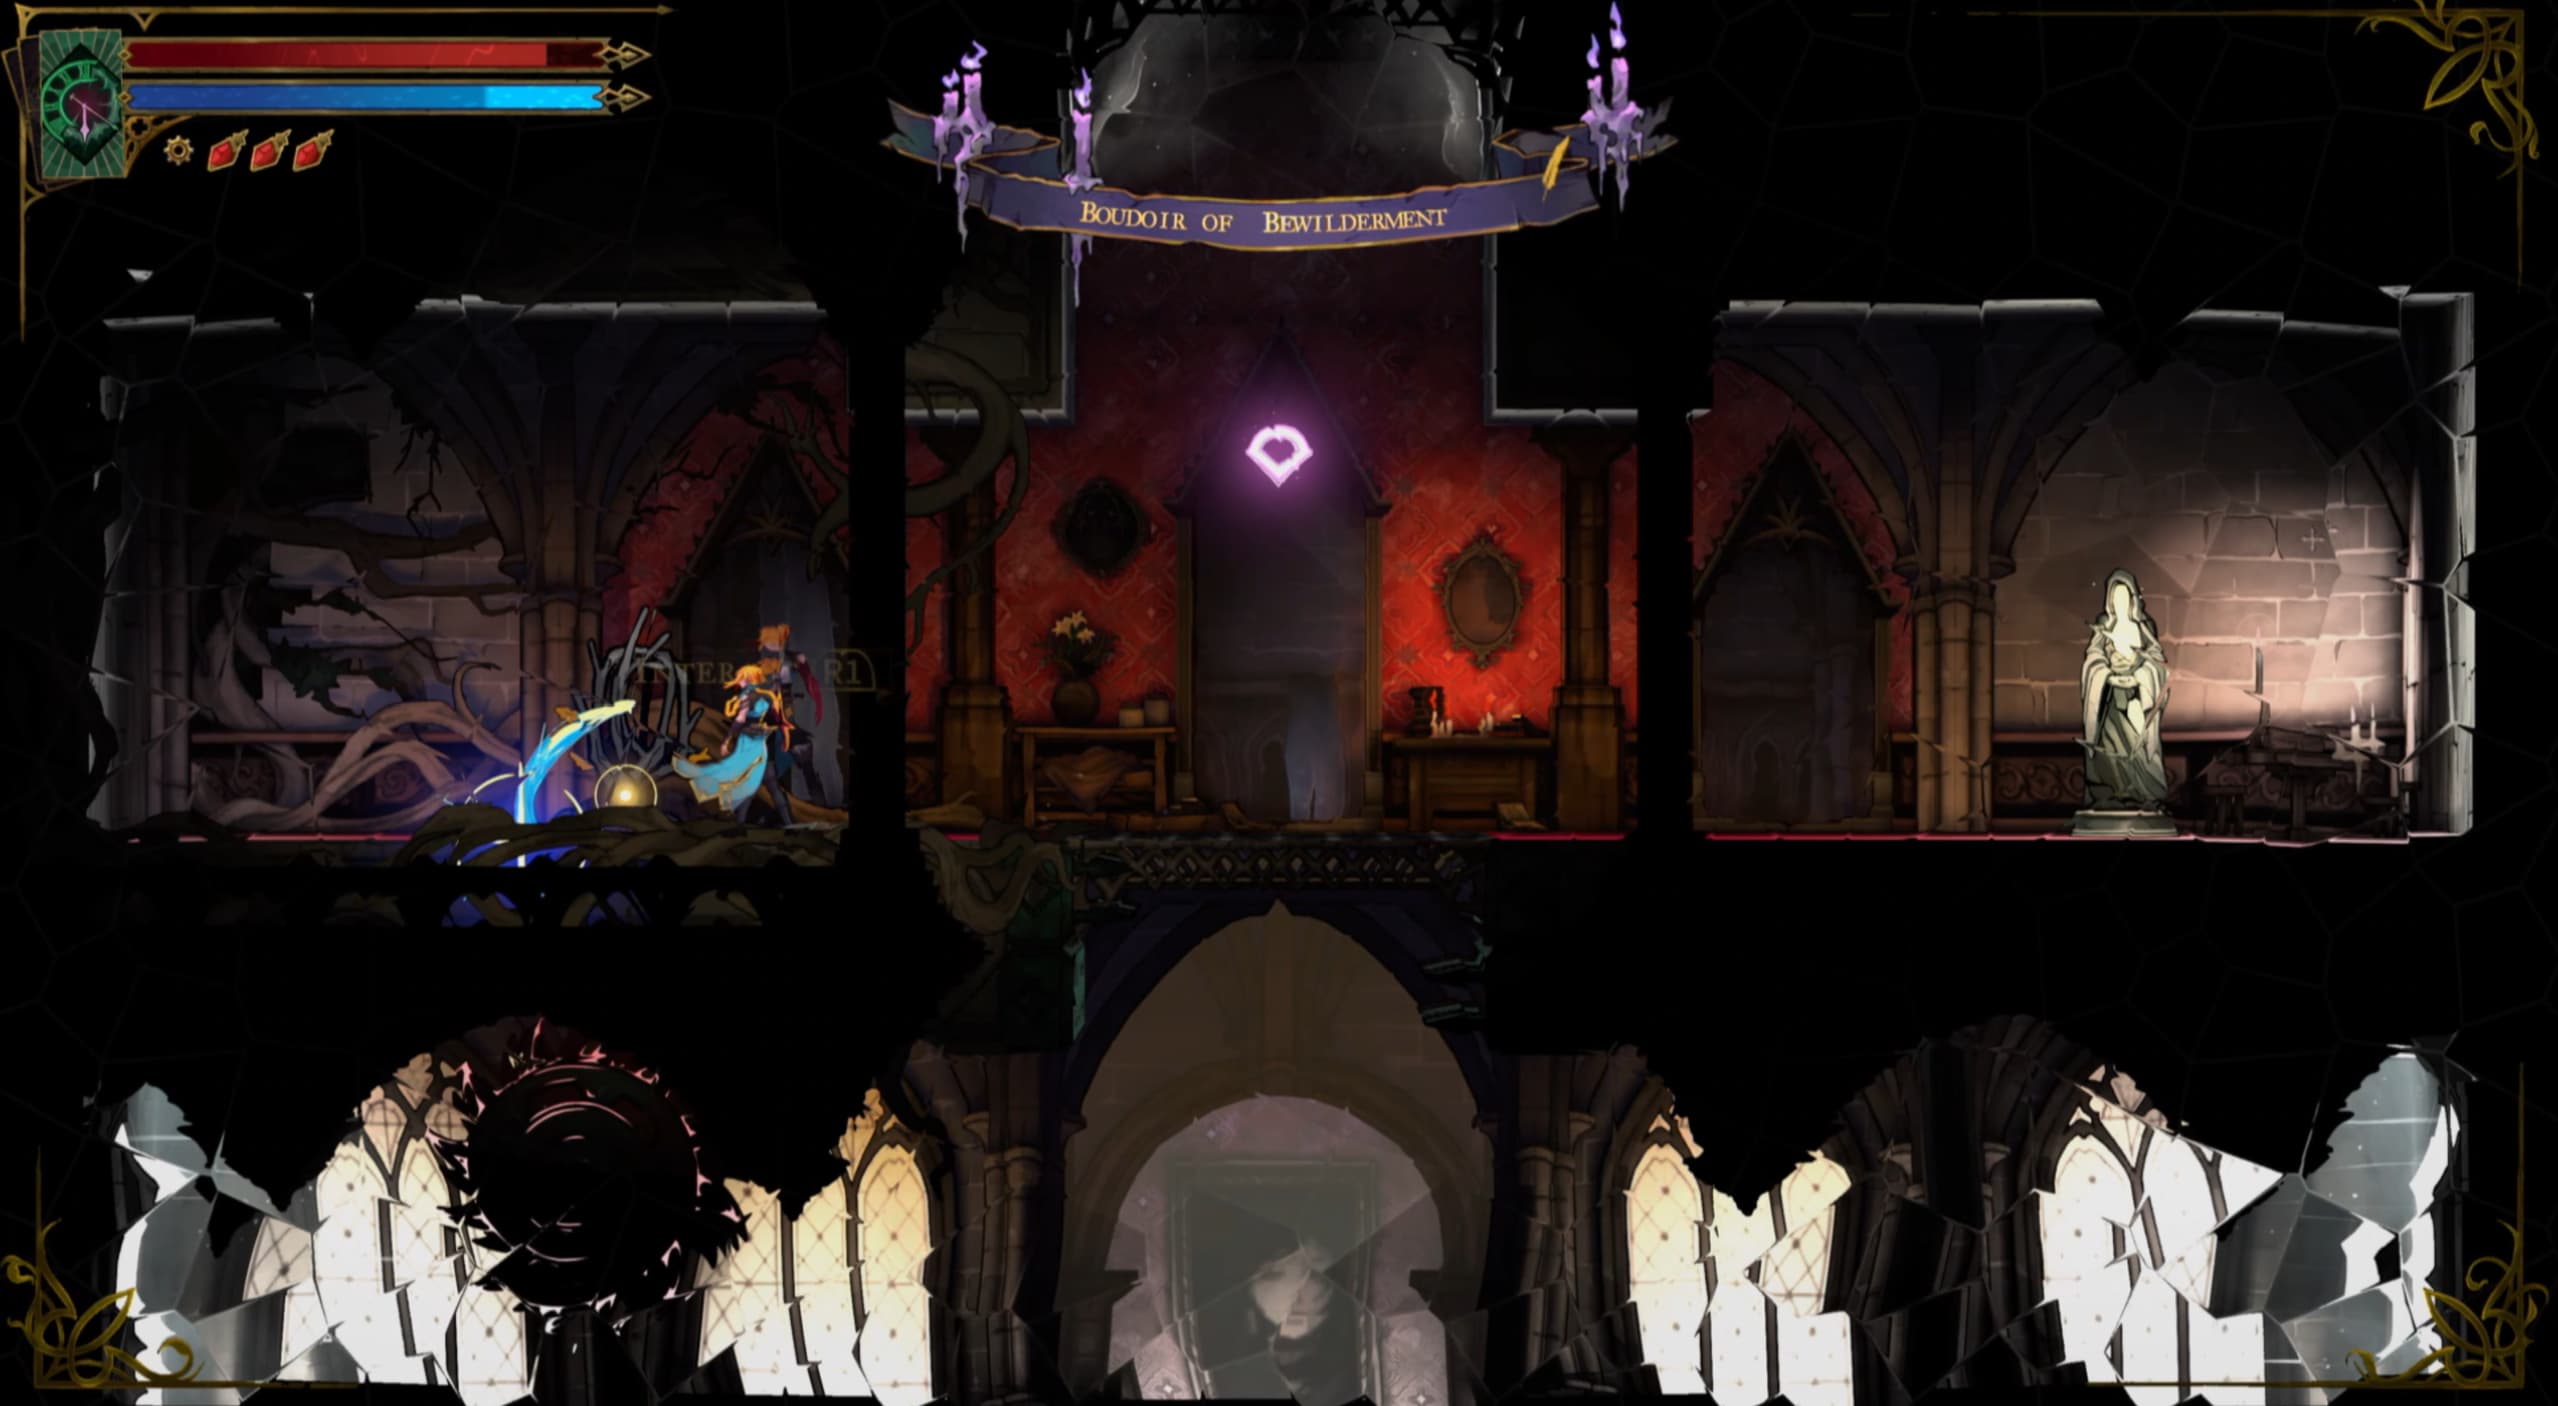
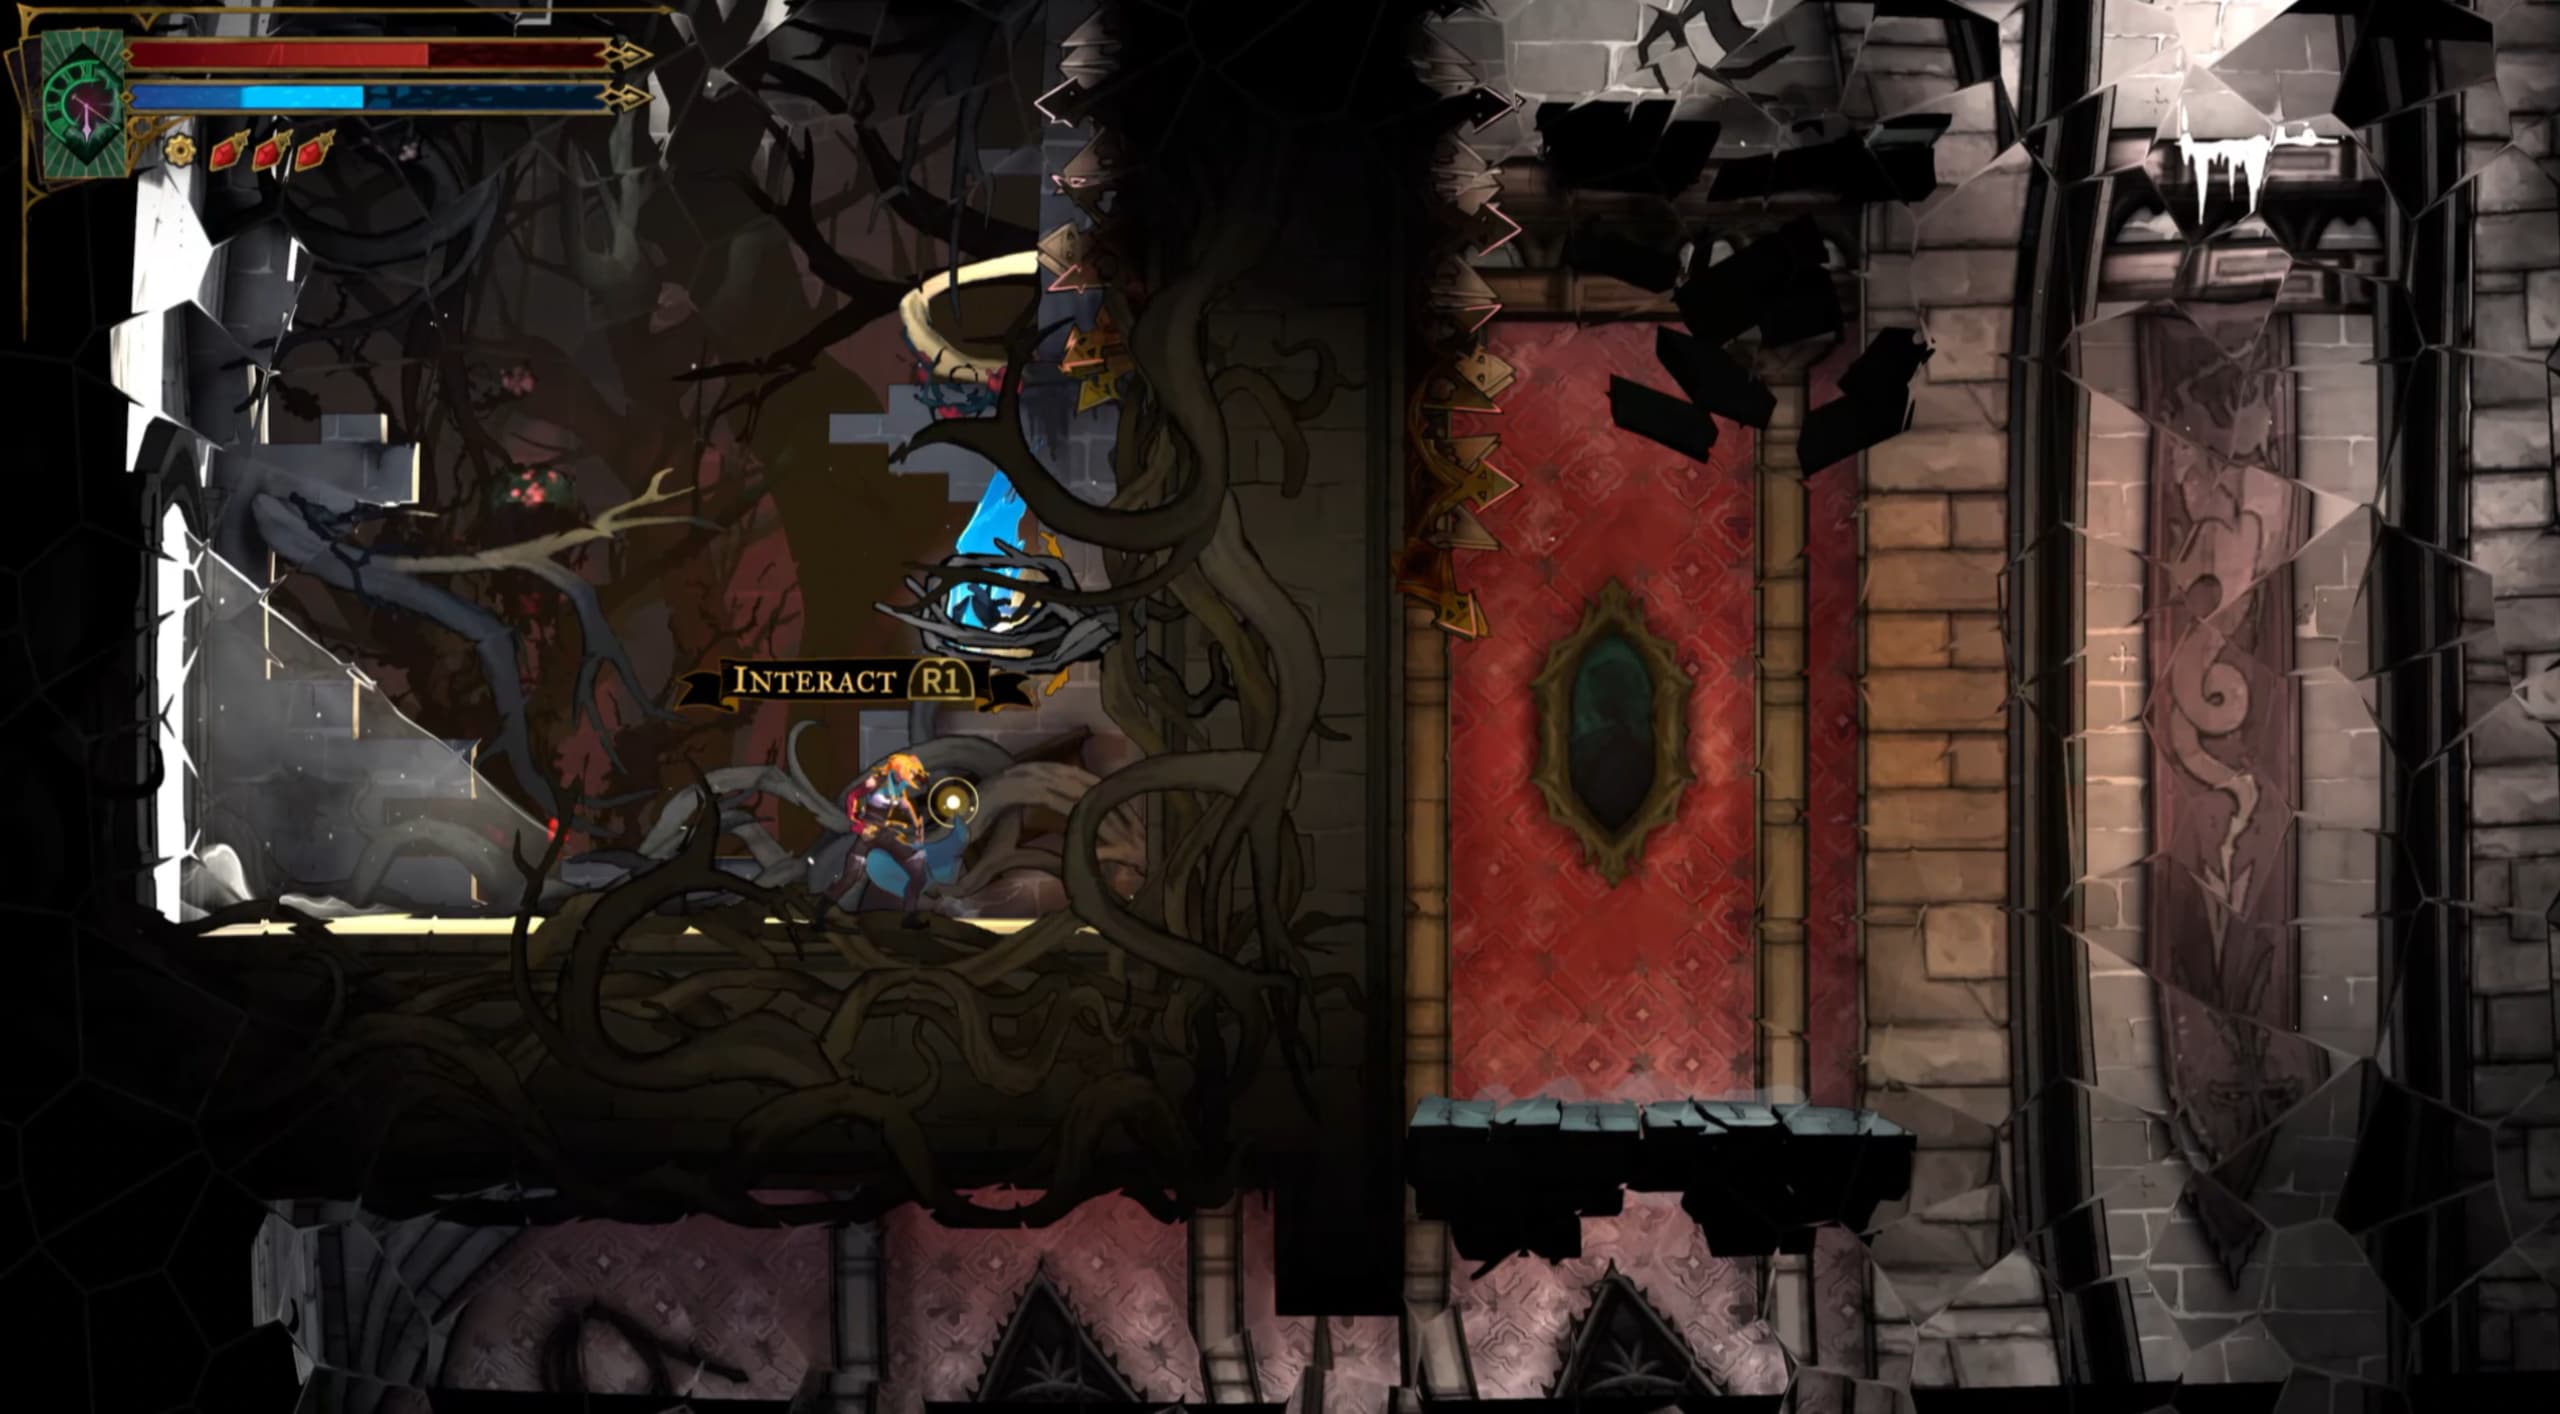
For the first Fragment, make your way to the pointer as shown on the map below.
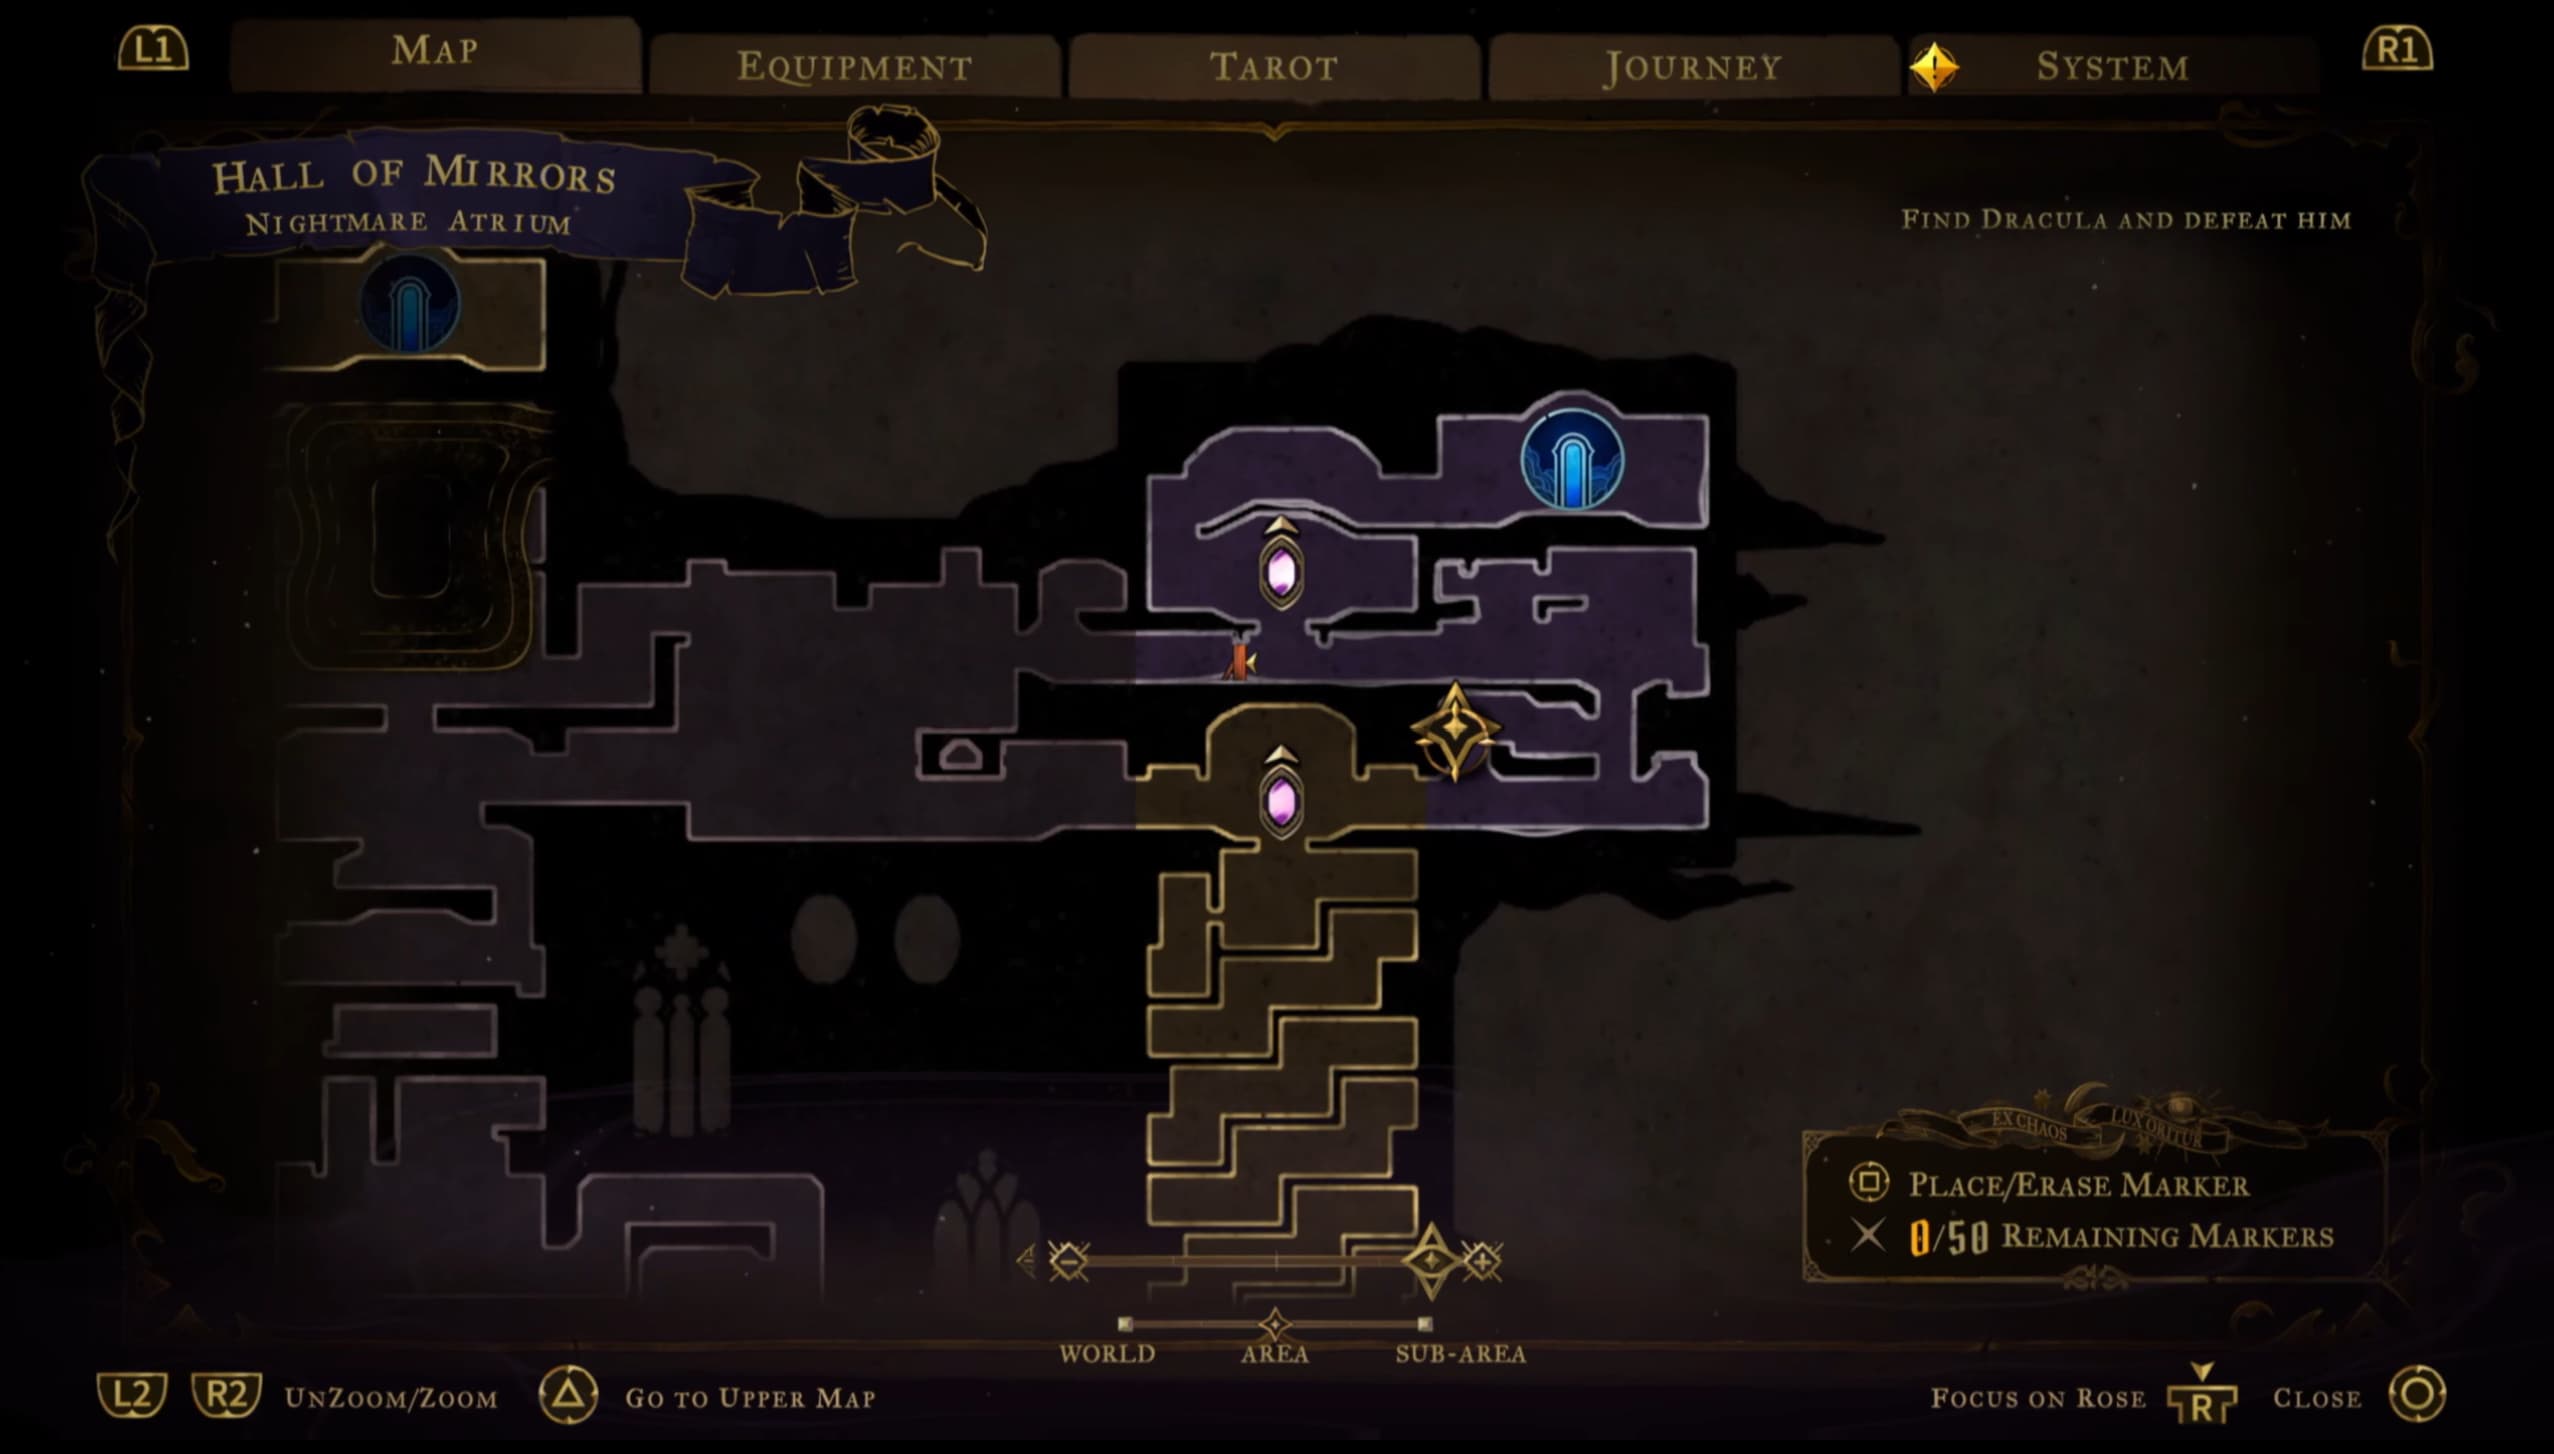
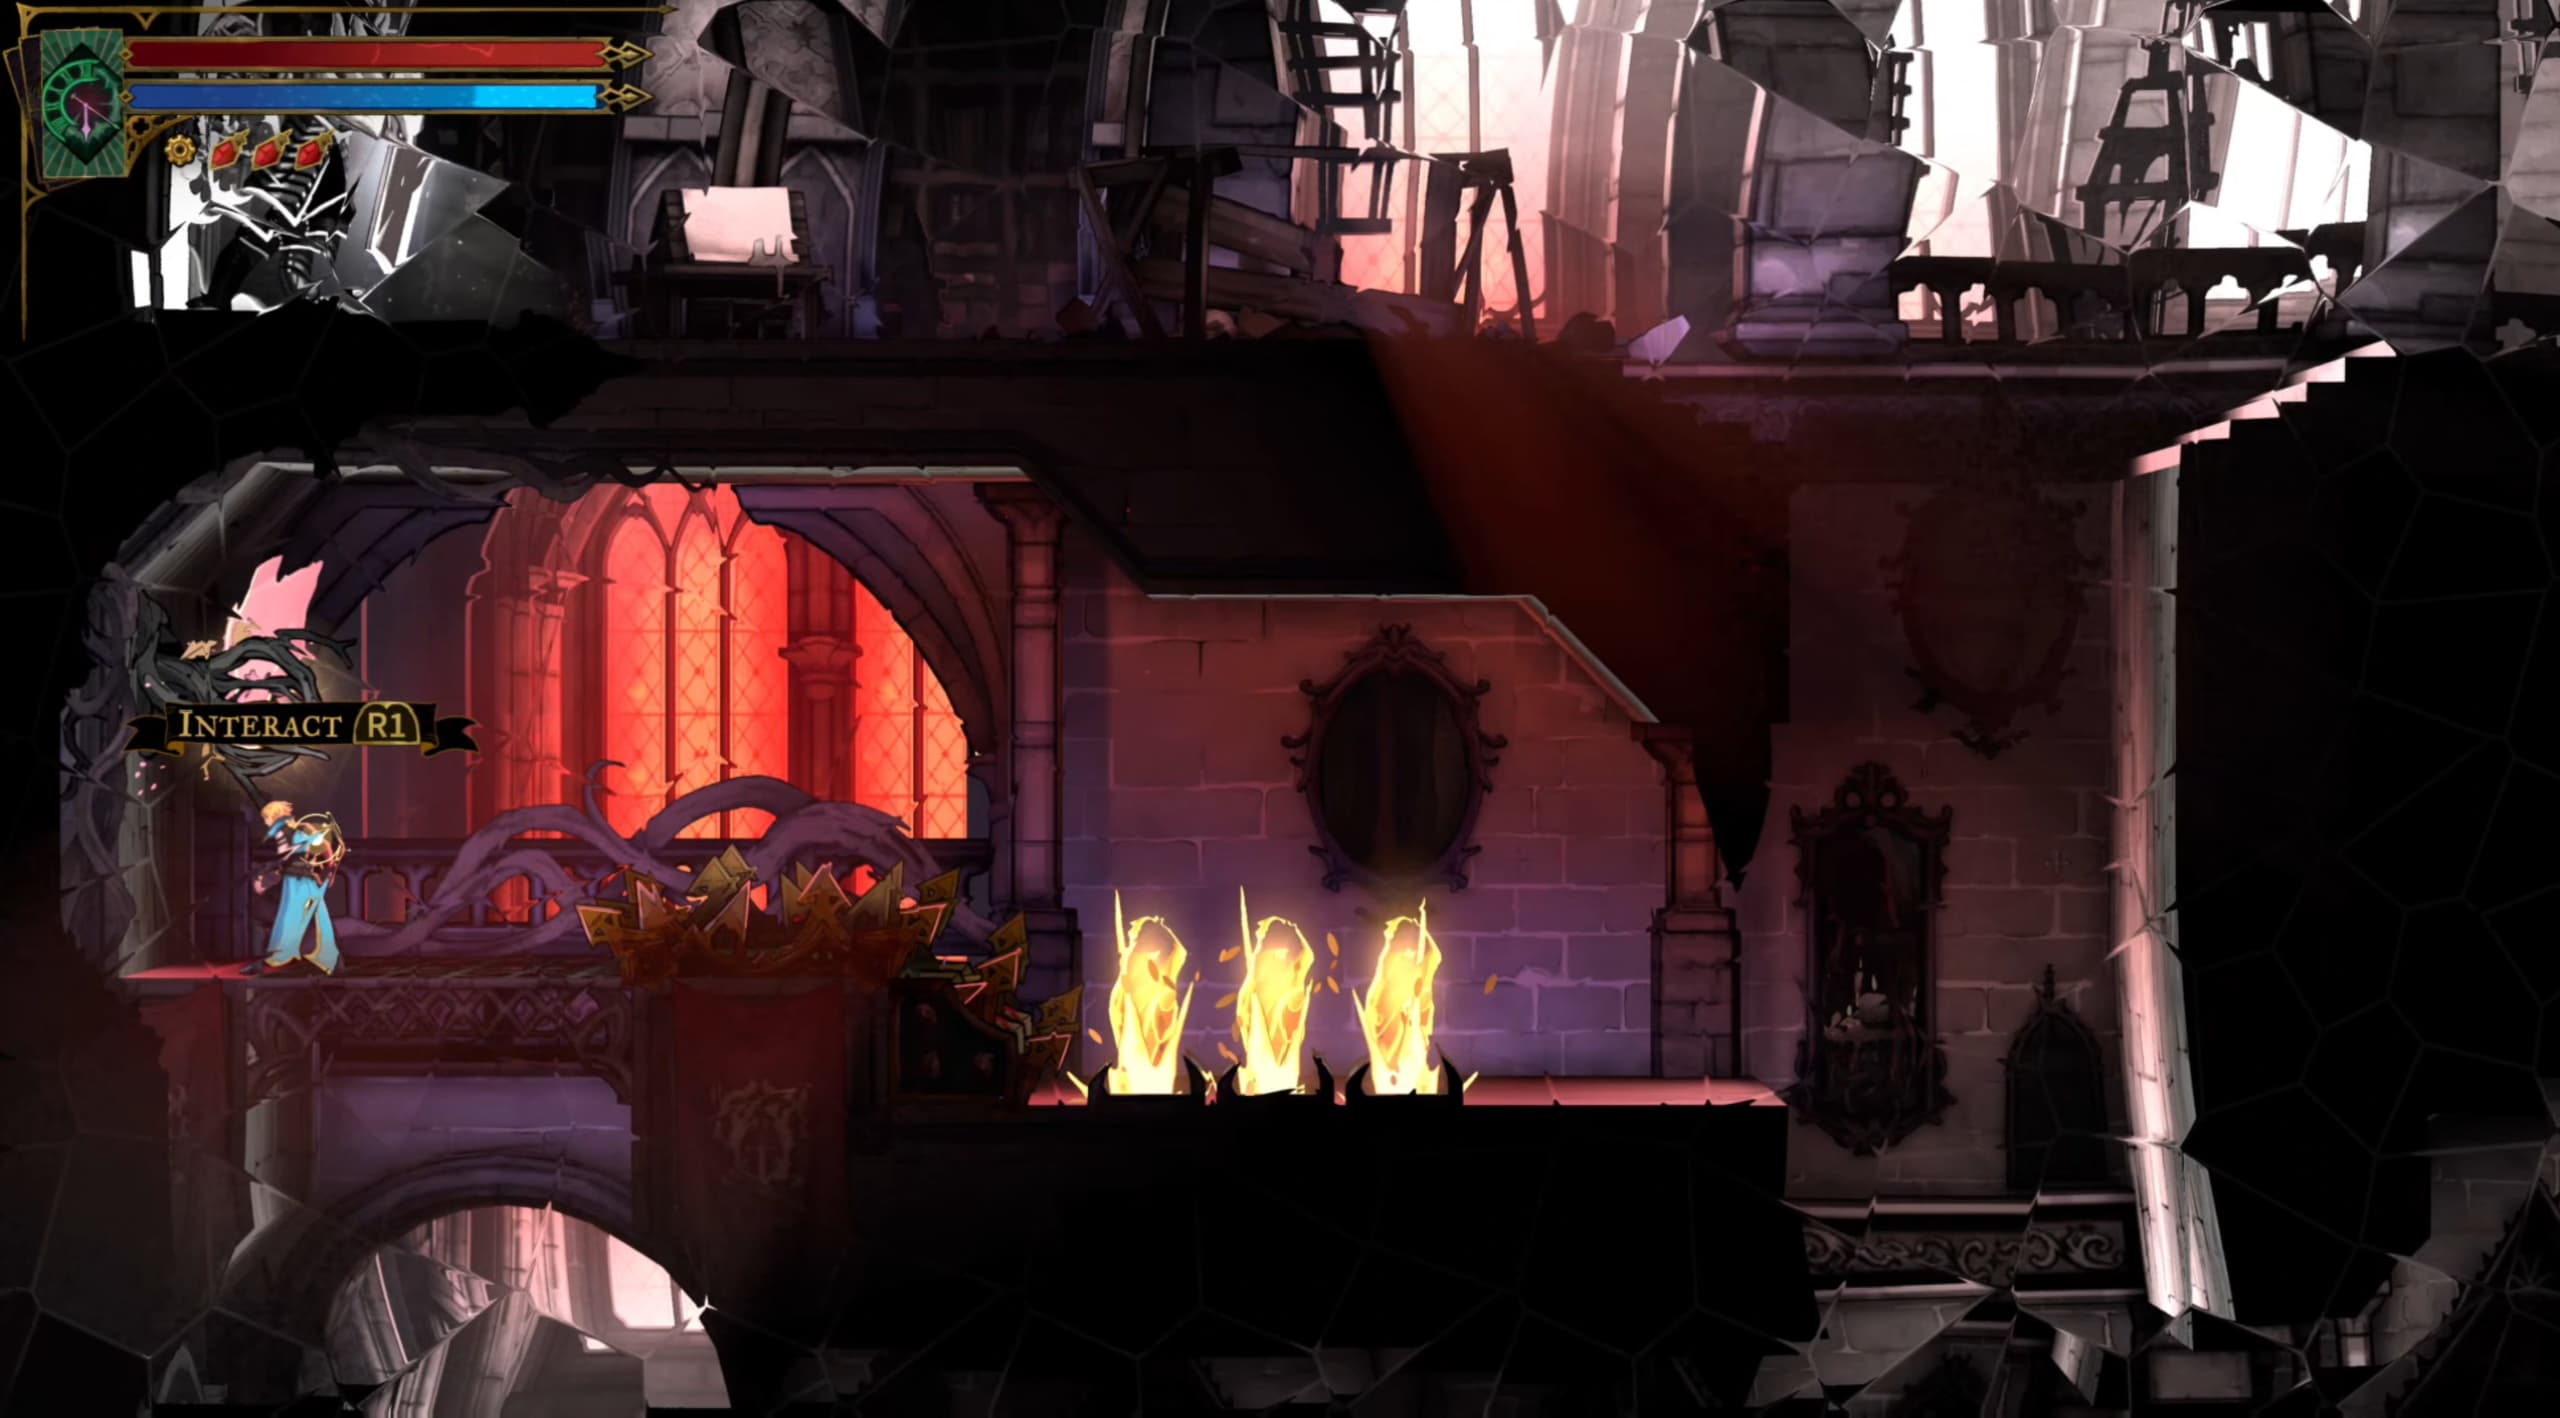
Not too far from the previous Fragment, make your way down and to the left a little, following the pointer shown on the map below.
Now heading to the more central area of this section, following the pointer on the map below for the next Fragment location.
Making your way to the upper right section on the map, following the pointer on the map below for the next Heart Fragment location.
Heading to the next pointer on the map as shown below, you come from the room below, in from the left, head through the white glowing door on the right, progress to make it up to the top white glowing door, and you will need to activate the lever on the ceiling to open the gates to access this Heart Fragment.
And for the very final Heart Fragment, make your way to the pointer shown on the map below, using the hook to whip your way up to access the Fragment ahead.
The Collector Trophy should definitely have popped now for you!