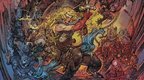
Welcome to this guide on how to beat Medusa in Castlevania Belmont’s Curse. Medusa holds the Prophetess’s key, the third and final key required to open the catacombs and progress to the next phase of the game.
This boss can be challenging, with hard-to-avoid attacks as well as some unclear mechanics. This guide will clear up all the boss's attacks and mechanics, as well as the best strategies to easily clear the fight.
Loadout
In terms of loadout going into the fight, I highly recommend utilizing the lance, found in the Holy Innocents Cemetery on the path to the Medusa fight. The arcana you use isn’t crucial, but I recommend Joan’s Infernal Pyre for its serious damage output and damage over time effect.
At this point in the game, you likely haven’t found many relics, and the relic loadout isn’t important for this guide, so pick whatever you like.
Now let's start with Phase 1 of the fight.
Phase 1
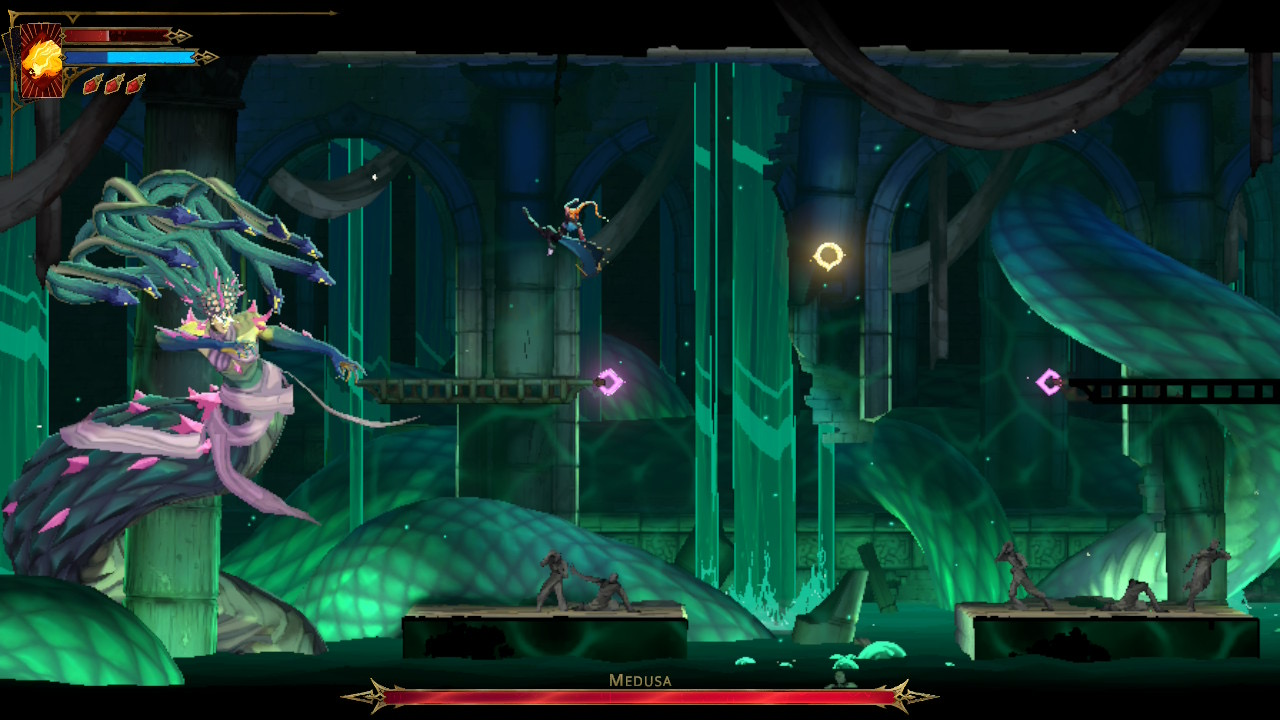
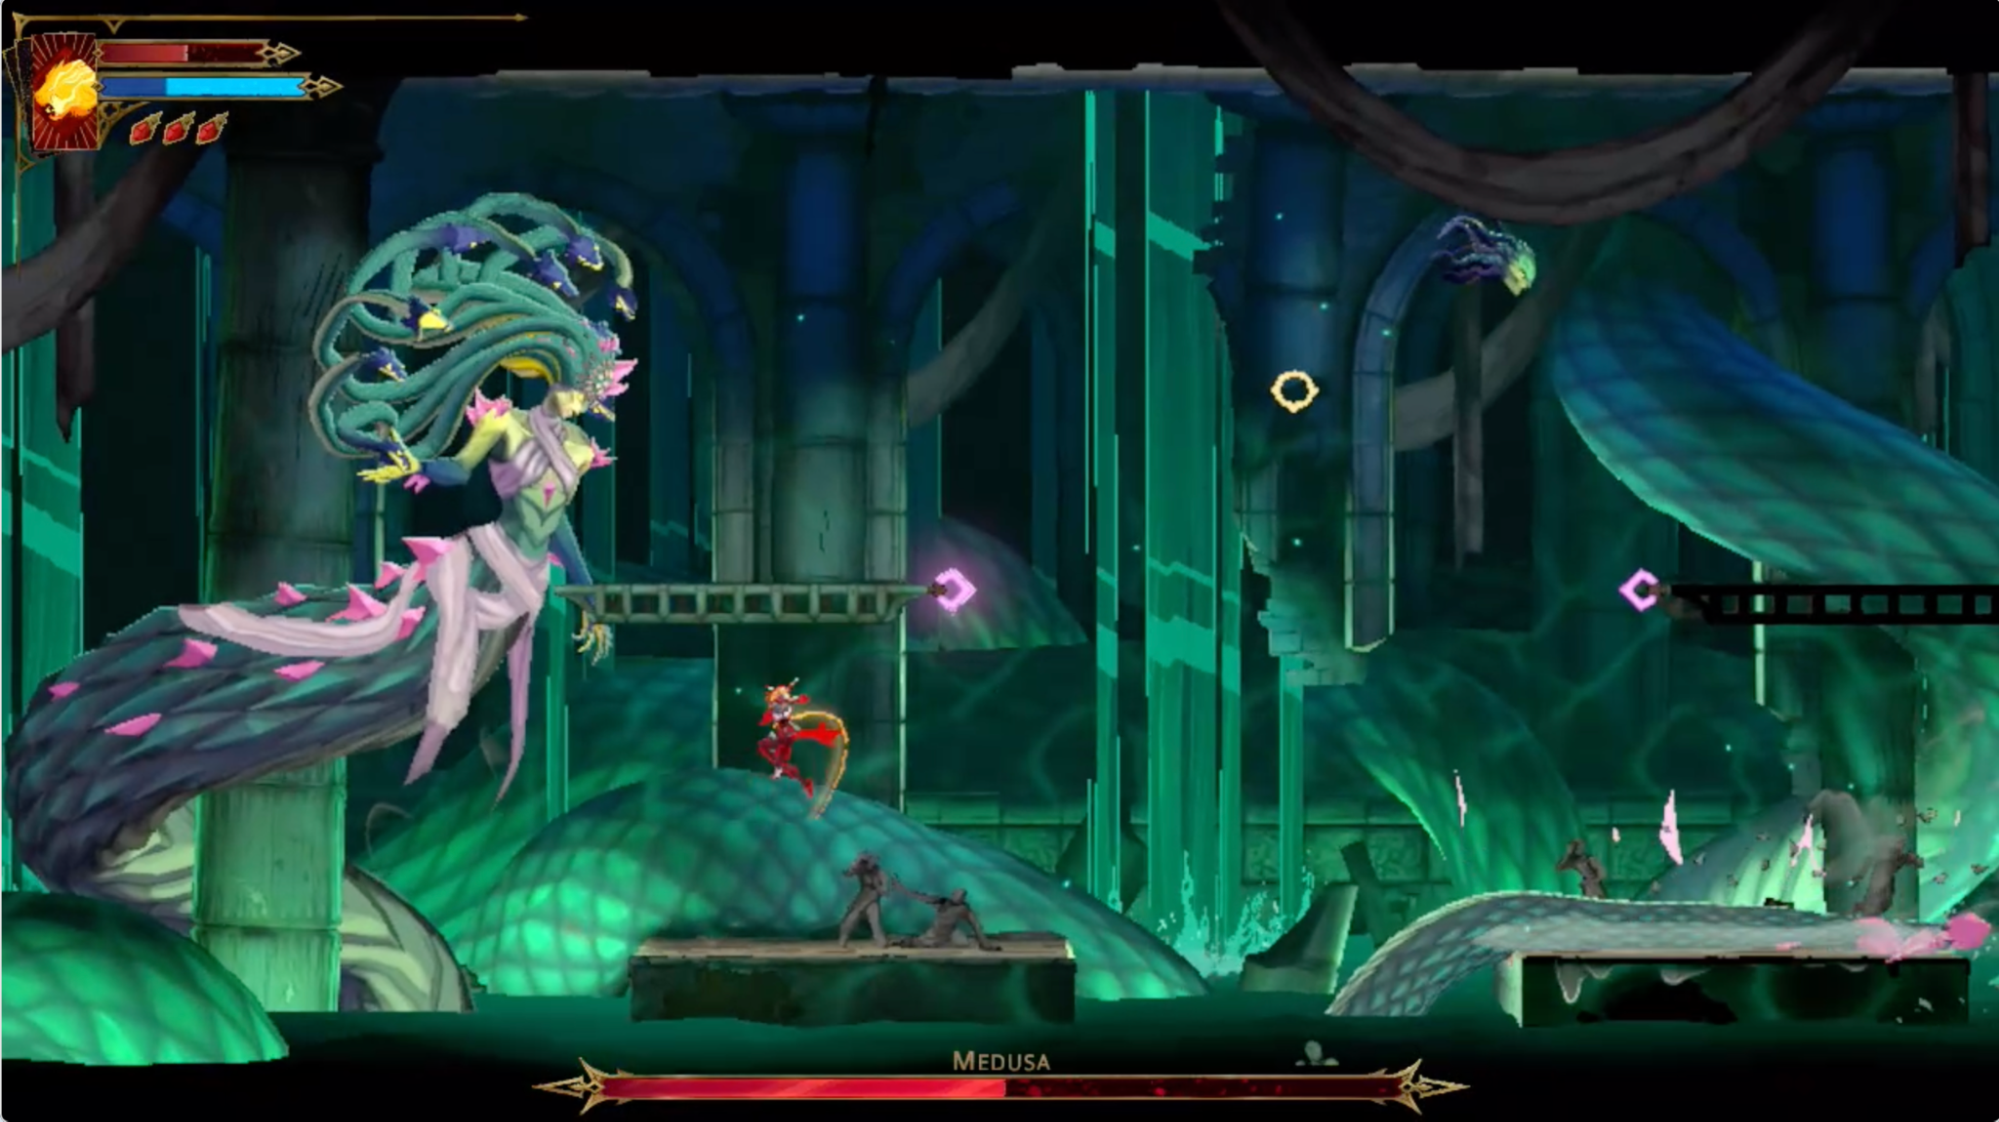
The fight arena has four platforms: two lower and two upper, with grapple points on the two upper platforms as well as a central swing point.
Medusa will move between the left side of the upper left platform and the right side of the upper right platform at various points in the fight. In phase one, Medusa has a few attacks.
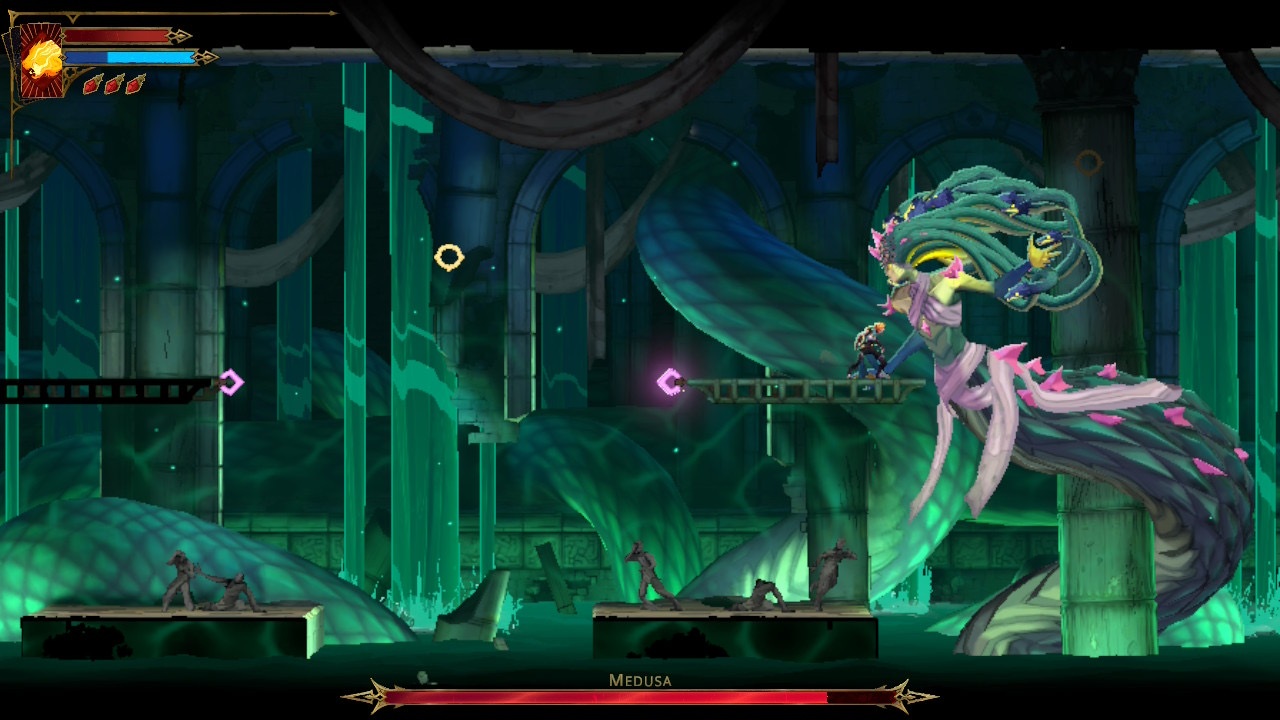
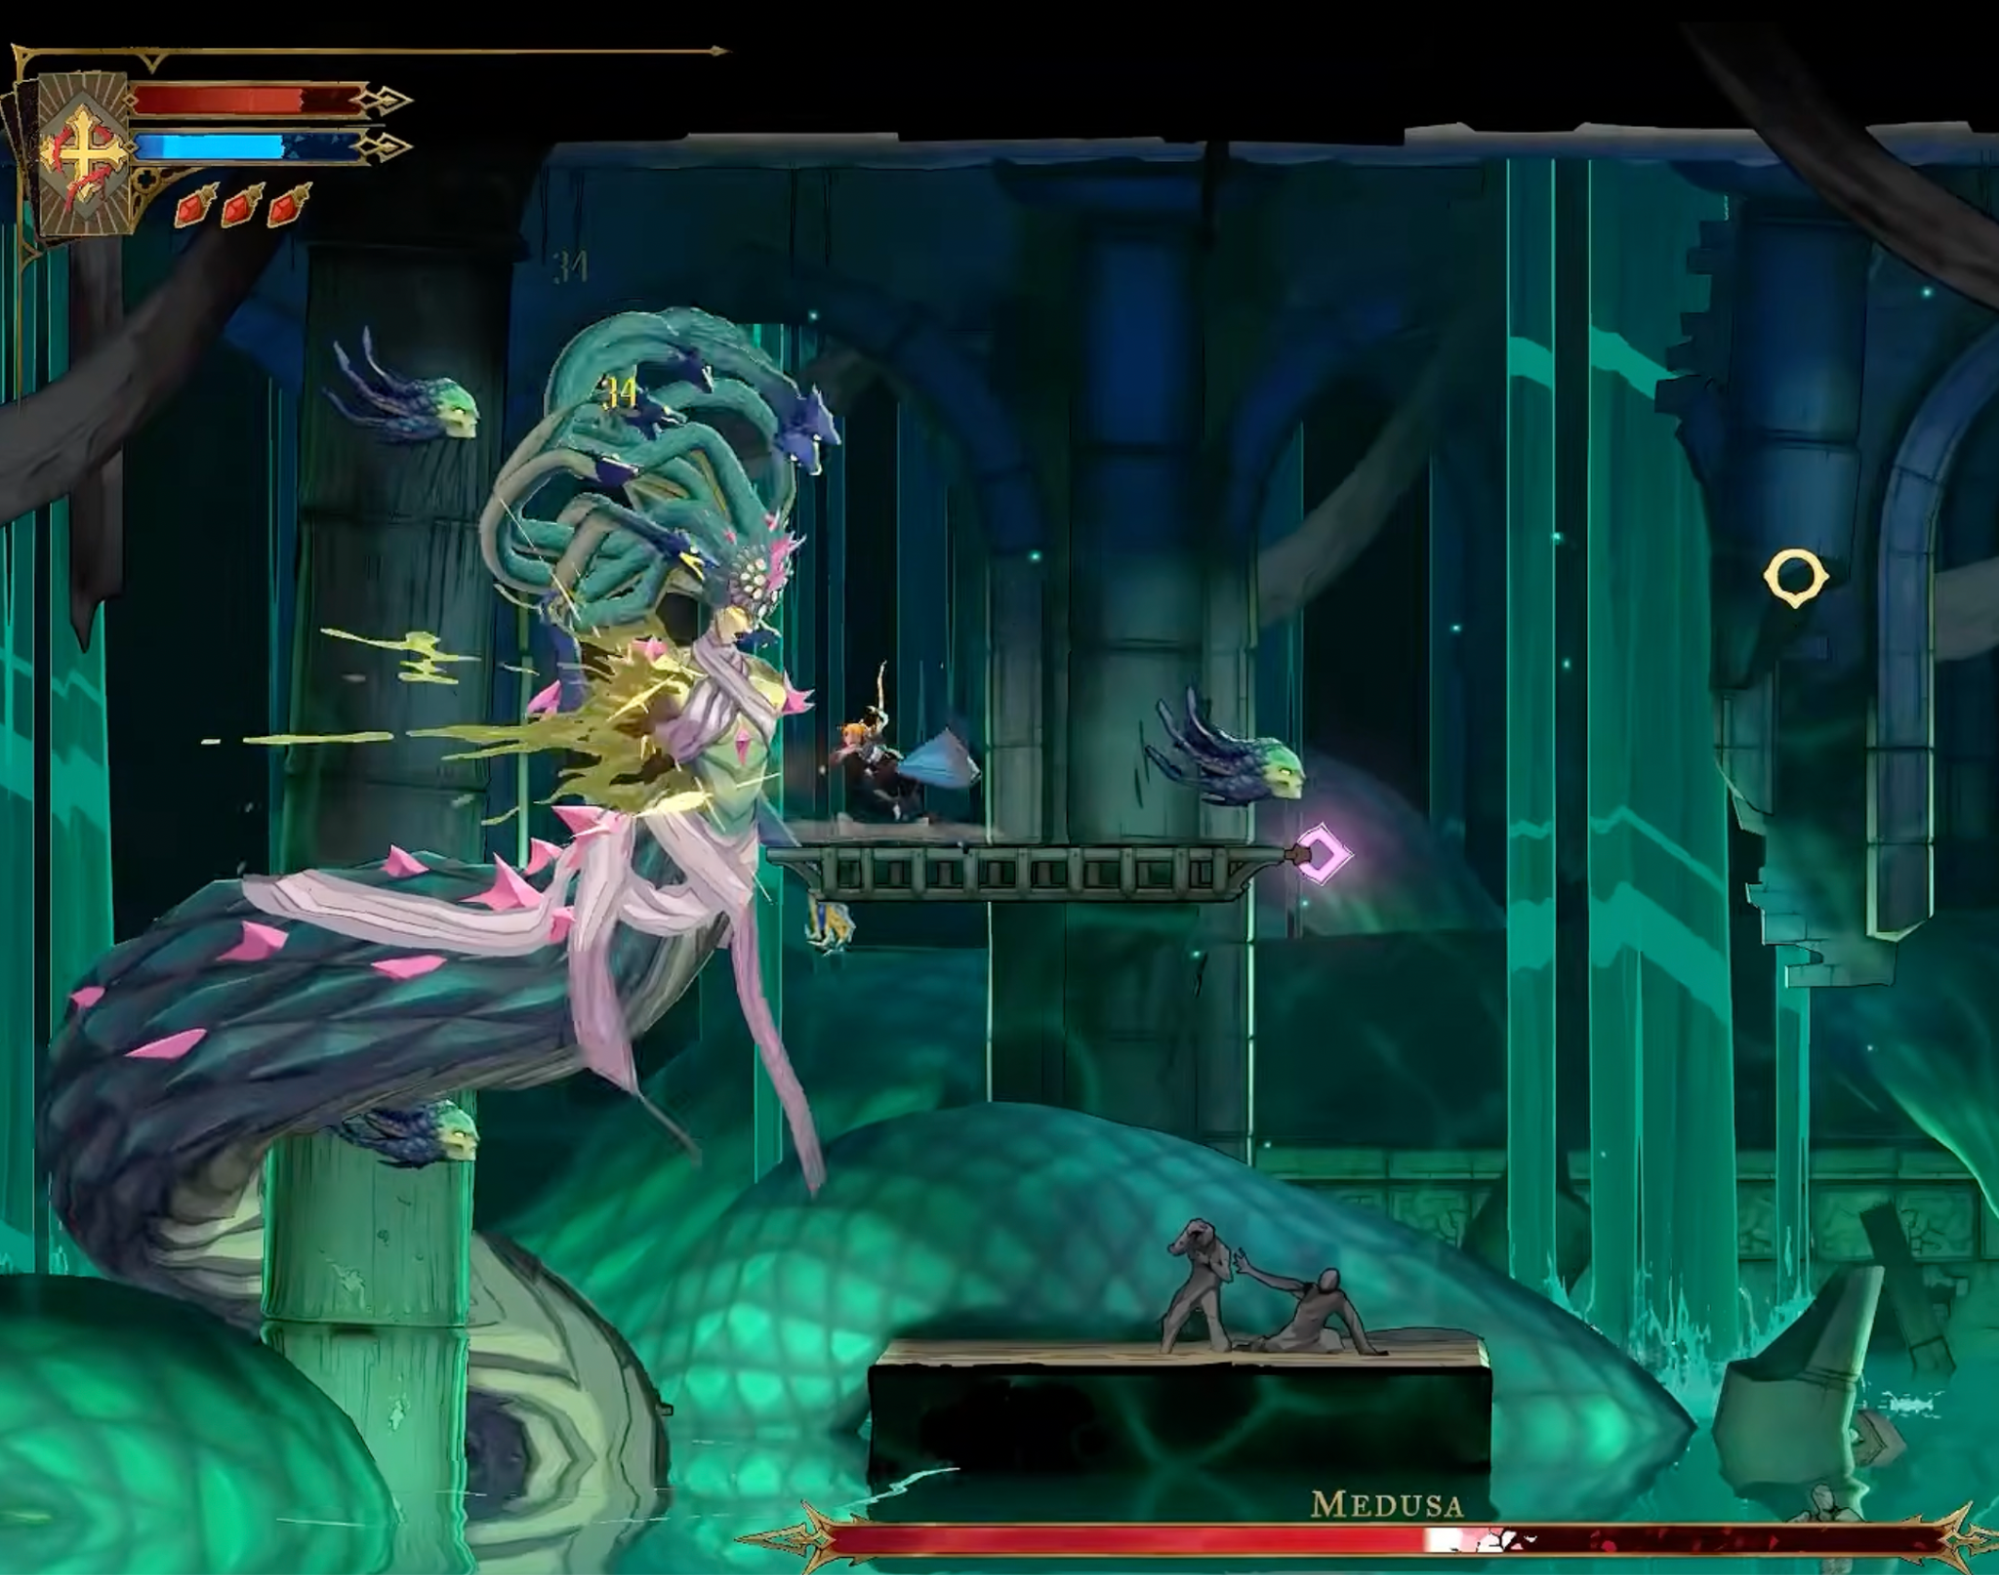
If you are standing on the platform directly in front of Medusa, this will trigger a slam attack, with a hitbox covering the whole platform. The best way to avoid this attack is simply to drop down to the lower level and return using the purple hookpoints once she slams her fist.
While on this lower platform, hold Y with the spear and aim upwards to throw spears during her slam attack. This is a great way to get low-risk damage on the boss. There is a caveat to this, though, being the bottom platform tentacle attack.
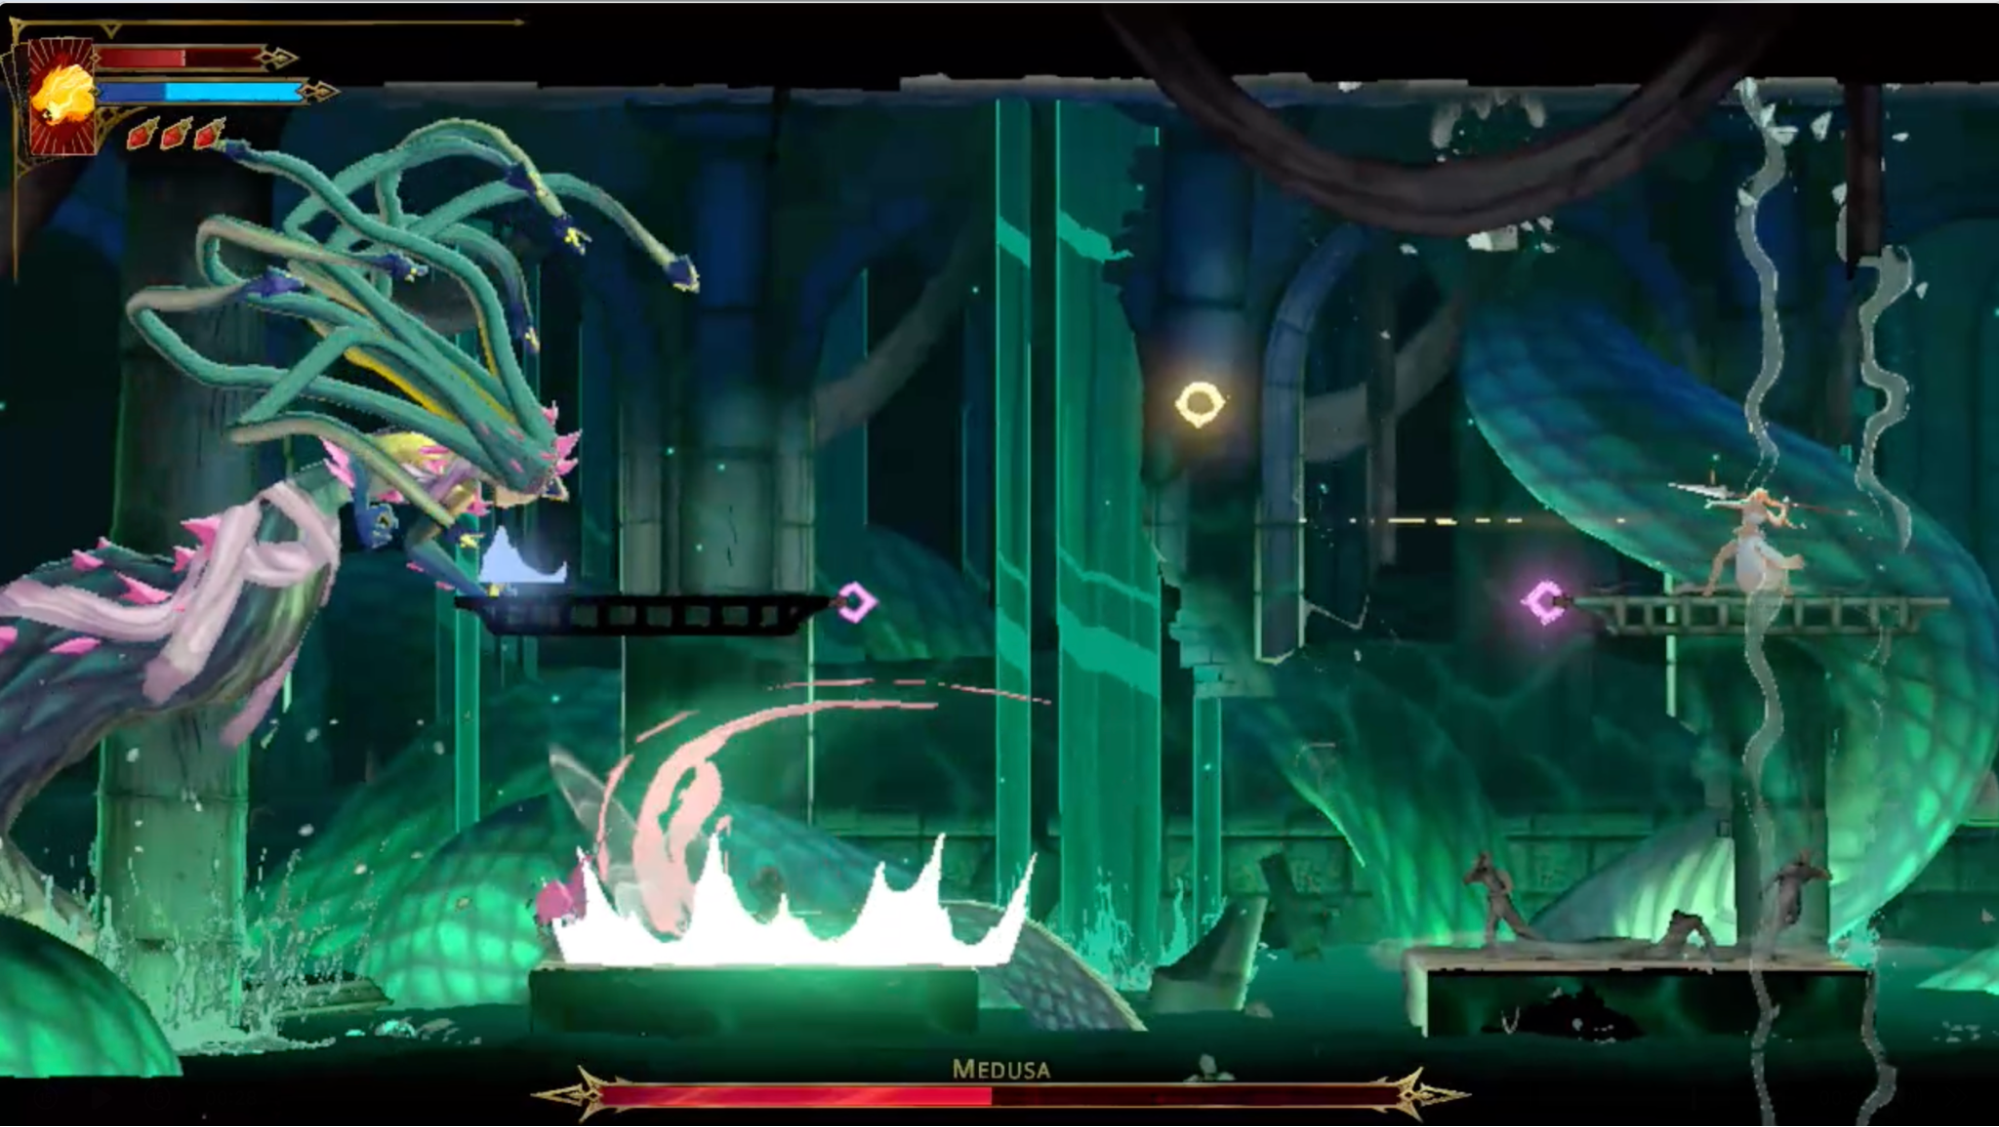
If you stand on either bottom platform, bubbles will form in the middle of the water, and shortly after a tentacle will rise from the water and slam whichever side you are on. This means you will only be able to throw a few spears before having to return to the top platform.
Once you see the bubbles, it's important you go to the top platform as soon as it's clear of other attacks, as the tentacle attack moves fast and covers a wide area, meaning you have to evade sooner rather than later.
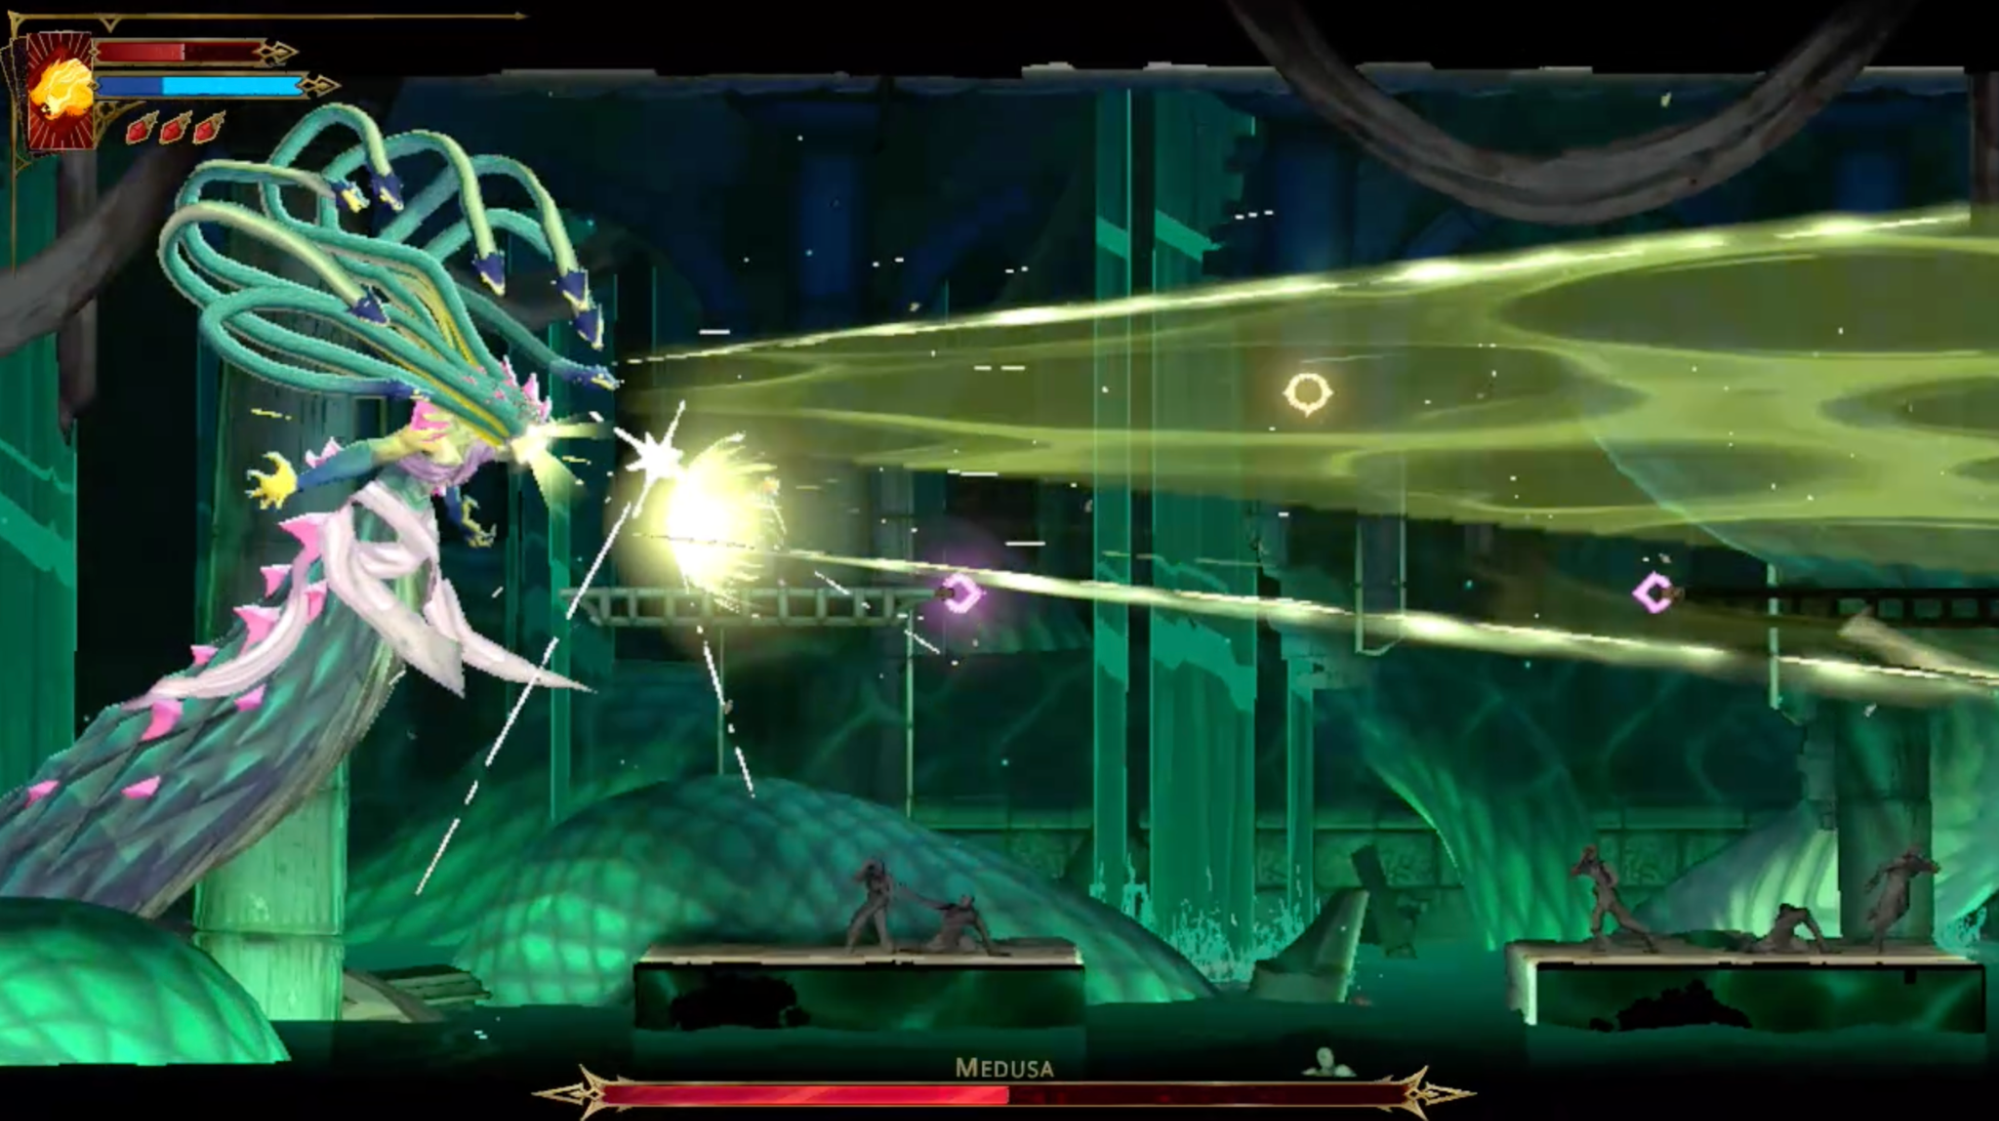
Medusa also had the petrification beam. This attack can happen wherever you are in the arena and covers both top platforms as well as parts of the bottom platform on the far side, making the only safe place to stand during the attack the close bottom platform, unless you use the following method.
Instead of avoiding the area of attack, the best way to handle it is to “look away” from Medusa and turn Rose so she is facing away from Medusa. This attack is choreographed with Medusa pulling her head back and yellow light gathering around her face before she shoots the effect in a cone. If you do get petrified, mash any button to quickly break yourself free.
For the main flow of phase one, do something like this:
Get close to Medusa on her platform and spam attacks. This is also a good time to utilize your arcana for extra damage. If she goes to slam, hold down and press B to drop through the platform. From here, throw spears up at Medusa until you see bubbles appear.
The second you see bubbles, use the purple hook point to go back up and keep attacking. If she uses her petrification attack, quickly turn around on that close platform, and once it's finished, you should have a great window for attacking. Rinse and repeat this, and once you get a feel for the timing, phase one should be a breeze. There is one more attack in phase one, though.
The final of Medusa’s attacks comes after her health bar reaches a certain threshold. This attack is a short sequence of moves that come in rapid succession and can be really hard to dodge if you don’t know what you are doing. The following things happen:
Medusa will rear back; when this happens, immediately move to the far upper platform. Shortly after rearing back, Medusa will start repetitively slamming the platform next to her with her snake hair.
The bottom tentacle will come up from the center water and slam back and forth on the bottom two platforms, making them unsafe. While you are on the far platform and this is going on, continuously throw spears at Medusa, as this is a great window for free damage.
On the closer edge of the far platforms, a large rock will fall; keep an eye on the ceiling, as there will be a small rubble effect before the large rock falls. This rock is critical for dodging the next attack.
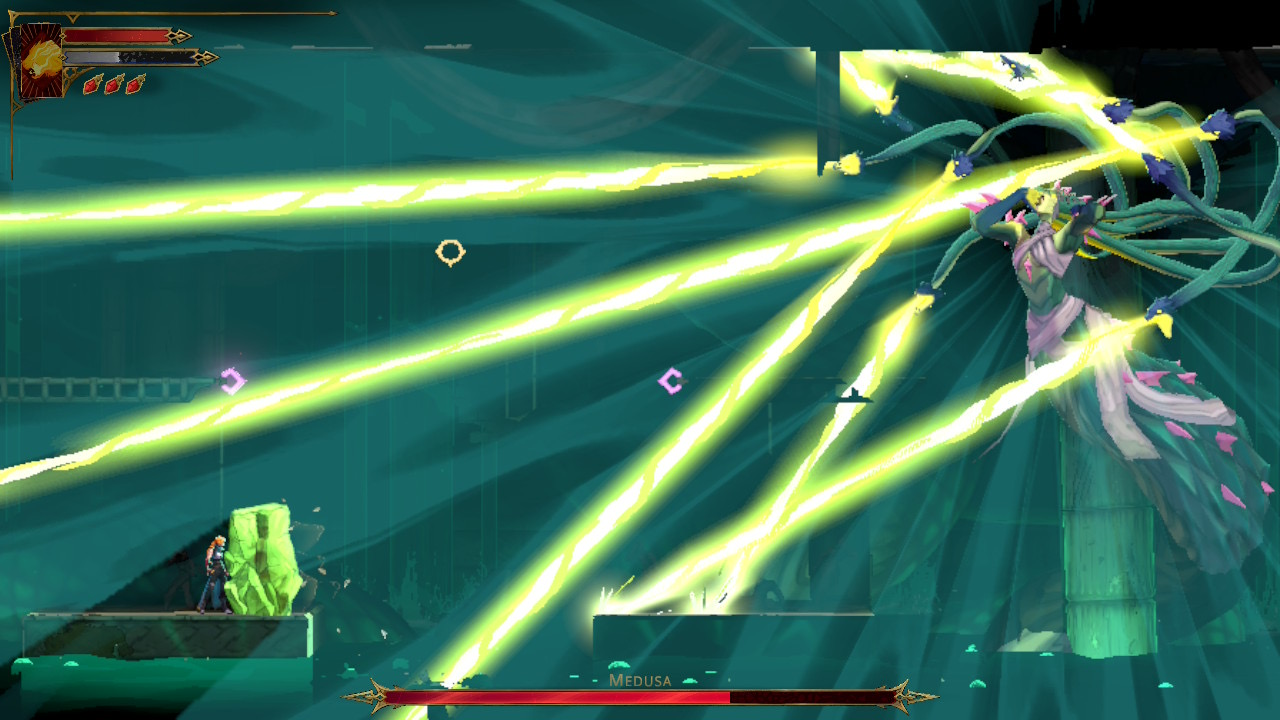
Medusa will use her head snakes to shoot a beam, starting at the base of her tail and then swinging up words.
Once you see the beams start, immediately go behind the rock; the lasers deal a lot of damage and actually block you from getting behind the rock during the sweep, making hiding quickly critical.
Medusa will wildly swing her lasers around as shown below.
Just sit behind the rock, and the attack will pass. Medusa will then switch sides, and the fight will continue. Once Medusa reaches a bit over health, you enter phase two.
Phase 2
Phase two is largely the same as phase one, with three key differences to watch out for.
One is the bottom tail behavior. During phase two, it will not just hit the side the player is on, but also swing to the other side, and once Medusa reaches even lower health, it will swing a third time back to the original side. This doesn’t change the fundamental strategy, but is just something to make sure you’re aware of when going between the top and bottom platforms.
The next thing that changes is that progressively more floating Medusa heads will spawn as the fight goes on. This enemy is encountered earlier in the lead-up to the main Medusa fight. They will always be coming from the side of the arena with Medusa and moving horizontally across.
First, in one row near the center, and then one above and one below. The trick with these enemies is to take them out quickly as they spawn, since you’ll be close to where they spawn and they are easy to one-shot.
You can quickly hit them when moving between platforms or right before or after hitting Medusa; this will help keep the arena clear and make the fight much easier. An important note is that turning around does NOT protect you from the Medusa Head petrification, so be careful with this enemy.
The final change is during the laser sequence. Now not only will the large rock fall, but smaller rocks will fall from the ceiling above you on the far upper platform, dealing damage. The far upper platform is still the safest place to be during this sequence. The places where the rocks will fall are telegraphed by a small stream of dust; pay attention to where the dust shows up and in what order so you can effectively dodge the rocks.
Other than these three things, your strategy for phase two should remain the same as above. It may take you a few attempts to find the exact rhythm to execute this strategy, but once you do, you should be able to beat Medusa!
Once you defeat Medusa, you can absorb her into the Prophetess Tarot card using your potion button, and make your way to the Catacombs gate to continue your journey. Thank you for reading this guide.