The Frenzy Barbarian is a high attack speed, fast paced build that delivers that raw physical damage you look for in a Barbarian
 Frenzy is your main ability and main source of damage. You rely on the new unique
 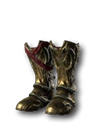 Hooves of the Mountain God, the recently updated
 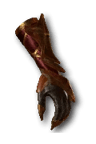 Paingorger's Gauntlets and Tempers to make Frenzy hit a wide area of monsters. This combination adds to fast clears of big packs of monsters. This planner will also help you solve all your Fury Management issues, explain aspects that may be a little confusing and cover what weapons to set your skills to. There are several variations in the planner so read through.
The Barbarians this season will all be running some variation of the 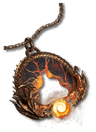 Melted Heart of Selig +
 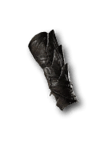 Endurant Faith or
  Endurant Faith. While this is not a requirement it does make you almost unkillable and the quality of life will go through the roof. Each planner will have variants without it, but this will be your end-game version you're striving for.
Please read through the How it works section of the planner and if you have further questions you can join me live on Twitch, YouTube, TikTok and X. If you have questions while I'm not live, join Discord. We have a team and community ready to answer all your questions! You can also check out Cliptis.com for a collection of all my How-To guides.


 0 (0)
0 (0)