WARNING: This guide contains spoilers for the story of Borderlands 4
Idolator Sol is the final boss of the Fadefields and the first of the Timekeeper's lieutenant's encountered by the player.
A cruel and ambitious subjugator, his plans to sacrifice the denizens of Kairos for use in a powerful bio-weapon have drawn the attention of Rush and his Outbounders. Aided by the aforementioned rebels and Zadra, a defected Order scientist, the Vault Hunter is tasked with ending his tyranny once and for all.
If you're hunting for the best legendary weapons, check out our page here for more info!
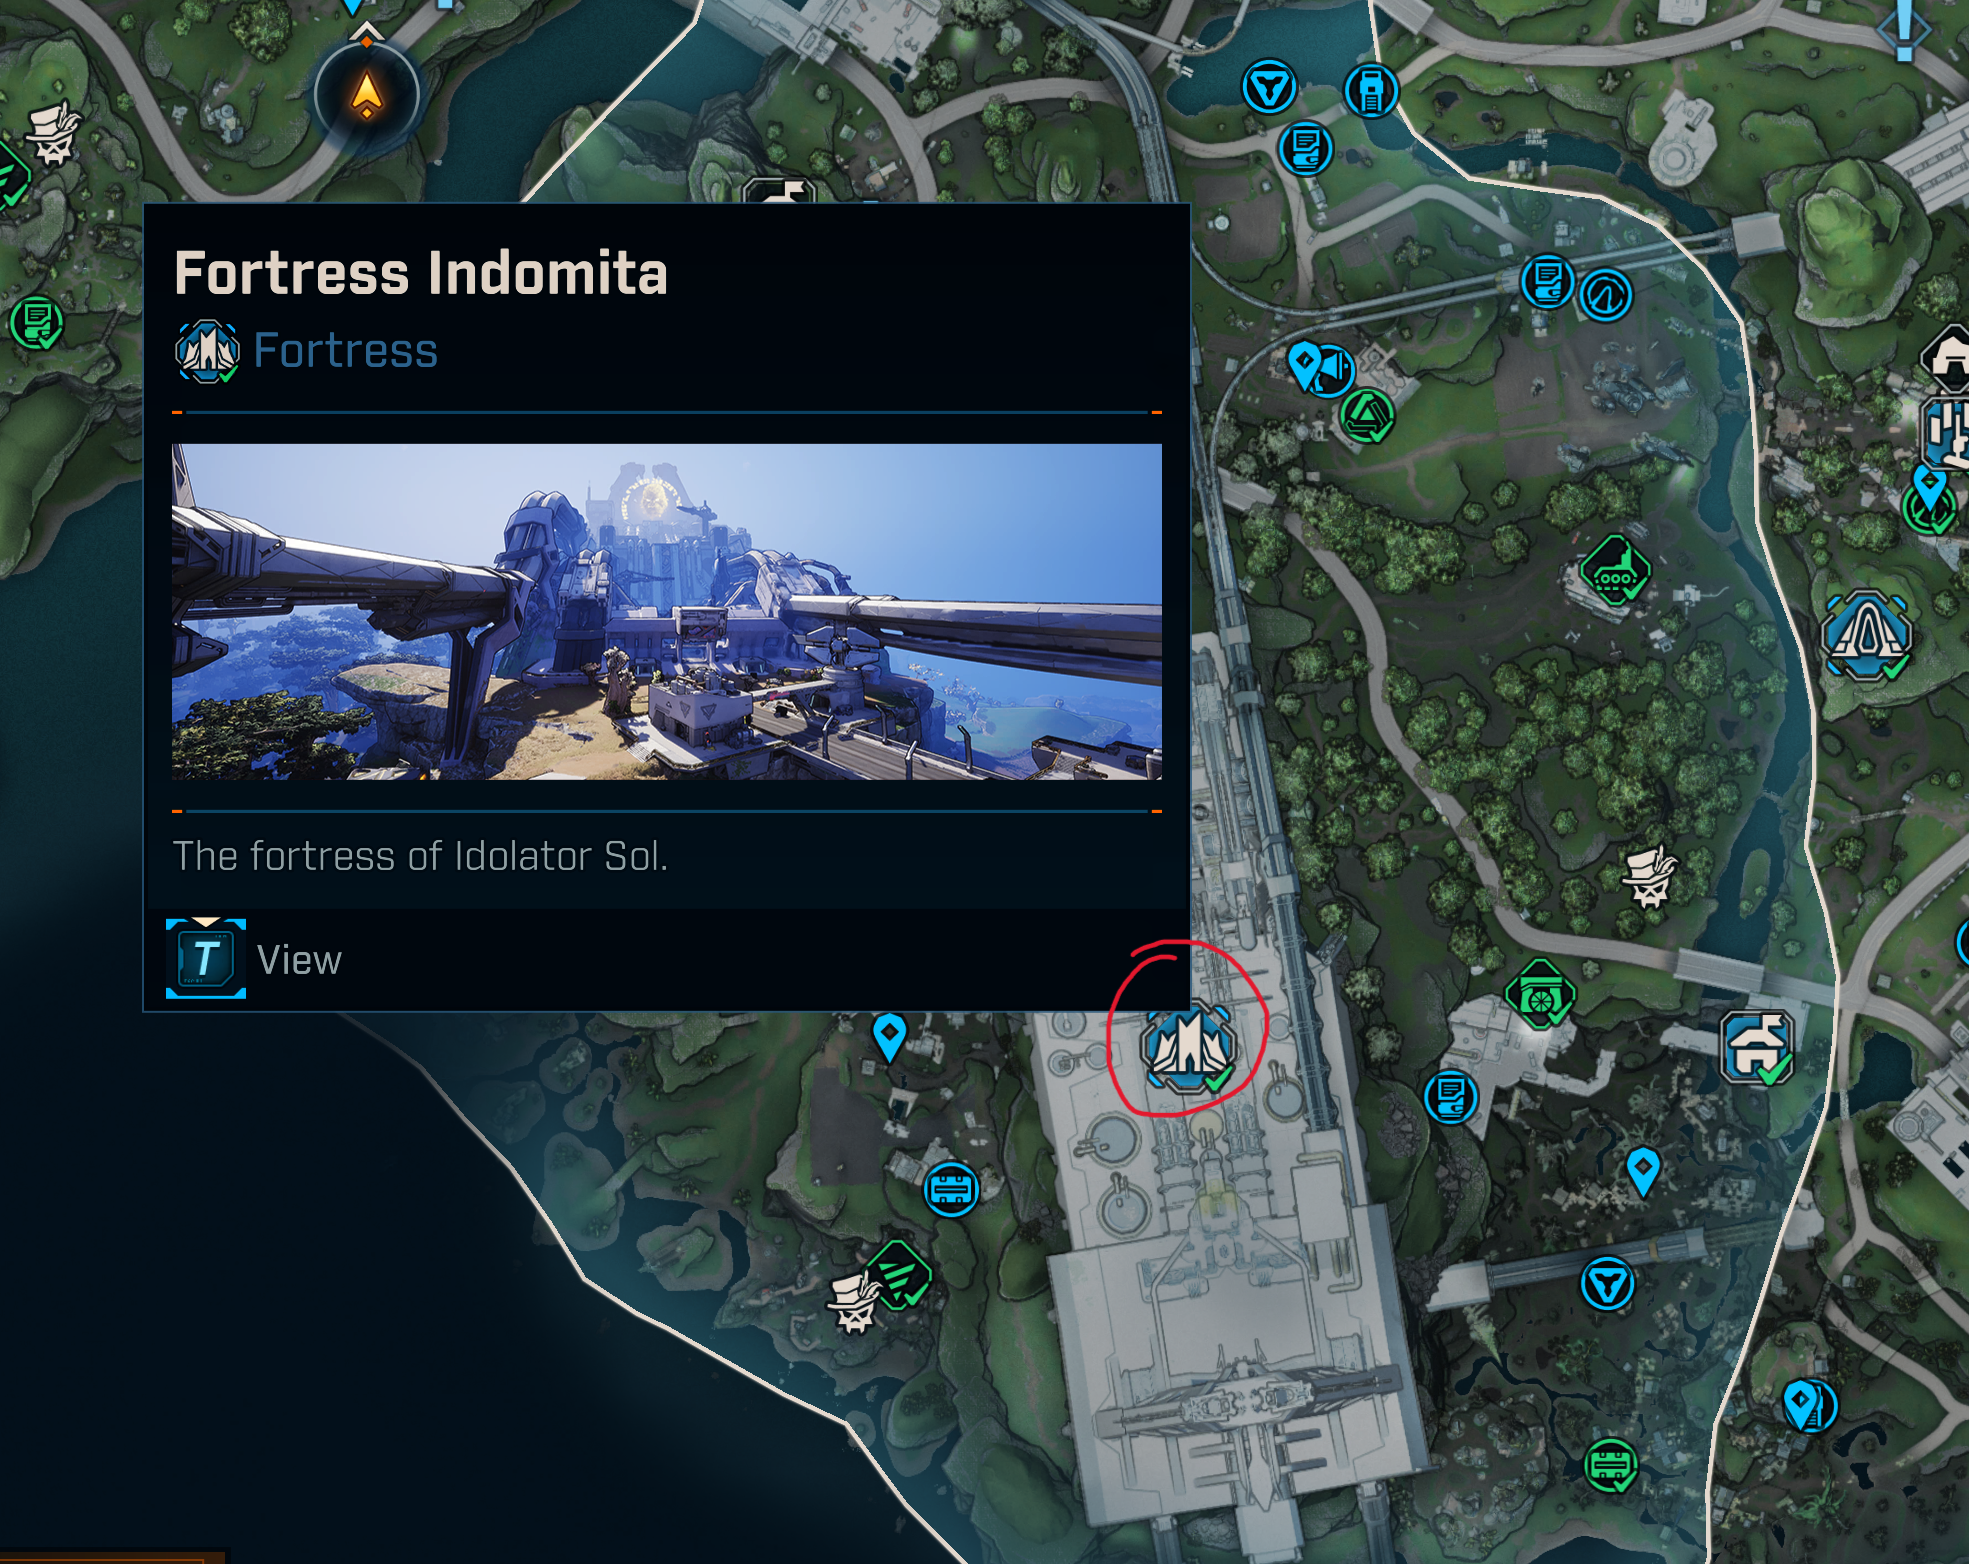
Idolator Sol is located at the end of the Fortress Indomita in The Fadefields.
In order to gain access to him you will need to have completed the Rush the Gate mission.
How to Beat
Idolator Sol is a 3 phase boss fight. Each new phase introduces new abilities, enhances his existing ones, and is entered when one of his health bars is depleted.
FIGHT TLDR
Pick up Locust Cannisters left behind from his Locust spear ability and throw them to remove his immunity
Nuke boss when he's vulnerable
Move out of danger zones, especially the Locust Storm
Phase 1
Locust Rod
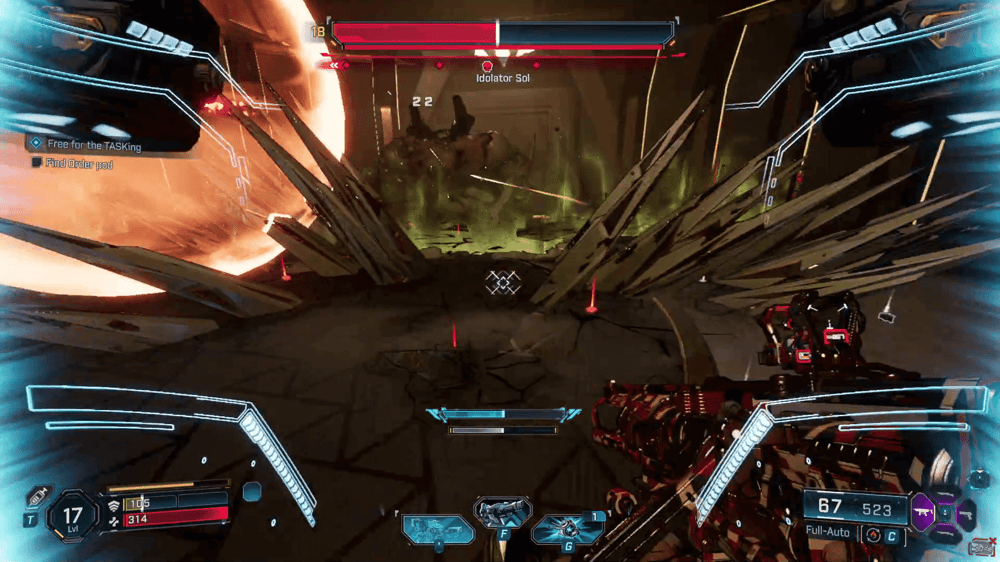
What Happens: Sol fires several rods into the air which land in a line and deal damage on impact.
What to do: Dodge away from the rods as they land. The last rod landed holds an interactable Locust Bomb and when thrown at Sol will break his immunity.
The Locust Rods after landing. Take the green and throw it at Sol!
Armour Throw
What Happens: Throws a chunk of armour at the player, dealing damage and knocking back
What to do: Move laterally or side dash to dodge.
The armour (pictured just above the gun) is an easy side step.
Shield Charge
What Happens: Conjures a bio-armour shield and rams the player, dealing damage and knocking back
What to do: Similar to the above, this can also be side stepped
Keep your distance to give yourself time to get out the way.
Locust Beam
What Happens: Fires a laser beam that continuously follows the player, dealing ticking damage while standing in it and knocking back.
What to do: This has to be out-run by sprinting in a clockwise or counter-clockwise direction
The laser is only deadly if you stand in it for too long.
Sacrifice
What Happens: Sacrifices an Order add to replenish his shield and immunity.
What to do: The enemy can be killed while this is happening which will interrupt the sacrifice and briefly stun Sol.
The tether from Sol's body indicates which adds are being sacrificed.
Sword Sweep
What Happens: Conjures a huge sword and sweeps the arena, dealing damage and knocking back.
What to do: This can be dodged by jumping
Time your jump to avoid the Sword
Phase 2
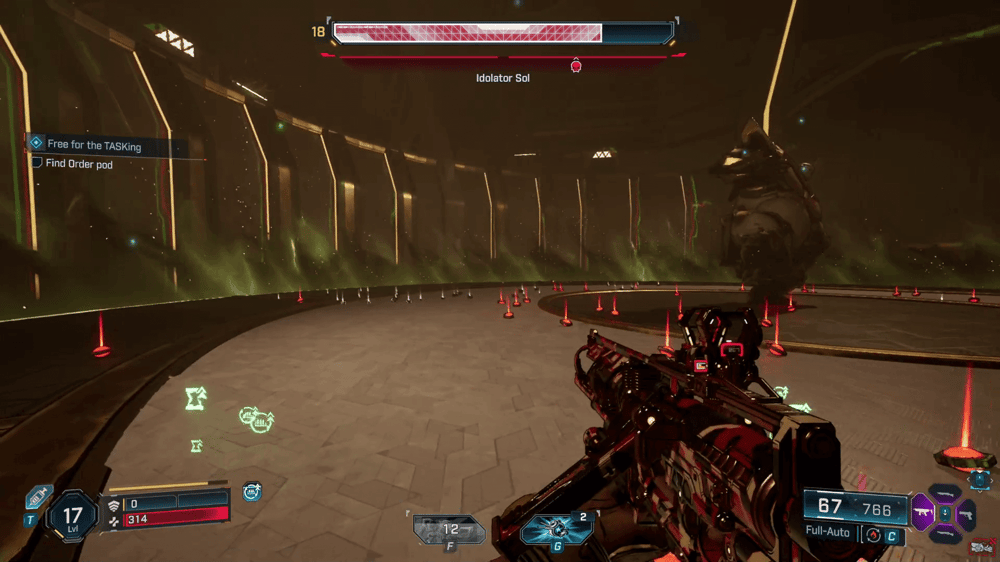
Locust Storm
What Happens: A massive storm engulfs the arena, ticking for high damage. Safe zones spawn which negate damage from the storm. These zones will move multiple times.
What to do: Identify the safe zones and sprint towards them. The closer to the middle of the arena you are the less distance you have to travel to get to the next zone.
The clear areas are safe zones. Dark and murky is bad!
Earthquake
What Happens: Cracks spawn in the ground and erupt after a few seconds (indicated by them glowing green), leaving behind fissures that deal damage when crossed. This happens twice in succession.
What to do: Cracks on the floor indicate incoming fissures and will hurt if you're standing there when they pop. The key to dodging the second round of fissures is to stand by the first, wait for them to despawn, and then walk over them.
In the example below, the green wall coming from the ground are cracks that have already turned into fissures. The black lines on the ground are cracks that will soon erupt. The player is standing where there are no cracks currently and is 'safe' - however, the player is also stuck and vulnerable to Sol's follow up attacks.
As there is a small window between the first fissures leaving and the next arriving, the best strategy would be to run over the cracks to the green wall, wait for it to dissipate, then run out.
If in doubt, dash over the fissures to avoid Sol's other attacks
Ground Slam
What Happens: Close range AoE slam, dealing damage and heavily knocking back
What to do: Don't get too close to Sol. Dash out when you see his foot winding up
Sol likes his personal space
Changed Mechanics from Previous Phase(s)
Mechanic
Phase 2 Change
New Strategy
Locust Rod
Now spawns 2 waves of rods instead of 1
Keeping dodging. Only the last wave has the Locust Bomb
Sword Sweep
The sweep is higher than in Phase 1
Requires a double jump to dodge
Phase 3
Wall of Locusts
What Happens:The outer wall in the arena will now damage the player if touched.
What to do: Be conscious of your positioning and avoid all contact with Sols abilities as most of them will knock the player back.
The floor wall is lava
Changed Mechanics from Previous Phase(s)
Mechanic
Phase 3 Change
New Strategy
Ground Slam
Follows the slam with a rupture
Run sideways and dash last second
Shield Charge
Follows the charge with a rupture
Run sideways and dash last second
Sword Sweep
Follows the sweep with a downwards slam
You may be airborne dodging the sweep, so a dash is best
Locust Swarm
Safe zones are much smaller
Stand towards the centre to minimise travel distance
Locust Rod
Spawns 3 waves instead of 2
Dodge and use audio cues to hear when the third wave lands if necessary
Tips & Tricks
All 3 of Idolator Sol's health bars are Flesh, meaning he takes increased damage from 🔥Incendiary damage (up to 175% on Hard/UVH5 difficulty)
The grotesque green boils on his body are his weak spots
Side dashing is great for dodging incoming projectiles
Keep at least one add alive to kill for Second Wind should you get knocked
The adds drop plenty of ammo so you'll never run out. They also proc your Kill Skills making those builds still viable in this fight