menu
MobalyticsUse your favourite features in-game with our Desktop App

The Bazaar Vanessa: Ammo Builds

Vanessa
By Mobalytics
Updated on Oct 30, 2026
Oct 30, 2026

Overview

Ammo builds aim to burst down their foes before there's any time to react. They are purely setup for offense, but have strong combo potential once fully assembled.

In this guide, we'll showcase a few different end game builds, and explain some of the opening lines to help you approach the early to mid game.

While every build is viable under the right conditions, please note that a build's average strength can greatly vary with each patch. If you want a clear look at what's working, check out our Meta Builds.

All Items and Enchantments

Discover every item The Bazaar has to offer

Bronze Items & Opening Lines

Here are some example items and openers to look for during the first few days, based on the Bronze item pool.

Ammo boards require dedicated support in order to become playable. Early on, Reload items are the easiest solution, but eventually you'll want to increase Ammo via skills and/or Gunpowder effects. Ammo doesn't need to be unlimited, it just needs to be enough to end the fight.
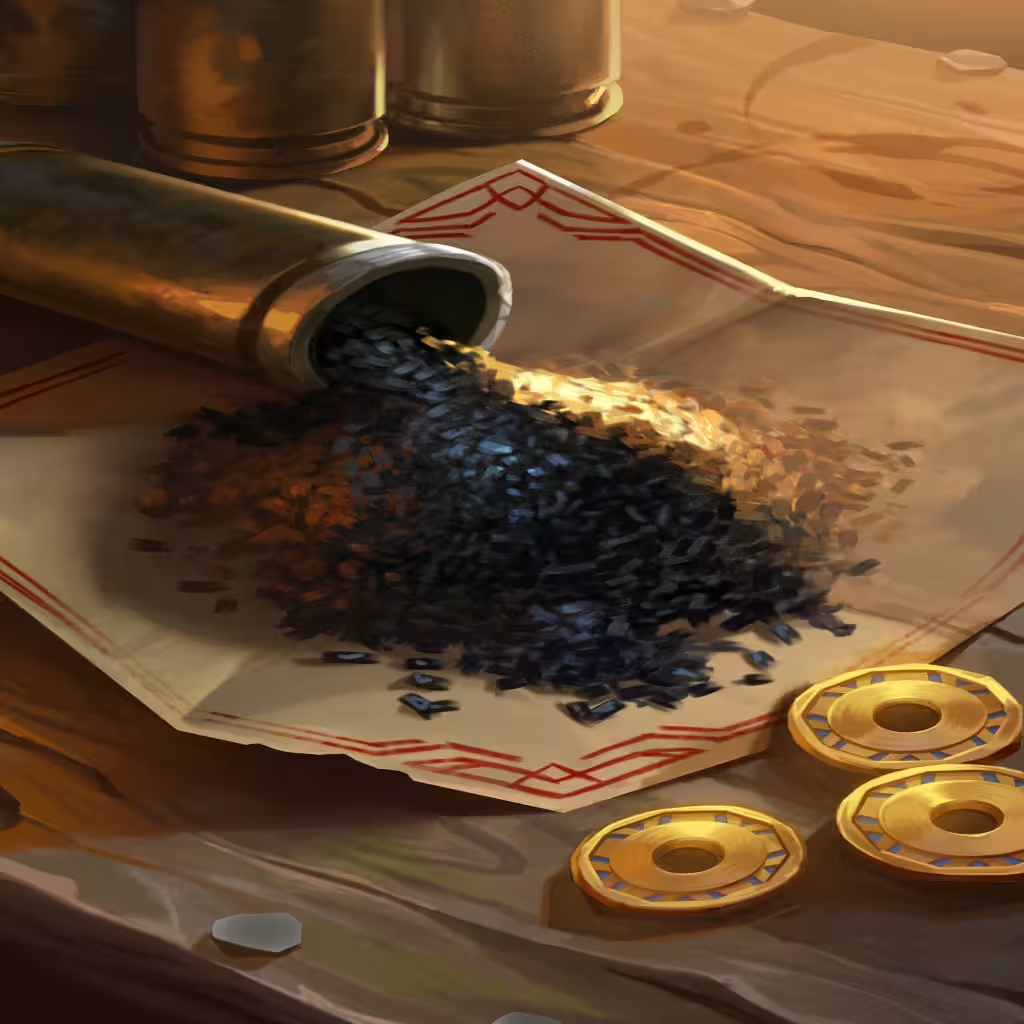
Rifle + Ramrod (or Powder Horn) is the common Ammo opener, but the classic all Weapon Sharkclaws start is often a better choice. Any early Silver-tier Ammo Weapons (ex. Grenade, Bolas) can be reasonable without Reload support, but only if your board has enough Damage overall.
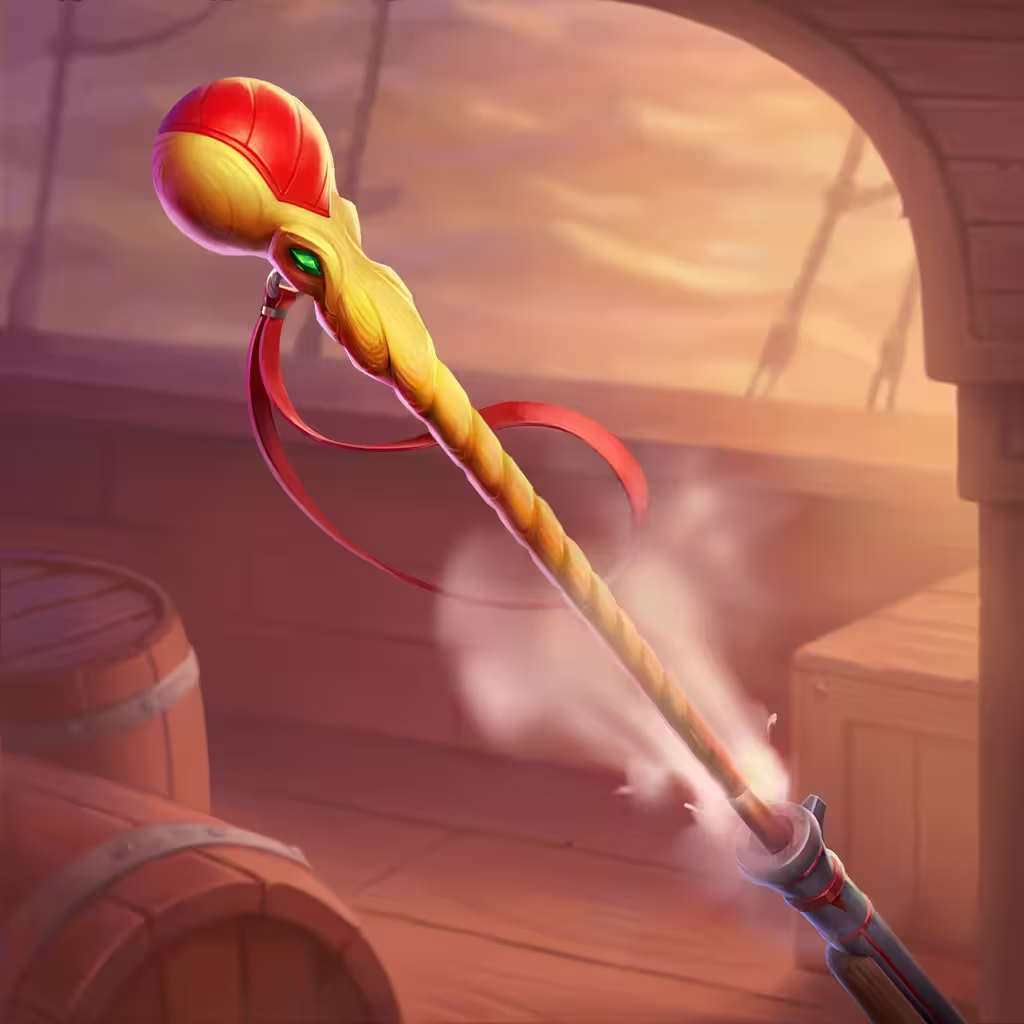
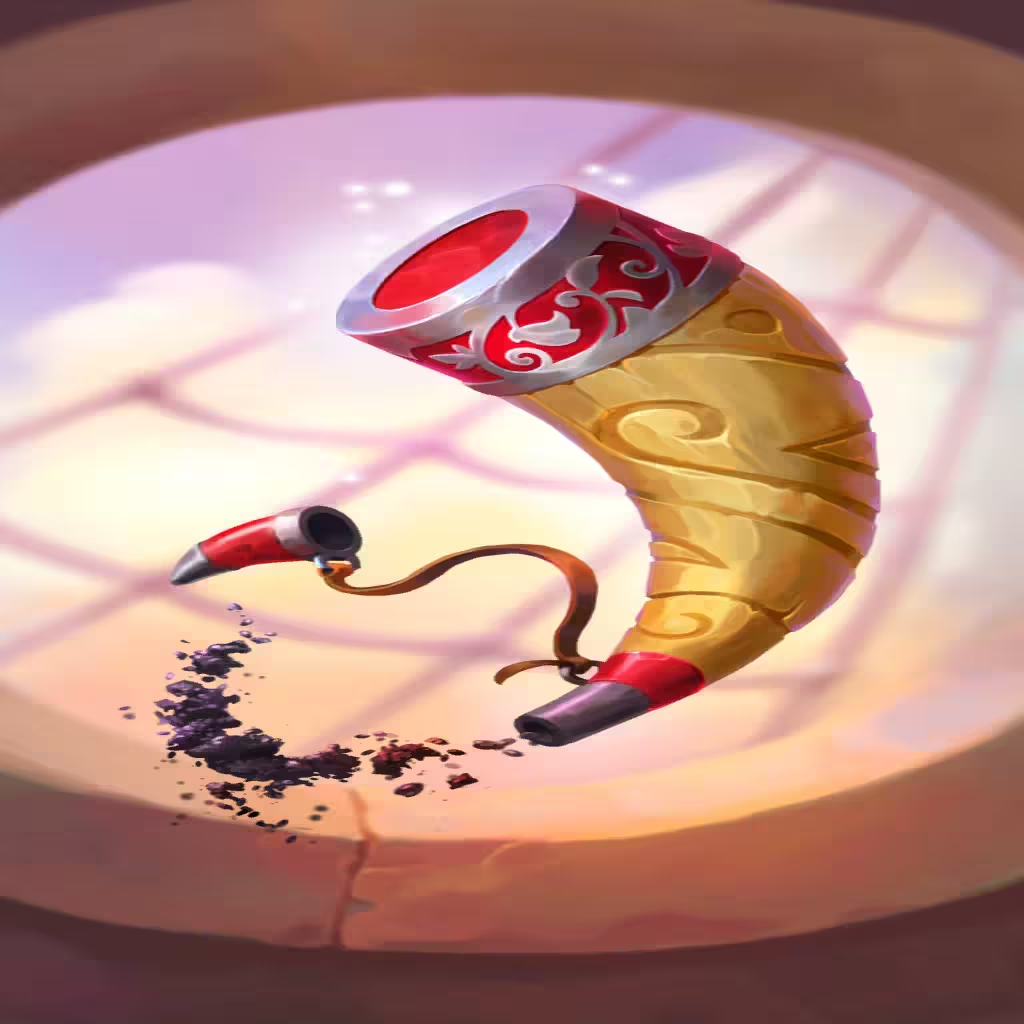
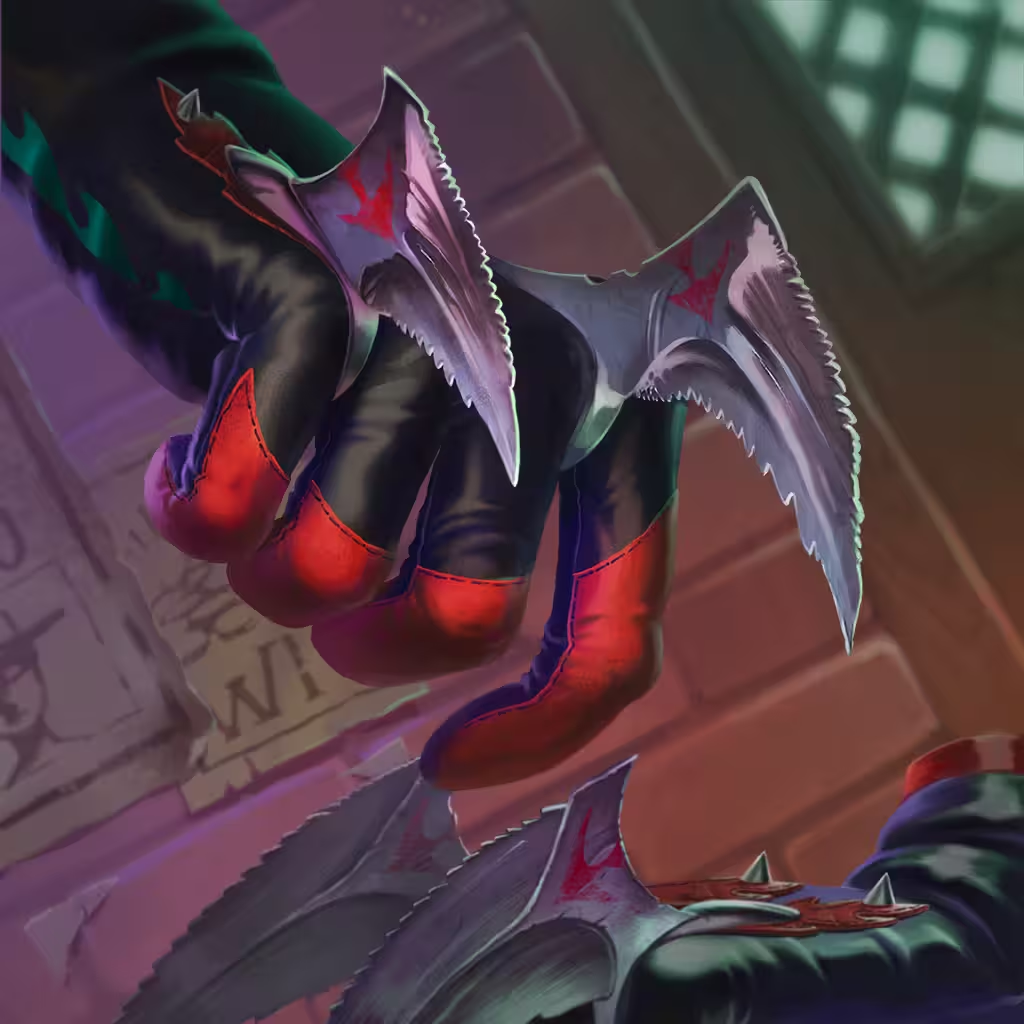
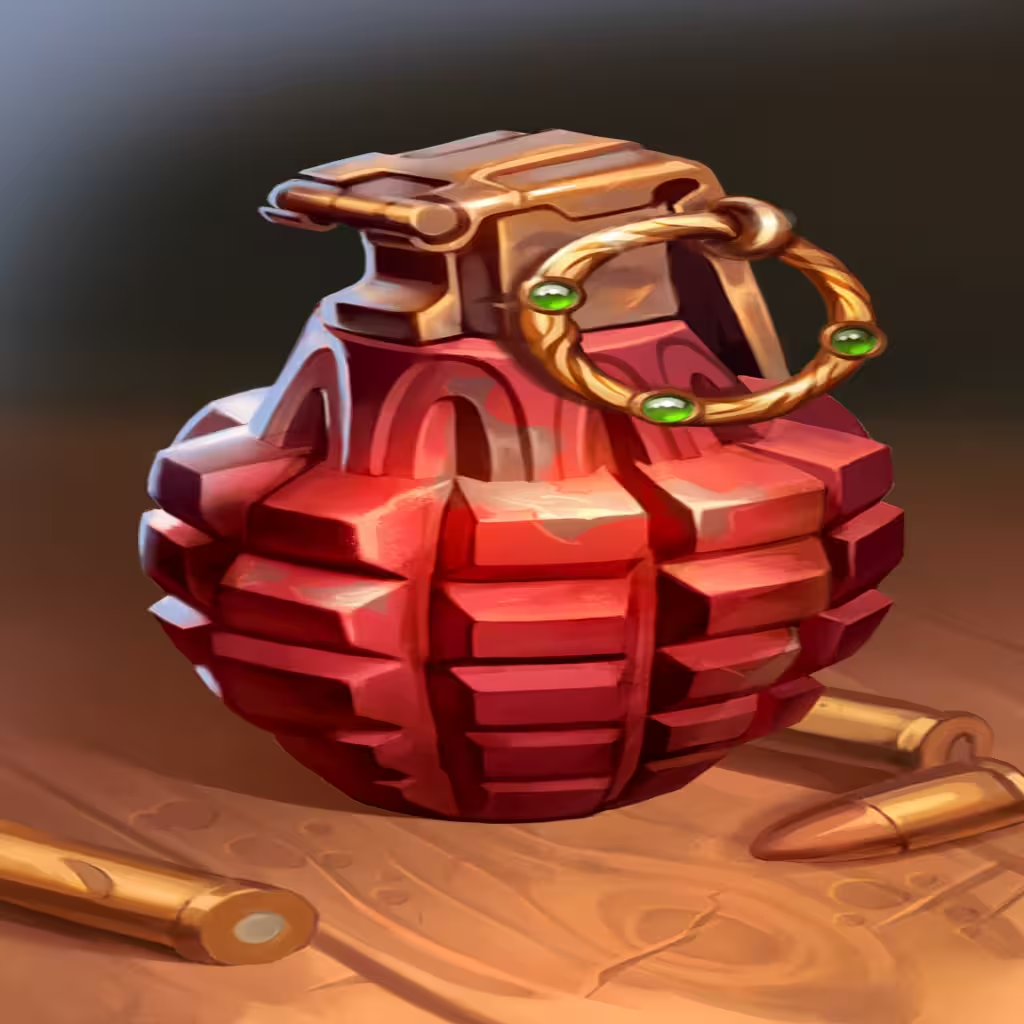
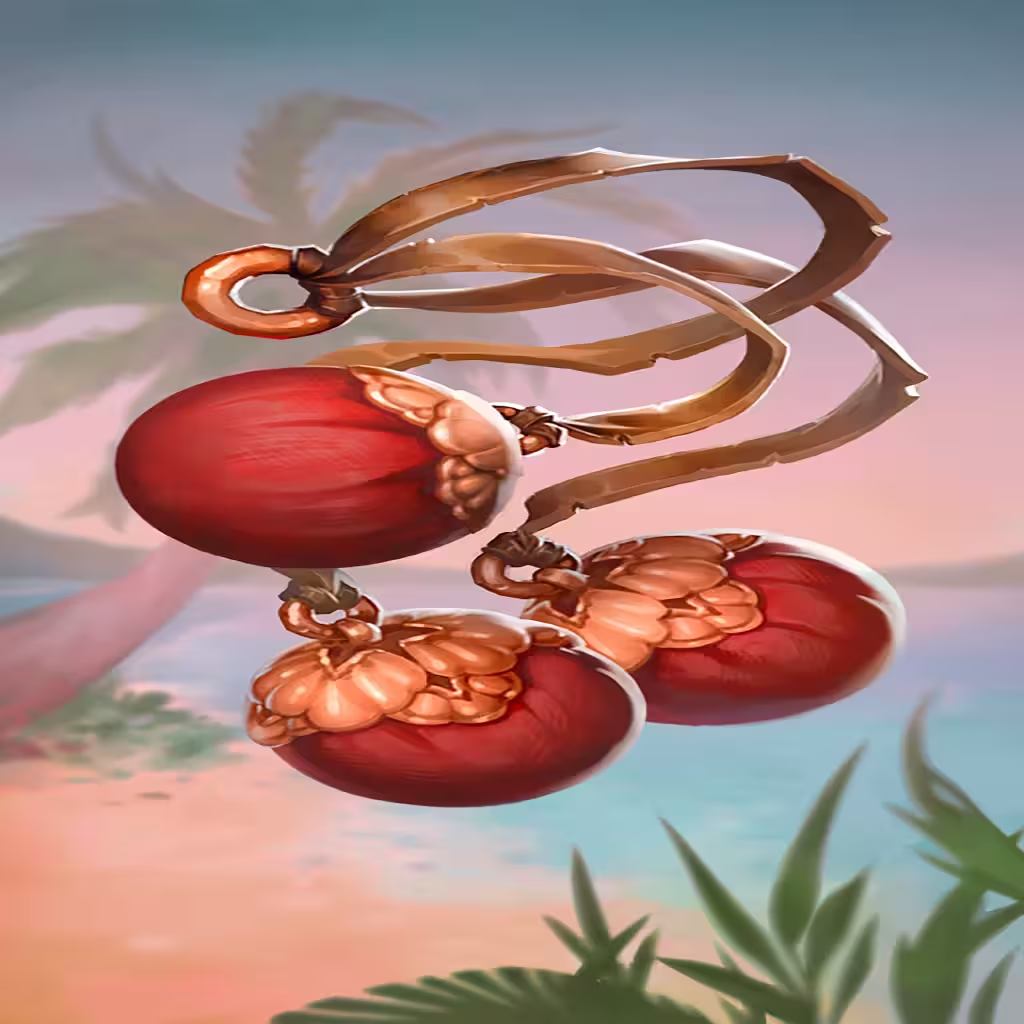
  • Rifle + Ramrod — Find a second Ammo item worth Reloading, and upgrade Rifle to Silver ASAP. If you fall behind, pivot.
  • Sharkclaws — Prioritize Small non-Ammo Weapons with low Cooldowns. One fast Medium item is okay (ex. Marlon, Katana).
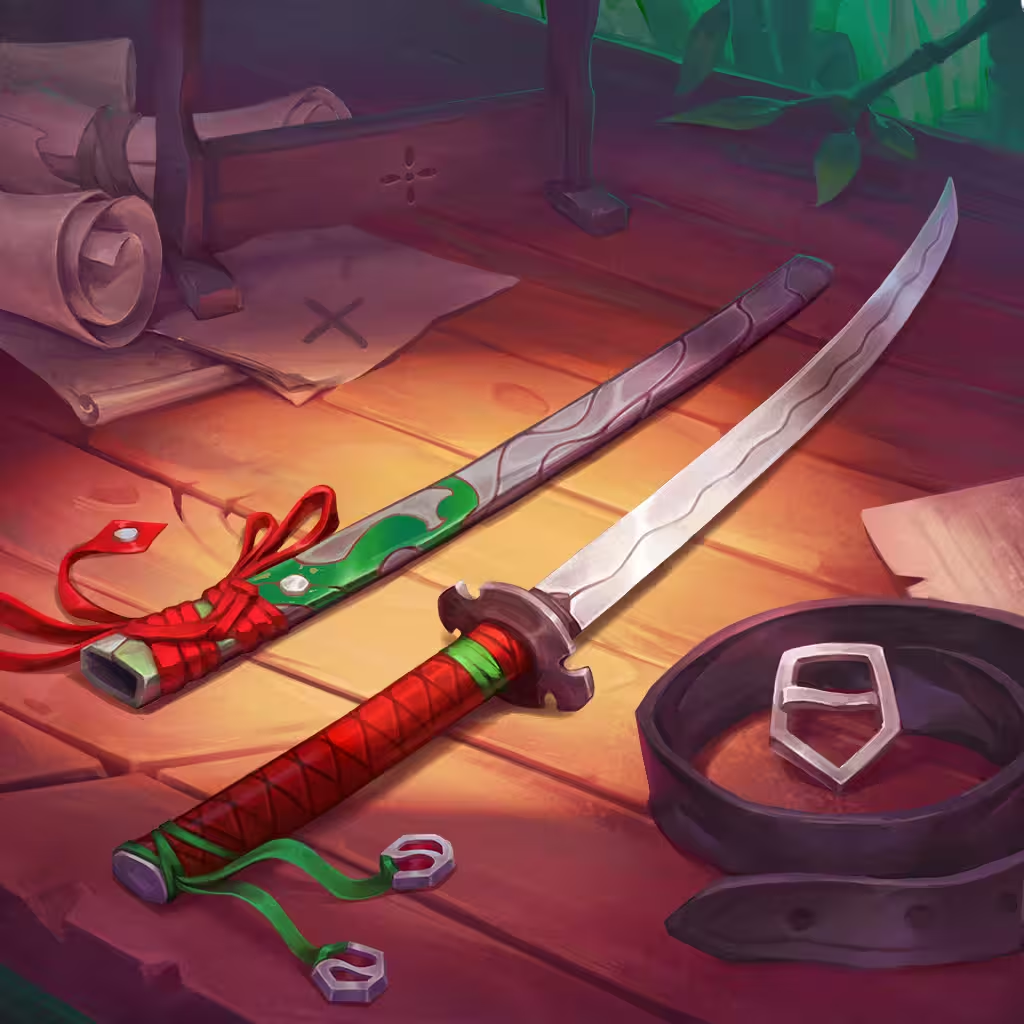
Note: When playing the Sharkclaws line, you may find opportunities to pivot towards a Tortuga Build or One-Weapon Build instead.

Economy Items
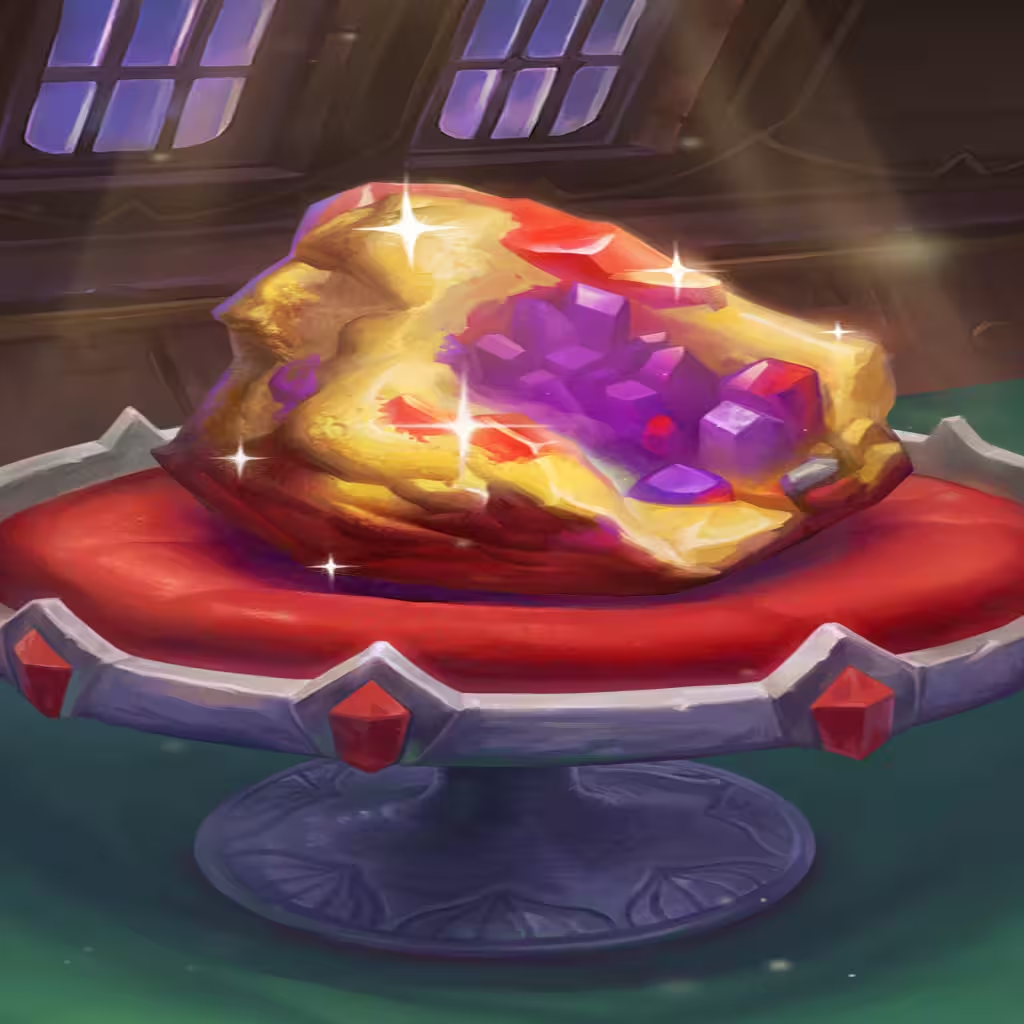
  • Ambergris — Generates less gold outside of Aquatic builds, but there's still enough overlap with Sharkclaws openers. Upgrade to Silver ASAP.
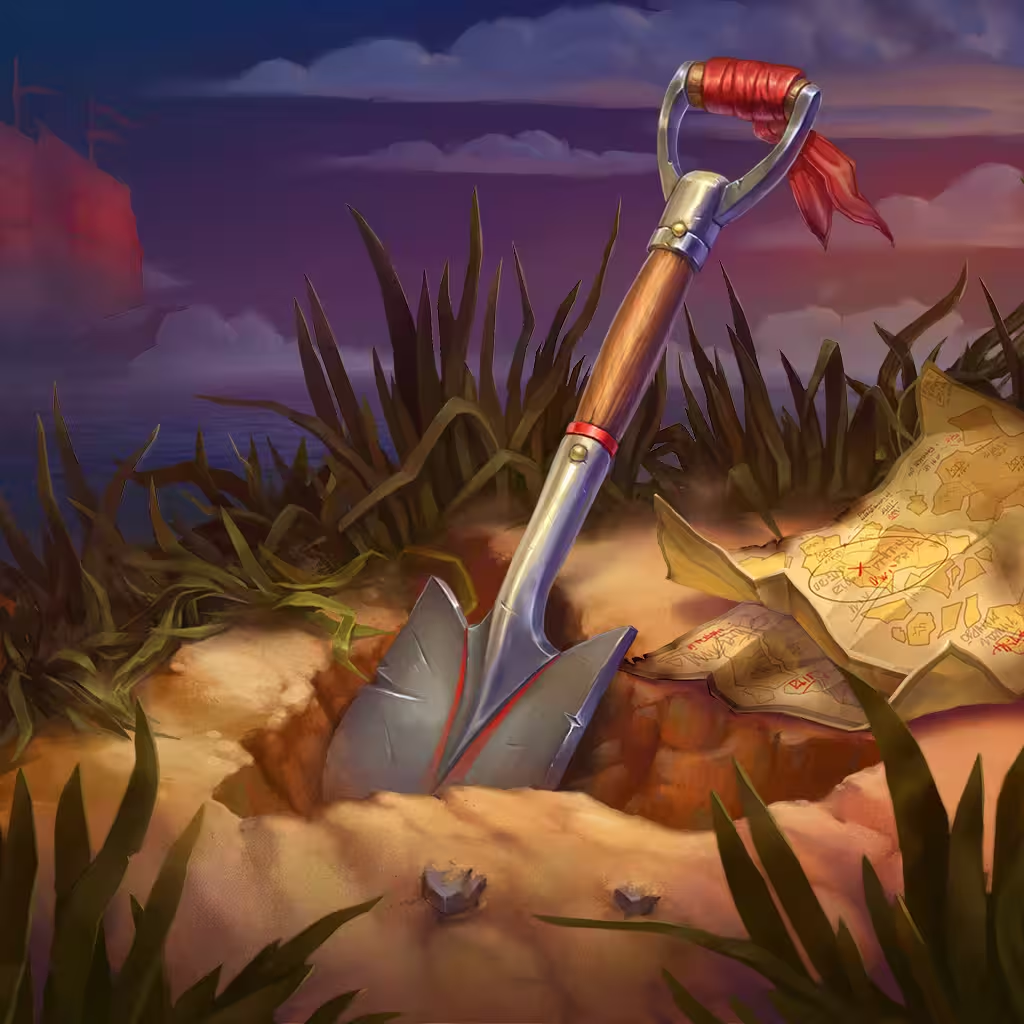
  • Shovel — Vanessa can make great use of random off-hero Weapons, and there's a bunch of great ones even at Bronze.
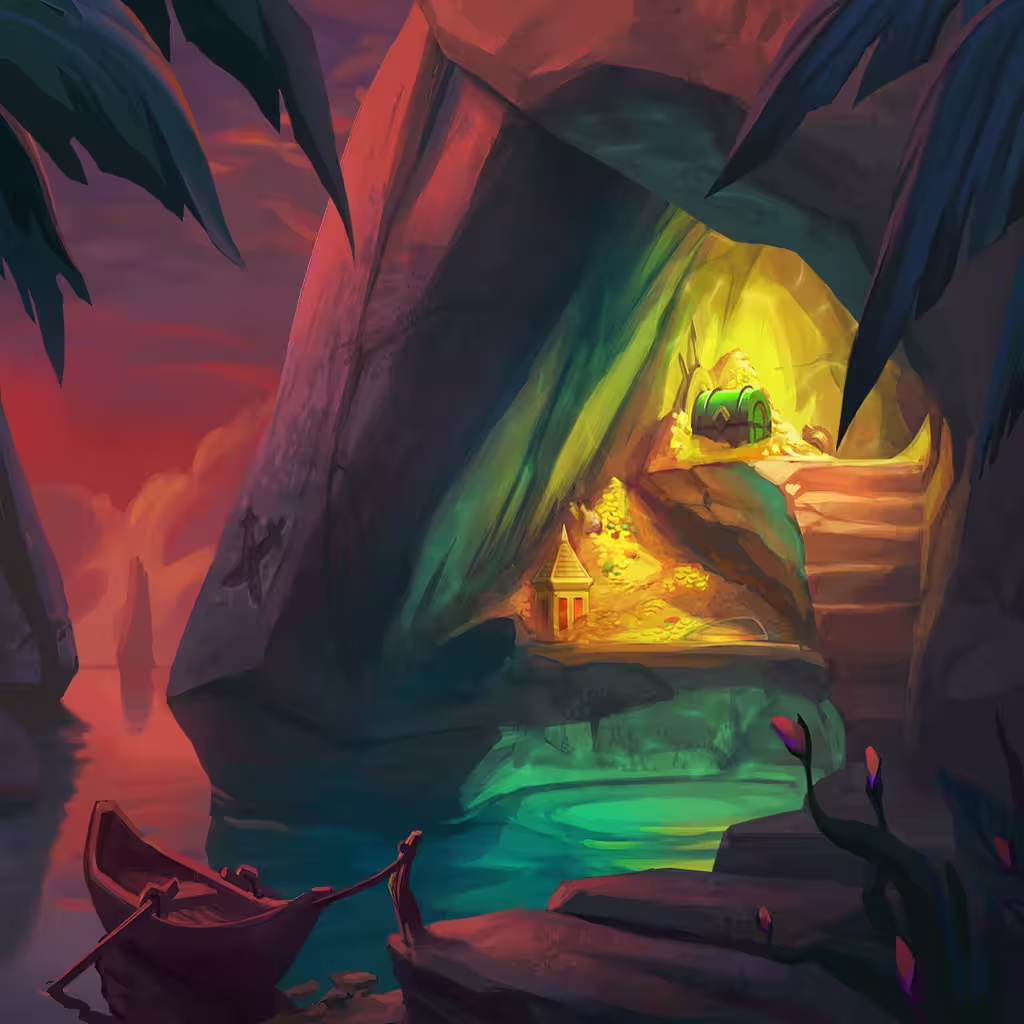
  • Cove — Can be worth buying when found early, but only if you have extra funds, and enough Stash space to hold it.

Note: Manage your Economy so that you can buy every single Small Bronze Weapon you see. This enables a mid game power spike with Iron Sharpens Iron.

Additional Notes
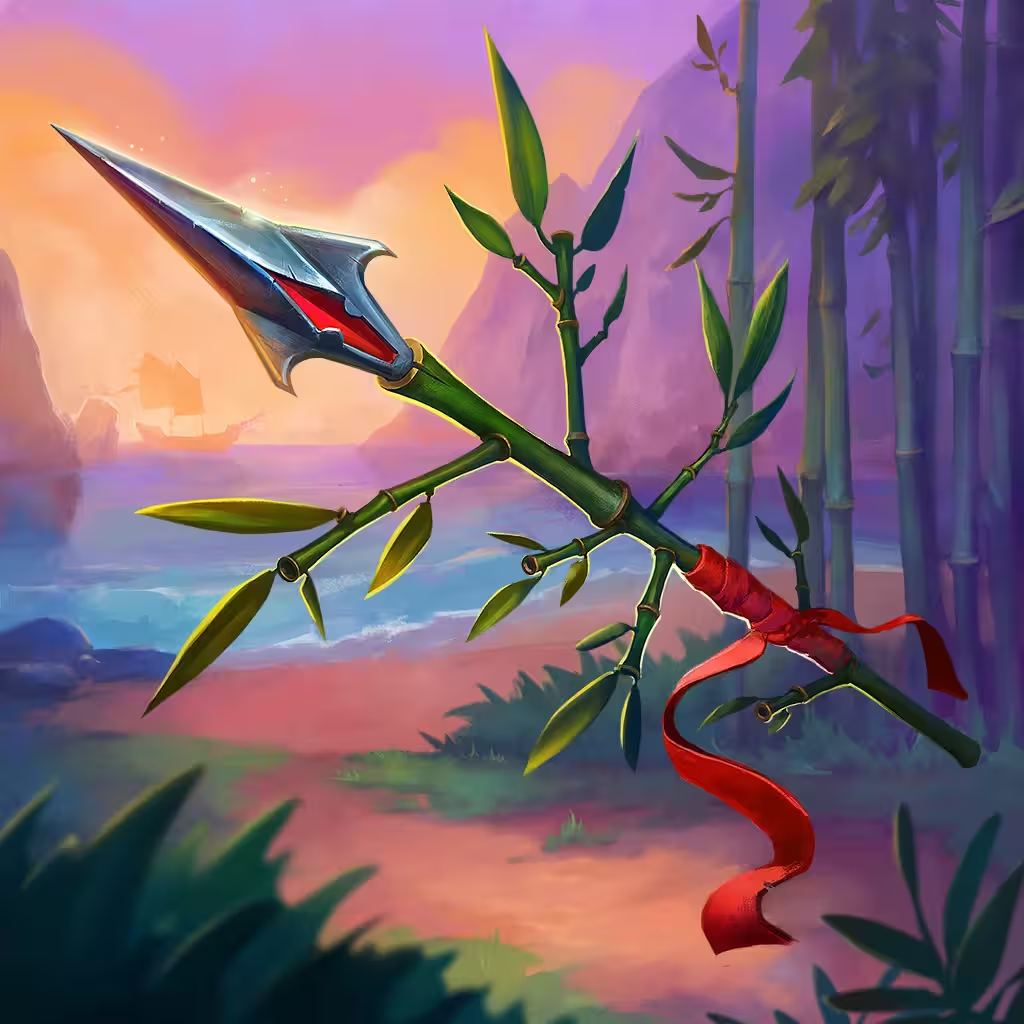
  • Langxian — A situational tempo Weapon. Can be very strong if found Day 1 before the first PvE. You can afford one early loss, but after the second, drop it.
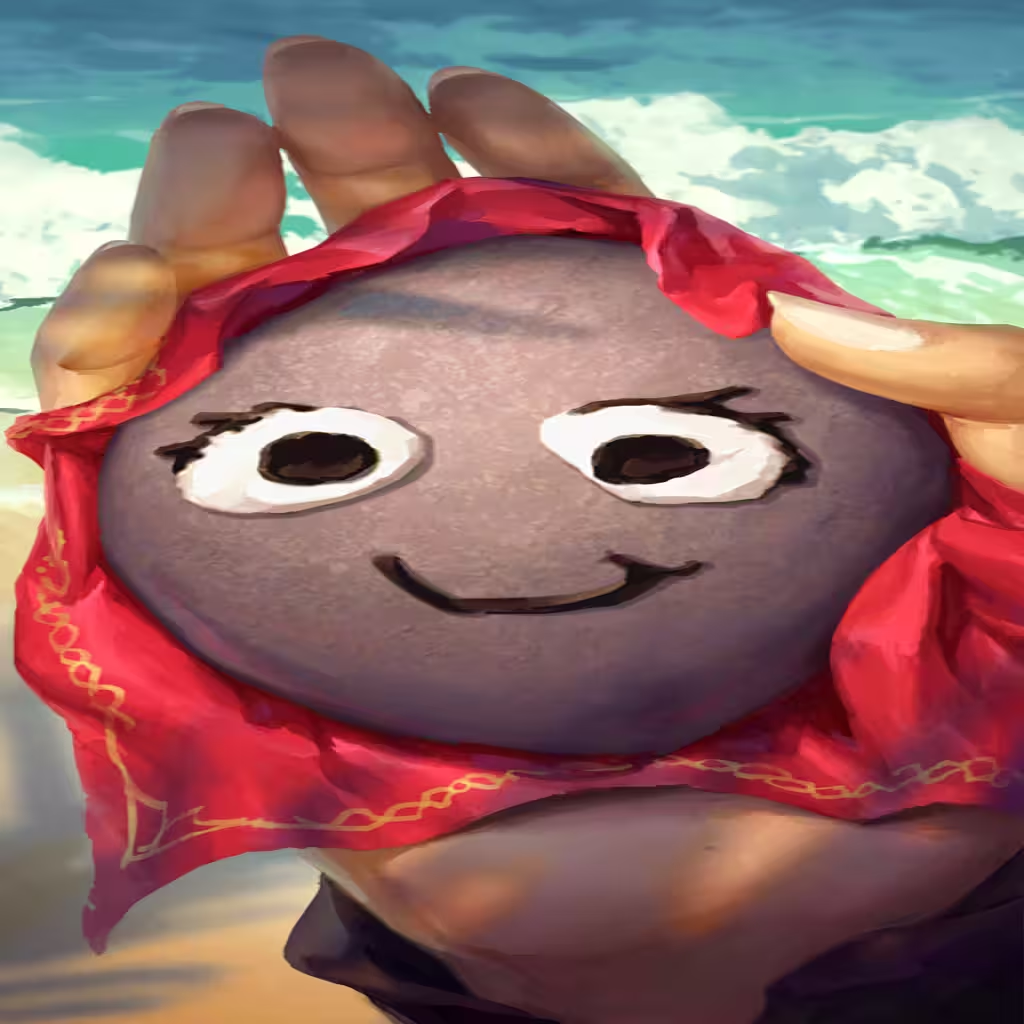
  • Pet Rock — Can be a very respectable source of Crit early on at Silver+. If available, lean towards building around non-Friend Weapons.
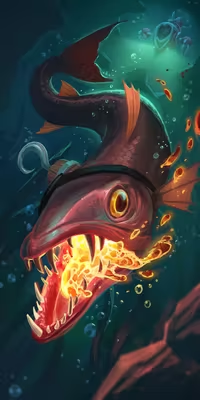
  • Burnacuda — More of a future build component than an early game inclusion. Stash this one for later.
AmbergrisVanessa
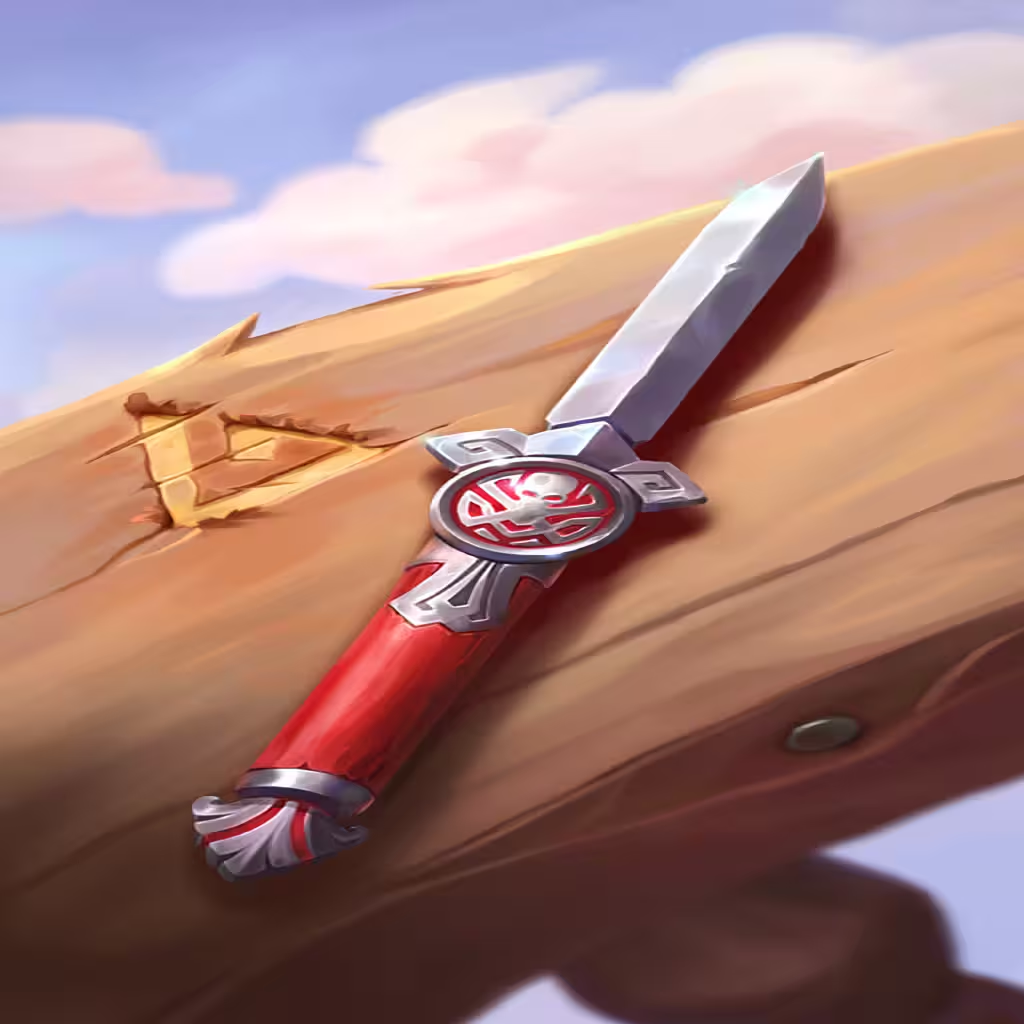
BayonetVanessa
Bilge WormVanessa
BolasVanessa
BurnacudaVanessa
CalicoVanessa
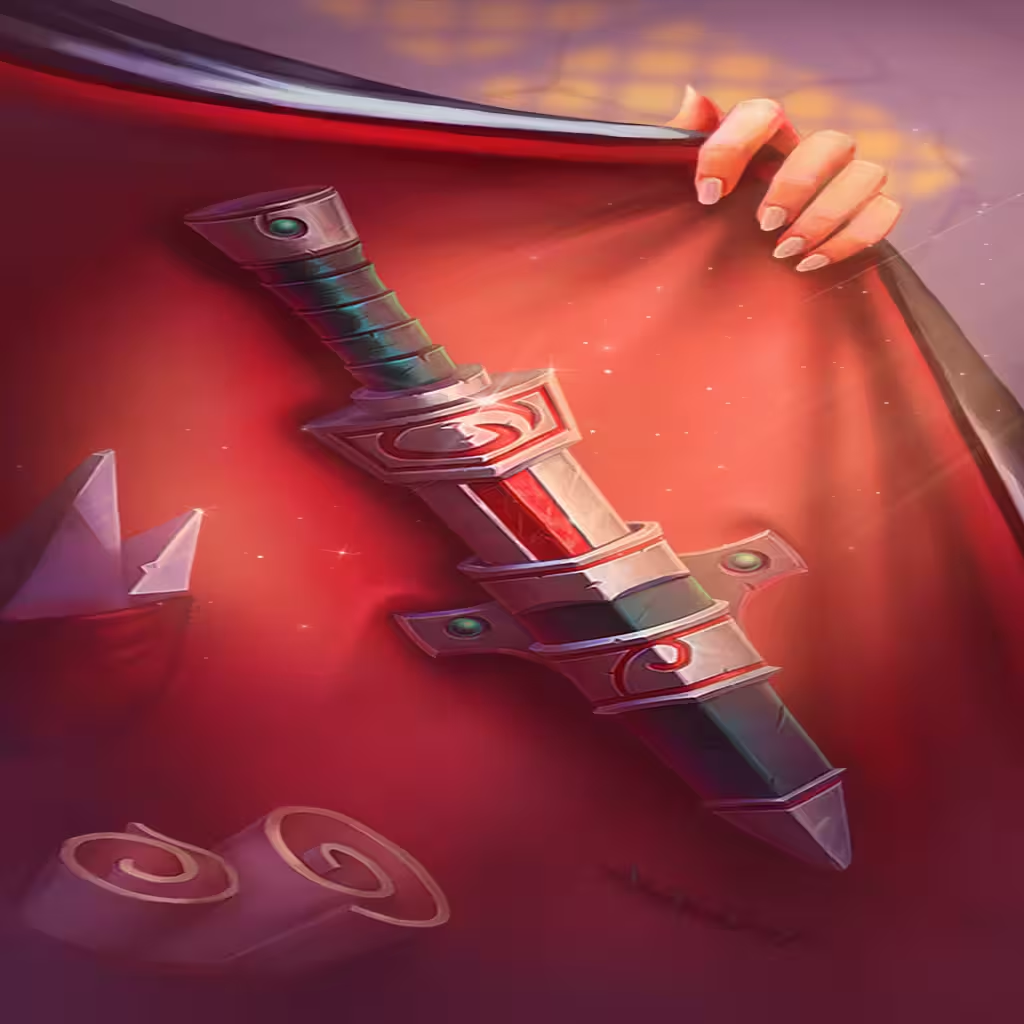
Concealed DaggerVanessa
CoveVanessa
Double BarrelVanessa
Flying FishVanessa
GrapeshotVanessa
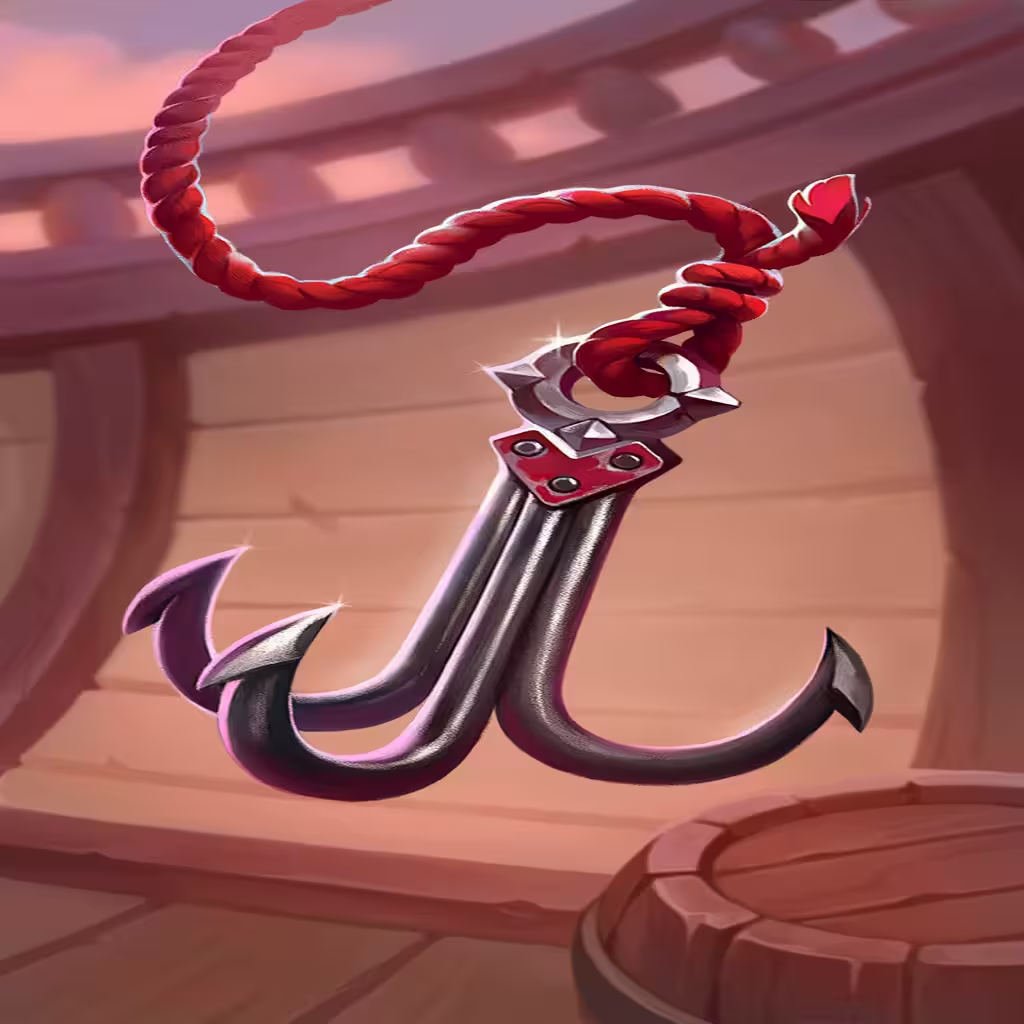
Grappling HookVanessa
GrenadeVanessa
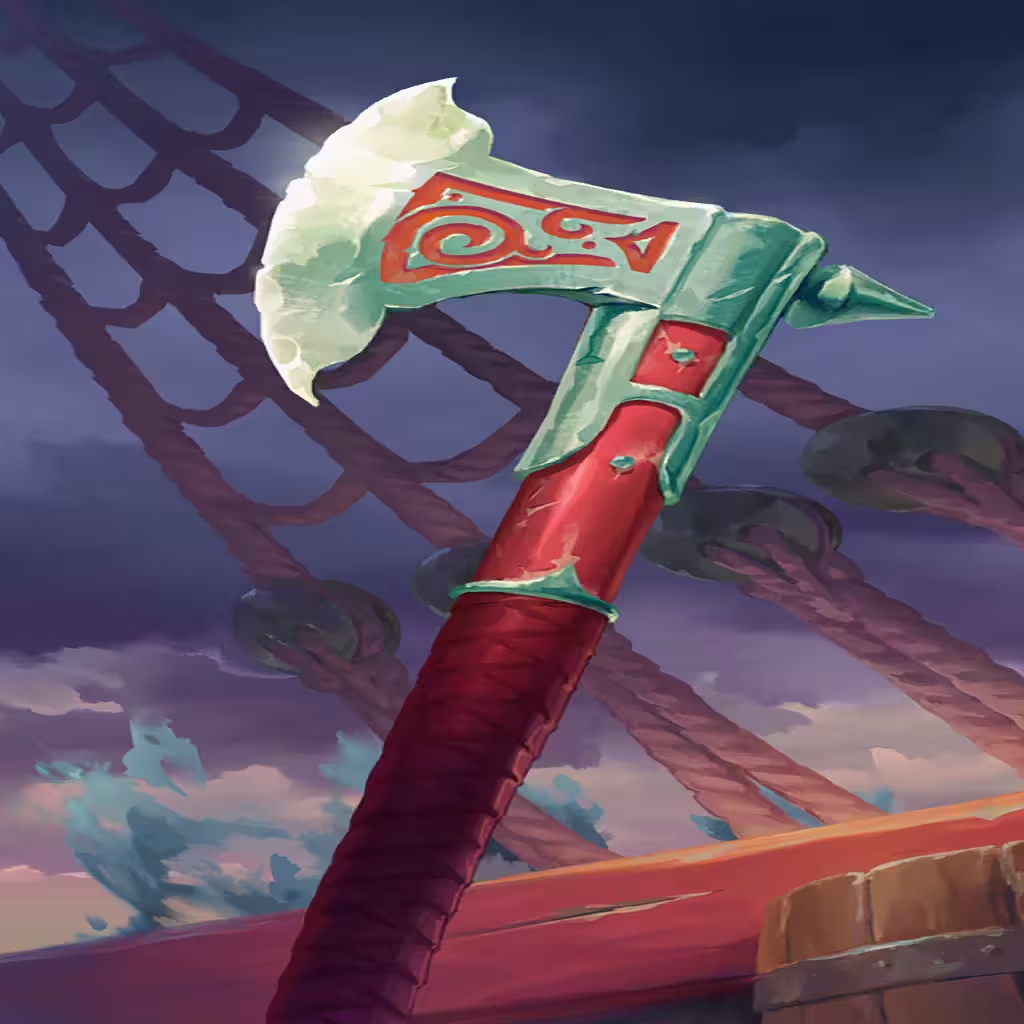
HandaxeVanessa
Honing SteelVanessa
KatanaVanessa
LangxianVanessa
MarlonVanessa
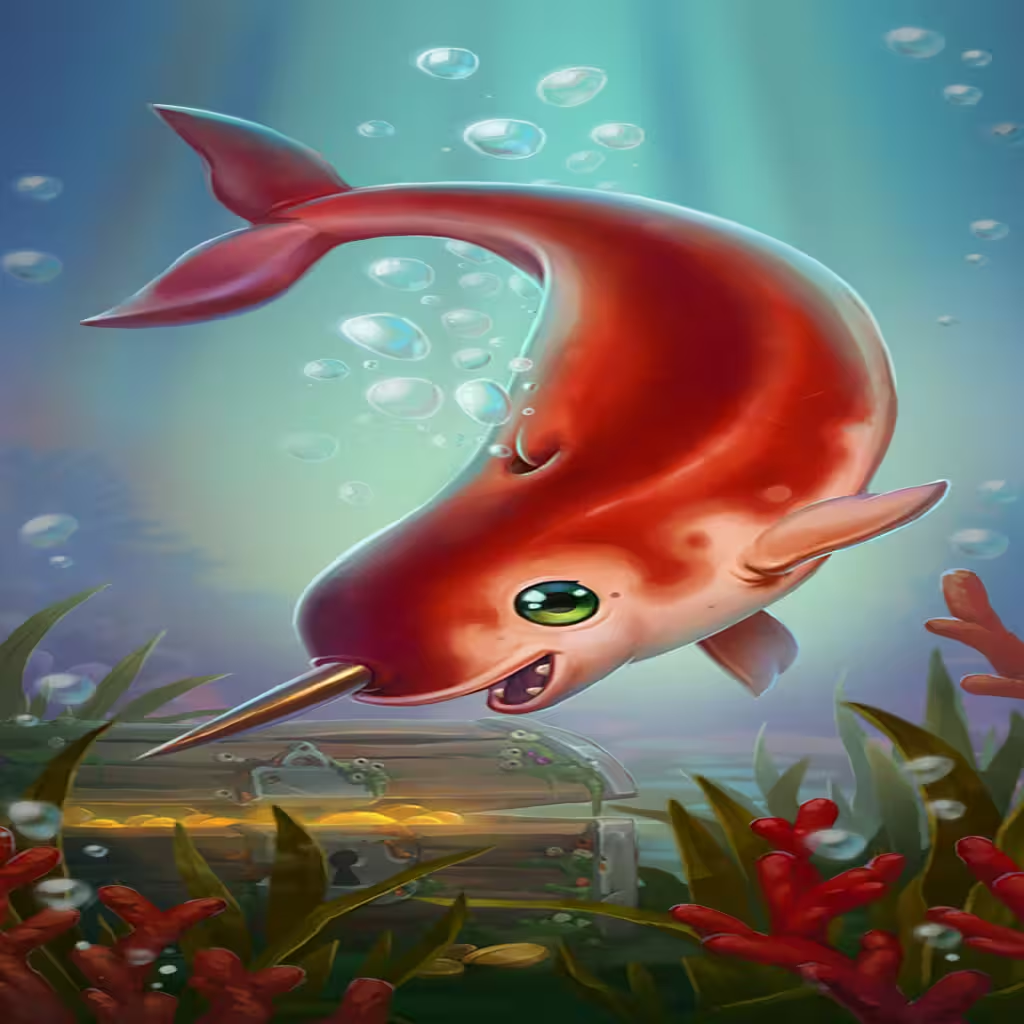
NarwhalVanessa
Pet RockVanessa
Powder HornVanessa
RamrodVanessa
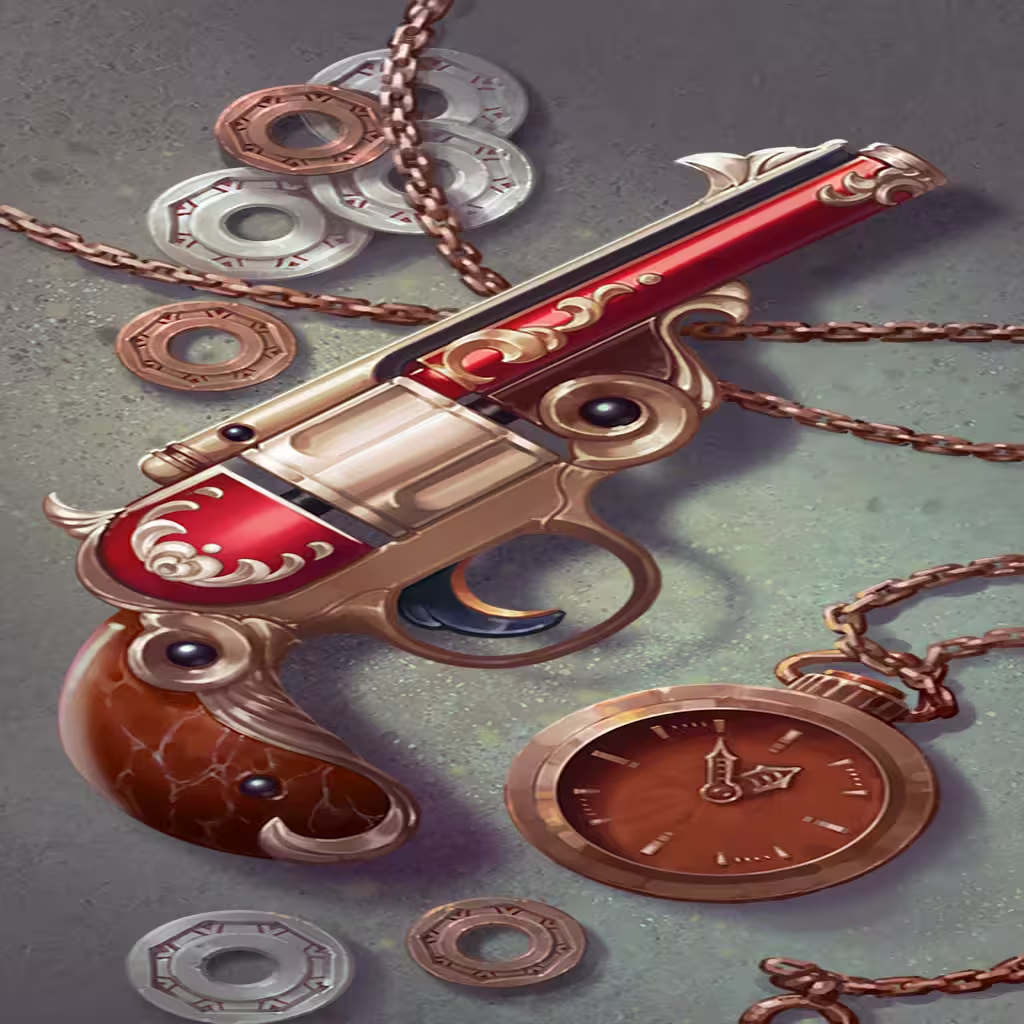
RevolverVanessa
RifleVanessa
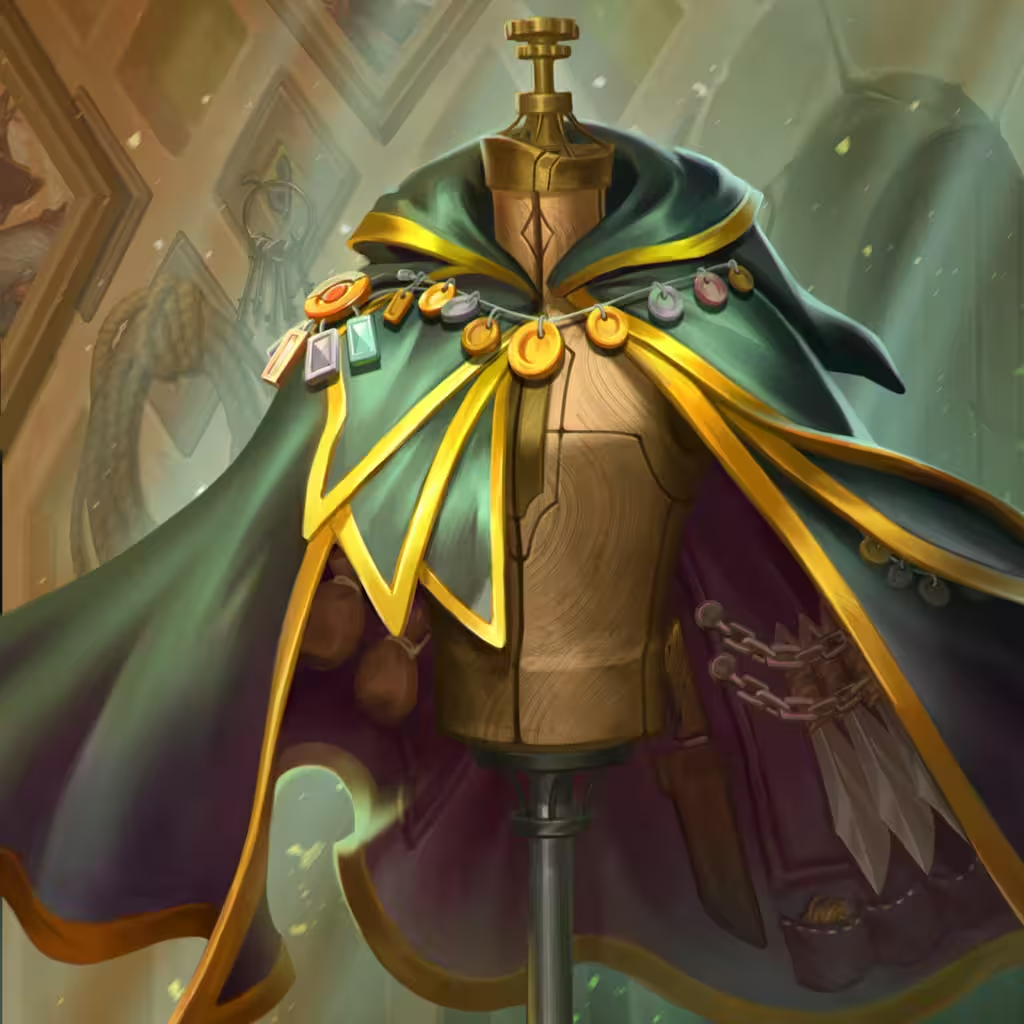
Shadowed CloakCommon
SharkclawsVanessa
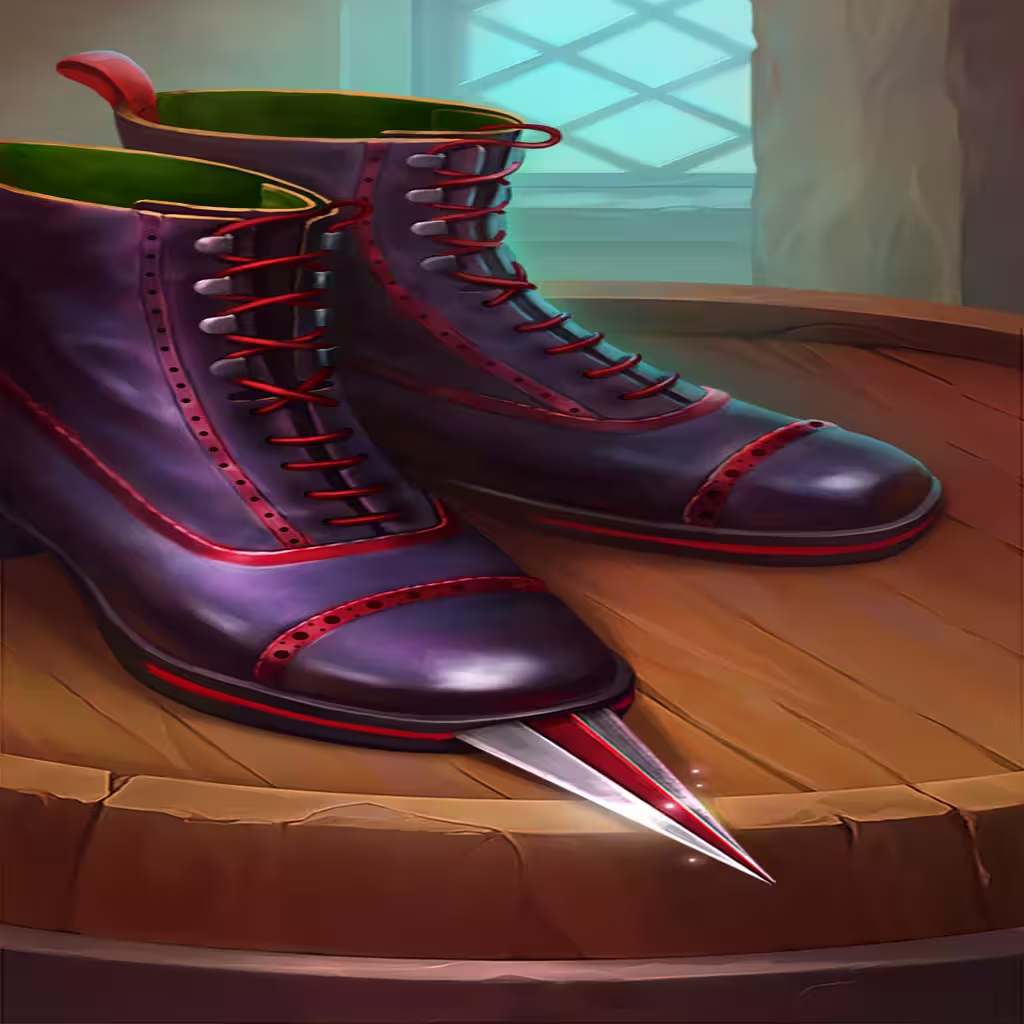
Shoe BladeVanessa
ShovelVanessa
ShurikenVanessa
SwitchbladeVanessa
Vampire SquidVanessa
ZoarcidVanessa

Silver Items

Here are the signpost items that enable the build, along with some mid game inclusions that help bridge the gap to the final board.

Core Items

  • Cyber-Sai — Offers solid Damage scaling once you have some amount of board-wide Crit. Usable late game, but can be replaced after enough Damage skills.
  • Bladed Hoverboard — A powerful combo enabler alongside Multicast items (ex. Shuriken, Dive Weights). Strong Damage scaling is a must.
  • Orange Julian — Requires a good Economy and reliable Charge/Haste effects. Visit the Shrouded Figure event to reduce its base Cooldown by one second.
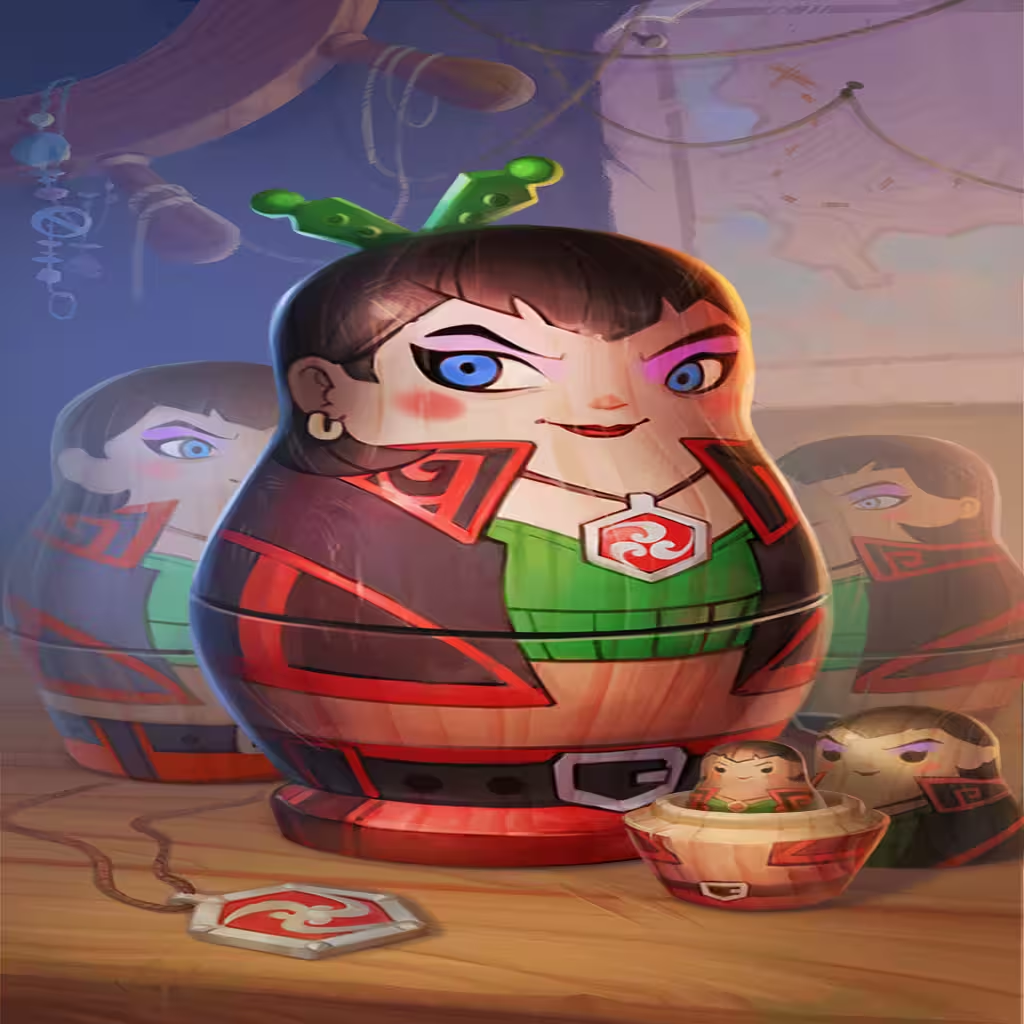
  • Nesting Doll — Improves startup time while significantly increasing the Damage of Loaded Fury.

Mid Game Items

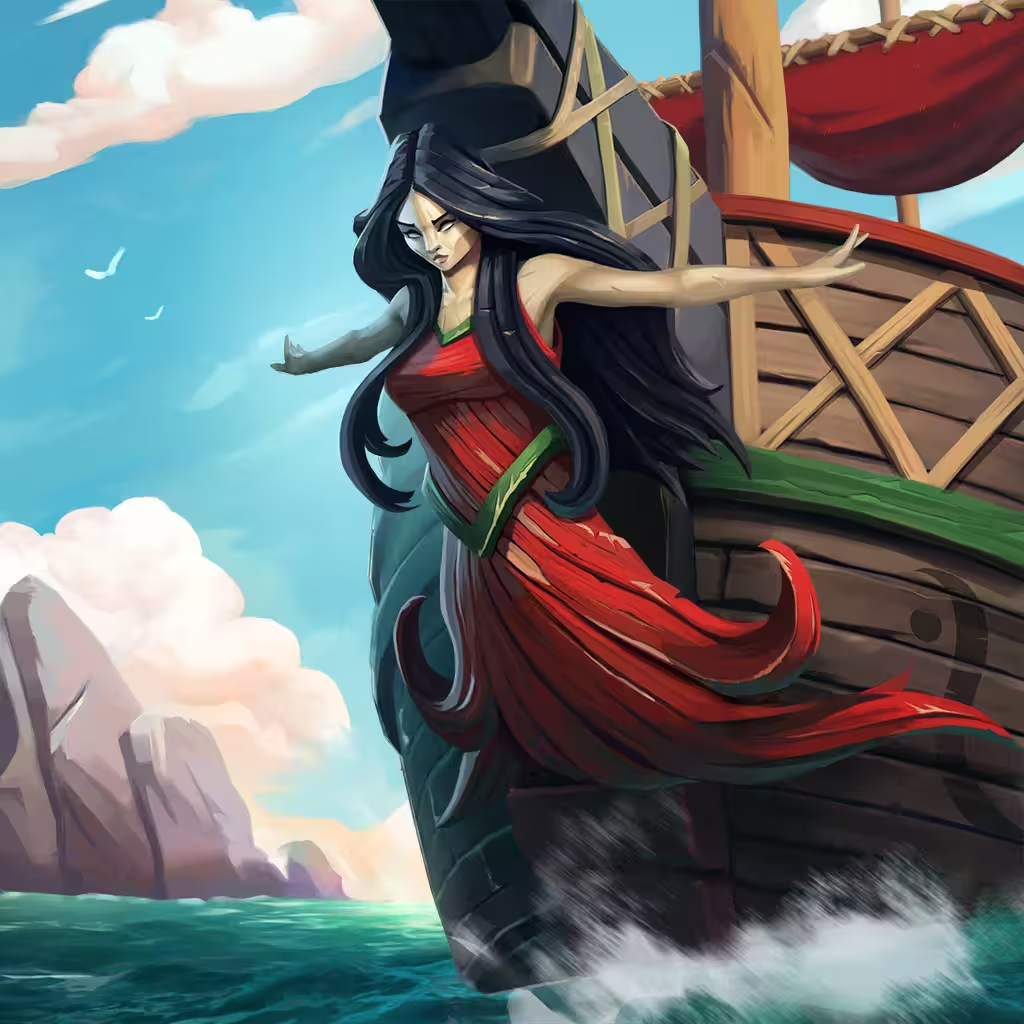
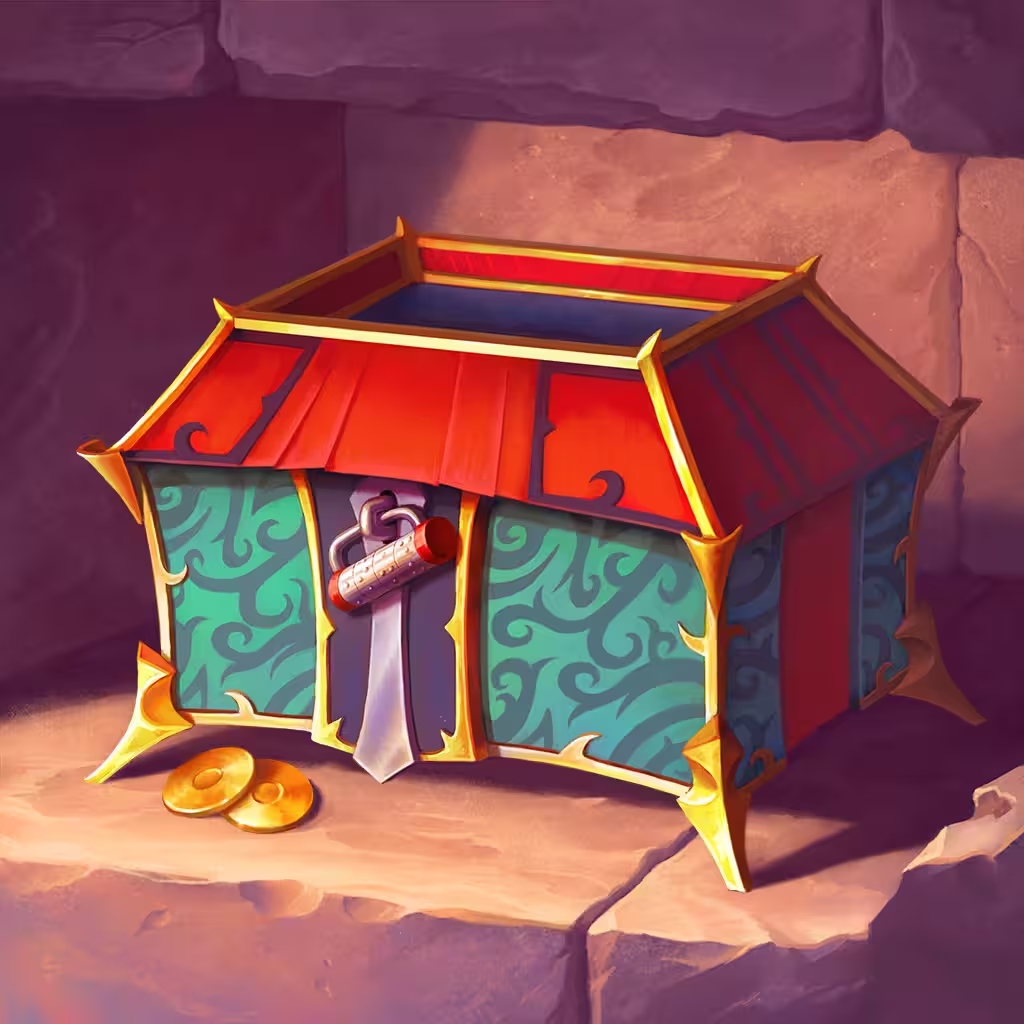
  • Figurehead / Lockbox — Provides front-loaded Damage, ideally replacing Sharkclaws. Upgrades recommended, Silver-tier won't last long.
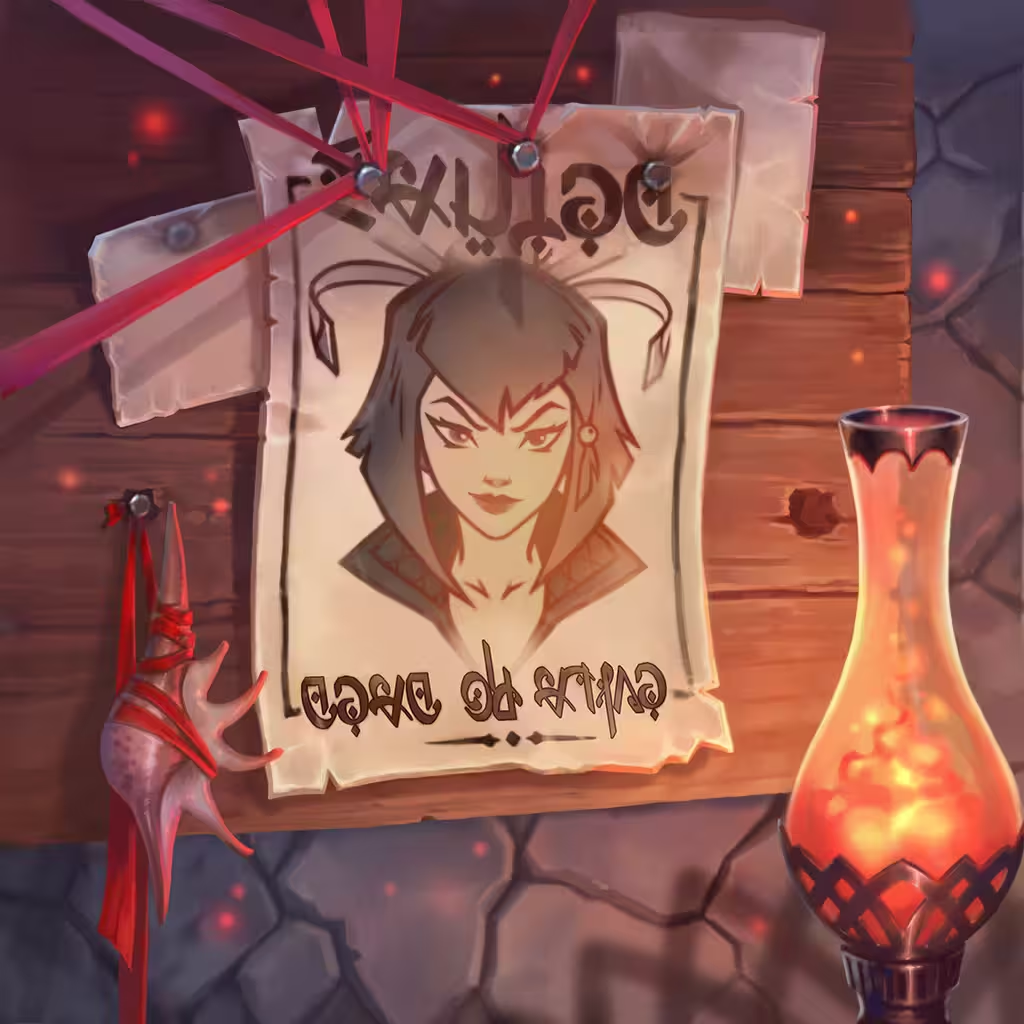
  • Wanted Poster — Snowballs a lead even further. Only purchase when you're ahead, and generally keep it in your Stash.
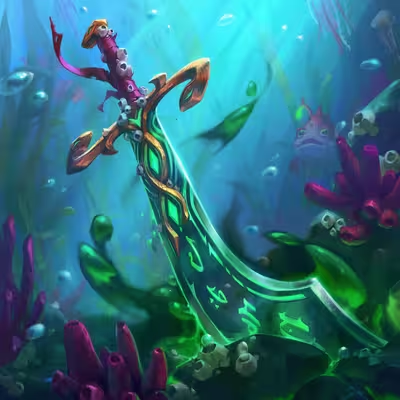
  • Scimitar of the Deep — Converts Crits into Poison. Haste is not required, but good Damage scaling is needed.
  • Repeater — High burst potential, but extremely Ammo dependent. Only worth using after enough Ammo skills have been acquired.
  • Captain's Quarters — Effectively Sharkclaws with Reload. A little more narrow in usage, but a solid choice in some circumstances.
  • Port — Doubles as an Economy item, and has the chance to create some wild off-hero setups.

Economy Items

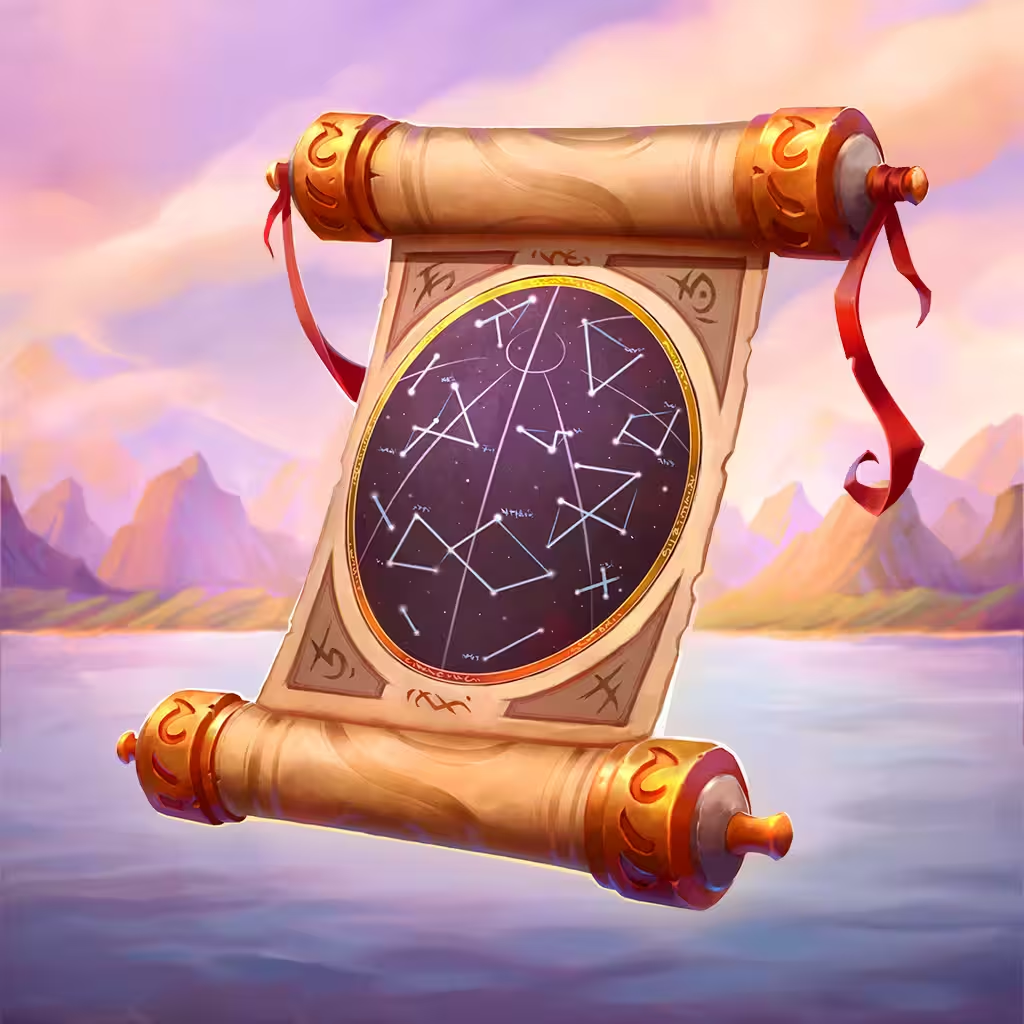
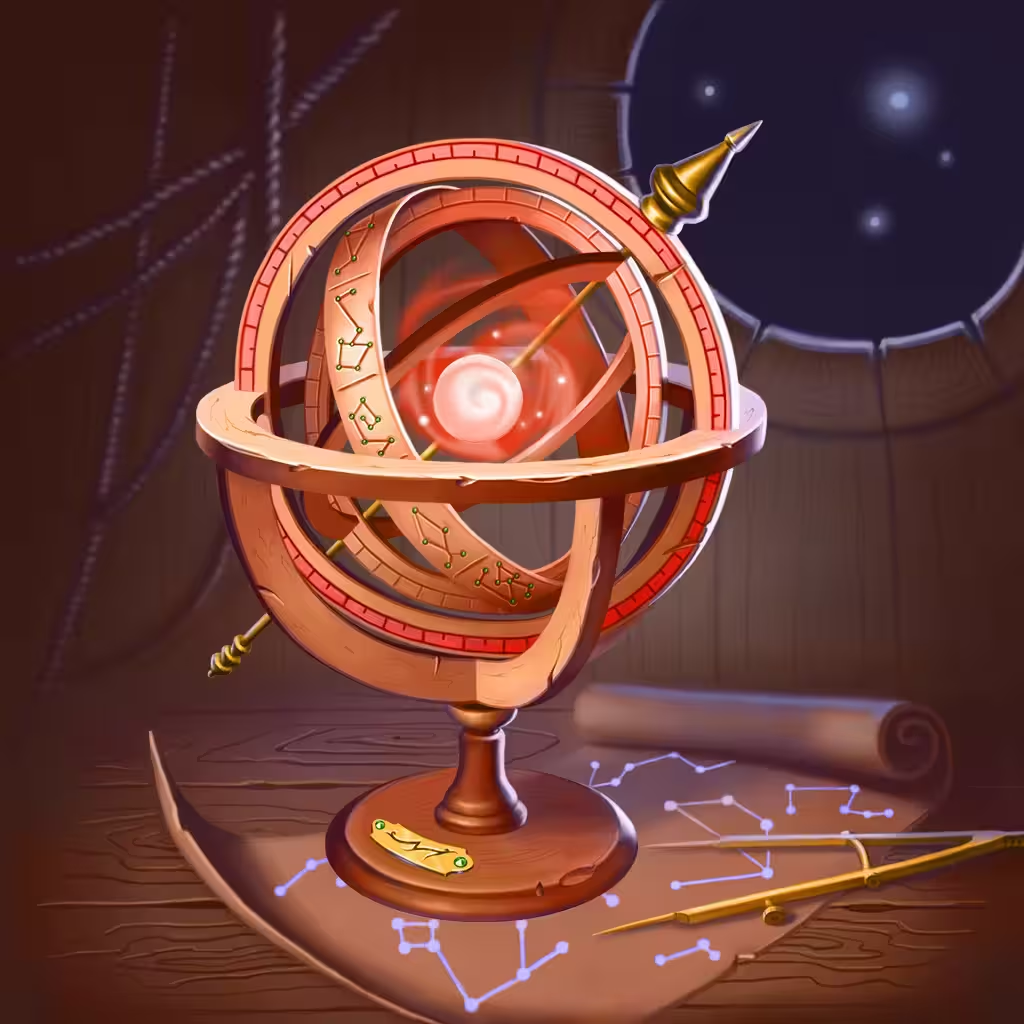
  • Star Chart / Astrolabe — Unlocks the gold + XP option at The Docks event (available Day 4-7).
  • Treasure Map — Generates great value over a longer period, and can potentially enable wild off-hero builds.
AstrolabeVanessa
Bladed HoverboardVanessa
CannonballVanessa
Captain's QuartersVanessa
Cyber-SaiVanessa
Dive WeightsVanessa
FigureheadVanessa
Korxena CrestVanessa
LockboxVanessa
Nesting DollVanessa
Orange JulianVanessa
PortVanessa
RepeaterVanessa
Scimitar of the DeepVanessa
Star ChartVanessa
Treasure MapVanessa
Wanted PosterVanessa

Pistol Sword Build

Here is our example of the final end game board. However, feel free to explore different options depending on what's available in your run.

Pistol SwordCard border
Throwing KnivesCard border
Nesting DollCard border
RevolverCard border
ShurikenCard border
Dive WeightsCard border
BurnacudaCard border
Korxena CrestCard border
HolstersCard border

Essential Items

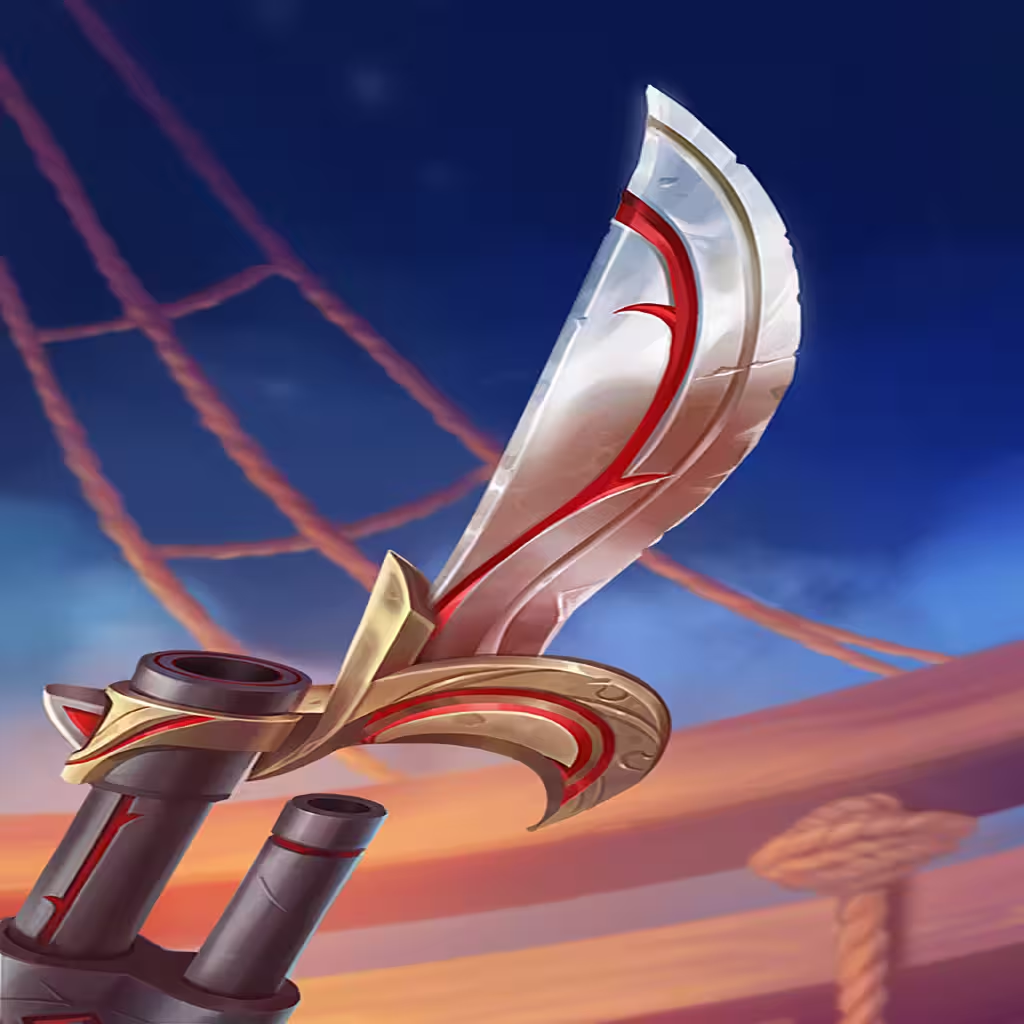
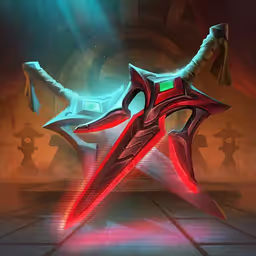
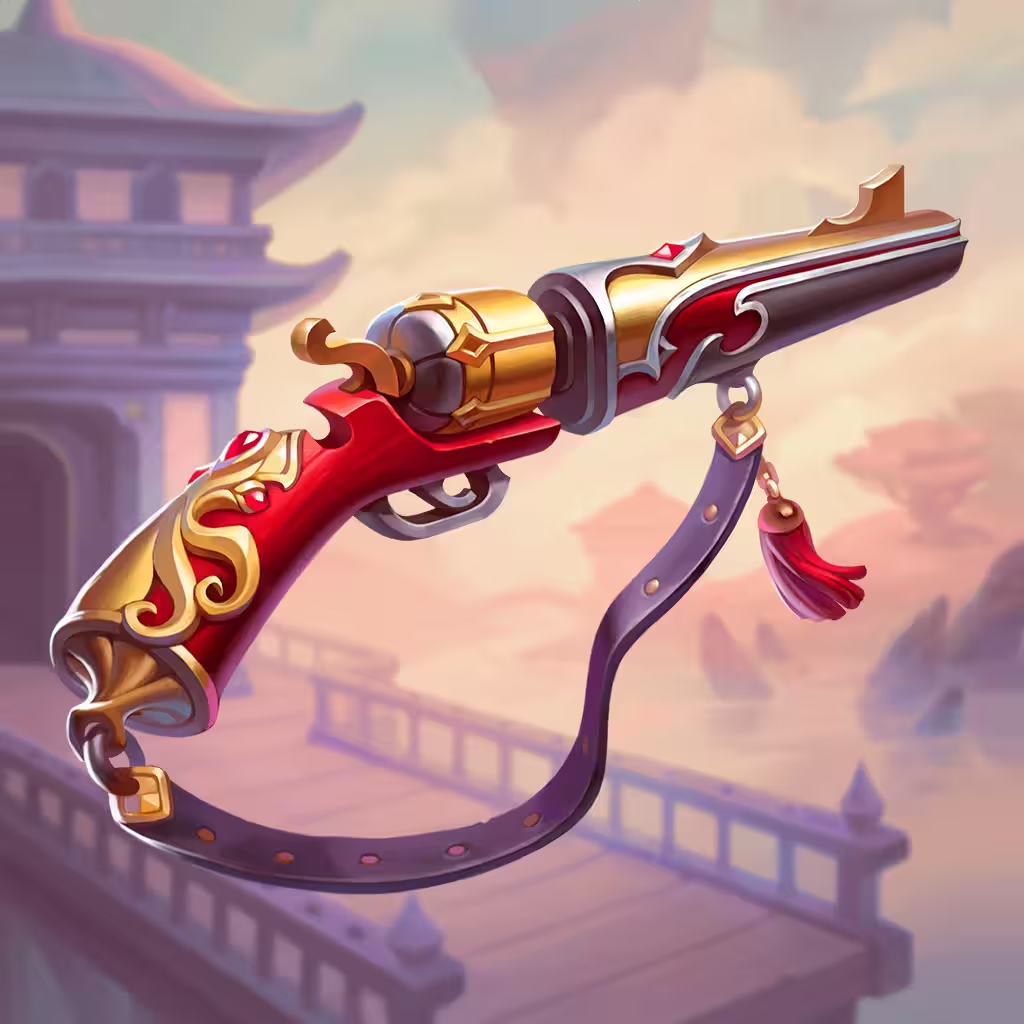
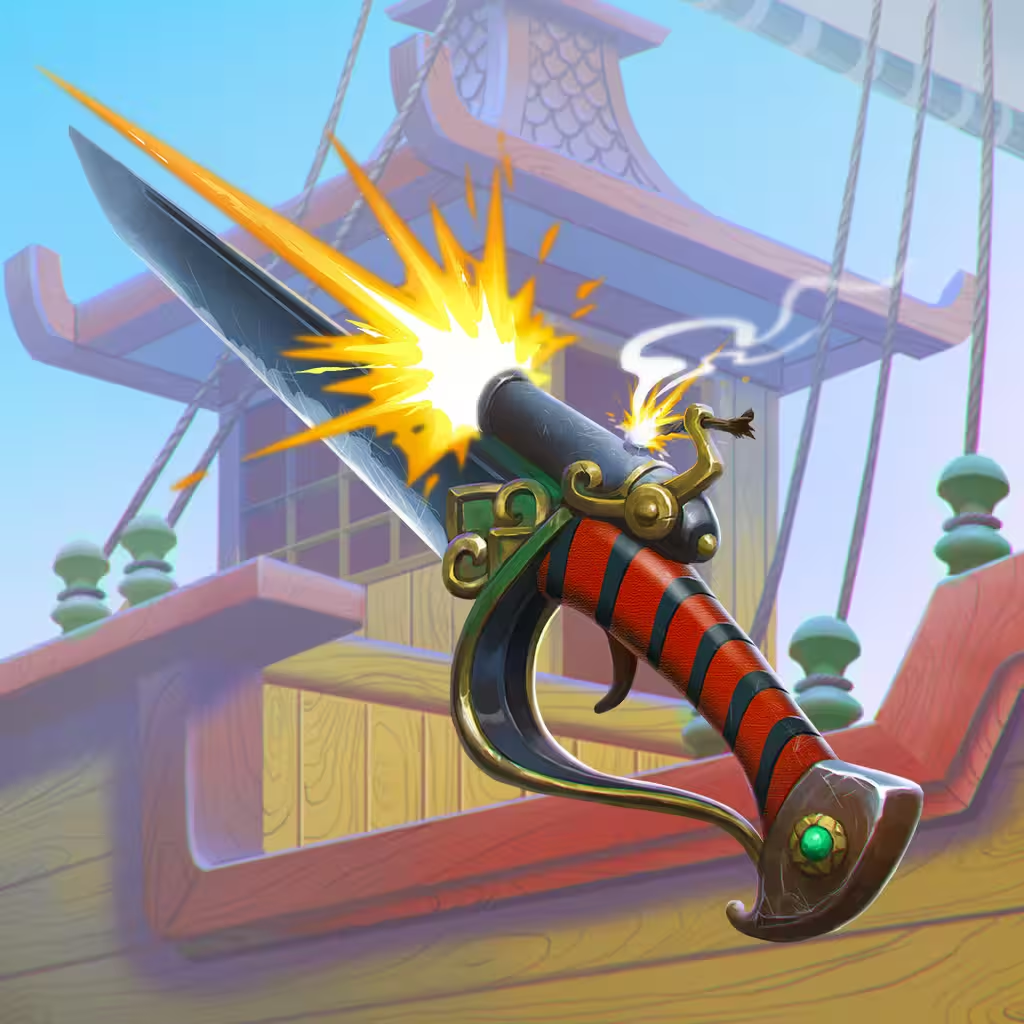
  • Pistol Sword — The primary source of Damage. Should be positioned as the leftmost Weapon to benefit from Iron Sharpens Iron.
  • Korxena Crest / Pet Rock — Unless Crit is entirely solved by skills, ensure you have a solid base amount from one (or both) of these.

Upgrade Priority: Throwing Knives > Korxena Crest > Shuriken > Burnacuda

Recommended Items

  • Shuriken / Dive Weights — The primary source of burst. If only using Shuriken, you can consider placing it leftmost to benefit from higher Crits.
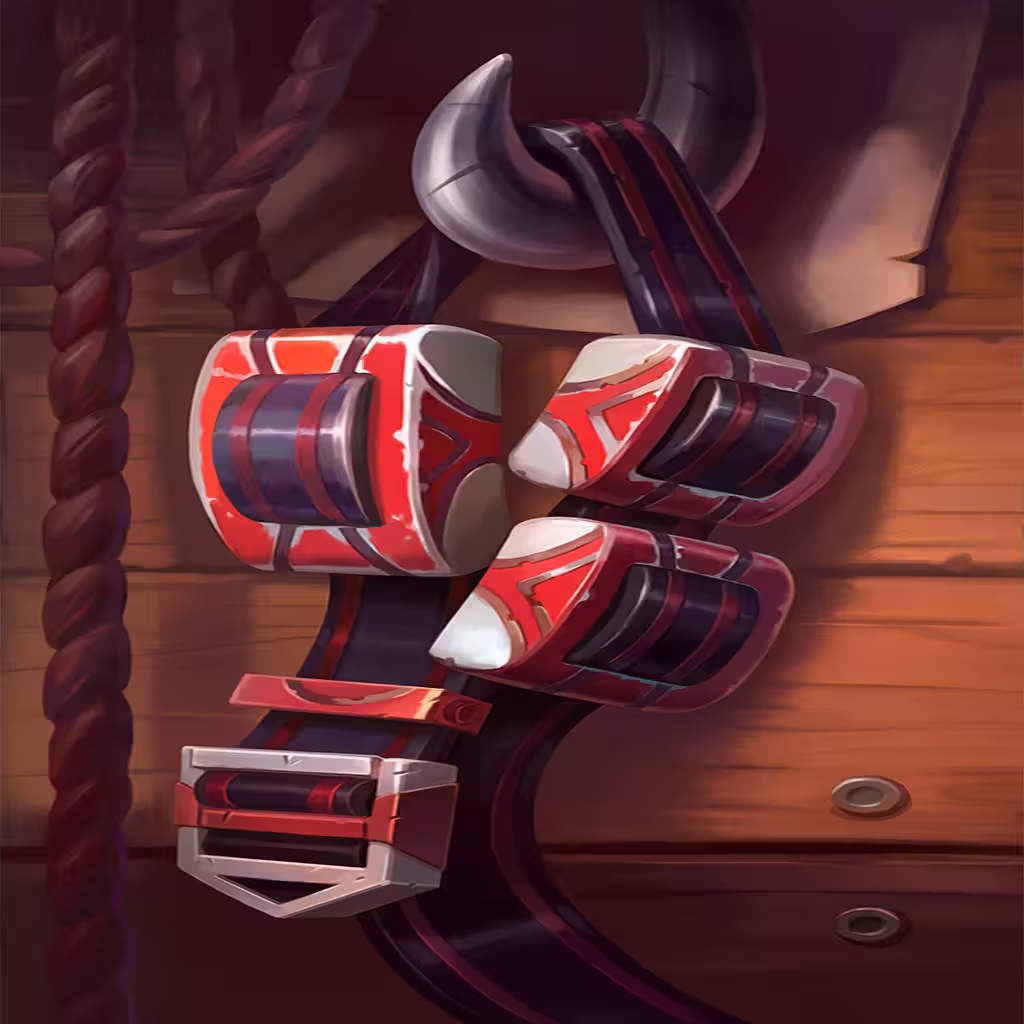
  • Holsters — By far the best startup tool available, helping ensure the Multicast items can go off in time.
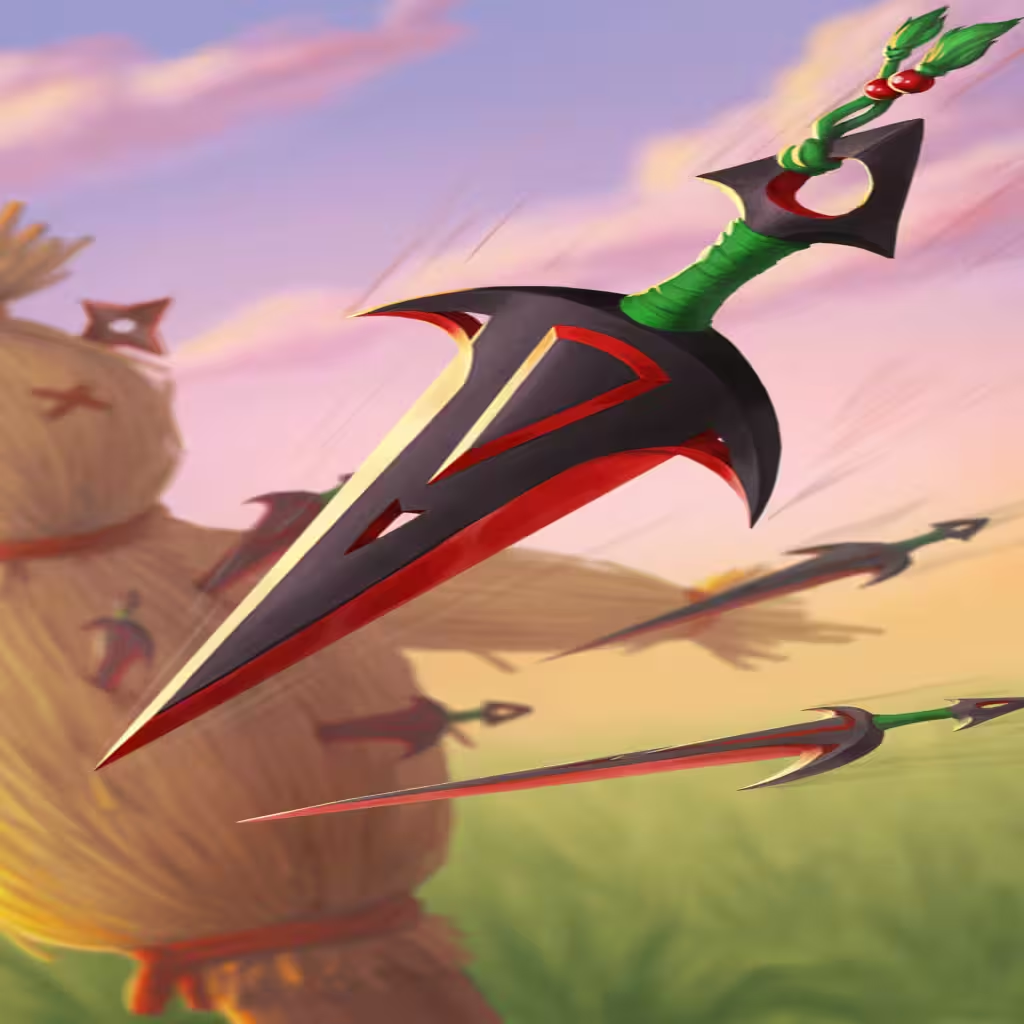
  • Throwing Knives — Significantly improves the burst potential once Crit is solved. Additional Ammo is highly recommended.
  • Nesting Doll — The fastest item on board, but lower priority if you don't find Loaded Fury.
  • Burnacuda — Improves startup time and reduces the Cooldown of Dive Weights. Only playable when not using Pet Rock.
  • Revolver — A fast Weapon with good base Ammo. The most flexible slot on the board.

Alternative Items

  • Scimitar of the Deep — Can replace the Multicast items if your Damage scaling is high enough. Position leftmost for Iron Sharpens Iron.
  • Repeater — A strong choice when you have an abundance of additional Ammo.

Recommended Skills

  • Ammo — Gunner
  • Charge — Bloodhound, Alacrity, Flurry of Blows, Shield Bash
  • Cooldown Reduction — Tiny Dancer
  • Crit Chance — Honed Arsenal, Inexorable, Parting Shot, Static Acceleration (with Holsters)
  • Damage Scaling — Frontline Logistics, Improvised Weaponry, Iron Sharpens Iron, Noisy Cricket, Steelstorm, Loaded Fury
  • Disruption — Quick Freeze, Stunning Strike, Time Eater

Problem Solving Priority: Damage Scaling > Ammo > Crit Chance = Startup Time

Bladed Hoverboard Build

Here is our example of the final end game board. However, feel free to explore different options depending on what's available in your run.

RowboatCard border
Orange JulianCard border
Pistol SwordCard border
ShurikenCard border
Bladed HoverboardCard border
Dive WeightsCard border

Essential Items

  • Bladed Hoverboard / Pistol Sword — Both fulfill the same role by converting Multicast Ammo into massive burst Damage. At least one is required.
  • Orange Julian — The primary source of Damage scaling. Position your board to ensure Orange Julian triggers before Shuriken and Dive Weights.
  • Shuriken / Dive Weights — Enables the one-shot burst combo. Additional Ammo is highly recommended.
  • Rowboat — The most reliable way to accelerate Orange Julian. Diamond-tier is mandatory.

Upgrade Priority: Rowboat > Orange Julian > Shuriken

Alternative Items

  • Cannonball — Increases the burst potential, but only worth it at Gold/Diamond.
  • Korxena Crest — A reliable source of Crit that can fill empty slots.
  • Captain's Wheel — Rowboat at home. It's not ideal, but it can work in the meantime until Rowboat is found (and upgraded).

Recommended Skills

  • Ammo — Gunner
  • Cooldown Reduction — Barnacle Crusted, Command Ship
  • Crit Chance — Inexorable, Parting Shot
  • Damage Scaling — Iron Sharpens Iron, Loaded Fury
  • Disruption — Time Eater

Note: Avoid random targeting Charge/Haste skills. They can mess up your Orange Julian timing and completely brick your fights.

Problem Solving Priority: Orange Julian Timing > Startup Time > Ammo > Damage Scaling > Crit Chance

Comments

0