Warrior
 Warbringer
Lexd's Winter Warbringer Build feat. Vestige of Darkness
Hey guys, I'm back! This is a new take on a  Shield Wall Warrior build using the
  Warbringer ascendancy and
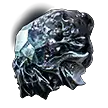
  Vestige of Darkness, a helmet that let's all of our physical damage contribute to Freeze buildup and Chill magnitude. This is a very fun build as it involves clearing with
  Herald of Ice chains (if your weapon is good enough), and Freezing high-priority targets very quickly so that they barely pose a threat in the first place. The current version build can run all endgame activities, though with the current import of the build there is still some room to significantly improve the damage and survivability.
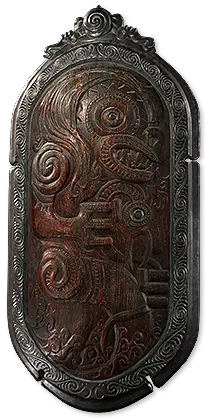
We're still using the classic Ahn's Citadel and Kaom's Madness combo as our main way to clear with Shield Wall +  Fortifying Cry since it's very hard to beat the AoE granted to us from those lineage support gems, but we're also getting a ton of support from
  War Banner and a bit from
  Freezing Mark while clearing as well. War Banner just grants us a bit of everything we could want; Damage, Attack Speed, and Accuracy, while Freezing Mark grants us a reasonably-long "Damage Gained as Cold" buff that is more optional for clearing, but can help if you are a little bit more on the budget side of this build.
Bossing is... hilarious, with this build. Basically you spam Fortifying Cry at the start of the fight to fill up your Rage bar, then  Resonating Shield until the boss's armour is fully broken. From there, cast Freezing Mark FIRST, then War Banner SECOND, and start spamming Shield Wall and Fortifying Cry over-and-over. The boss will likely become Frozen on the first or second Shield Wall, and you are free to just wail away until they are dead. Most pinnacles in this game will not be able to do much of anything once they are Frozen, the fight is basically over from there.
Weapon Swapping is quite important to the build (and should be for all builds, tbh), and we're using Weapon Set 1 stuff for Warcry and Banner buffs while Weapon Set 2 is generally used to buff up all things Shield Wall, i.e. damage, skill speed, etc.
We are surprisingly tanky running the meme that is Armour/ES, but ultimately I do think you should try to pivot the build towards Life and Armour stacking when you can afford to; the main benefit from the Armour/ES route is MUCH cheaper pieces, but I think ultimately you'd get more survivability and "Passive Skill Tree efficiency" out of going the Armour + Lifestacking route.
We are also not using  Nebuloch for once; it's a very strong mace with arguably the strongest way to crank up damage on a Shield Wall build, but there is some strong anti-synergy with Energy Shield if you rely on "Recharging" it for survivability. Nebuloch's self-damage effect will stop your Energy Shield recharge every time you swap to it, so it is very hard to get your Energy Shield back if you take damage and are still trying to clear.