Assassin's Creed Black Flag Resynced - Memory Of My Enemy Trophy
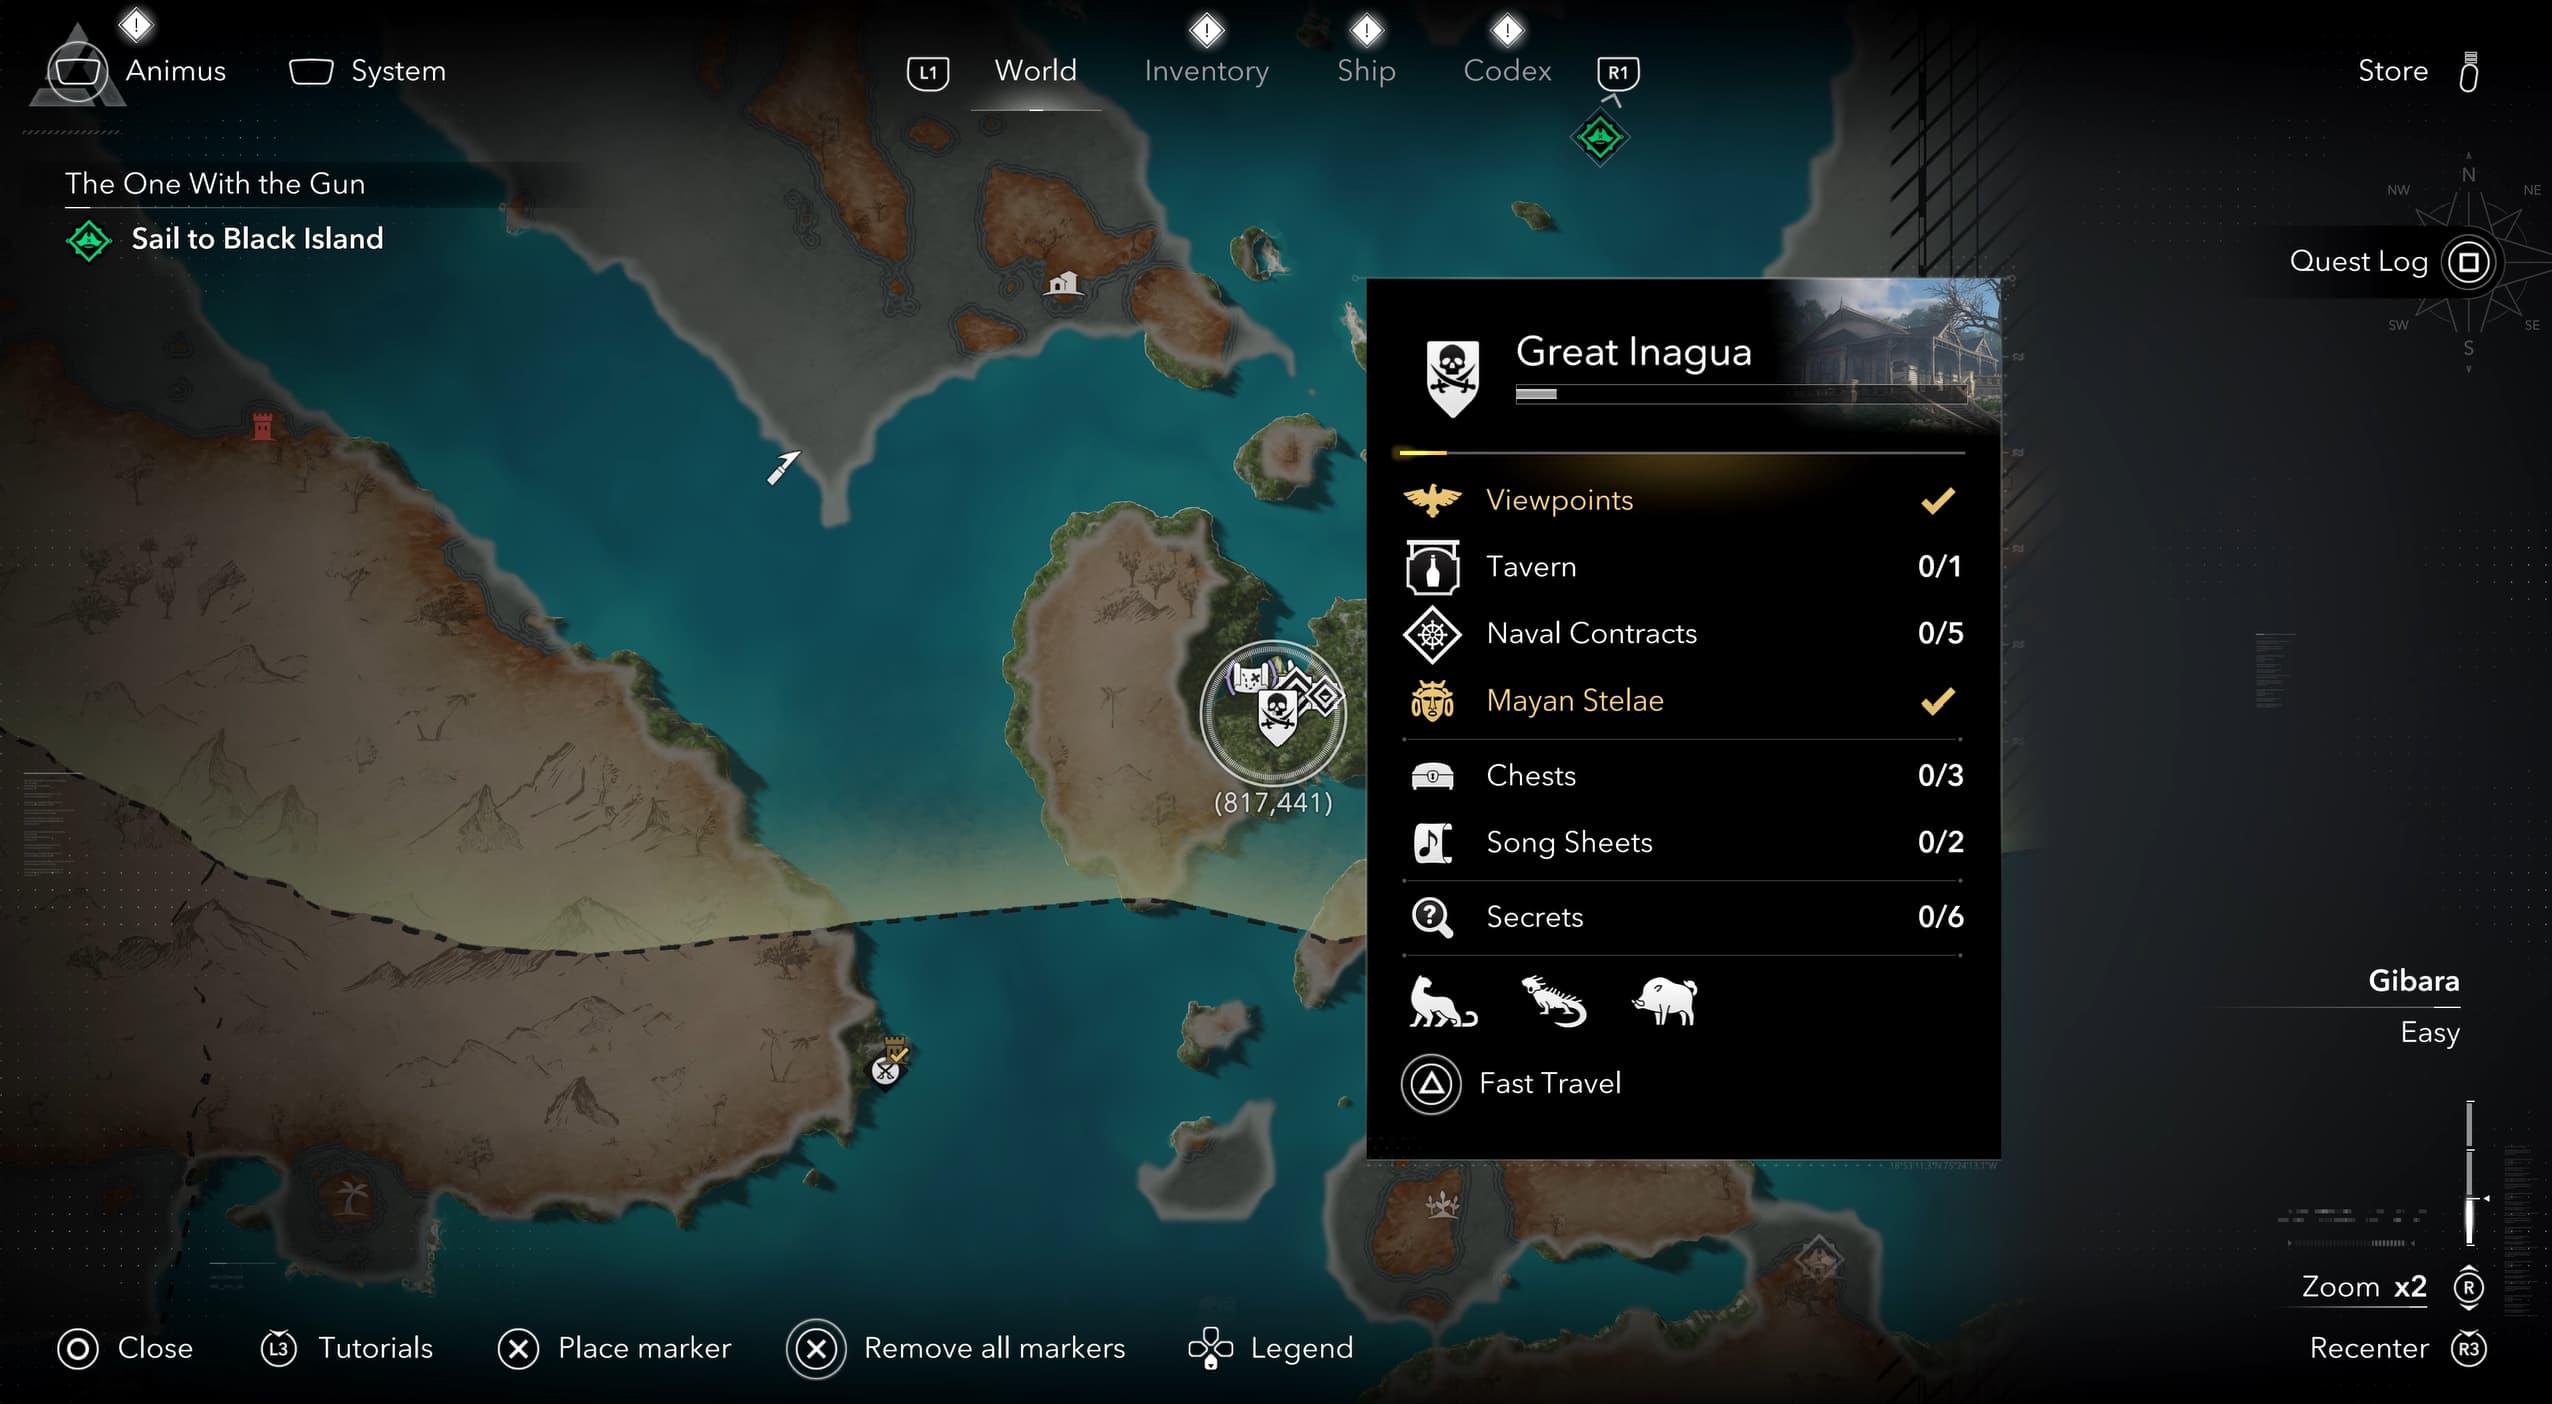
To unlock the Memory of My Enemy trophy, you need to collect and display all 11 character portraits in the manor at Great Inagua. This guide will show you the locations of all the portraits and where to place each portrait in the manor.
Some portraits are tied to side quests, so you will need to have completed relevant quests before you can collect certain portraits, I will break that down as we progress through the guide, however I would recommend to have completed the main story before attempting this trophy, as many portraits come from main story progression also.
Note that if you get to a location and the portrait isn't there, you haven't progressed the main story / side quests enough.
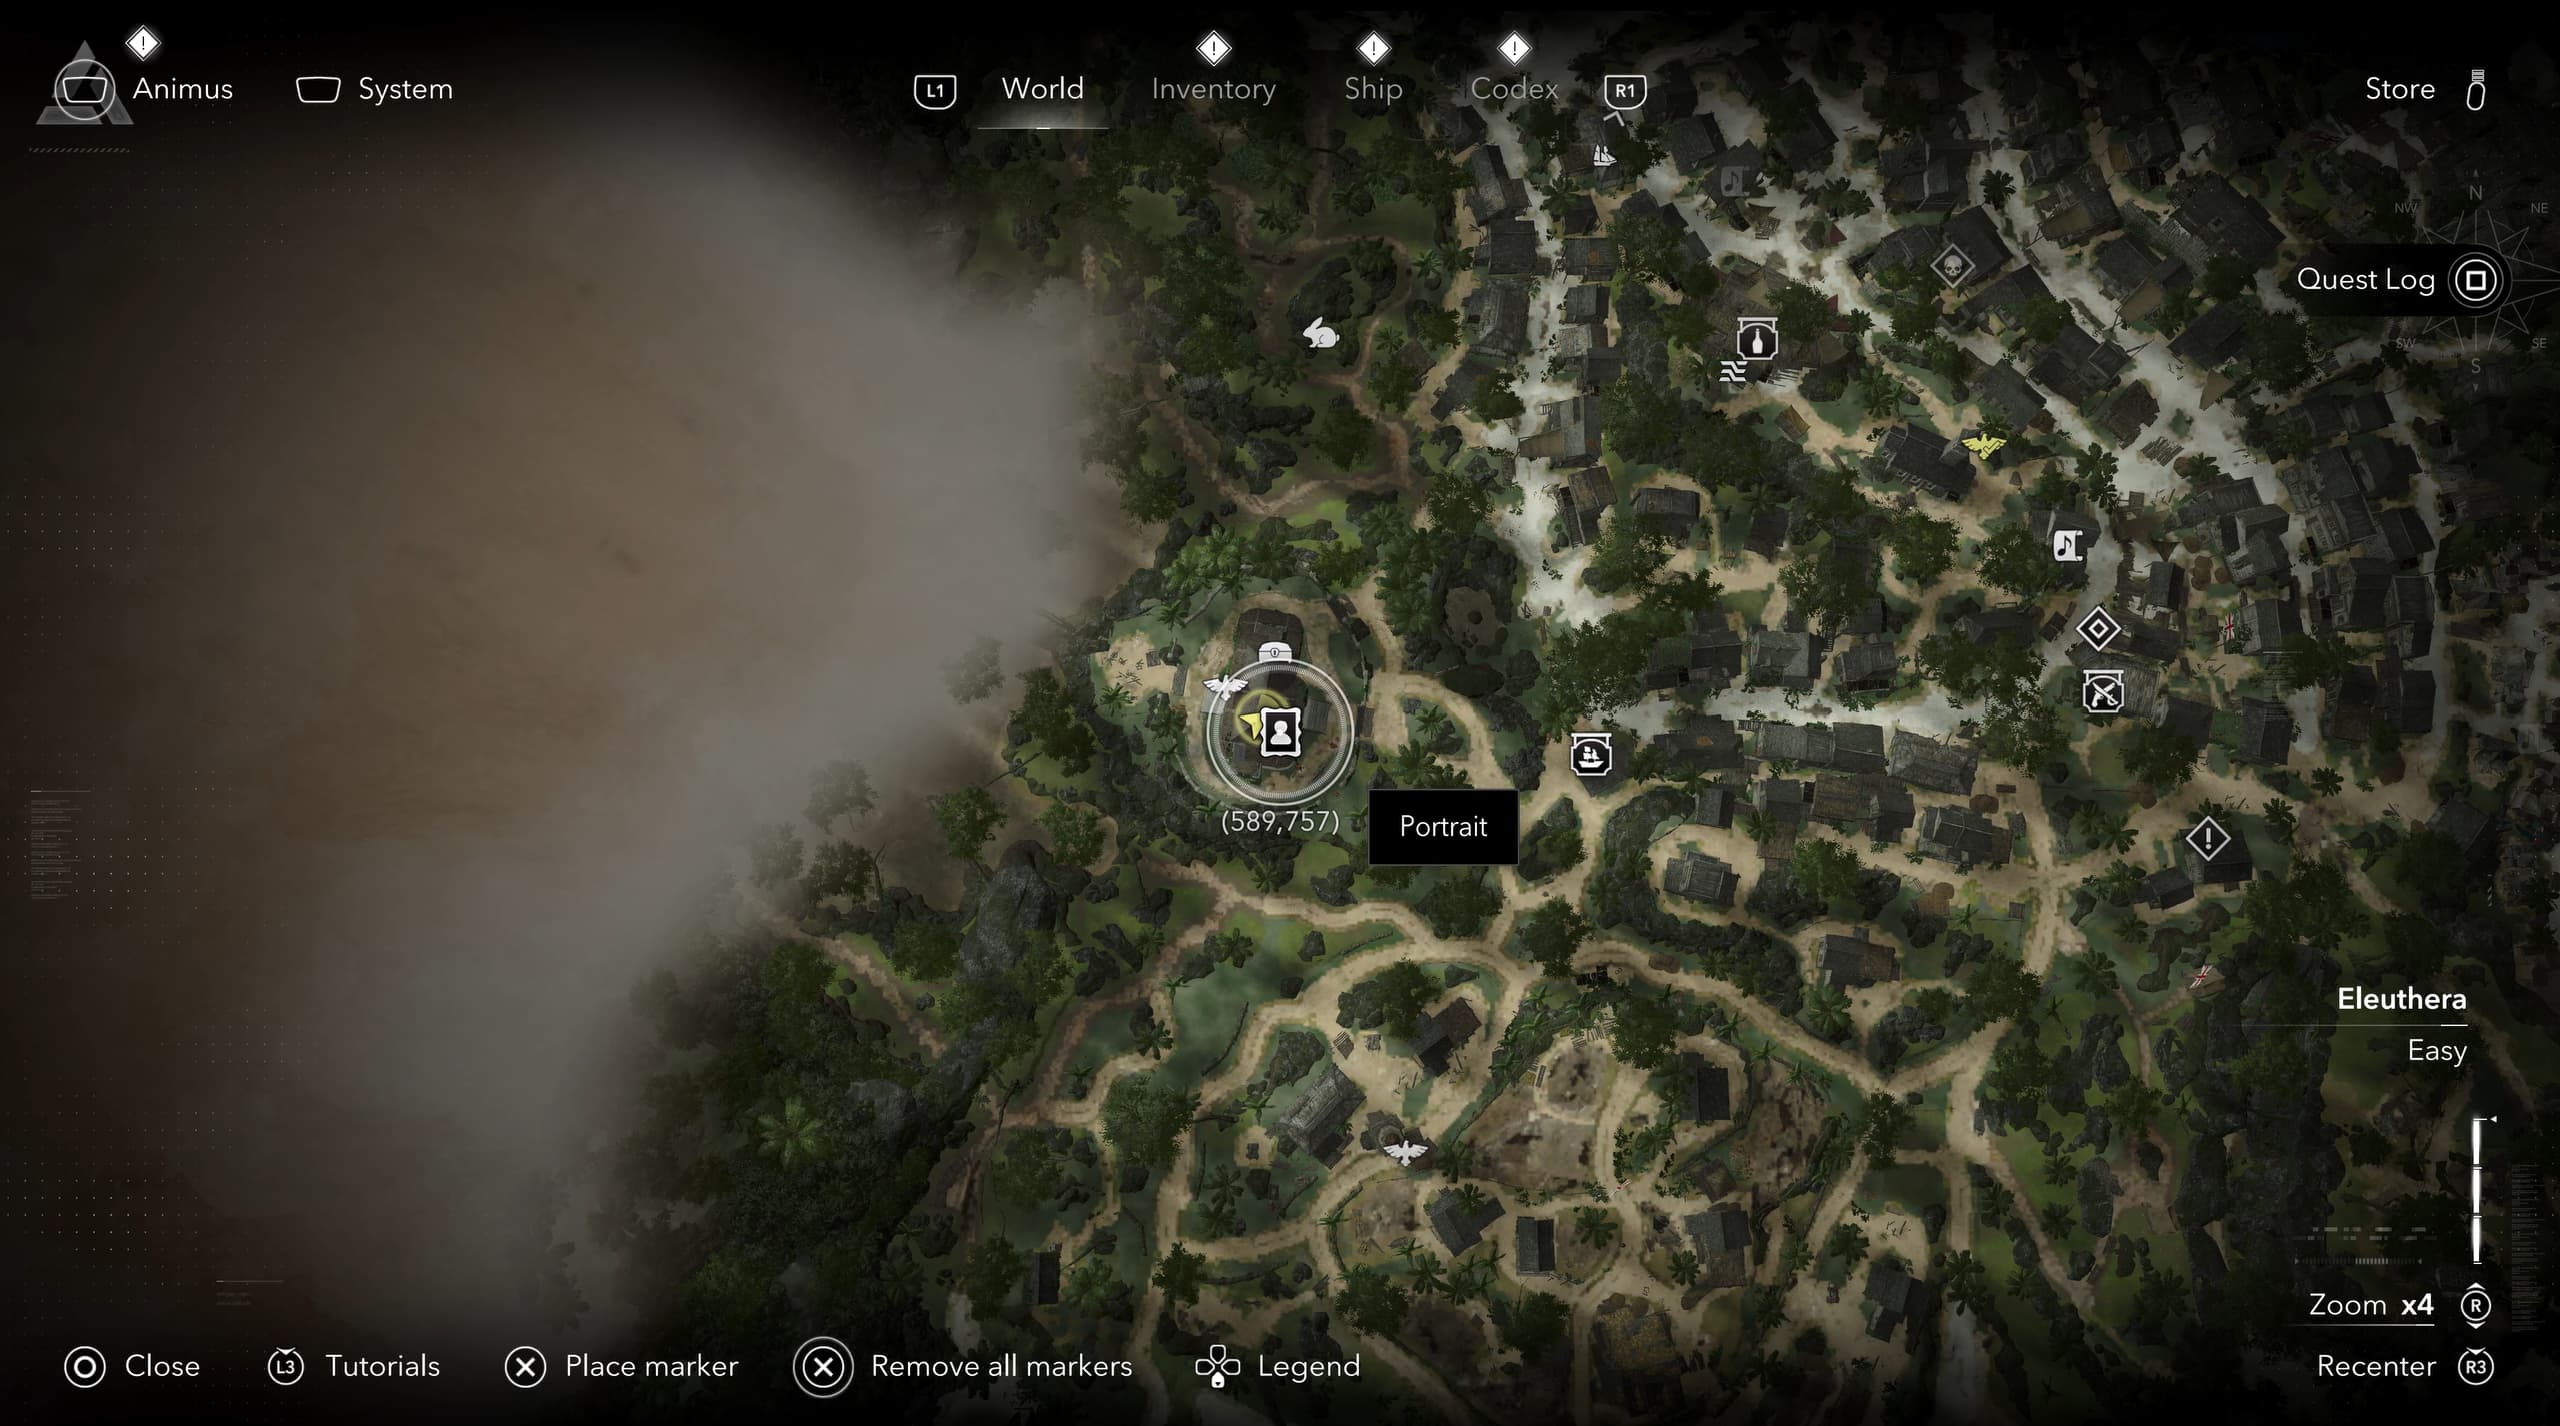
Travel to Nassau and head to these coordinates in the island (589,757) where the portrait icon appears on the map.
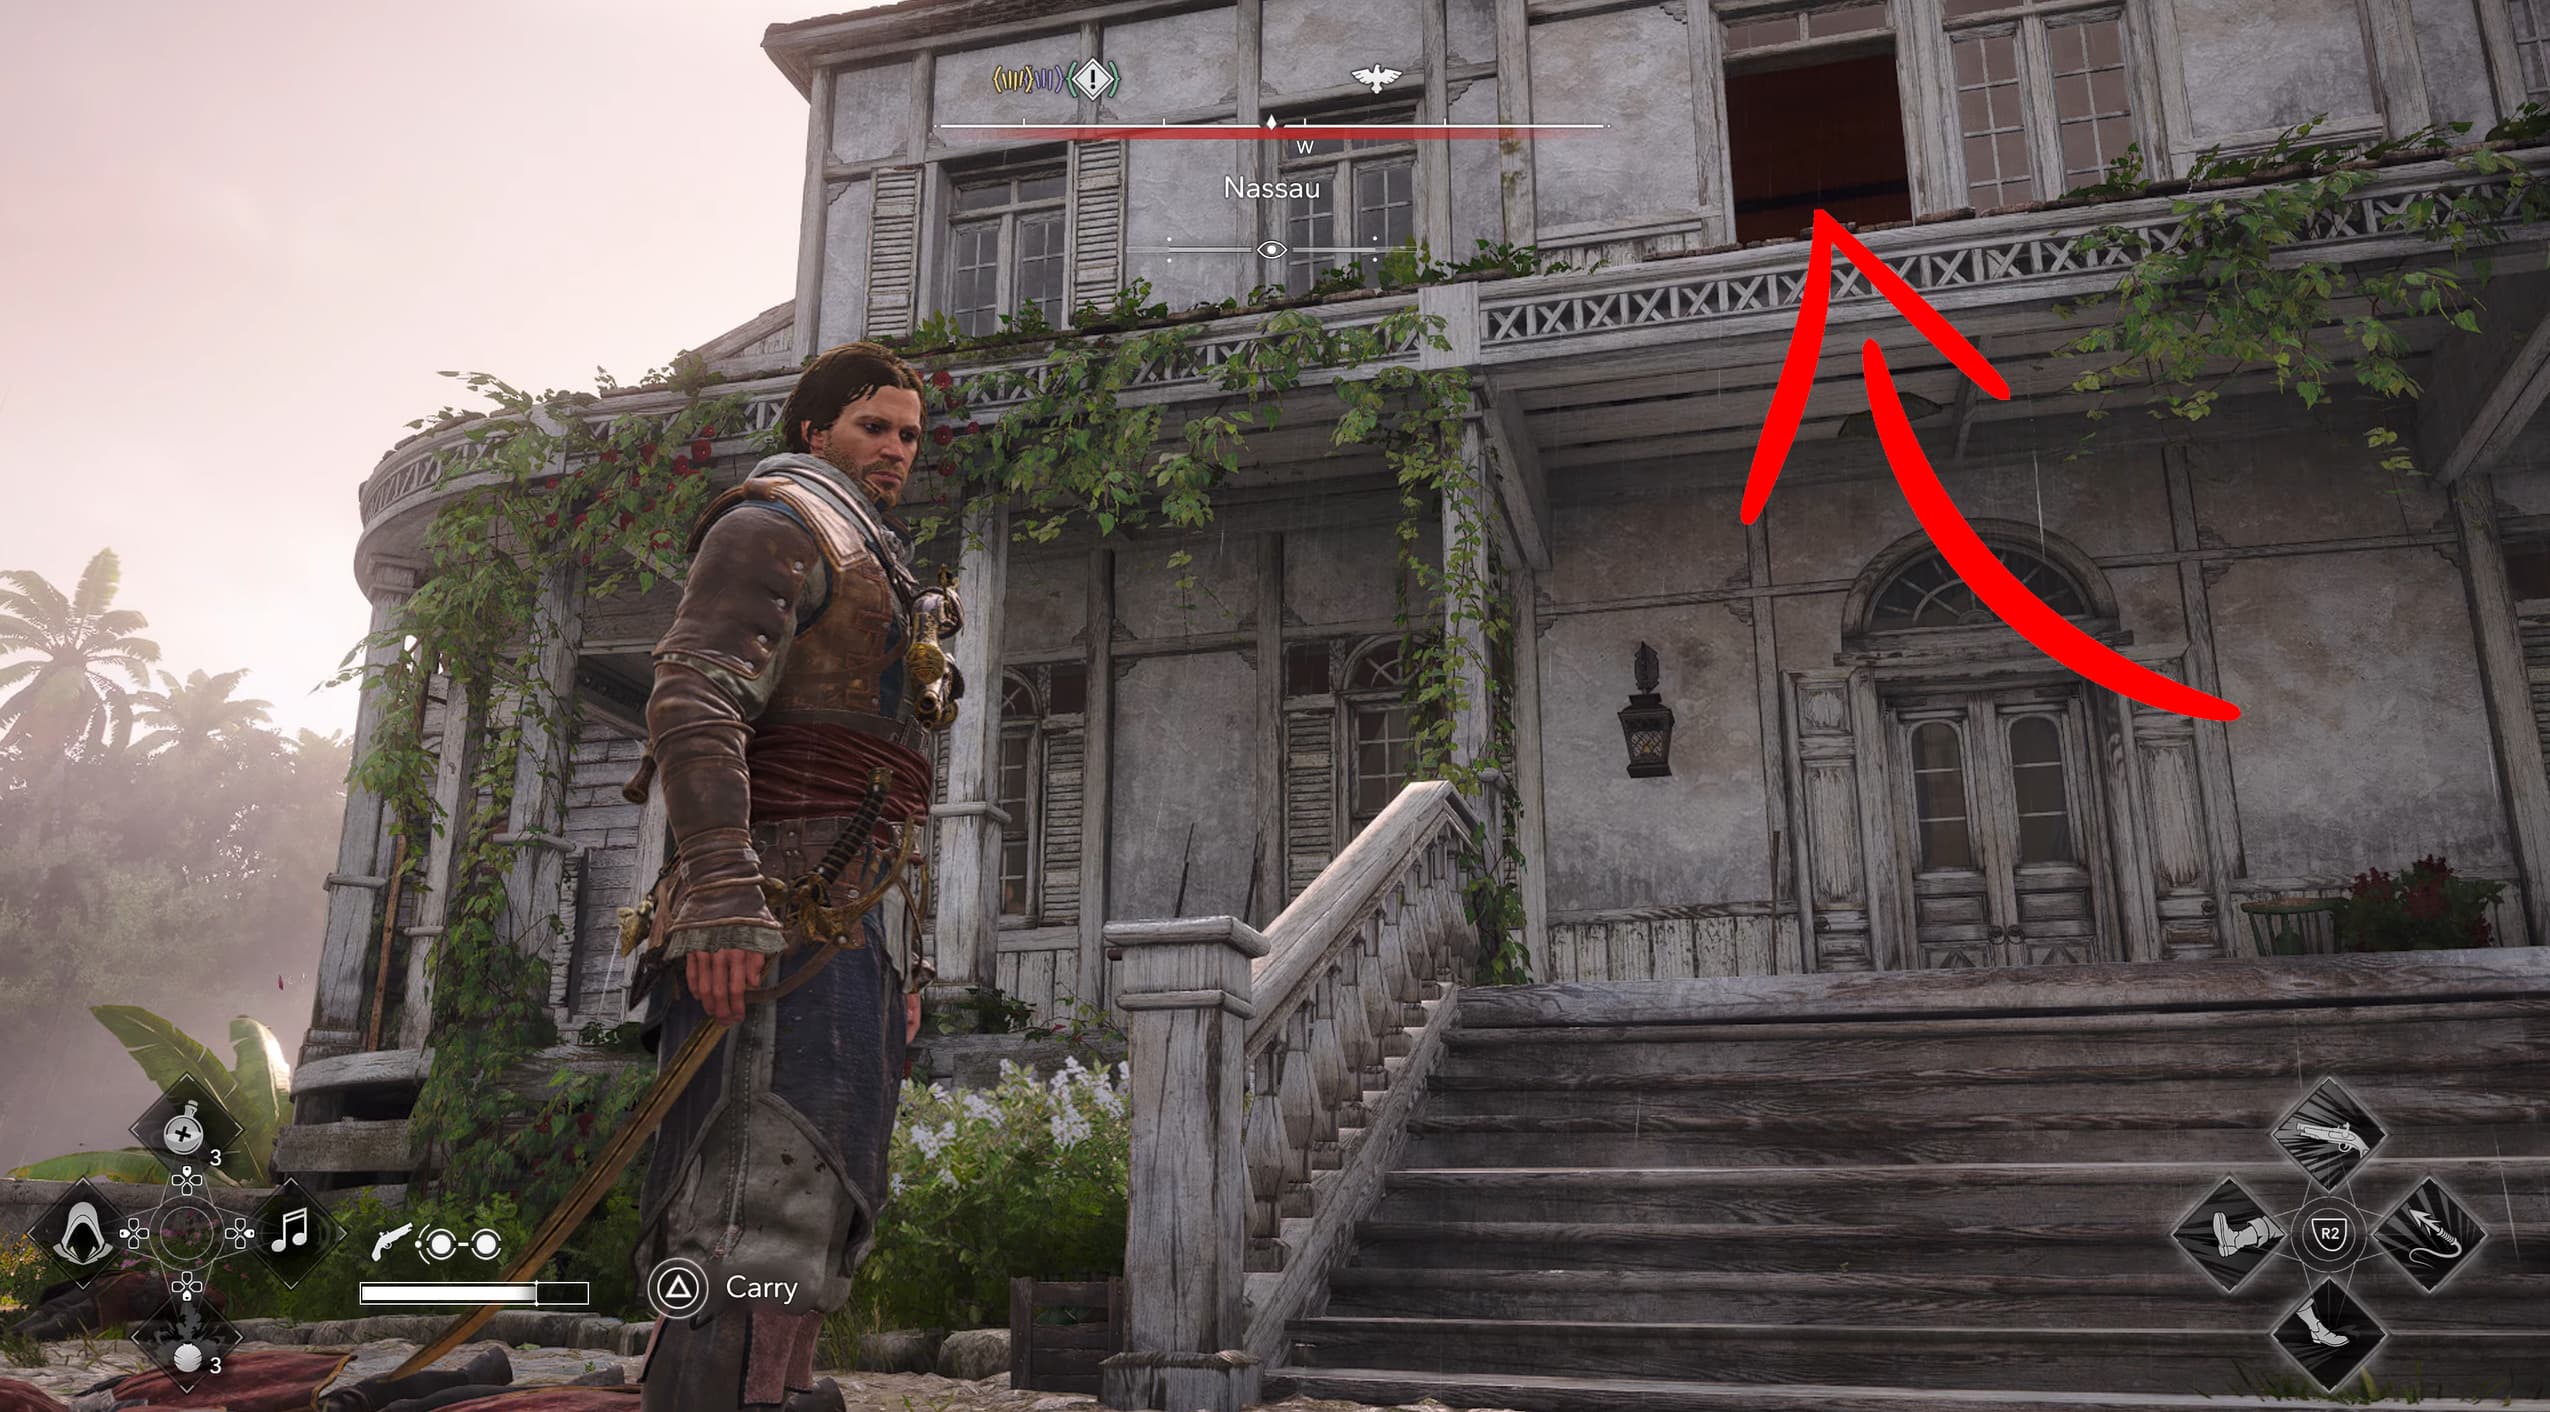
Make your way to the nearby house and climb to the second level. Enter through the open upper window.
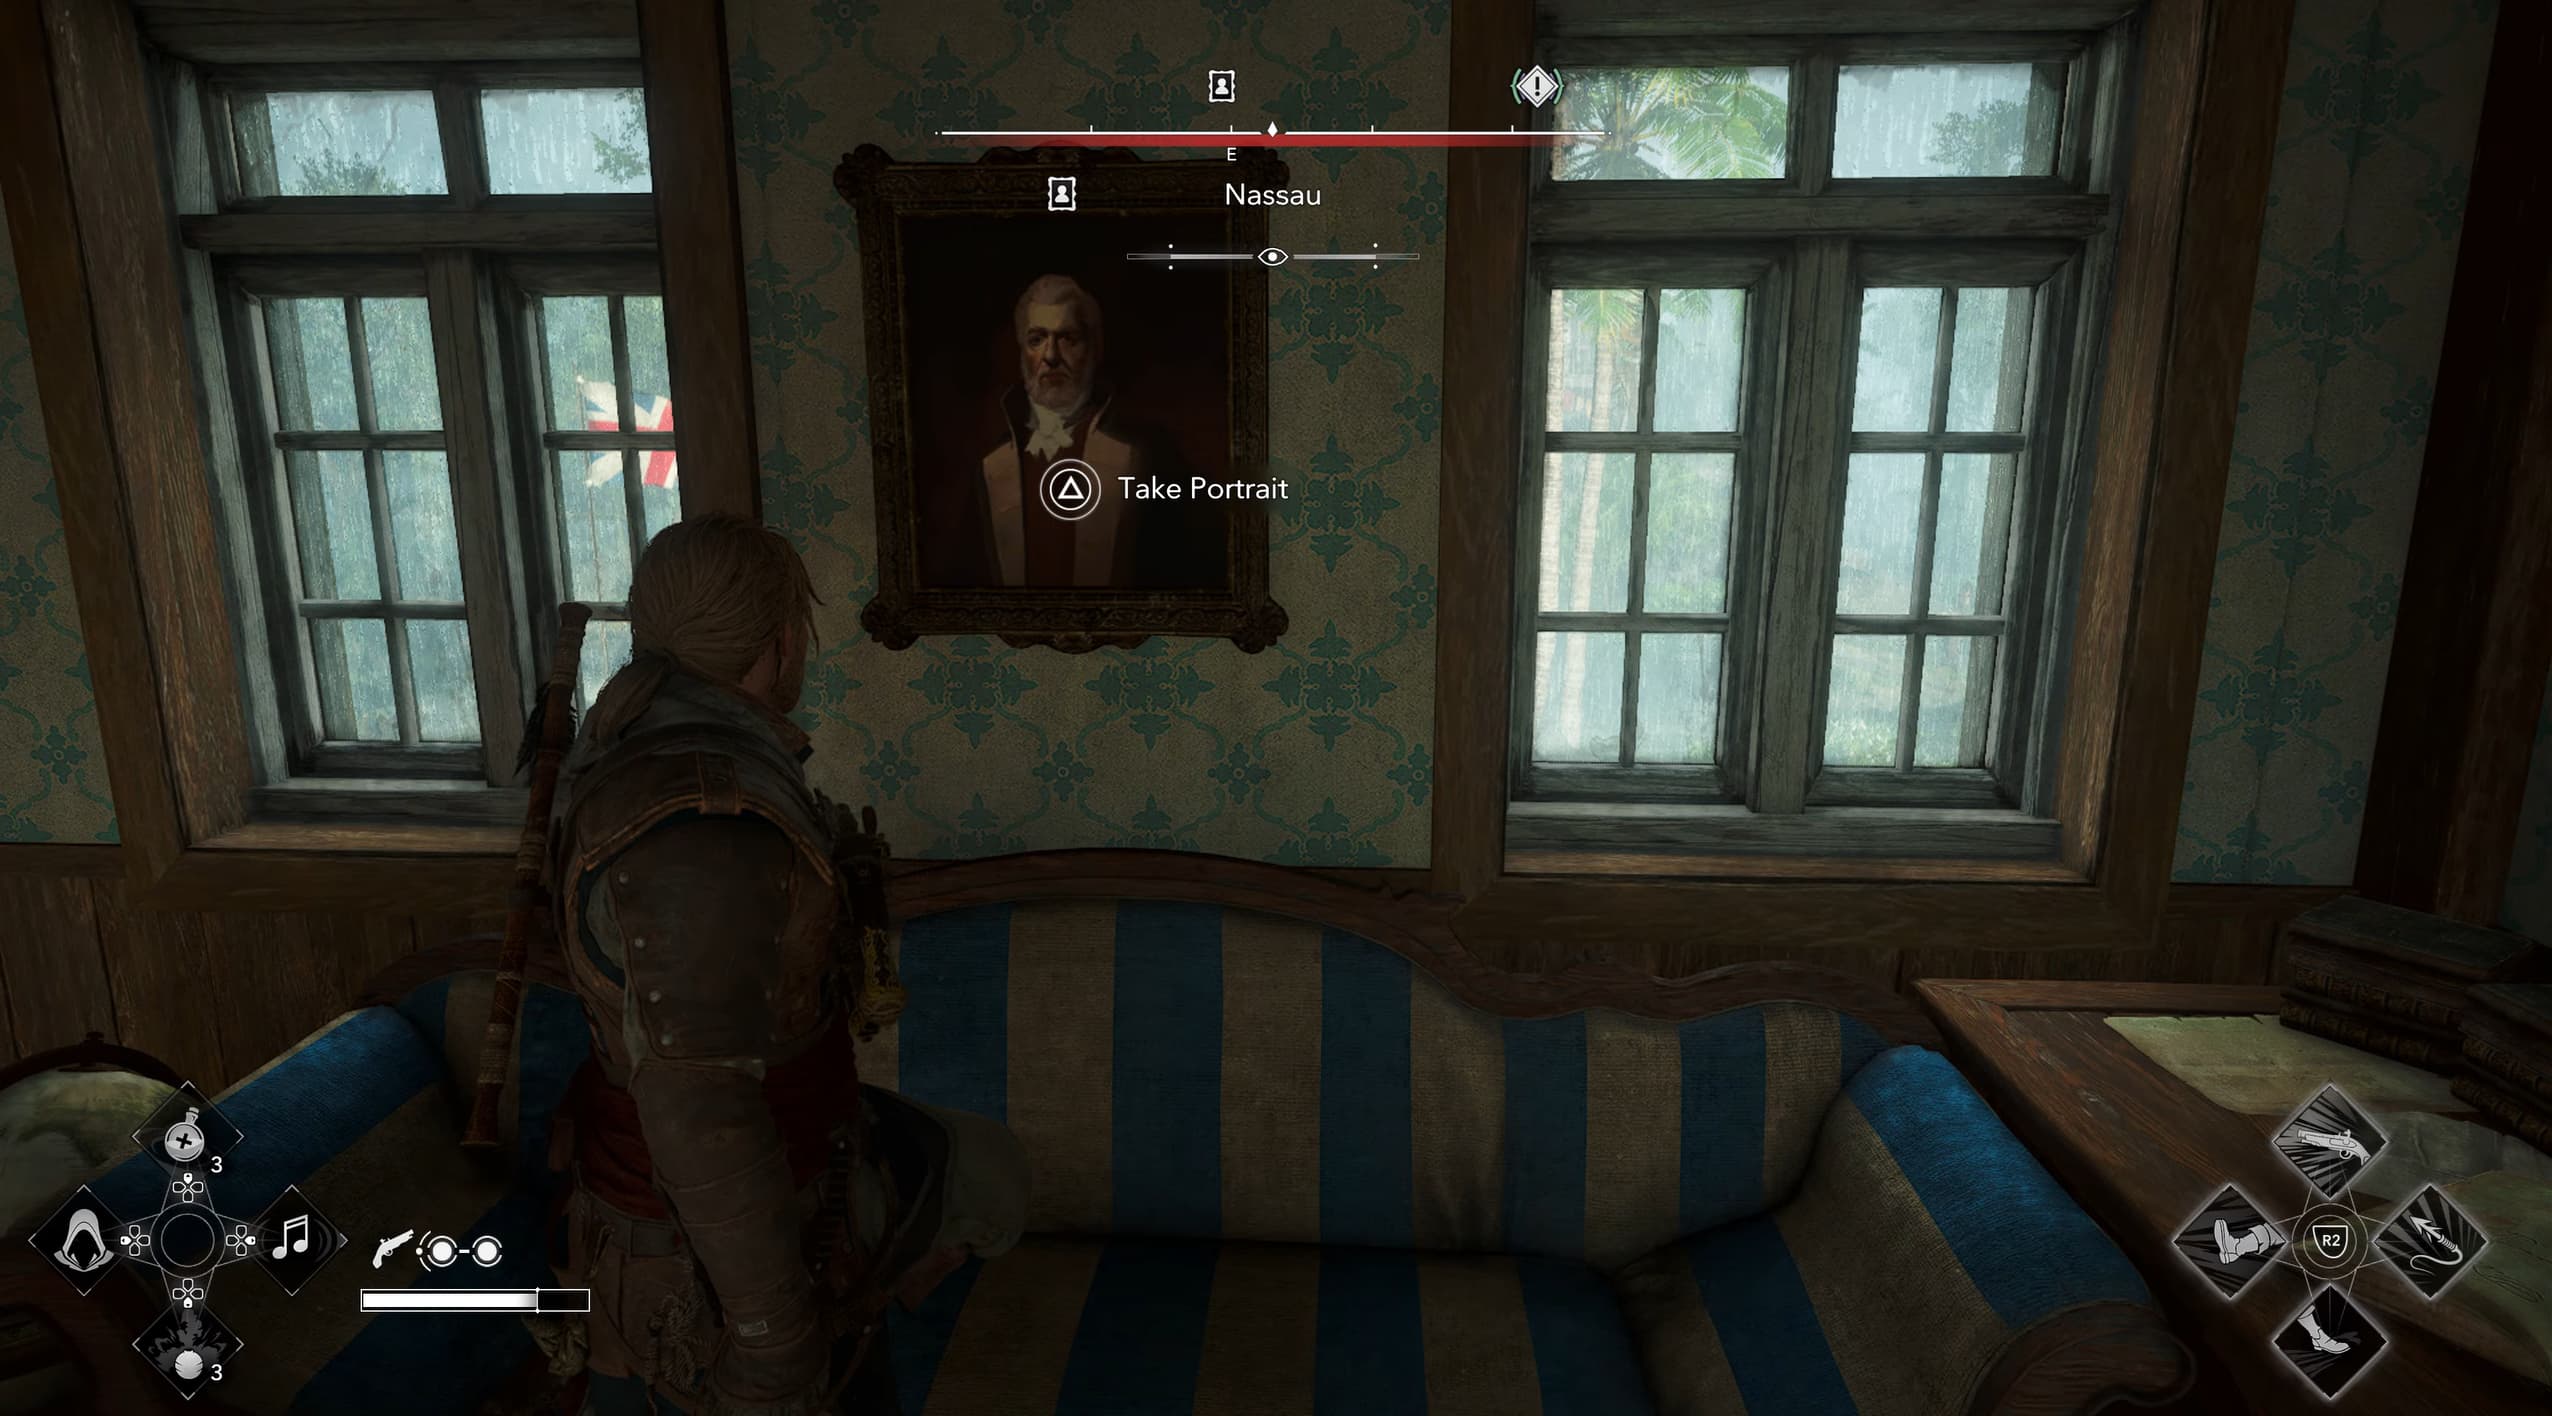
The portrait is hanging on the wall directly above the striped sofa.
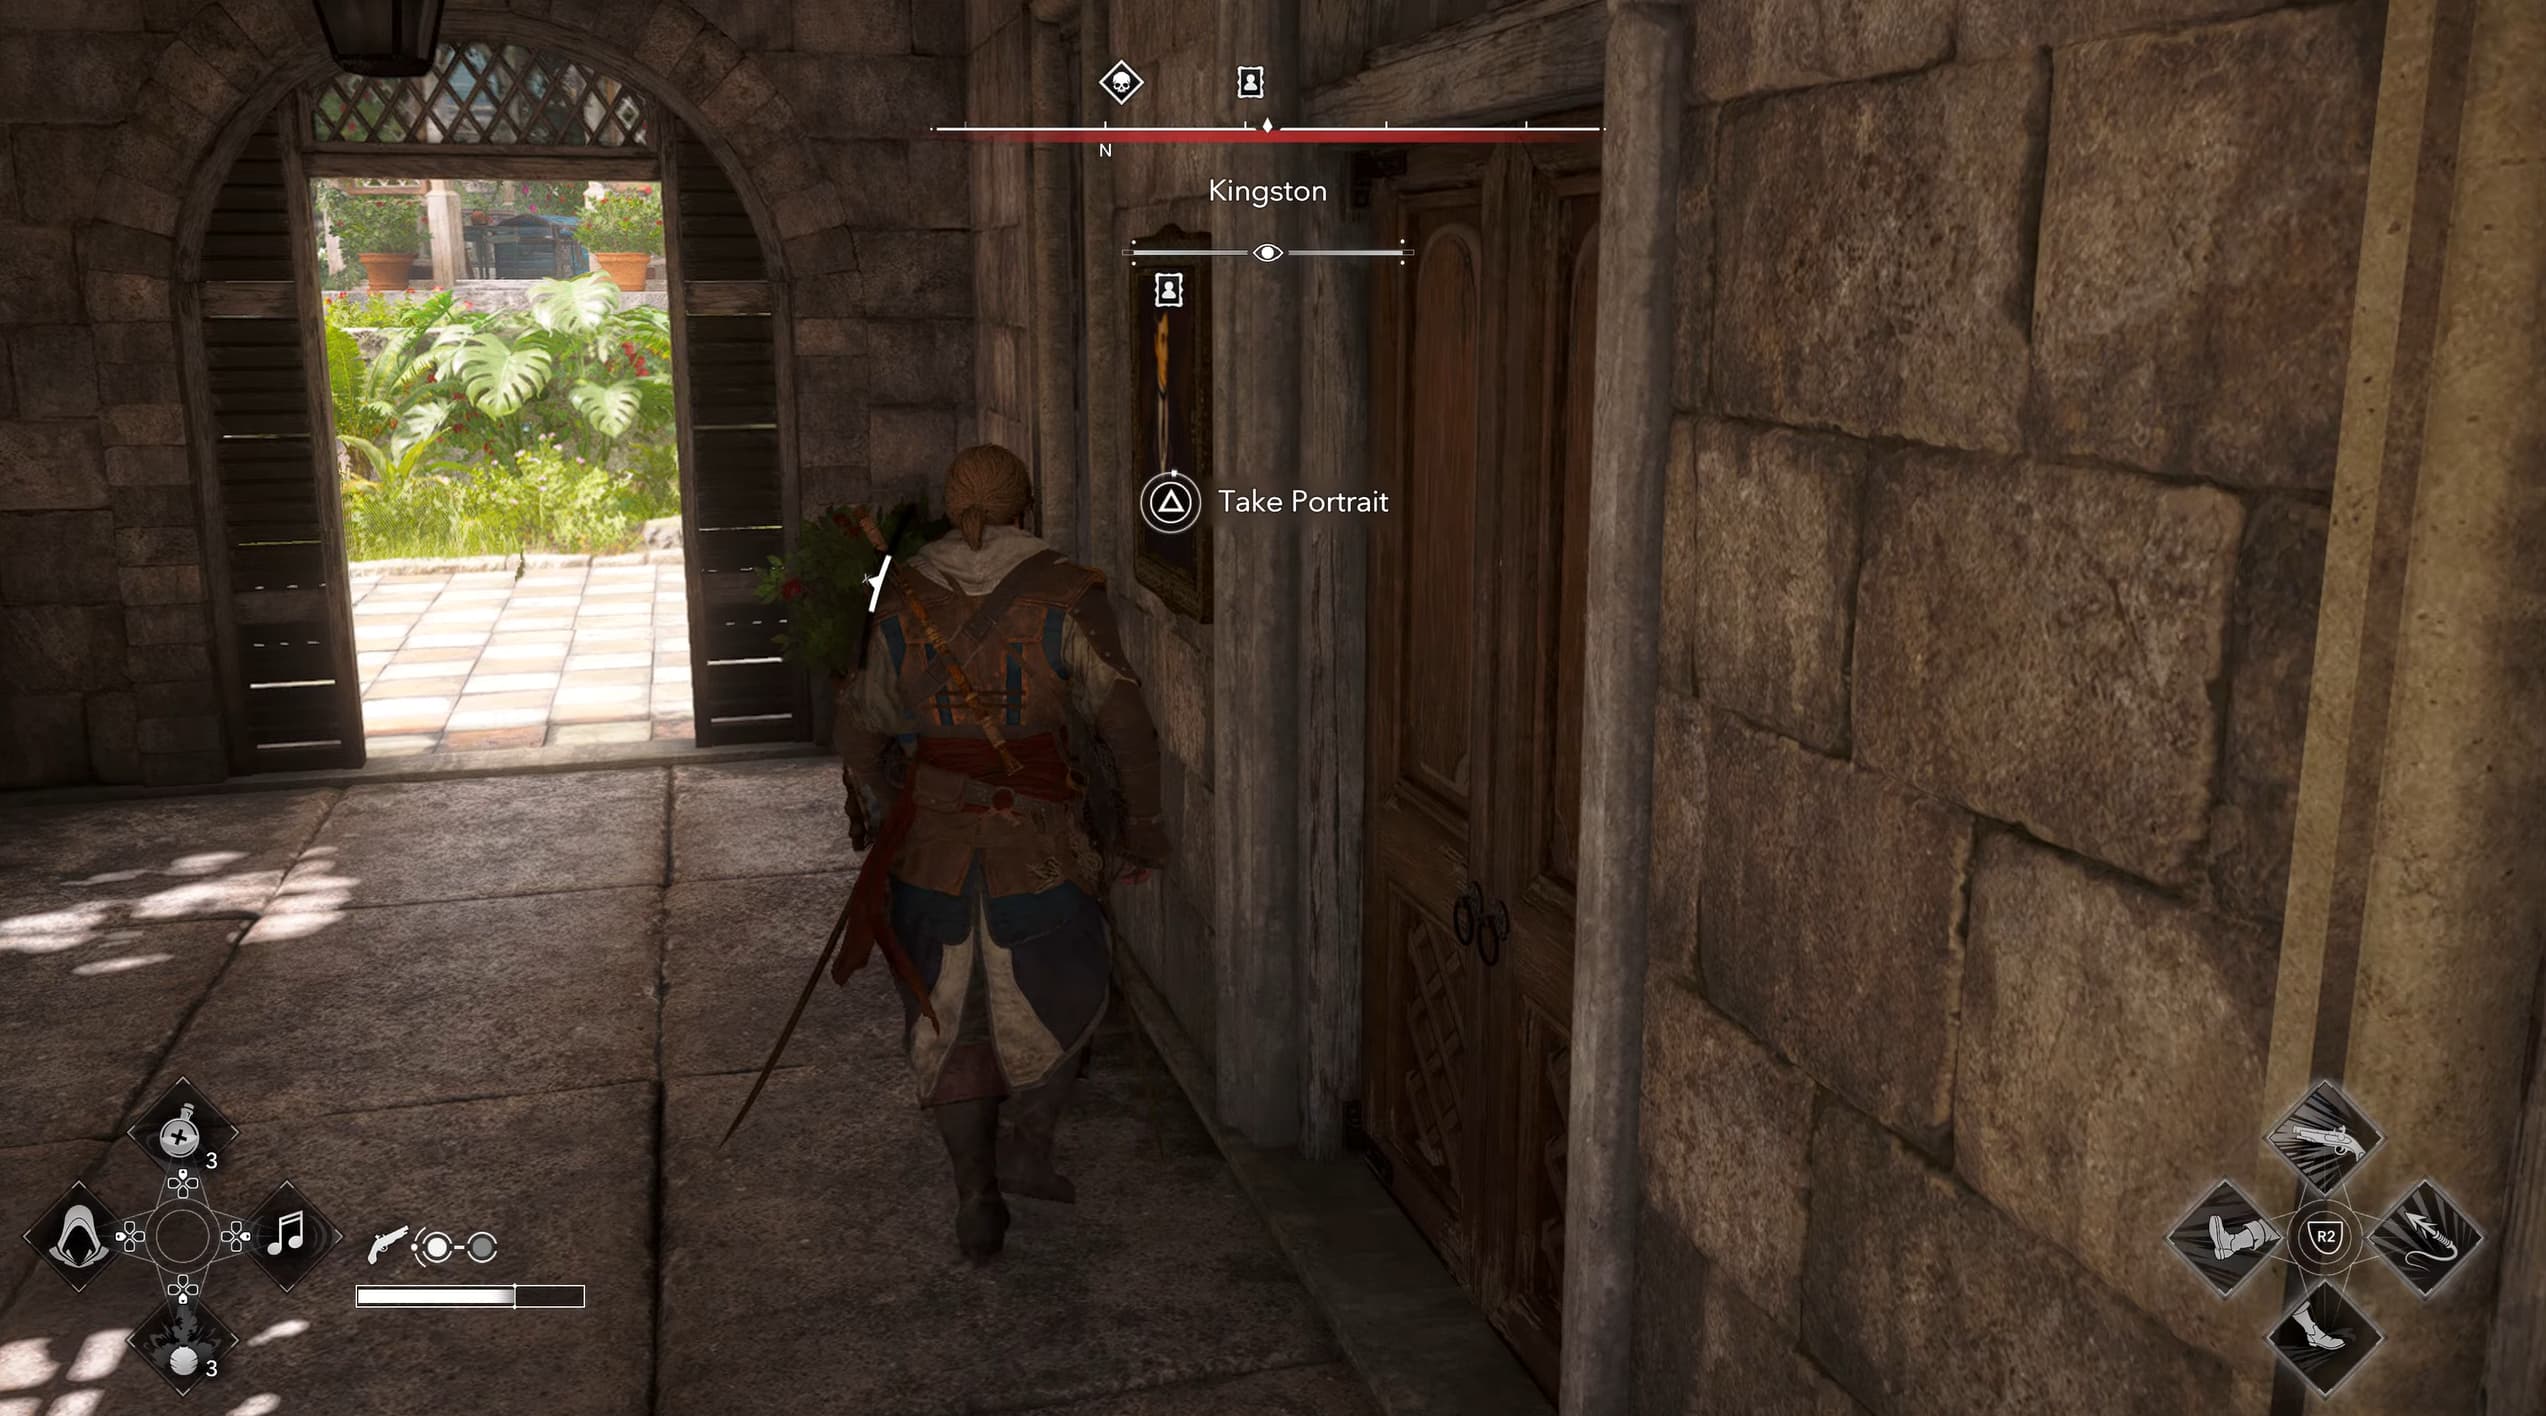
Portrait 2 - Laurens Prins Portrait - Kingston
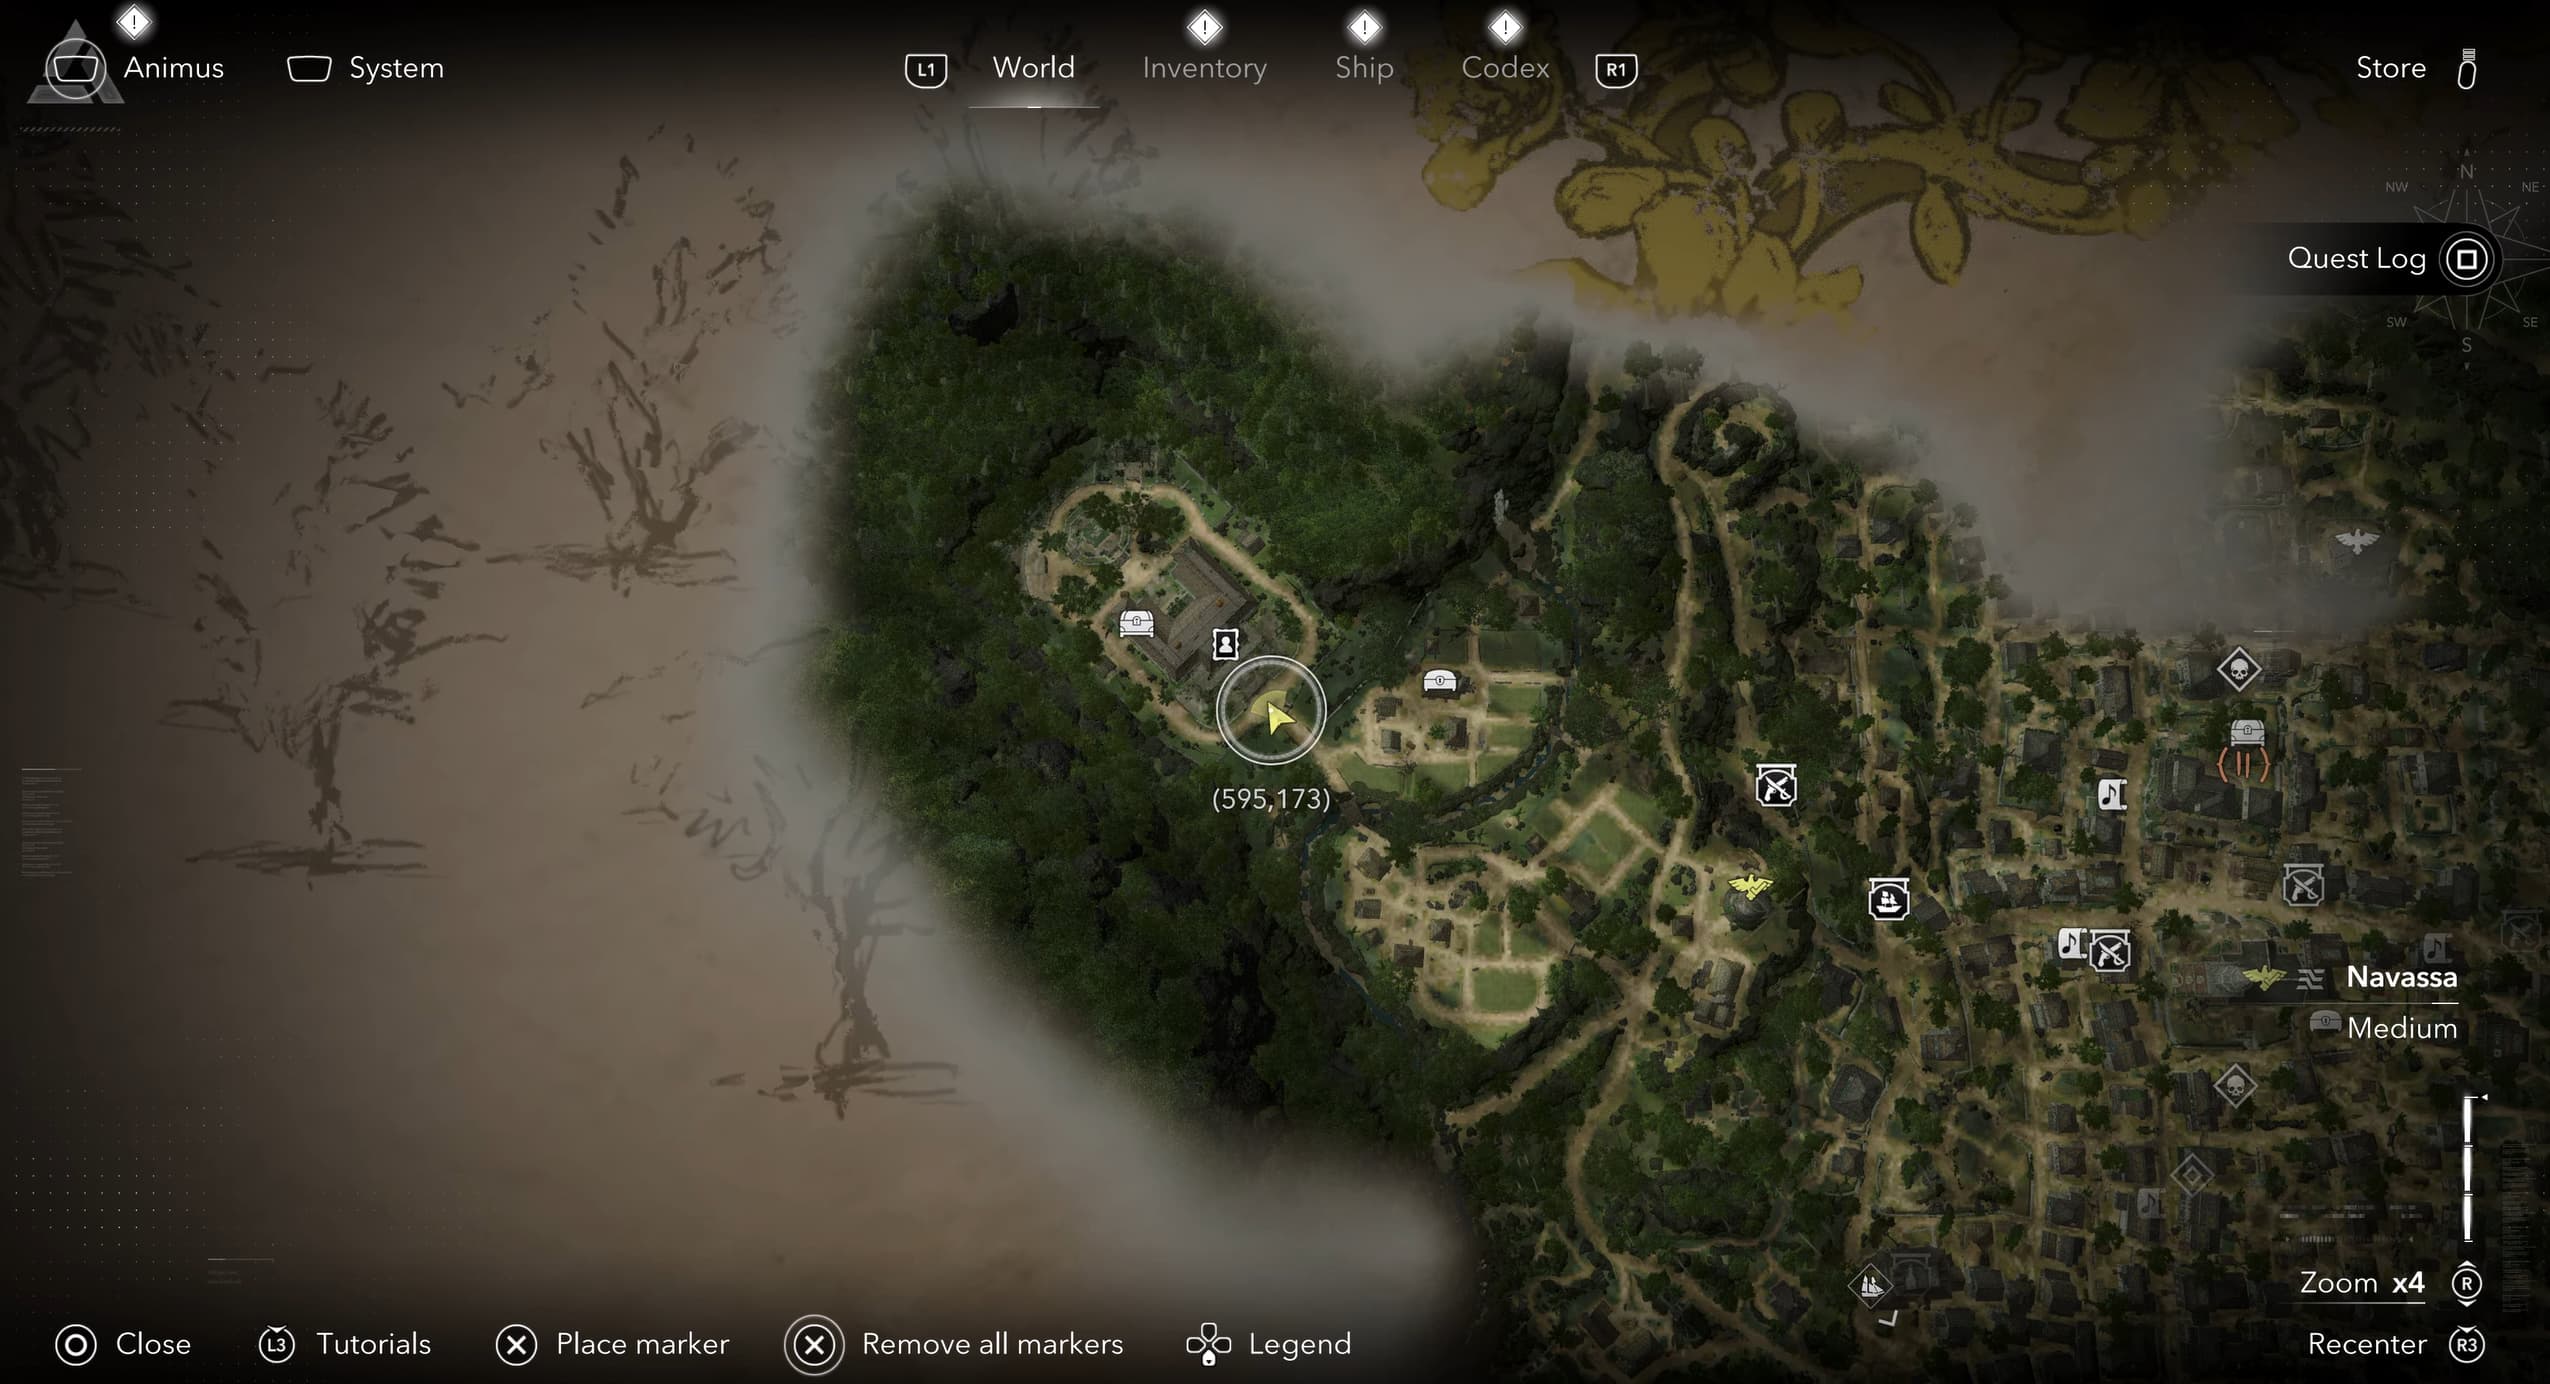
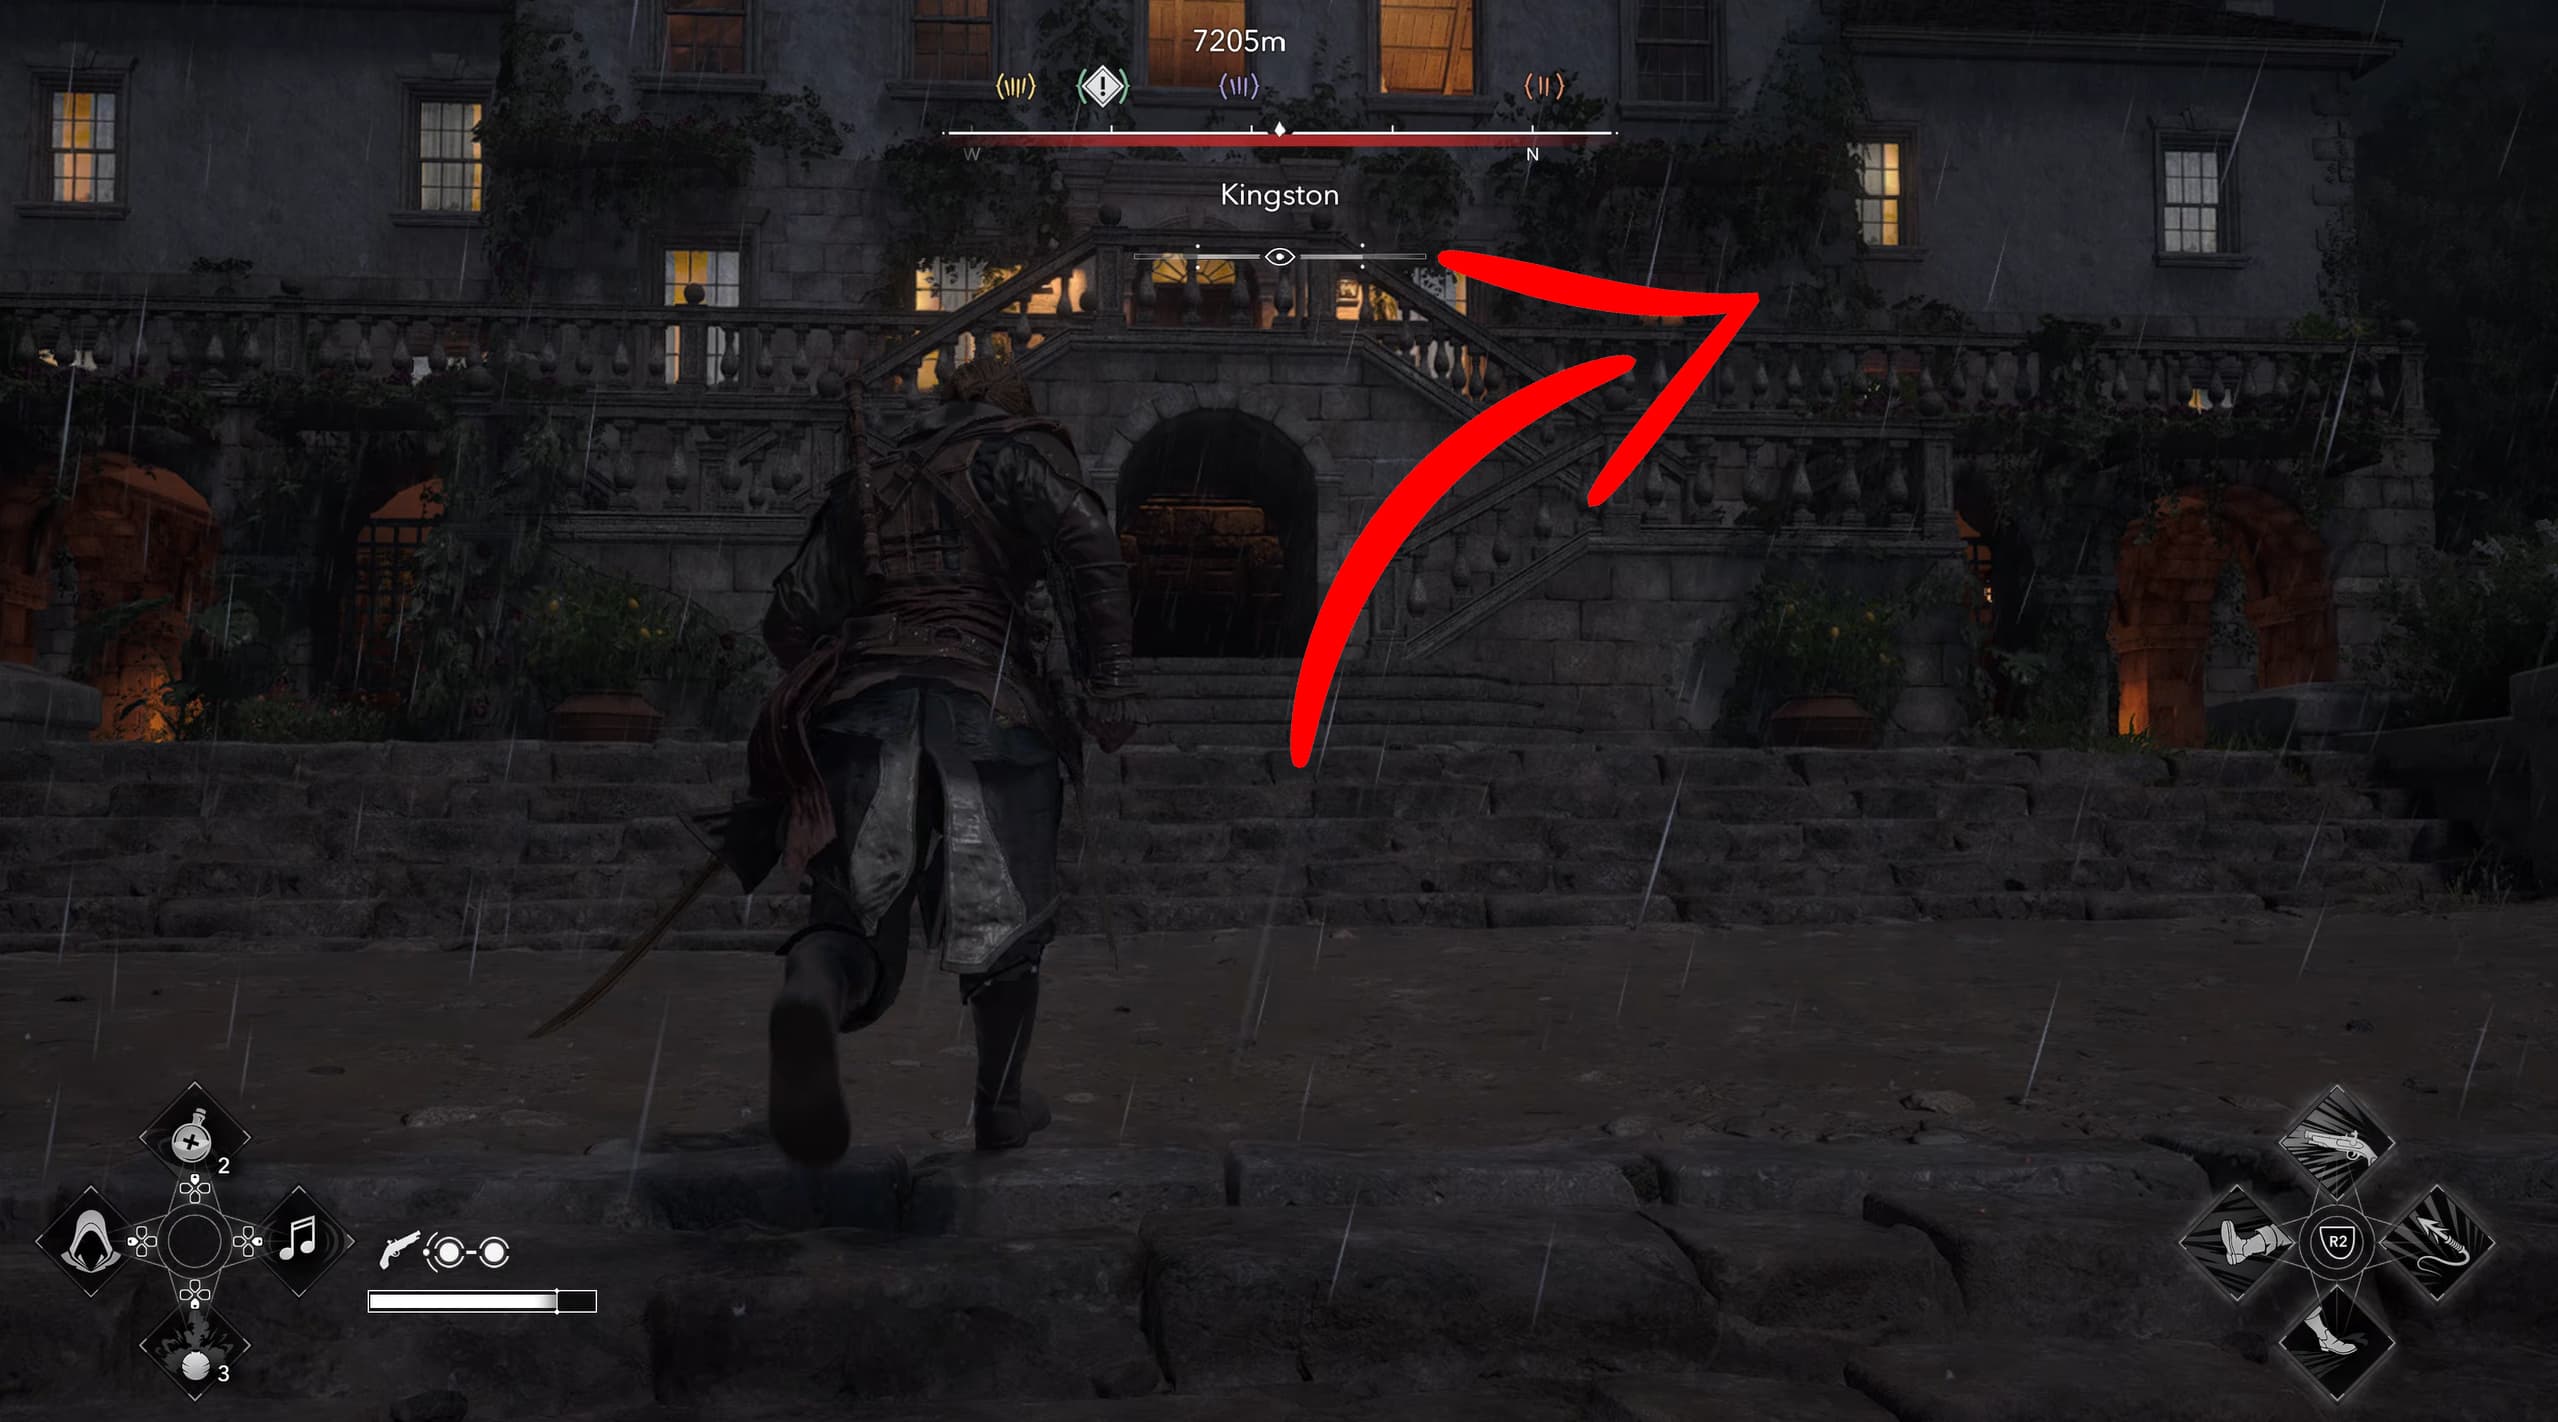
Travel to Kingston and head to these coordinates (595,173) on the island.
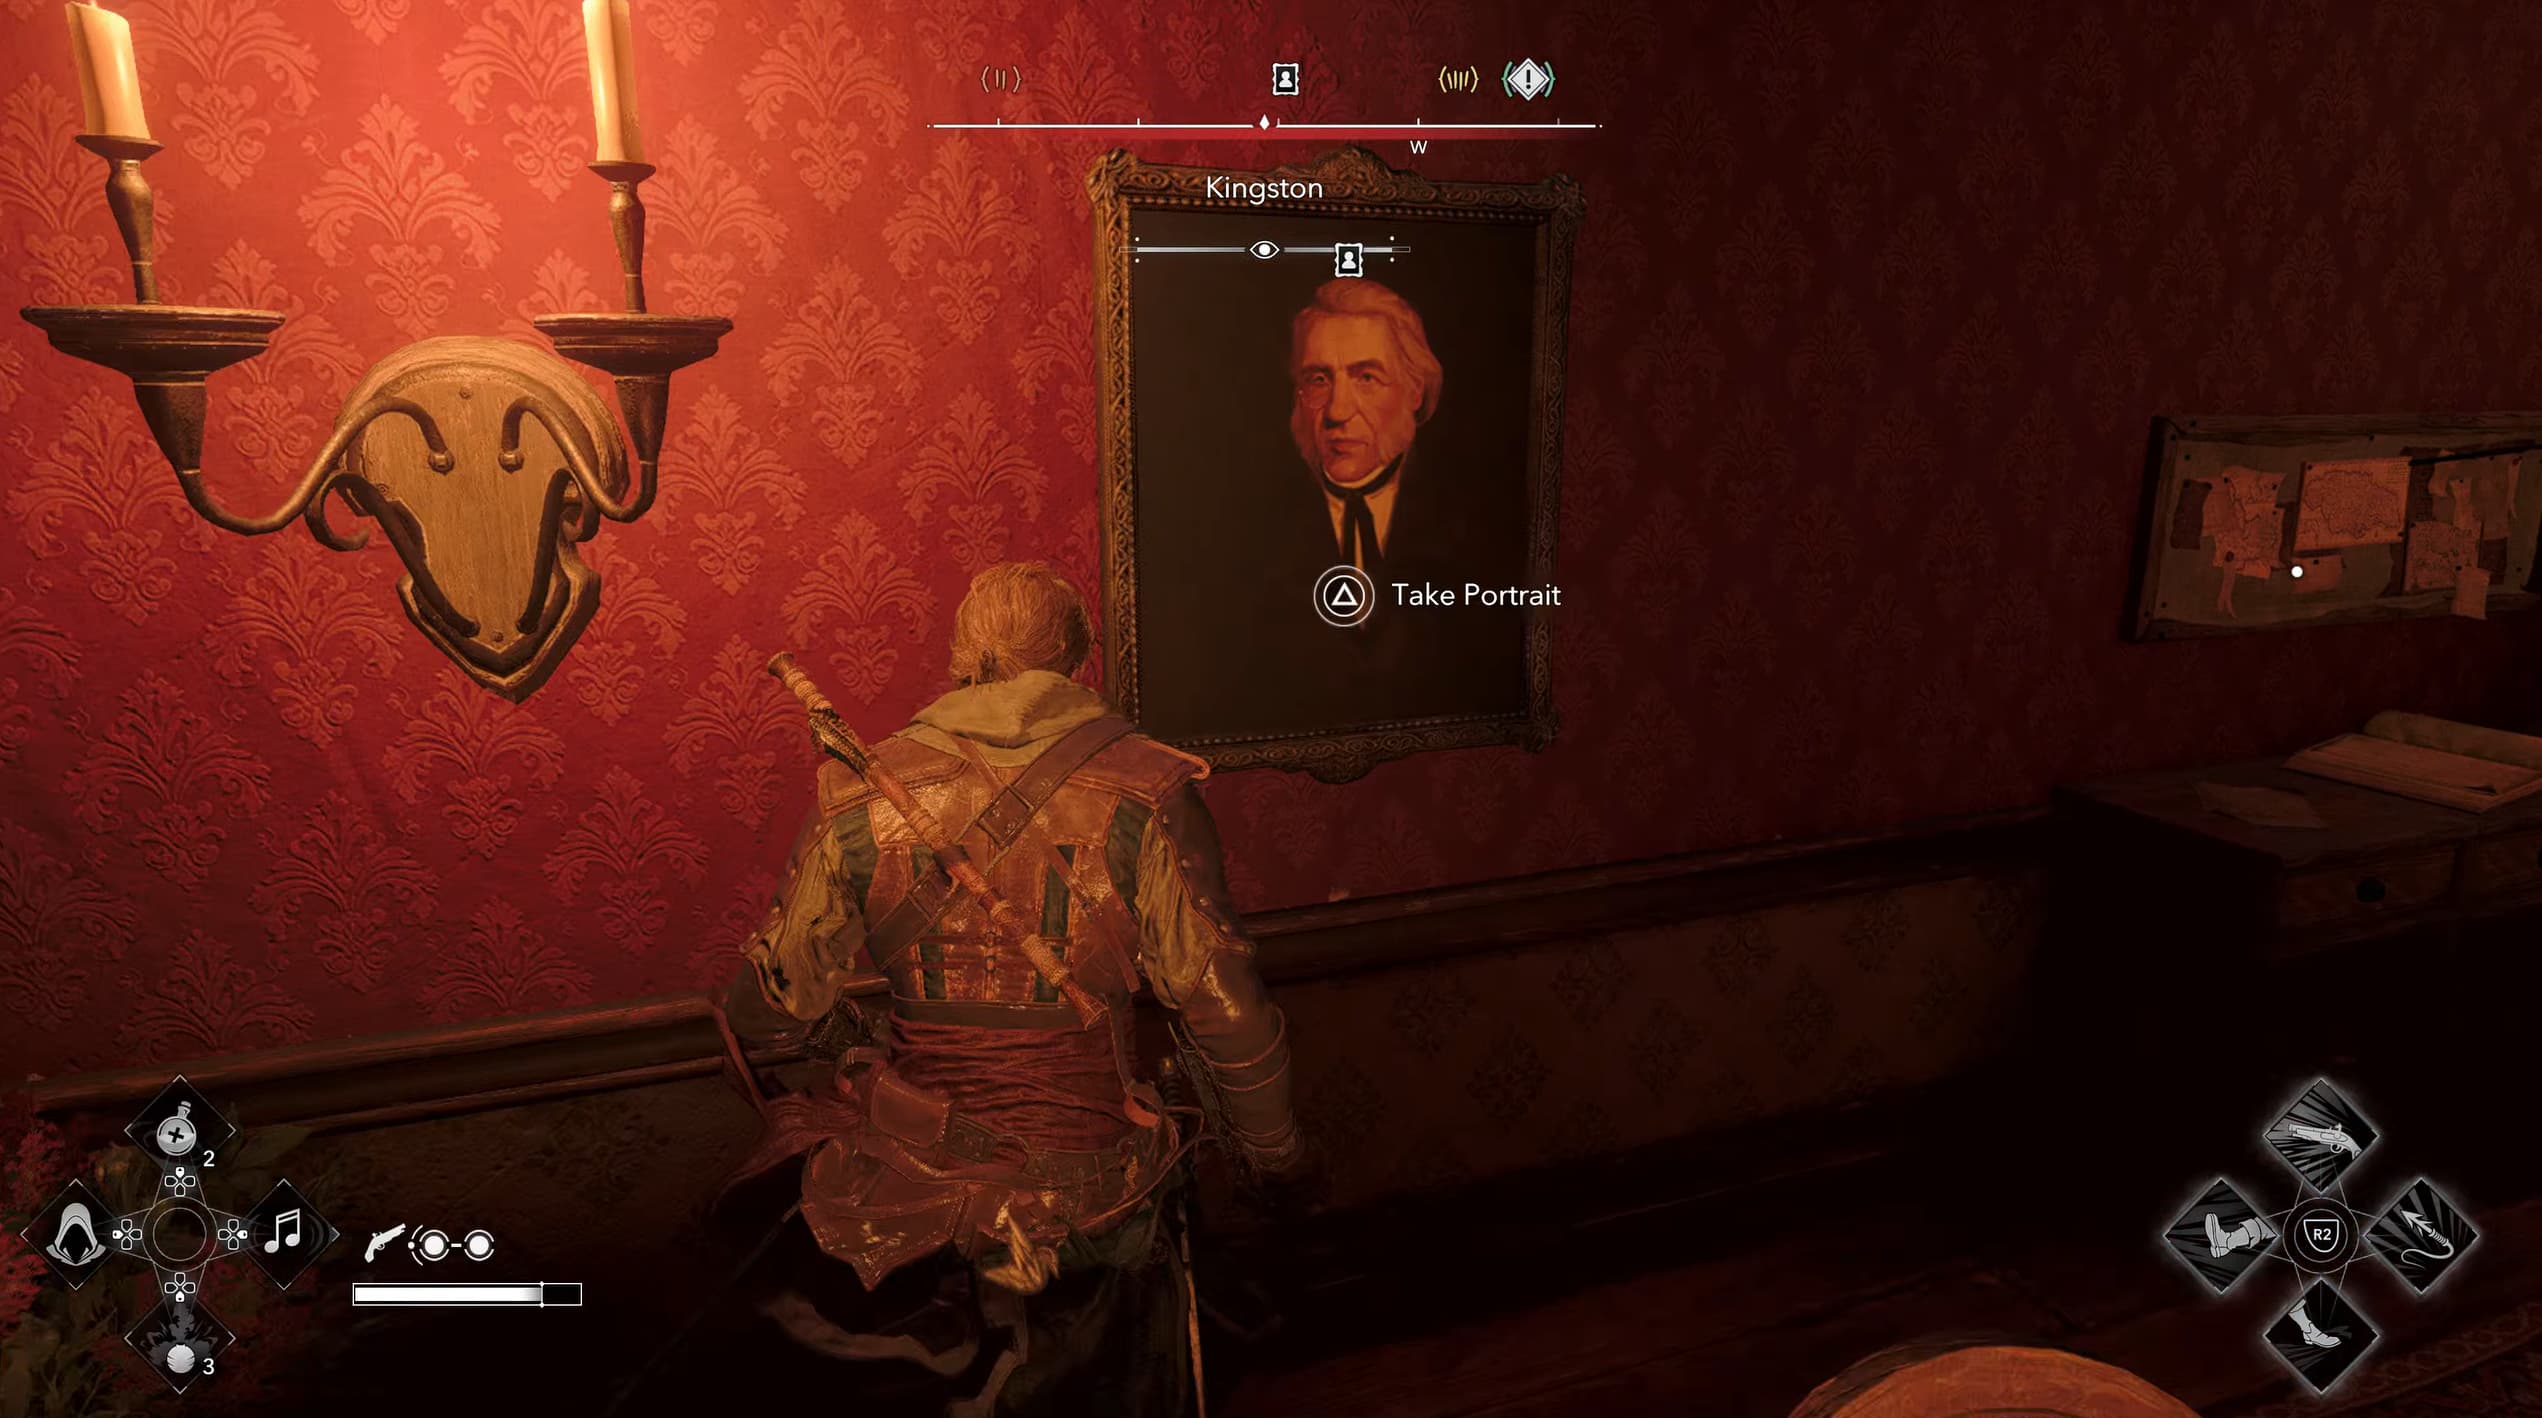
Once you reach the house, make your way up the stairs and head to the right. Continue around to see an open window on the left and enter in. The portrait can be found directly ahead as you enter the room.
Portrait 3 - Woodes Rogers Portrait - Kingston
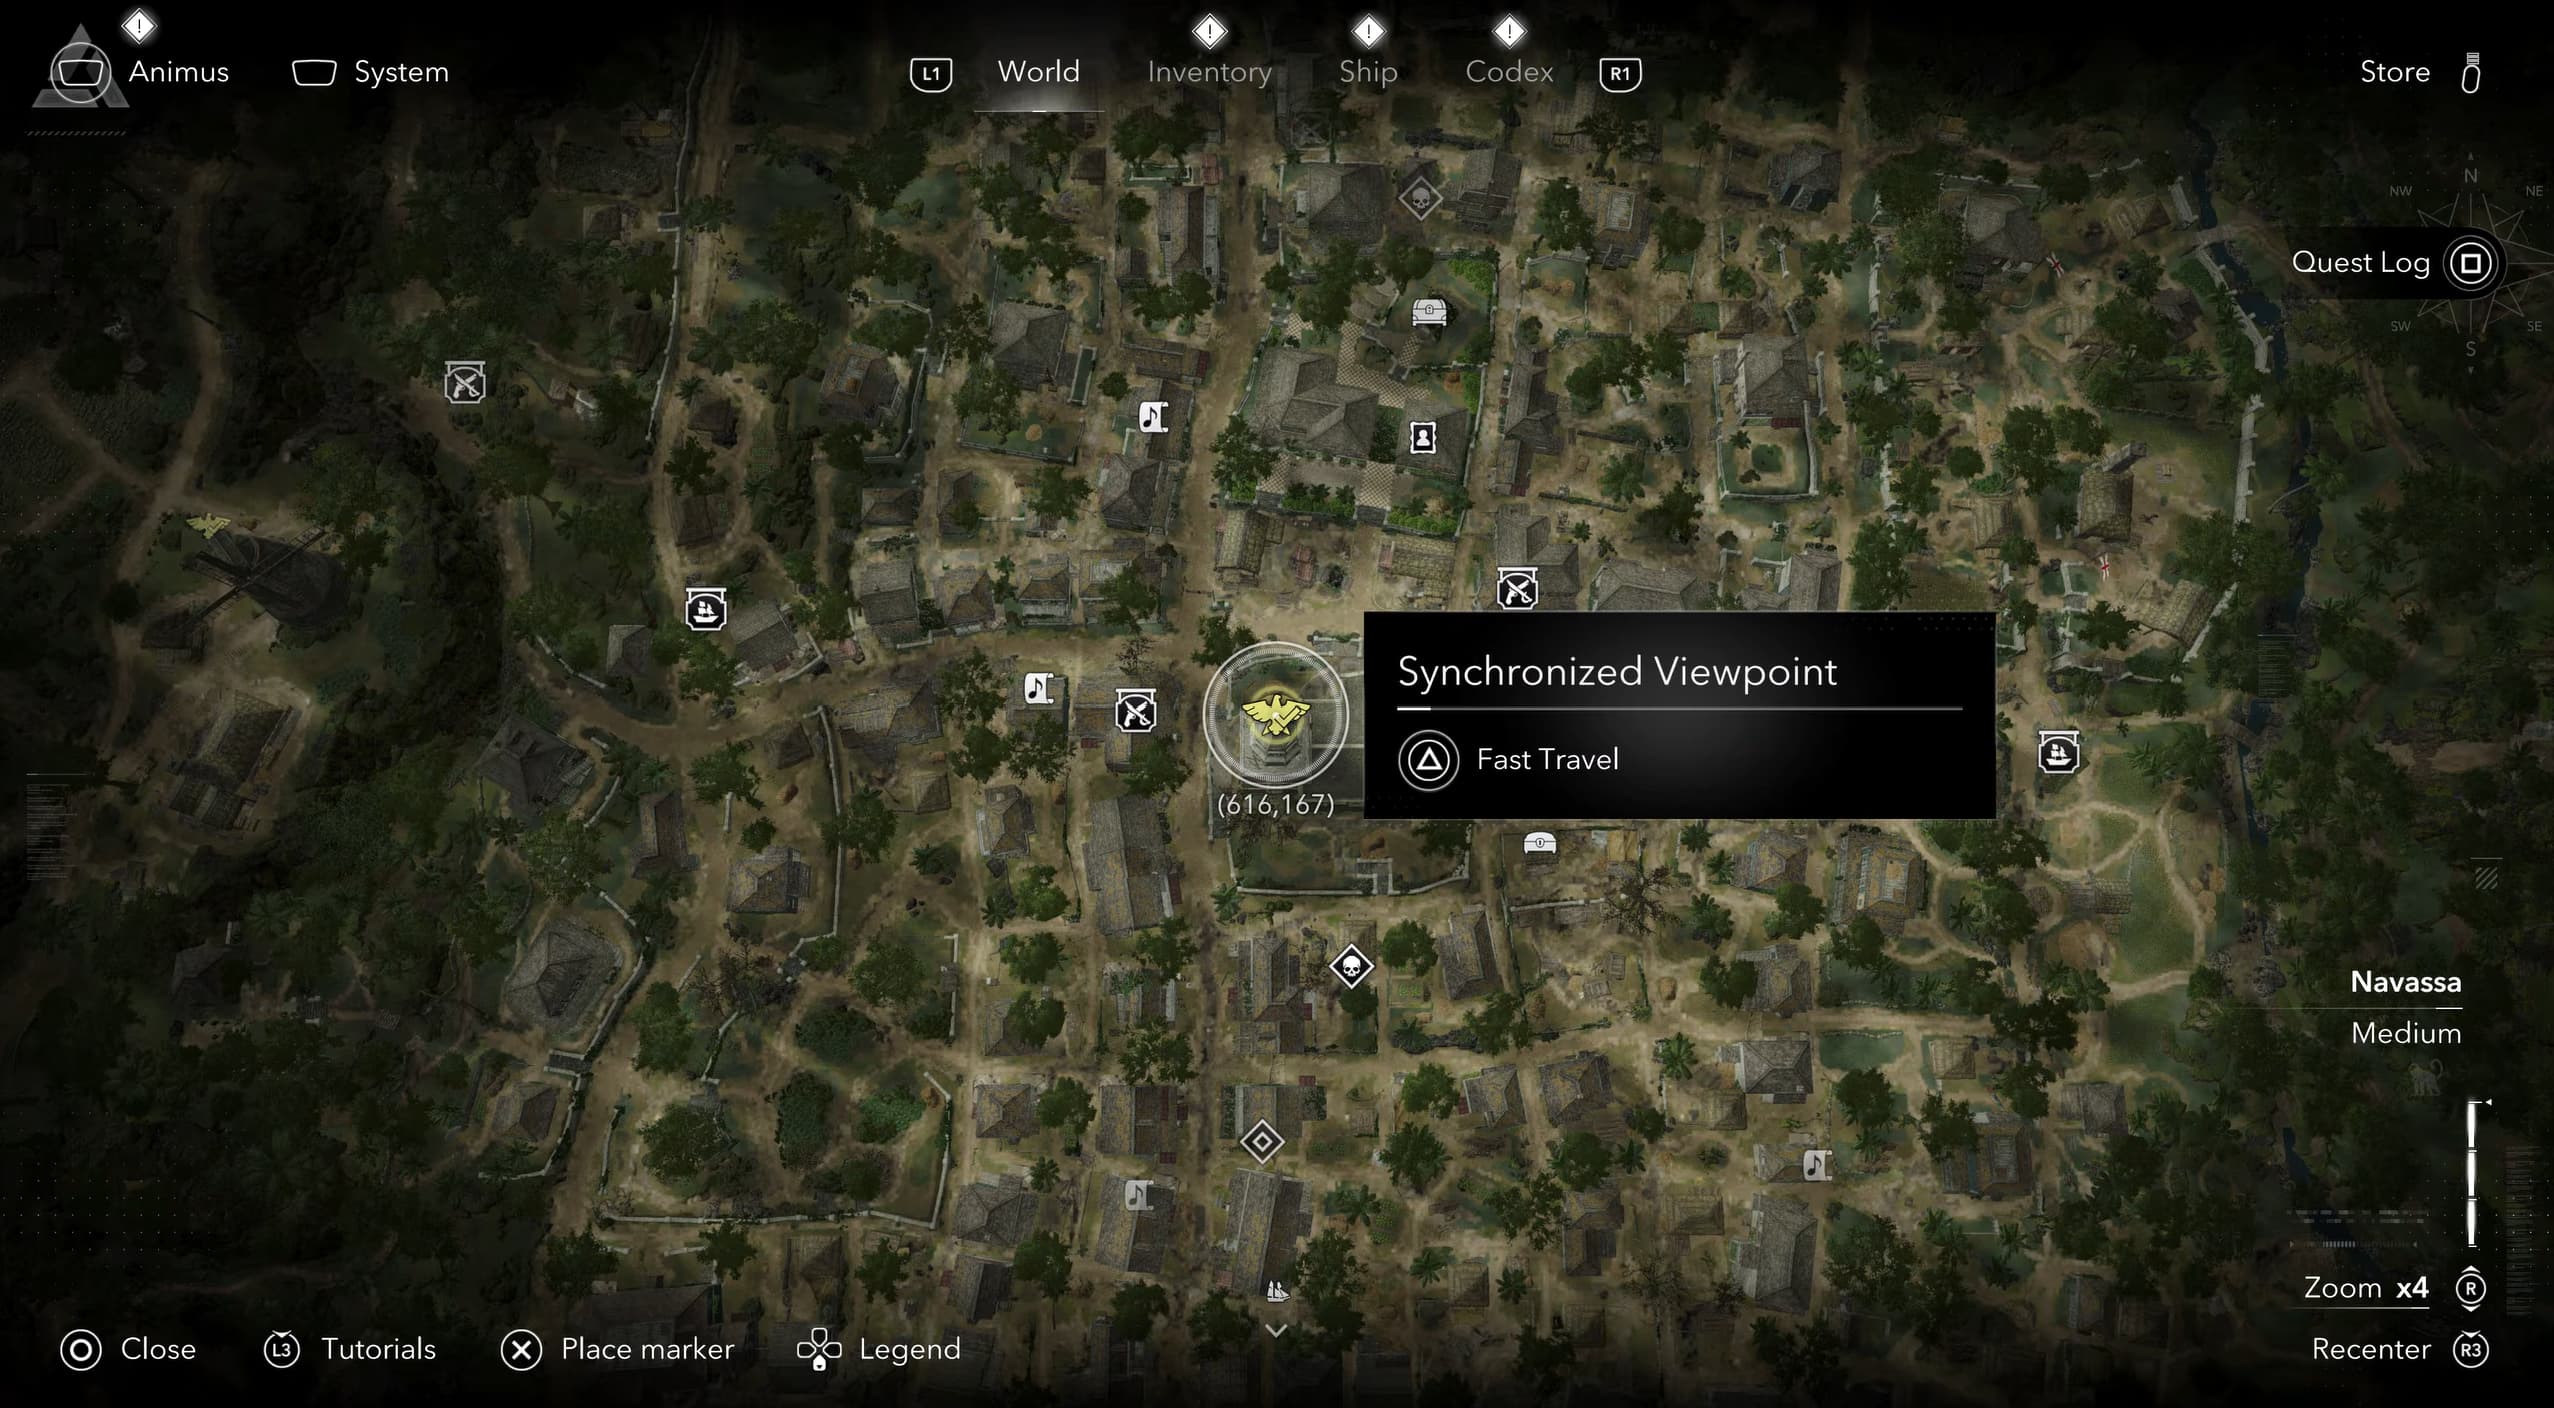
Staying in Kingston, fast travel to the central synchronization point, coordinates (616,167)
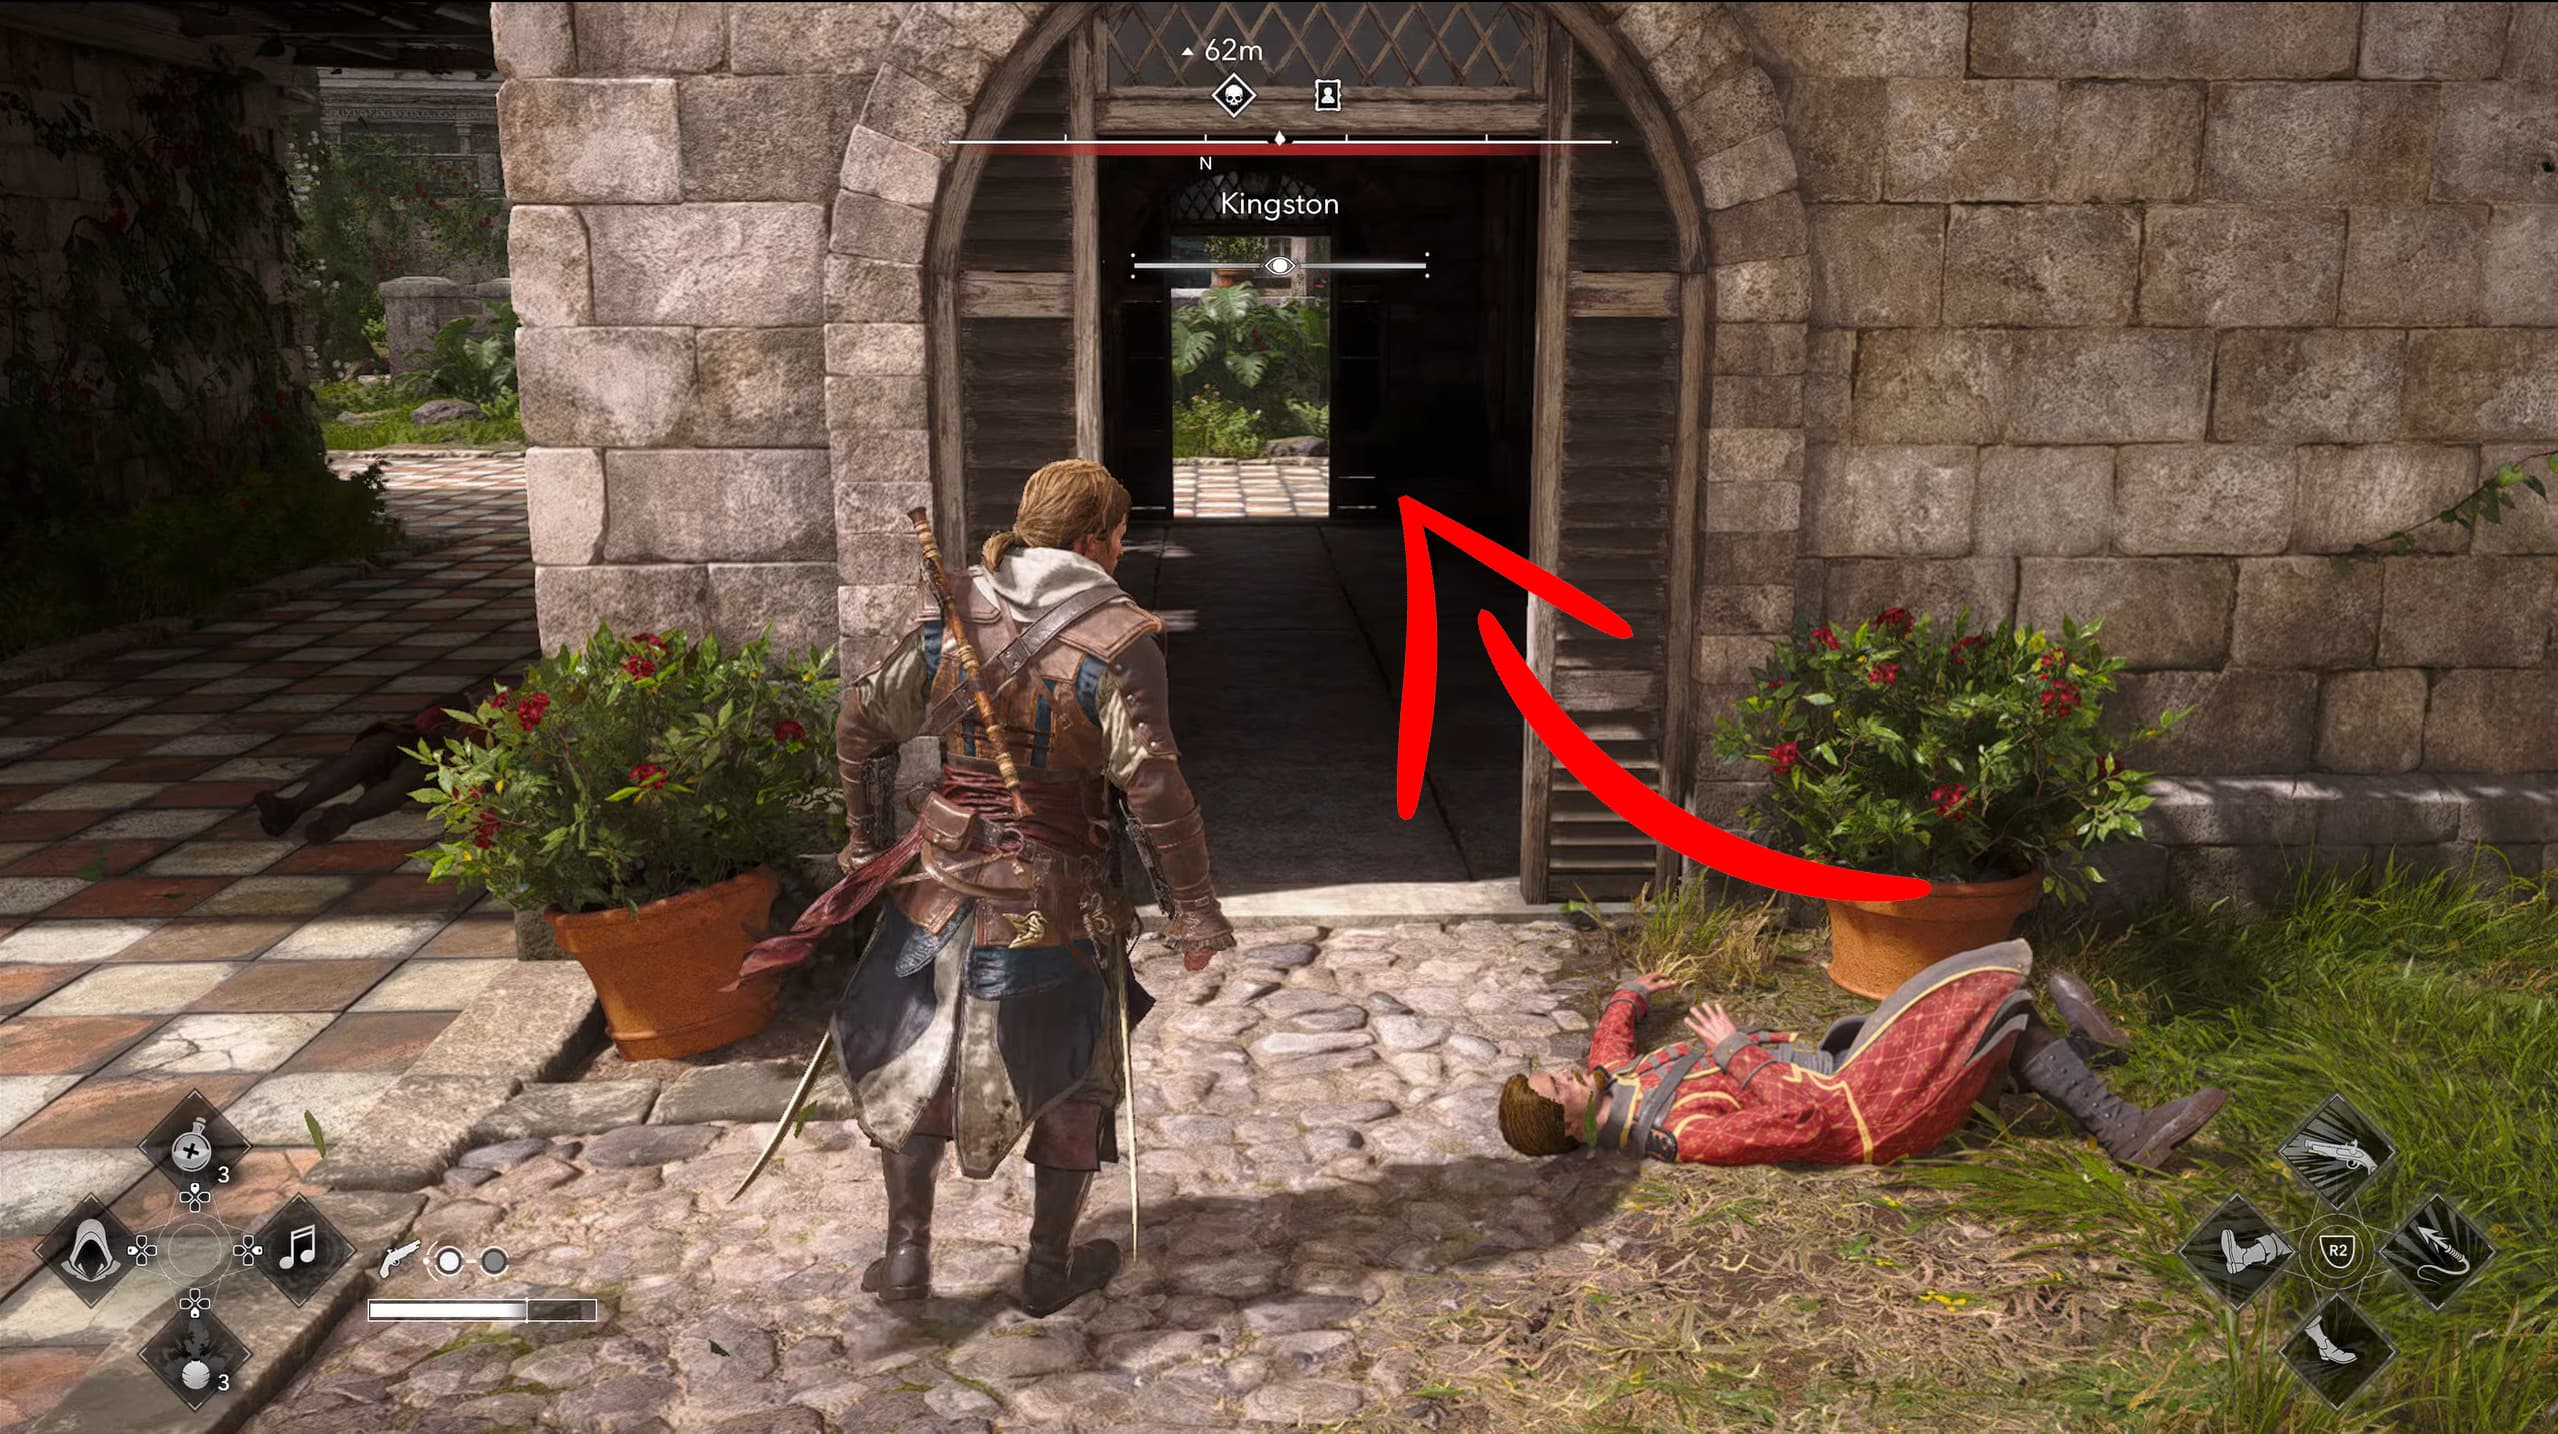
From here, head slightly north towards the portrait marker on the map. This area contains several enemies, you will have to assassinate the ones on entry, to access the portrait. After dealing with those, the portrait is hanging on the wall on the right under the right canopy.
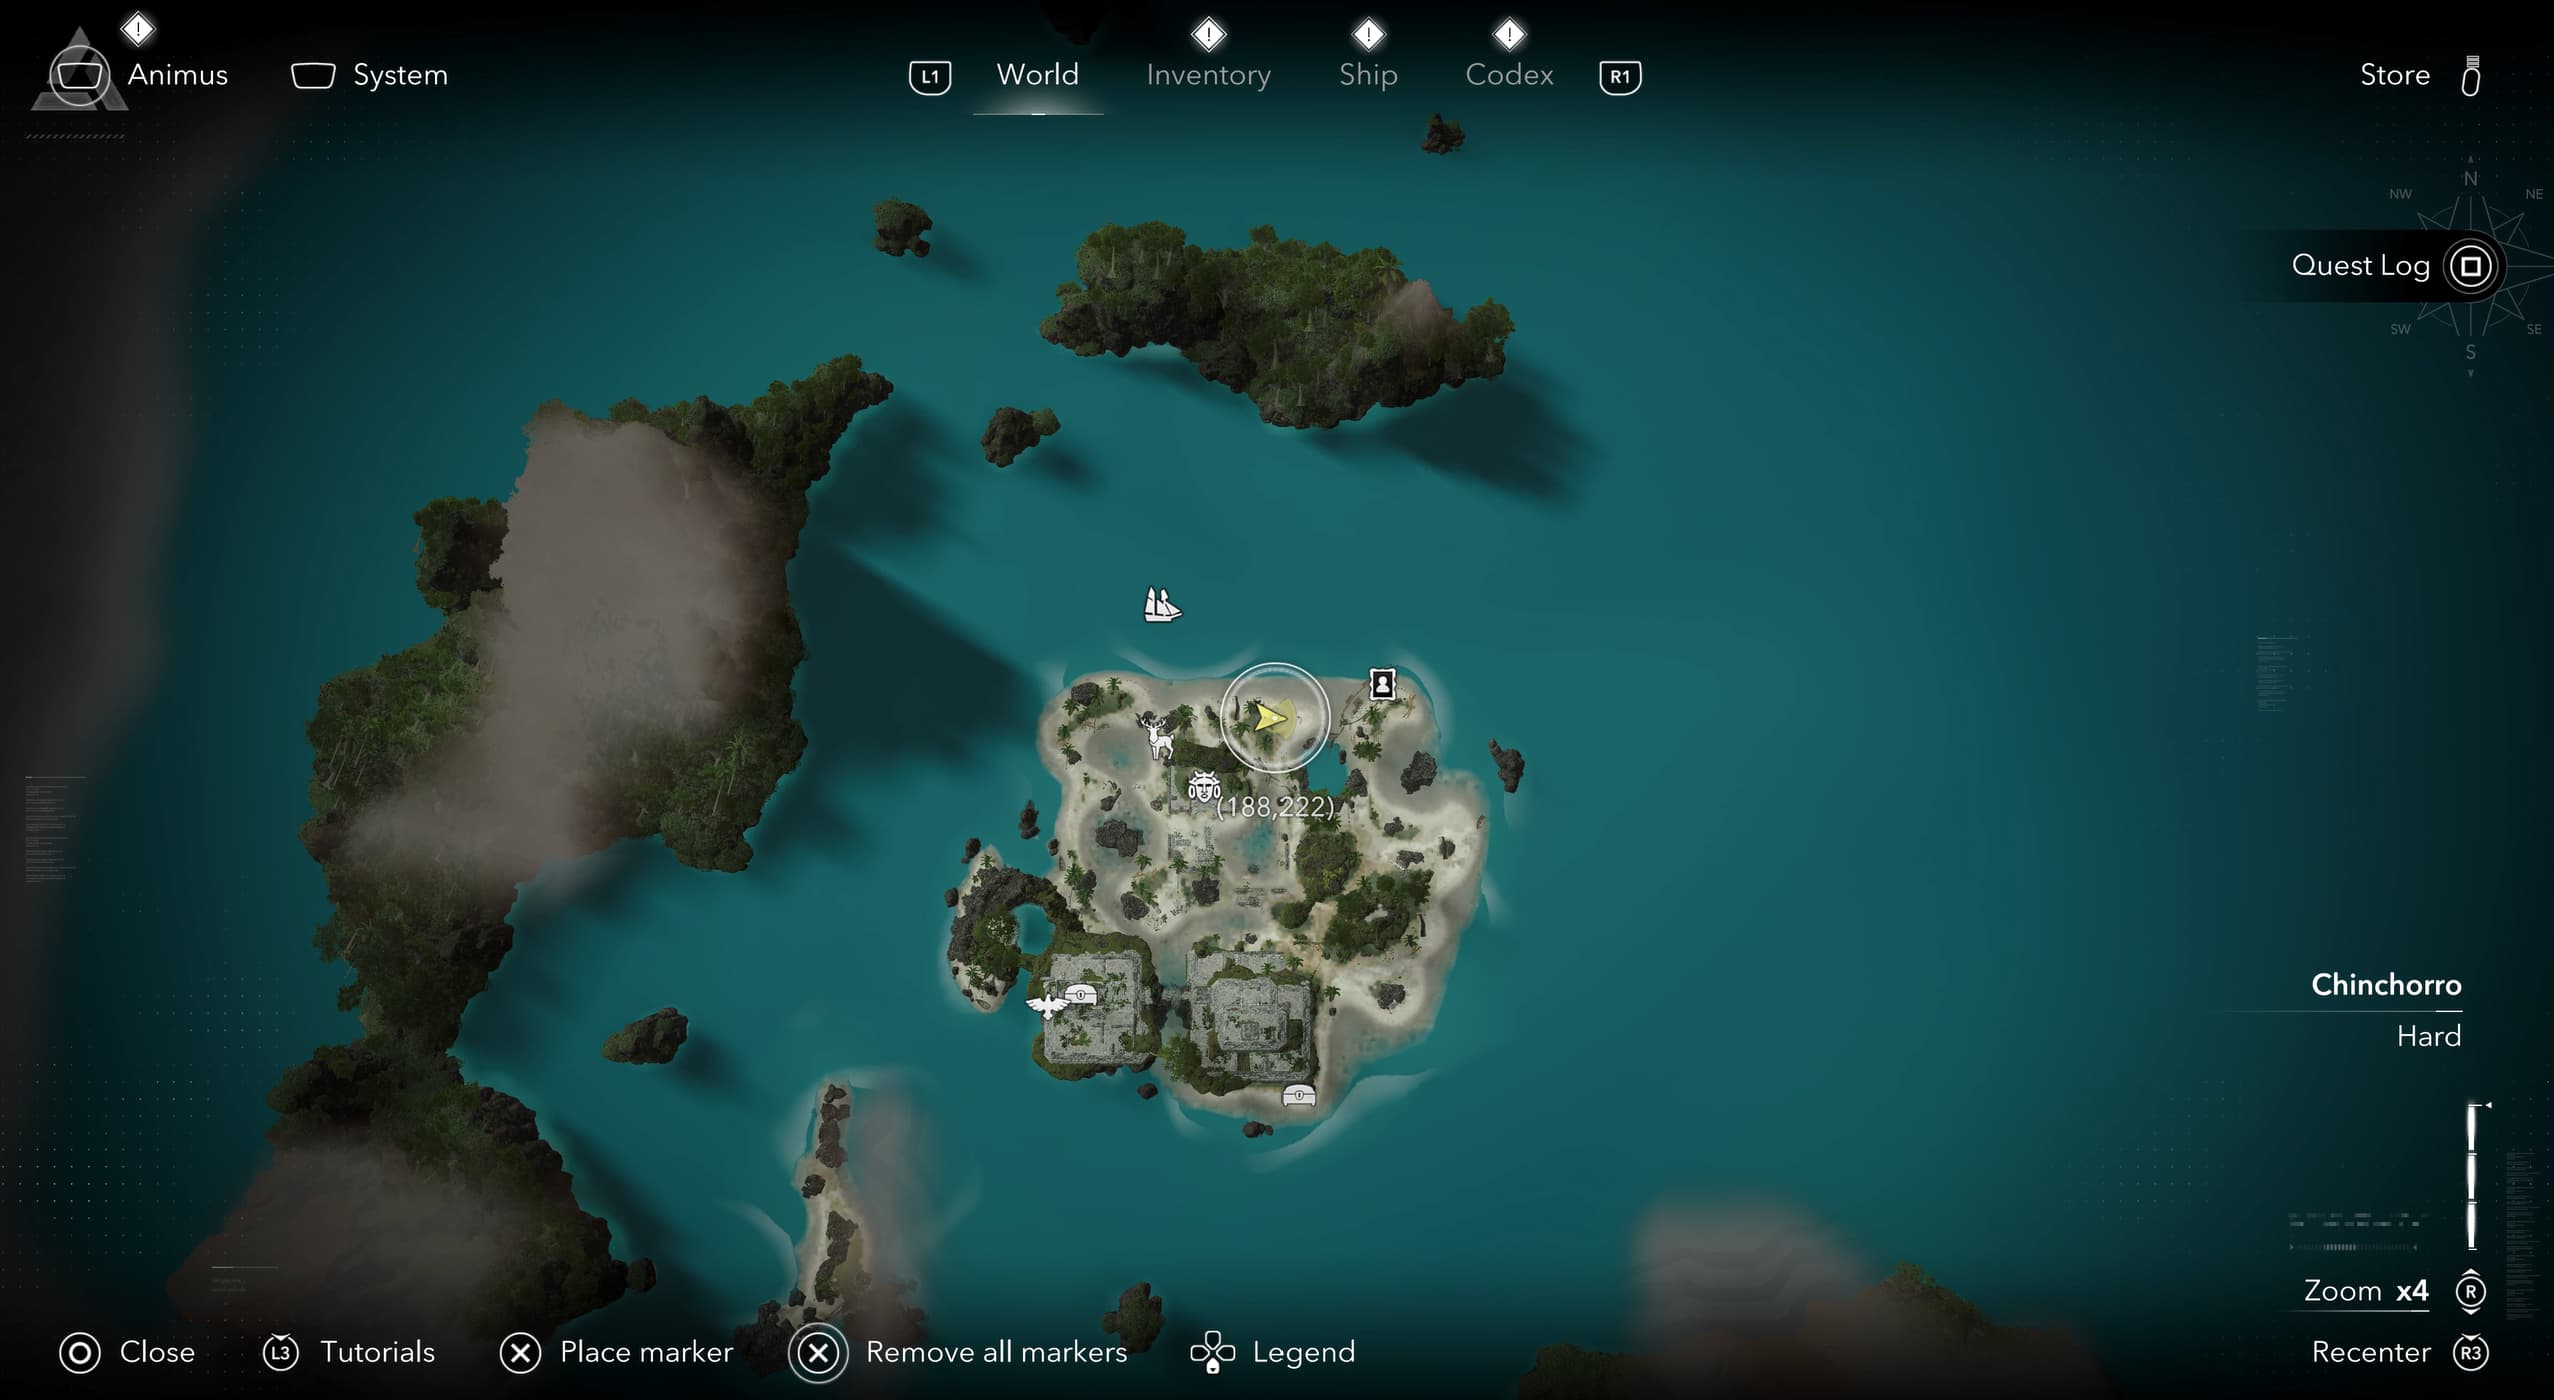
Portrait 4 - Ben Hornigold Portrait - Santanillas
Make your way down to Santanillas island, to the north east beach or these coordinates (188,222)
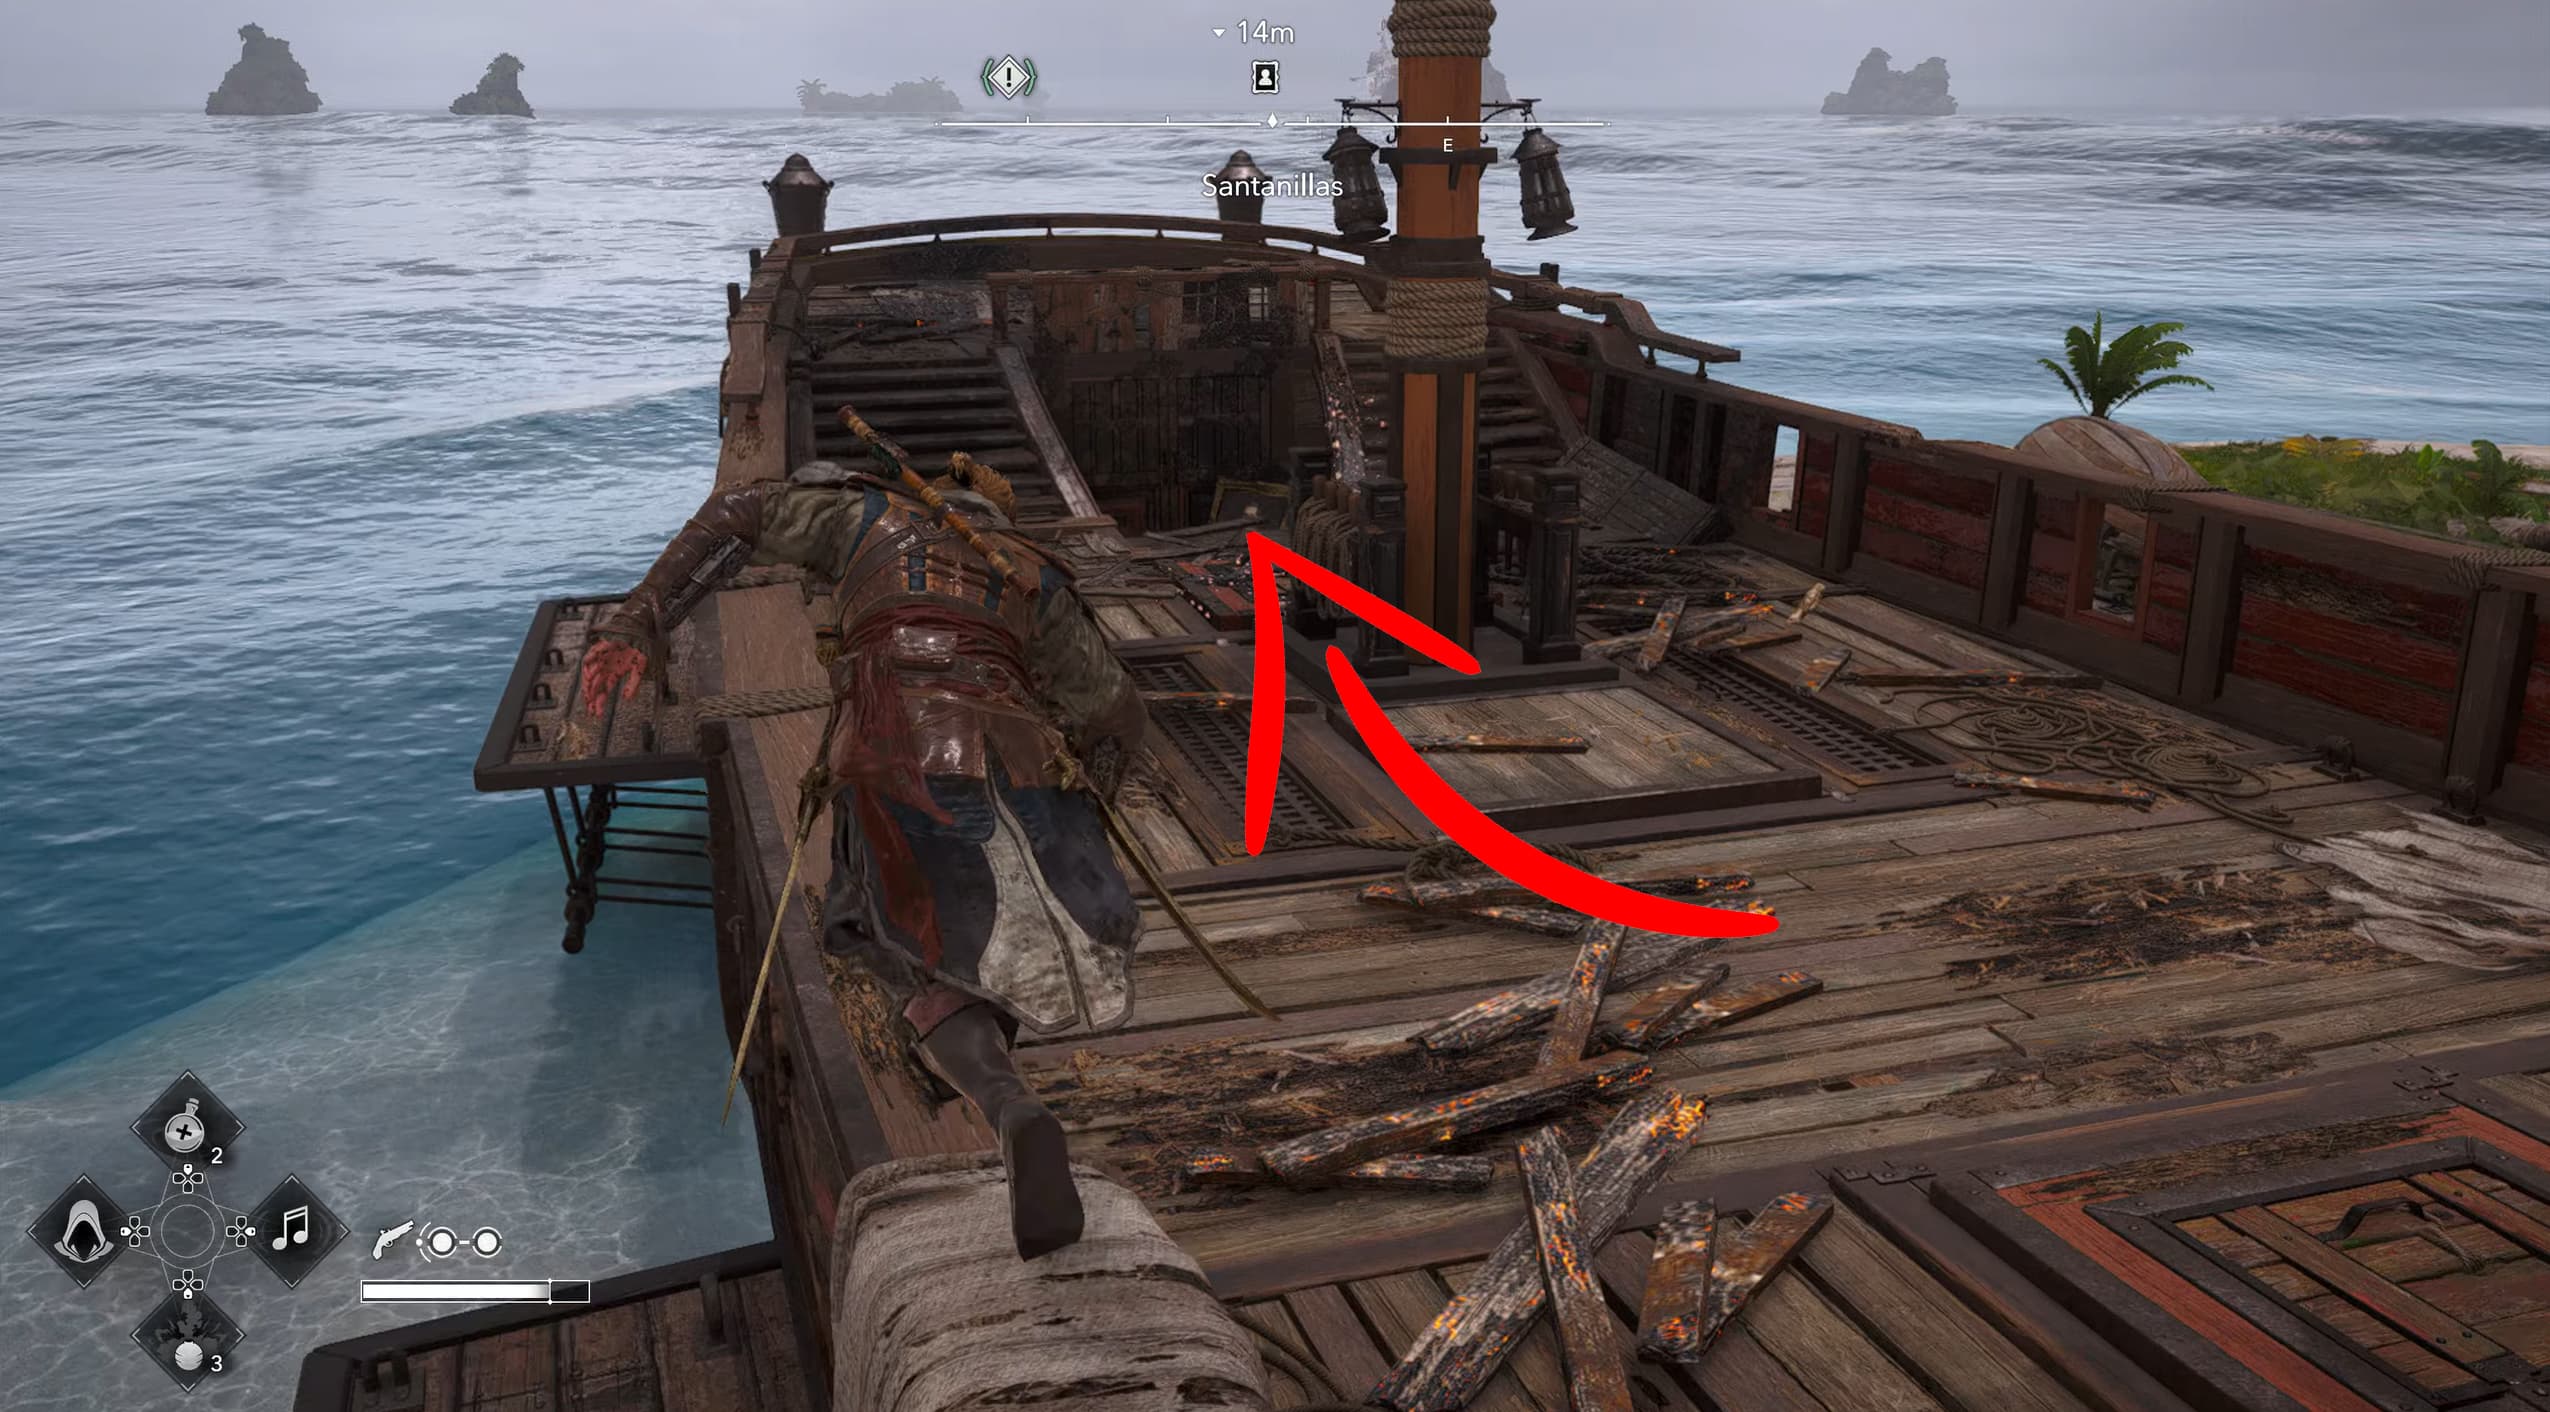
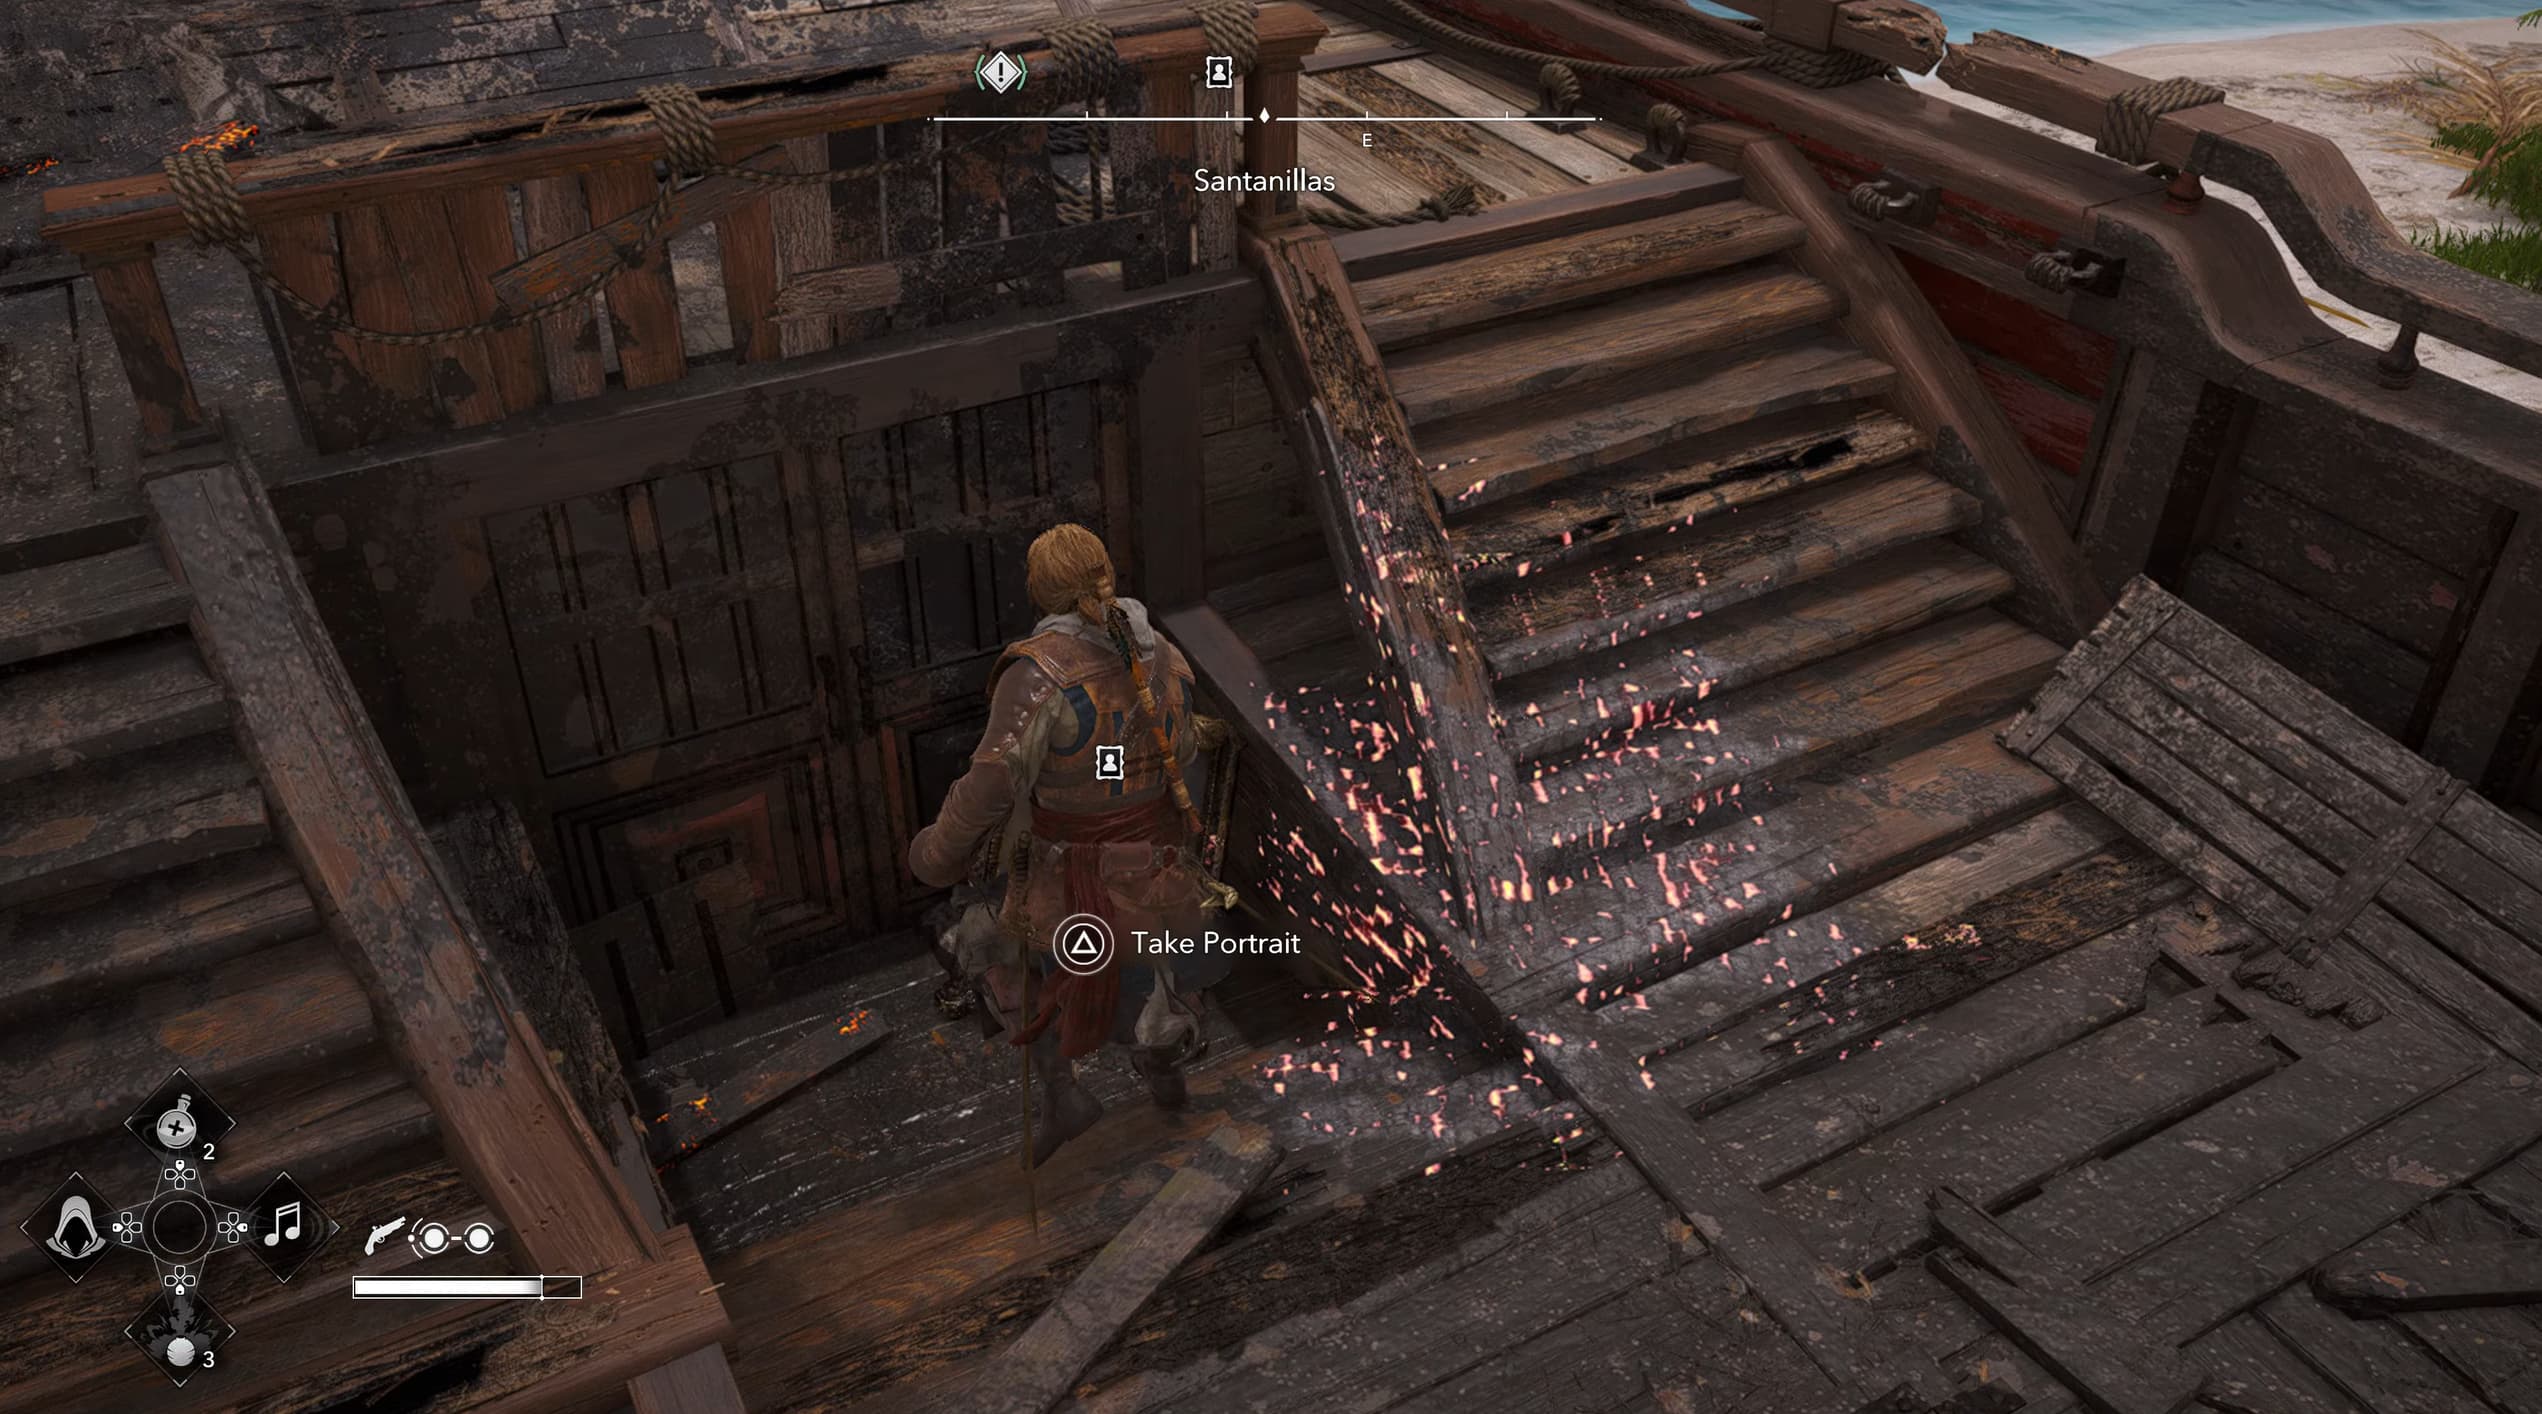
Look for the shipwreck near the shoreline and climb aboard. Head towards the rear-left section of the wreck and the portrait is lying between the steps.
Portrait 5 - Laureano de Torres Portrait - Havana
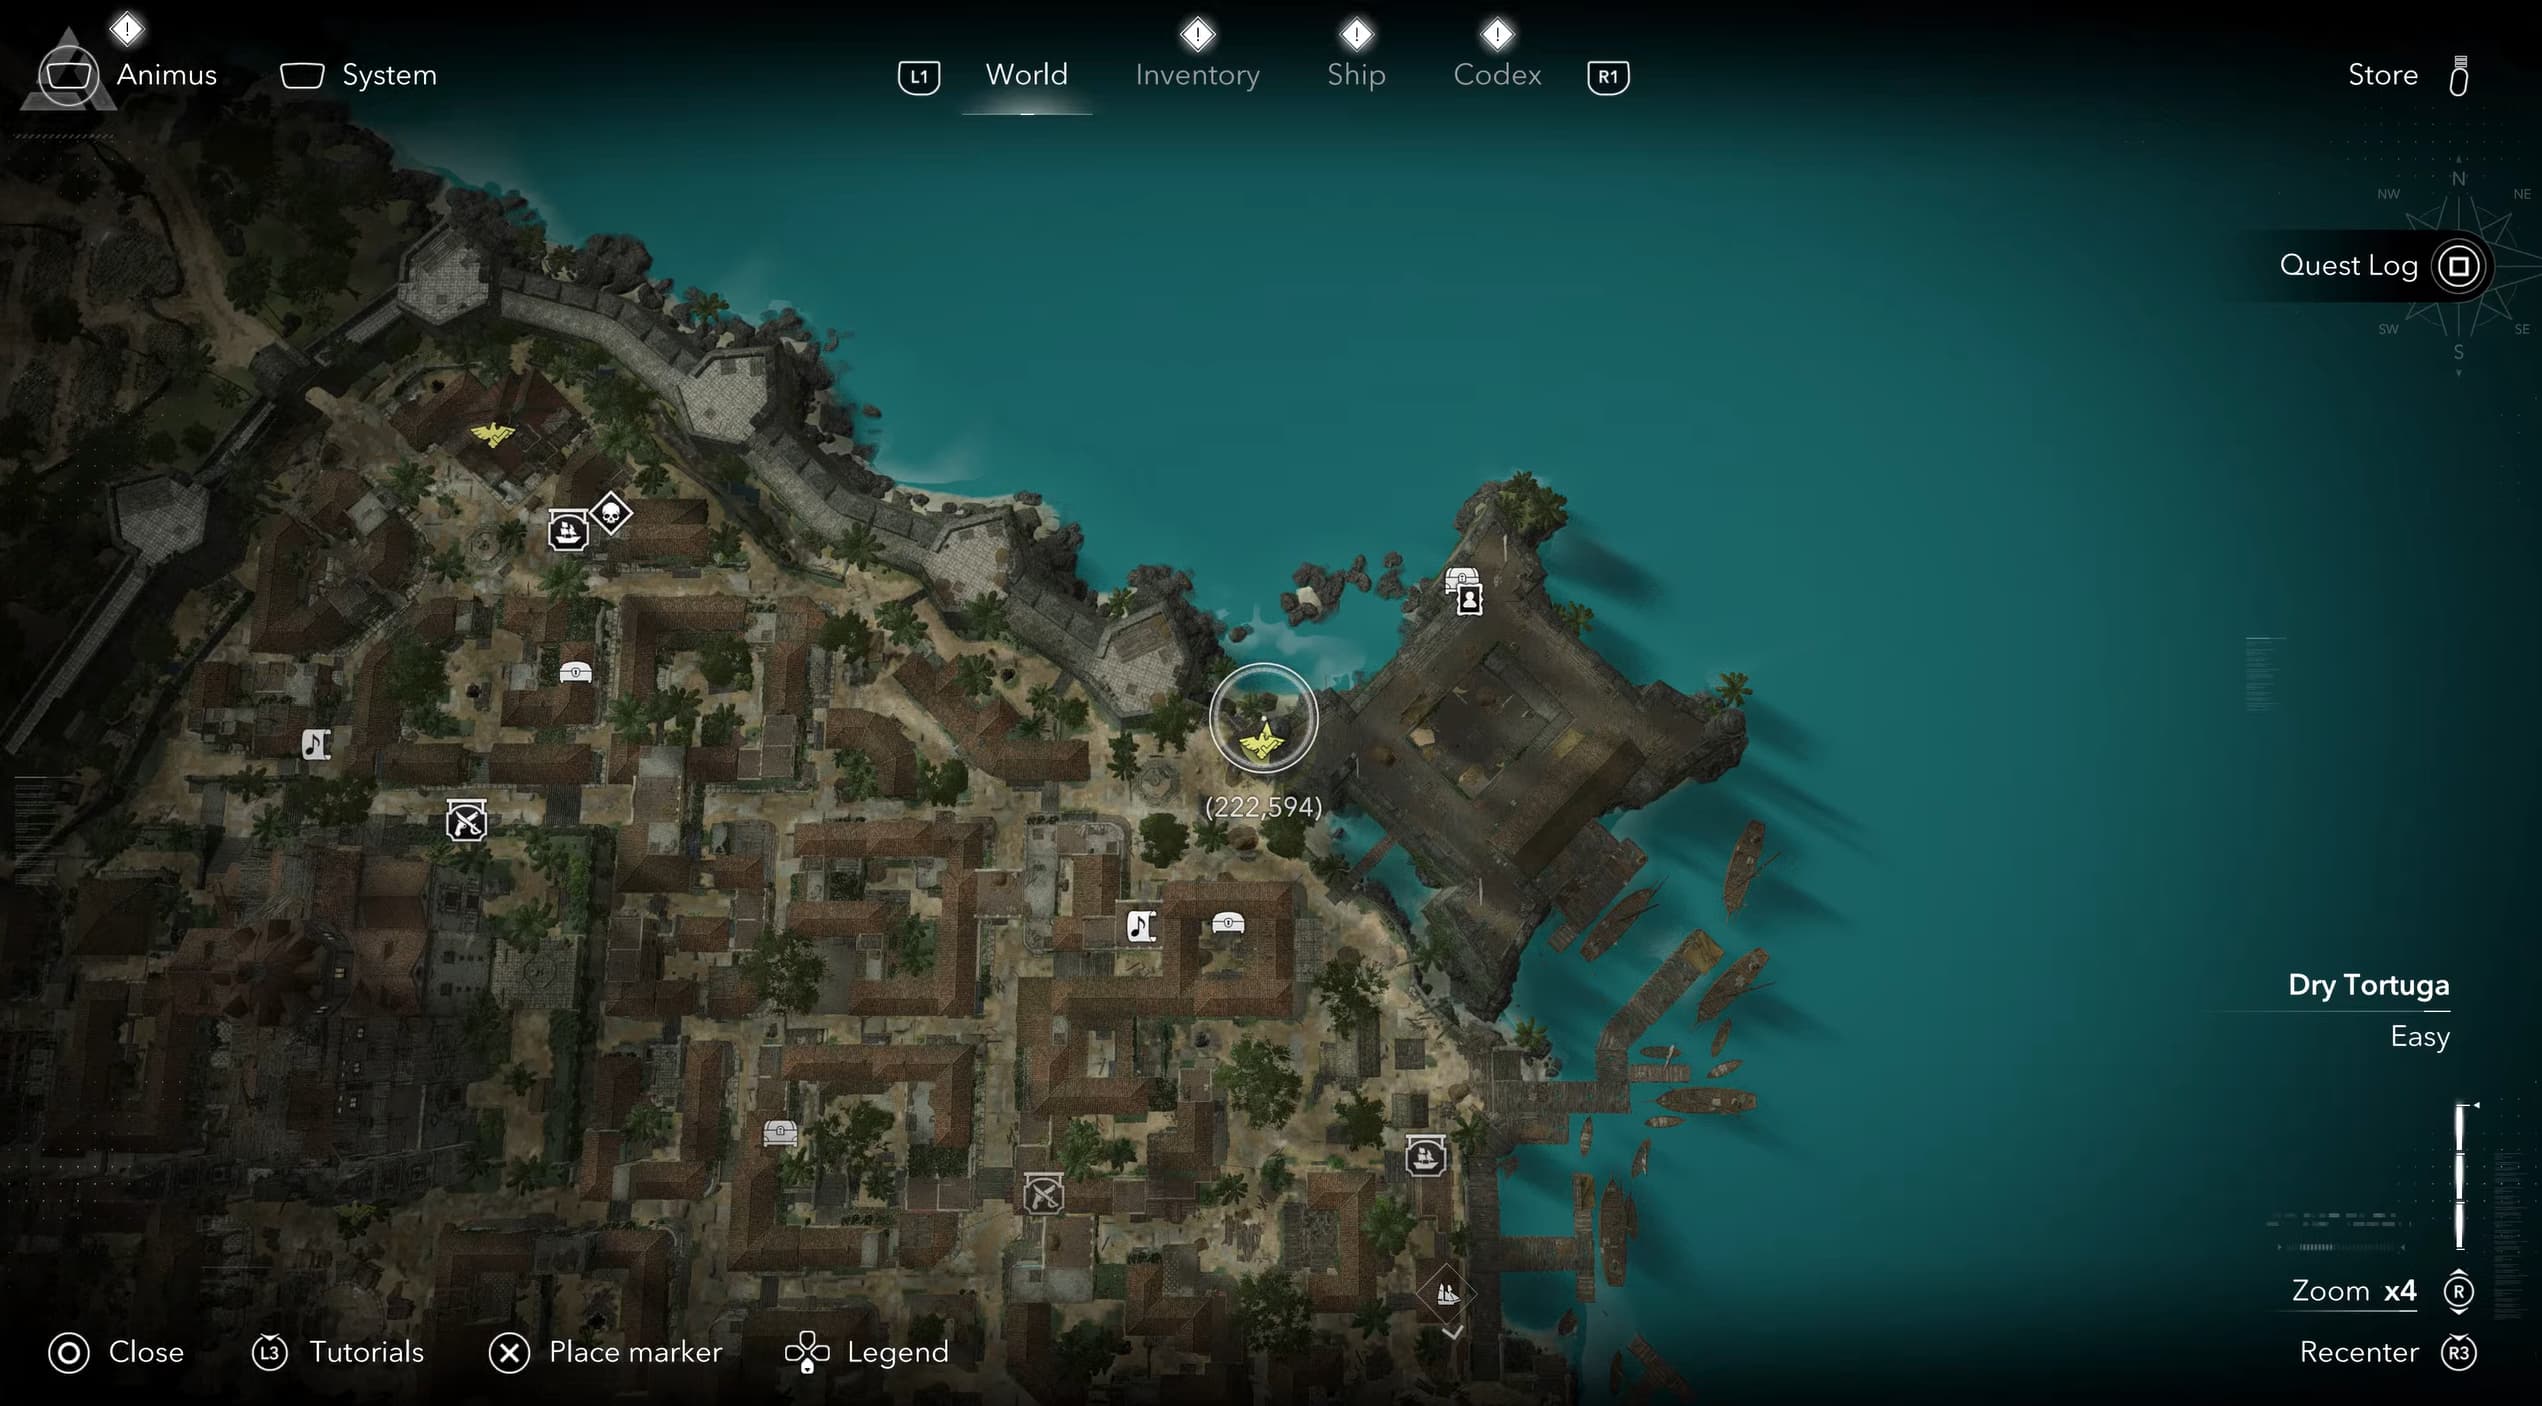
Fast travel to Havana, to the north east synchronization point, coordinates (222,594)
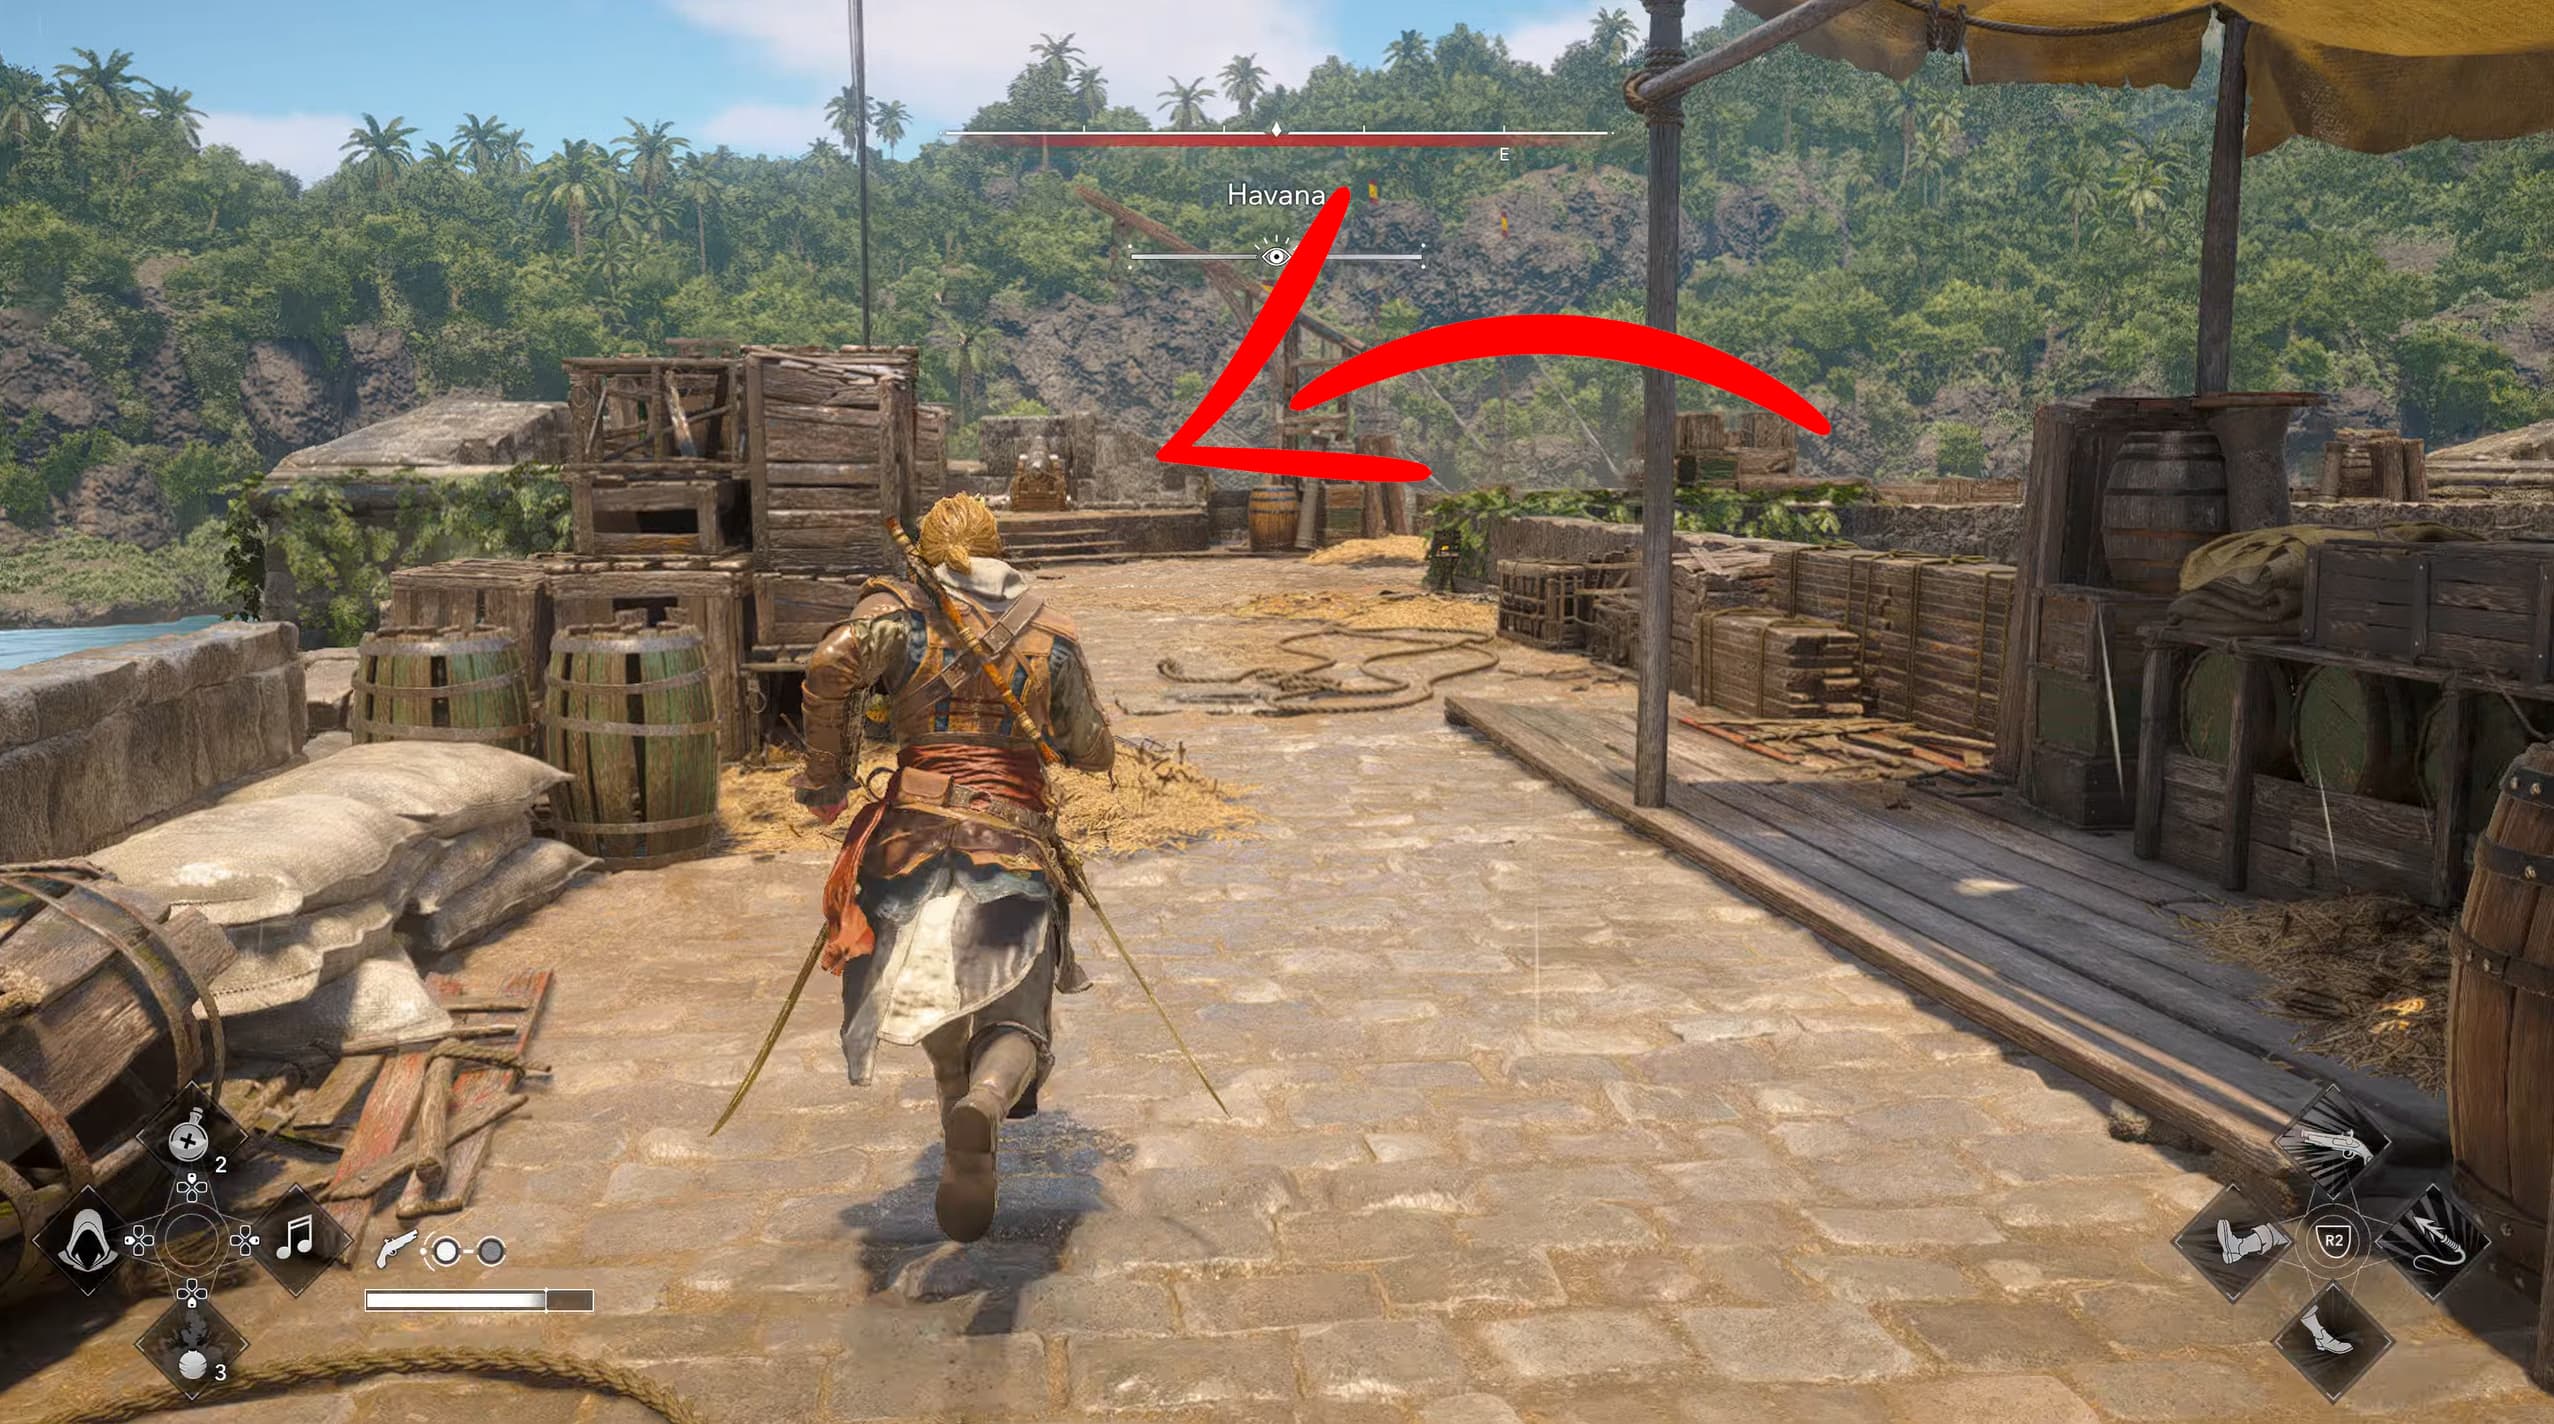
From the synchronization point, turn around and carefully drop onto the rooftop below, there may be enemies so be aware of this. Head to the back left corner of the roof until you reach the edge of the building.
Carefully lower down the wall. Do not fall or jump into the sea, as the walls cannot be climbed from the water and you will need to travel back around to get back up here.
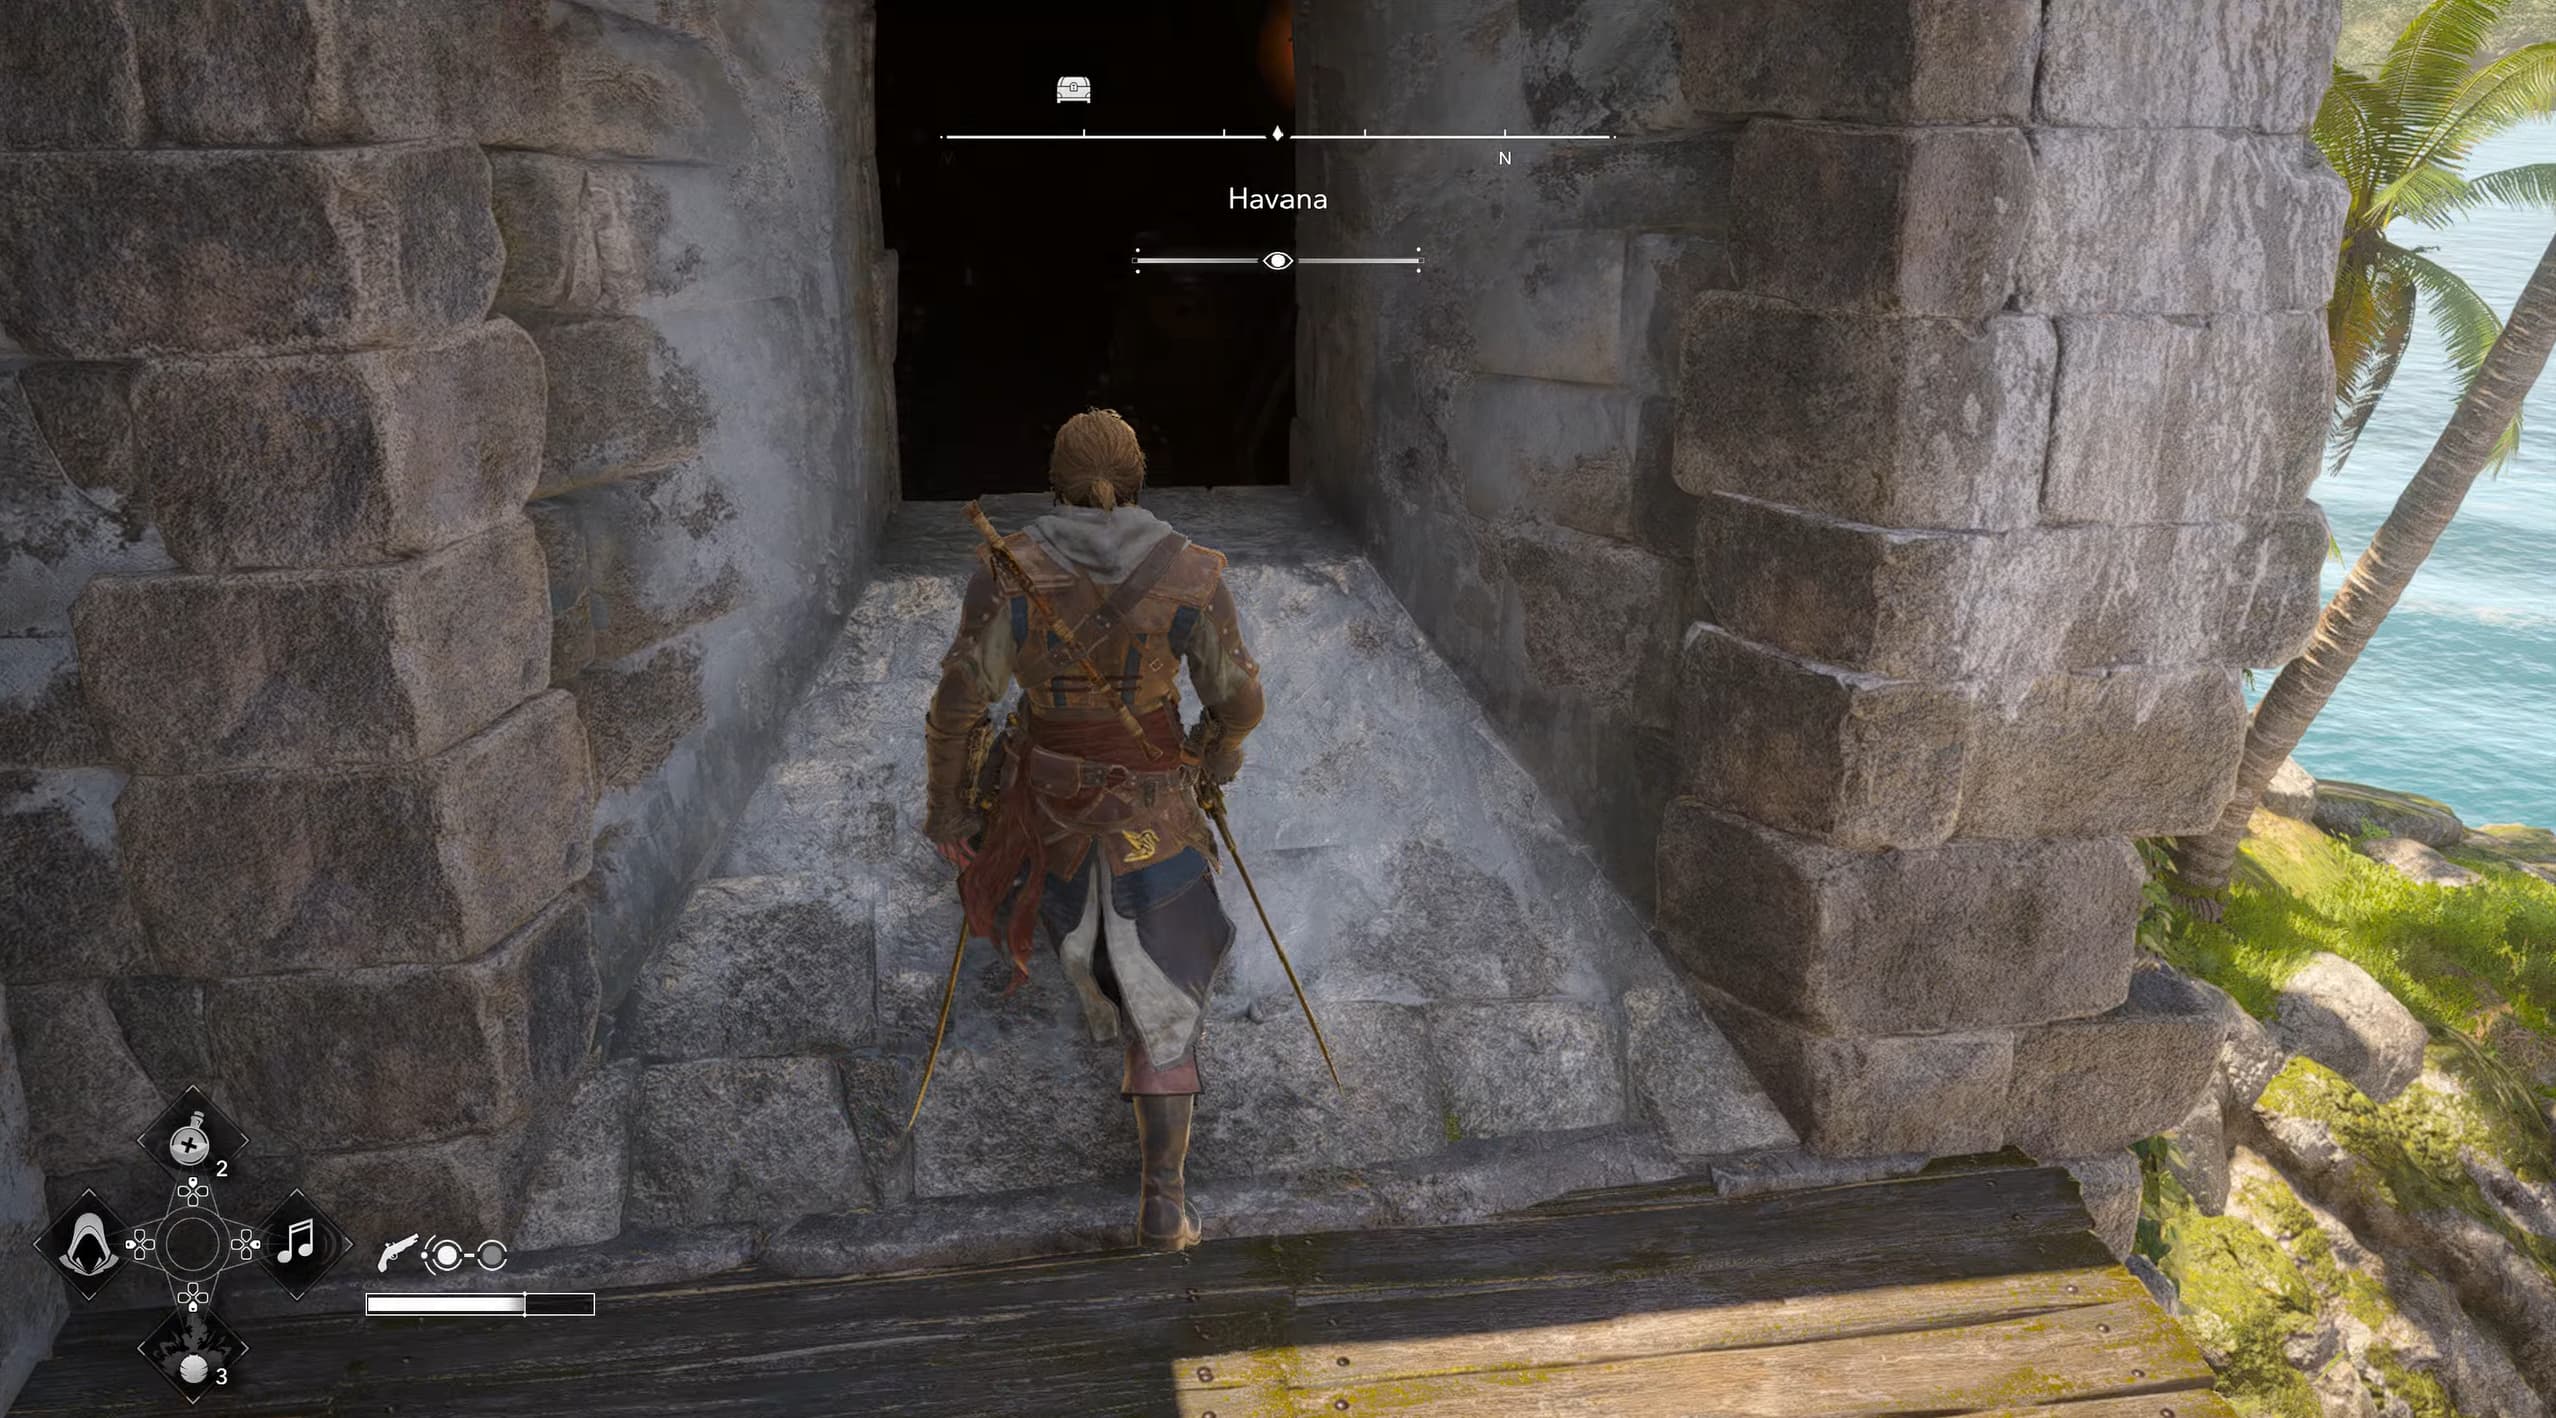
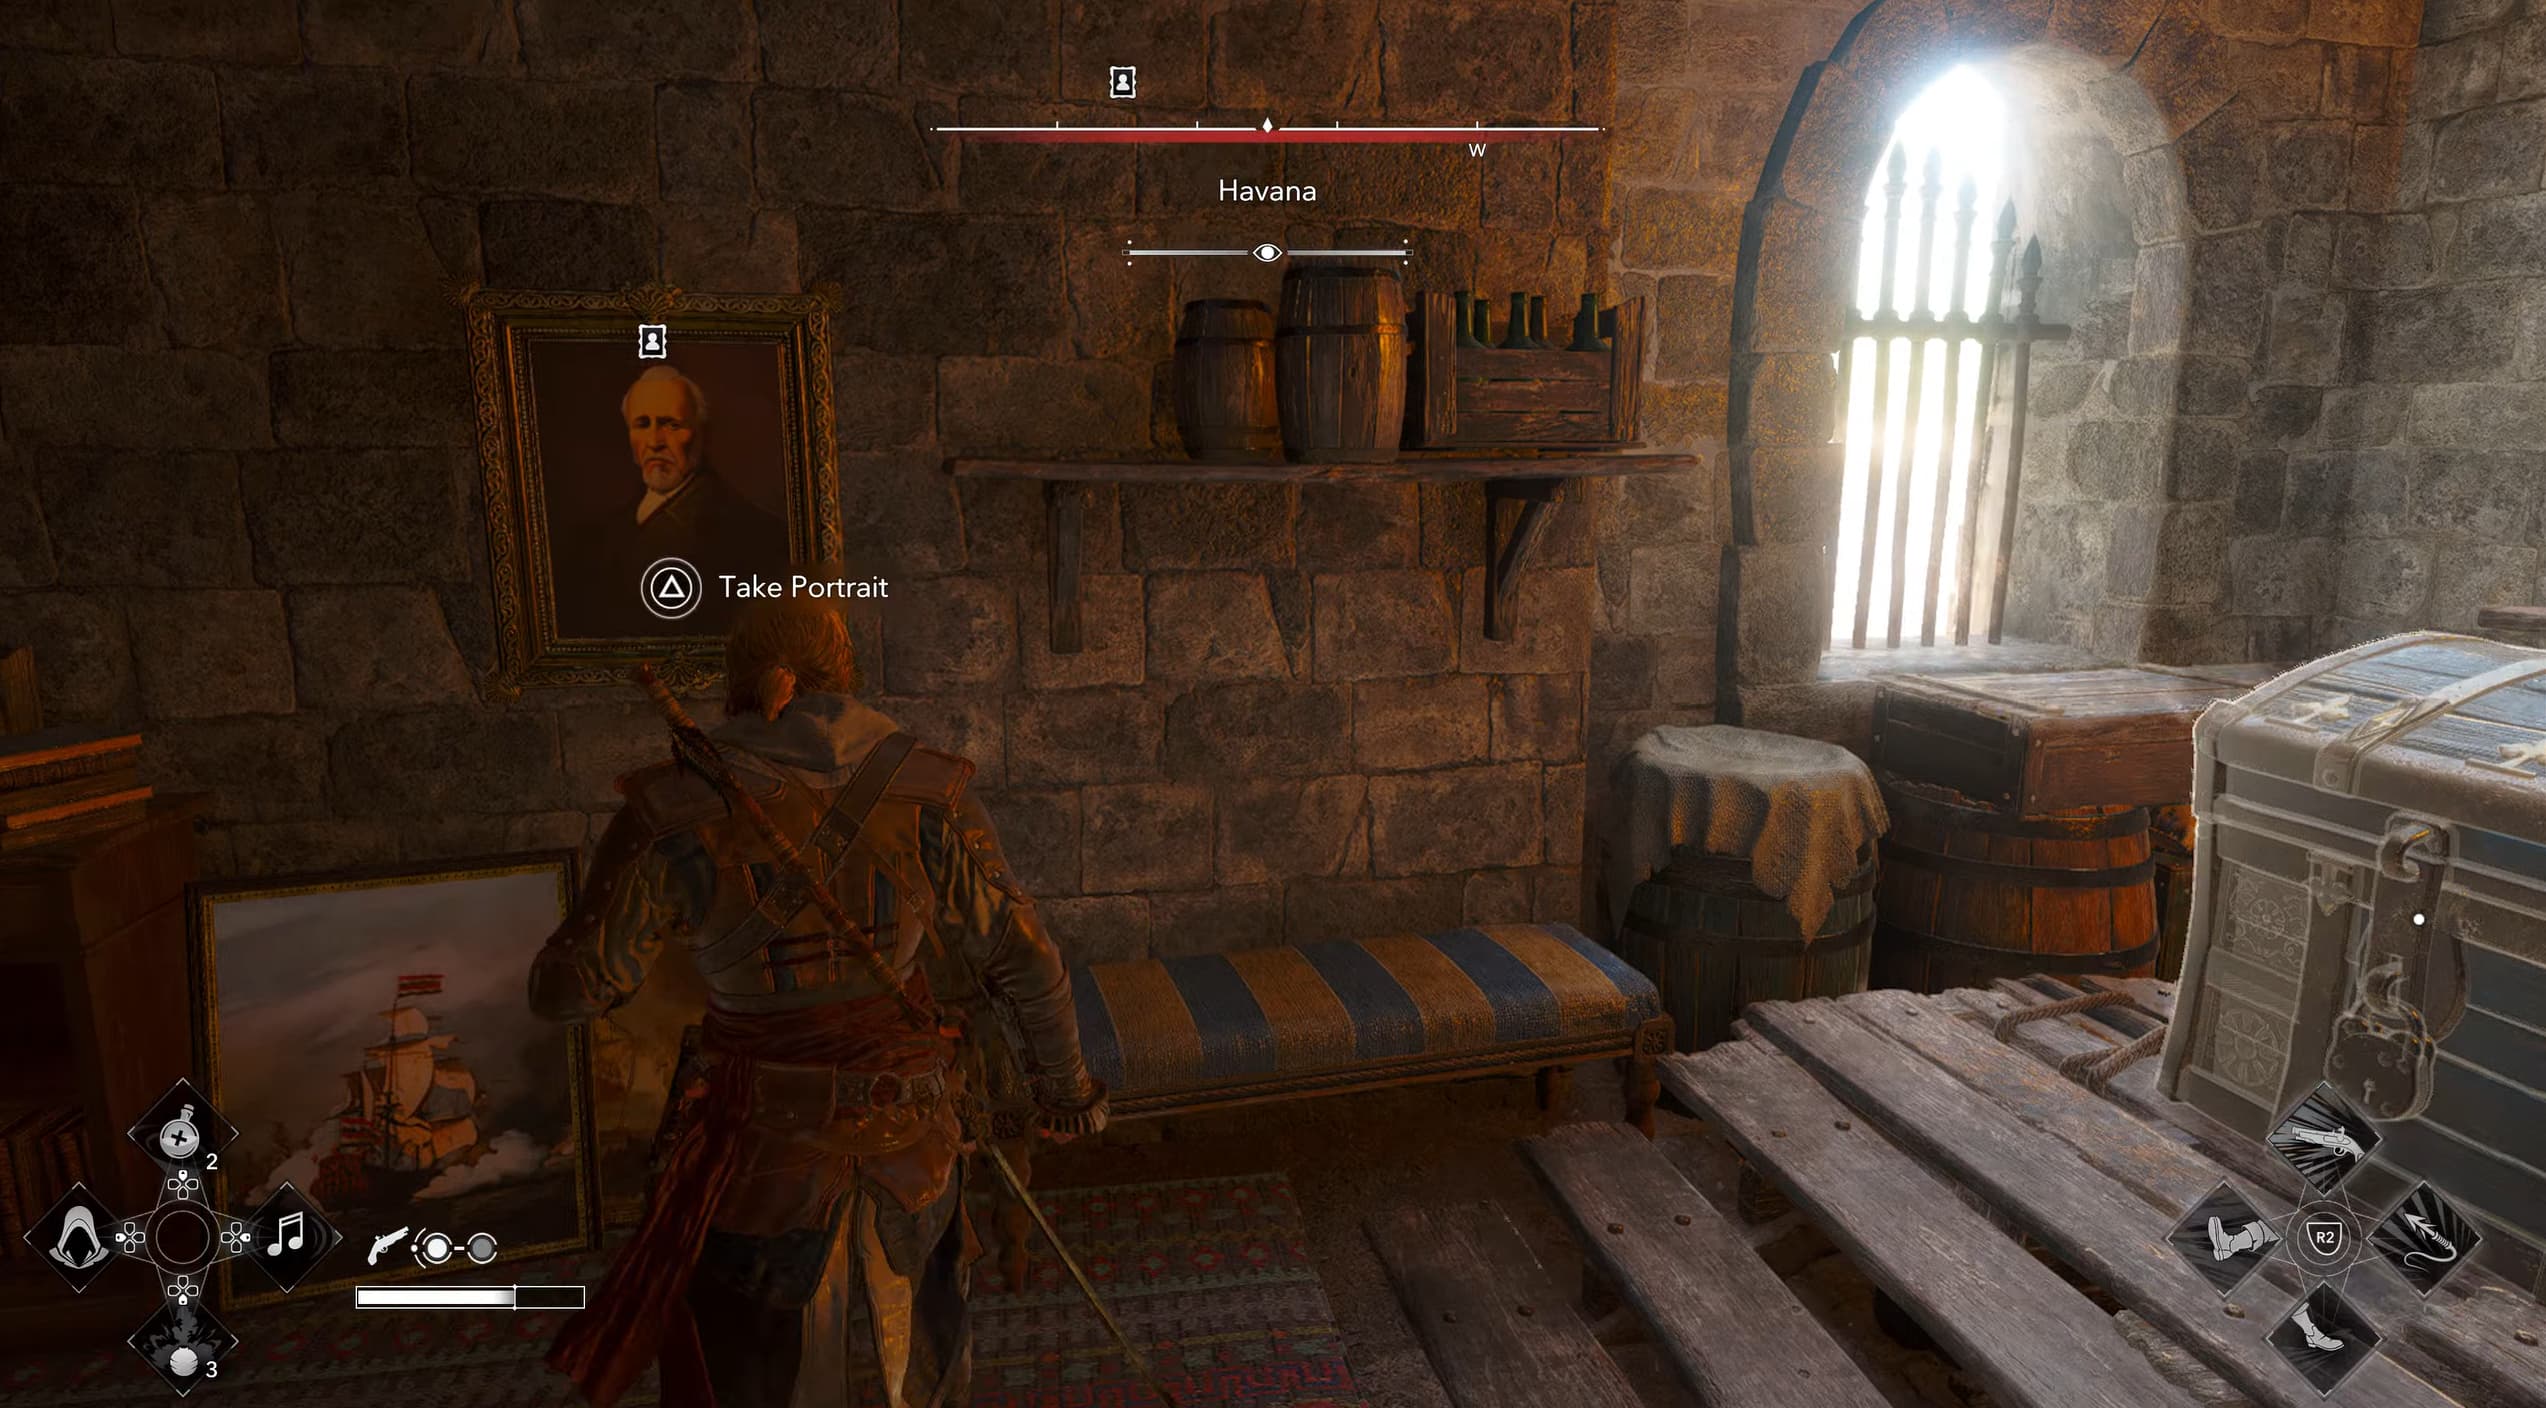
Drop down to the ledge below and enter through the open stone window and the portrait is hanging on the wall to the left.
Portrait 6 - El Tiburon Portrait - Havana
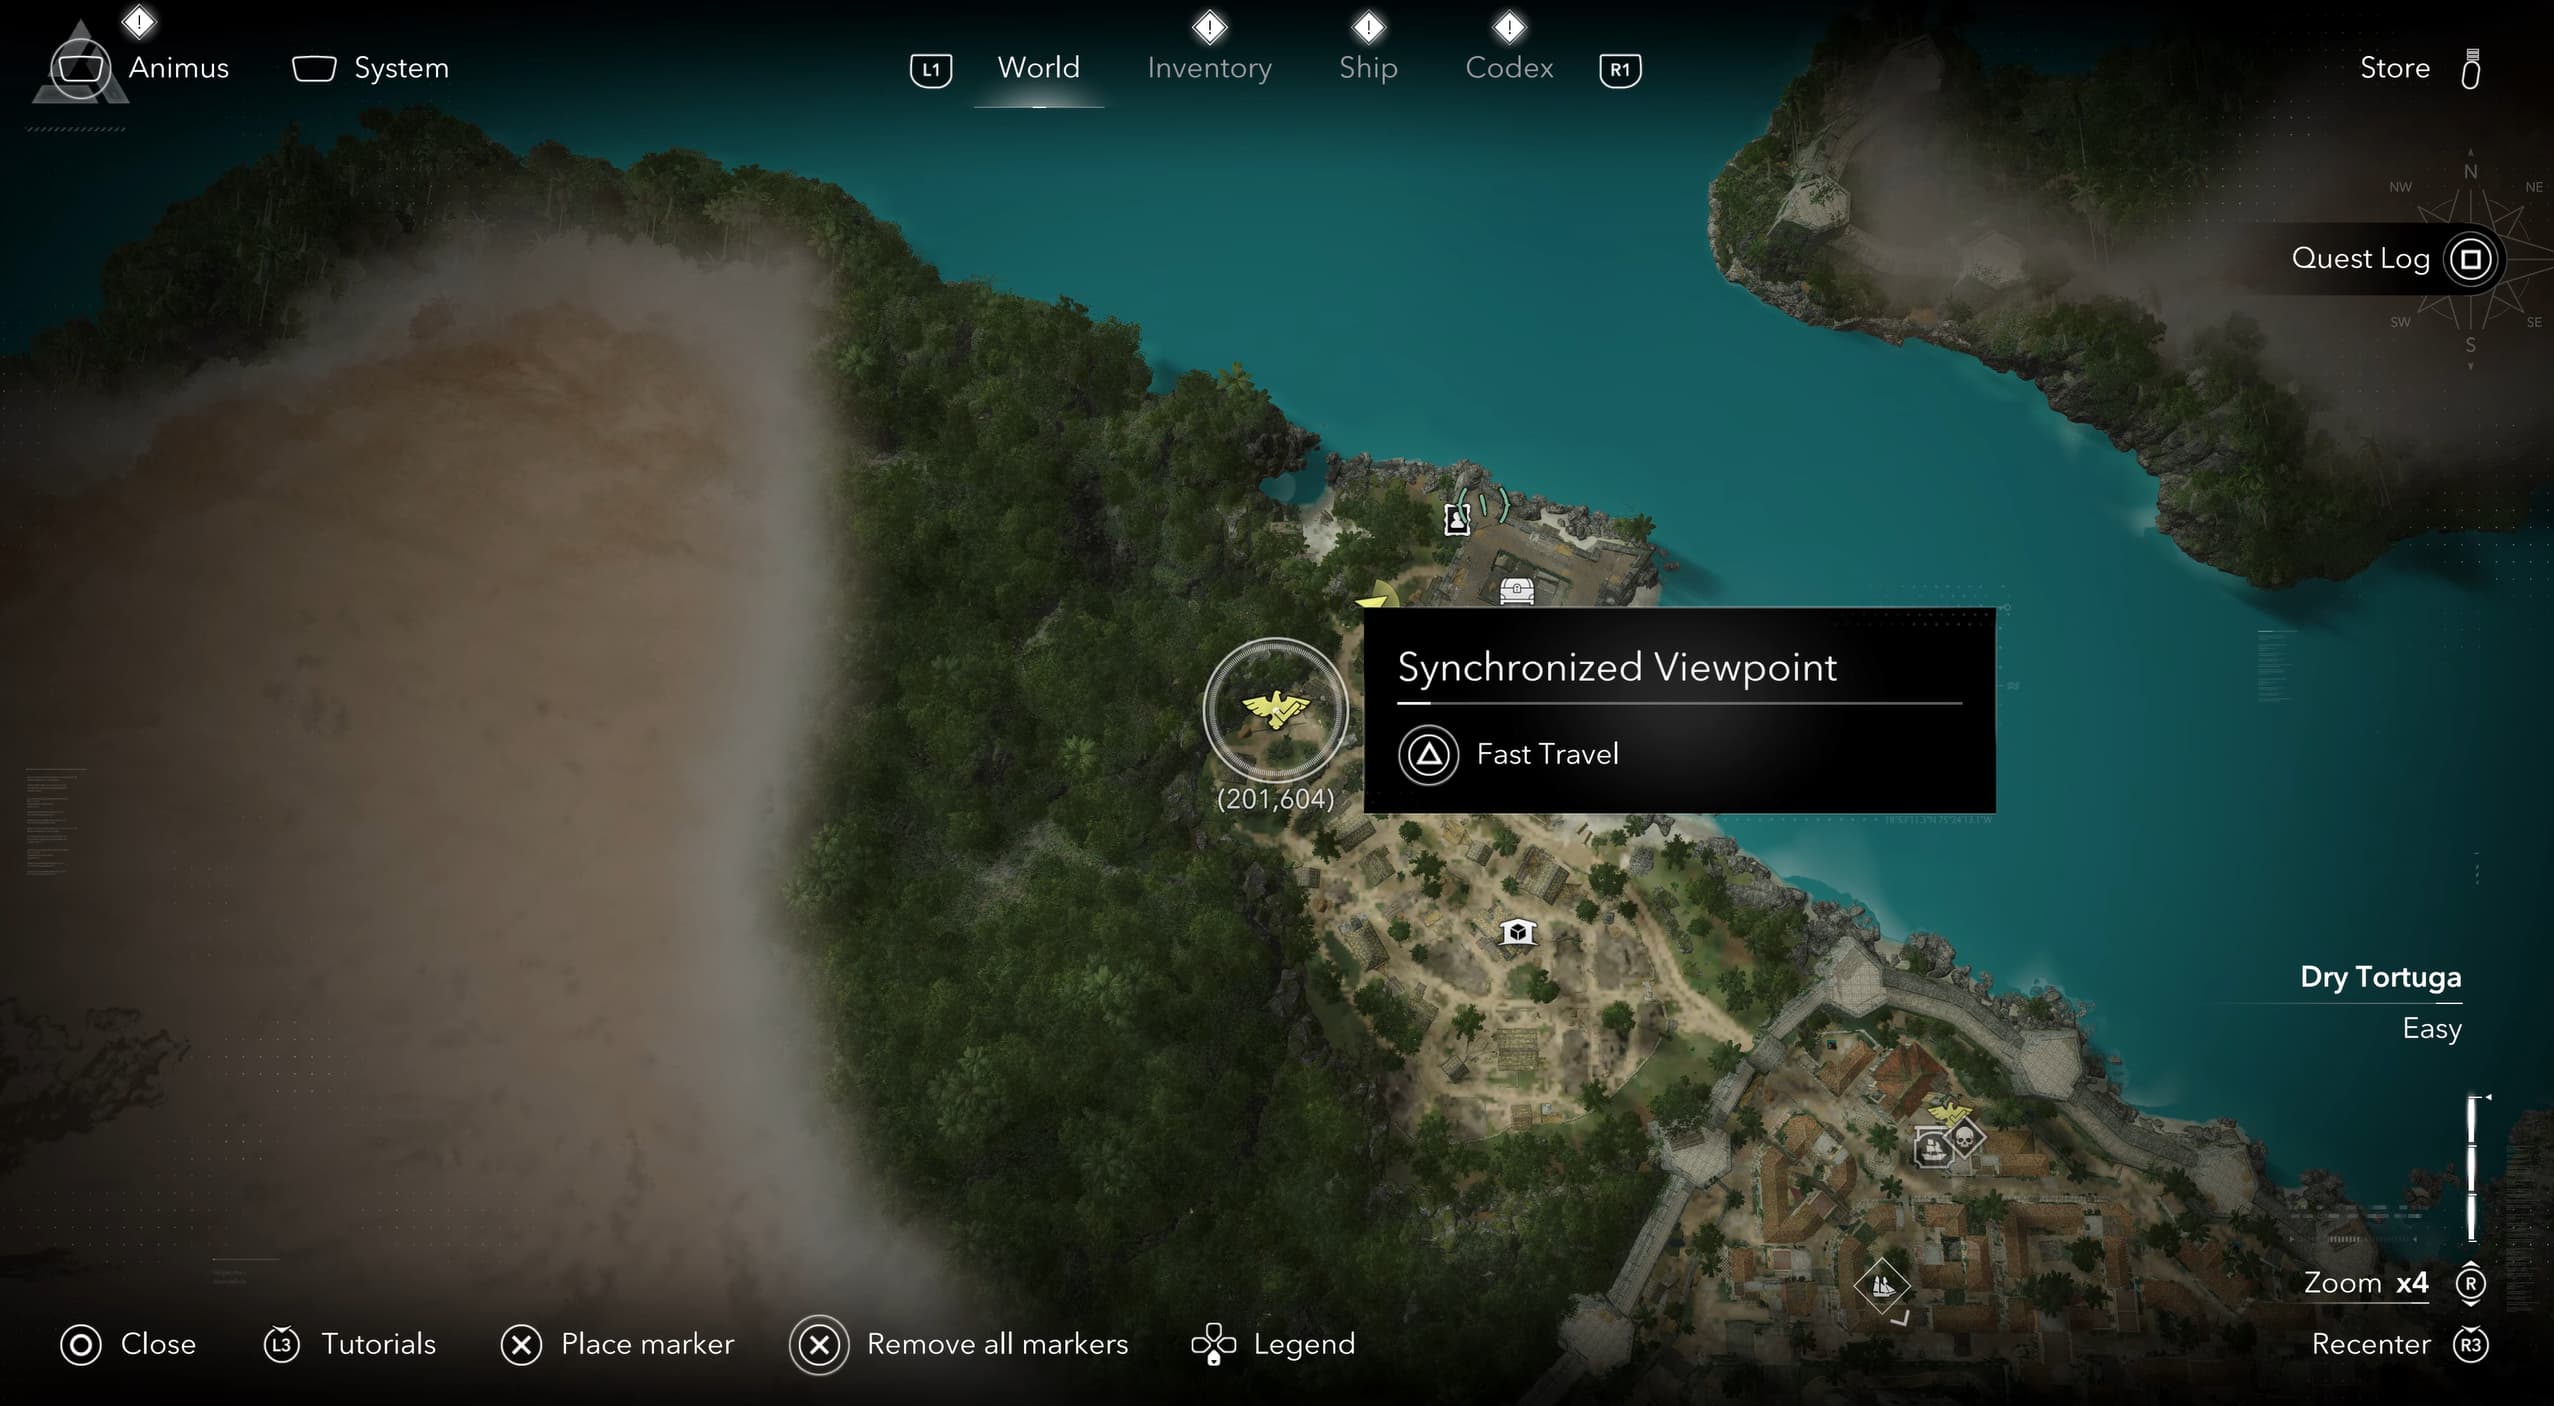
Remain in Havana and travel to the synchronization point towards the north of the island, coordinates (201,604)
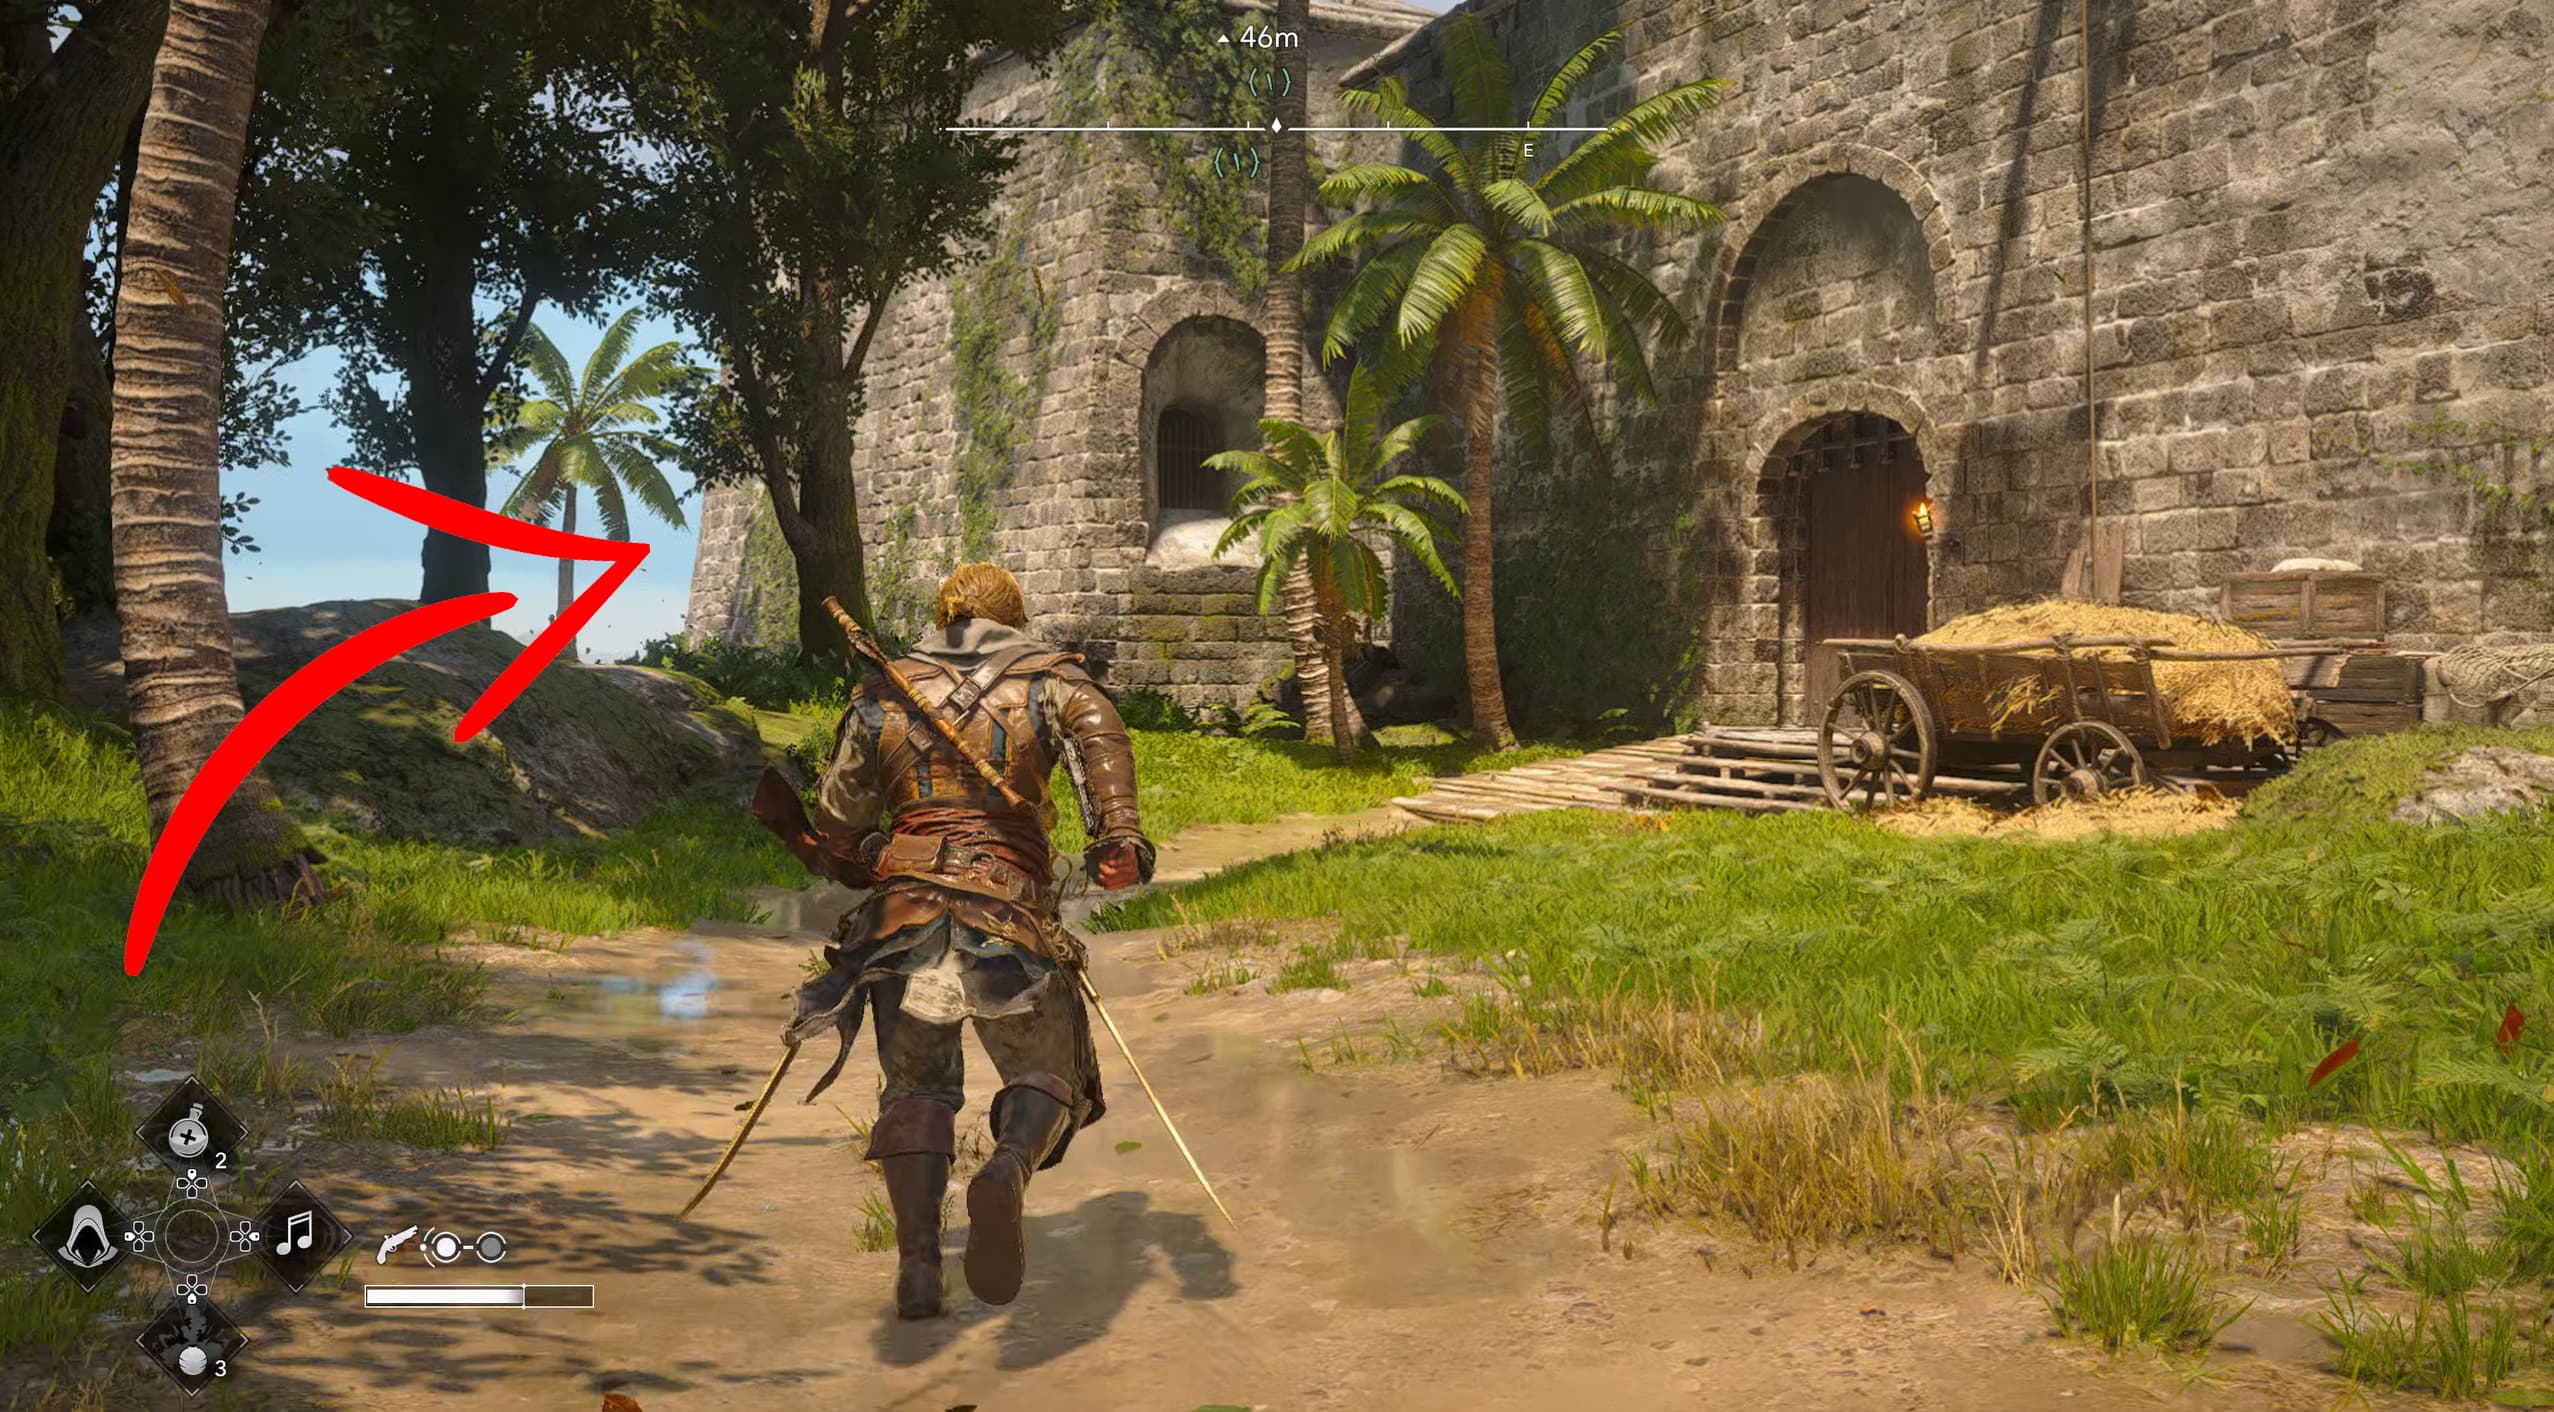
Making your way towards the portrait marker and head around the stone building to the right of you, heading towards the sea, jumping the rocks around to the right behind the building.
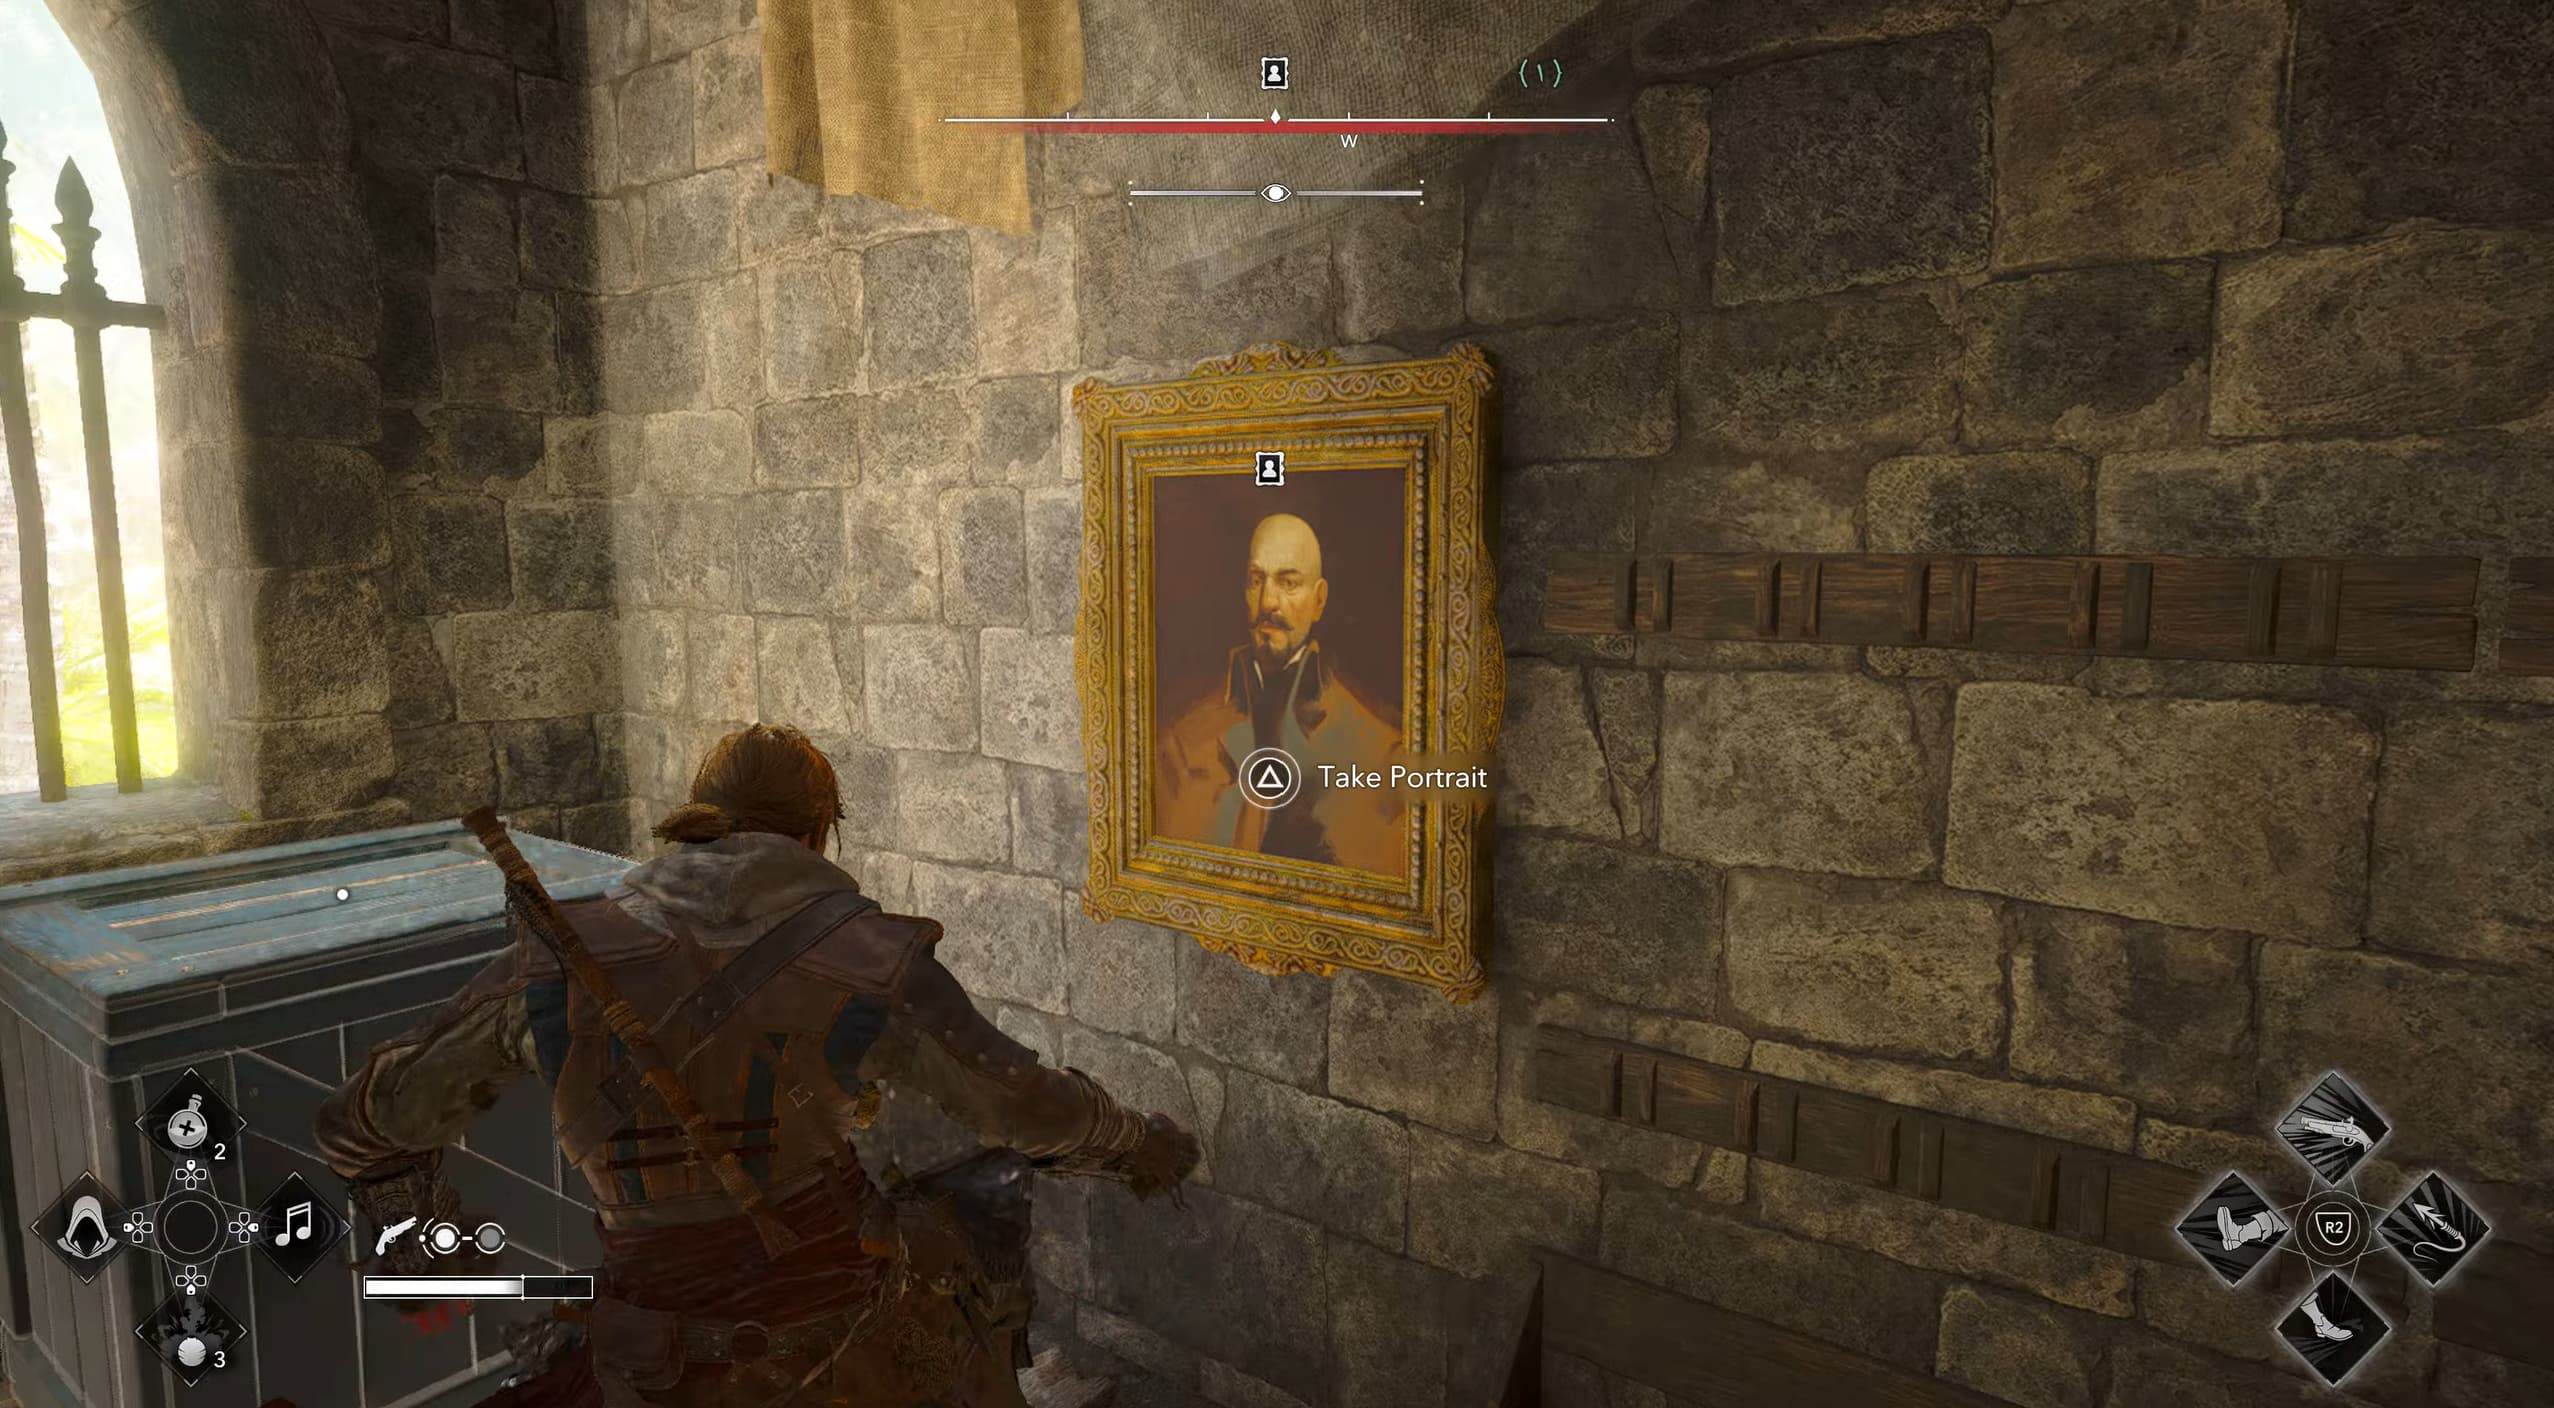
Once you reach the wooden platforms, climb up, keeping to the right, to see the stone window (the entry looks very similar to the last portrait collection). Enter through the stone window and head to the back corner of the room to find the portrait on the wall.
Portrait 7 - Bartholomew Roberts Portrait - Principe
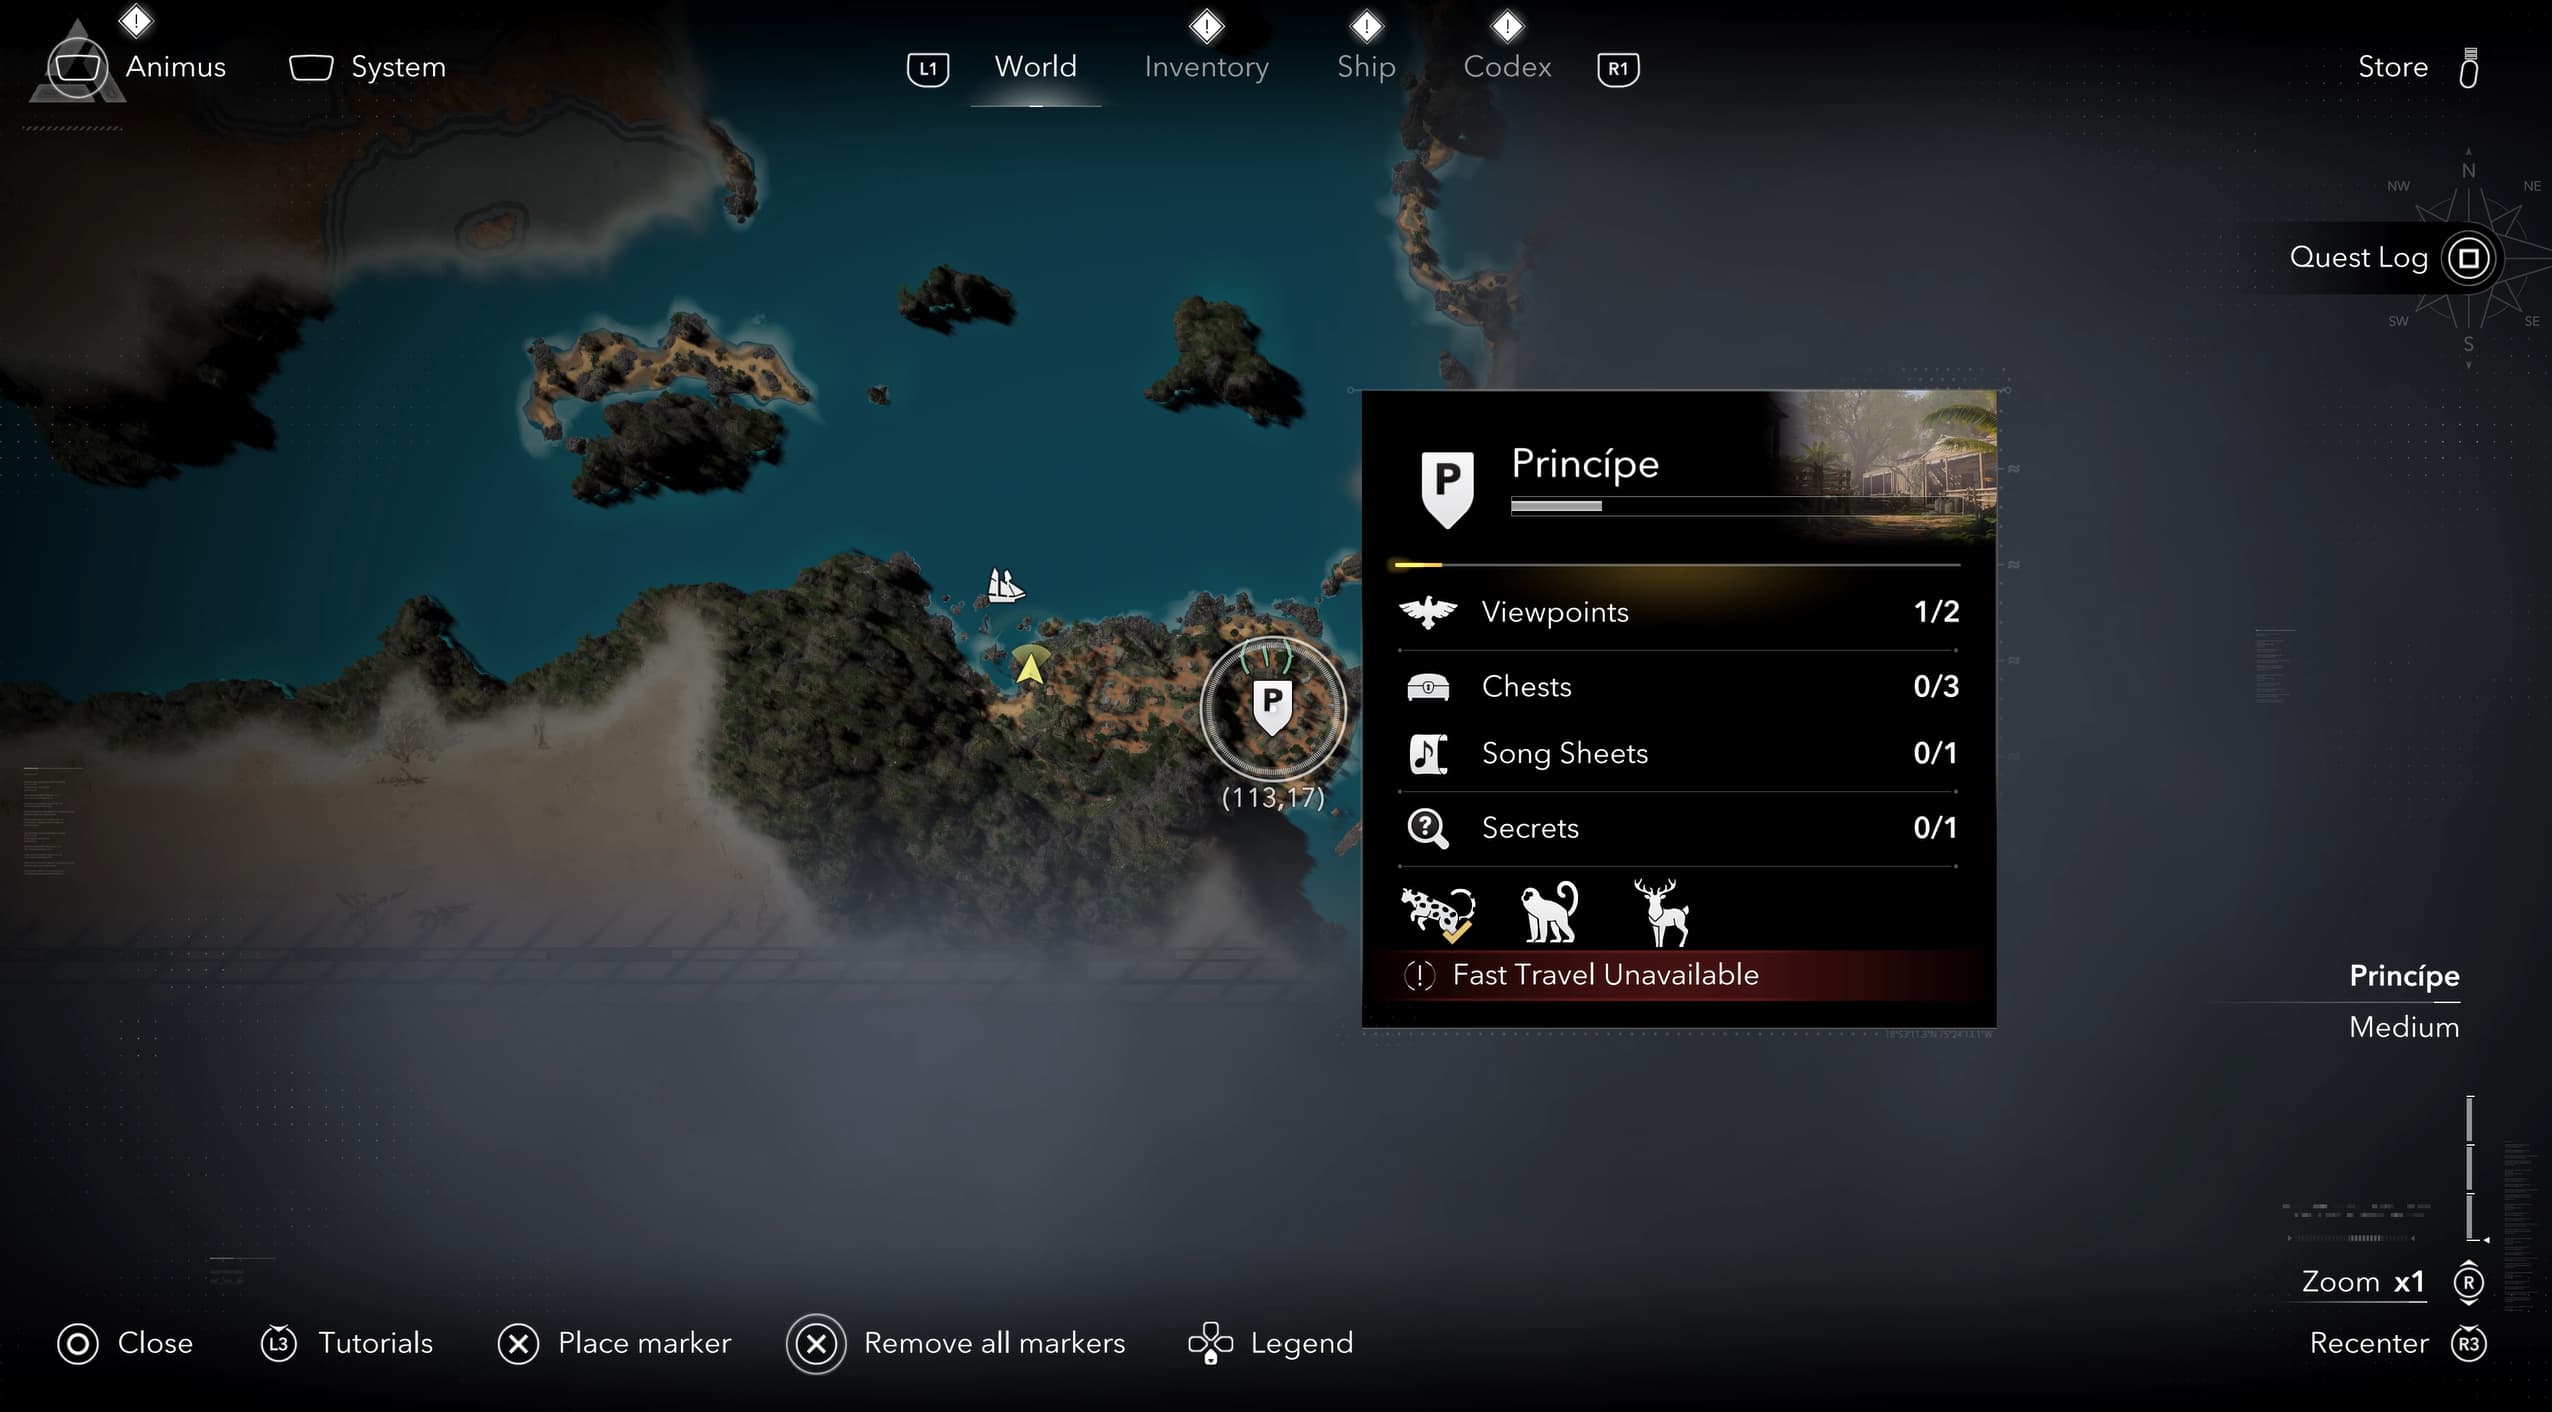
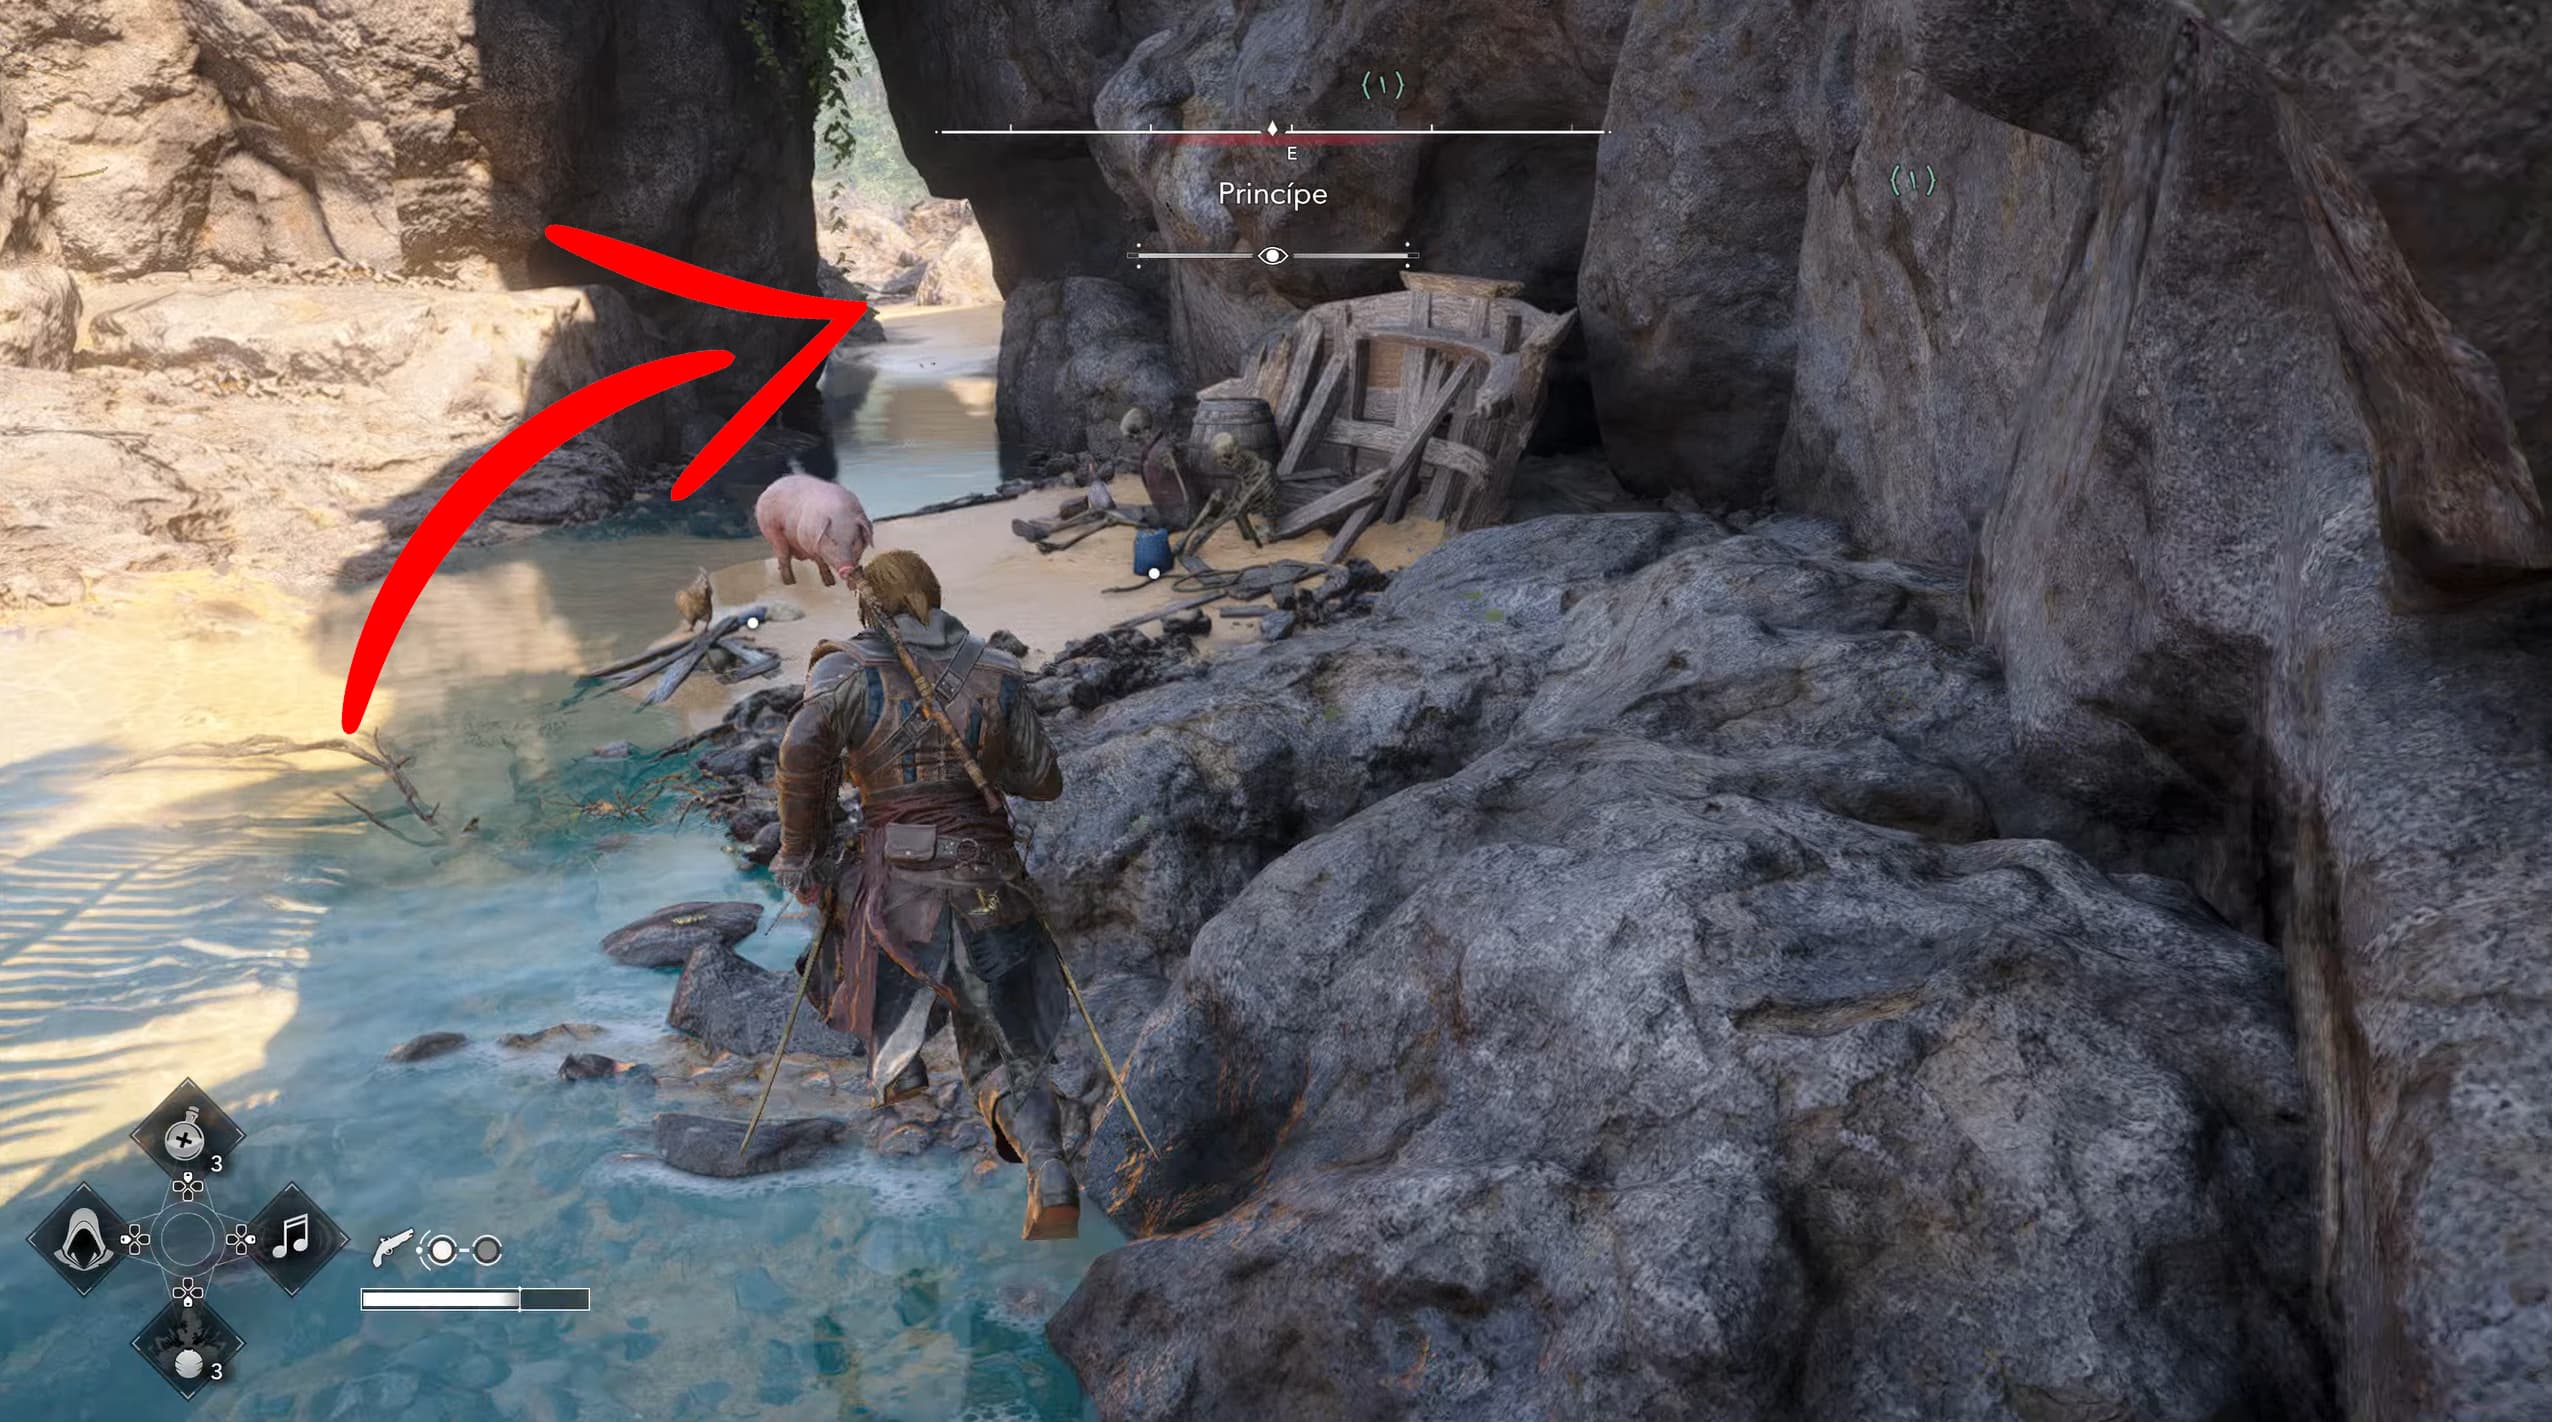
Travel to Principe coordinates (113,17) and head towards the north west beach.
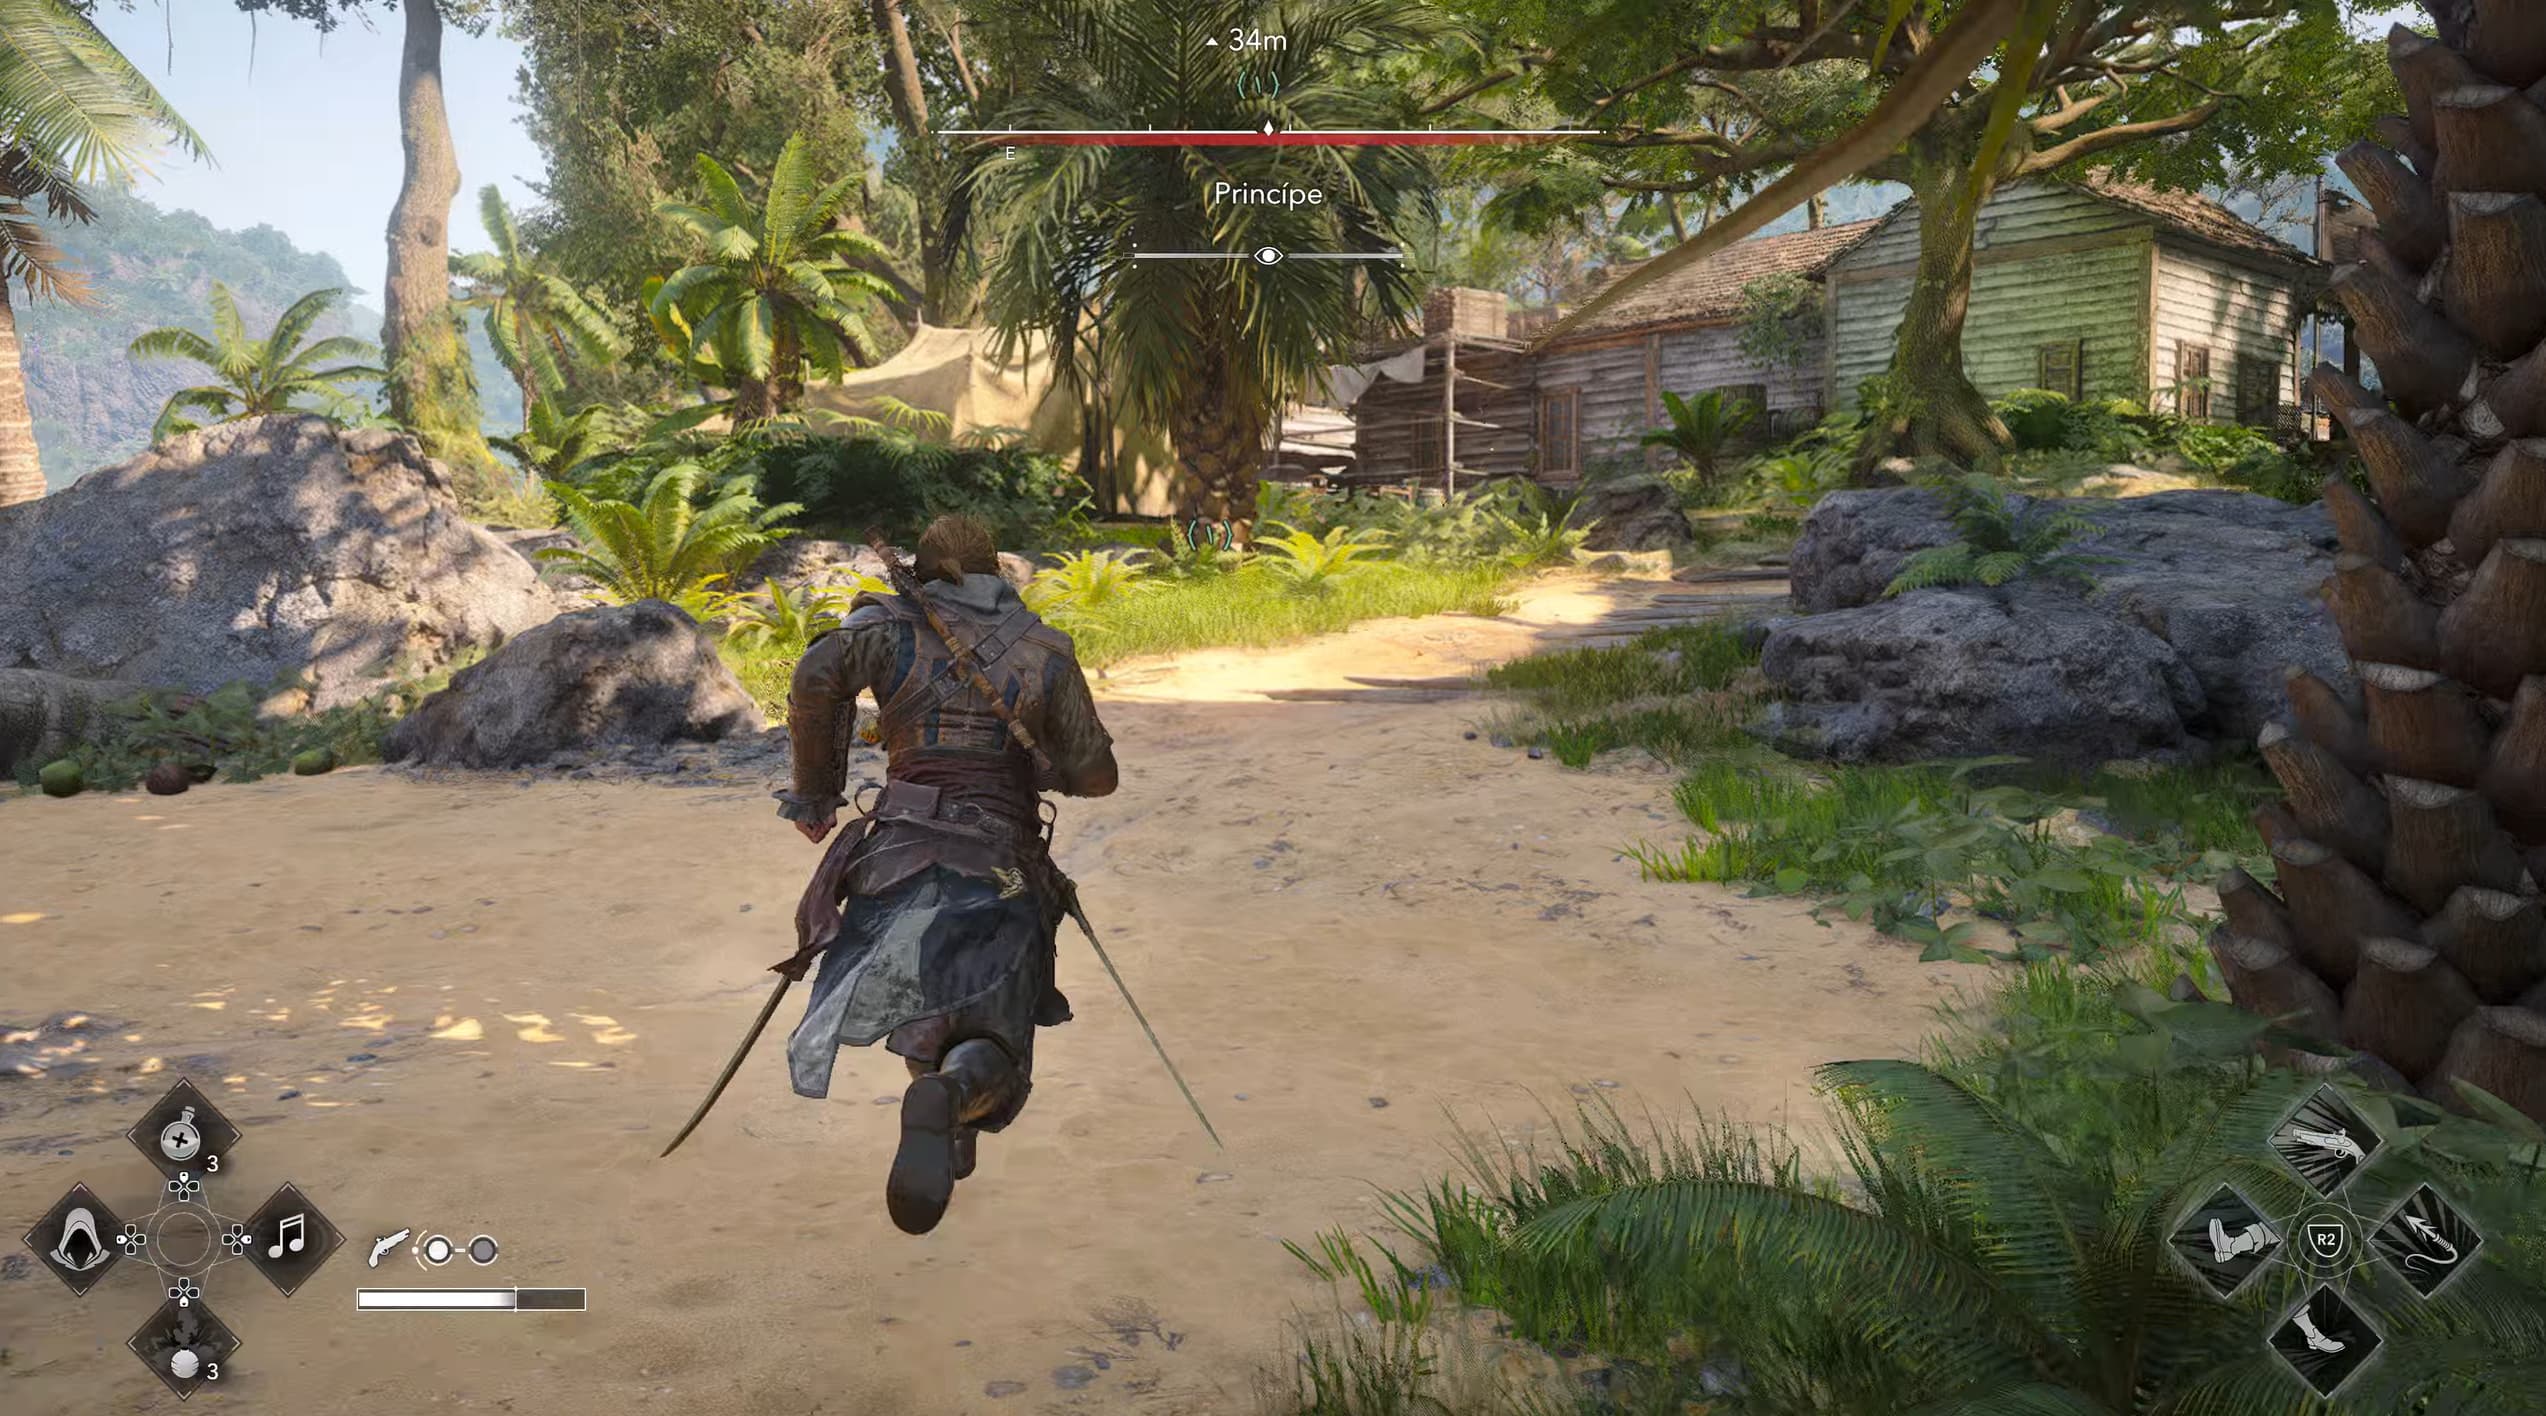
From here, follow the coastline around to the right, jumping the rocks and through the shallow sea until you approach the enemy camp.
Approaching from the coastline makes this portrait much easier to collect, since we're entering in from the back, and directly where the portrait is located.
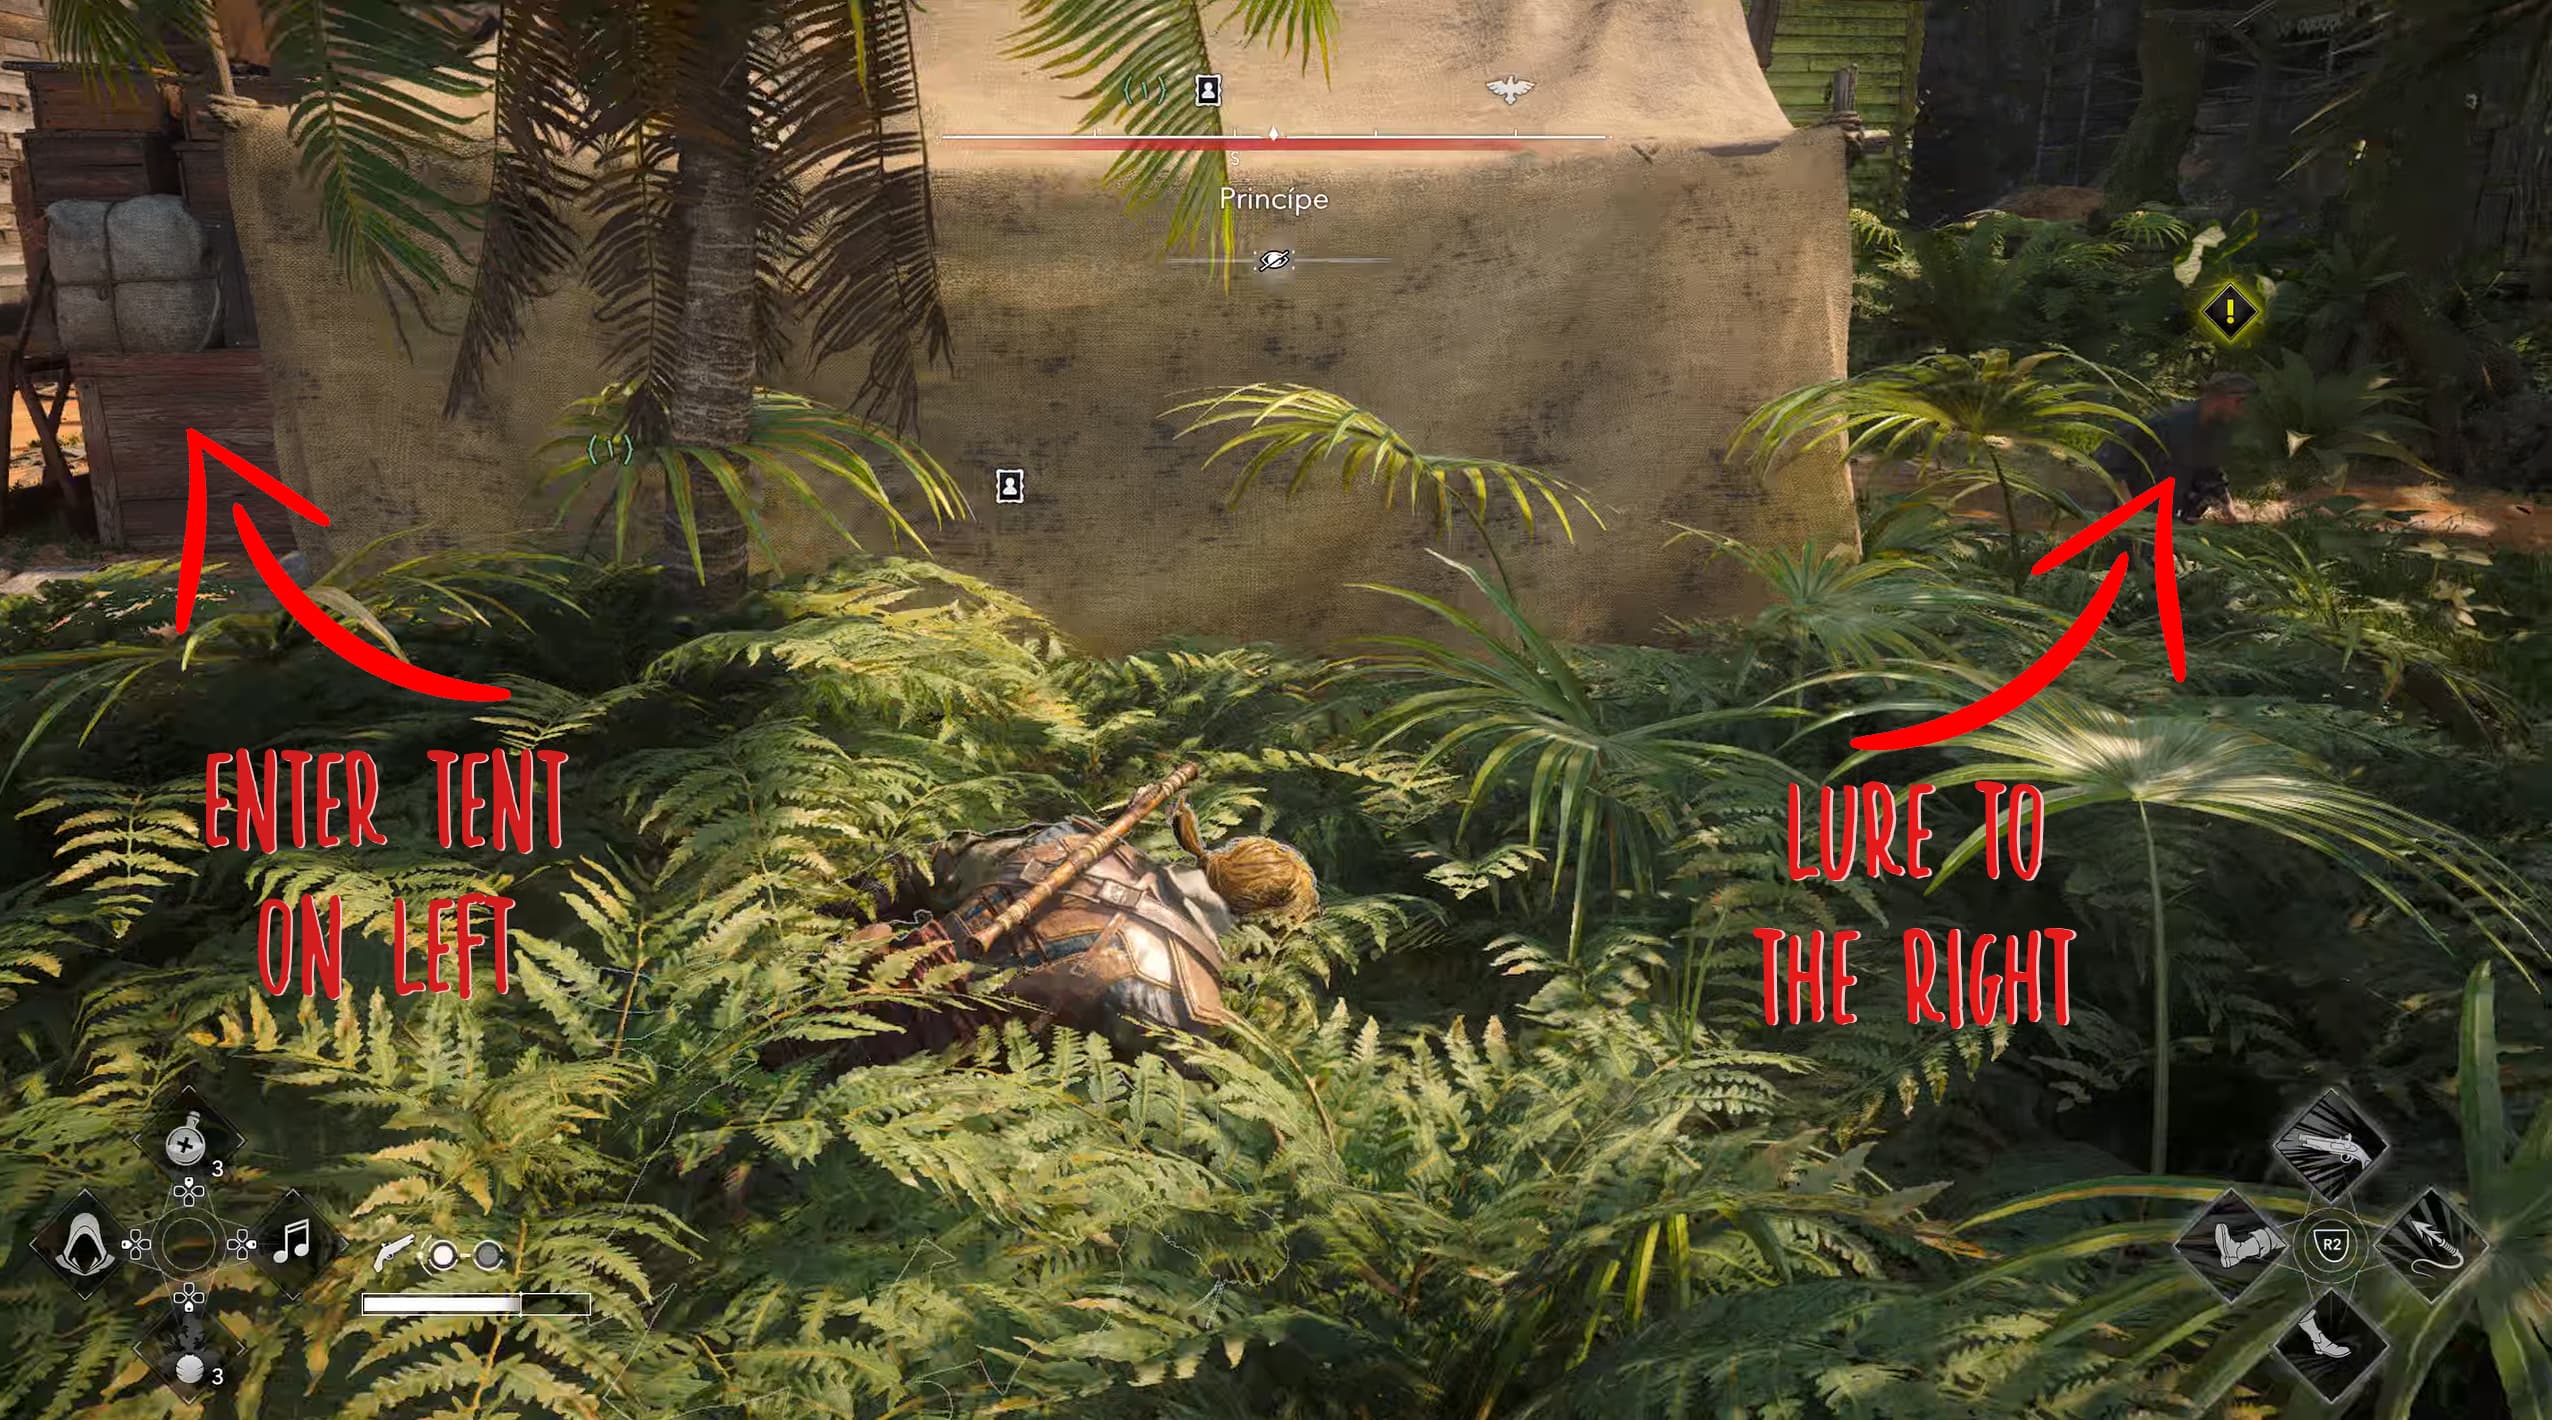
Once you come across a cream coloured tent, hide in the bushes just near the tent and lure the enemies by whistling, to the right of the tent, away from the entrance which is around to the left (when approaching from the back like this).
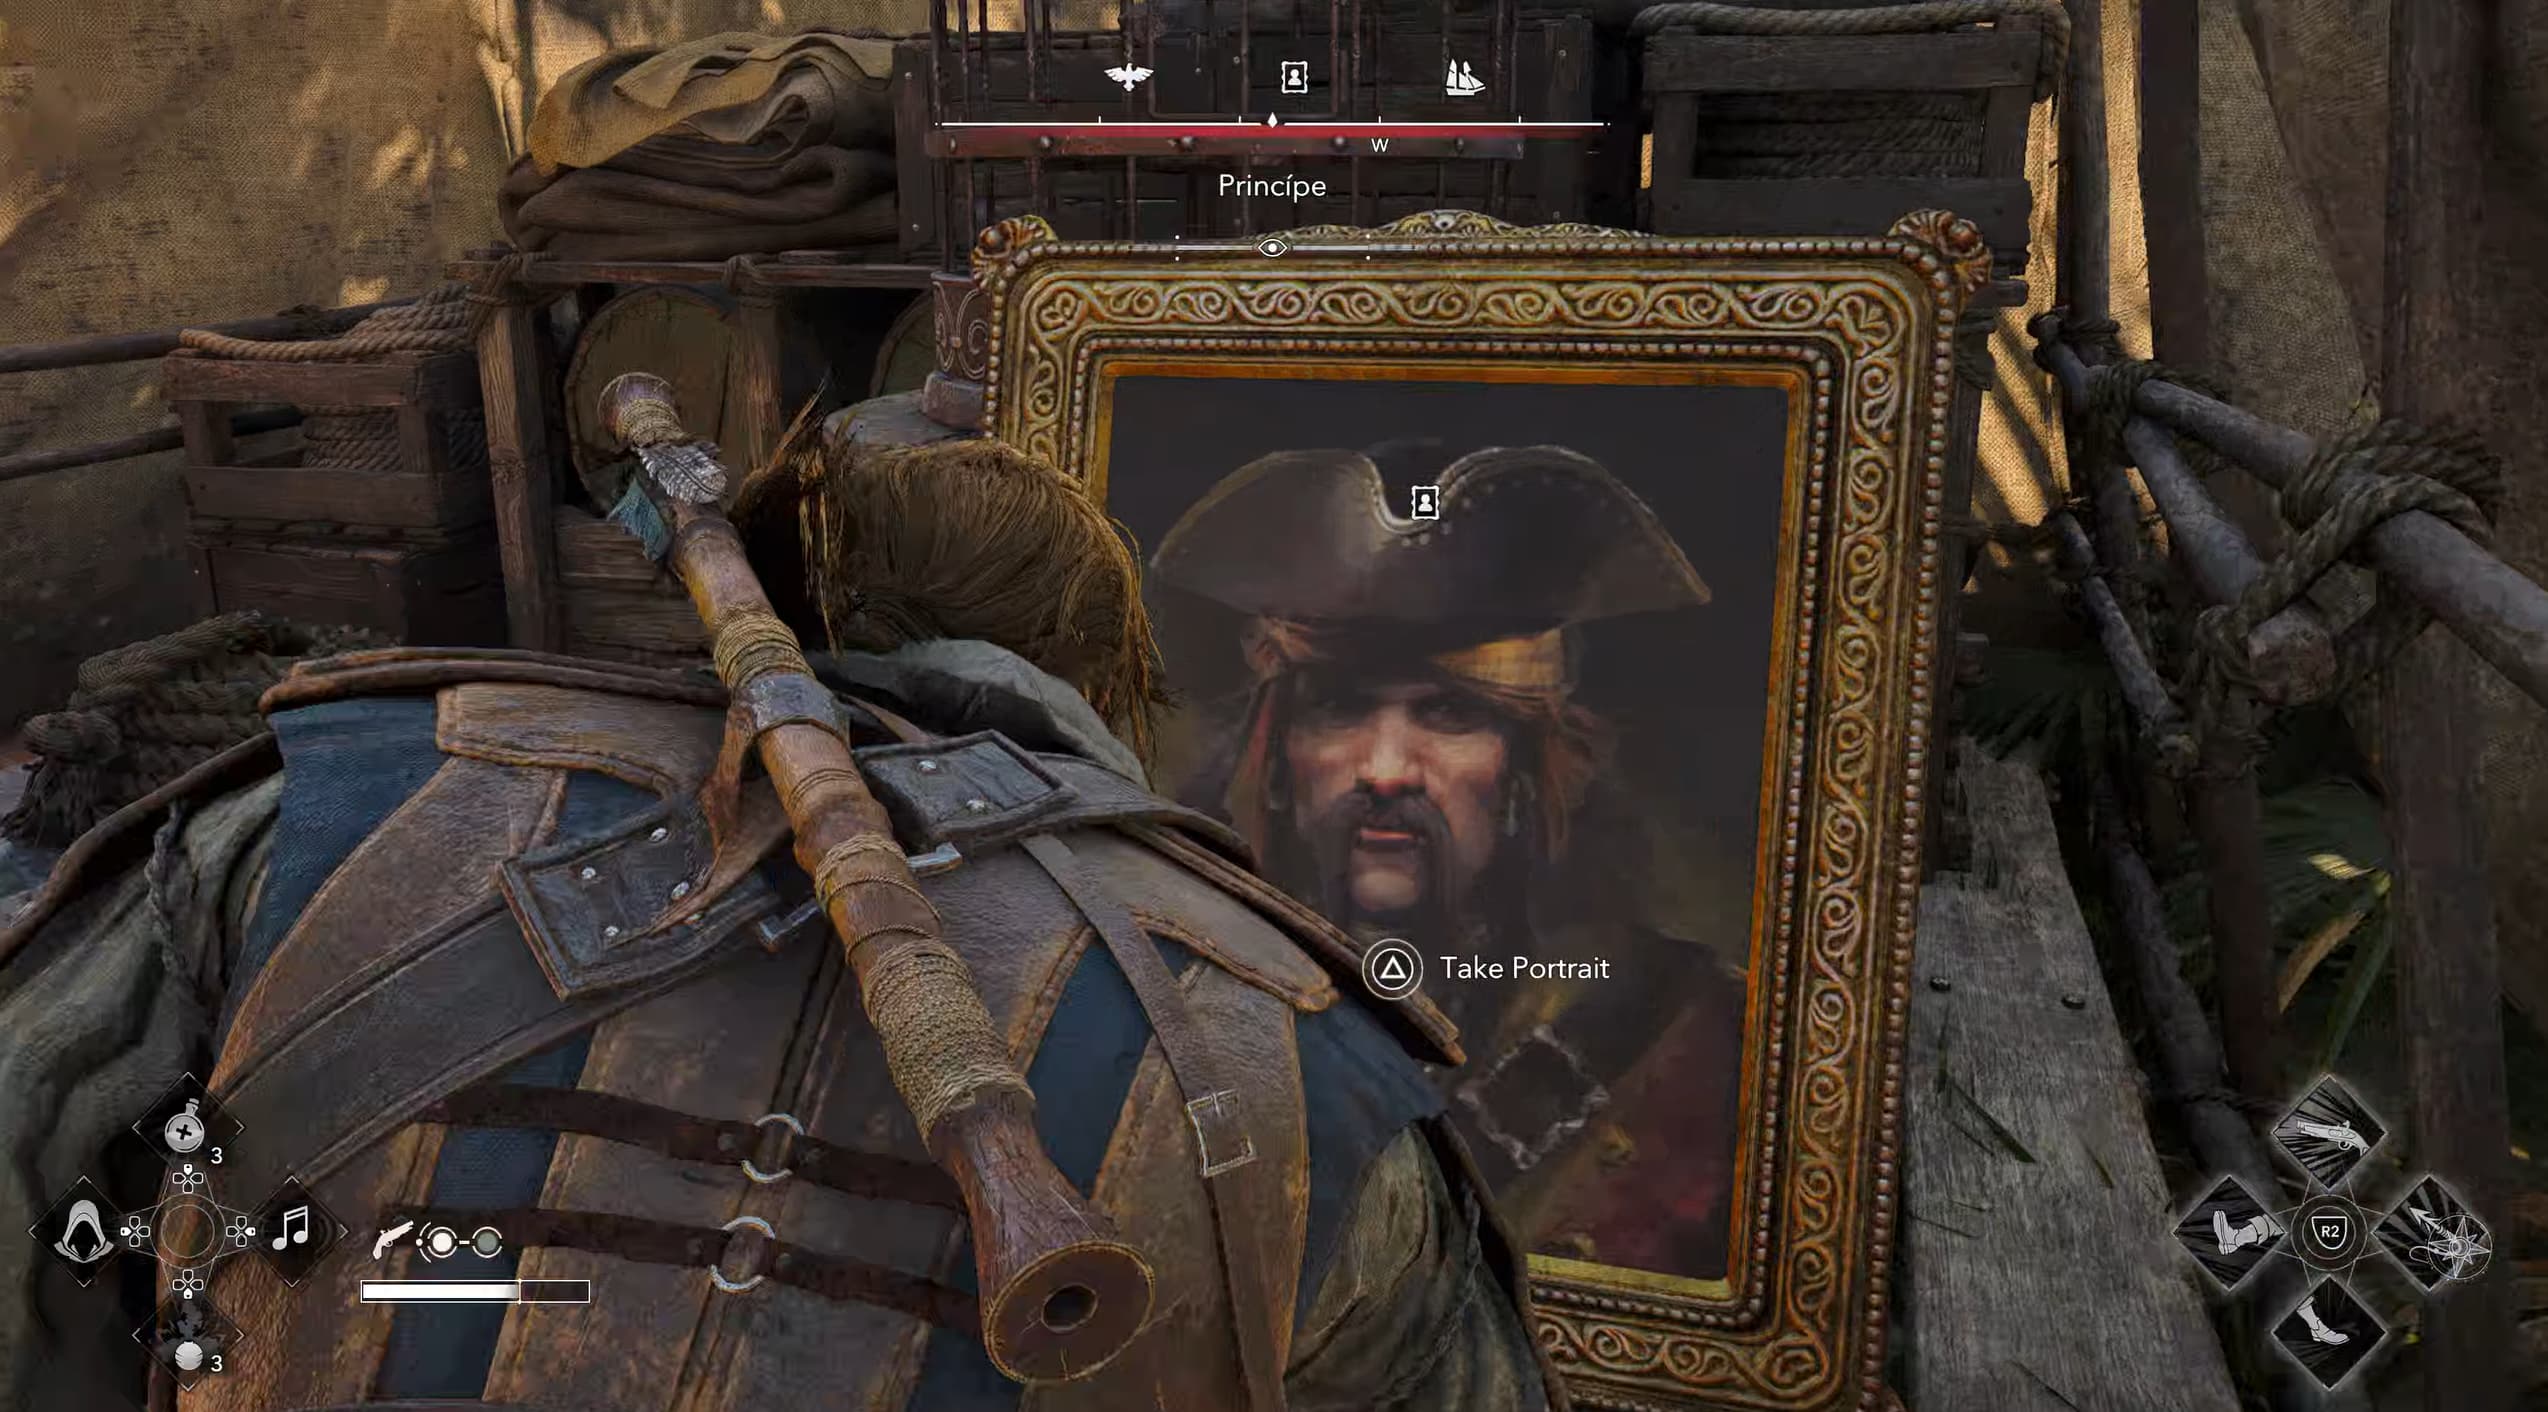
Once the guards have moved, sneak back around to the left of the tent and enter in to find the portrait on the ground.
Portrait 8 - Julien Du Casse - Great Inagua Manor
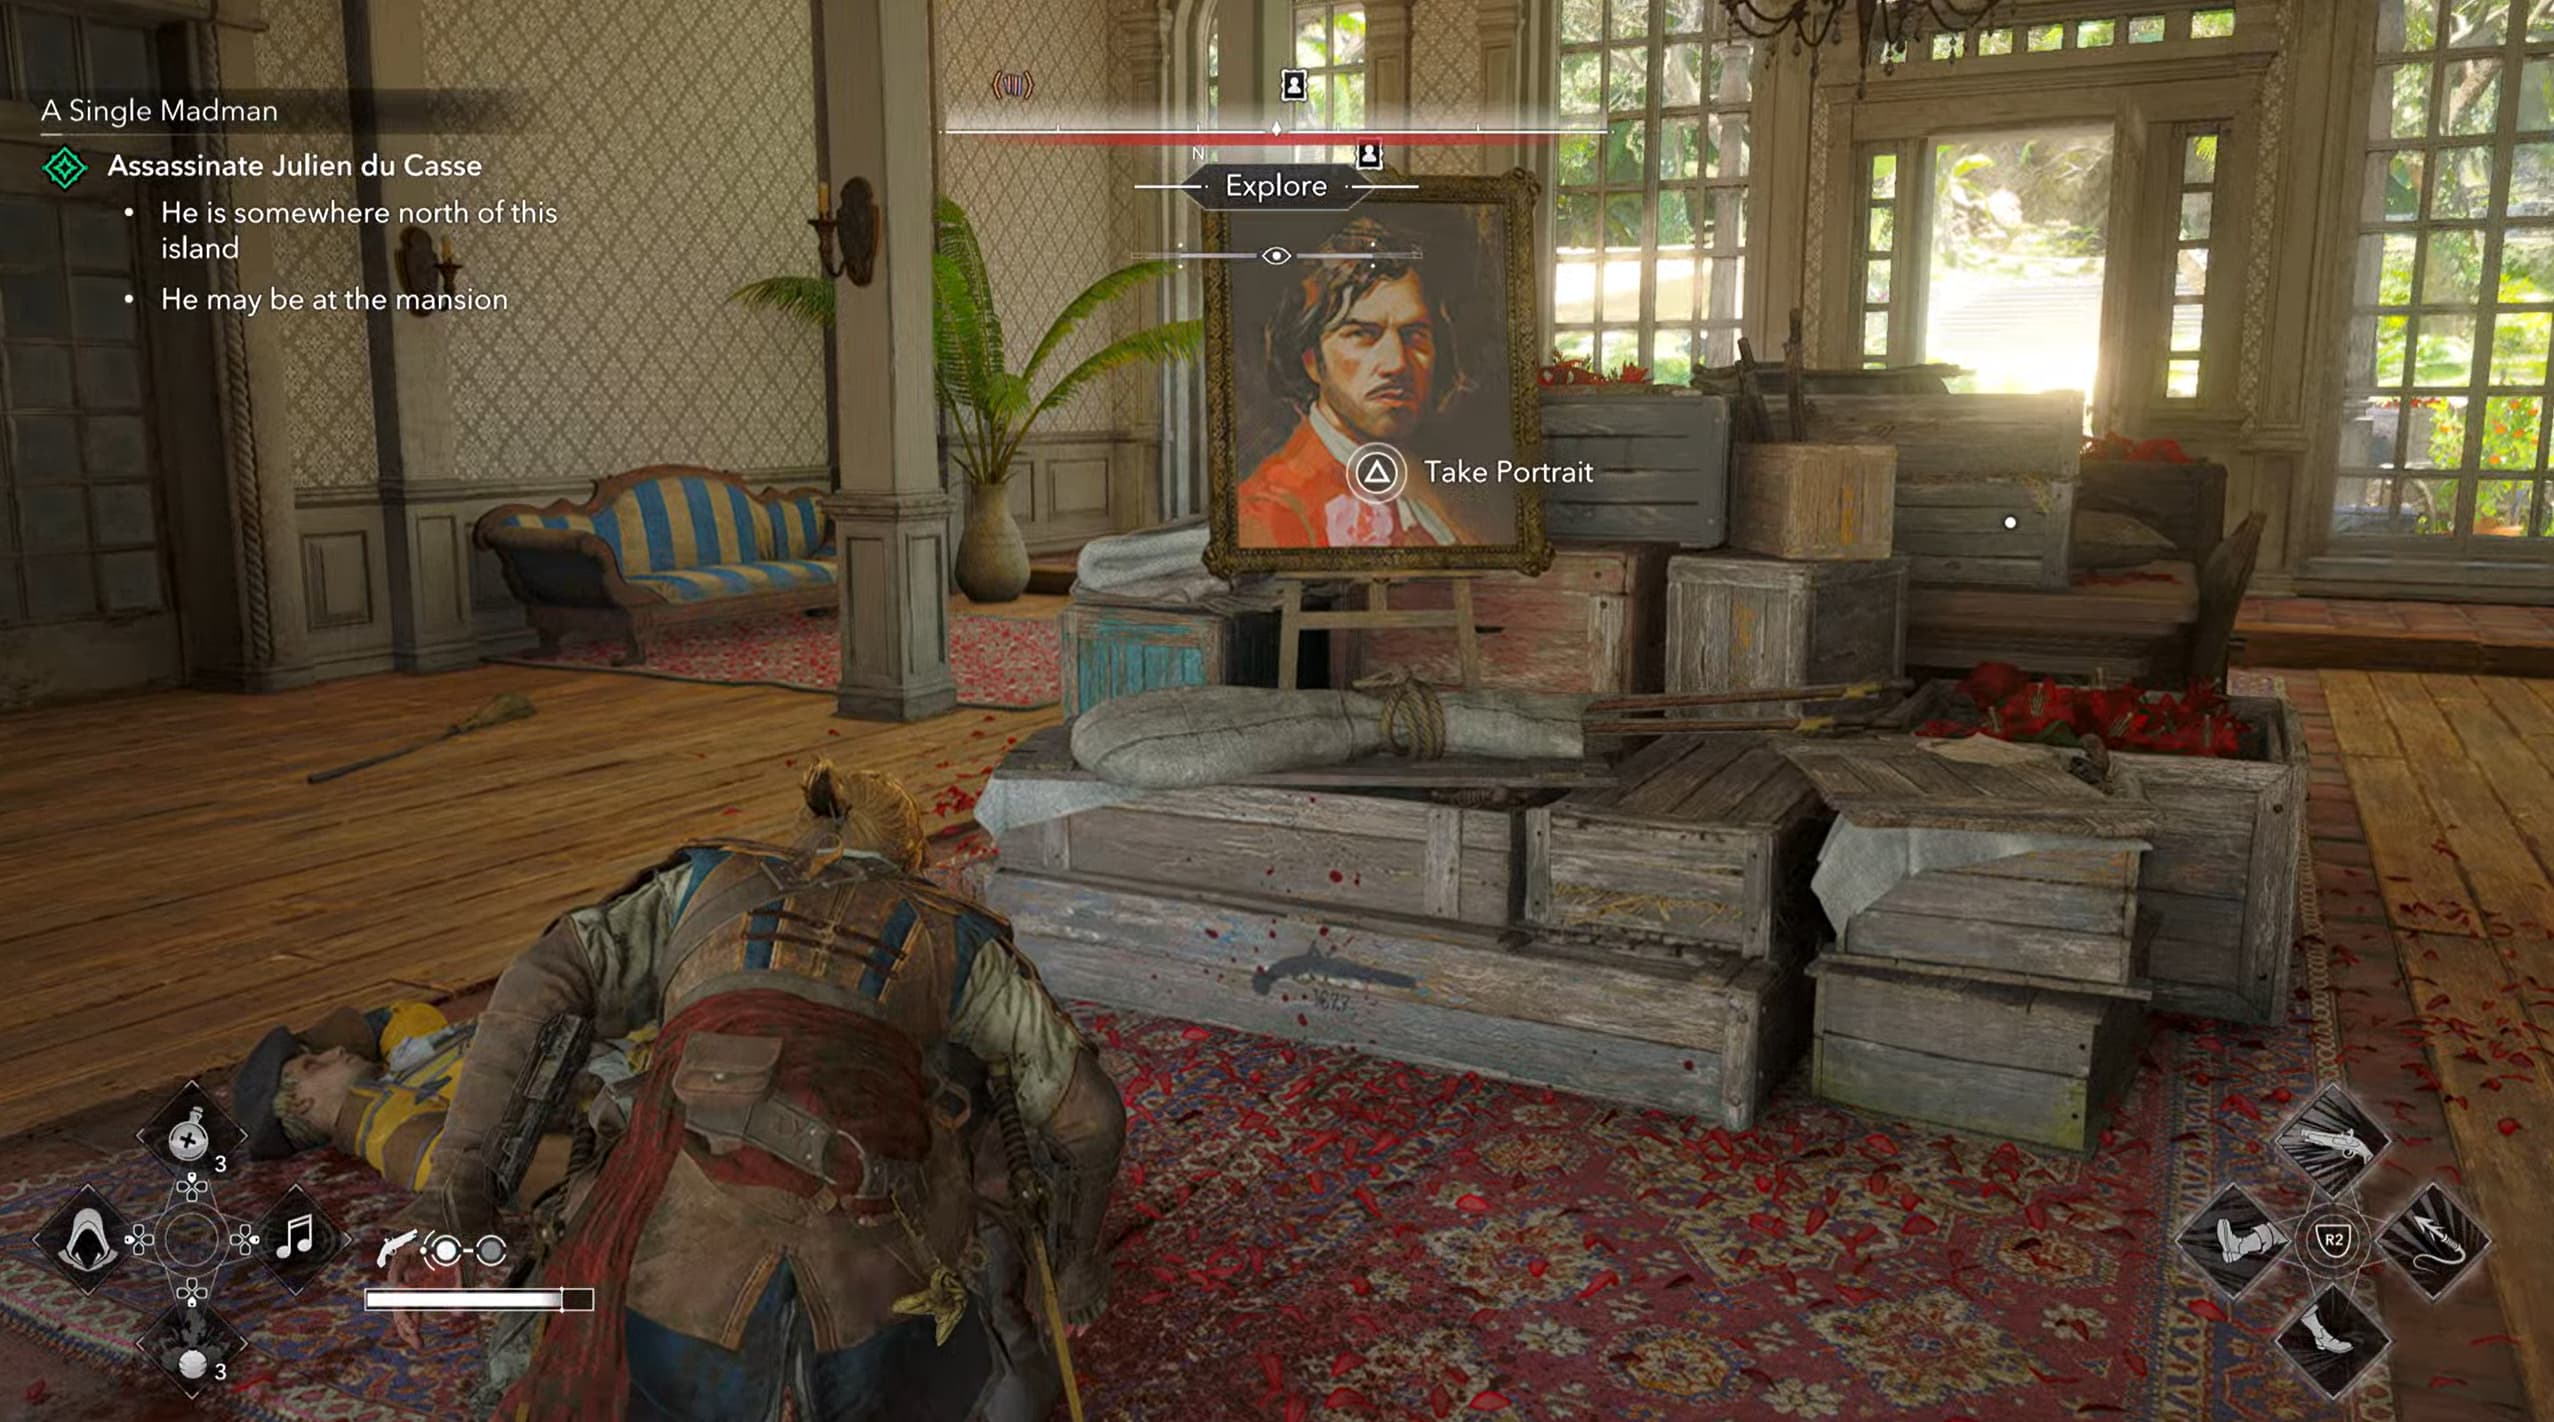
When first exploring Great Inagua, enter the manor where enemies are lurking. This portrait can be found near the main entrance of the manor and may already have been collected during your earlier visits to the area, collect the portrait here if you have not already done so. If you missed it earlier in the story, the portrait will now be in the room on the left of the main entrance.
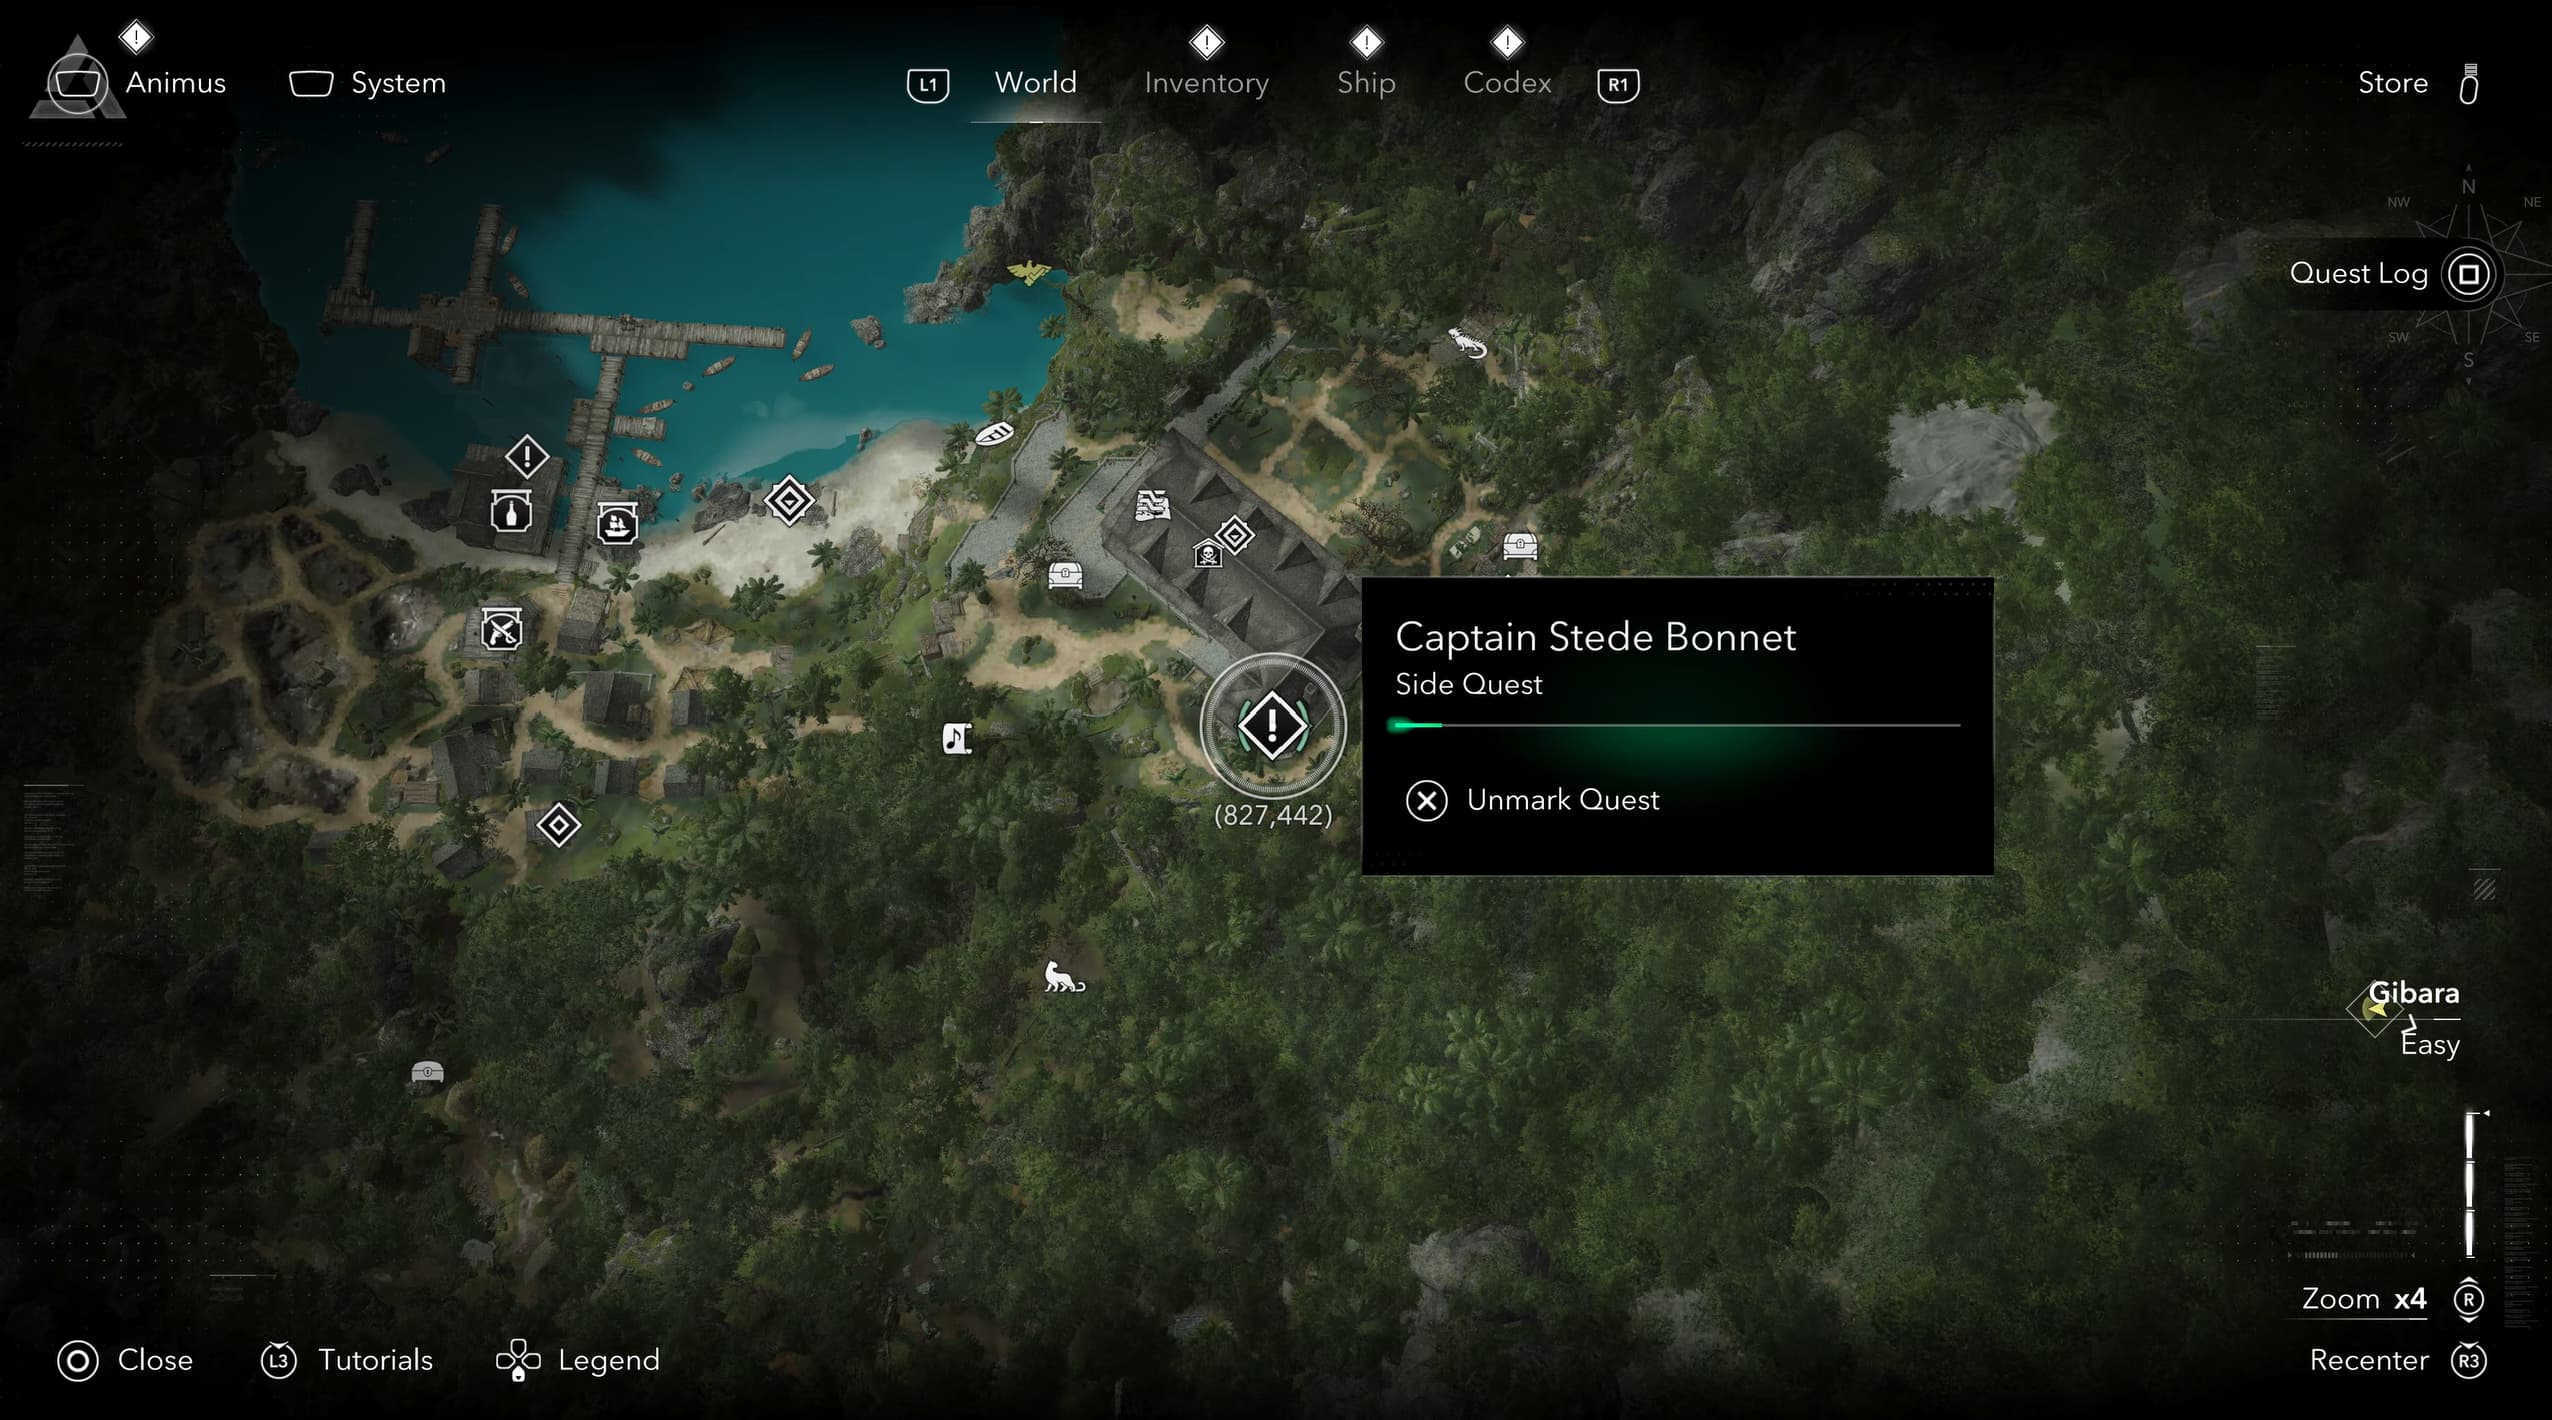
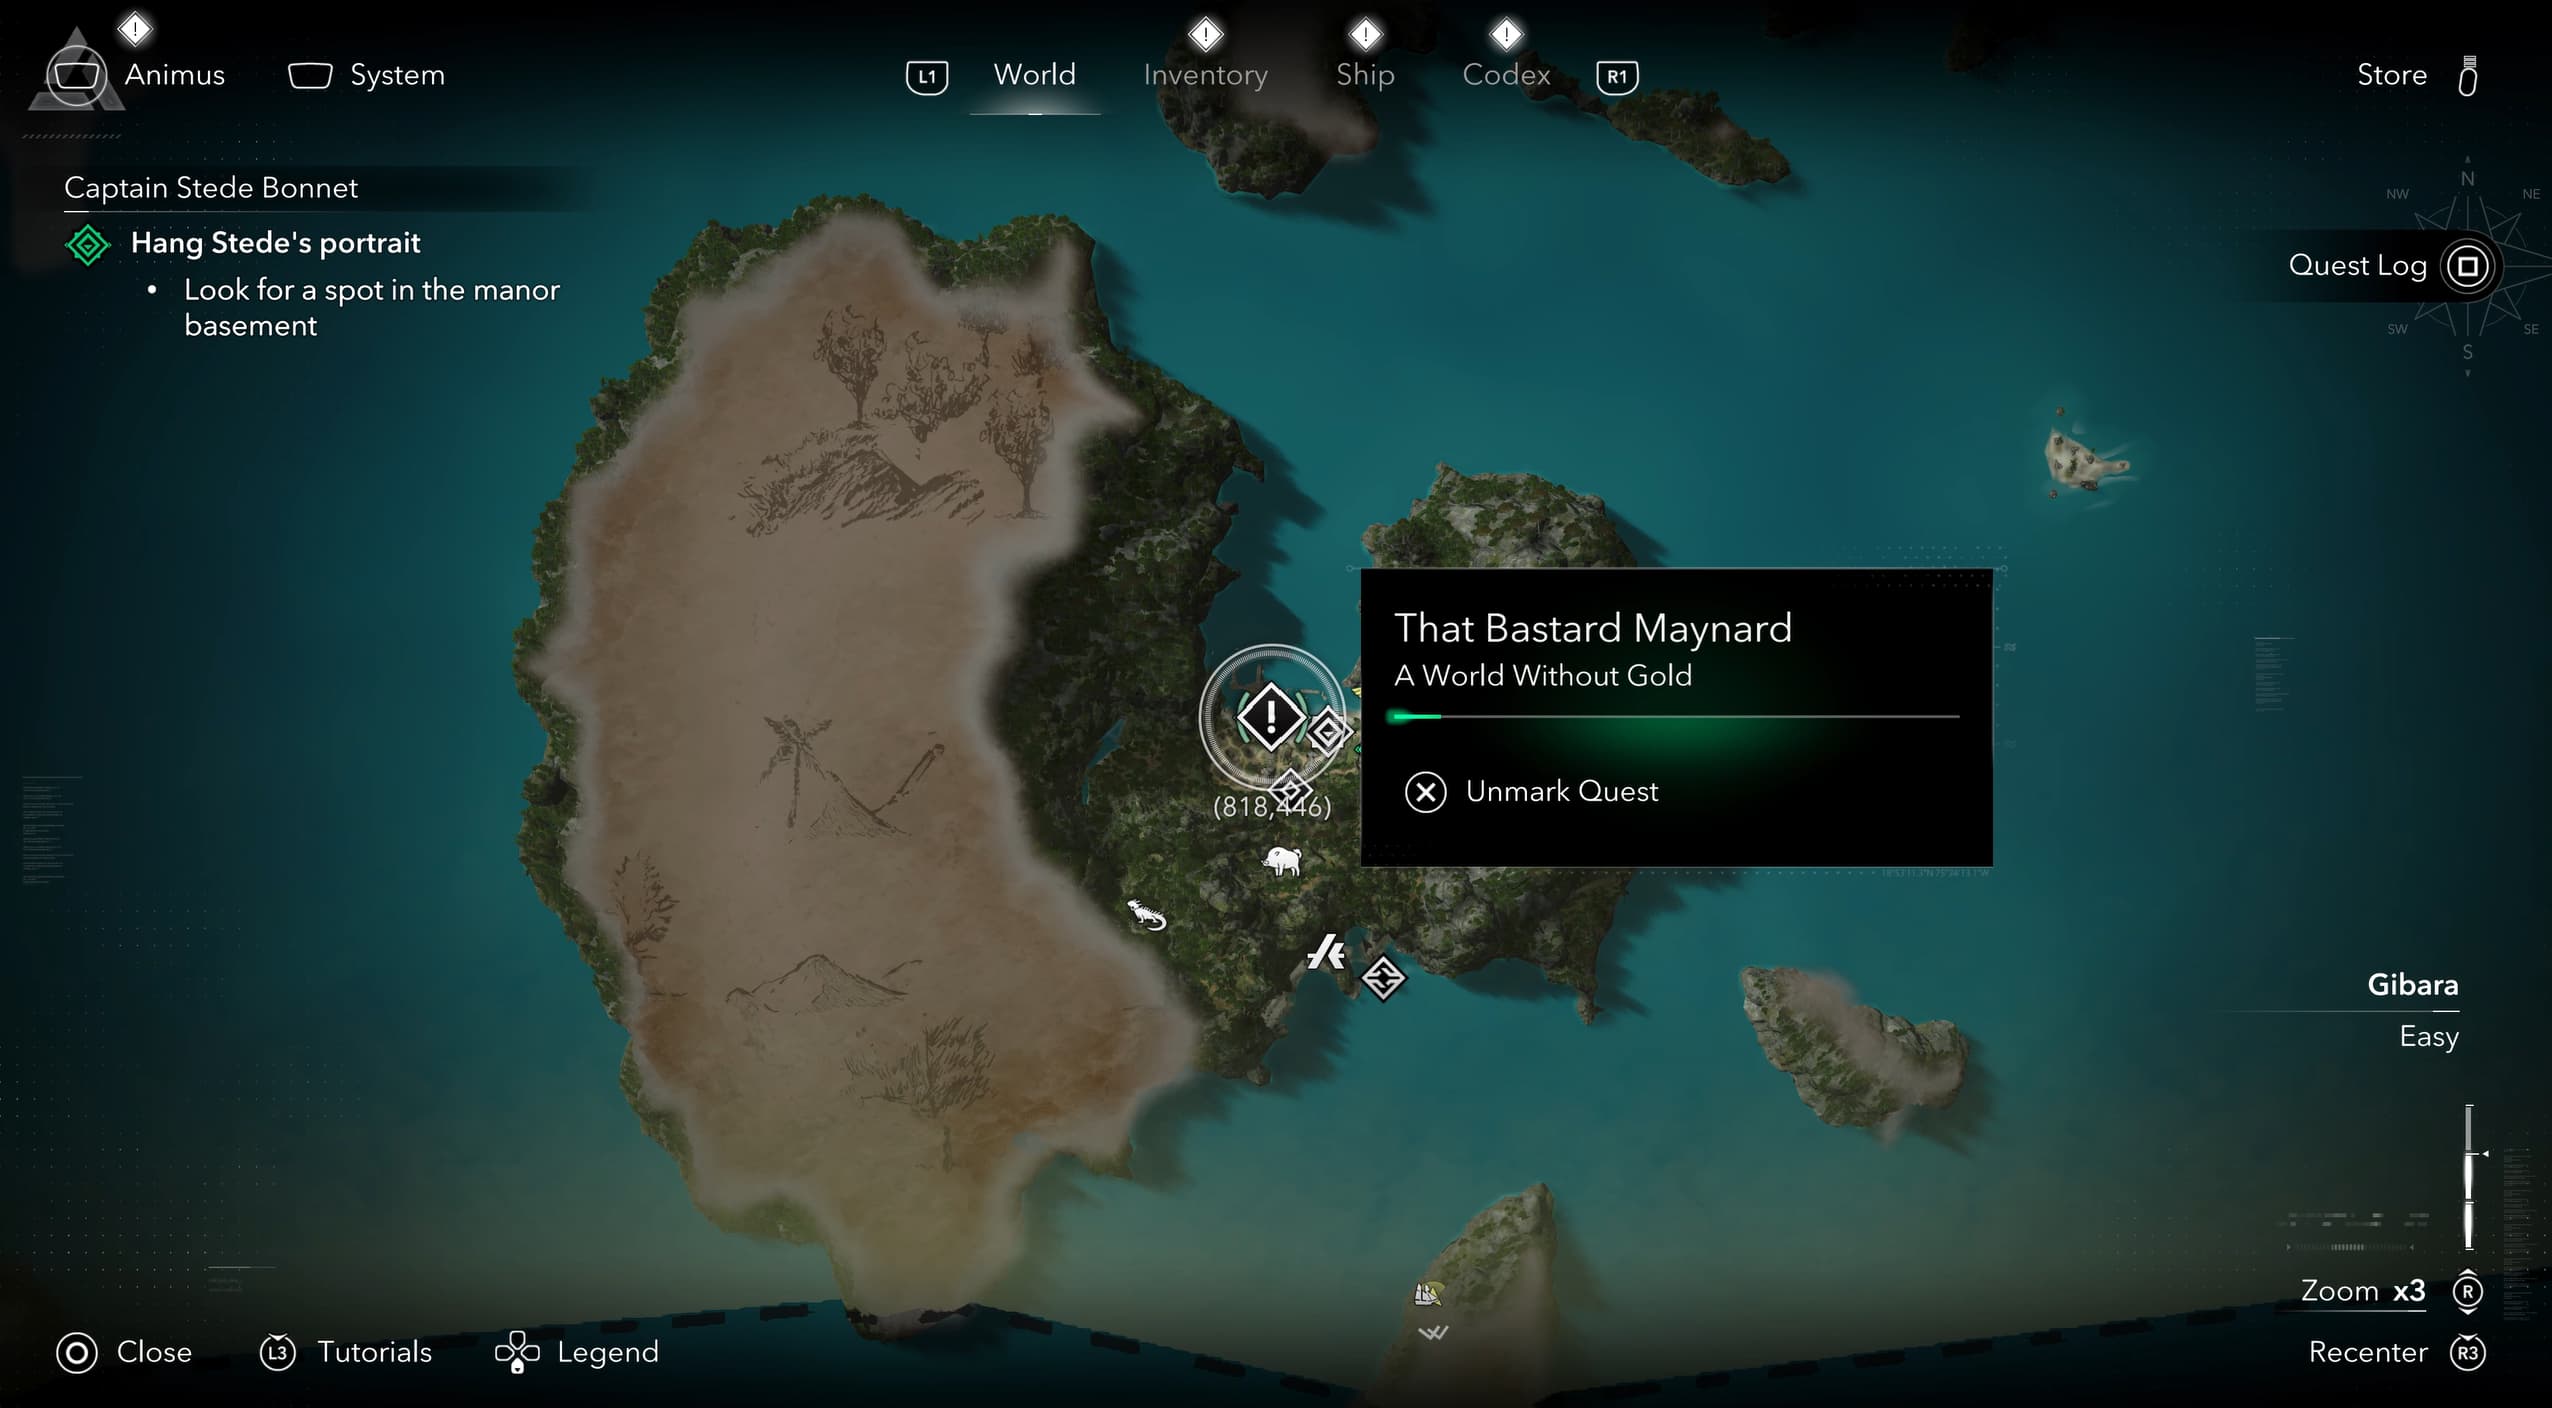
Still in Great Inagua and having progressed with the main story quite a bit, track and complete the Stede Bonnet side quest at coordinates (827,442).
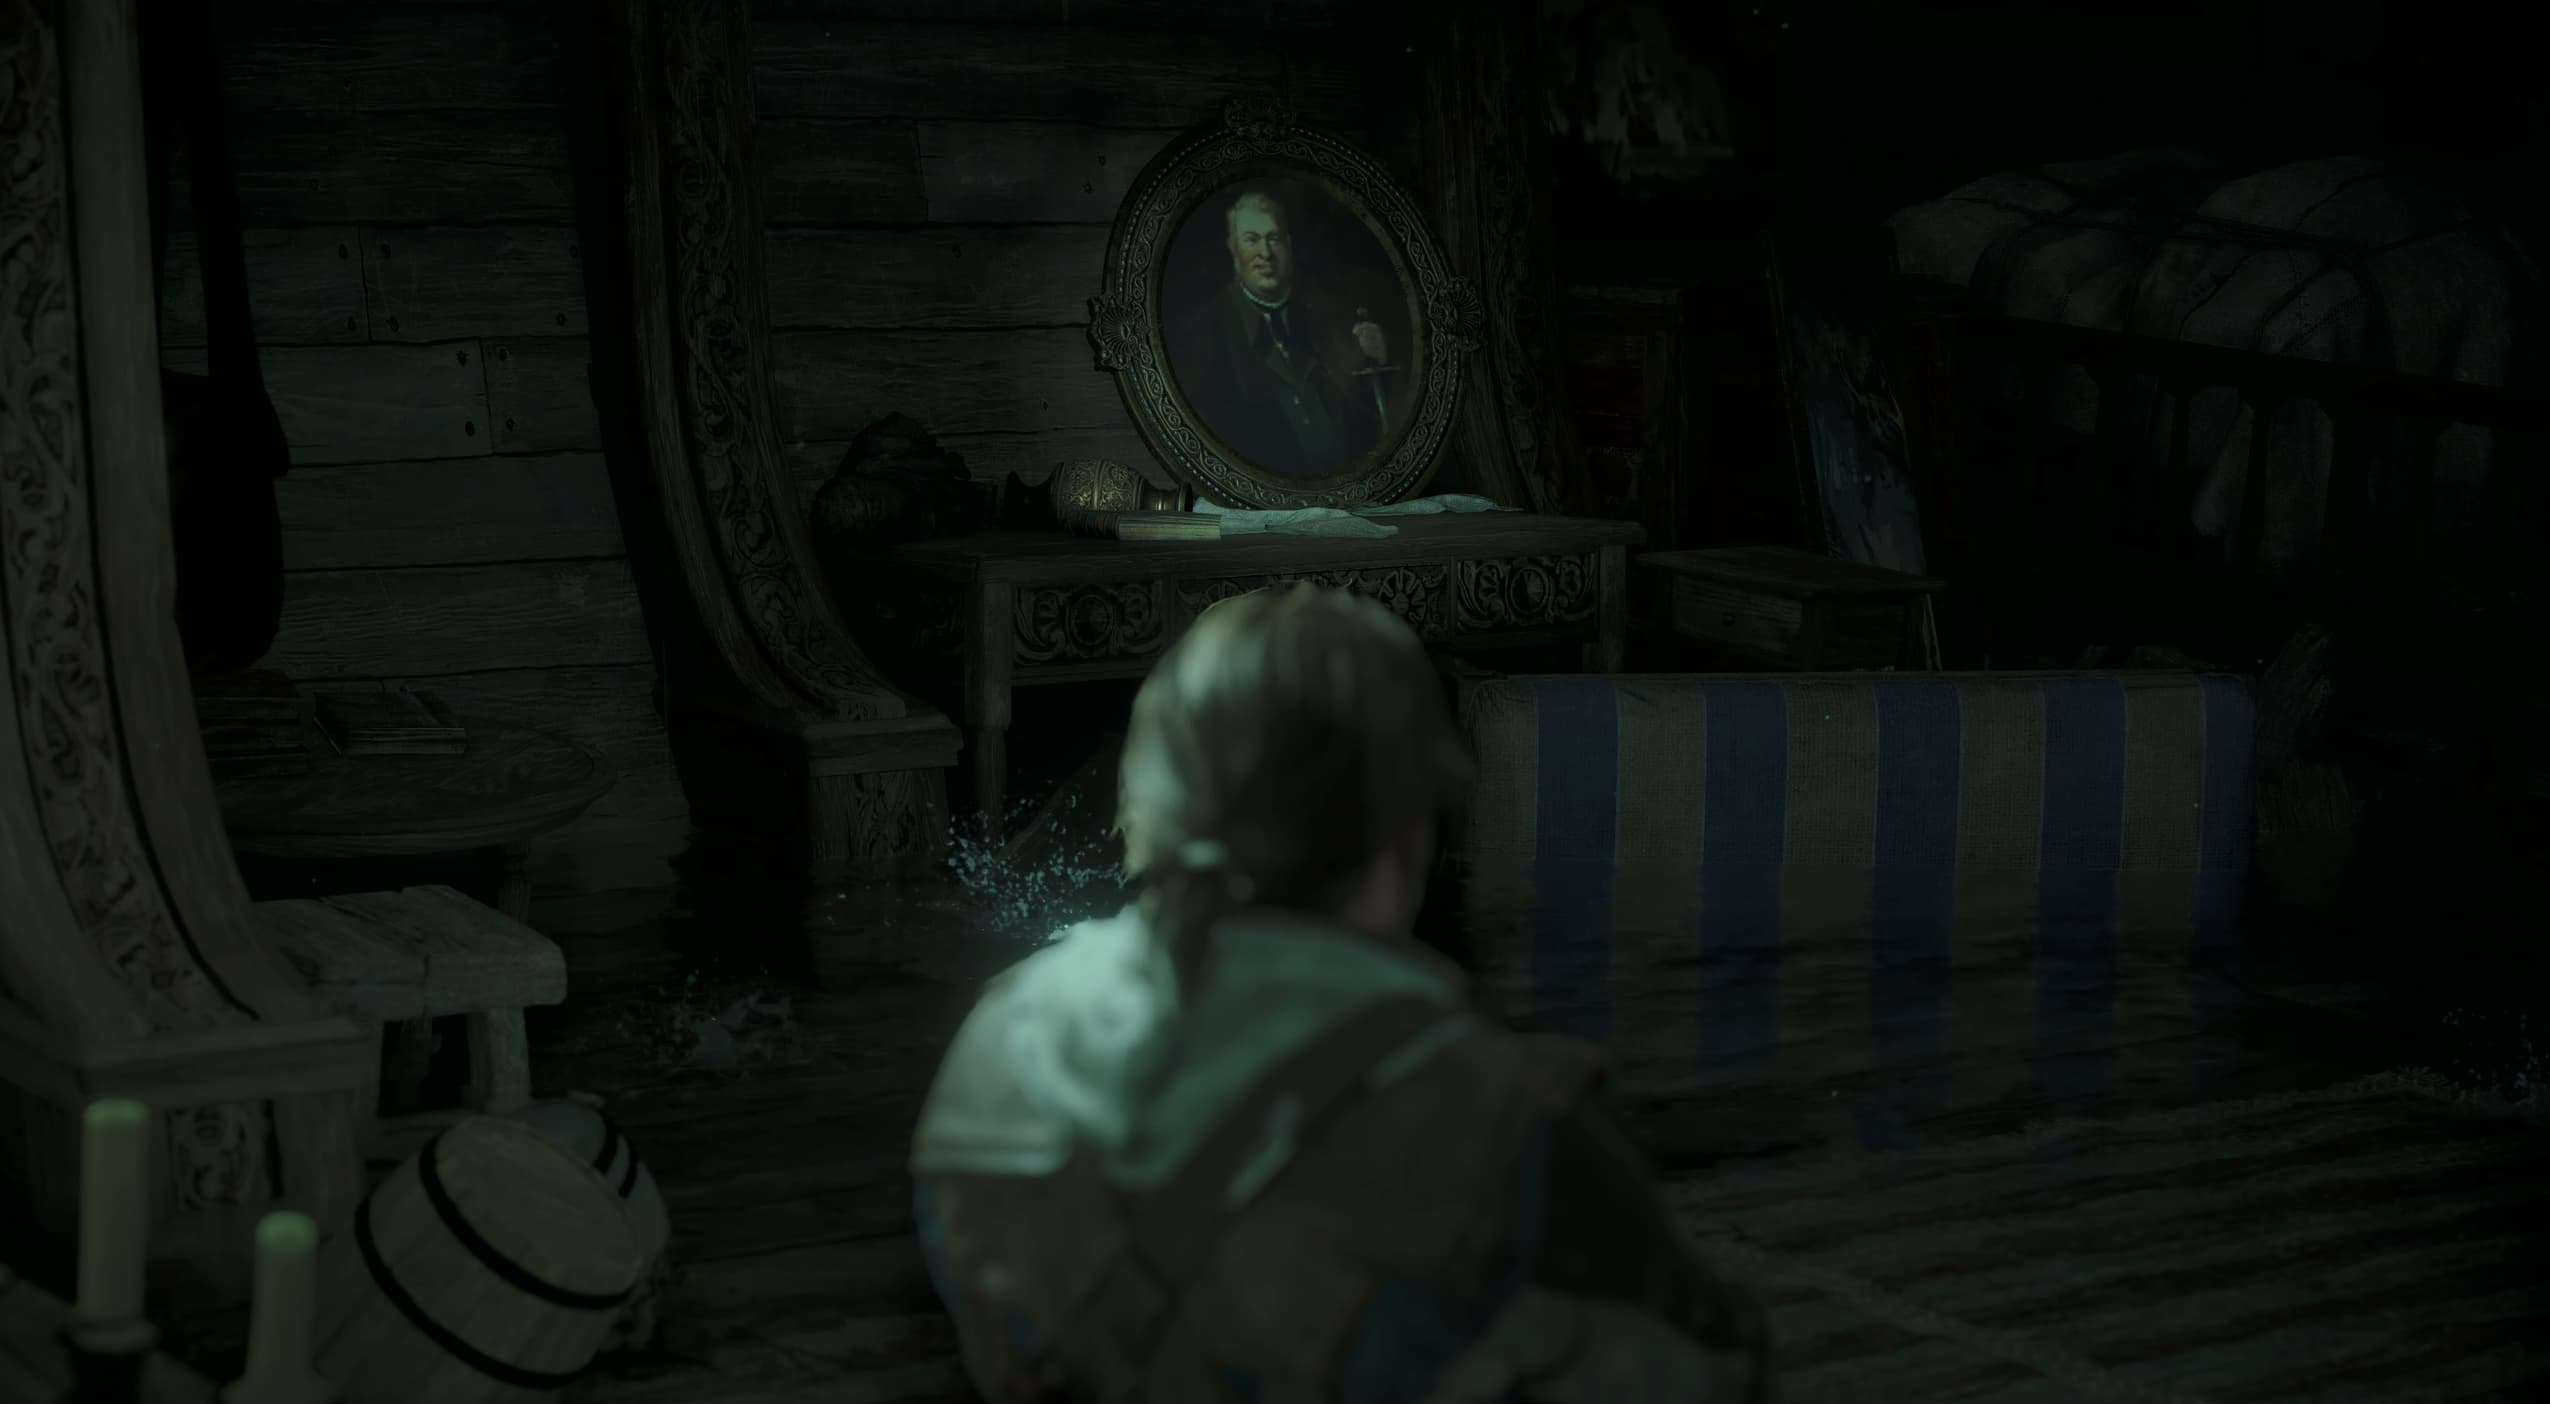
Progress through the entire quest until you reach the final cutscene. After completing the quest, you will receive Stede Bonnet's portrait, during a cutscene, Edward will collect the painting automatically.
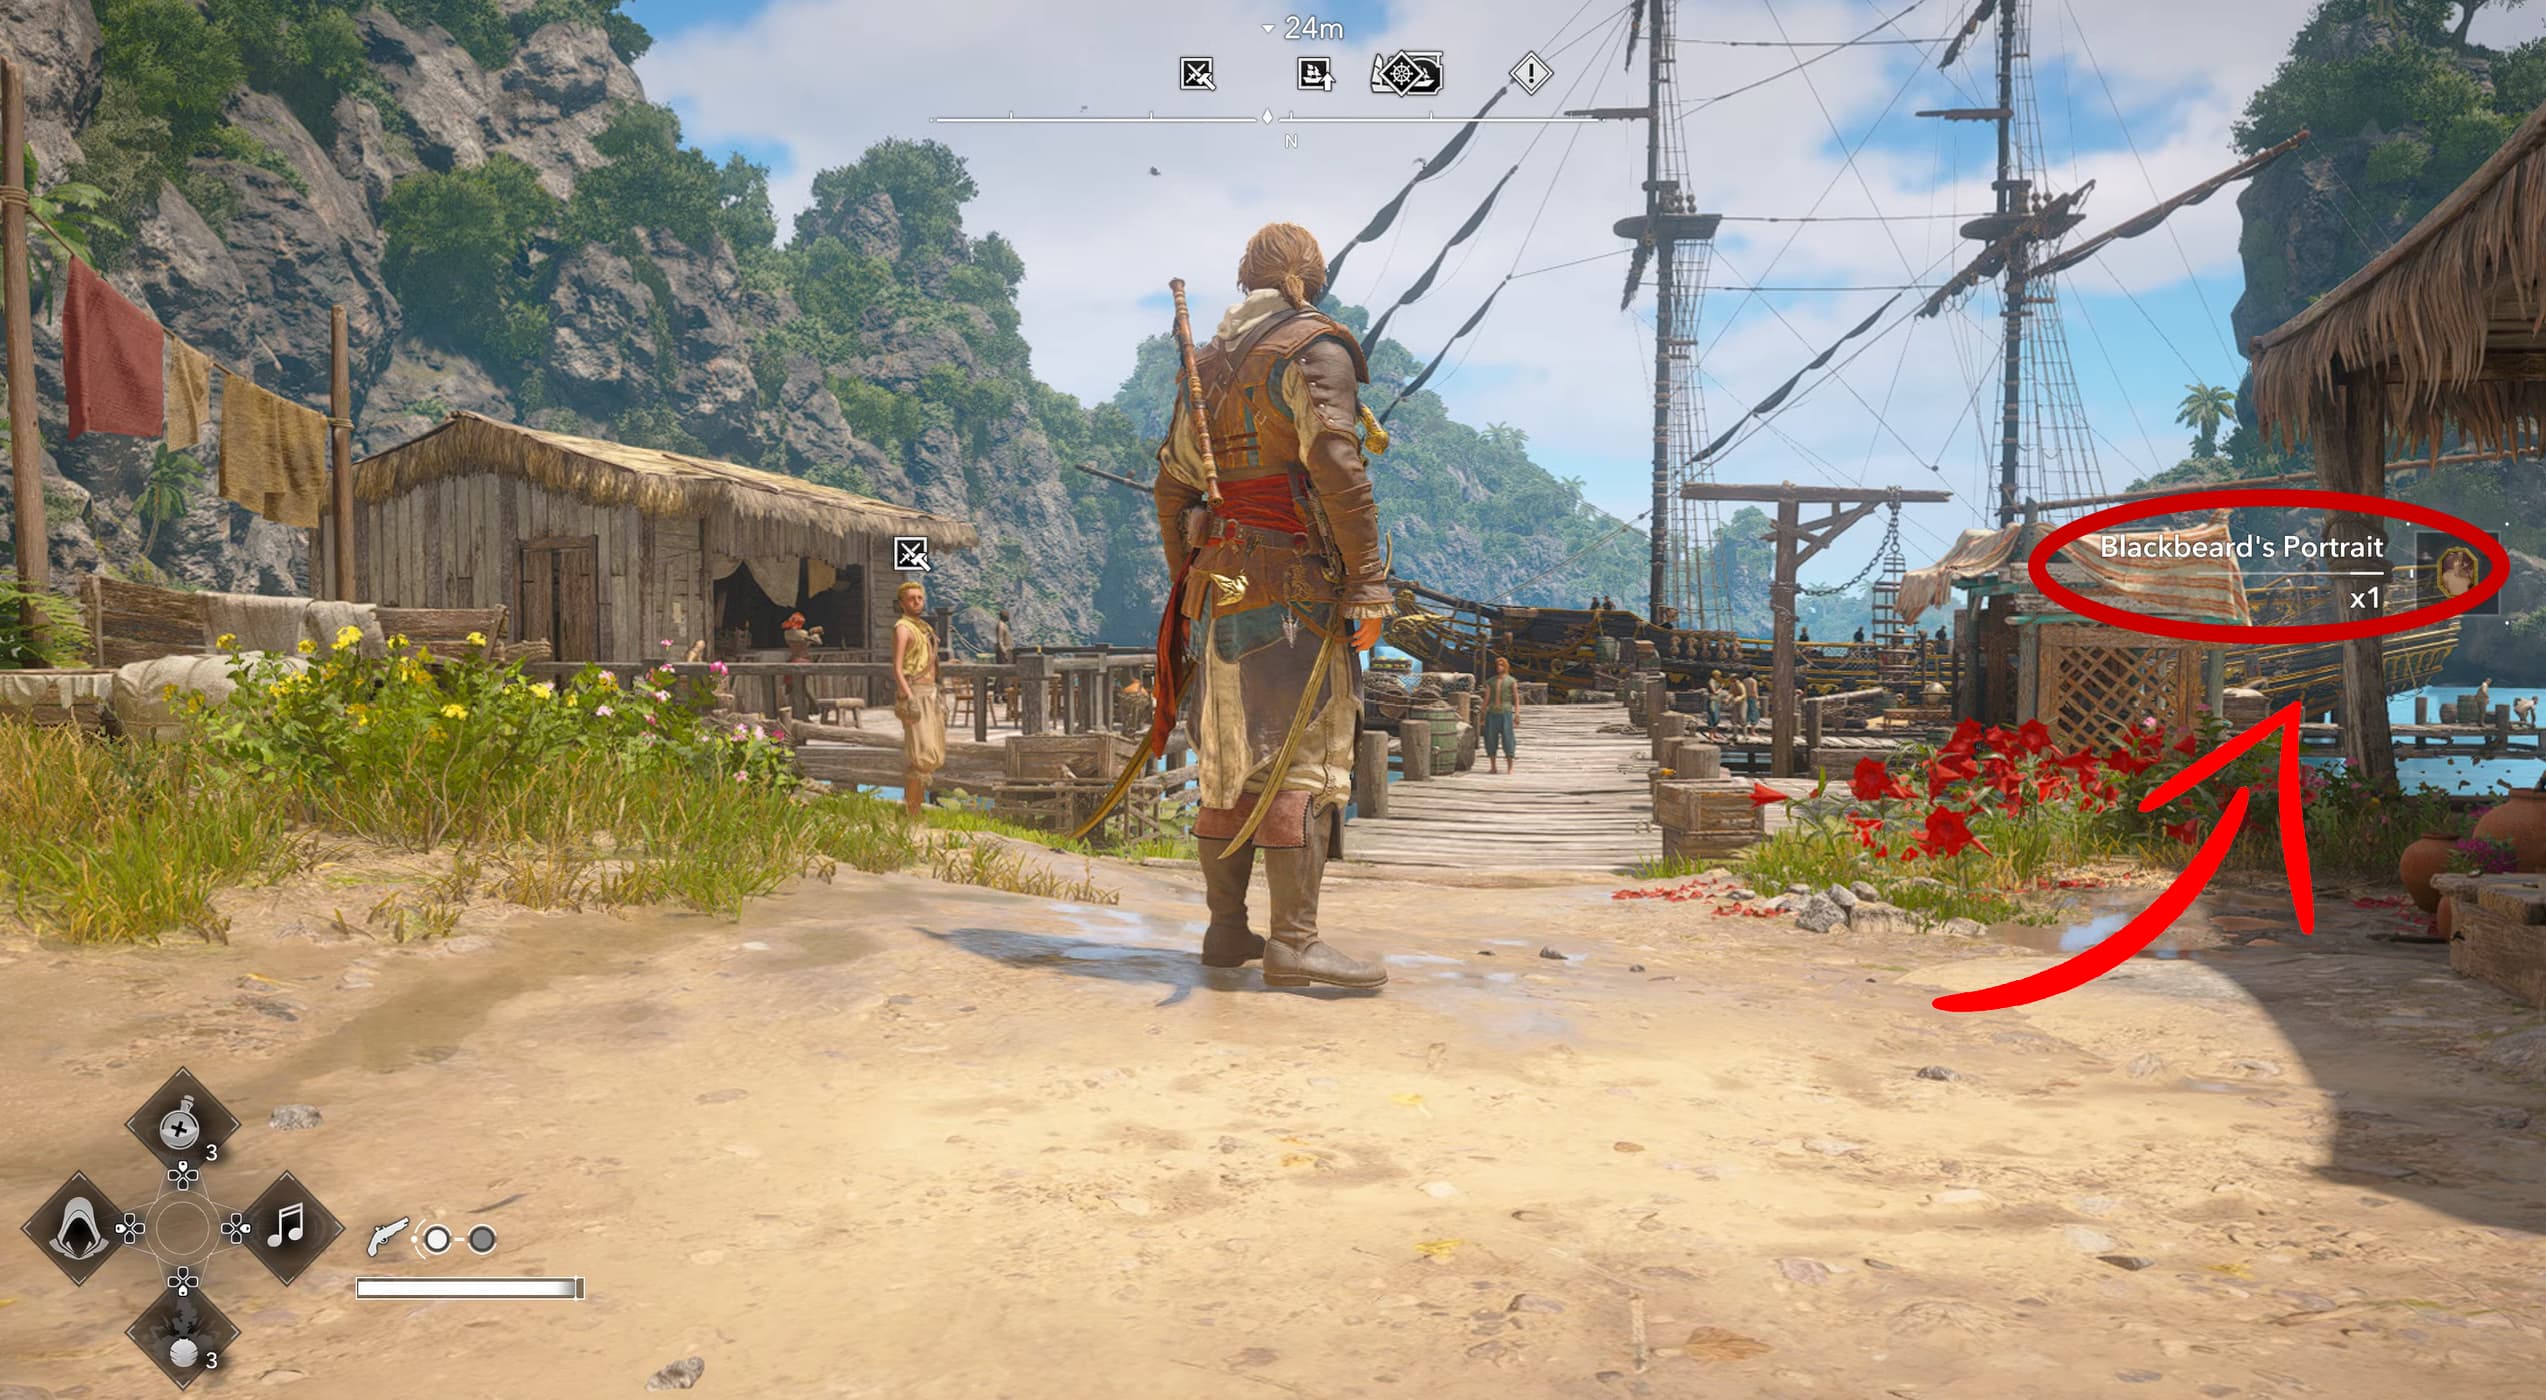
Portrait 10 - Blackbeard Portrait - (Main Story)
Blackbeard's portrait is obtained through the main story and quest progression, if you have fully completed Blackbeard's Treasure quest, you should already have this portrait.
Portrait 11 - Maynard's Treasure (Side Quest)
Note: In order to fully complete the A World Without Gold quest and retrieve the portrait, you must complete other side quests including recruiting Lucy Baldwin (The One With The Gun - Officer Quests) and Padre (A Second Chance - Officer Quests).
Once these are checked off, head back to Great Inagua, head to the tavern to begin the required side quest (it will not appear if you haven't progressed enough) coordinates (818,446).
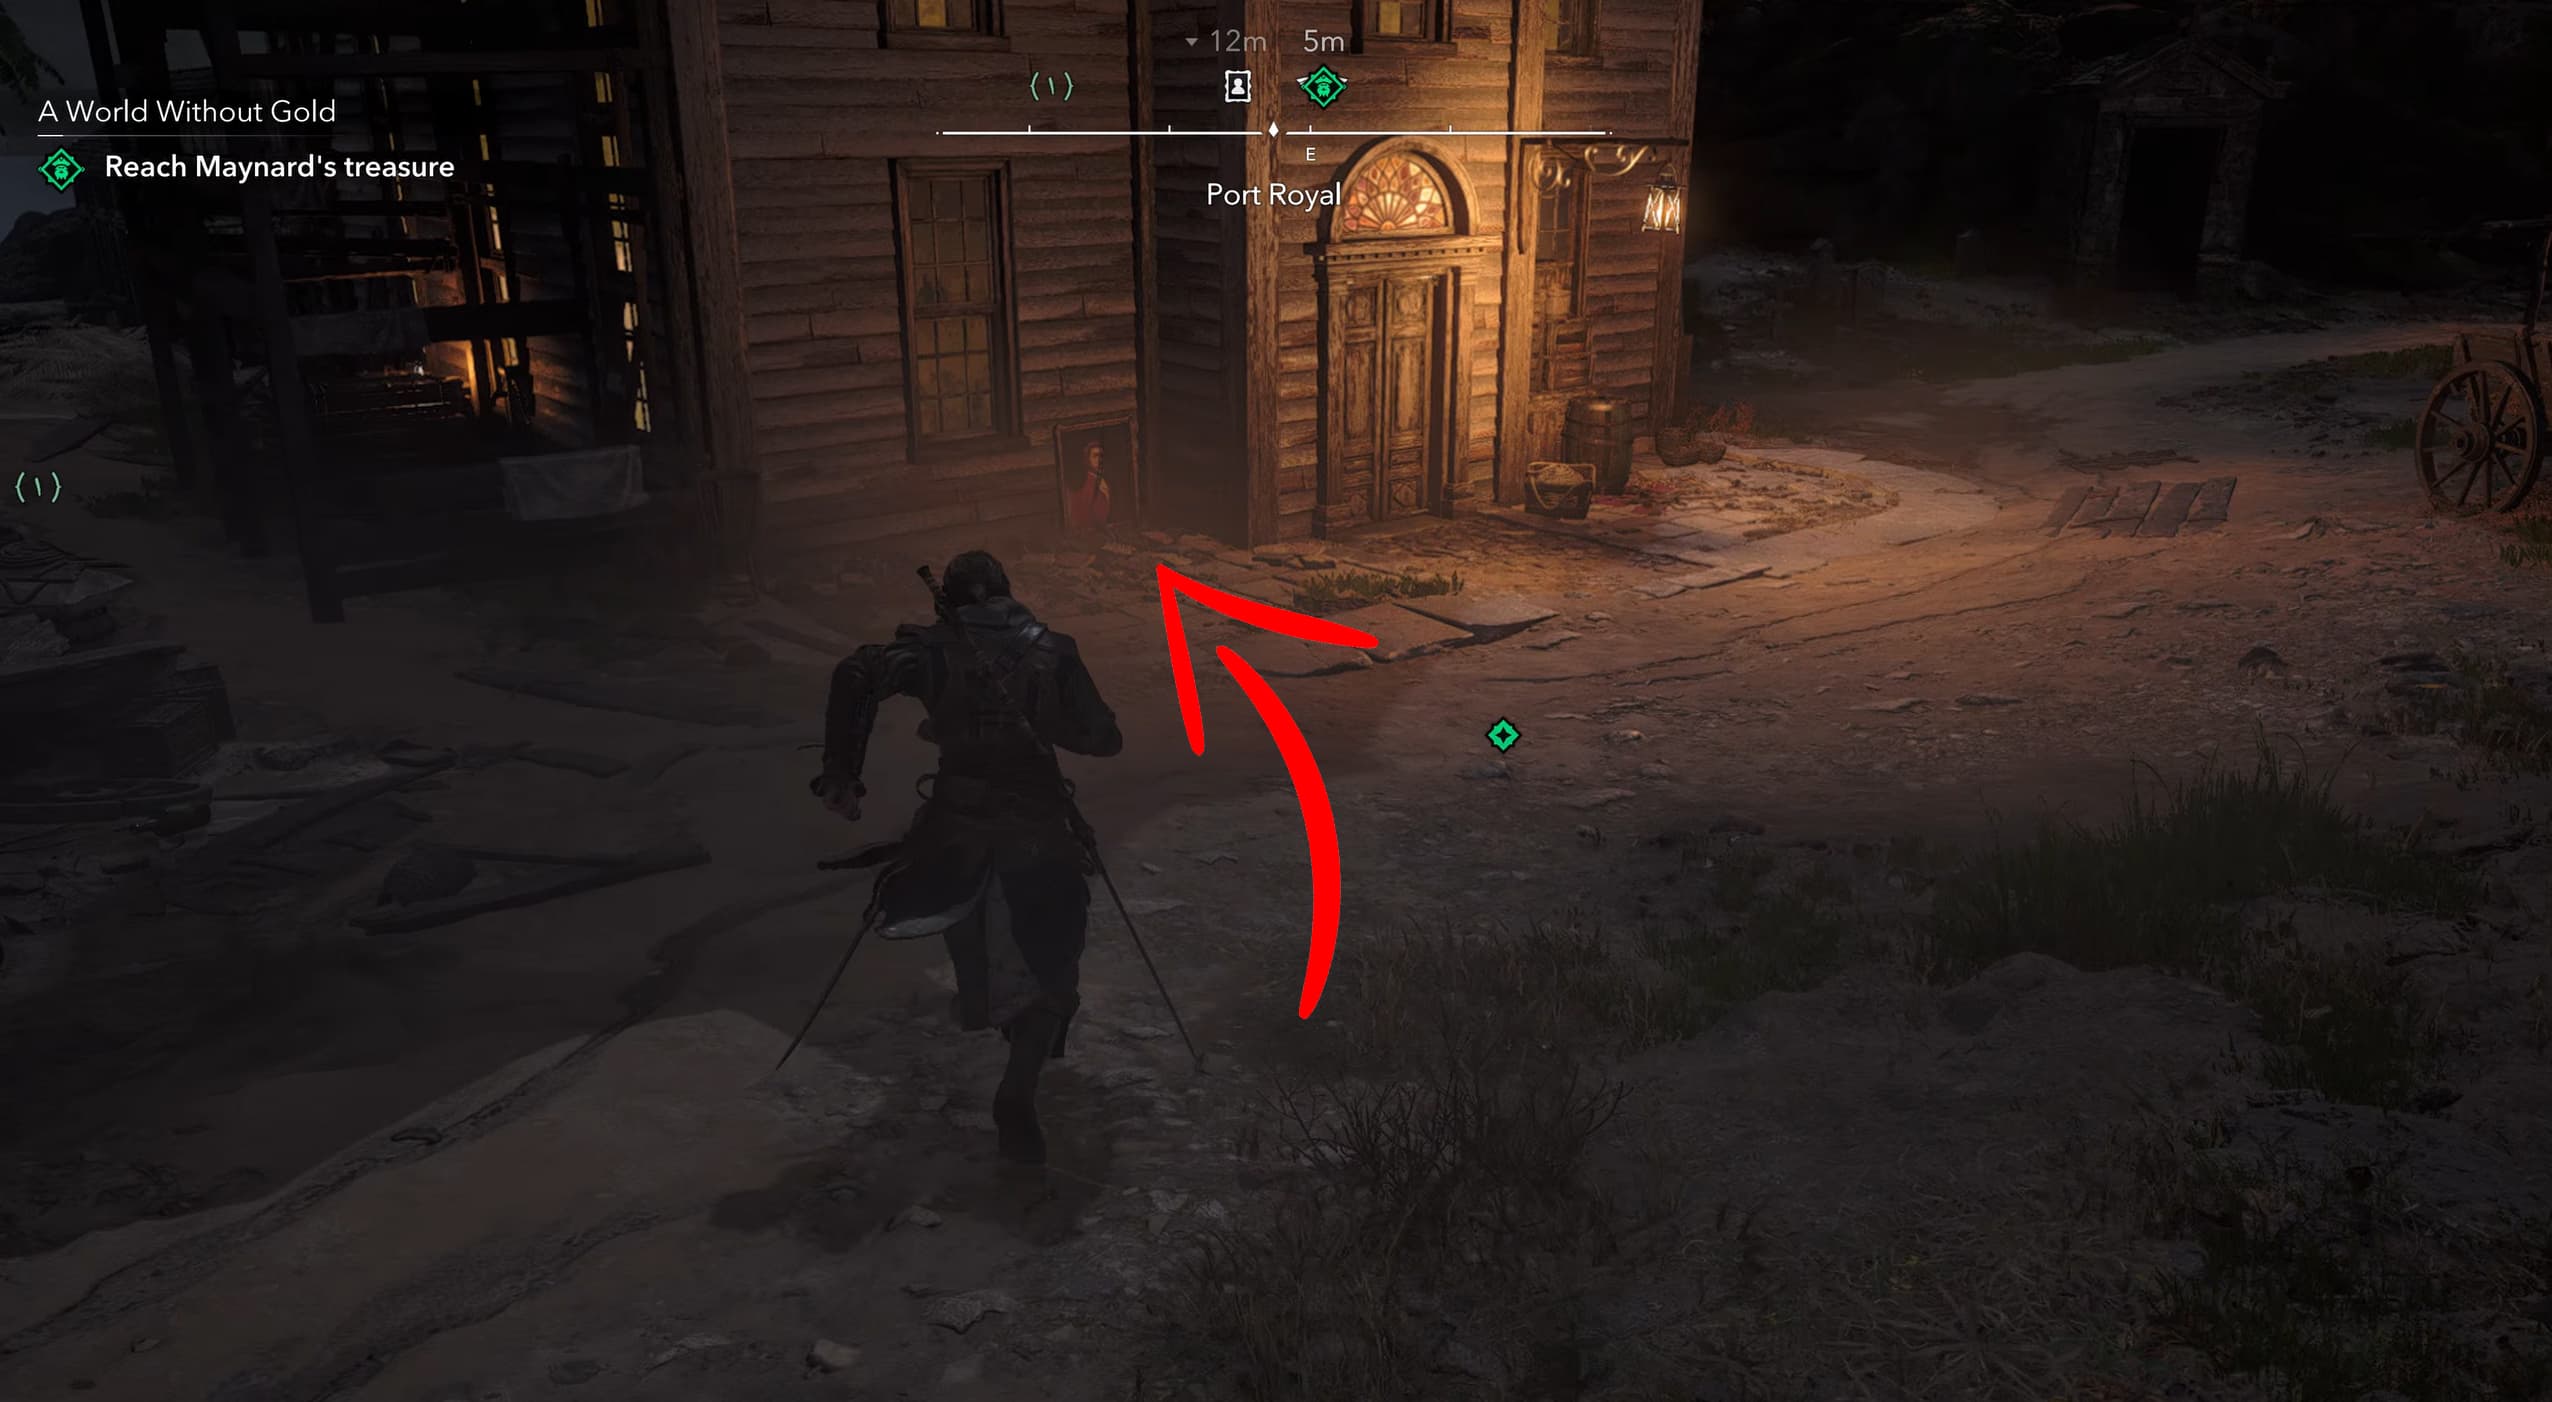
This is a longer quest, so be patient, and continue progressing until you finally reach Port Royal, towards the very end of the quest, you will receive the objective to "Reach Maynard's Treasure", right after the objective to Reach The Rendezvous Point.
Travel through the burning city and follow the objective marker. When you reach the treasure location, several enemies will be waiting in the area, deal with these and then you will be able to collect the painting that is leant up against the large house.
Where to Display All 11 Portraits at Great Inagua - Trophy Completion
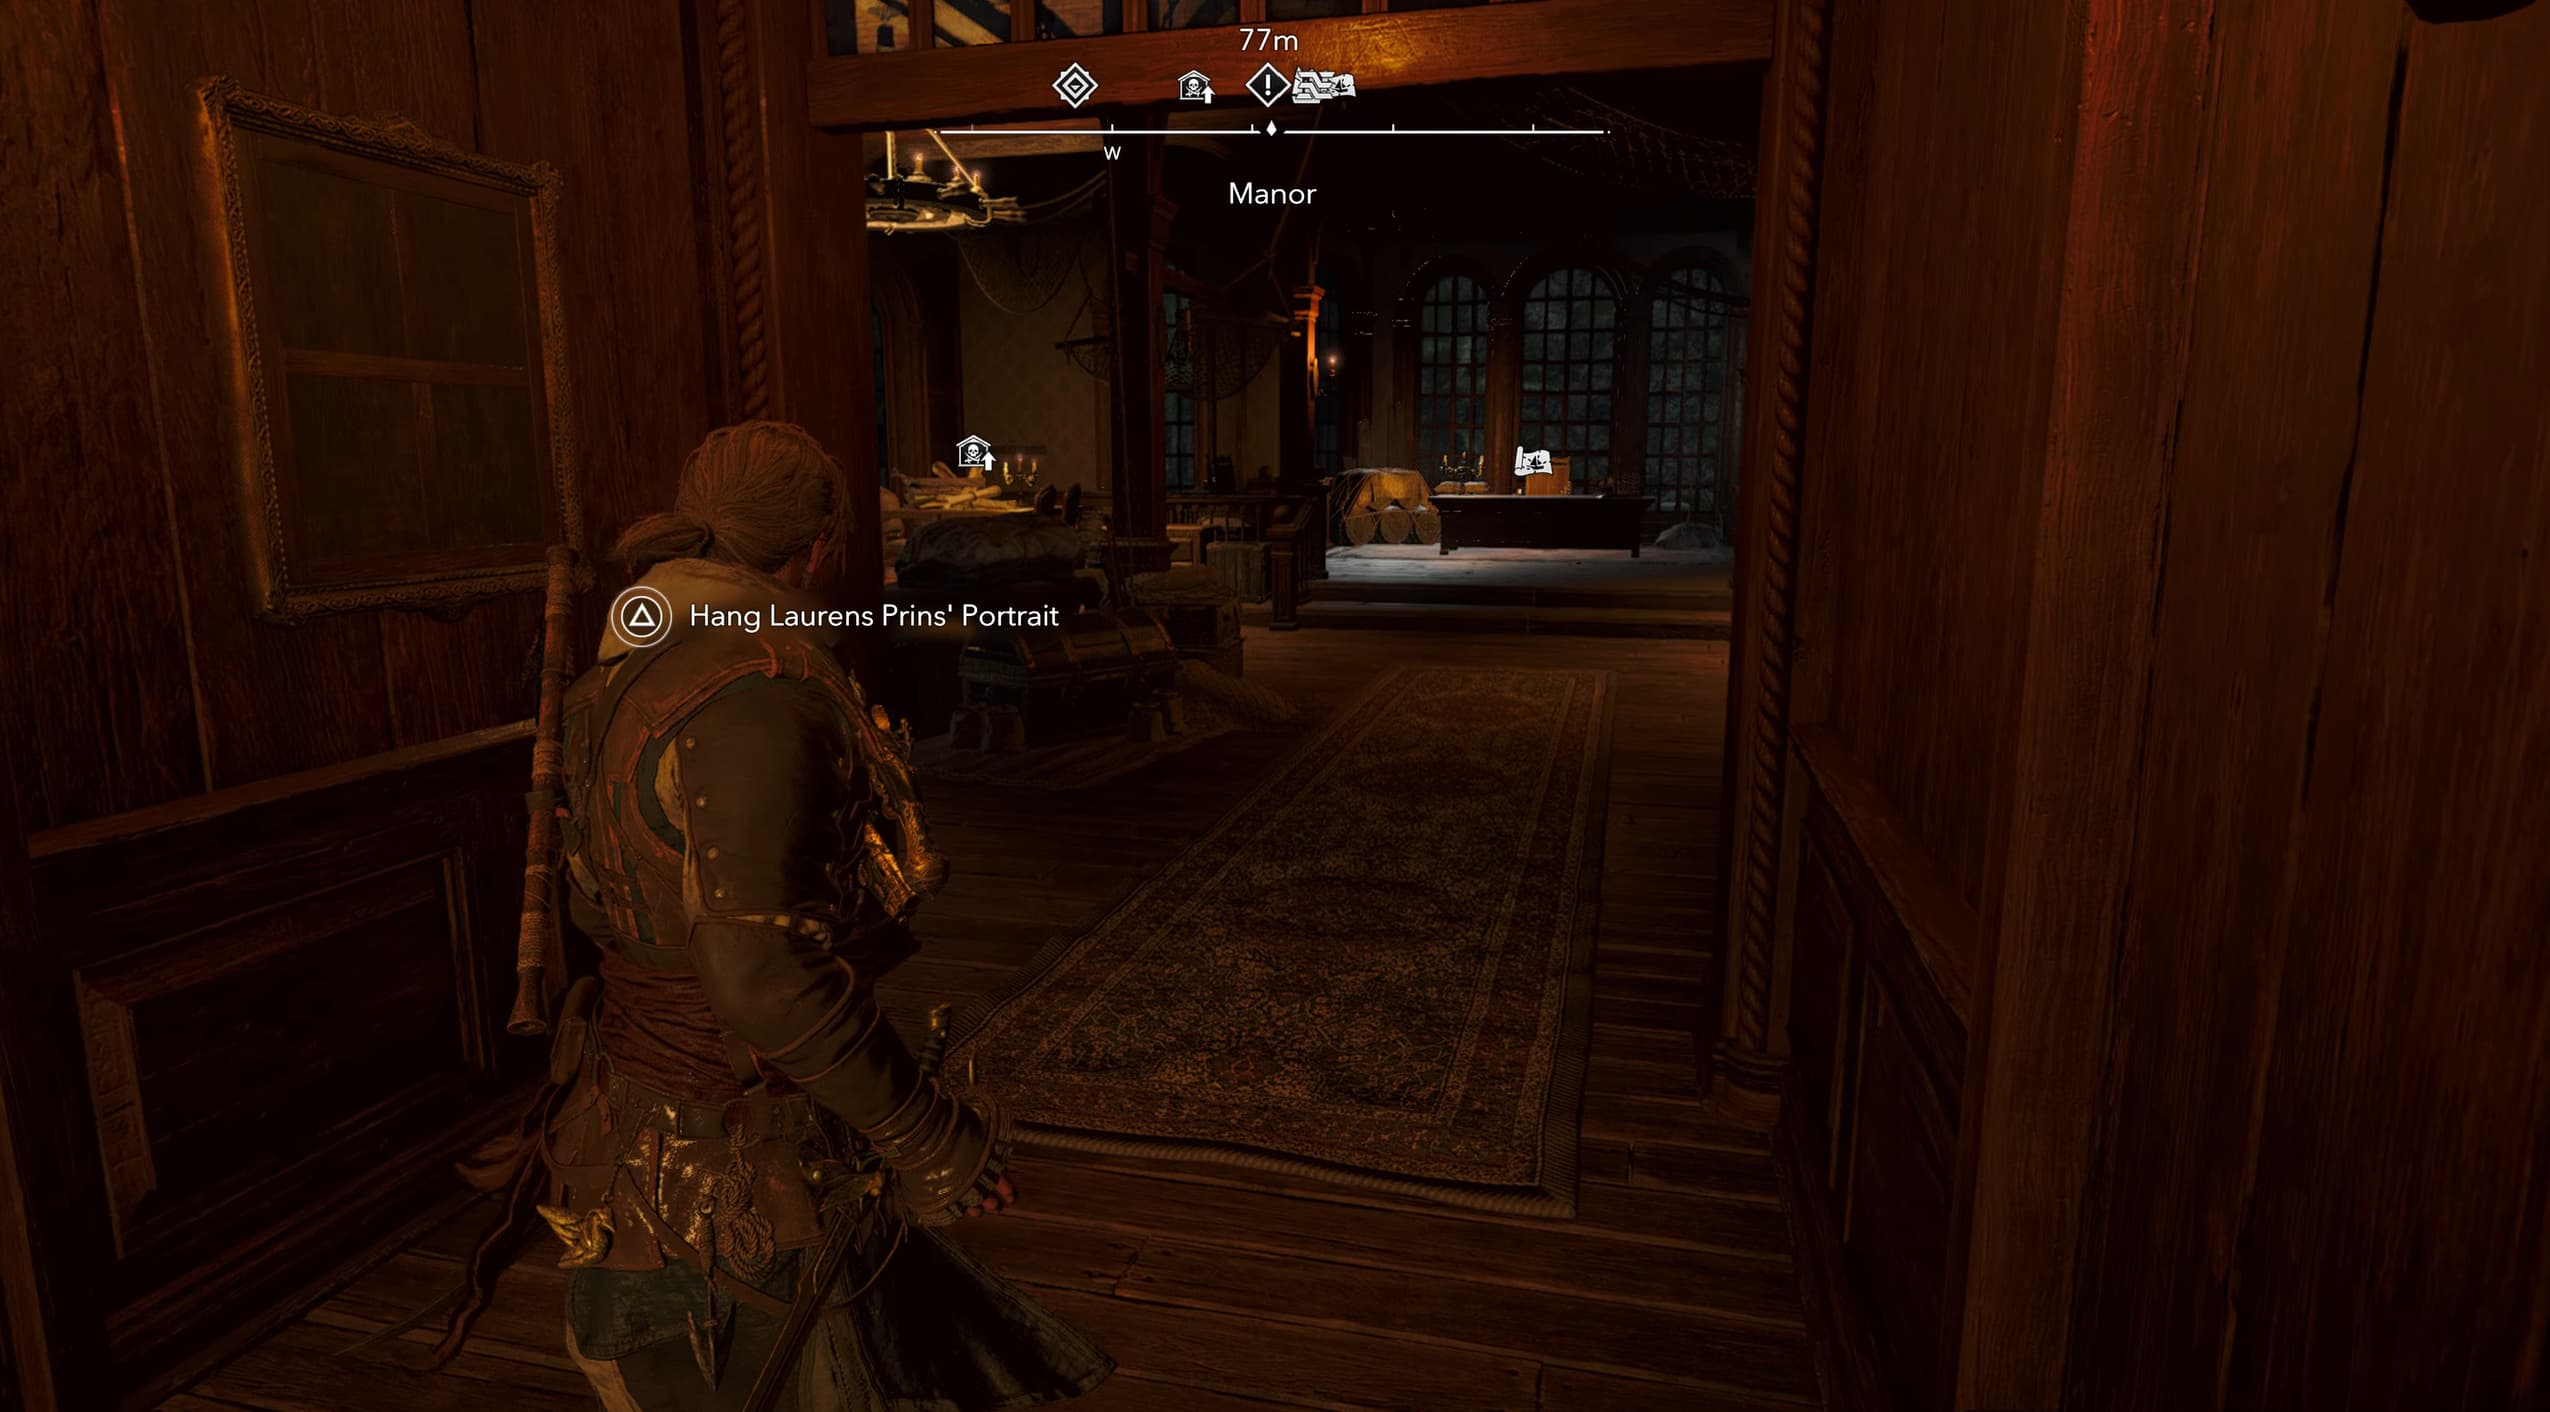
Once you have collected all 11 portraits, return to the manor at Great Inagua, and you will be able to place all of the portraits.
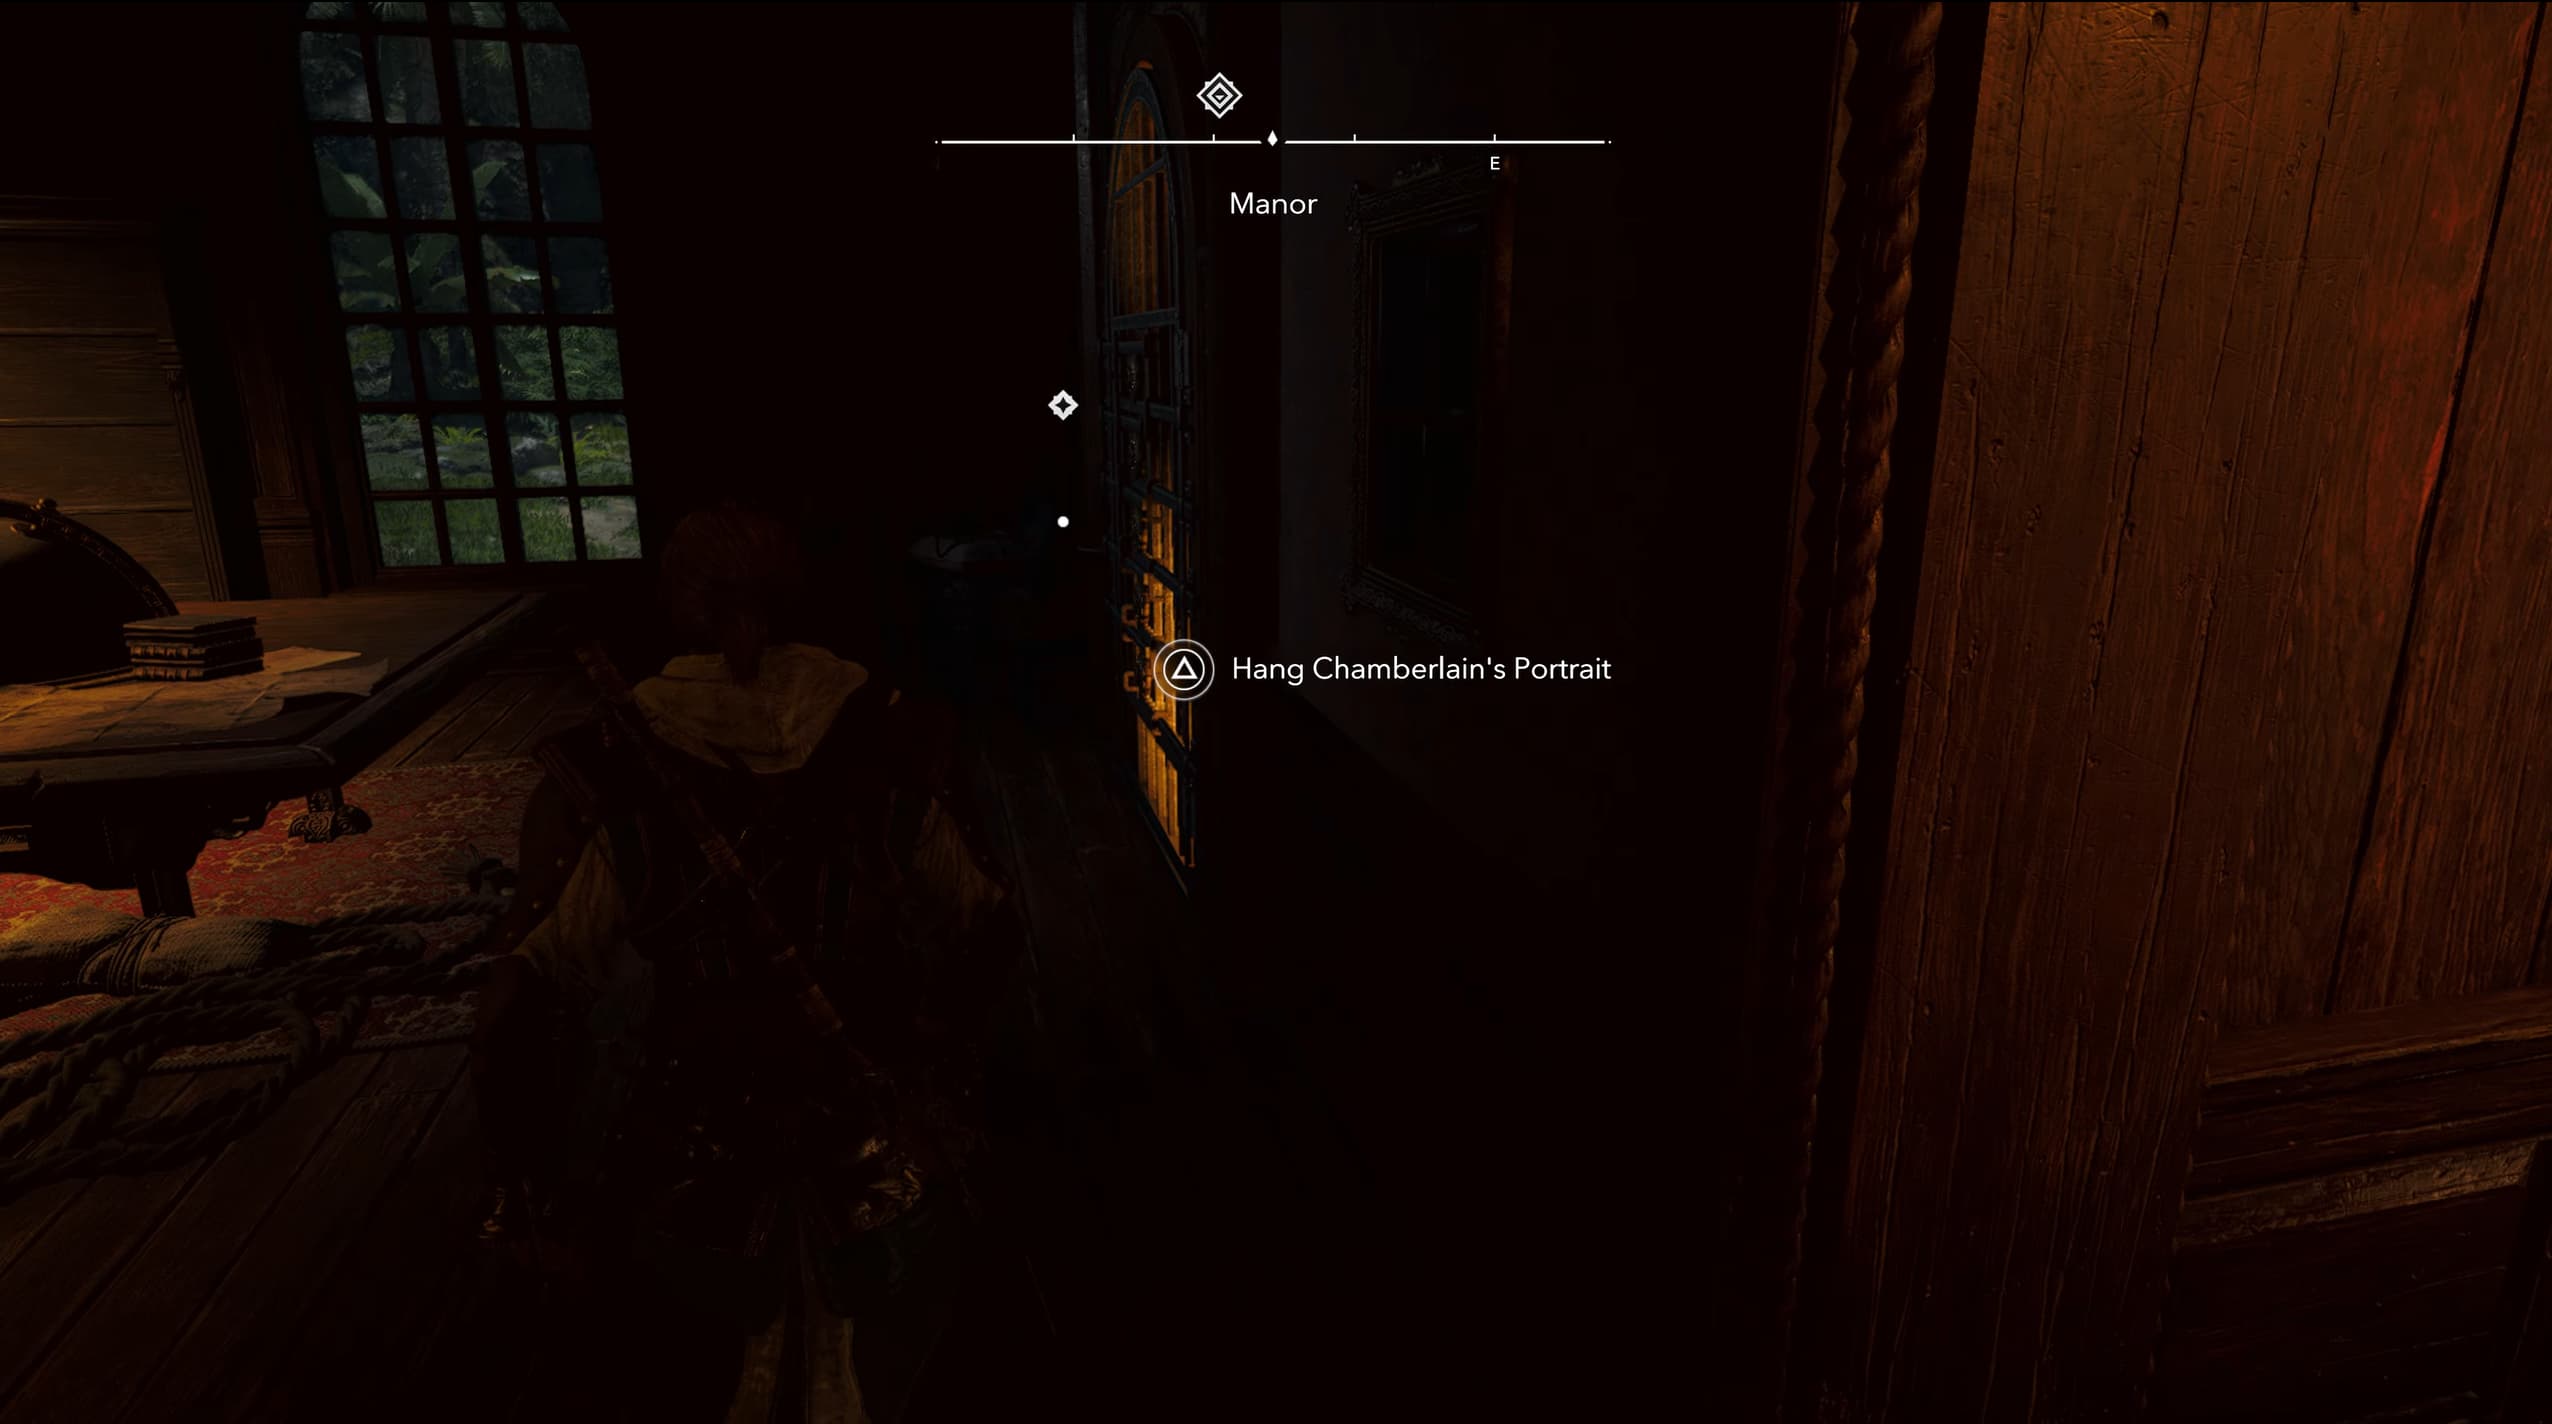
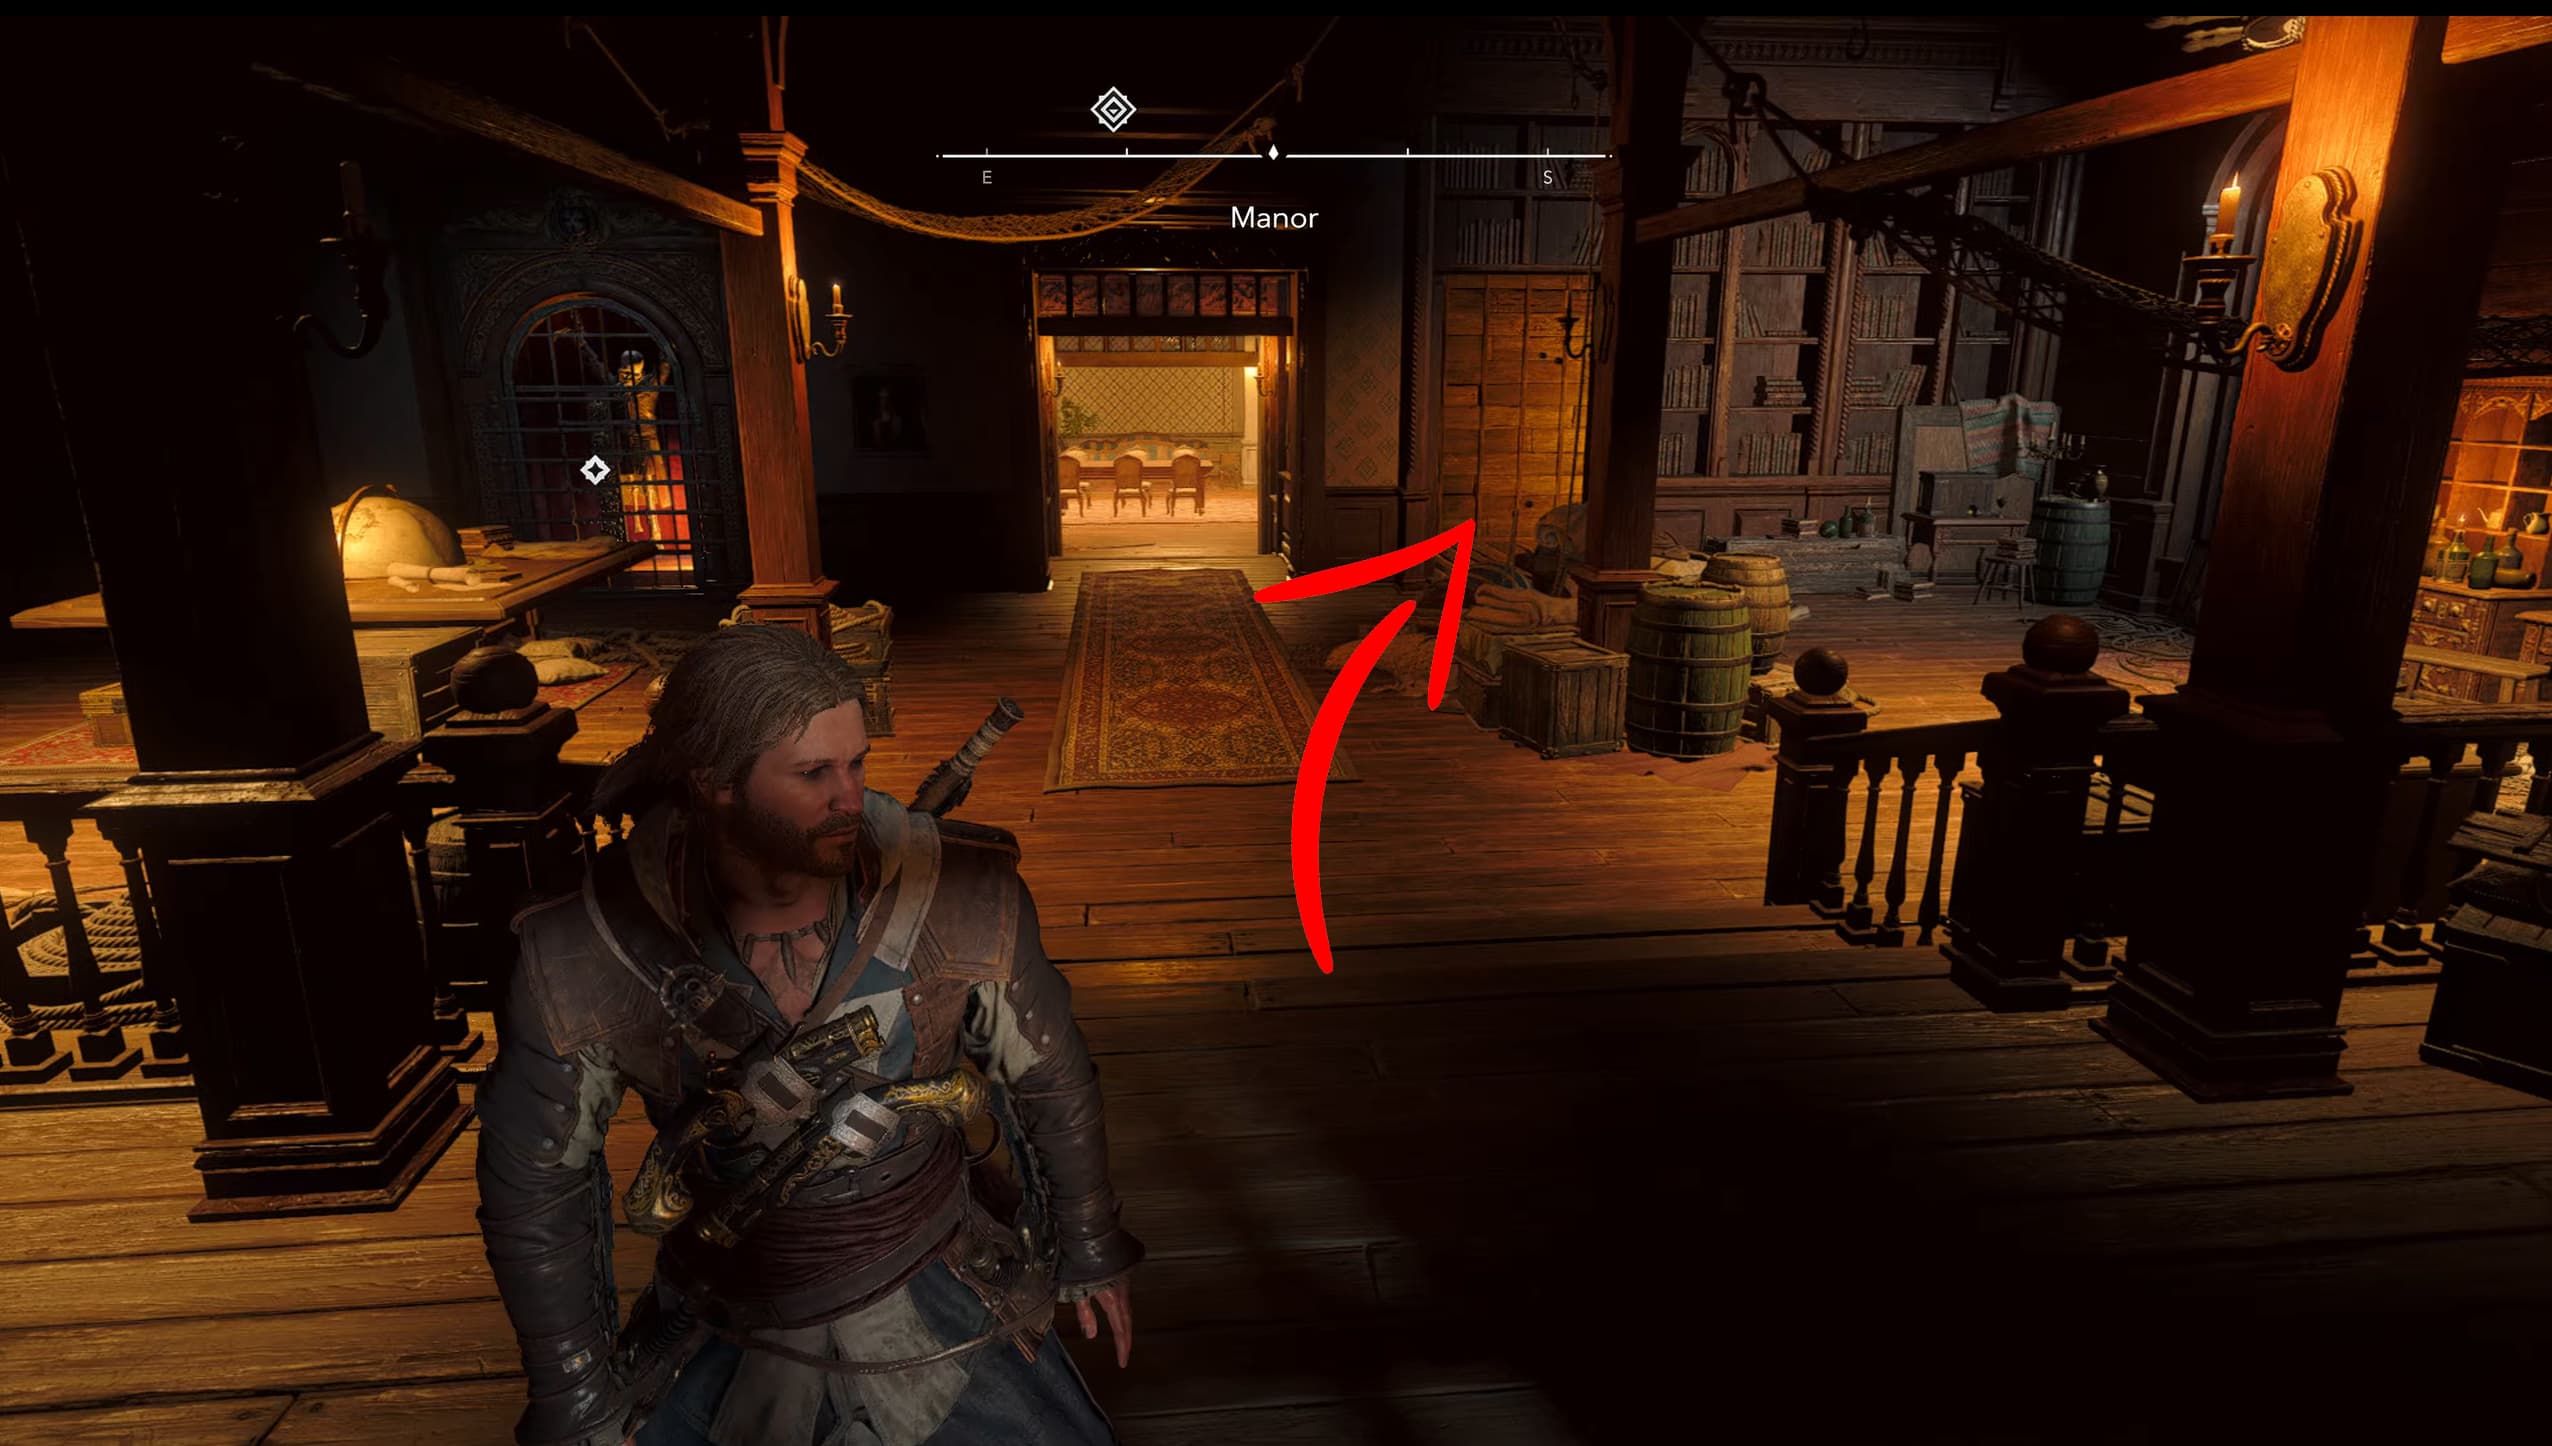
Entering into the manor and towards the drawing room (where Edward's desk is located) and place the first portrait in the corridor.
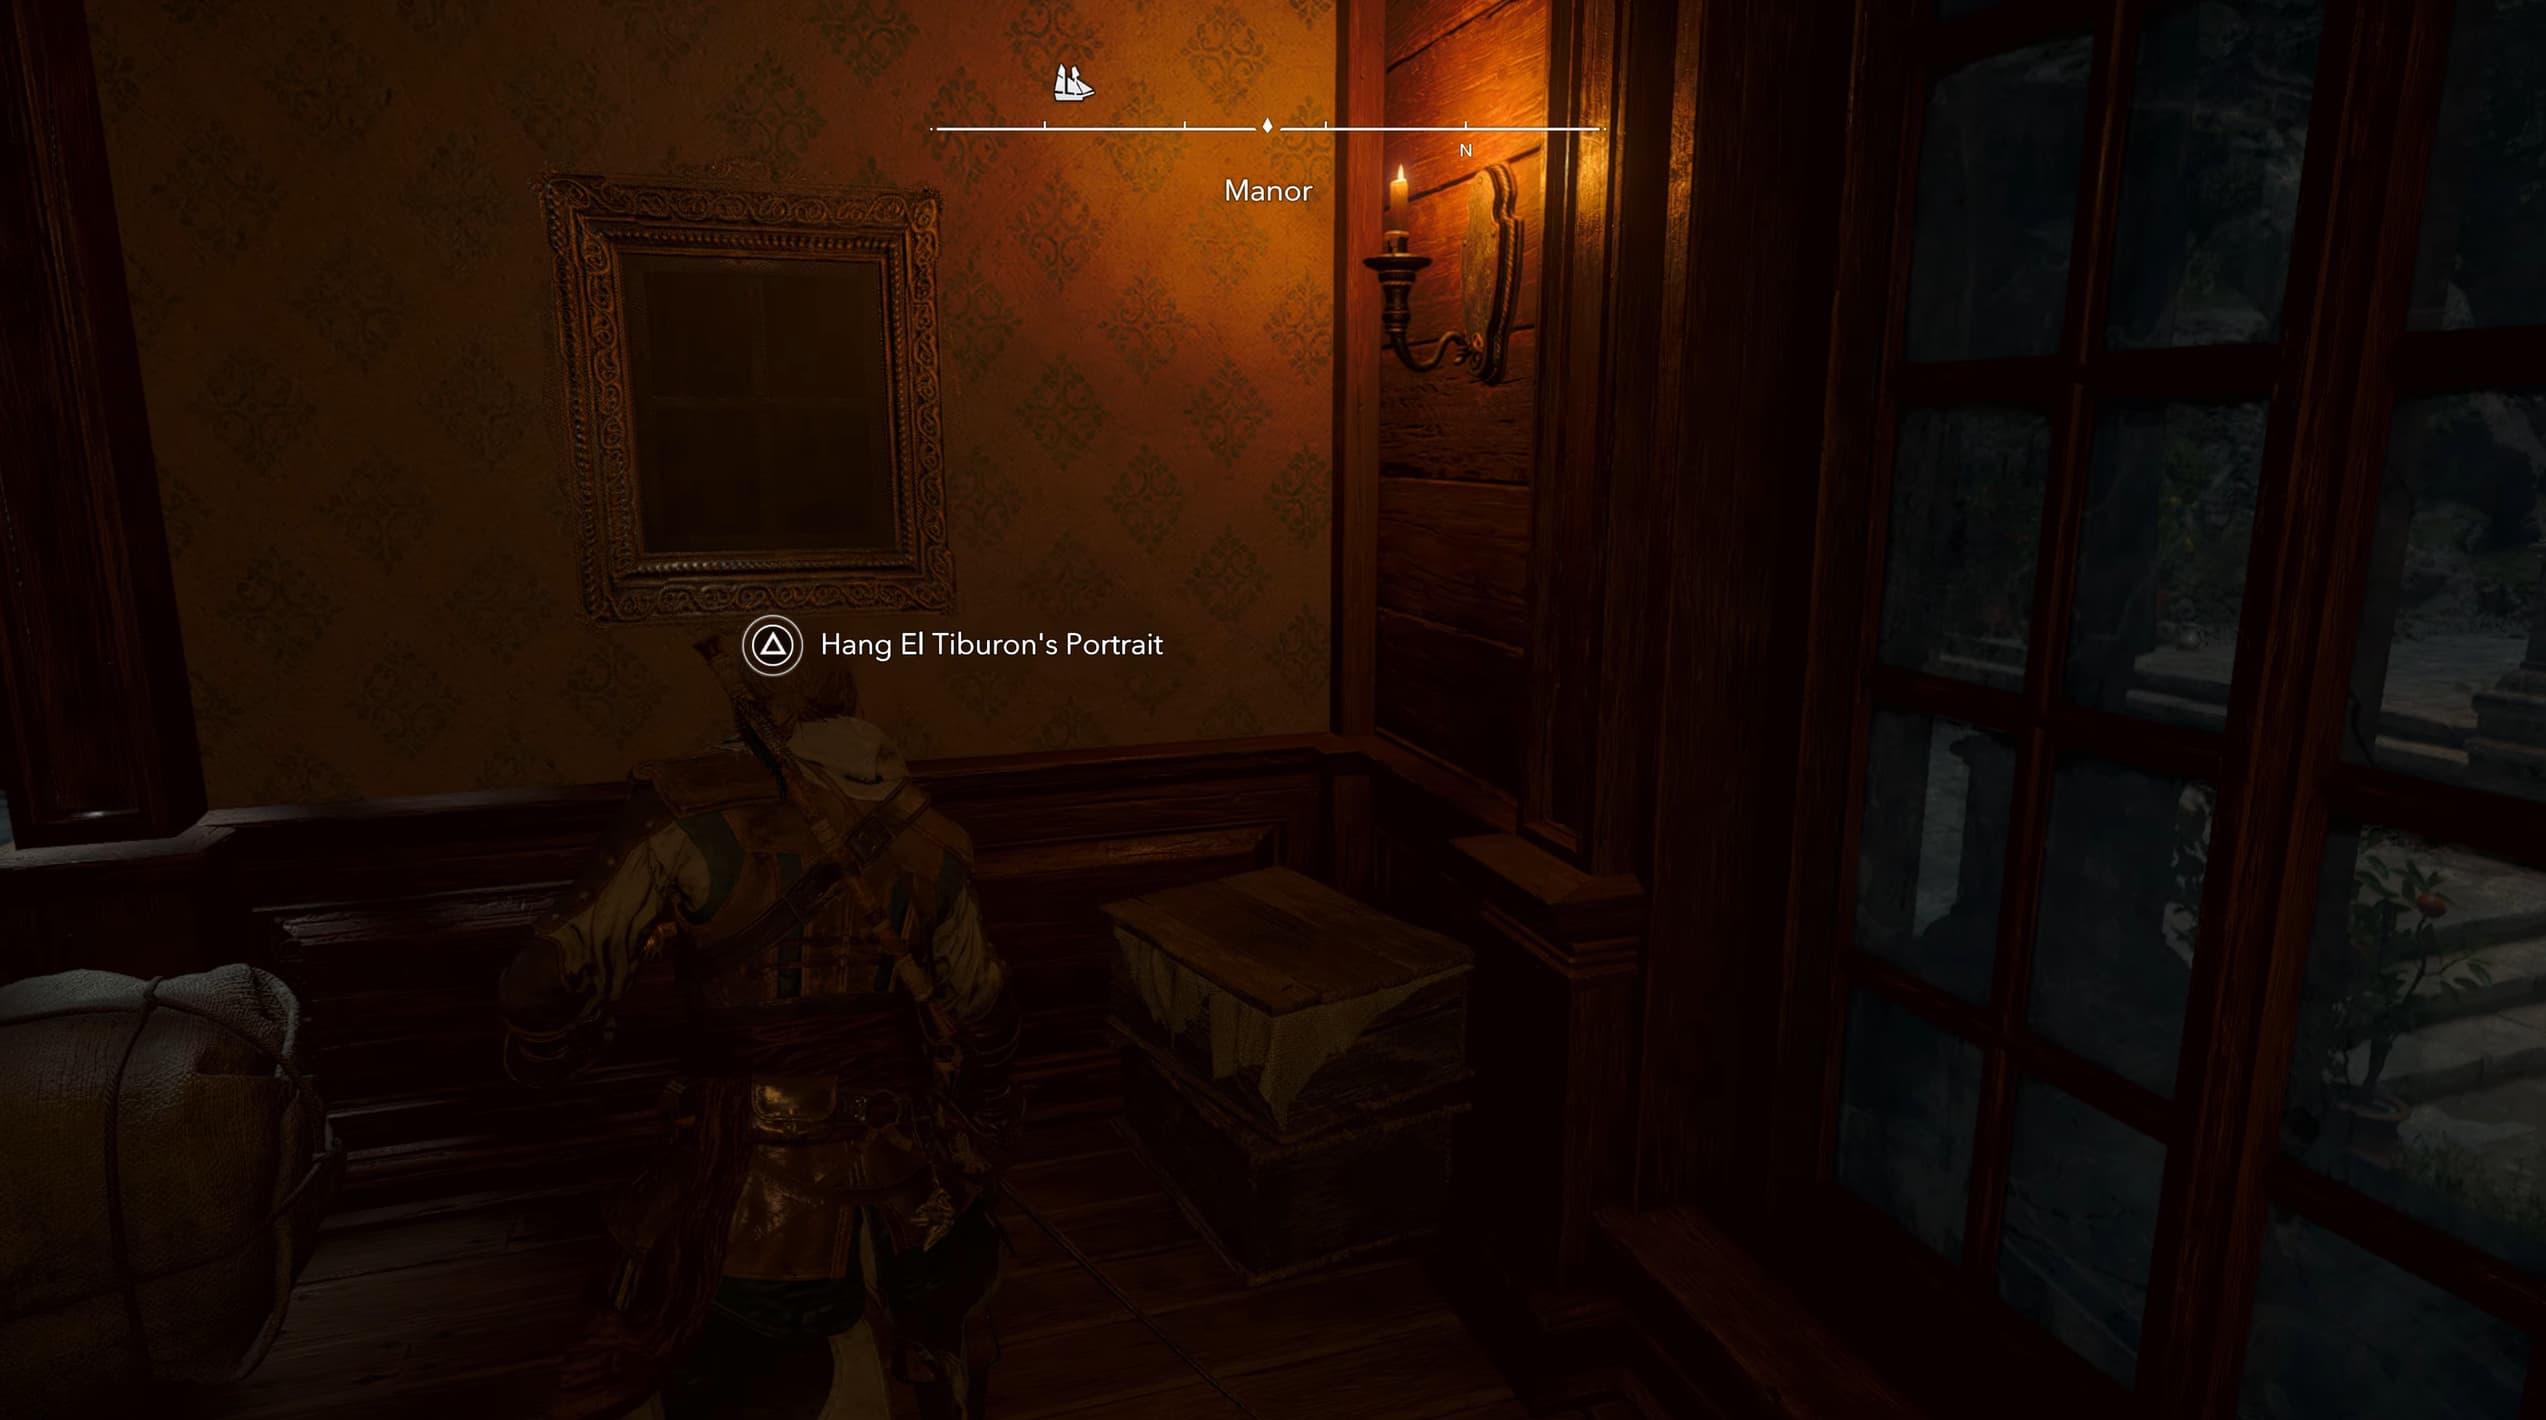
Place the second portrait just to the right as you enter into the drawing room.
Head towards the back-right corner of the room and display the third portrait.
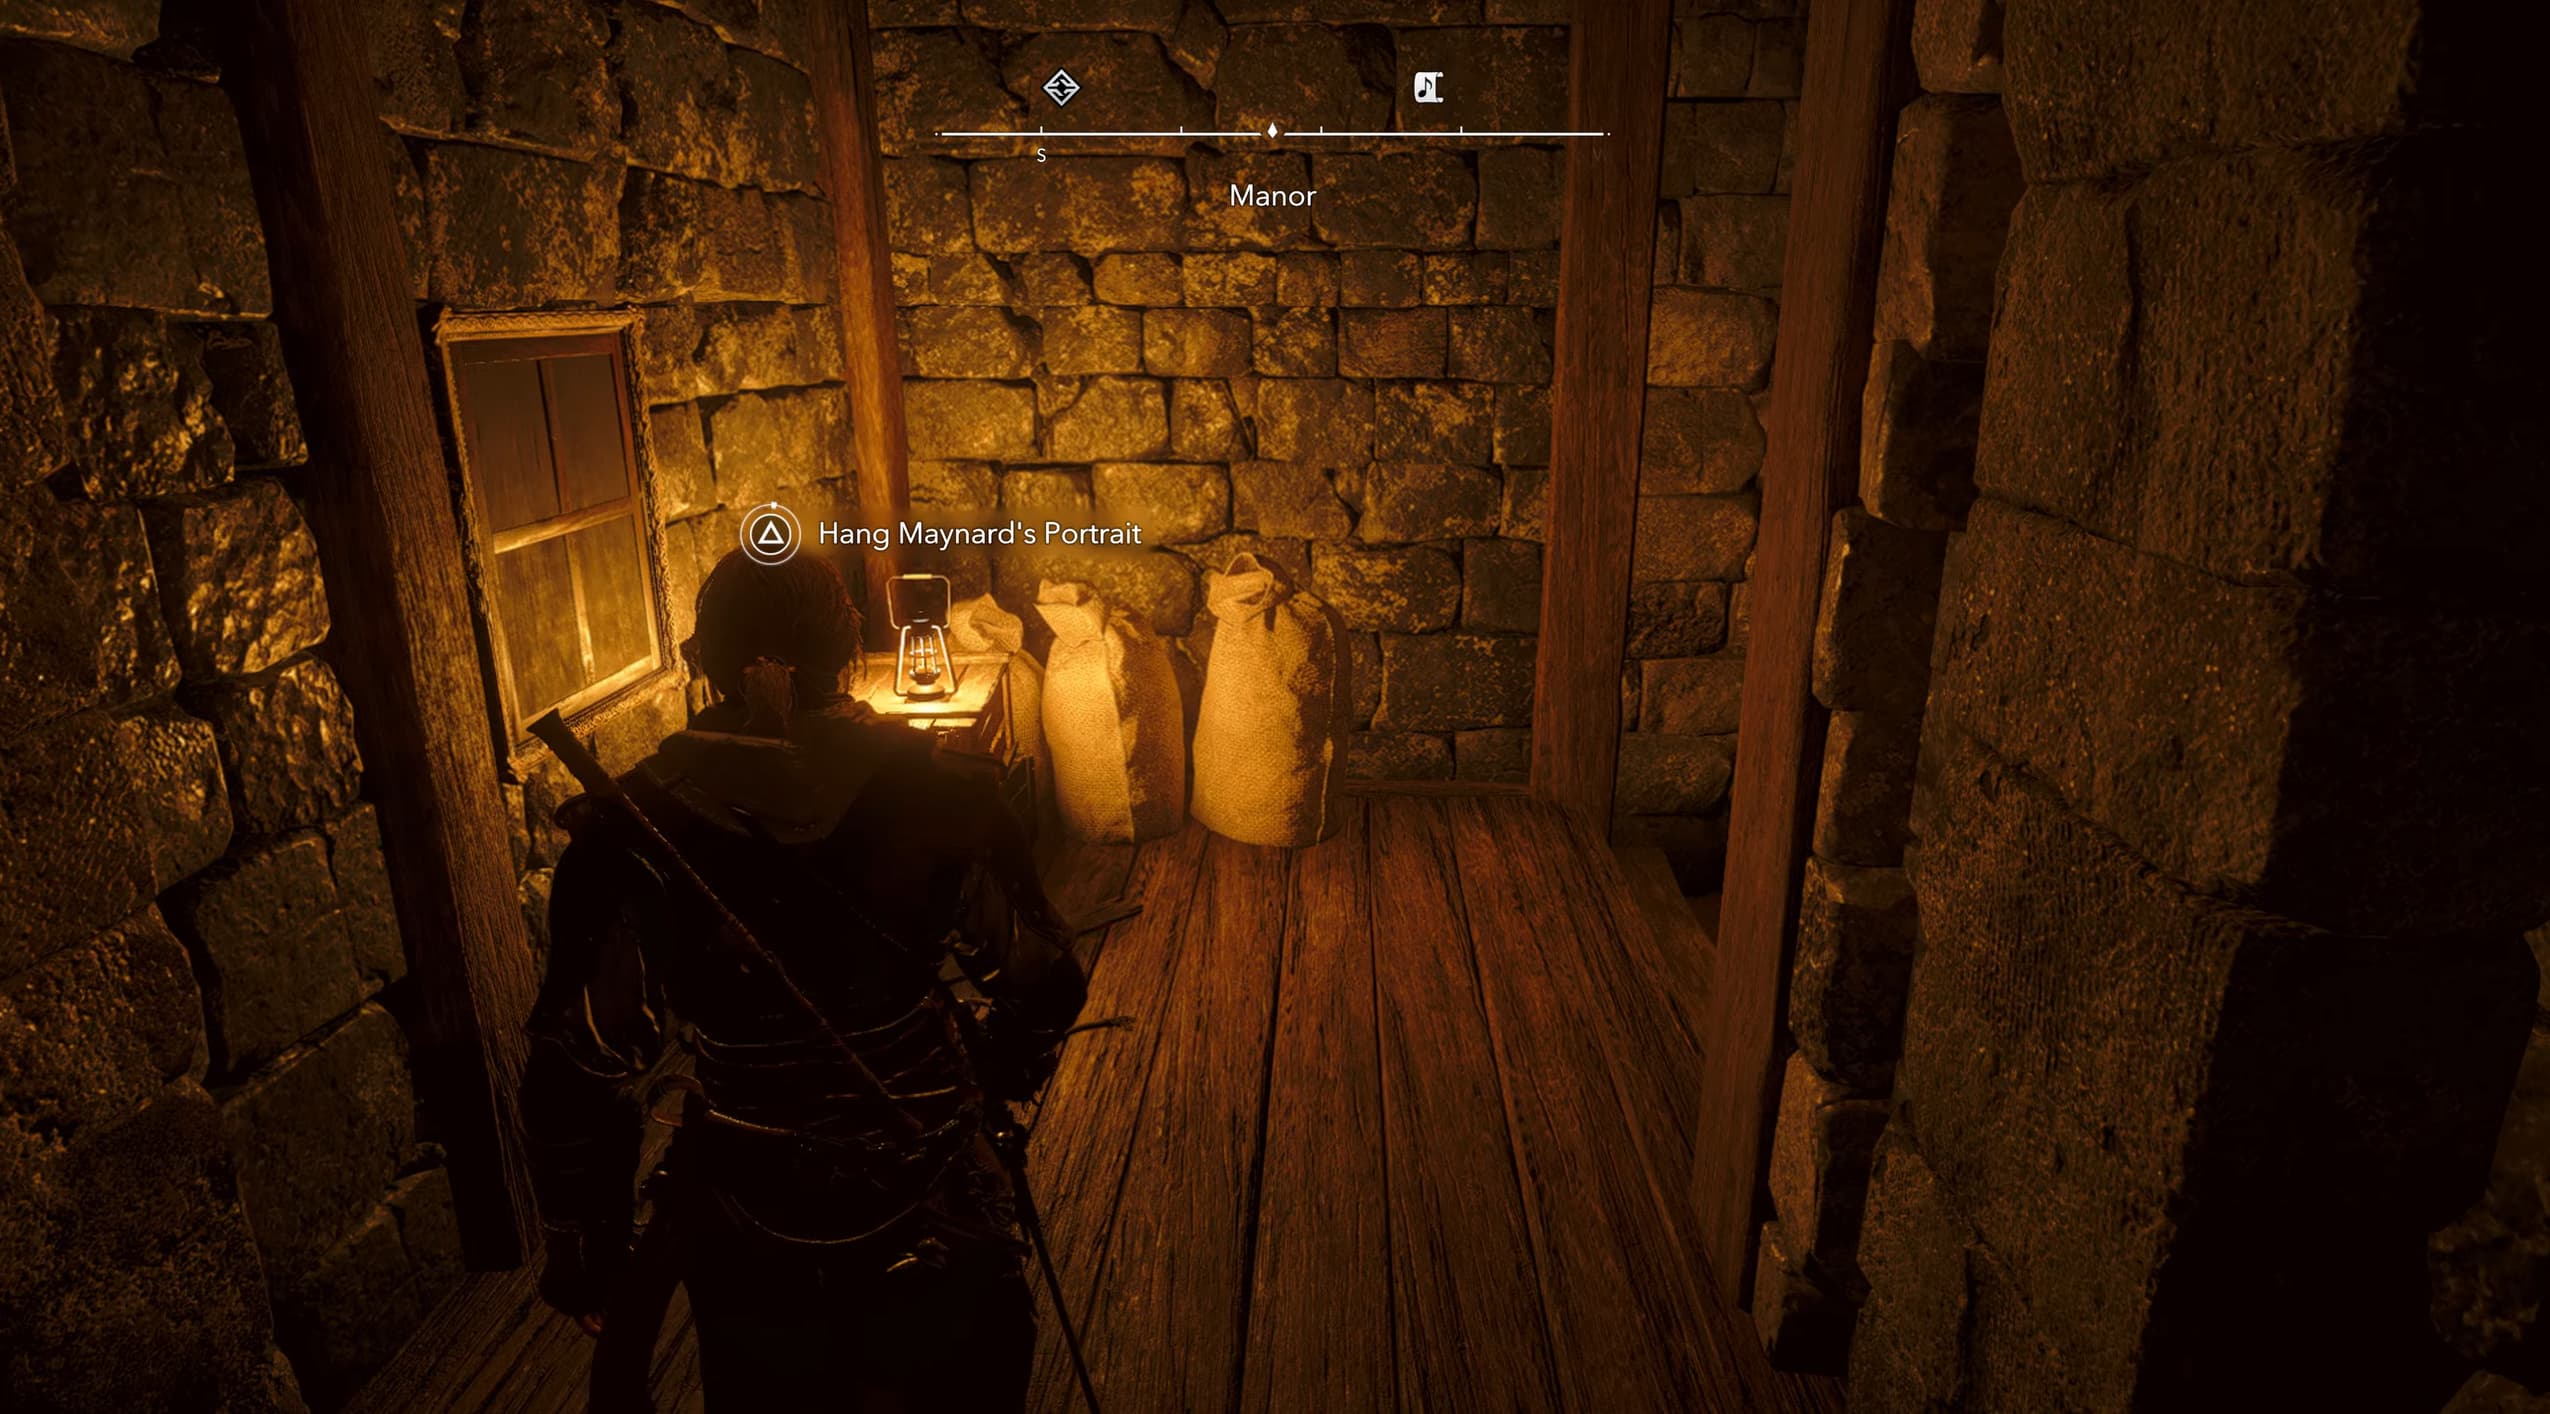
From the drawing room, head down towards the treasure cellar. At the bottom of the first flight of stairs, place the fourth portrait on the wall to the left.
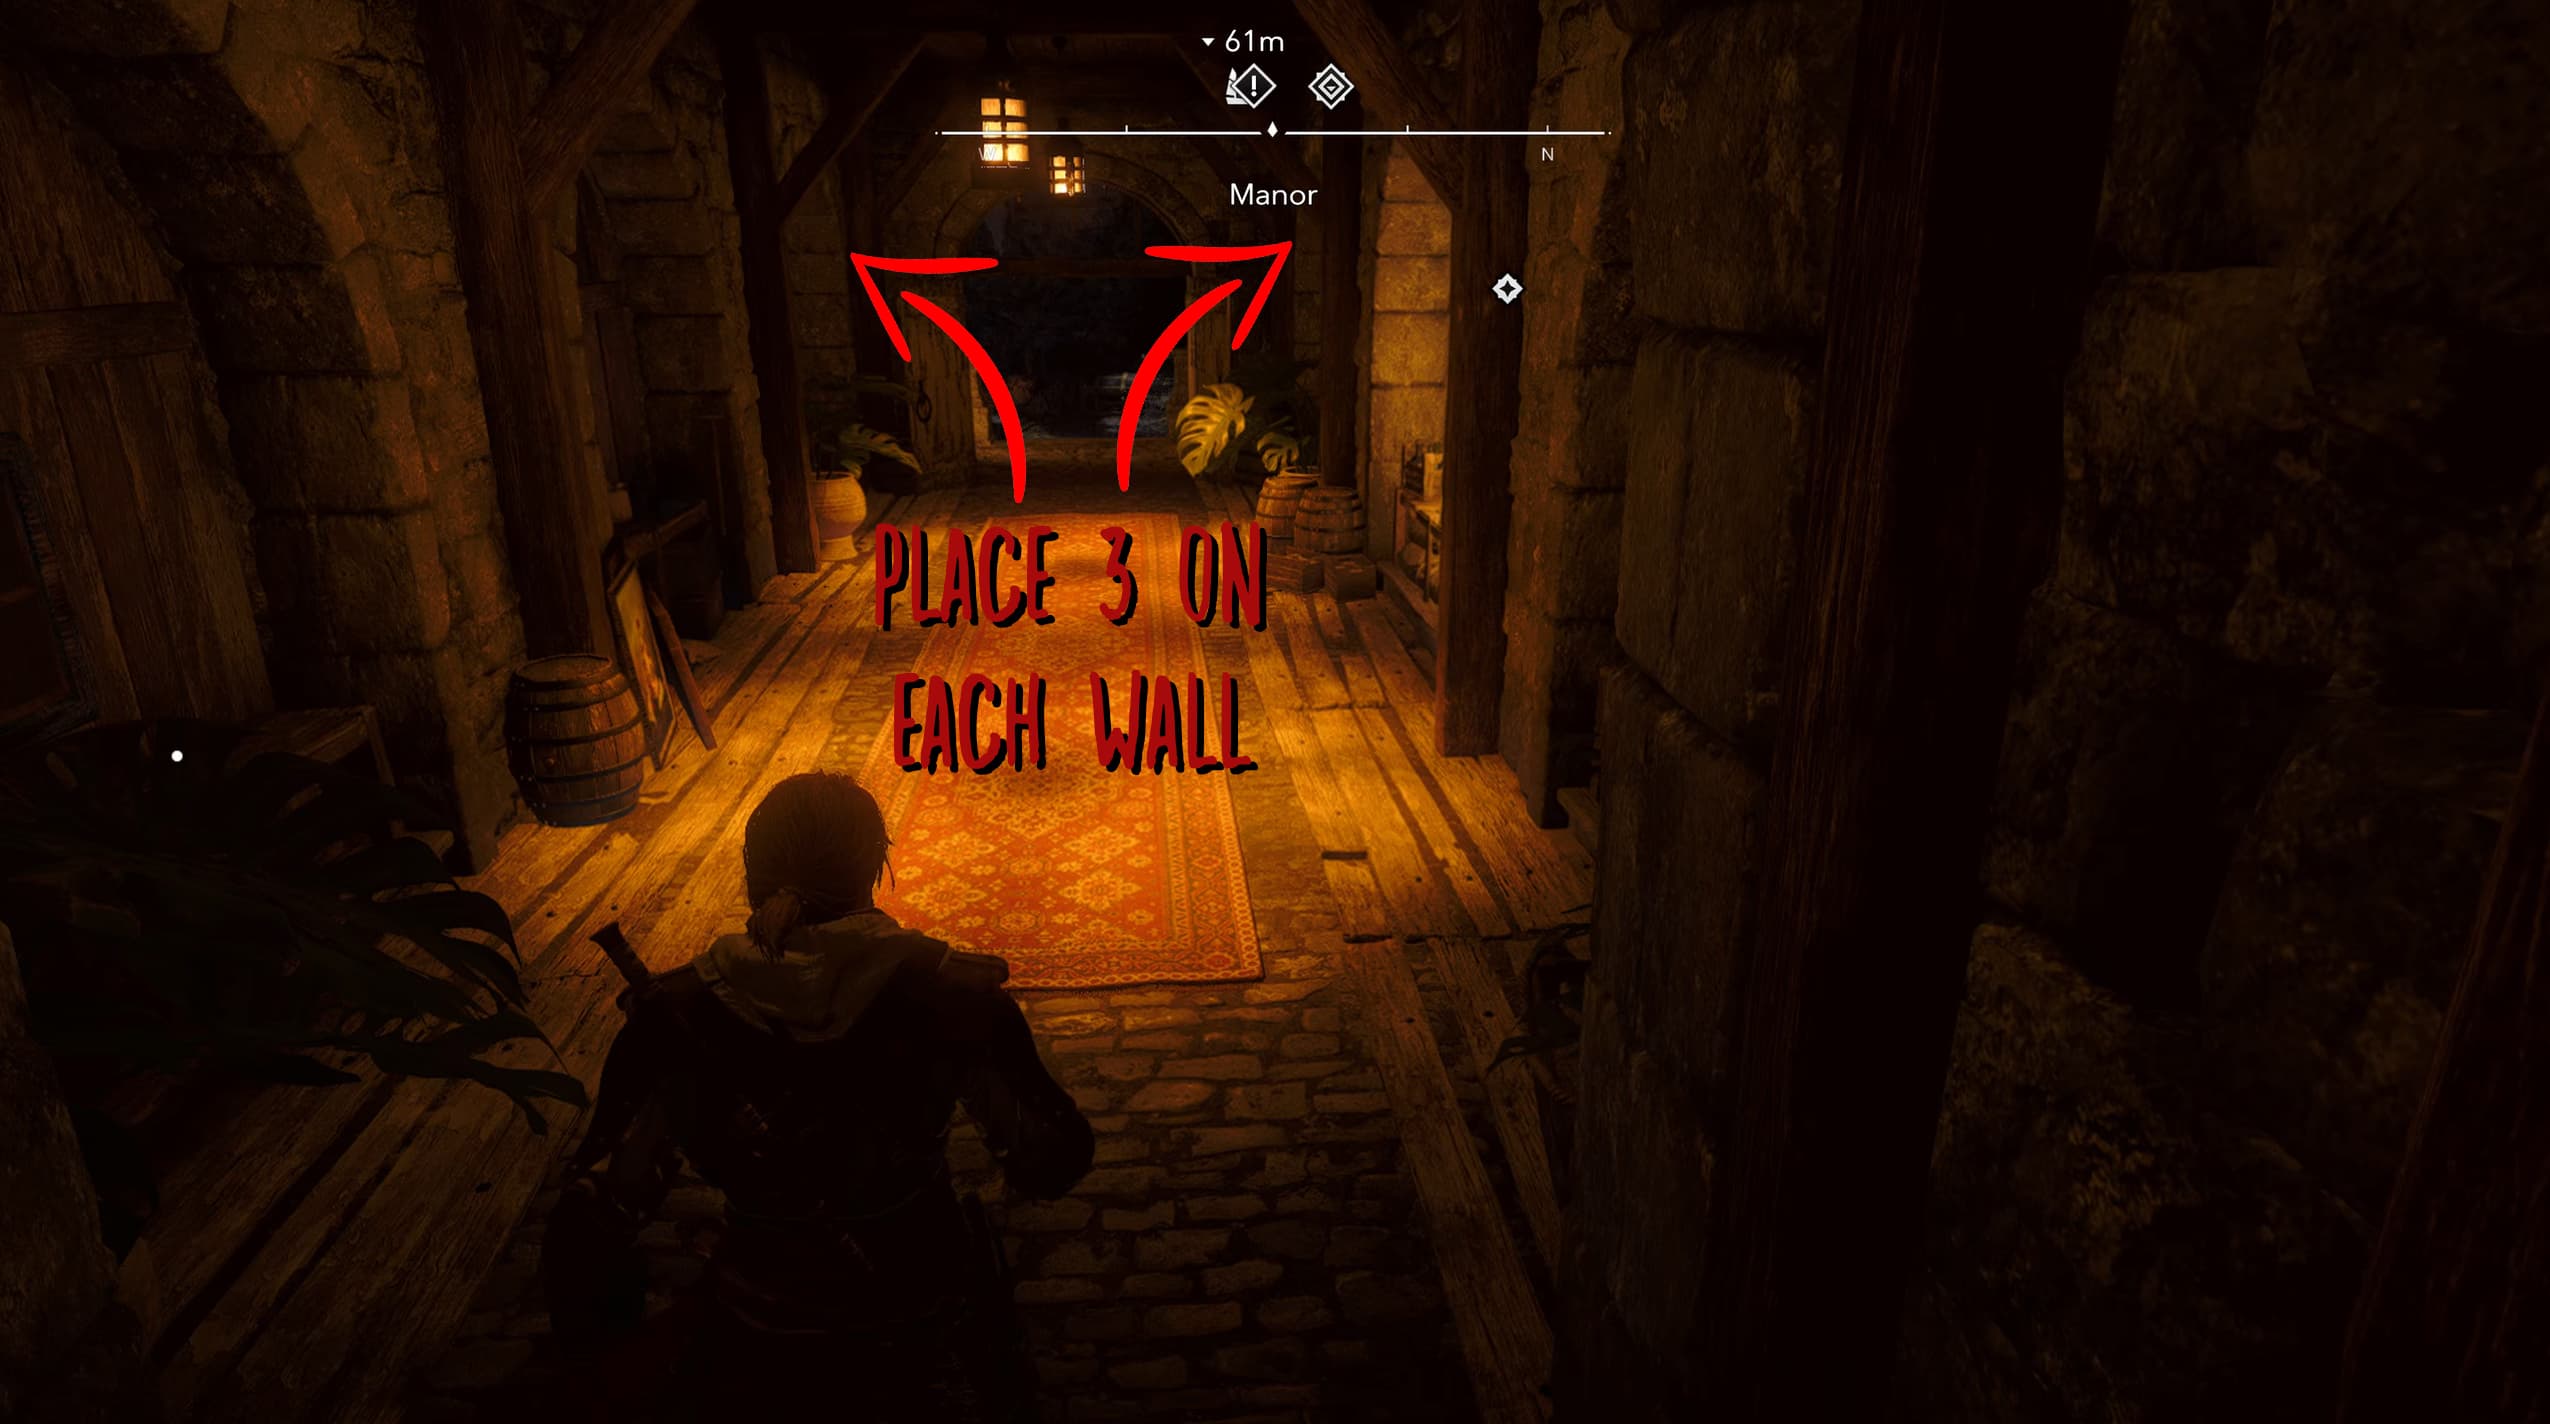
Continue down to the next room and there will be six portrait spaces here, with three on each wall, left and right, you will see a cutscene for Stede Bonnet's portrait.
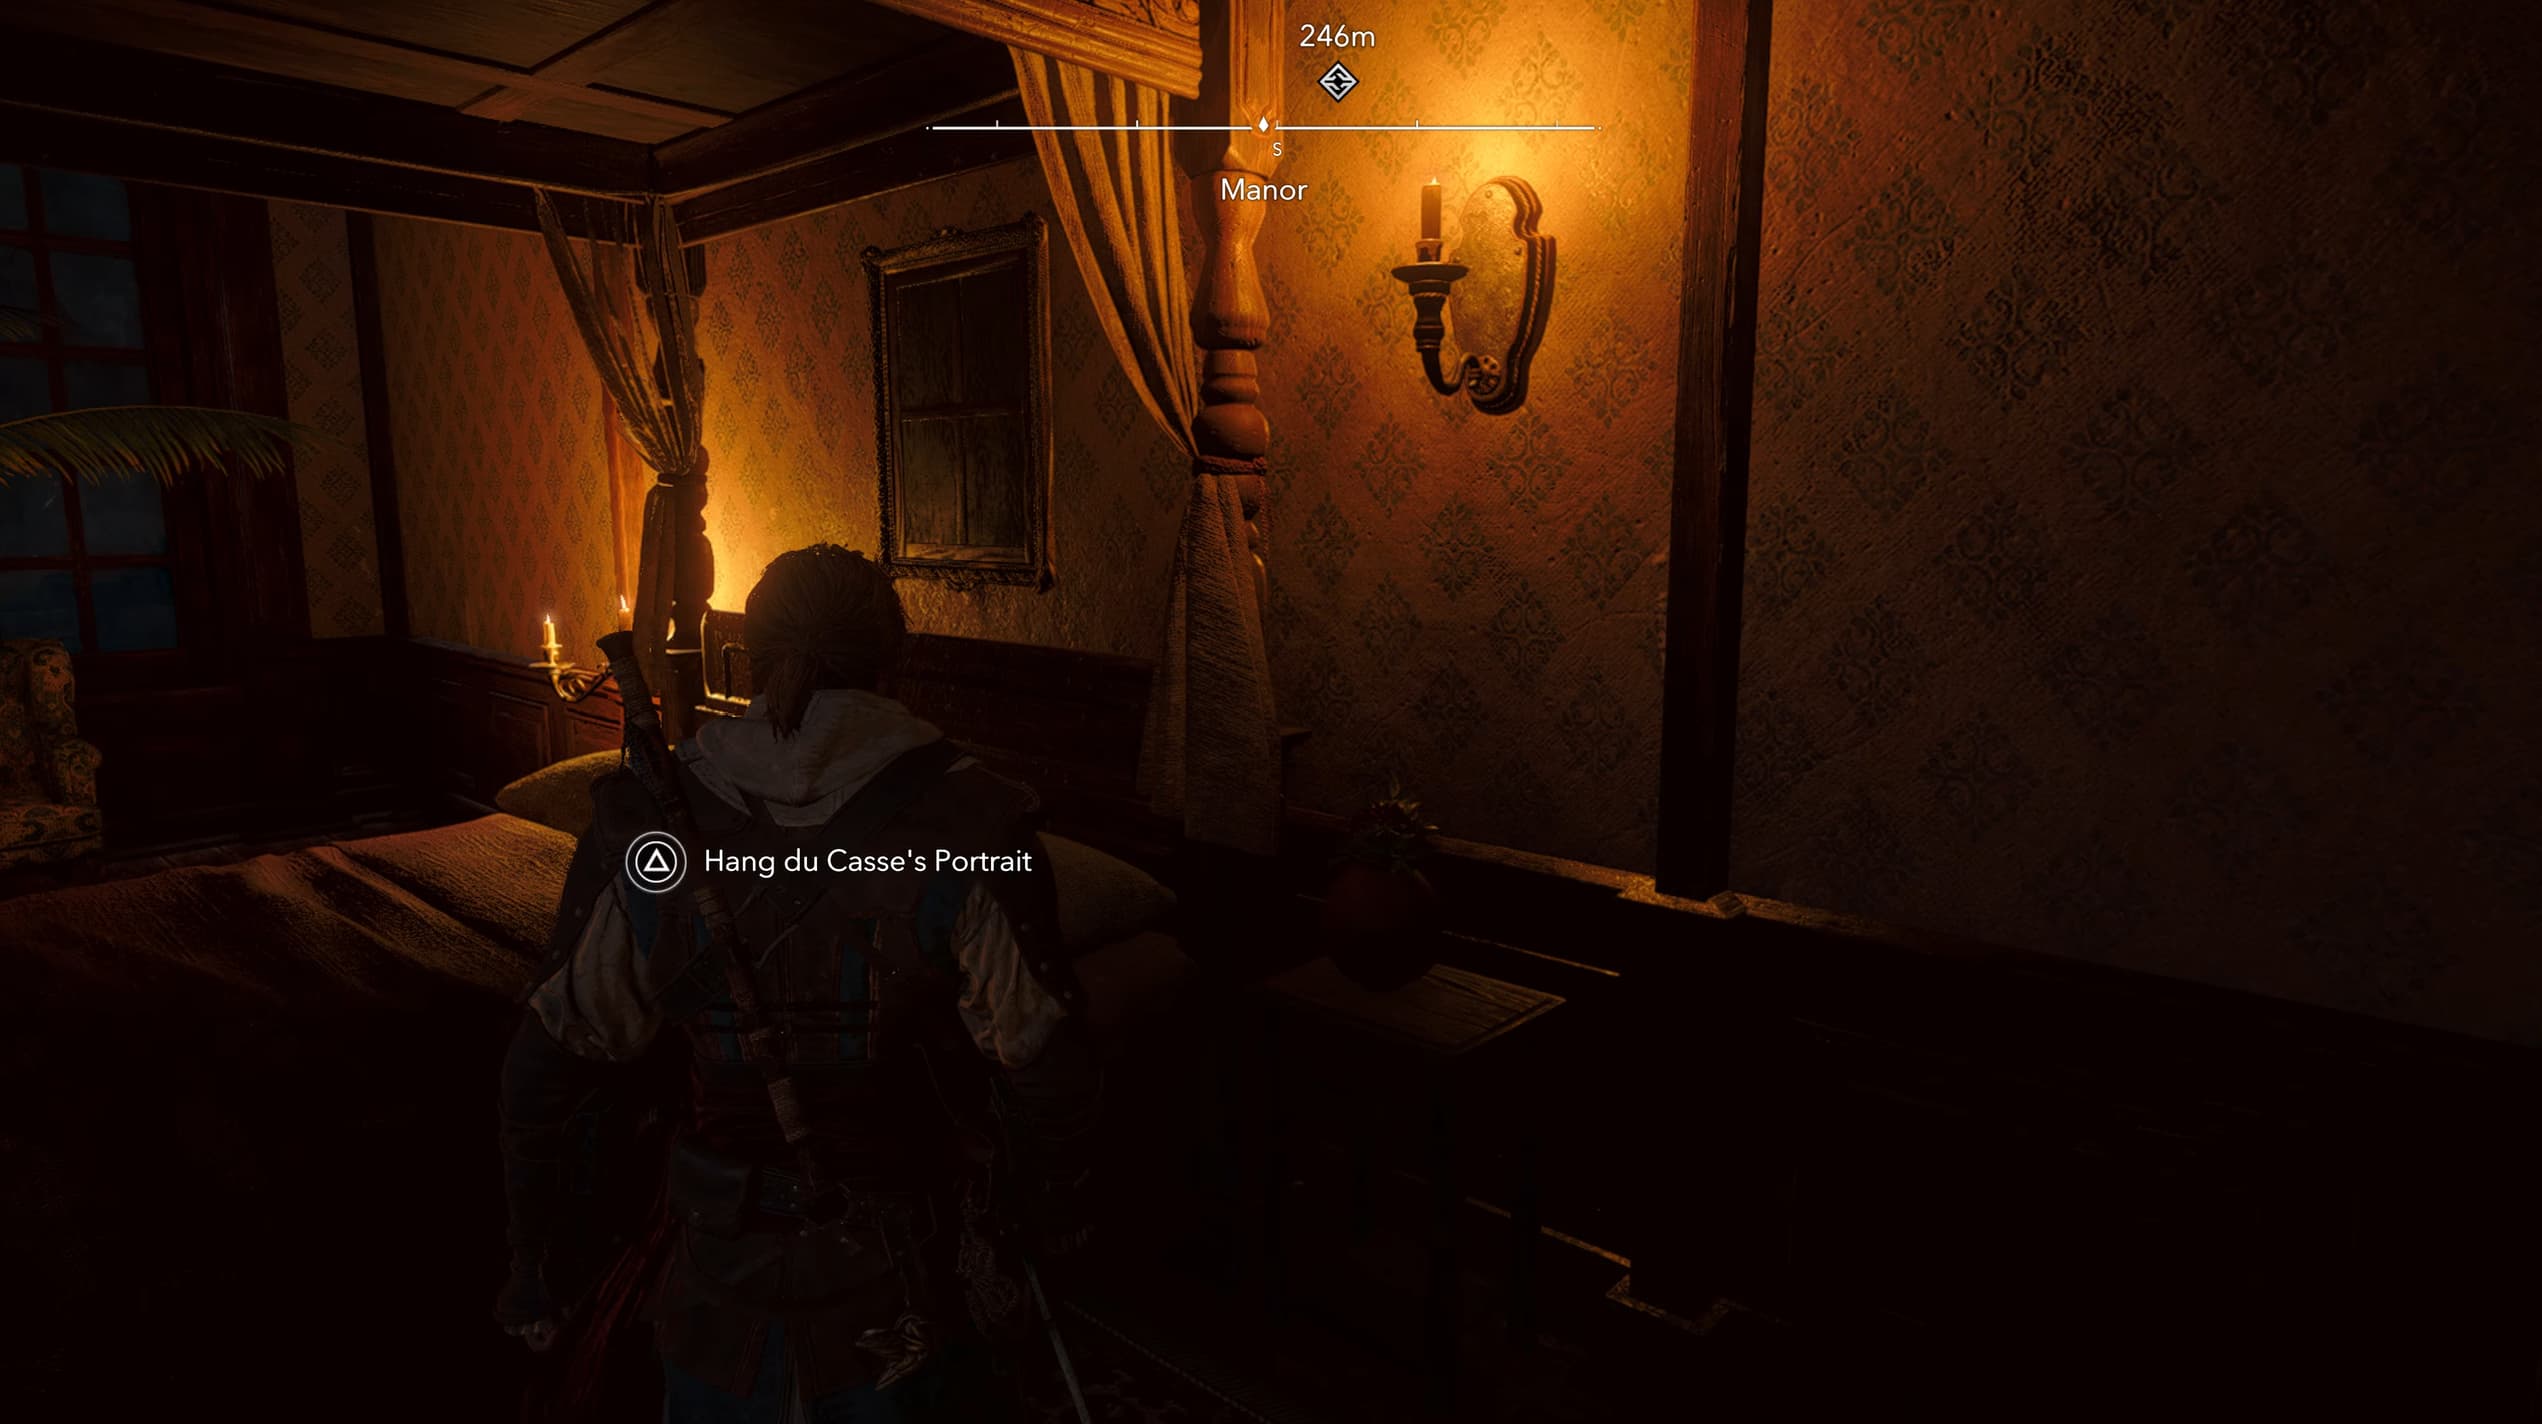
Once all six portraits have been displayed, return upstairs and head out into the dining room, then enter Edward's bedroom through the left of the two doors in the dining room, and the final portrait space is directly above Edward's bed.
The Memory of My Enemy trophy will now unlock after placing the final portrait.