menu
MobalyticsUse your favourite features in-game with our Desktop App
Genshin Character

Raiden Shogun Build Guide

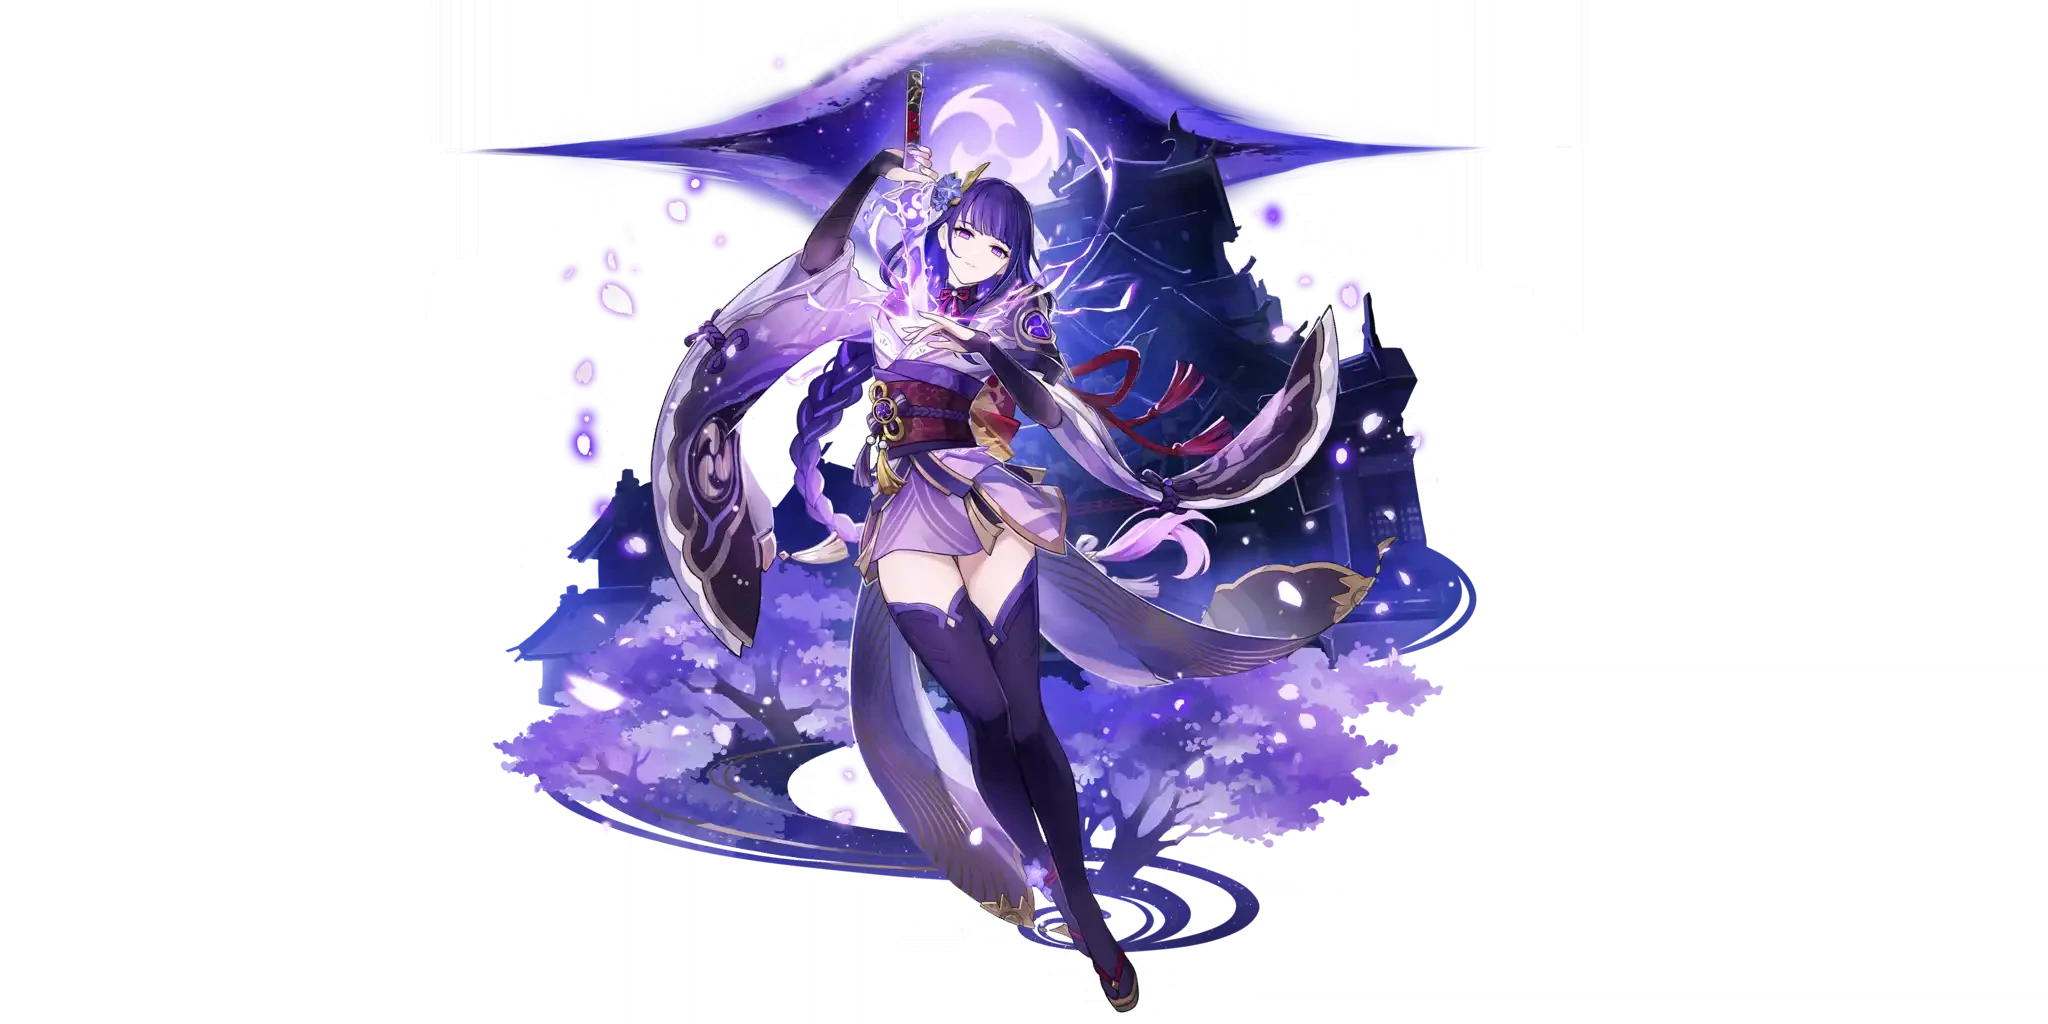
presentationRaiden Shogun
Updated on Jul 20, 2026
Jul 20, 2026

Character Profile

Her Excellency, The Raiden Shogun, is an on-field Electro DPS. Once upon a time the arguably best DPS around, she now struggles to find a place in the meta. Thankfully, the recent Hexerei Support releases and buffs have breathed some new life into her carry teams, although she's still lagging a good deal behind the best Electro carries.

The Raiden Shogun deals more damage based on her Energy Recharge and the Energy of her teammates. She will refund significant Energy to her teammates in the process, making for a unique Energy give and take. Stygian Onslaught has not made things easier for her however, as getting her Burst up for the first rotation can be quite difficult; her Burst has an Energy cost of 90, the highest in the game. It can also mean that building extra Energy Recharge on her and her teammates beyond required is something she doesn’t necessarily help with.


Ei without her C2 - C3 can be very difficult to make use of at the most difficult endgame tiers, but a good enough build and strong weapon can sometimes, somewhat, make up for it. Early Constellations or Weapons on her supports can too. She does nigh require said supports to perform, particularly Durin and/or Nicole. She also finds very limited use in other roles, making it very difficult to play her effectively without vertical investment.

Build Overview

Weapon
BiSEngulfing Lightning
Best 4 starSacrificer's Staff
Standard 5 starPrimordial Jade Winged-Spear
Best free option"The Catch"
Artifact
Artifact SetEmblem of Severed Fate
Artifact Stats
SandsEnergy Recharge
GobletElectro DMG
CircletCrit Rate/DMG
Substats
1Energy Recharge
2Crit Rate/DMG
3ATK %
4Empty

Energy Recharge Requirements: 200 - 300%

Raiden's Energy requirements are sky-high. This is generally fine, as she directly scales her damage with her Energy Recharge.

Ei has relatively high mainstat flexibility compared to most. She is able to use any combination of ER Sands, ATK% Sands, Electro DMG% Goblet and ATK% Goblet available to her, depending on what has the best substats — at least as long as her ER is high enough.

Skill Overview

Talents
Basic AttackOrigin
SkillTranscendence: Baleful Omen
BurstSecret Art: Musou Shinsetsu
MiscEmpty
Passives
Ascension 1Wishes Unnumbered
Ascension 4Enlightened One
UtilityAll-Preserver
ResonanceEmpty

Best Teams

Overload + Hexerei

Raiden Shogun + Durin + 2 of:

Chevreuse / Nicole / Fischl / Yae Miko

  • Durin is a godsend for Raiden. High off-field damage, a high Energy cost Burst without needing to build too much ER and an 18 second cooldown are all traits Raiden loves. Celestial Gift is a great team DPS increase, and it is something he can comfortably use if Nicole isn’t in the team. Ideally, he would use A Day Carved From Rising Winds with Gift on someone else, as his personal damage is very significant here.
  • Chevreuse is always one of the best options for any Overload team, particularly at C6. Her low Energy cost Burst can be a negative for Raiden, alongside potentially kicking out either a 2nd Electro or Nicole. The first will make Raiden’s ER requirements far stricter, whereas the latter will lead to overall lower damage, particularly for Durin.
  • Nicole forms an excellent pair with Durin as always. She buffs him significantly through her ATK buff and lets him hold an offensive set option instead of Celestial Gift. Raiden can get Nicole’s Theosis on her Burst hit by doing a couple Normal Attacks before using her Burst. This will generally not make for extra rotation time; it’s possible to run into downtime even with that delay.
  • Fischl's 45 ATK% in Overload is quite nice, but her personal damage is not particularly high. She has to be used alongside Durin but forces him to hold Celestial Gift regardless, making the synergy a bit worse than it could be.
  • Yae Miko's Witch’s Revelation buffs have made Ei's favorite a more attractive option than before thanks to the increased turret duration offering more rotational flexibility. Still generally worse than Fischl unless she has more vertical investment.

Example Rotation

  1. Raiden Shogun Skill
  2. Nicole Skill + Burst
  3. Durin Skill + Skill + Burst ( Light Mode )
  4. Raiden Shogun Burst + on-field combo


Lunar-Charged

Raiden Shogun - Columbina - Ineffa - Sucrose or Xilonen

  • Columbina and Ineffa are irreplaceable for this team's function, discounting vertical investment. Raiden’s main utility in this team is enabling them.
  • Sucrose / Xilonen: Sucrose is generally the better option due to her EM buffs. You might have to cut Raiden’s field time short to maintain Sucrose’s buff uptime sometimes, which is entirely fine; this isn’t a team that makes good use of Raiden’s personal damage.

Example Rotation

( Raiden Shogun Skill to open the fight )

  1. Columbina Skill + Burst
  2. Ineffa Skill + Burst
  3. Sucrose N1 + Burst
  4. Raiden Shogun Burst + on-field combo + Skill
  5. Sucrose Skill

Other various teams:

Raiden has a few Dendro options that she can be useful in, namely as a Hyperbloom trigger. Her Skill has a duration of 20 seconds on a very short cooldown, and can trigger up to once every second: this is very useful for Hyperbloom even if it isn’t particularly high Electro application in single-target scenarios. Bloom seeds are unique entities and don’t share Elemental application cooldown with the target they were triggered on.

Other Hypercarry Raiden teams exist, as do other teams that Raiden takes the role of a driver in. Examples include the well known Xingqiu + Xiangling team or teams with Kujou Sara buffing Raiden. These have generally fallen off very significantly and will rarely be competitive with the Overload teams.

Best Weapons

BiS Option: Engulfing Lightning

Raiden’s Signature weapon has an Energy Recharge secondary stat and makes Raiden further scale off Energy Recharge with its conversion passive. While quite strong and makes getting Raiden’s Burst up far easier than any other Weapon without compromising on damage, it isn’t necessarily significantly stronger than other options. Raiden tends to not have too significant of a damage share in her best teams, making it one of the worse vertical options for those teams.


Best 4 star: Sacrificer's Staff

A Weapon Banner exclusive 4 star weapon that, at R5, can be competitive with her Signature. Actually acquiring R5 is exceptionally hard and not necessarily worth going for, but it is very strong even at R1, and better than most other options.

Standard Banner 5 star: Primordial Jade Winged-Spear

The Standard banner 5* Polearm is quite decent on Raiden. She makes good use of the passive, especially by doing a couple Normal Attacks before using her Burst, same she wants to do with Nicole. It will be about as good as or better than most Limited 5 star Polearms.

Other Limited 5 star Polearms:

Invariably all decent, but will be around the level of PJWS. None are worth pulling for, but if you have them around, they can be nice. Staff of the Scarlet Sands but not too much better than the rest.

Best Free option: "The Catch"

Entirely free to acquire and very powerful, even if the Inazuma fishing minigames can be a pain. More or less designed for Raiden and gives her a very significant amount of stats. Competitive with most 5 star Polearms besides her Signature.

Other good 4 star options:

Deathmatch

Can be comparable to The Catch if you have enough Energy Recharge otherwise, but not particularly impressive.

Favonius Lance

If you really need the Energy, or in a Columbina + Ineffa team. Raiden becomes the strongest Energy generator in the game with this, although this isn’t necessarily particularly useful in the current meta.

Best Artifacts & Stats

BiS Option: Emblem of Severed Fate

The artifact set made for her and typically her best option by a significant margin. If planning to use Raiden as a carry, definitely farm or strongbox this. Ei is generally quite flexible in terms of mainstats, making it easier to acquire a set for her than for most characters.


2p2p combinations: They’re fine. Get Emblem instead.

Niche alternatives: Night of the Sky's Unveiling, Silken Moon's Serenade

Competitive with / better than Emblem in Lunar-Charged teams. SMS will let both Ineffa and Columbina hold Aubade, while NSU can provide stats Raiden otherwise has a hard time getting.

EM as a Hyperbloom trigger:

2pc2pc EM, Gilded Dreams, Flower of Paradise Lost are the options here. The last is typically the best, but not very worth farming for.

Talent Priority

  1. Elemental Burst
  2. Elemental Skill

Raiden's Normal Attack talent is worthless despite her use of Normal Attacks during her Burst. The scaling of those is located in her Elemental Burst talent, as is her big cast slash. Her Elemental Skill provides her with some DMG Bonus, which is worth leveling up to 9 for.

Constellations

C1Ominous Inscription
C2Steelbreaker
C3Shinkage Bygones
C4Pledge of Propriety
C5Shogun's Descent
C6Wishbearer

Overview

Ei's Constellations vary wildly in value. Her C2 and C3 are both very strong for her carry teams, and highly desirable to keep them competitive with the power curve, whereas the rest of her Constellations can be argued to be entirely cosmetic.

Constellation Details & Approximate Damage Increase

C1: The Resolve increase can be useful to max out her Burst stacks easier, but it can be outright useless in some teams. Generally not a great Constellation, but it can sometimes be a 5% team DPS upgrade or so in rare cases. Usually closer to 2-3%.

C2: 60% DEF Ignore translates to roughly 35% increased personal damage, making it one of the strongest C1 → C2 jumps and nearly essential for Raiden in the current landscape. Her unimpressive C1 makes the C0 → C2 jump not quite as impressive though.

C3: Functionally increases Raiden’s personal damage by about 16%, as almost her entire damage is in her Burst. Pretty good C3, and generally attractive if planning to play Raiden.

C4: Raiden herself can’t make use of the 30 ATK% and her team won’t have full uptime on it either. A bafflingly bad C4.

C5: The extra DMG% stop scaling at Talent level 9. Entirely useless.

C6: Pretty much entirely useless outside of very niche scenarios, and not particularly good in those either. The only utility is slightly reducing the rotation time for Yae Miko teams.

How to Play

Overview

The Raiden Shogun is a Burst-reliant on-field DPS that deals more damage the more Energy her teammates consume. When a teammate uses their Elemental Burst, the Shogun will gain 'Resolve' stacks based on the amount of Energy consumed: 0.2 Resolve per Energy. Through her Ascension 1 Passive, she will also gain 2 Resolve every time a teammate gains Energy through an Elemental Orb or Particle, and this effect has a cooldown of 3 seconds. Raiden's Burst has an 18 second cooldown, so this effect will typically activate about 5 times per rotation.

When Raiden uses her Burst, she will give the team extra Energy. The amount she refunds will usually be about 20 - 25.

The Raiden Shogun's Ascension 4 Passive will give her Electro DMG Bonus and increase the amount of Energy she restores to the team based on her ER above 100%, making it her most valuable stat in most ways.

Elemental Skill

The Raiden Shogun's Elemental Skill has a duration of 25 seconds and a cooldown of 10 seconds. It will deal a little Electro damage on cast, and will then perform Coordinated Attacks with the currently active character. The damage dealt by these attacks is quite low and has a 0.9 second cooldown. While this effect is active, the team gains 30% Burst DMG Bonus.

Elemental Burst & Musou Isshin

Secret Art: Musou Shinsetsu has an 18 second cooldown and an Energy cost of 90. This is the highest Energy cost in the game to date, and it is shared with Yae Miko. When the Raiden Shogun unleashes her Elemental Burst, she will consume all Resolve stacks and perform a strong initial Electro AoE slash.

For the next 7 seconds, the Raiden Shogun's Normal and Charged Attack moveset will be radically altered as she enters the Musou Isshin state. She will gain special NAs and CAs ( and even Plunge Attacks ) that deal decent Electro damage. The damage they deal is considered Burst damage, making the entirety of her moveset (besides her Skill) scale with Burst DMG Bonus. This duration will typically be a little higher than 7 seconds due to Raiden's high hitlag. Hitlag is the mechanic that 'pauses' the game for a split second whenever you land a hit with Impact, and it increases the duration of effects like Raiden's Burst state.

When the Raiden Shogun lands a hit while in this state, she will restore some Energy to her entire team. At a baseline, at Talent Level 10, this will be 2.5 Energy, and she can only trigger this effect up to 5 times, on a 1 second cooldown. Because of her A4 Passive, this ends up being about 20 - 25 Energy to her team, depending on her Energy Recharge. With her Engulfing Lightning, it can be up to 30.

Musou Isshin Combos

Both of the Raiden Shogun's NAs and CAs during this state are strong and useful. Generally, the easiest combo that still deals quite a bit of damage is 3N3C + N1C. This means that she performs 3 loops of [3 Normal Attacks + 1 Charged Attack] into [1 Normal Attack + 1 Charged Attack]. Typically easy to perform, and to improve on.

For example, changing the N1C into an N2C is difficult but not that difficult.

Her strongest combo for personal damage tends to be 3N3C + N4. The Raiden Shogun performs the same 3 loops of [3 Normal Attacks + 1 Charged Attack] as before, this time followed by 4 Normal Attacks instead of [1 Normal Attack + 1 Charged Attack].

Raiden can also opt to not use her CAs at all. A combo of 4 loops of 4 Normal Attacks will deal slightly less personal damage, but might slightly reduce rotation time. Which one is worth it highly depends on the team.

Additional Info

Elemental Skill interaction with Hyperbloom

The Raiden Shogun's Elemental Skill can hit very quickly. It has a very short cooldown of 0.9 seconds. It deals very little damage and due to ICD, the Electro application it provides is relatively low. However, it is very efficient at triggering Hyperbloom seeds. In fact, Raiden is typically the fastest trigger of Hyperblooms. This makes her a viable option in Hyperbloom focused teams, although they have fallen significantly out of favor.

Dragonstrike

This is the name of a tech that enables any unit to perform a Plunge Attack without normally being able to access the required height to do so. To do so, we utilize 3 things: momentum, hitlag, and Dashing into a Jump.

As mentioned previously, attacks in Genshin generate hitlag. Hitlag will 'pause' the game for a split second, and to make the effect seamless, will retain certain properties. One of those properties is a character's momentum. If you perform a Dash into a Jump, your character will jump up quite quickly. If you perform it at the right time during an attack that generates hitlag, you will gain additional height. With this extra height, it is possible to then perform a Plunging Attack.

Raiden's Charged Attack generates hitlag relatively slowly after the attack goes off, making the timing for her to perform Dragonstrike relatively lenient compared to most characters. It is then possible to perform a combo of N1C followed by a Dragonstrike, making it N1CdjP. This is noticeably stronger than her N3C combos, and easier to execute than one would think.

Release Date

Raiden Shogun was officially released as a playable 5-star Electro character in Genshin Impact on September 1, 2021, during the Version 2.1 update.

Portrait

raiden


Table of Contents

Featured Characters

Sandrone Build Guide
By Mobalytics Updated on Jul 20, 2026
presentationSandrone
Featured
presentationSandrone
Featured
Columbina Build Guide
By Mobalytics Updated on Jul 20, 2026
presentationColumbina
Featured
presentationColumbina
Featured