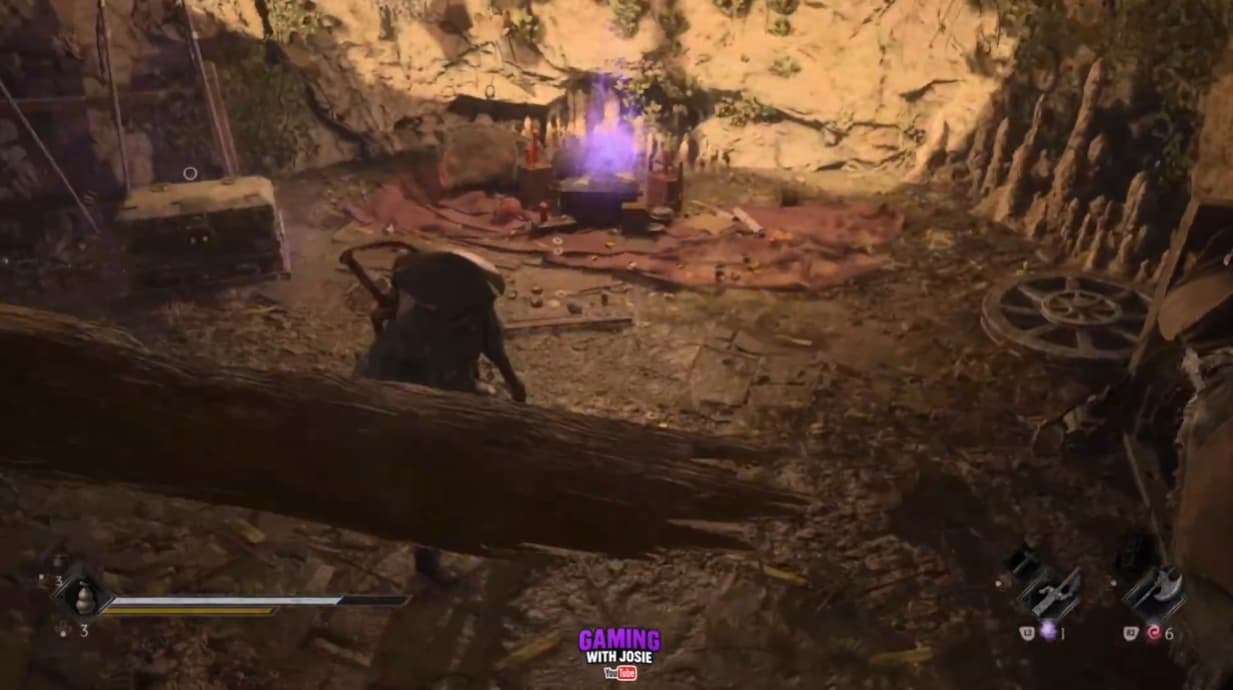
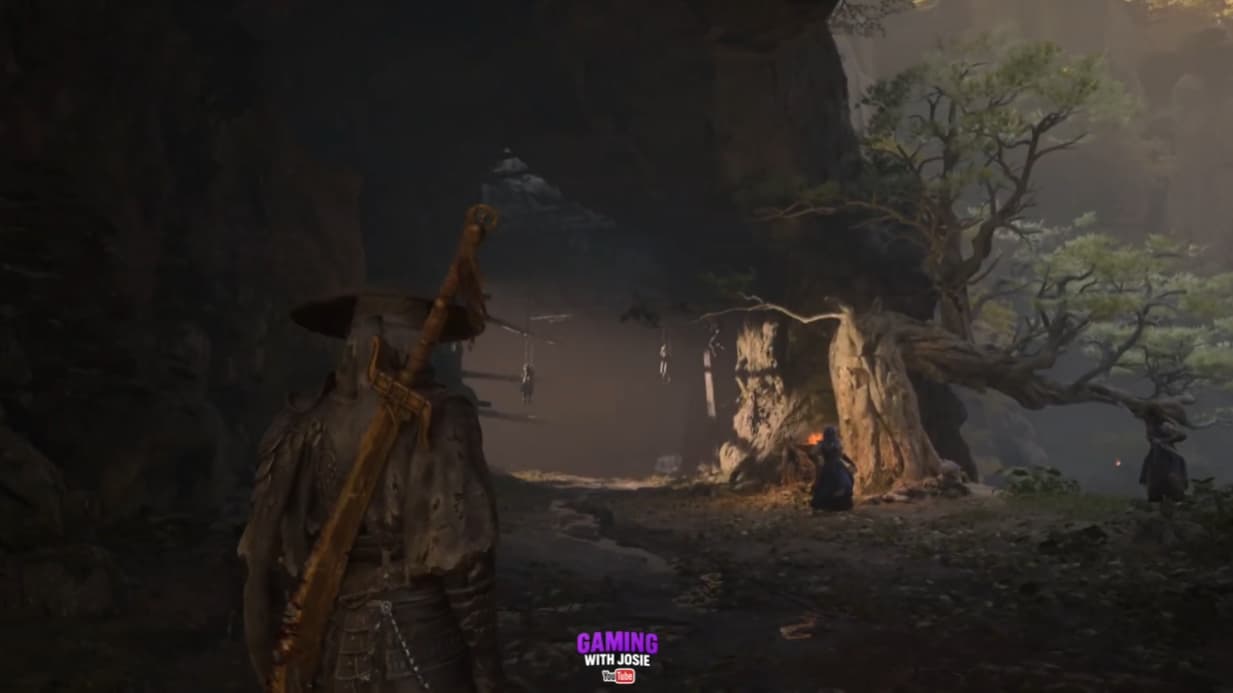
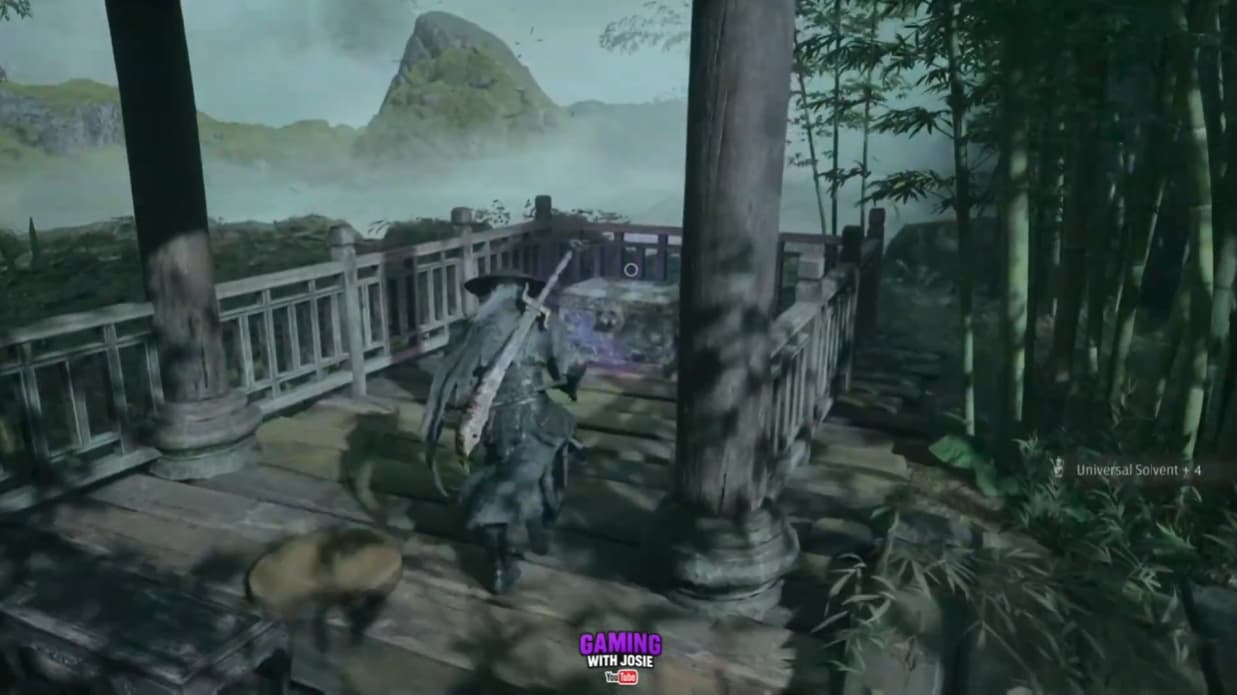
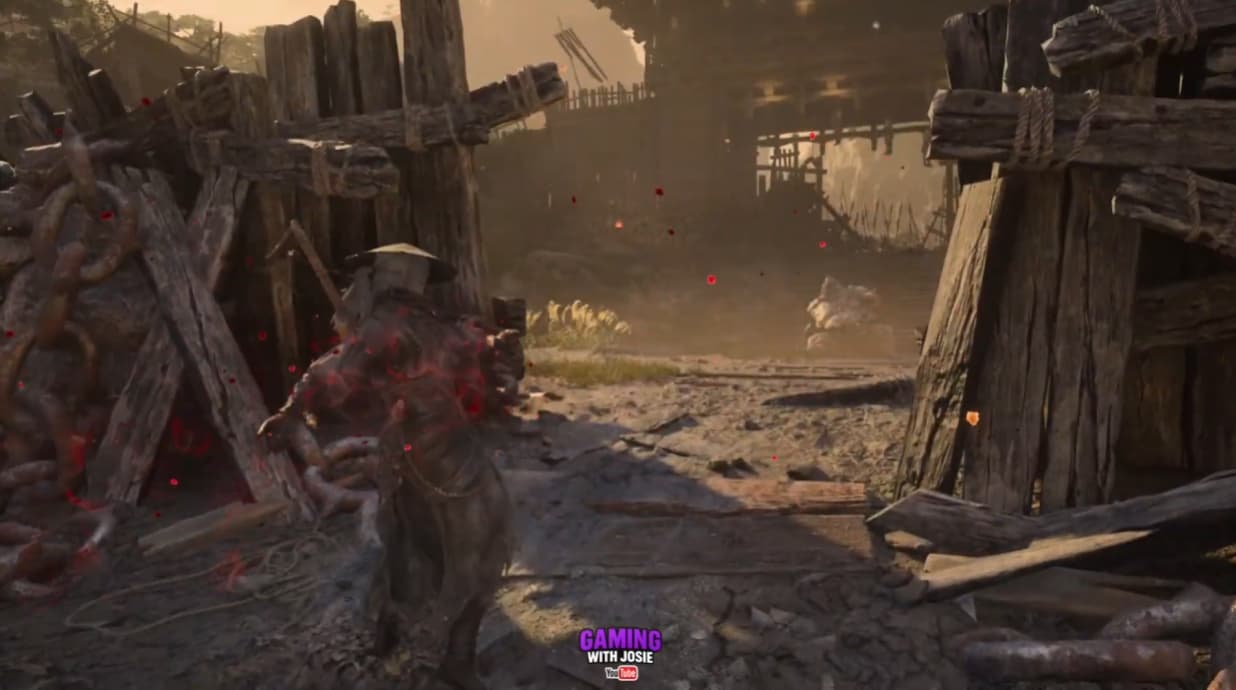
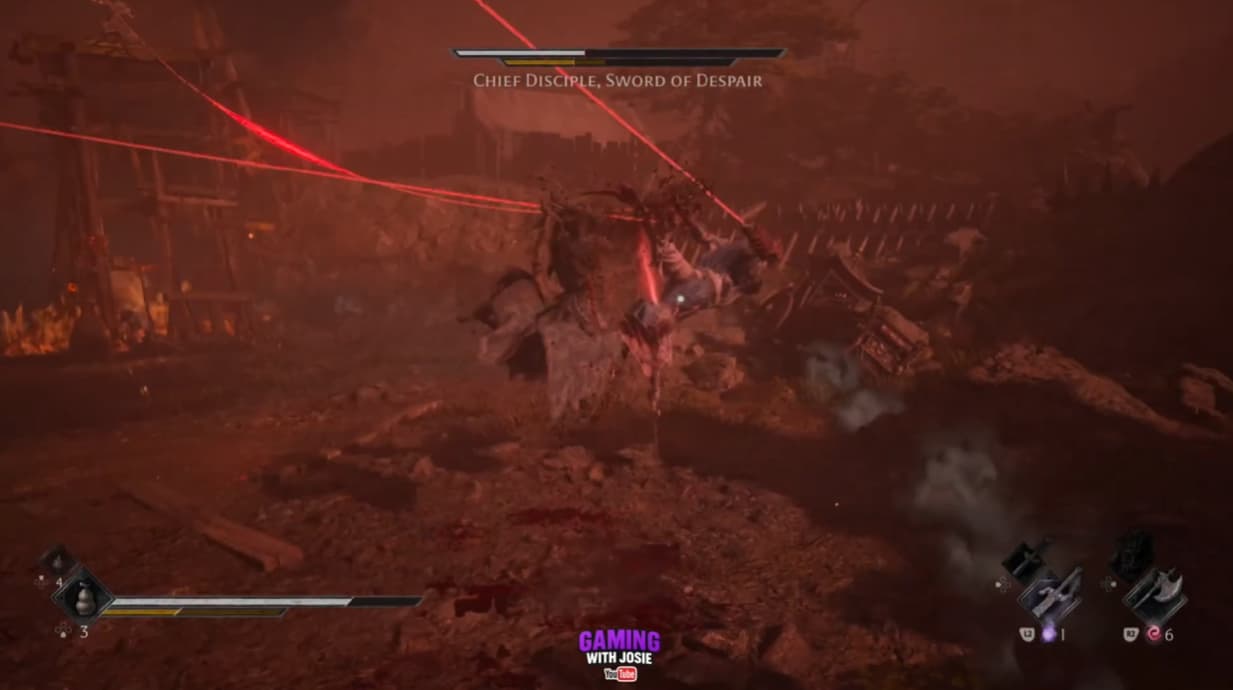
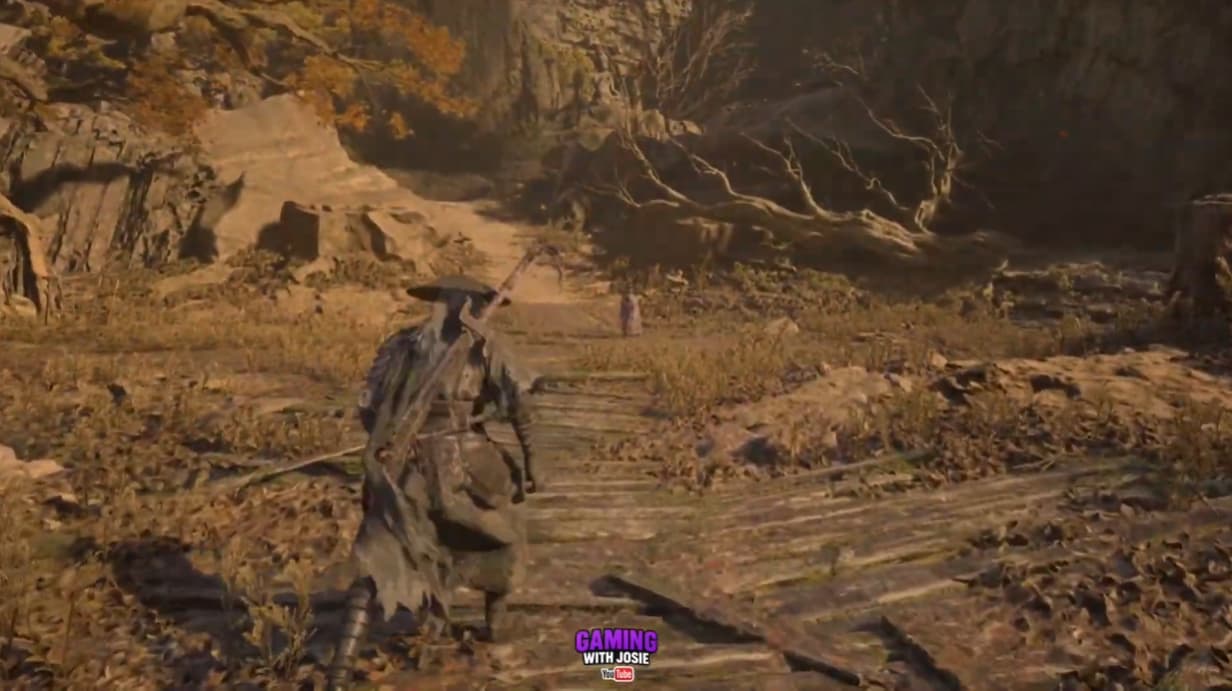
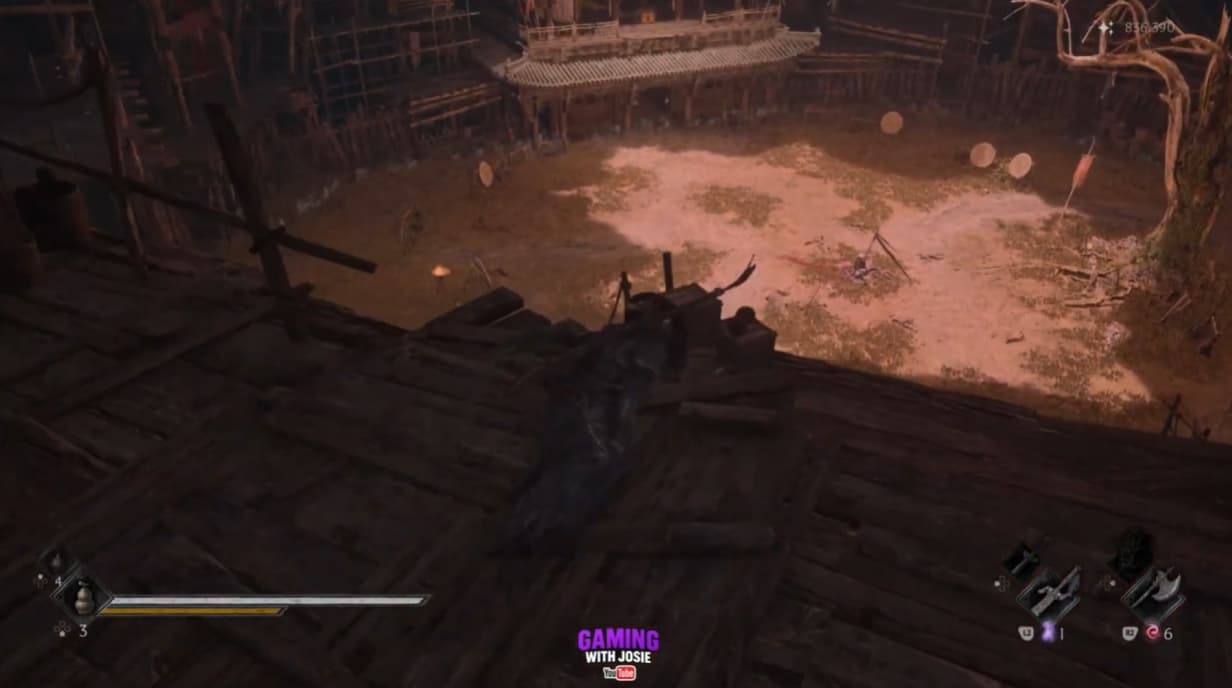
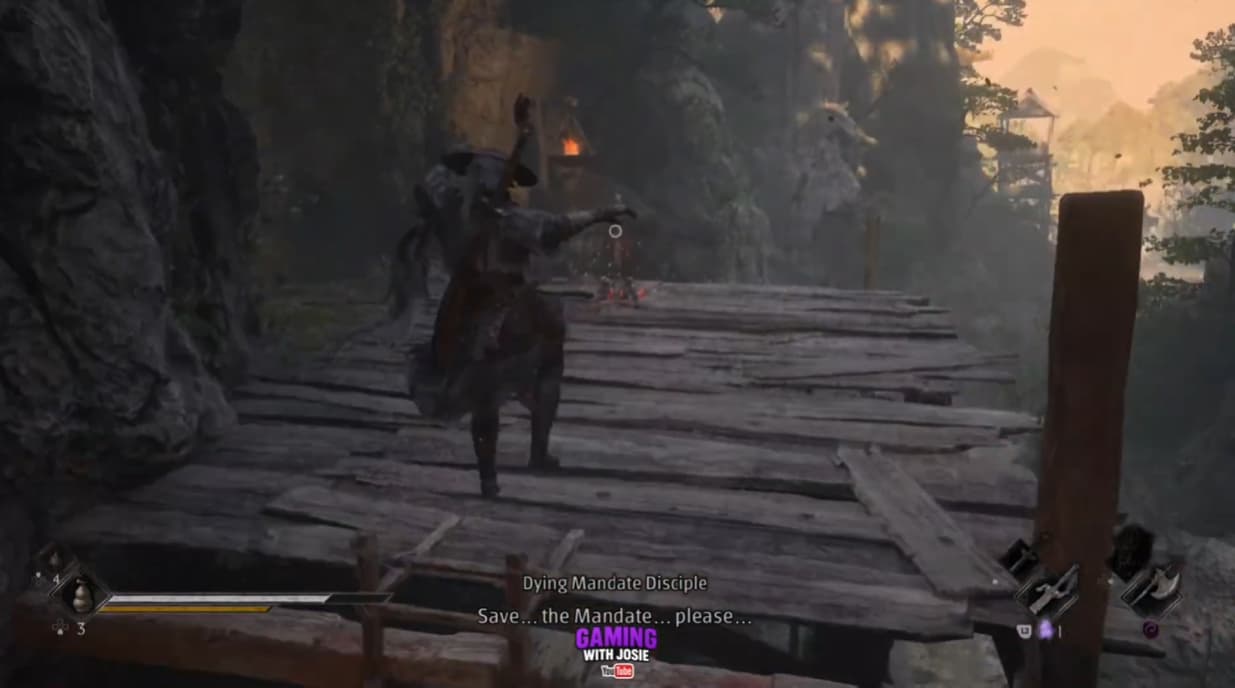
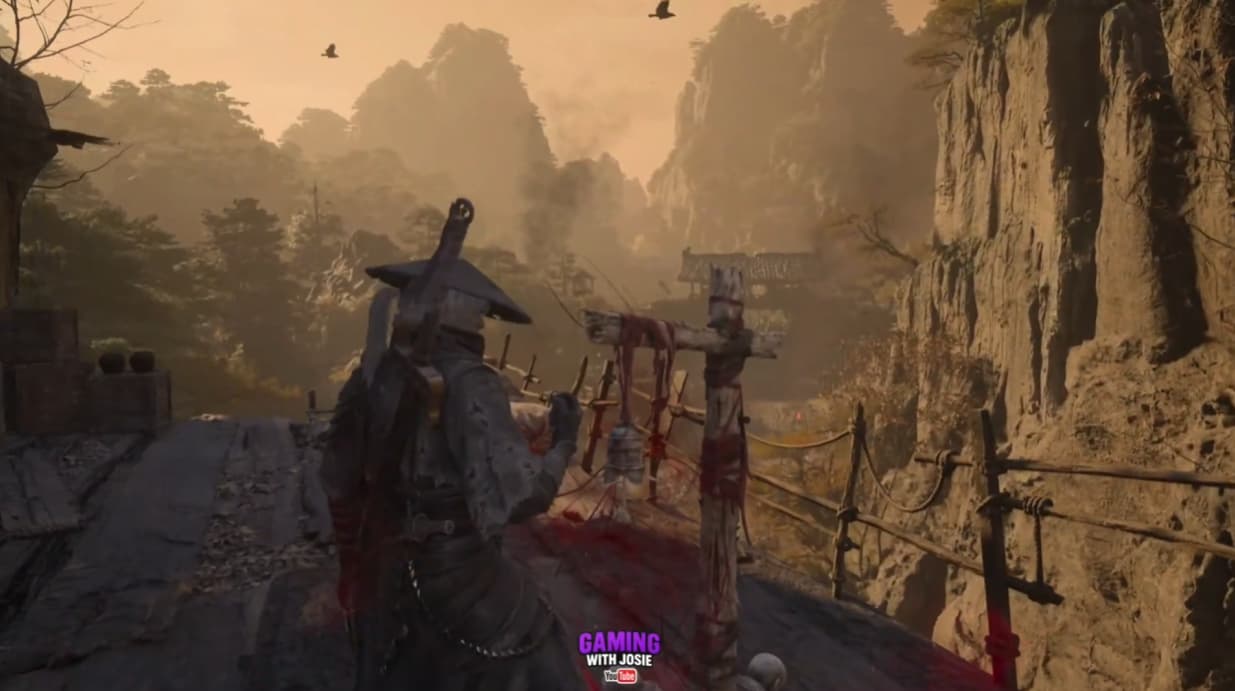
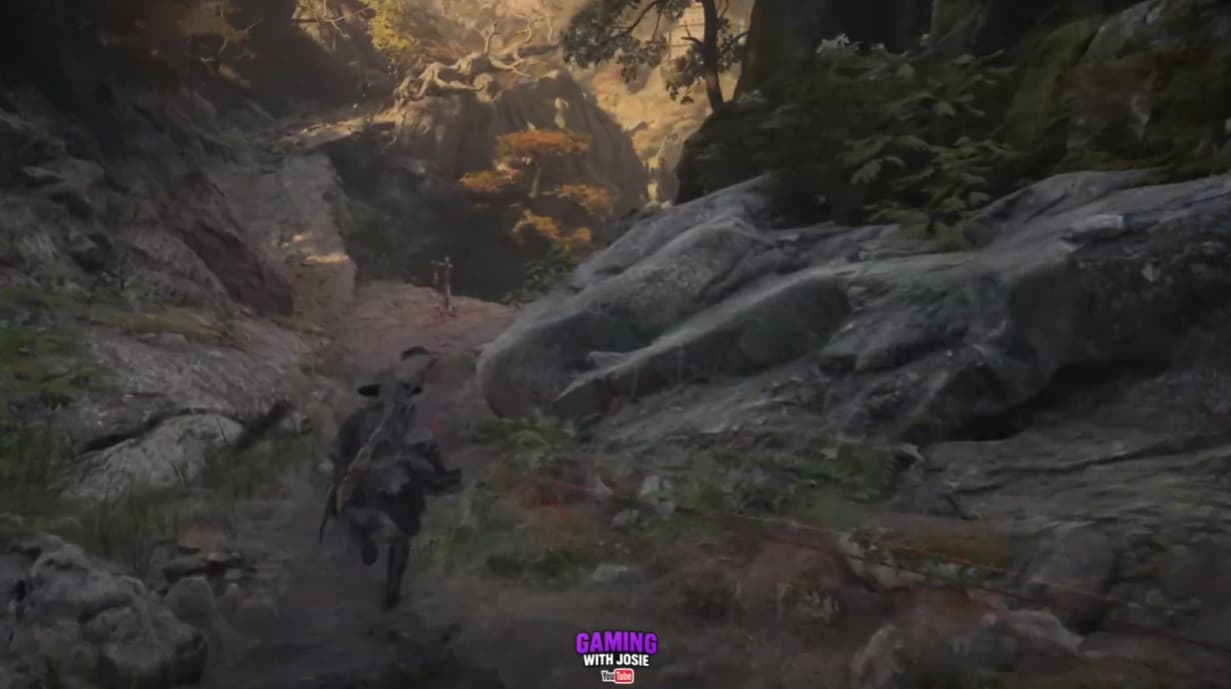
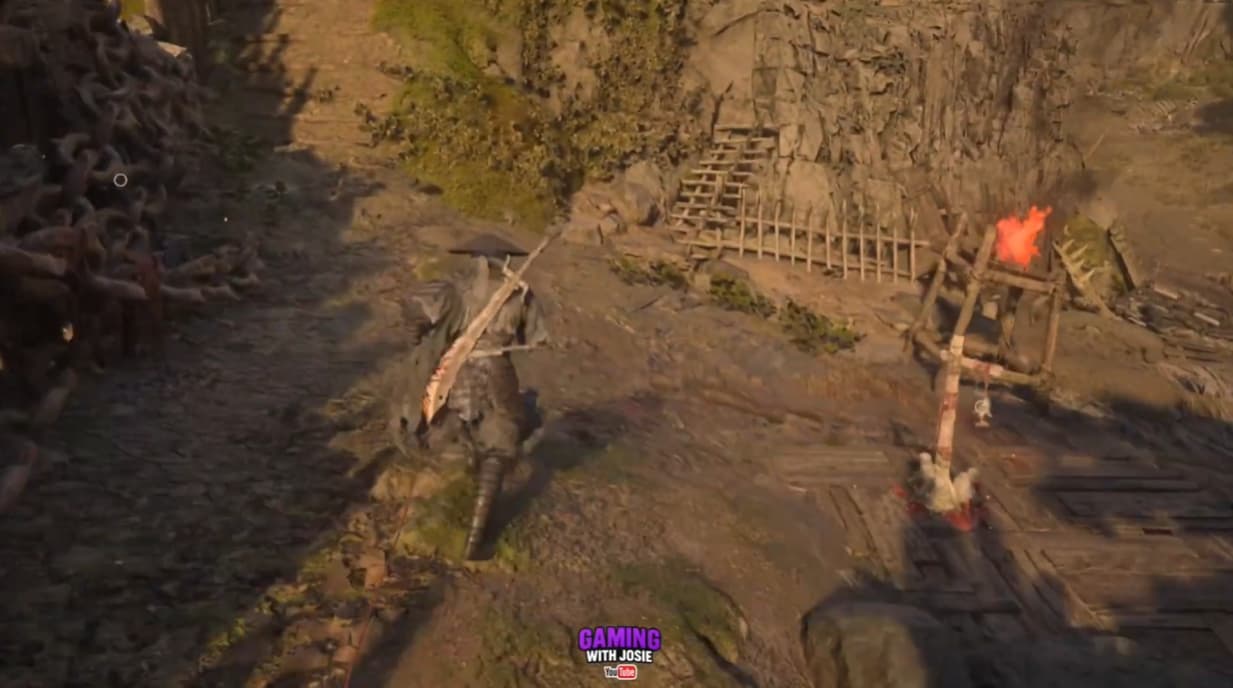
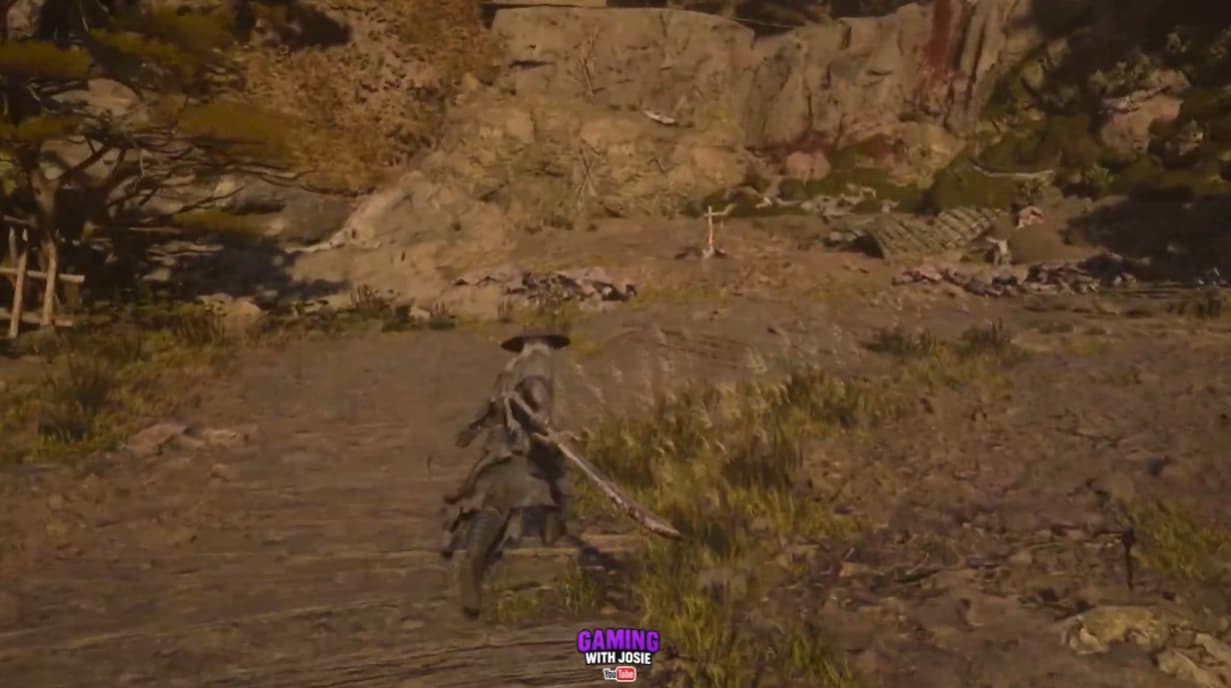
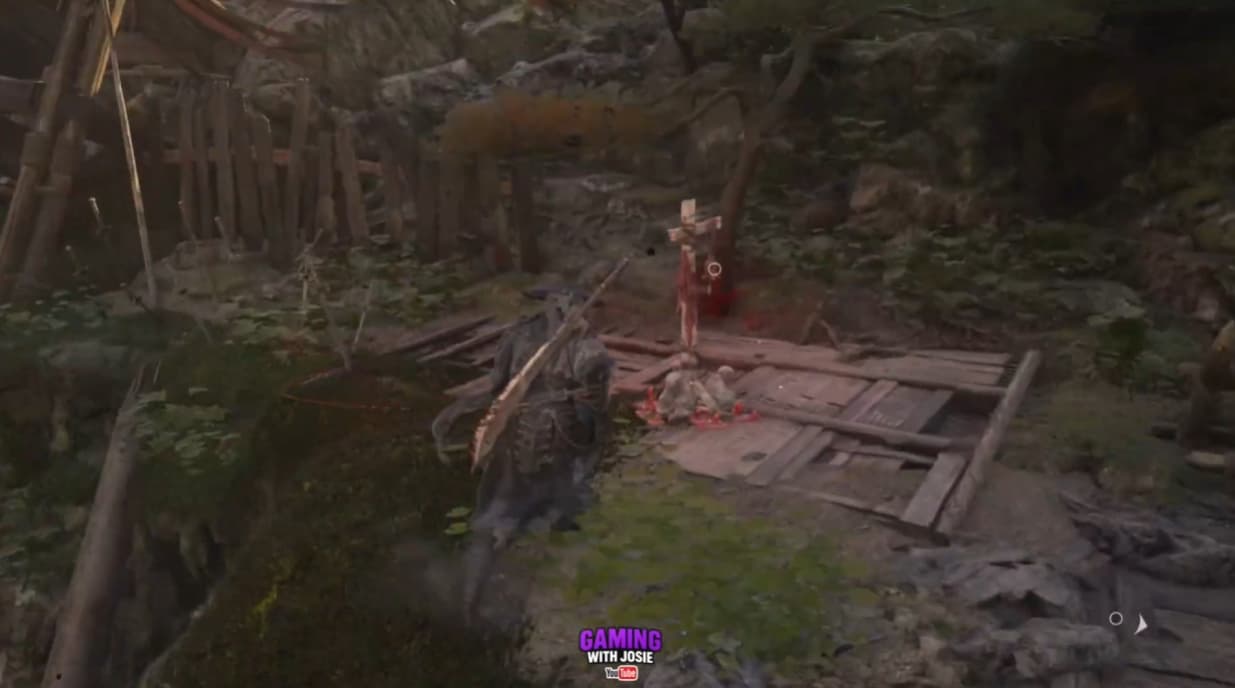
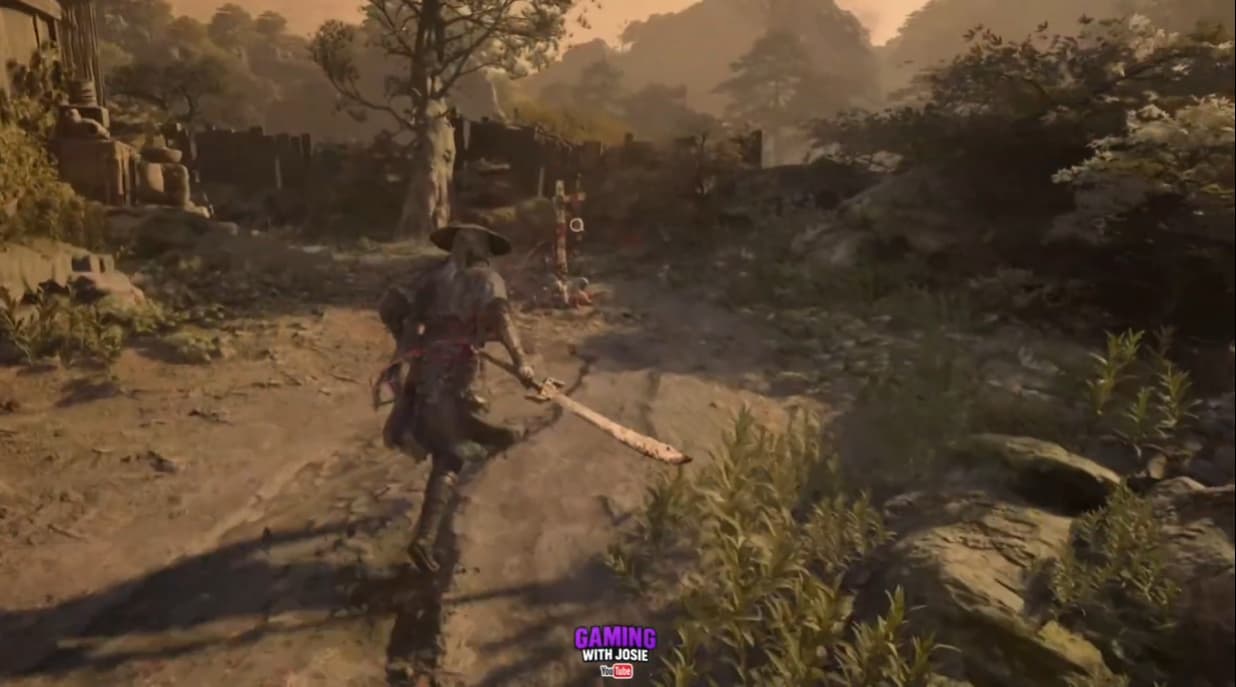
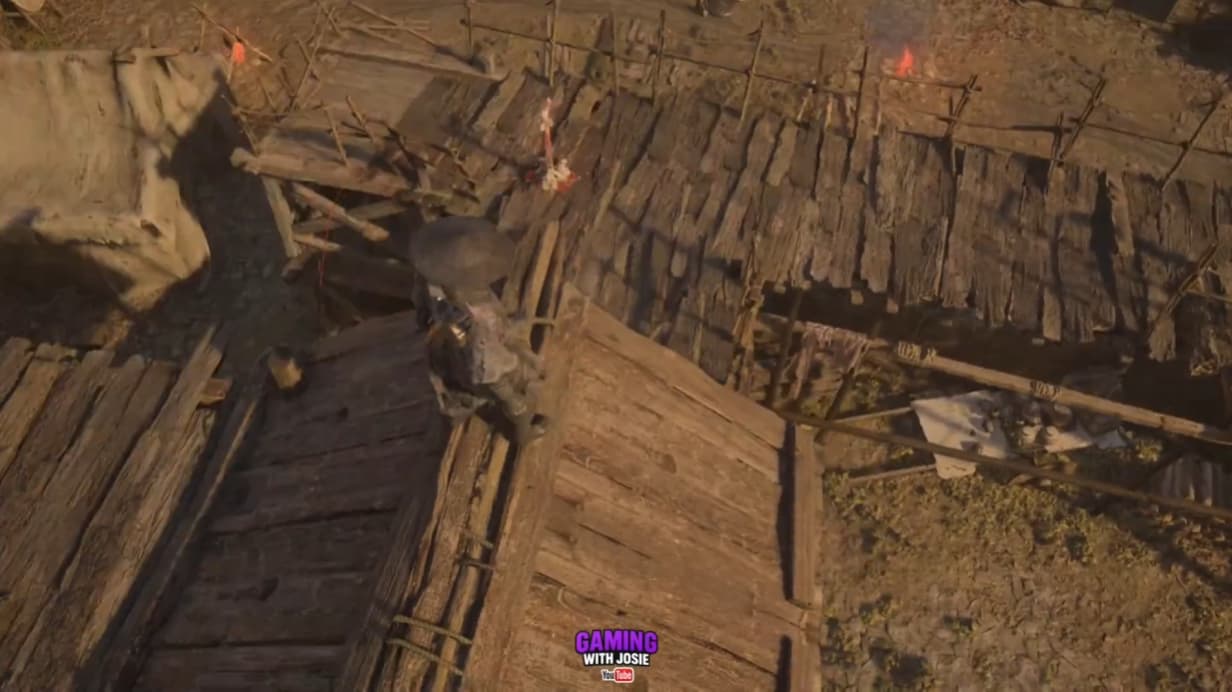
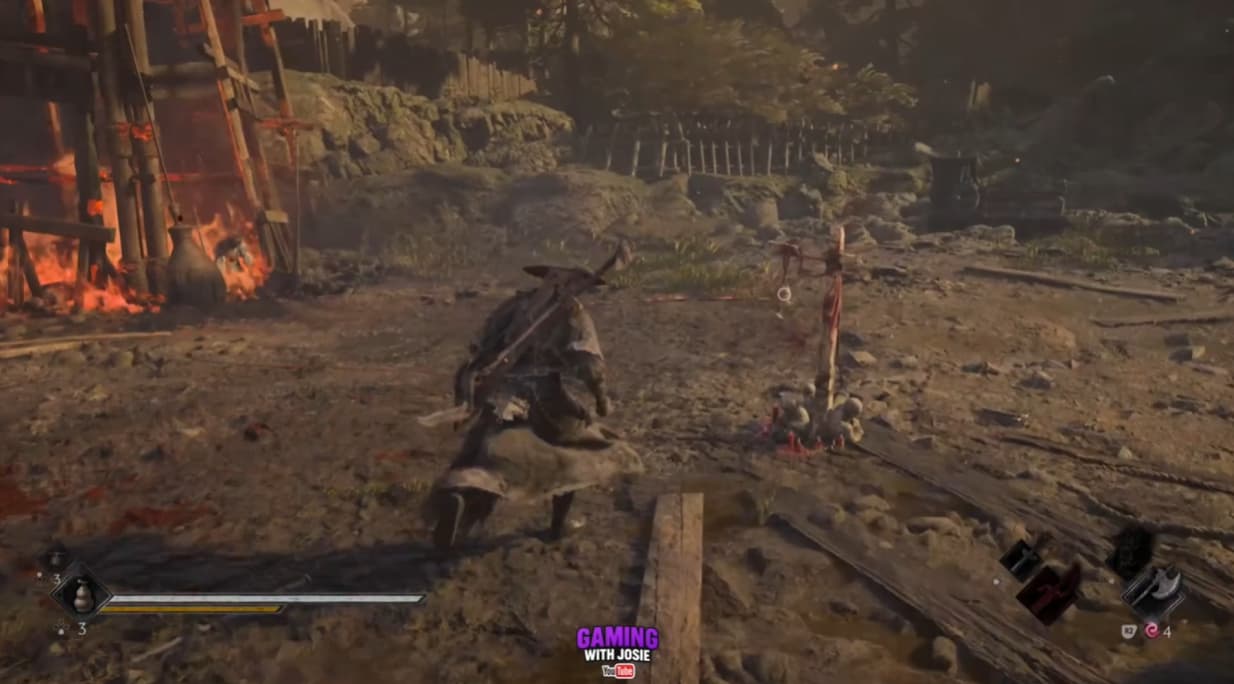
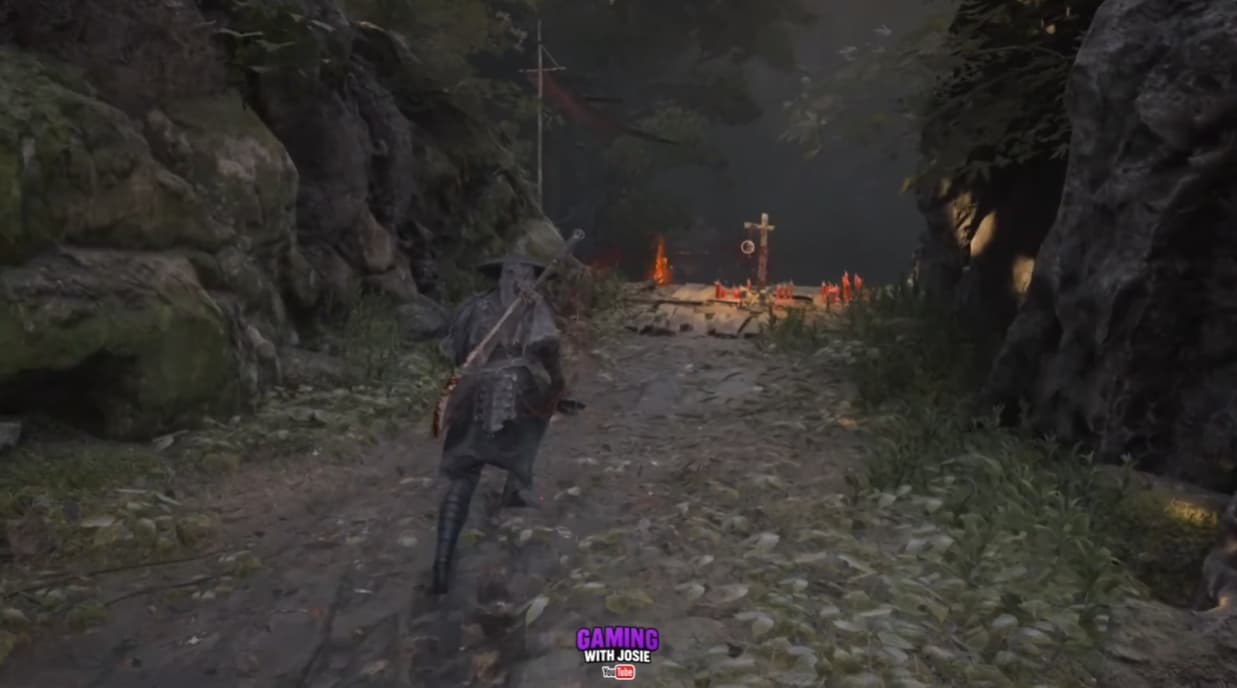
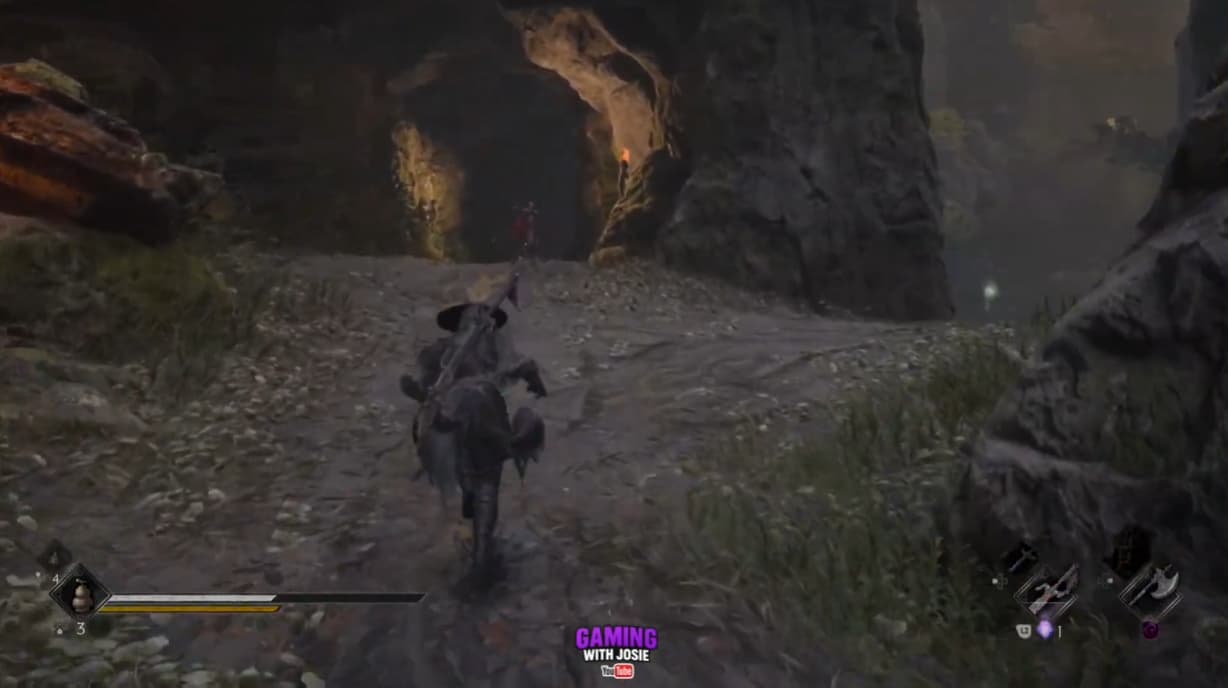
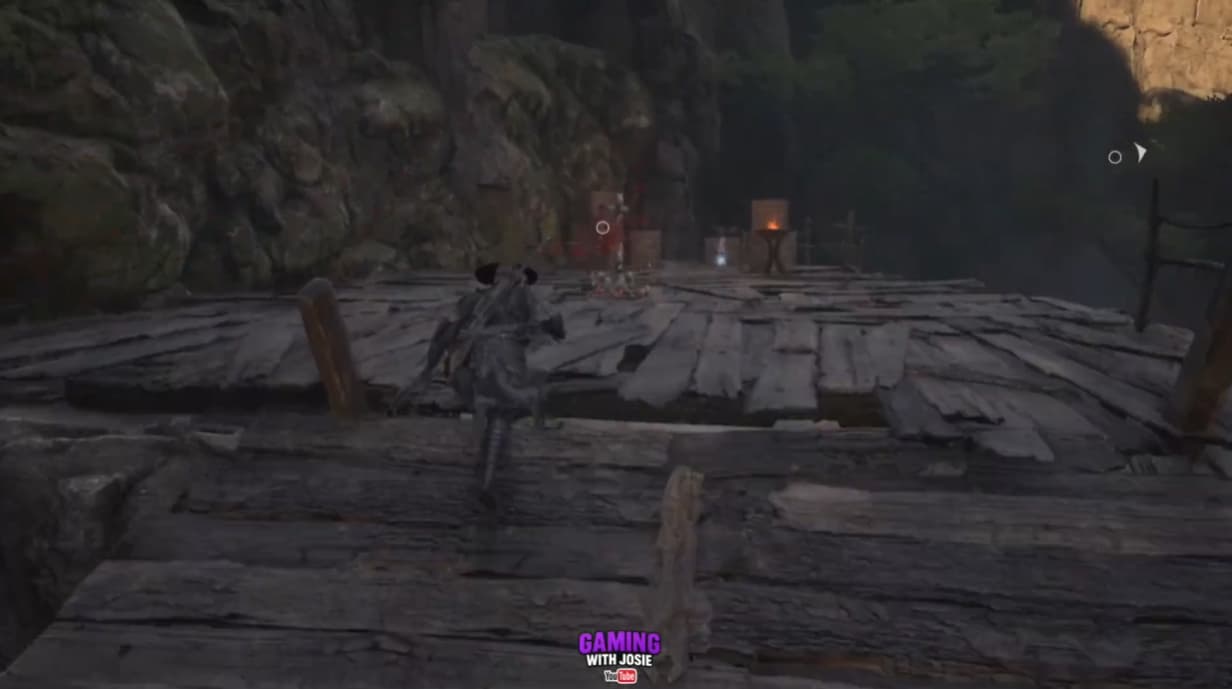
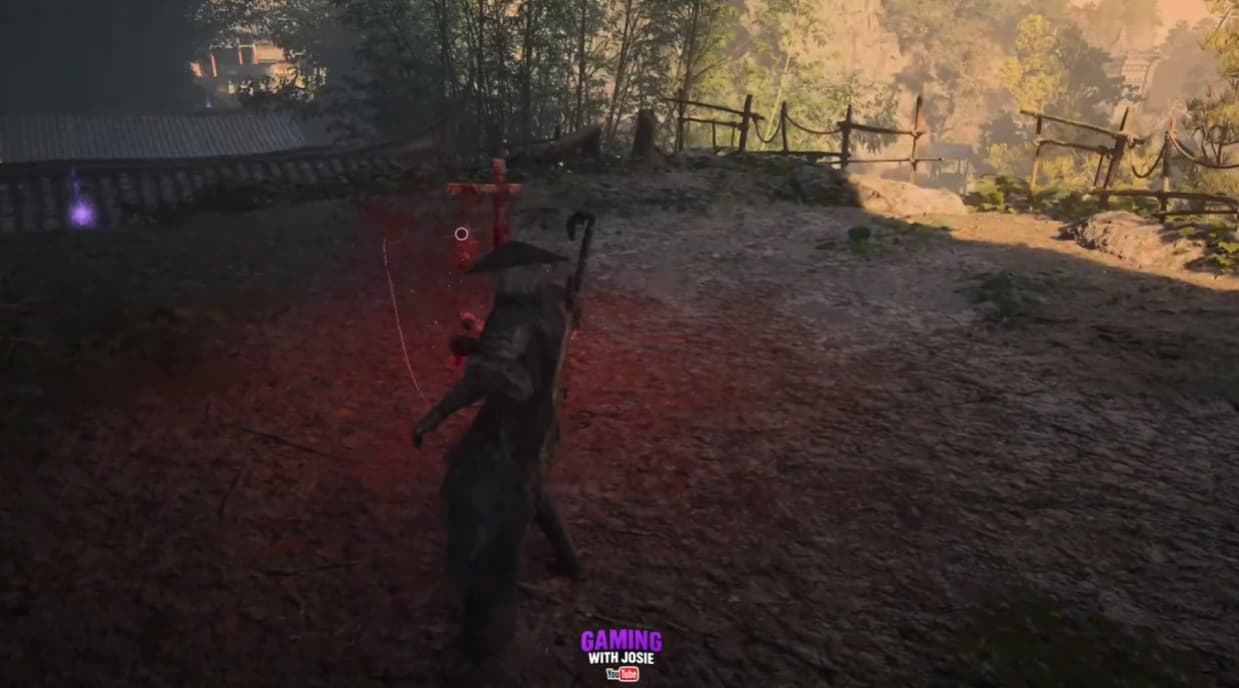
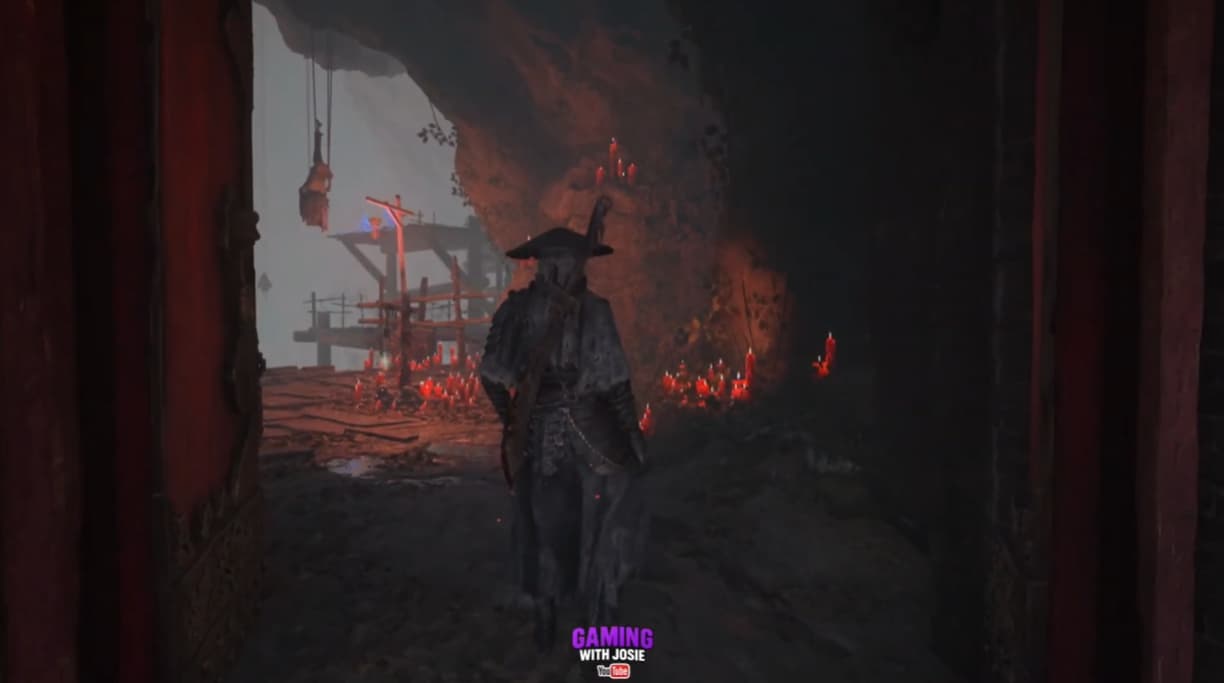
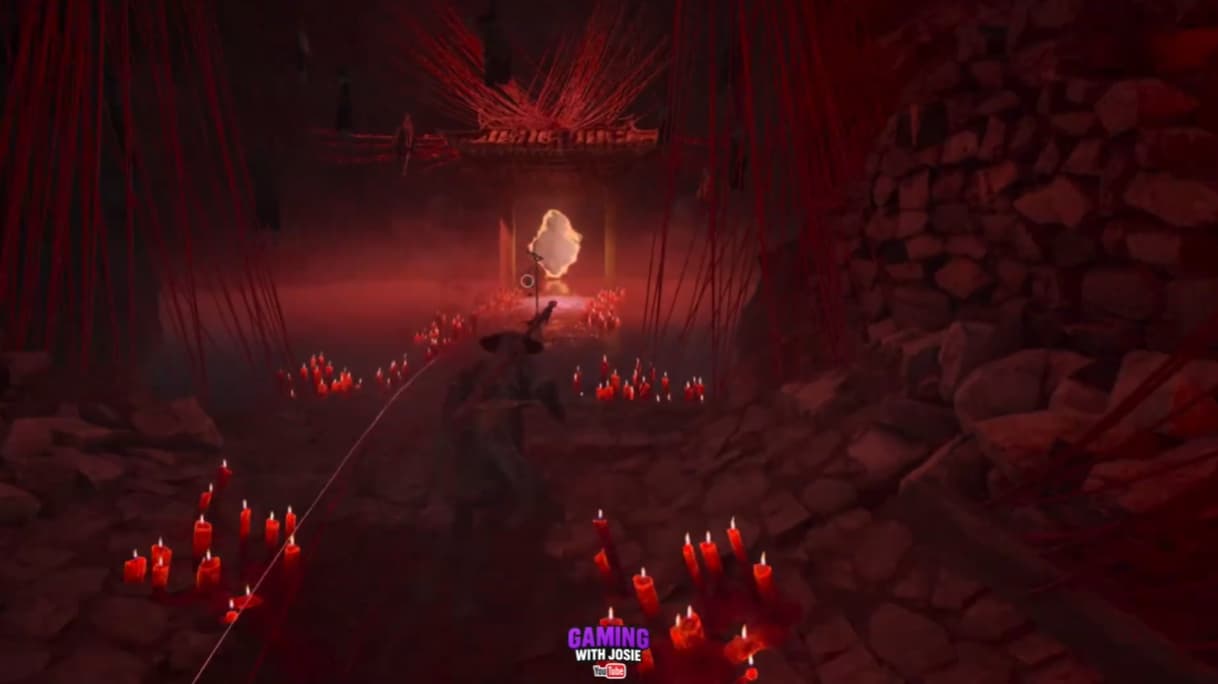
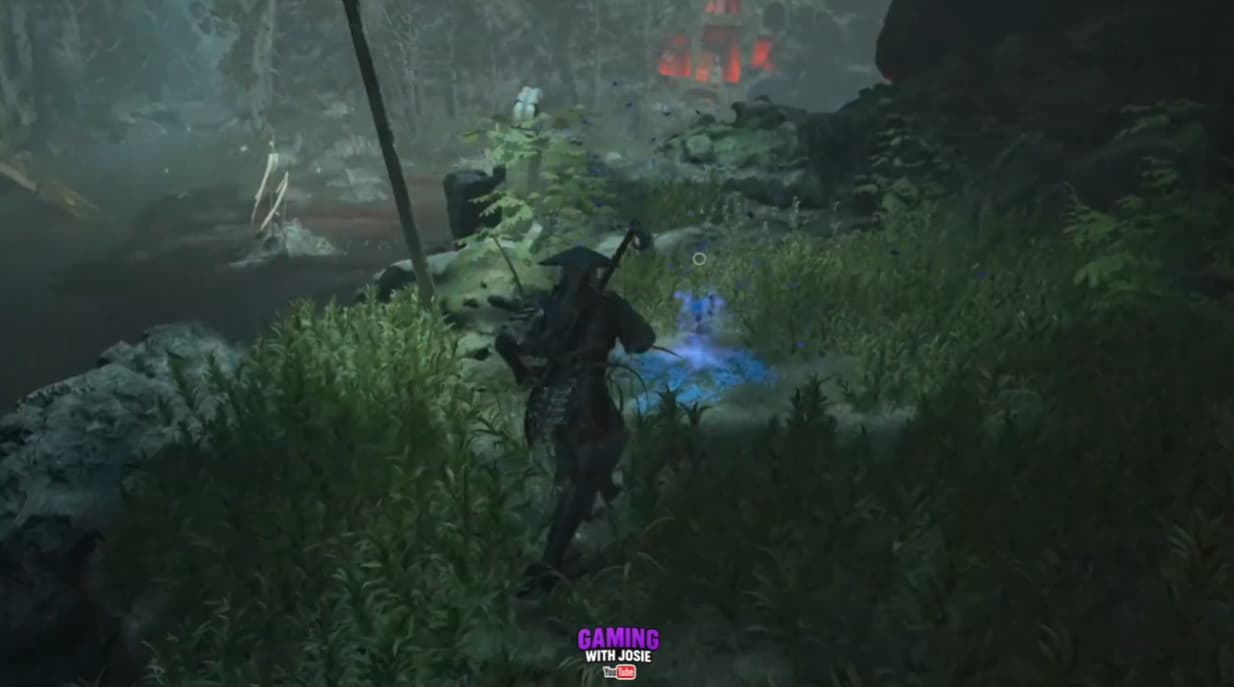
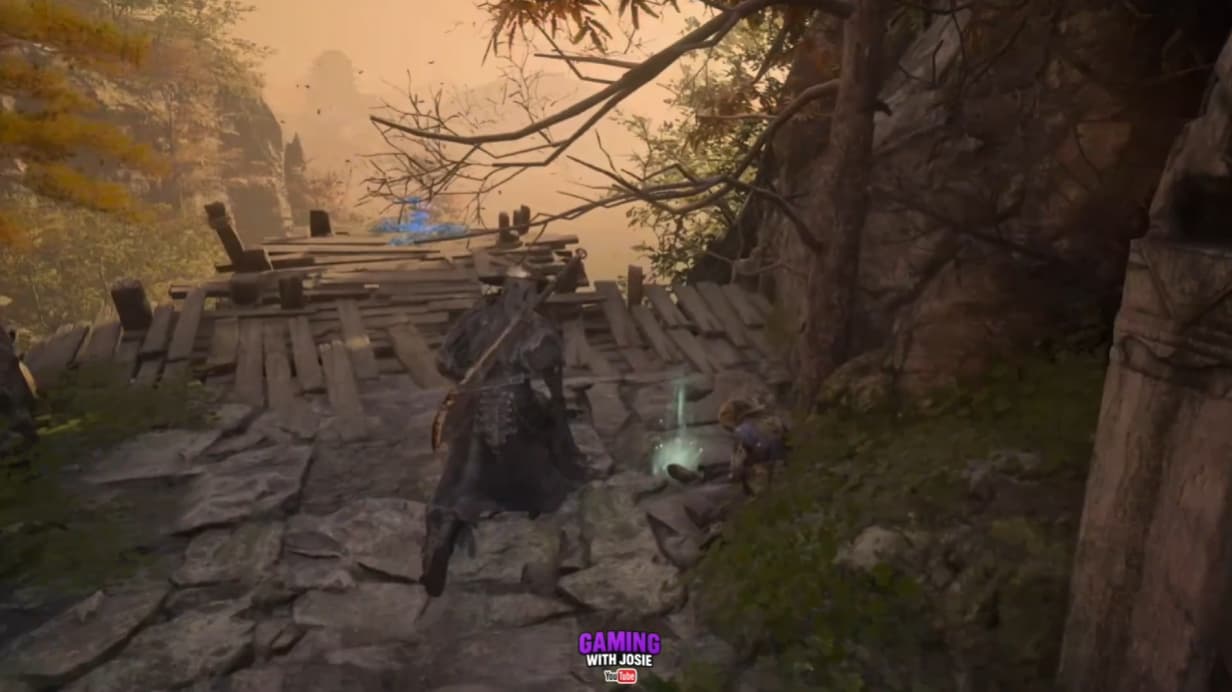
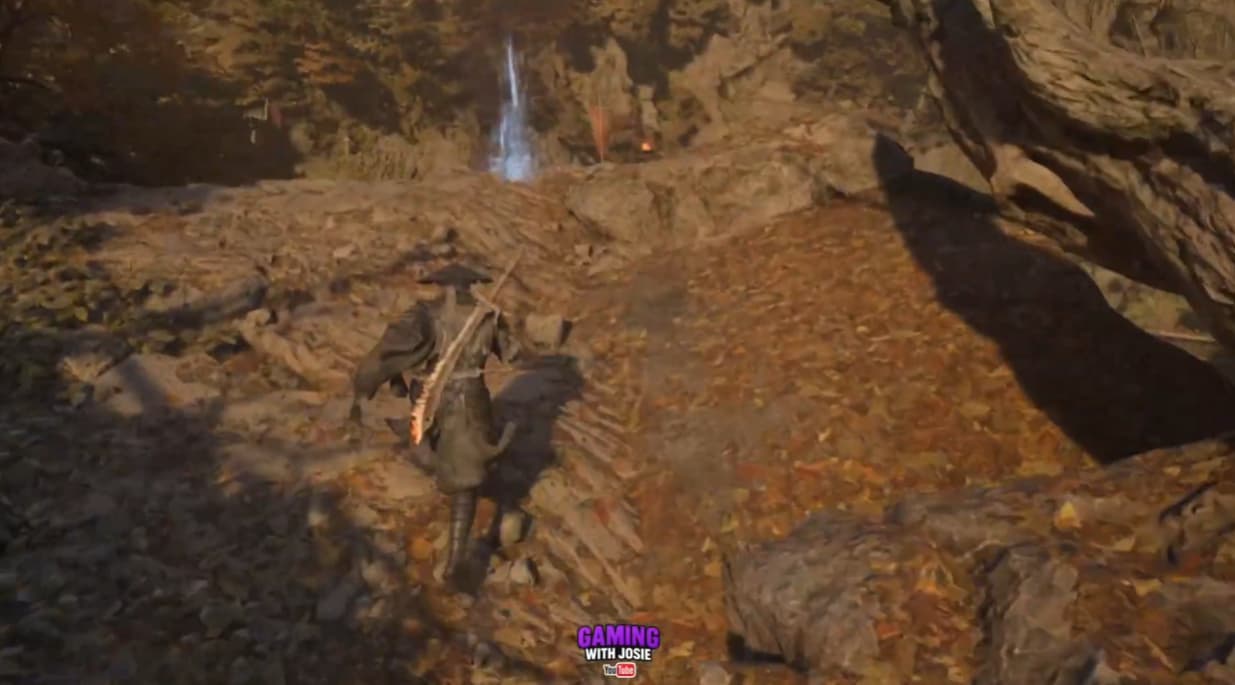
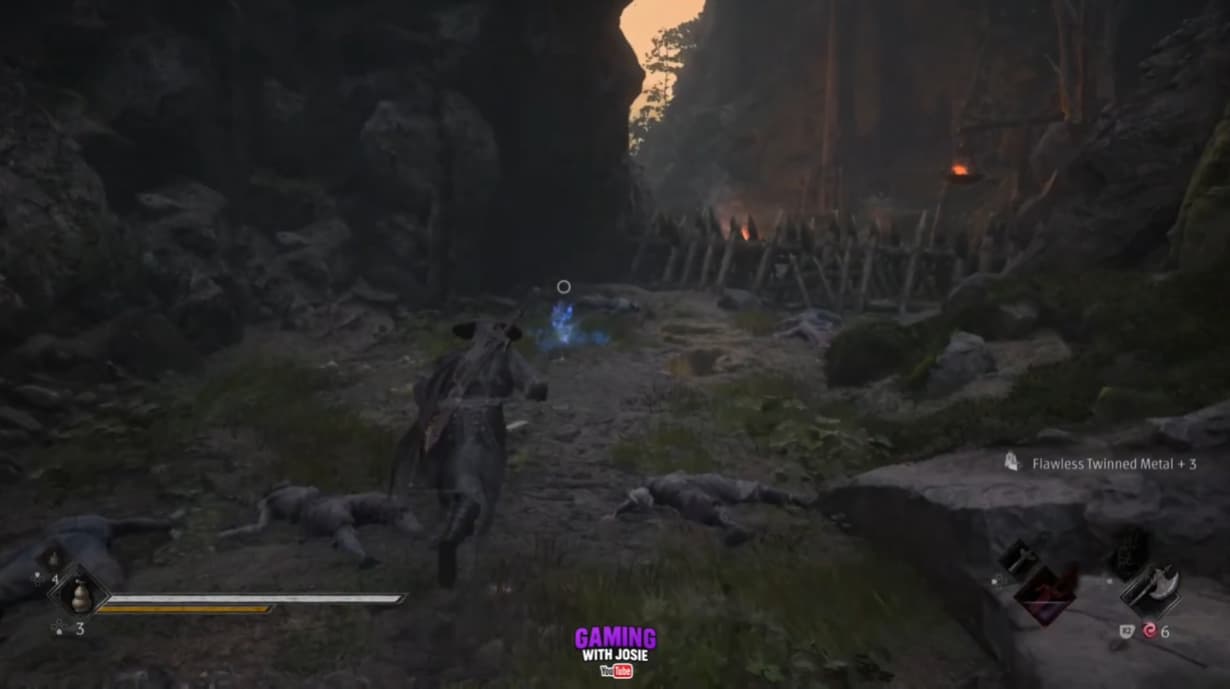
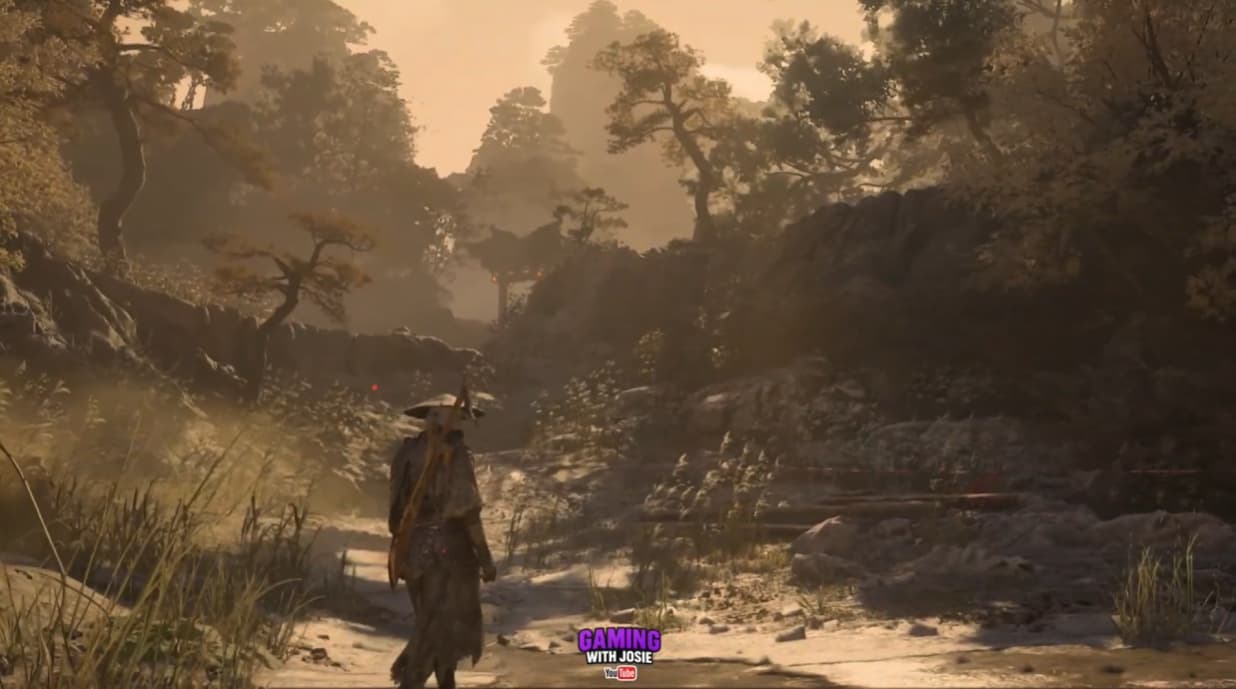
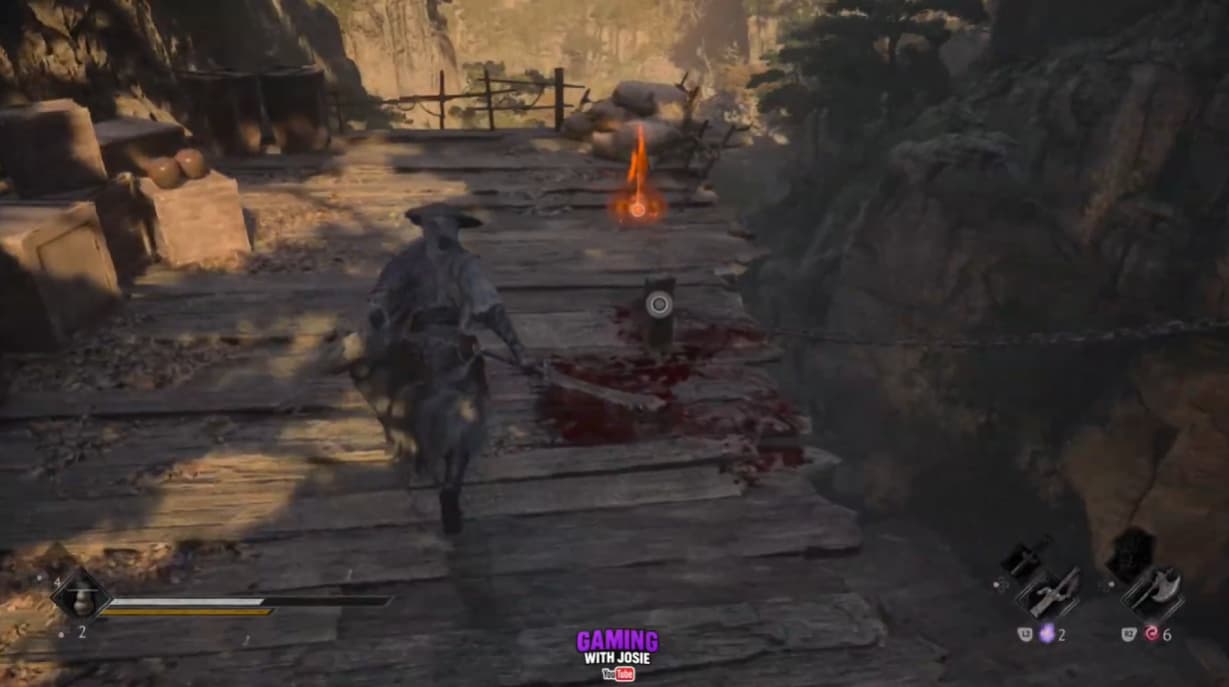
Mandate Encampment collectibles in Phantom Blade Zero include Memory Flowers, weapons, accessories, medicine and upgrade fragments hidden across cliffside walkways, military camps and underground passages.
Use the interactive map below to locate items, then browse the sections by collectible type for directions from nearby bells and landmarks
Leave Red alive on the rooftop near Dovecote. Escape using the chain so she can join the later boss encounter, where you can collect both Memory Flowers.
Obtain Bashpole before attempting the breakable-floor routes. These include the return visits near Sunset Path and Battlefield Ruins.
Visit Myst’s Tavern before collecting the surrendering swordfighters’ flowers. The Shattered Hero’s Courage entry explains this step.
Complete the Tale interactions and Cliffside Lodge return before the Training Grounds boss. Follow the relevant entries under Keys and Other Important Items.
Sha-Chi Amber Fragments
Sha-Chi Amber Fragment 1
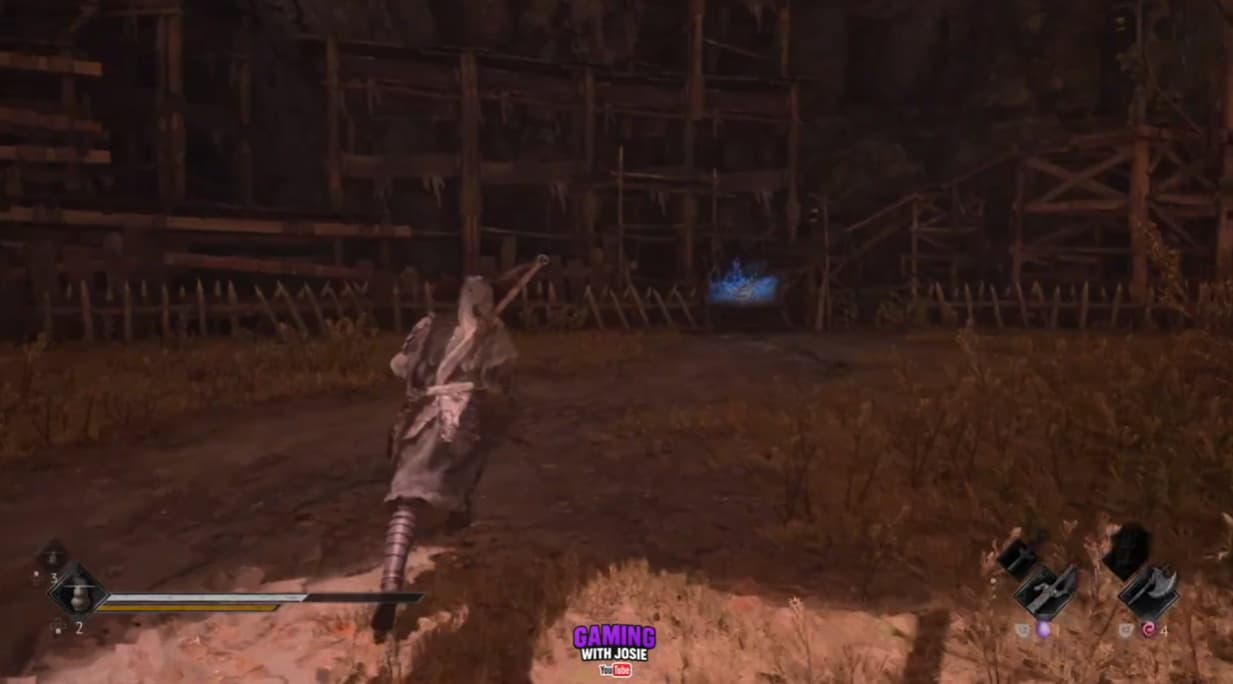
Requires Bashpole. From the Sunset Path bell, head uphill and grapple onto the ledge containing the Banyan Tree.
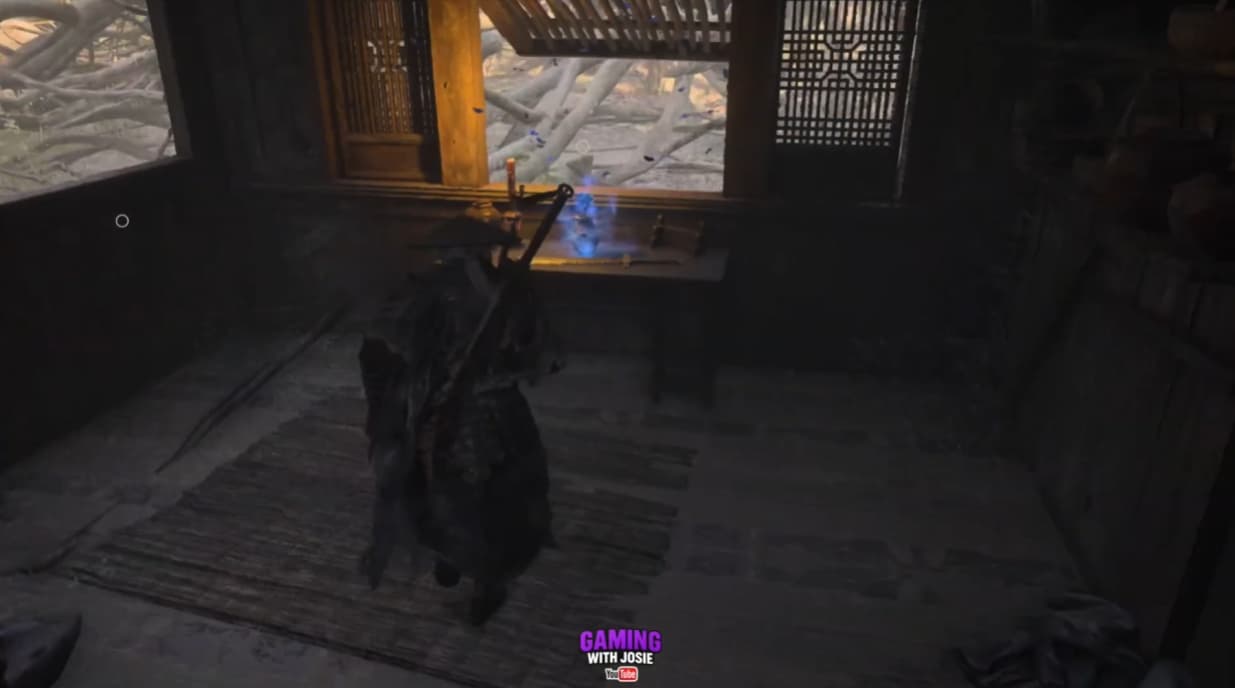
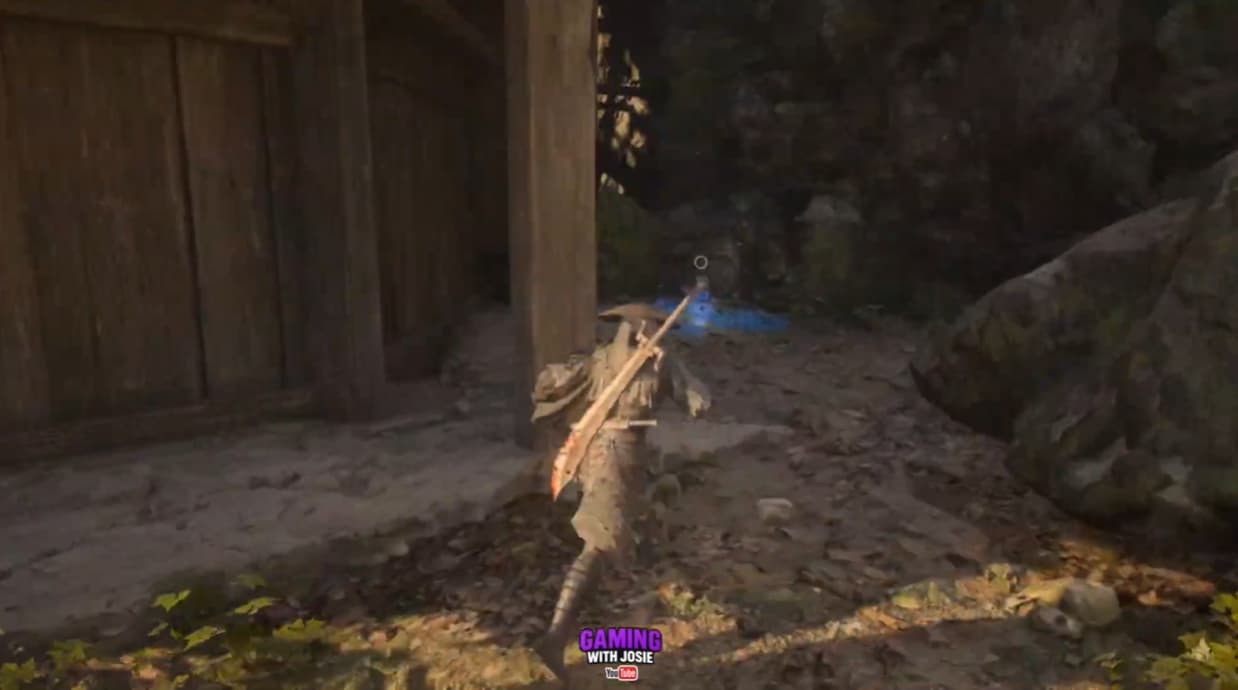
Enter the nearby building where the first Memory Flower is located. Leave through its window, then carefully follow the narrow cliff edge into the bushes and down to the lower area.
Defeat the enemies and use Bashpole to break into the room ahead. Open the chest on the left to collect the fragment.
Sha-Chi Amber Fragment 2
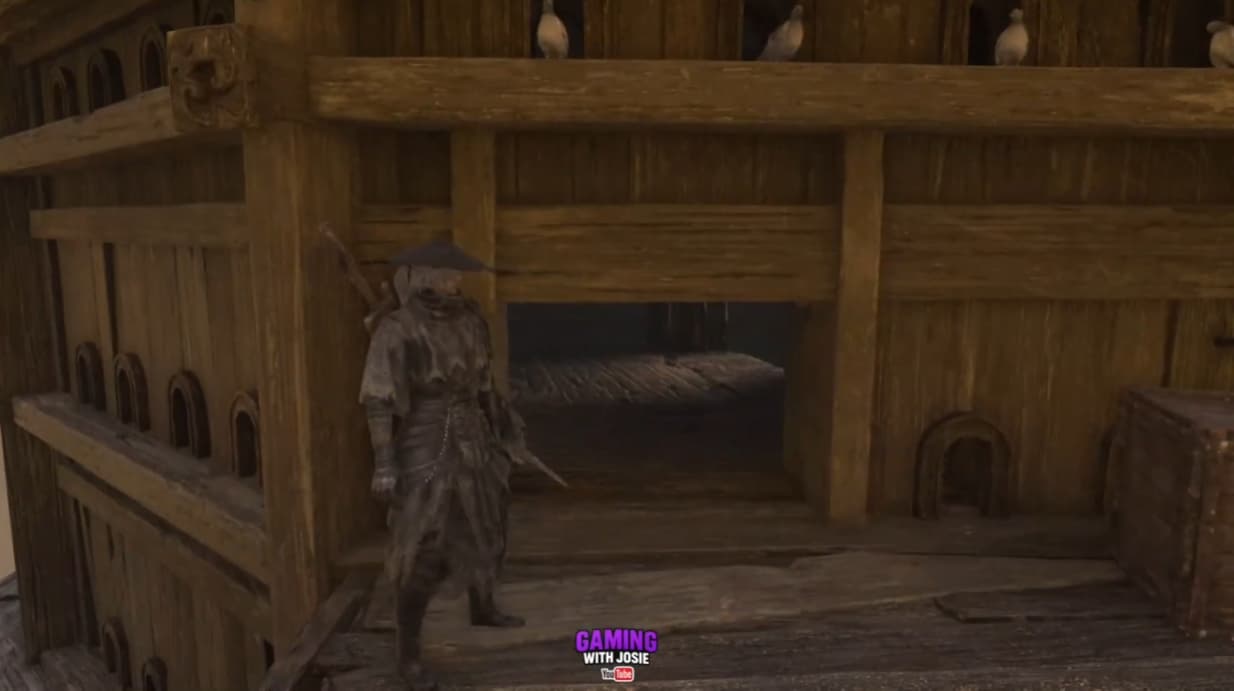
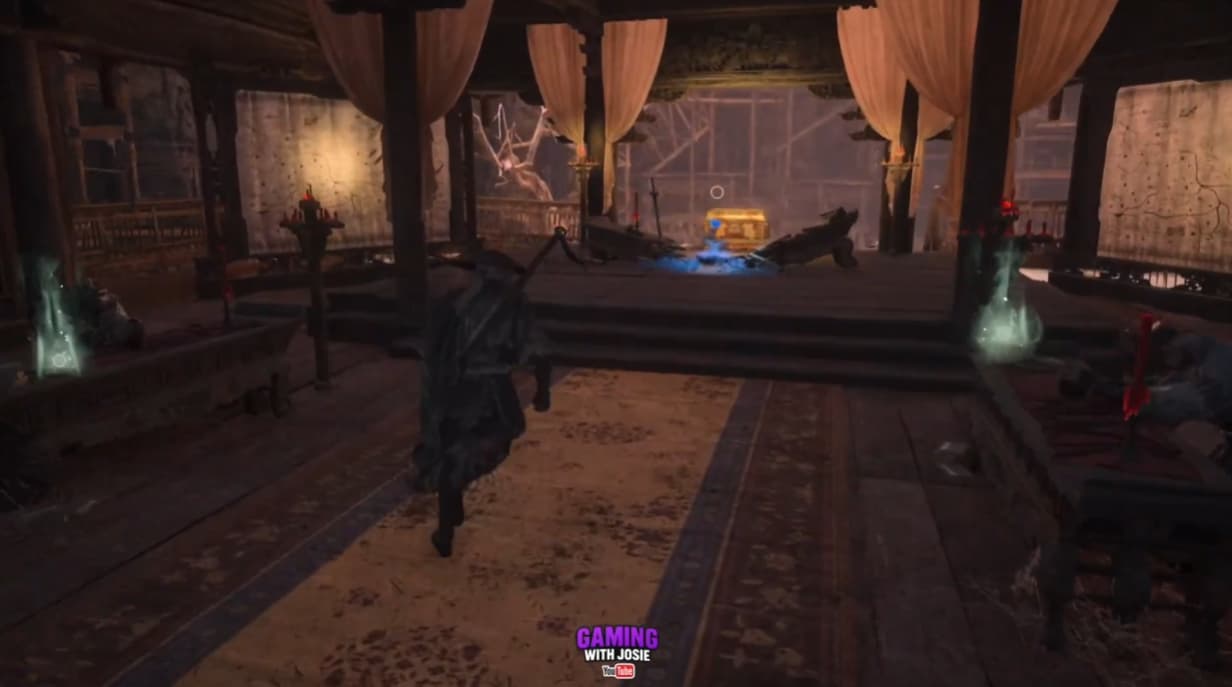
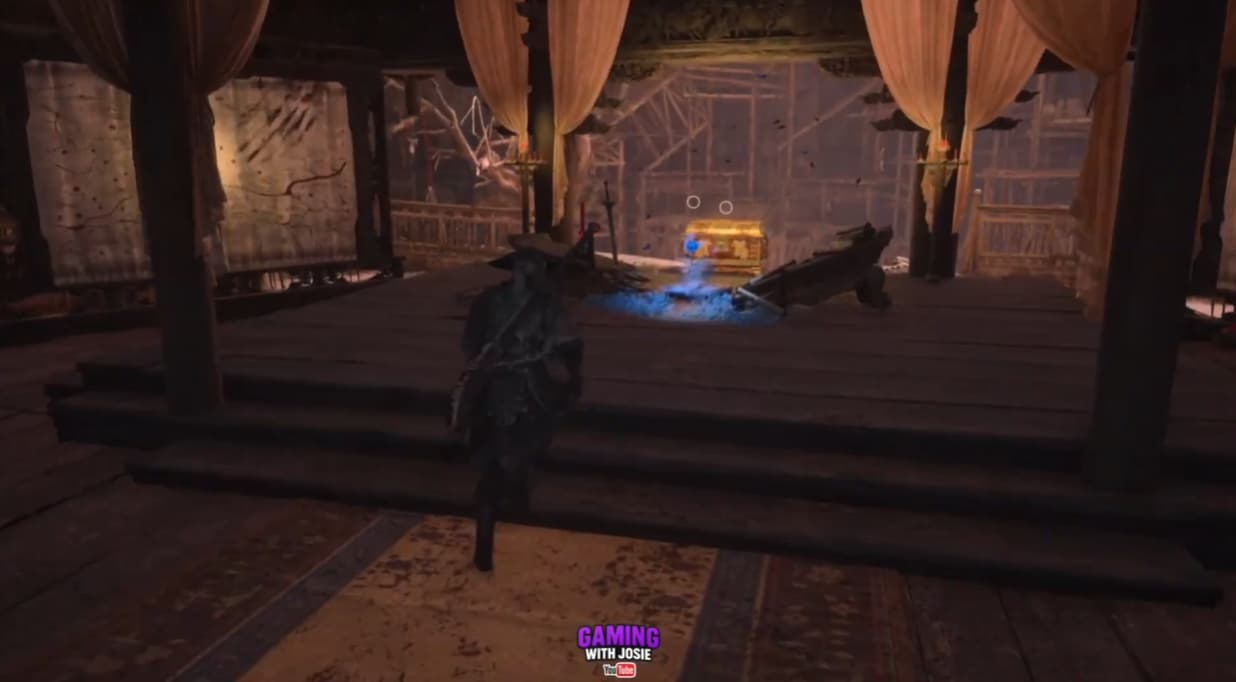
From the Dovecote bell, enter the large building through its double doors and climb to the next floor.
Leave through the upper opening, climb onto the next platform and look for a small gap in the wall on the left. Enter the gap and collect the fragment inside.
Sha-Chi Amber Fragment 3
From the Path of the Baishan’s Fall bell, continue along the main path into the next enemy encounter.
Defeat the group that appears ahead. The Amber Fragment is awarded after the fight.
Sha-Chi Amber Fragment 4
From the Behind the Encampment Waterfall bell, cross the rooftop ahead and continue through the gates and stairs towards the large building.
Pass through the building and follow its outside balcony around to the enemy area containing a surrendering swordsman. Clear the encounter, then continue to the chest beyond it and open it for the fragment.
Blackstone Fragments
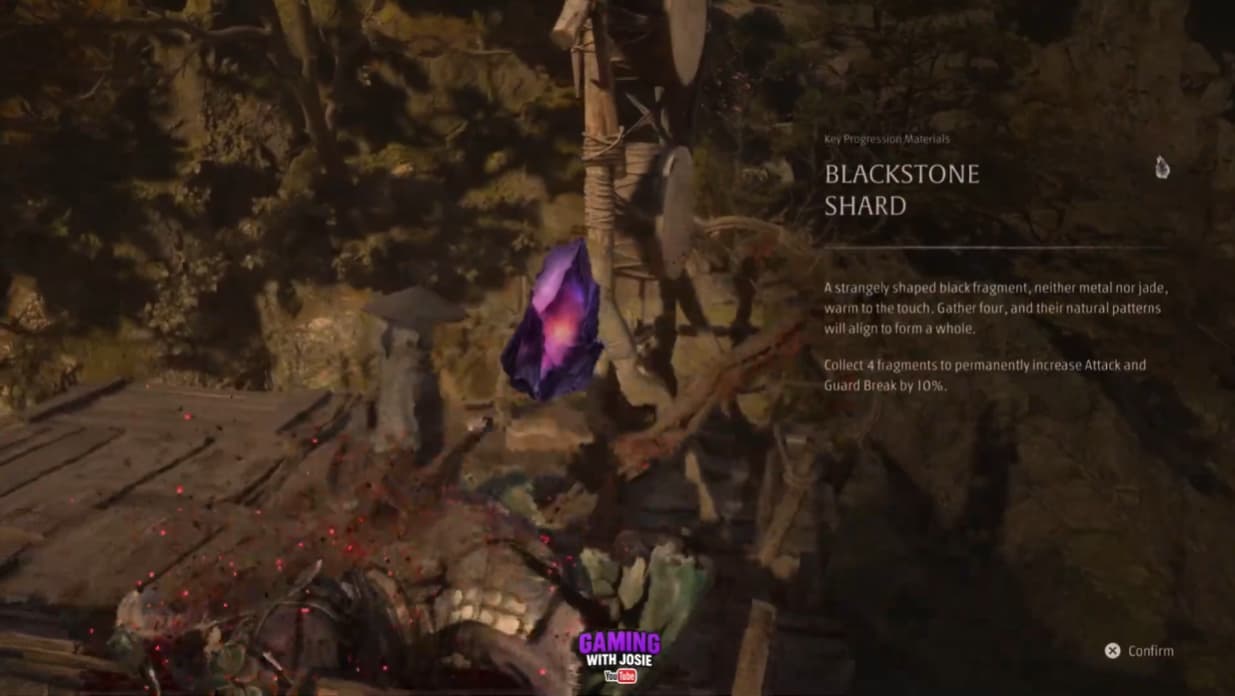
Blackstone Fragment 1
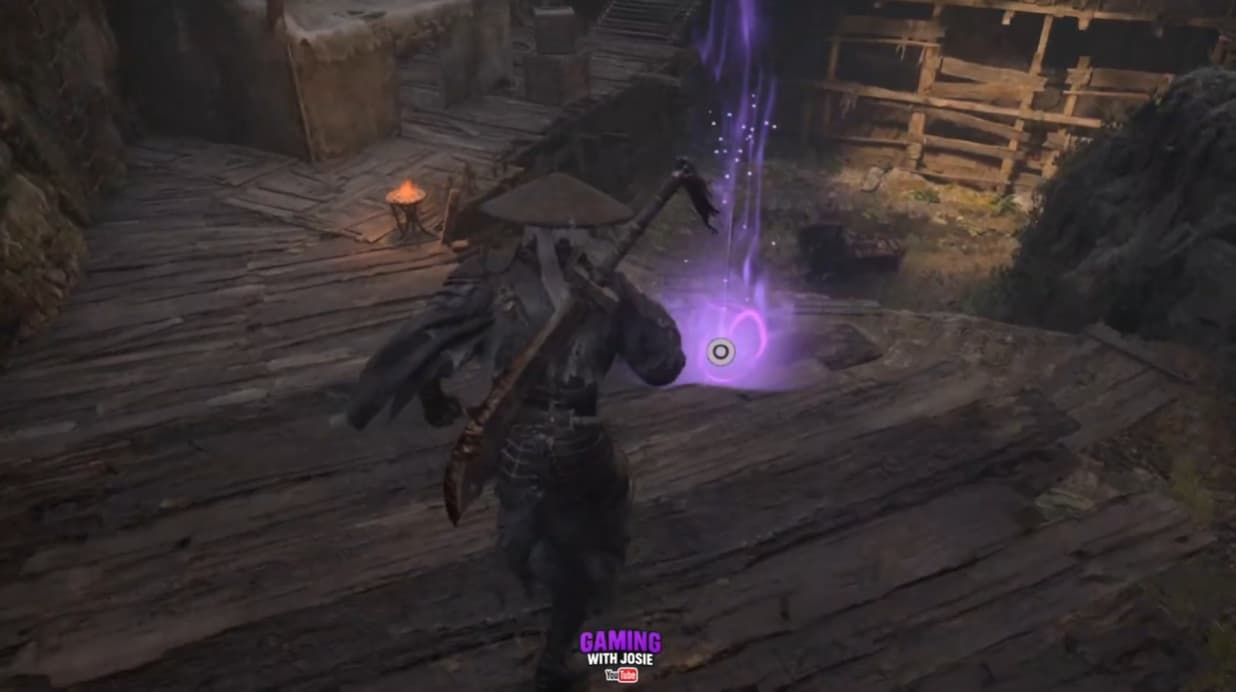
From the Cliffside Walkway Overlook bell, take the right-hand route through the cave.
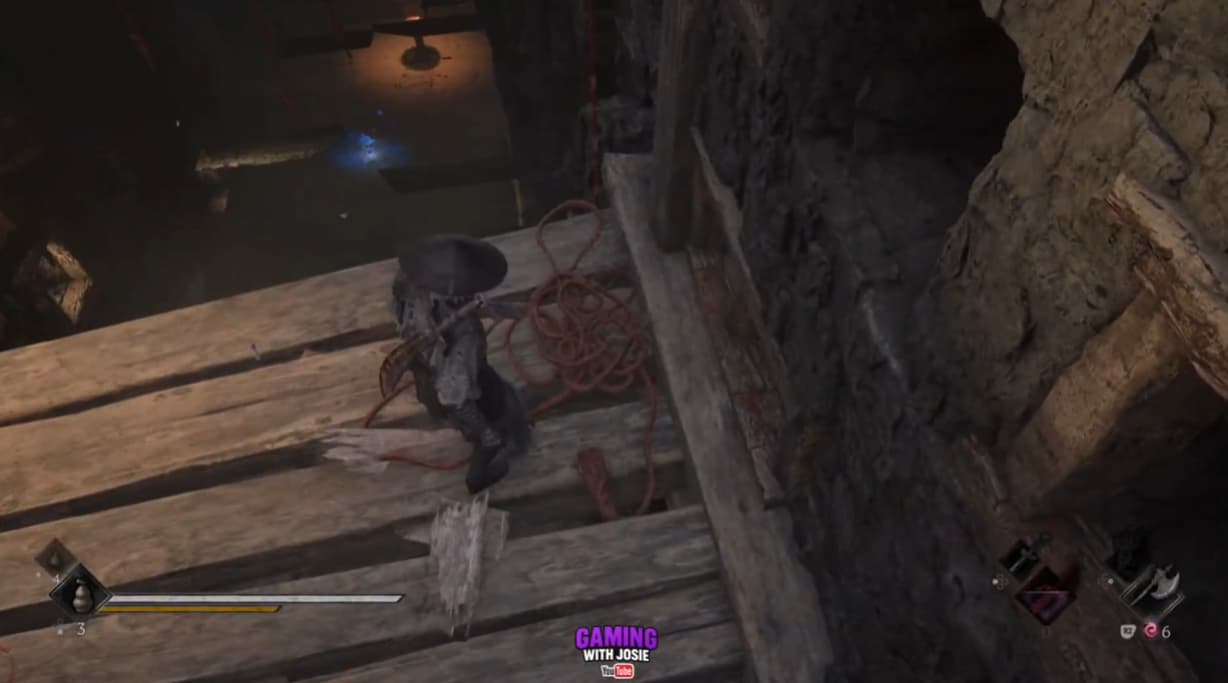
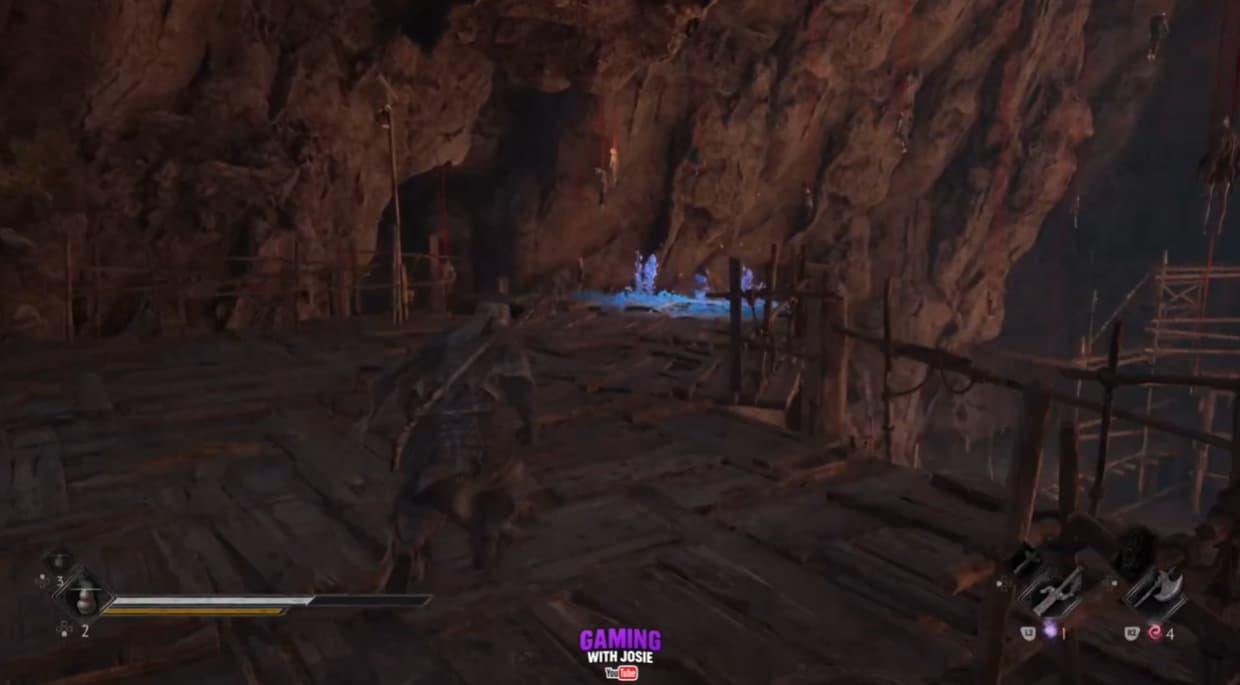
Clear the enemies outside and kick down the ladder on the right before dropping any farther. Continue to the right-hand edge of the rocks and drop onto the lower wooden platform containing the purple pickup.
Collect the fragment, then use the lowered ladder to return.
Blackstone Fragment 2
From the Beneath the Watchtower bell, take the uphill route towards the next watchtower.
Defeat the enemies on the raised platforms. The final enemy in this encounter drops the Blackstone Fragment.
Blackstone Fragment 3
From the Road to the Training Grounds bell, drop down and follow the road to the right. Enter the large building on the left, where the Guardian Idol Torso Fragment and Nameless Thumb Ring are located.
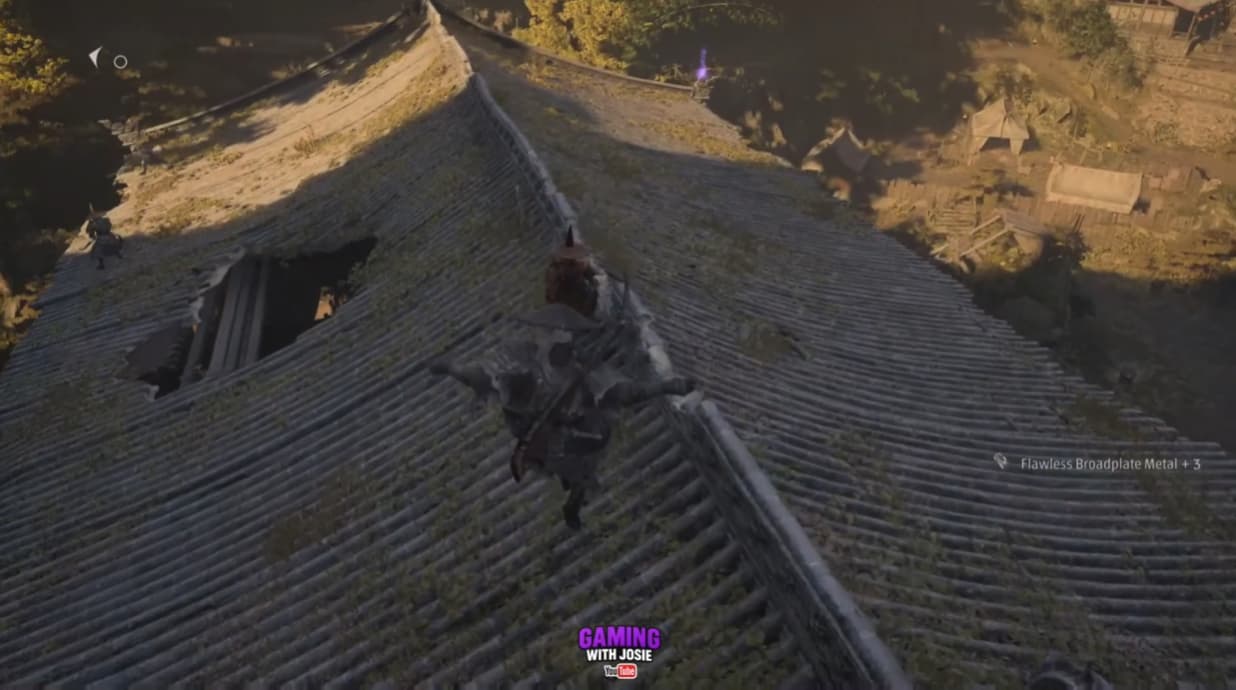
Go upstairs and leave through the upper exit. Follow the rising path outside, climb the wall and continue until you can drop onto the building’s roof.
Defeat the enemy on the rooftop to receive the fragment.
Blackstone Fragment 4
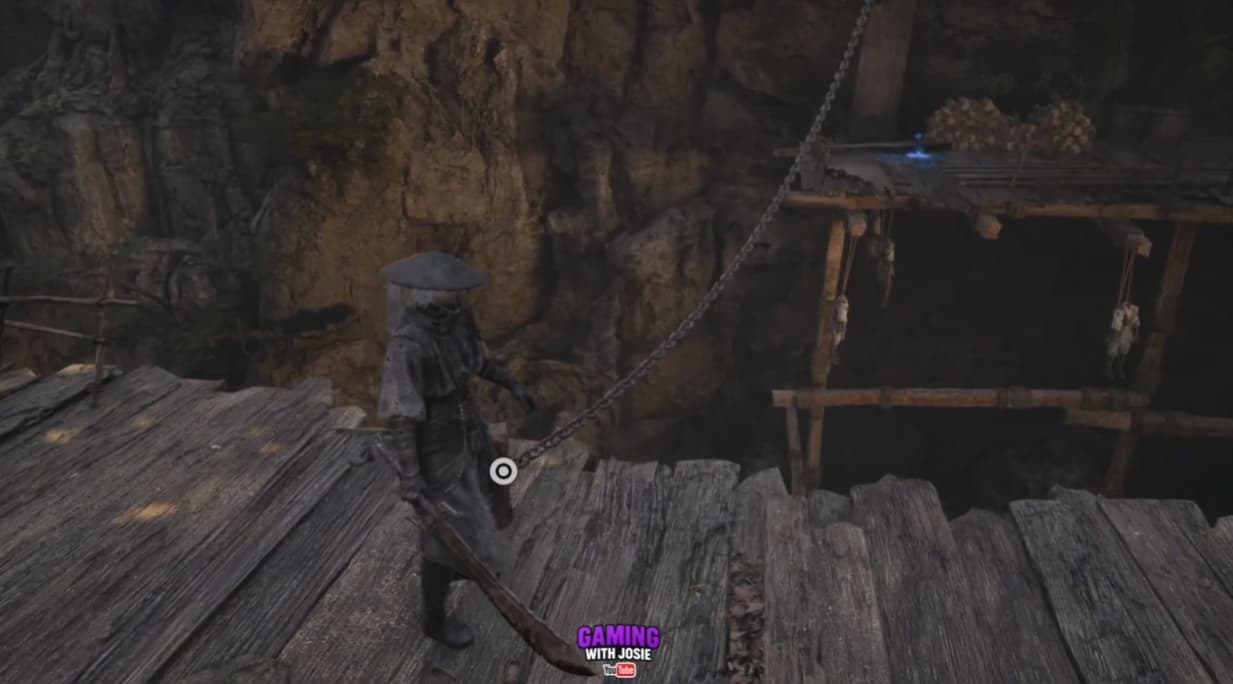
From The Confinement bell, use the chain to swing across into Wu Lengshuang’s arena.
Defeat Wu Lengshuang, the Soft Sword, to receive the Blackstone Fragment alongside the Soft Snake Sword.
Weapons and Phantom Edges
Bashpole
Requires the Dread Axe to open the route. From the Beneath the Watchtower bell, approach the nearby blocked gateway and break through it with the axe.
Enter the arena and defeat Wan Jun, the Coppermaul, to receive Bashpole.
This Phantom Edge opens the breakable-floor routes used for several collectibles in the encampment.
Swordsman’s Summon
From the Three Towers bell, take the ladder down on the left to reach the Chief Disciple’s arena.
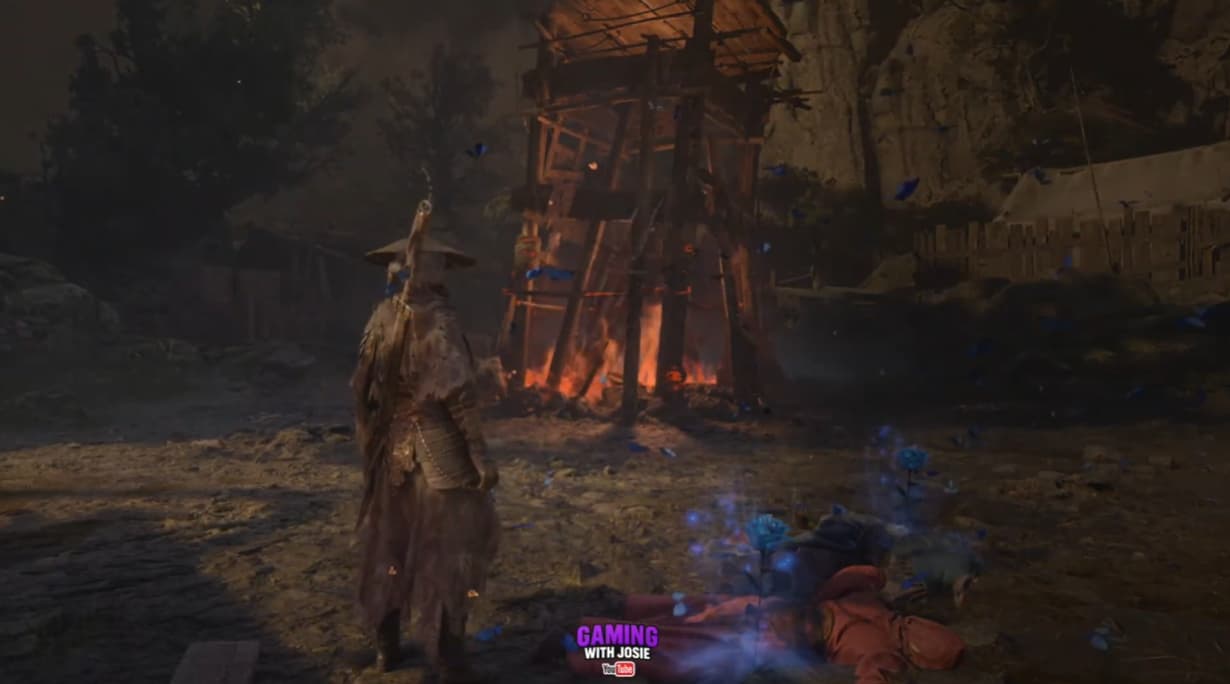
Defeat the Chief Disciple of the Seven-Stars Formation to obtain Swordsman’s Summon. If you left Red alive during the rooftop encounter, she joins this fight, allowing you to collect her additional rewards afterwards.
Search the arena for both Memory Flowers before leaving.
Soft Snake Sword
From The Confinement bell, grapple across the gap into the boss arena.
Defeat Wu Lengshuang, the Soft Sword, and finish the encounter to receive the Soft Snake Sword.
Before leaving, collect the Guardian Idol fragment beneath the nearby tree.
Baishan Stormswords
Complete the relevant Tale steps before this encounter. Follow the Secrets of the Baishan Sect entry and the return trip to Cliffside Lodge before continuing through the Training Grounds.
From the Training Grounds bell, descend into the large arena and defeat Yubi, No. 21 Swordfighter Puppet.
Baishan Stormswords are awarded after the fight, alongside the Broken Vessel accessory.
Accessories
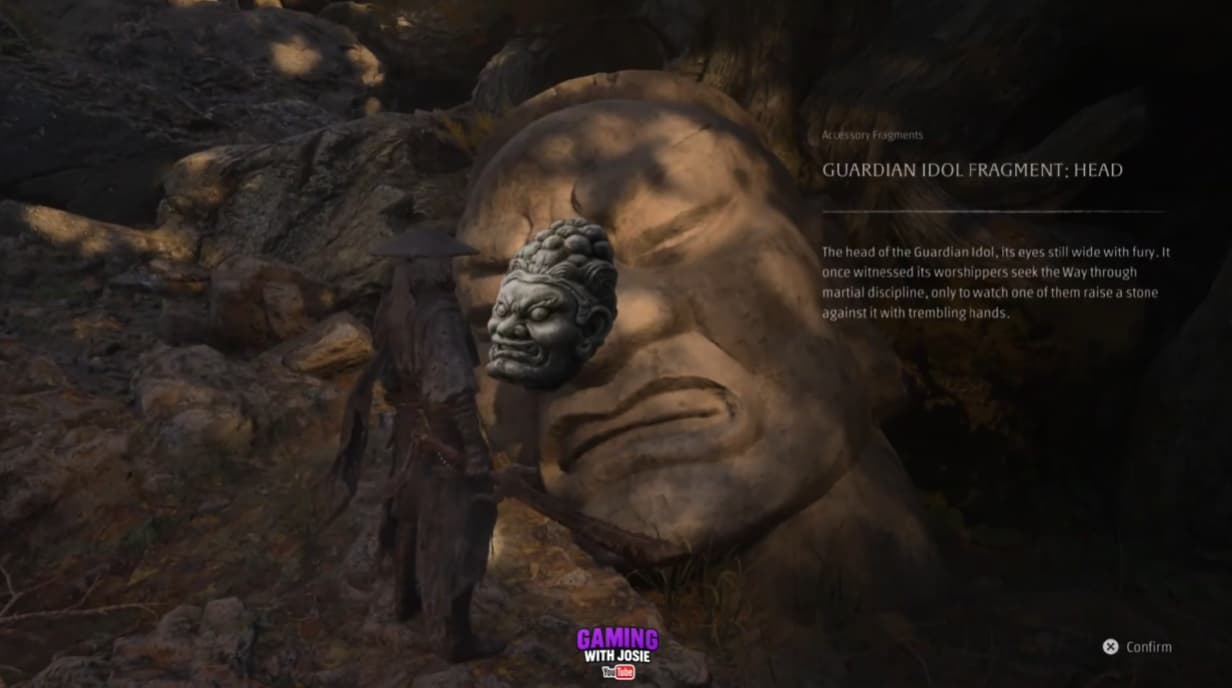
Guardian Idol Fragment Head
From the Sunset Path bell, follow the uphill path towards the Banyan Tree and the nearby building.
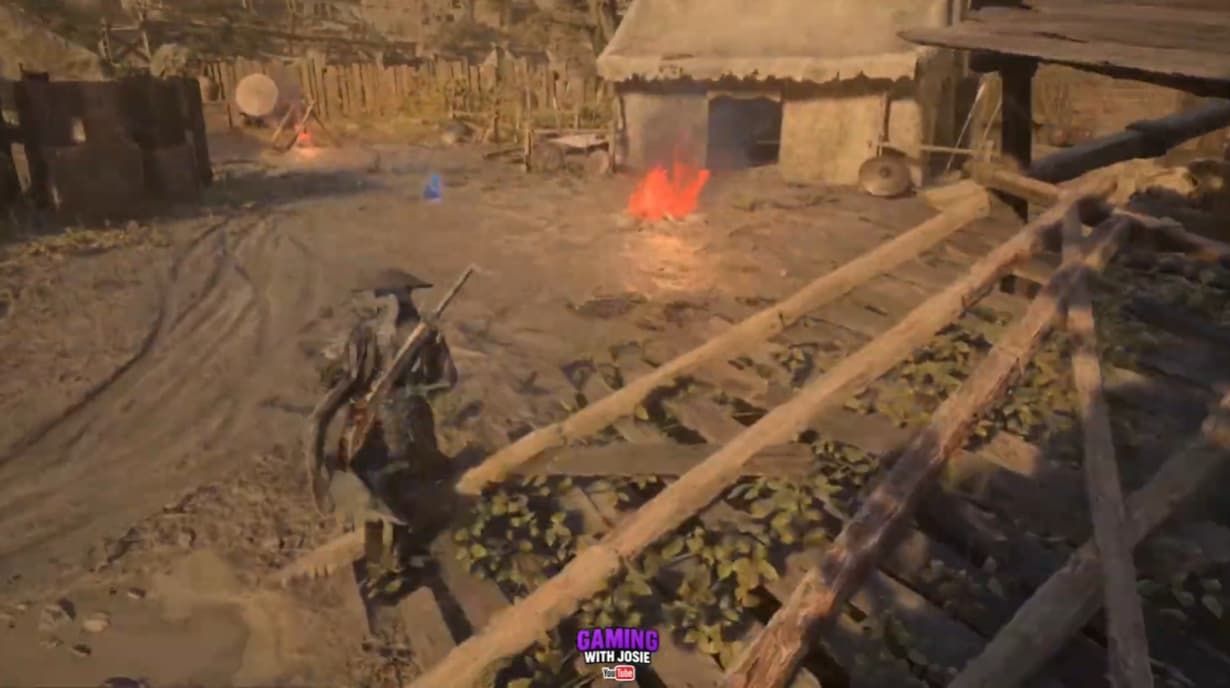
Return to the main path below the building and continue into the open area containing a campfire. Search beside the large stone statue head at the back to collect the fragment.
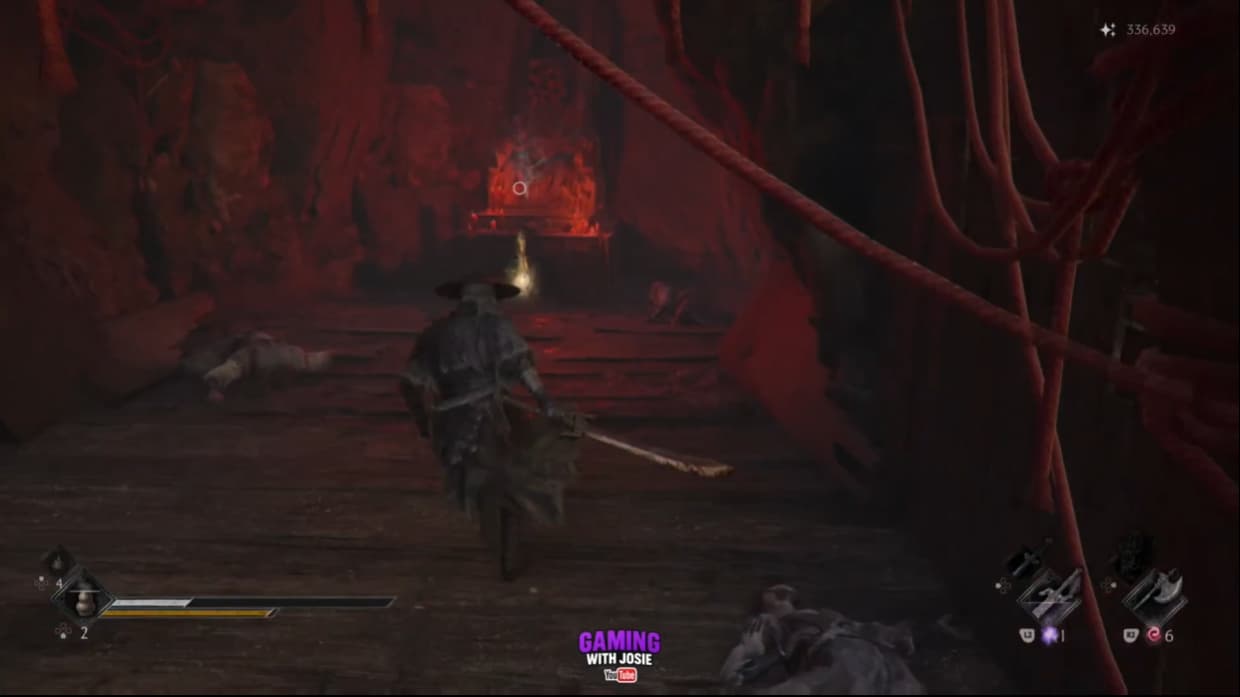
Guardian Idol Fragment Arm
From the Cliffside Walkway Overlook bell, take the descending route on the right instead of entering the cave.
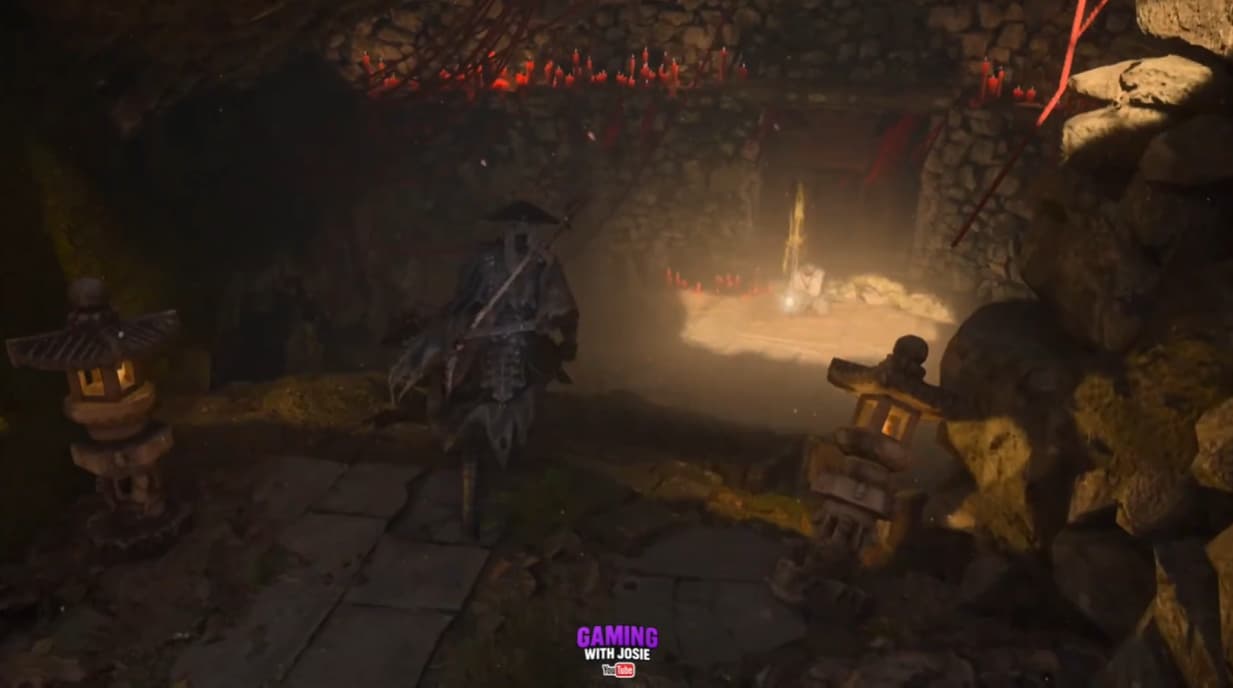
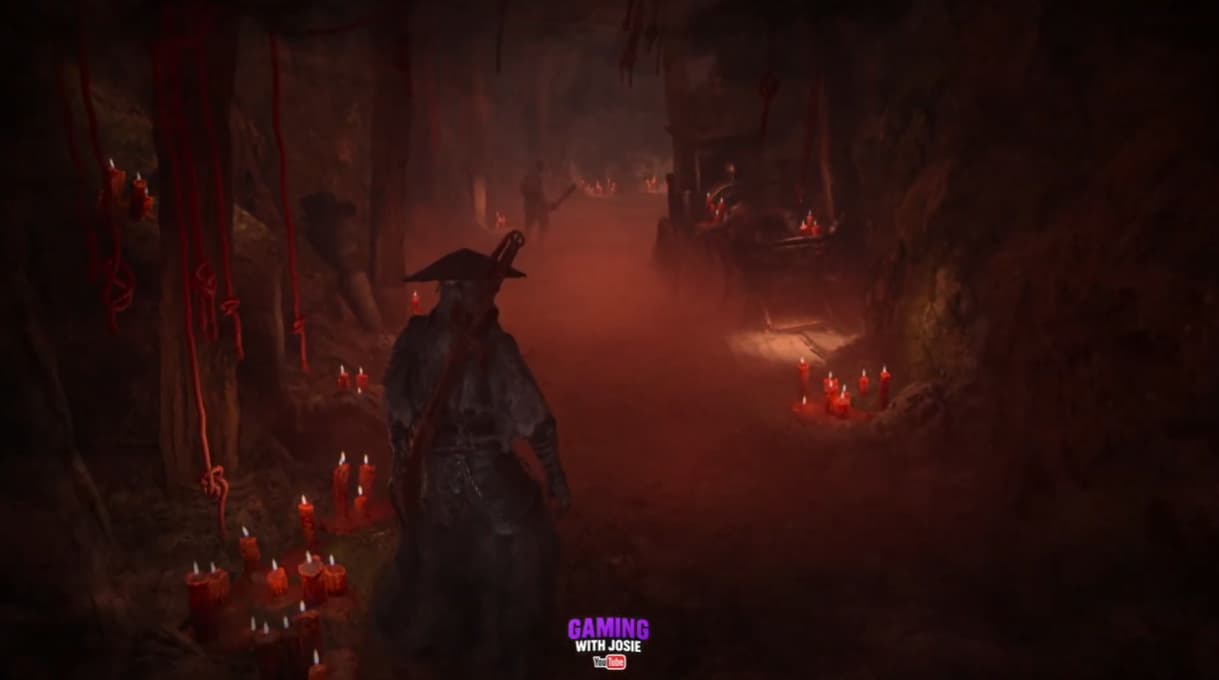
Defeat the two enemies below, cross the bridge behind them and continue into the red-lit recess at the far end.
Collect the fragment inside.
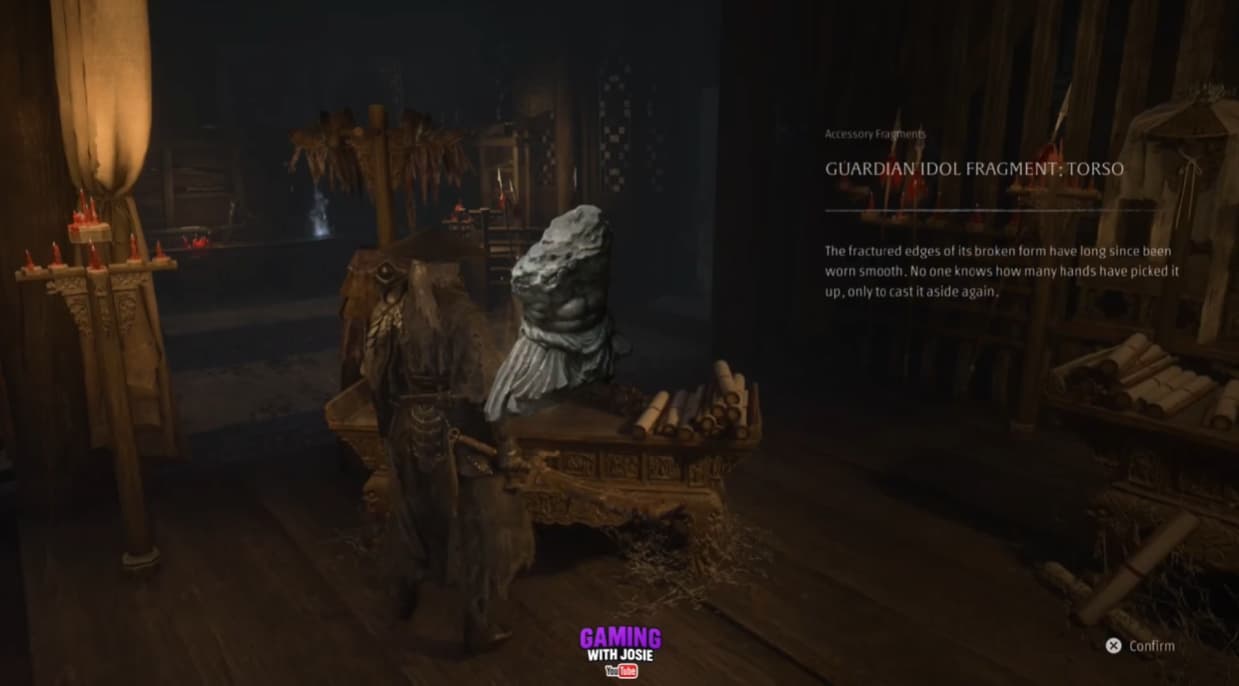
Guardian Idol Fragment Torso
From the Road to the Training Grounds bell, drop into the area below and follow the road to the right.
Turn left into the large building and search the ground floor before climbing the stairs. Collect the glowing fragment inside.
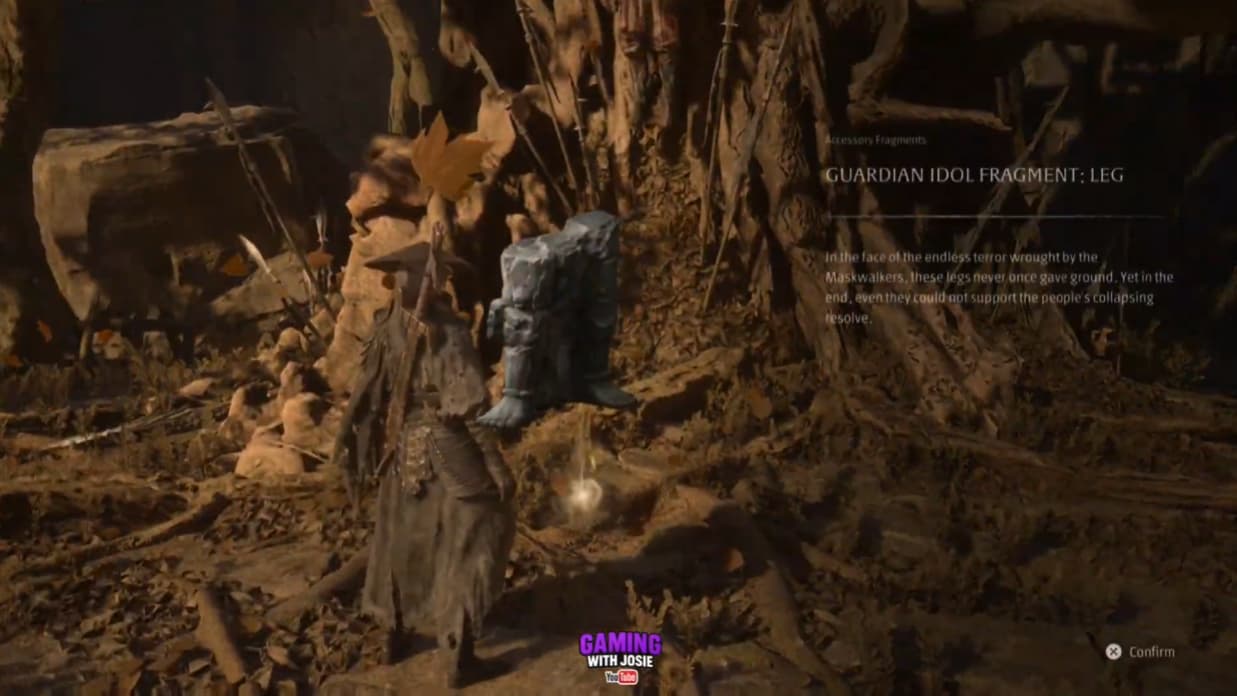
Guardian Idol Fragment Leg
Collect the Head, Arm and Torso fragments listed above, then defeat Wu Lengshuang beyond The Confinement bell.
After the fight, go to the tree on the left side of her arena and collect the final fragment at its base.
With all four pieces collected, the fragments form the Guardian Idol accessory.
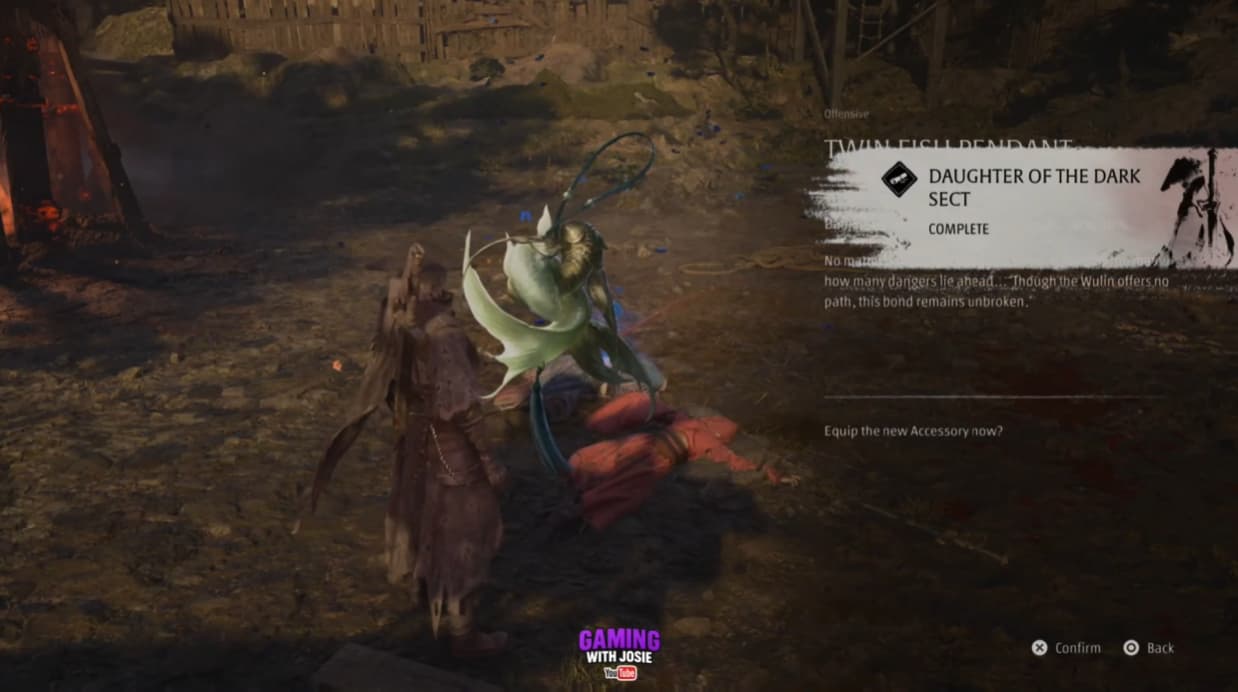
Twin Fish Pendant
Requires leaving Red alive during the rooftop encounter. Speak to the woman beside the Dovecote building, then escape from Red on the roof using the chain.
Continue to the Three Towers bell and descend the ladder into the Chief Disciple’s arena. Complete the encounter with both bosses present, then collect the rewards around their bodies, including the Twin Fish Pendant.
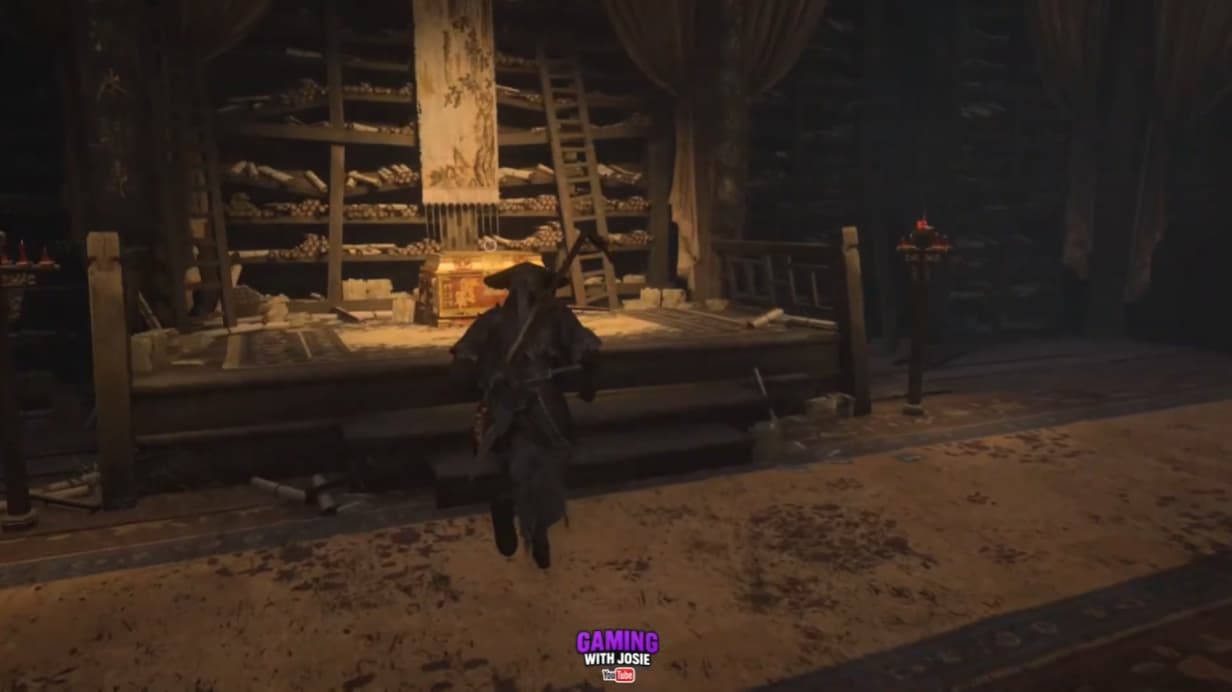
Nameless Thumb Ring
From the Road to the Training Grounds bell, drop down, follow the road right and enter the large building on the left.
Climb the stairs from the ground floor into the room filled with scrolls. Defeat the enemy upstairs and open the chest to collect the accessory.
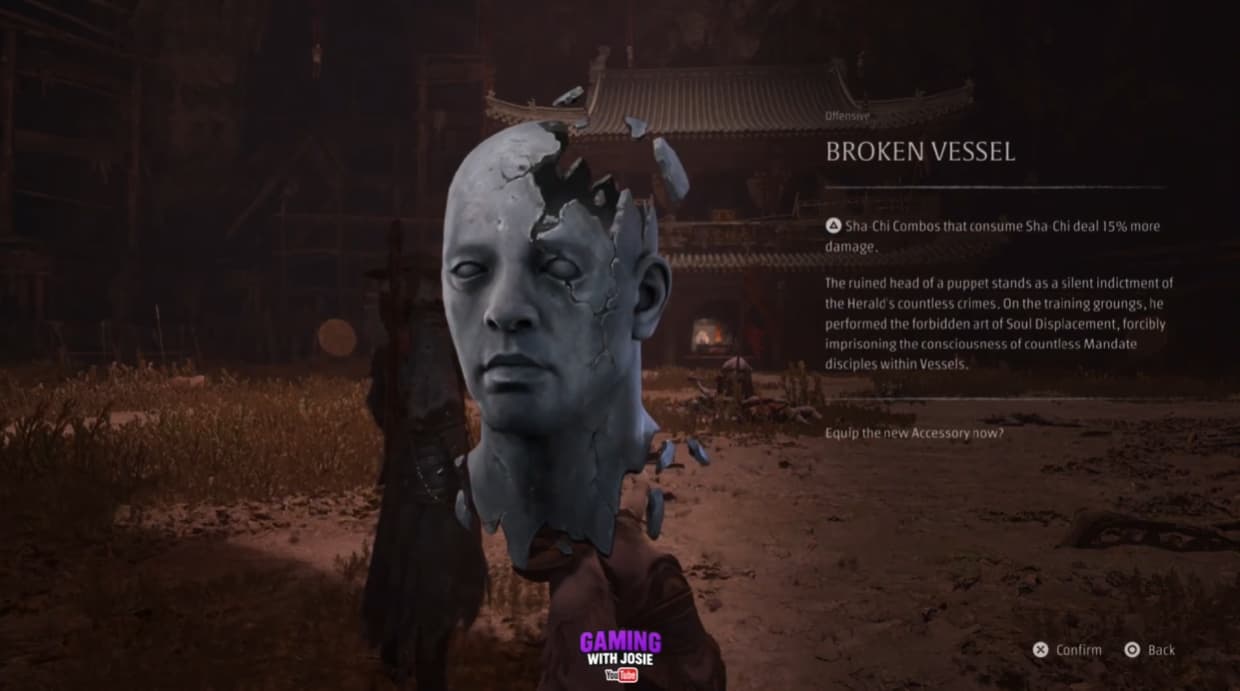
Broken Vessel
Complete the Tale preparations and Cliffside Lodge visit before fighting the Training Grounds boss.
From the Training Grounds bell, descend into the arena and defeat Yubi, No. 21 Swordfighter Puppet.
Collect the Broken Vessel accessory among the rewards after the fight.
Bells
Sunset Path
Requires the Mandate Encampment Outer Gate Key. Unlock the entrance to Mandate Encampment and follow the passage through the opening story scene.
The Sunset Path bell is directly along the route as you emerge into the first open area.
Cliffside Walkway Entrance
From Sunset Path, continue along the main route past the campfire and large stone statue head.
Pass through the small gateway into the narrow alley, defeat the enemies and climb the ladder at the end. The bell is at the top.
Cliffside Walkway Overlook
From the Cliffside Walkway Entrance bell, climb the stairs at the back and turn left through the cave.
On the far side, follow the path right, climb the wall and continue past the Memory Flower. Use the chain to cross into the next enemy area.
Climb the wall beyond the enemies, turn left to take the lift, then follow the upper route through the wall-running section. The bell is on the same level beyond it.
Mass Grave
Requires the Mandate Valley Gate Key. Collect the key from the upper wooden platforms, release the nearby chain and swing across.
Pass the Memory Flower at the landing point and unlock the red gate. Follow the path into the open area to reach the bell.
Moji’s Cenotaph
From the Mass Grave bell, defeat Corpse-Eating Xue and follow the uphill route beyond his arena.
Pass through the orange-lit rock gap, continue along the sunlit path and enter the next cave.
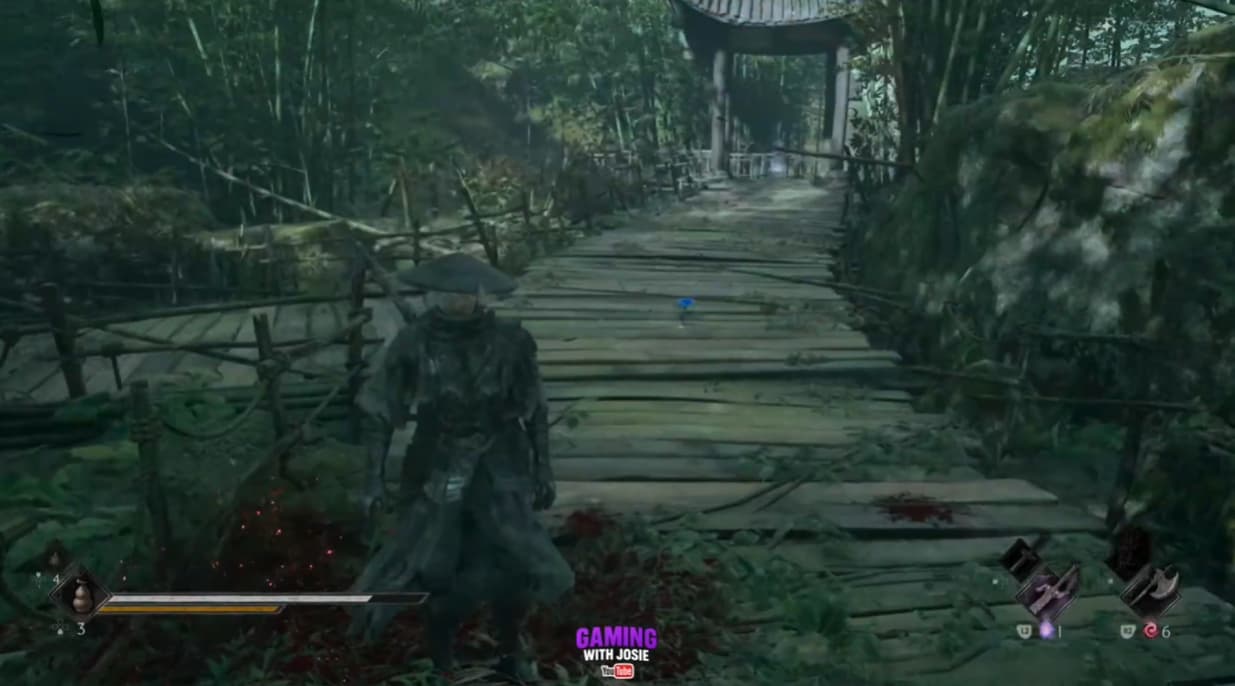
After clearing the enemies at the far end, cross the broken wooden bridge and turn left through the rock opening. Follow the path around to the bell.
Beneath the Watchtower
From Moji’s Cenotaph, take the path to the left and drop into the enemy-filled area.
Pass the raised wooden platform containing a Memory Flower and continue towards the blocked gateway. The bell is beside the route near that gateway.
Battlefield Ruins
From Beneath the Watchtower, climb towards the next watchtower and defeat the enemies, collecting their Blackstone Fragment.
Drop into the large open battlefield beyond the platforms. Activate the bell before exploring the side passages.
Main Encampment Gate
From Beneath the Watchtower, break the nearby gateway with the Dread Axe and defeat Wan Jun.
The bell is inside his arena. Activate it after collecting Bashpole.
Dovecote
Requires Bashpole. From the Main Encampment Gate bell, break through the floor and follow the red-lit caves.
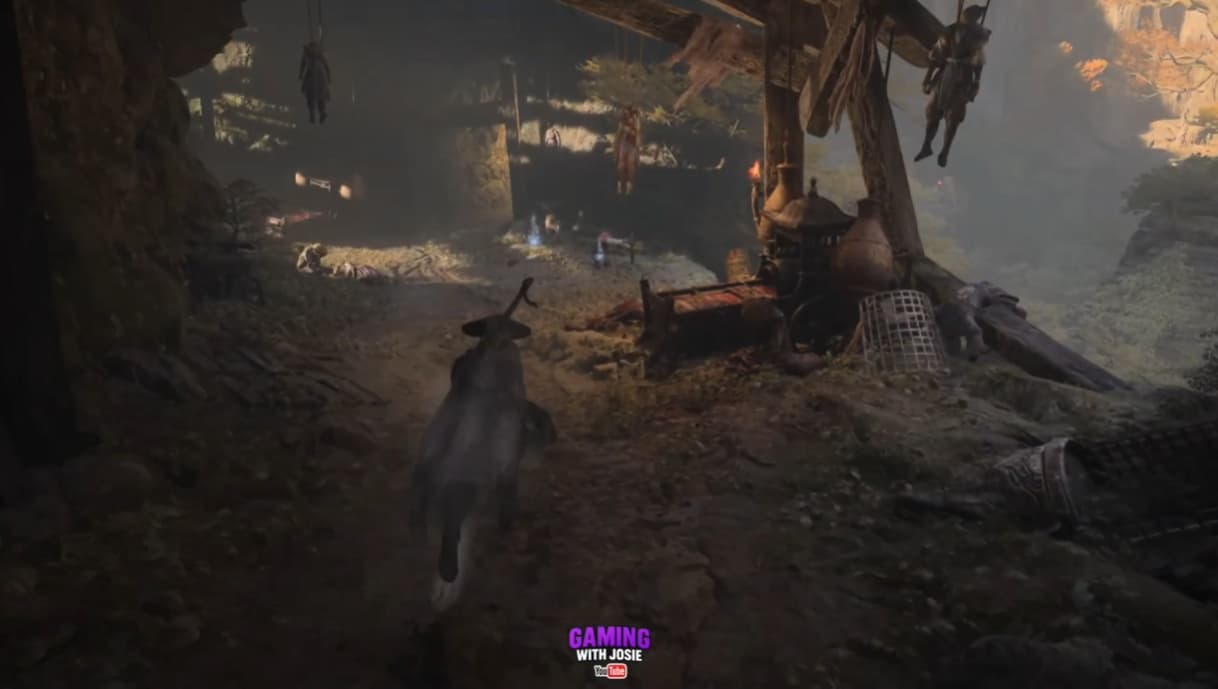
Climb the ladder at the far end, pass the book on the wall and continue through the tent-filled enemy camps.
Cross into the next camp, then follow the rising path on the right. The bell is at the top beside the large building.
Three Towers
Requires Bashpole. From Dovecote, climb through the building to the rooftop encounter with Red. Escape using the chain.
Continue along the lower route and break through the floor with Bashpole. Work through the lower rooms and climb back outside.
After reaching the upper walkway, use the wall-running route to cross into the next section. Drop from the roof on the left to reach the bell.
Tower Rear Exit
From Three Towers, descend the ladder on the left and complete the Chief Disciple encounter.
Collect the boss rewards and Memory Flowers, then activate the bell at the arena’s exit before following the river.
Road to the Training Grounds
From the enemy camp reached by the ramp and balcony near Three Towers, continue through the tents to the far side.
Climb the wall, use the chain to reach the next ledge and climb the ladder.
The bell is at the top, with an orange story pickup nearby on the left.
Path of the Baishan’s Fall
From the Road to the Training Grounds bell, descend and follow the right-hand road to the large building.
Go through the building and leave by its upper exit. Follow the rising path outside, then take the stairs straight ahead instead of climbing towards the rooftop.
Open the gate and continue past the bird enemies to reach the bell.
The Confinement
From the Path of the Baishan’s Fall bell, continue through the enemy encounter that awards an Amber Fragment.
Follow the main path left, complete the wall run and pass through the next swordfighter encounter.
Continue along the cliffside route to the platform containing the bell, just before the chain crossing into Wu Lengshuang’s arena.
Behind the Encampment Waterfall
After defeating Wu Lengshuang, leave her arena by the uphill stairs and inspect the body at the top for the Tale objective.
Continue towards the back-right route, use the chain crossing and follow the sliding sections down the cliff.
The bell is at the bottom, before the rooftop crossing.
Training Grounds
Requires the Training Grounds Key. From the Road to the Training Grounds bell, descend into the lower area and approach the locked gate.
Open it with the key obtained from the Chief Disciple encounter. The Training Grounds bell is directly ahead.
Complete the relevant Tale steps before continuing to the boss below.
Training Grounds Depths
After defeating Yubi, enter the building she points towards.
Collect the items upstairs, then return to the ground floor and follow the long passage towards the back.
The bell is at the end, beside the route to the portal.
Memory Flowers
Memory Flower 1
From the Sunset Path bell, follow the uphill path and grapple onto the ledge containing the Banyan Tree.
Walk around the obstructing branches and enter the nearby building. The Memory Flower is on the table inside.
Memory Flower 2
From the Cliffside Walkway Entrance bell, climb the stairs at the back and follow the left-hand stairs through the cave.
Outside, turn right and follow the platforms to the climbable wall. Climb up, defeat the enemies and descend to the far side of the platform.
The flower is near the ladder you can kick down to create a shortcut.
Memory Flower 3
From the Cliffside Walkway Overlook bell, take the descending route on the right and cross the lower bridge.
Pass the red-lit recess, descend the small ramp and climb the ladder ahead. Clear the upper platforms and collect the Mandate Valley Gate Key.
Release the chain and swing across. The Memory Flower is at the landing point, beside the route to the locked red gate.
Memory Flower 4
Requires opening the red gate with the Mandate Valley Gate Key. From the Mass Grave bell, collect the Memory Flower immediately beside the bell before descending into the boss area.
Memory Flower 5
From the Mass Grave bell, descend into the open arena and defeat Corpse-Eating Xue.
Leave the arena by the uphill path towards the orange-lit rock passage. Collect the flower beside the approach before entering the gap.
Memory Flower 6
From Corpse-Eating Xue’s arena, follow the uphill path through the orange-lit rock gap.
Continue into the sunlit area beyond it. Look for the small wooden lookout beside the main route and descend onto it to collect the flower.
Memory Flower 7
From Moji’s Cenotaph, take the left-hand path and drop into the open area containing several enemies.
Climb onto the raised wooden platform and defeat the enemy there. The flower is on its middle section.
Memory Flower 8
From the Battlefield Ruins bell, follow the descending route on the left.
Turn left again into the narrow stone passage and continue to its end. The Memory Flower is at the back.
Memory Flower 9
From the Dovecote bell, approach the large building with the double doors.
Before entering, follow its outside wall all the way around to the back. Collect the flower hidden behind the building.
Memory Flower 10
Requires Bashpole. From Dovecote, climb through the building to Red’s rooftop encounter and escape across the chain.
Follow the path away from the roof and break through the floor. The flower is visible beyond the opening, but you need to reach it by going around.
Drop to the lowest level, defeat the enemies and climb back towards the outside exit. Climb onto the exterior ledge, drop onto the enemy below and enter the adjoining room.
Follow the interior passage to reach the flower.
Memory Flower 11
From the Three Towers bell, descend the ladder on the left into the Chief Disciple’s arena.
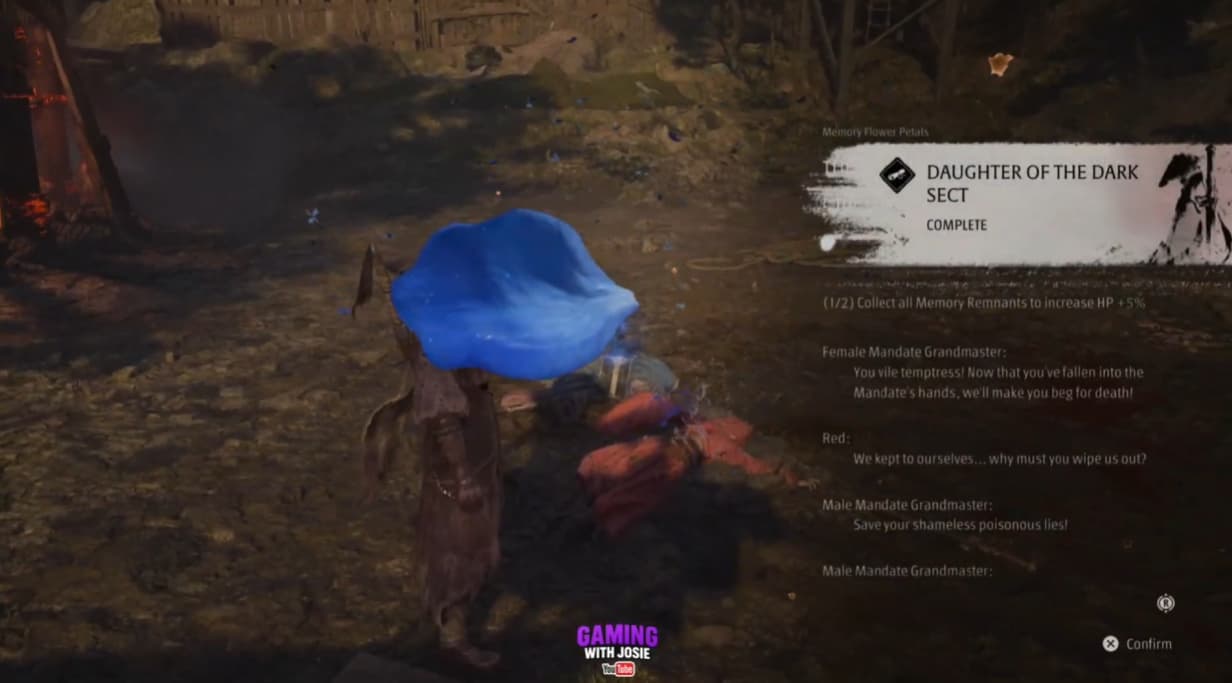
Complete the encounter and collect the Memory Flower from one of the defeated bosses.
Leave Red alive on the earlier rooftop so both bosses are present and both flowers can be collected here.
Memory Flower 12
Requires leaving Red alive during the rooftop encounter. From the Three Towers bell, descend the left-hand ladder and complete the boss fight with Red present.
After collecting the first flower, check the other defeated boss and interact with the second flower as well.
Do not leave after collecting only one.
Memory Flower 13
Complete the Myst’s Tavern visit first. Obtain Shattered Hero’s Courage before returning for the surrendering swordfighters’ flowers.
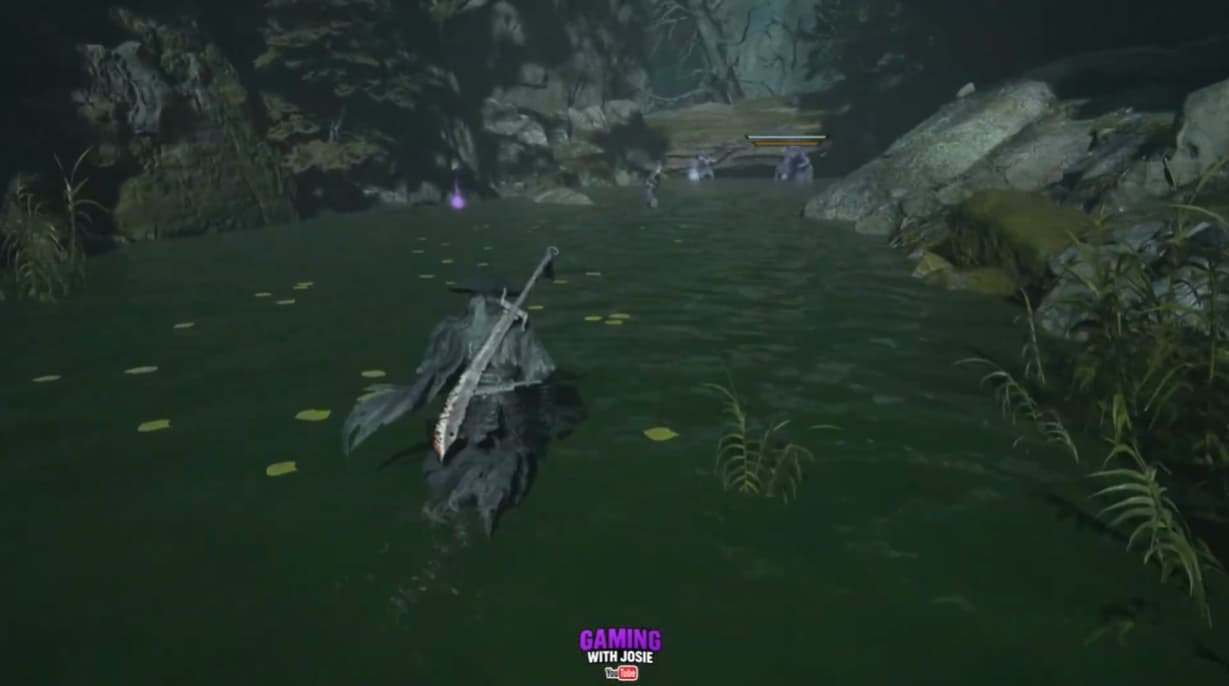
From the Mass Grave bell, descend the ledges towards the stream below. Follow the water downhill and around to the left.
Defeat the enemy group, then promptly finish the final swordsman when he raises his white flag. Collect the Memory Flower left in his place.
Memory Flower 14
Requires the Myst’s Tavern step for Shattered Hero’s Courage. From the Three Towers bell, drop into the open area below and continue over the low dividing wall.
Find the ramp leading onto the balcony, follow it around and descend into the next enemy camp.
Defeat the group and promptly finish the surrendering swordsman. Collect the flower where he falls.
Memory Flower 15
Requires the Myst’s Tavern step for Shattered Hero’s Courage. From the Path of the Baishan’s Fall bell, continue through the encounter that awards an Amber Fragment.
Follow the main path left and complete the wall run into the next enemy area.
Defeat the enemies and promptly finish the surrendering swordswoman. Collect the flower after the encounter.
Memory Flower 16
Requires the Myst’s Tavern step for Shattered Hero’s Courage. From the Behind the Encampment Waterfall bell, cross the rooftop ahead and continue through the gate and up the stairs.
Pass through the next gate, clear the enemies and enter the large building ahead. Work through the room on the left, then return outside and follow the balcony around the building.
Cross into the next enemy area, defeat the group and promptly finish the surrendering swordsman. Collect the flower left behind.
Memory Flower 17
After defeating Yubi in the Training Grounds, face the building indicated during the ending scene.
Before entering it, take the wooden path to the right. Collect the flower near the beginning of this side route.
Memory Flower 18
From Yubi’s arena, take the wooden side path to the right of the building she indicates.
Continue uphill beyond the first flower and climb the wall at the end. Follow the upper platforms to the top and collect the second flower.
Memory Flower 19
After defeating Yubi, enter the building she points towards and pass the orange pickup for the Illusory Pipa.
Climb the stairs to the upper floor. Collect the Memory Flower at the top before opening the nearby medicine chest.
Medicine
Phantom Remedy
Requires Bashpole. At the Battlefield Ruins bell, find the breakable floor in the nearby ruins.
Smash through it with Bashpole and descend into the chamber below. Collect the medicine at the bottom.
Lament Draught
After defeating Yubi, enter the building beyond her arena and climb the stairs past the Illusory Pipa pickup.
Open the chest on the upper floor beside Memory Flower 19 to collect Lament Draught.
Banyan Tree and Tempering Rewards
Banyan’s Heart
From the Sunset Path bell, follow the uphill path and use the chain to grapple onto the ledge on the right.
Approach the Banyan Tree and complete its challenge to receive the Banyan’s Heart reward.
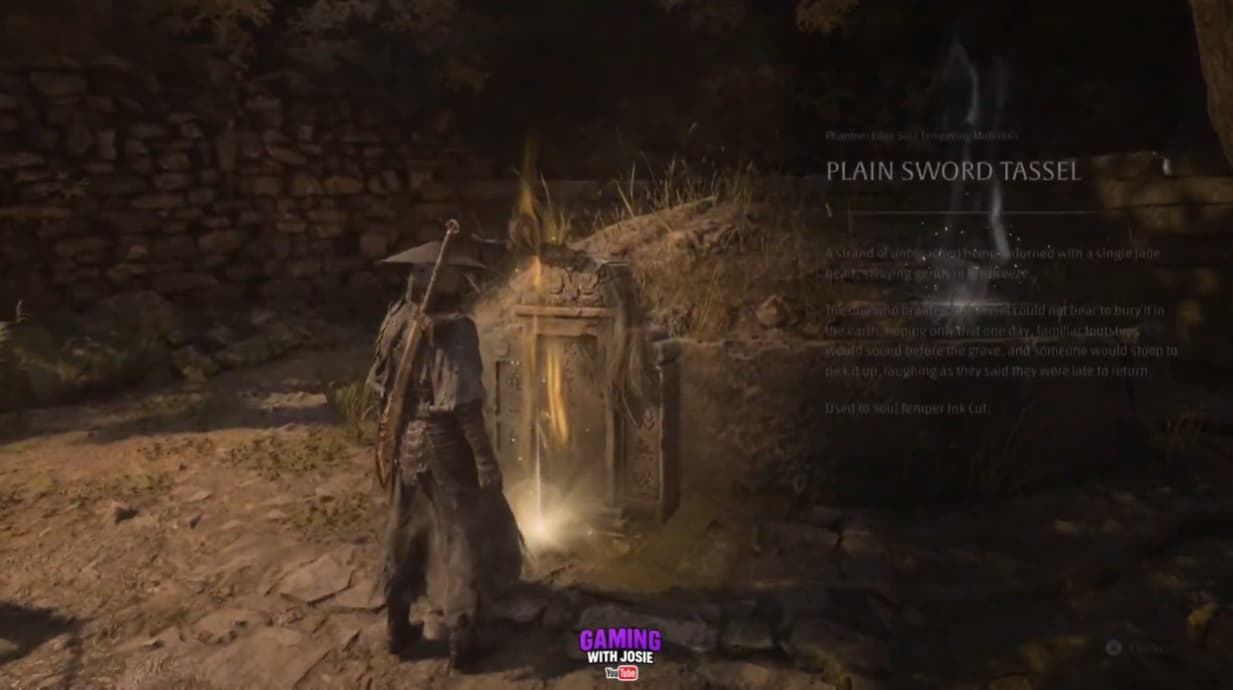
Plain Sword Tassel
From Corpse-Eating Xue’s arena, follow the uphill path through the orange-lit rock gap.
Continue into the sunlit area and search the raised section beside the main route, before descending to the wooden lookout containing Memory Flower 6.
Collect the unique tempering material here.
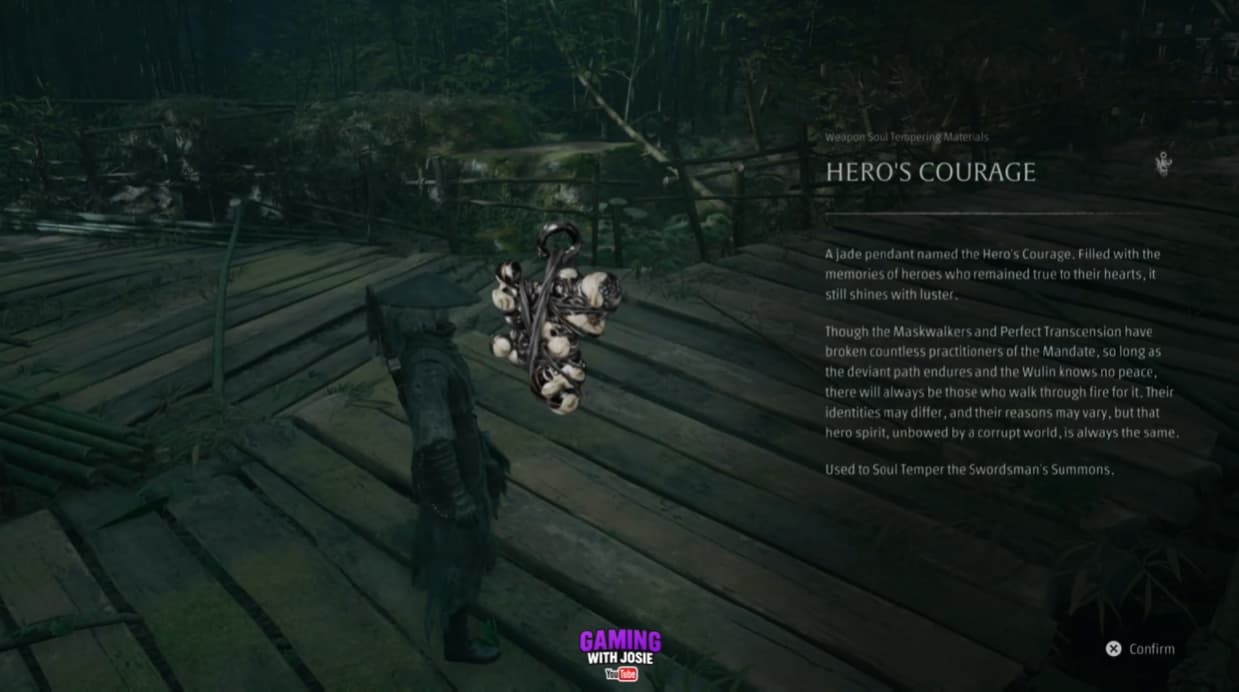
Hero’s Courage
Obtain Shattered Hero’s Courage from the tavern visit, then complete the four surrendering swordfighter encounters covered by Memory Flowers 13–16.
The route finishes at the encounter reached from the Behind the Encampment Waterfall bell. Collect the final flower and the tempering reward after defeating the swordsman.
Keys and Other Important Items
Mandate Encampment Outer Gate Key
This key is collected in Pangzhen before entering Mandate Encampment.
After defeating Gu Wanyue, descend the well and follow the underground route through the stairs and ladder. Clear the next chamber and collect the orange key beside the Memory Flower.
Return to the Mandate Encampment outer gate and use the key to enter.
Mandate Valley Gate Key
From the Cliffside Walkway Overlook bell, take the descending right-hand route and cross the bridge behind the enemies.
Pass the red-lit recess, descend the small ramp and climb the ladder ahead. Follow the upper wooden platforms to the right, defeating the enemies along the way.
Collect the orange key, then release the nearby chain and swing across. Use the key on the red gate beyond the Memory Flower to reach Mass Grave.
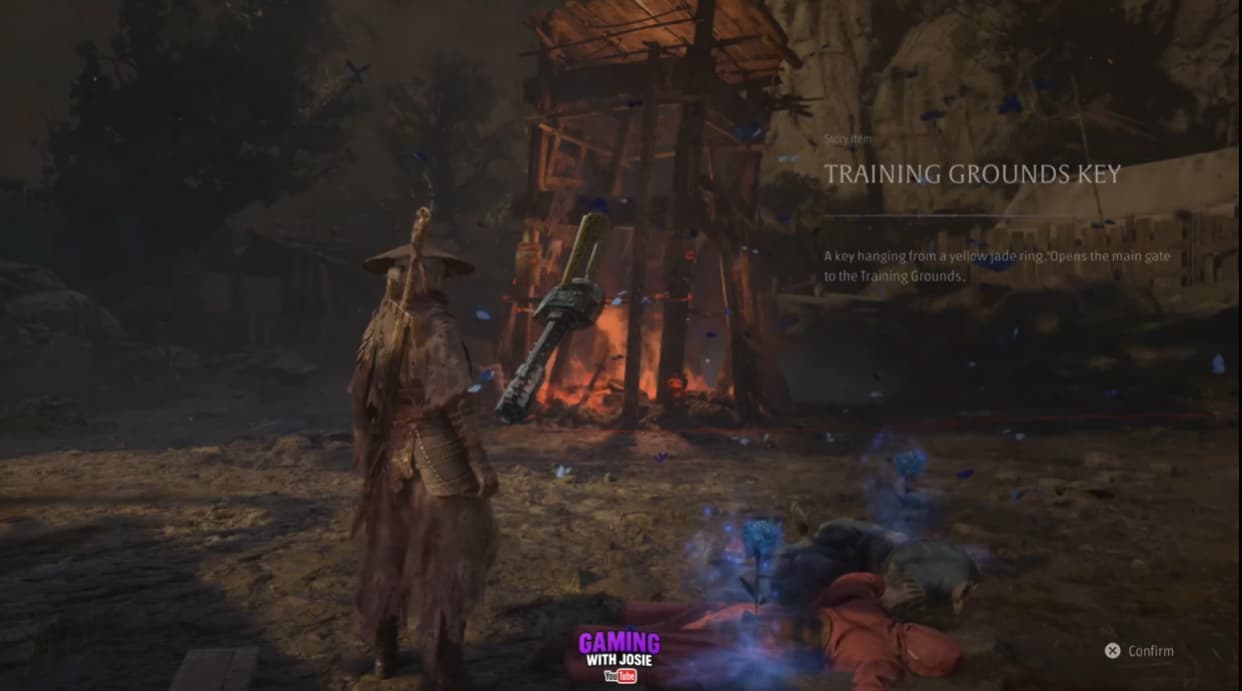
Training Grounds Key
From the Three Towers bell, descend the ladder on the left and defeat the Chief Disciple of the Seven-Stars Formation.
Collect the key among the encounter rewards. It opens the gate leading from the Road to the Training Grounds into the Training Grounds.
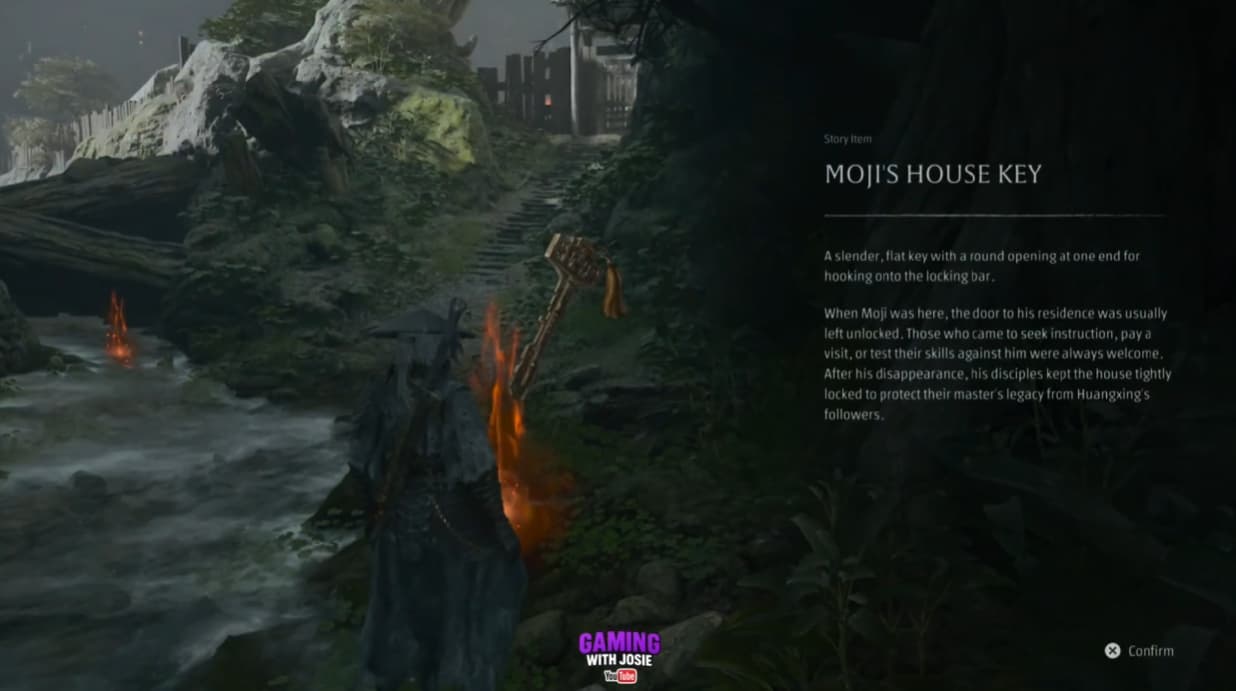
Moji’s House Key
From the Tower Rear Exit bell, enter the nearby river and follow it upstream.
Collect the first orange key pickup along this route. Continue checking the riverbank for the separate story item before returning downstream.
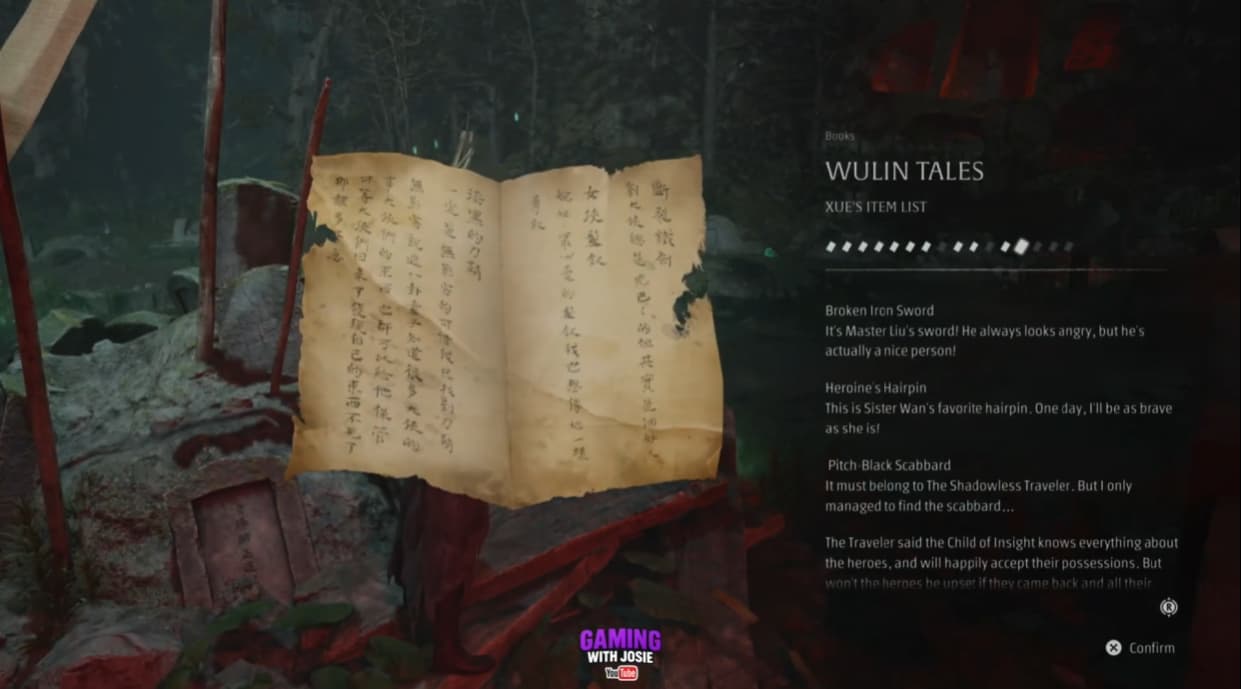
Wulin Tales
From the Mass Grave bell, descend into the arena and defeat Corpse-Eating Xue.
Collect the book after the encounter to add the related Tale to your journal.
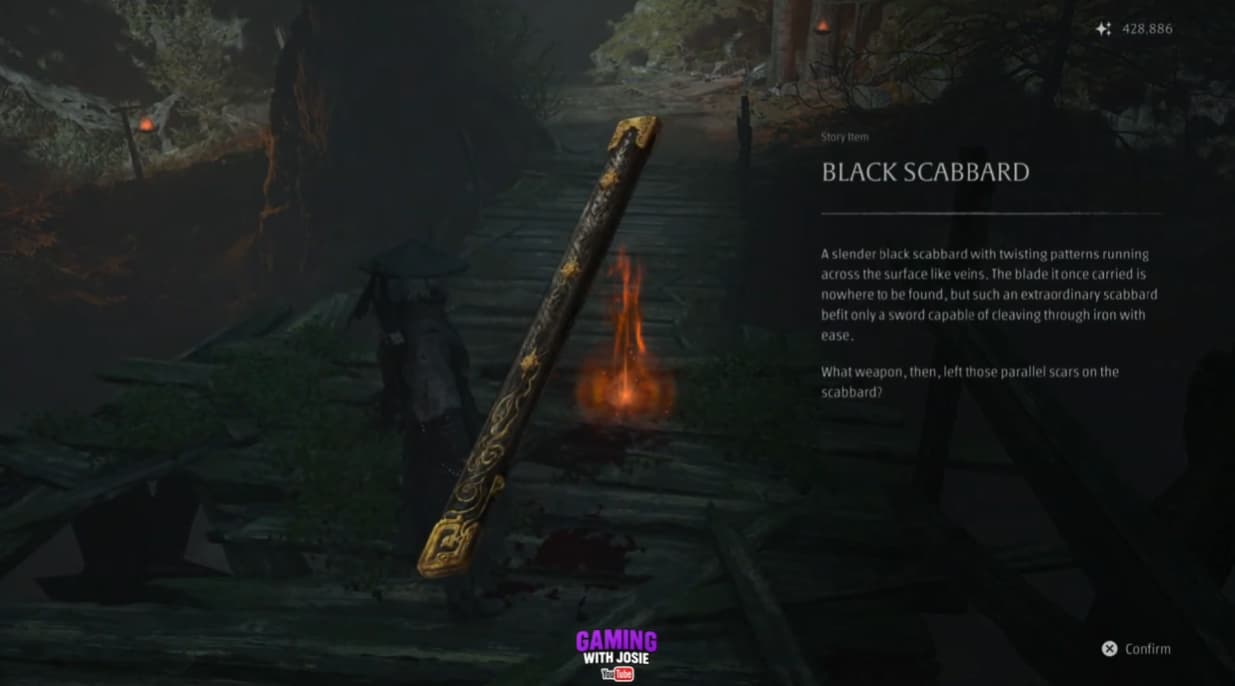
Black Scabbard
From Corpse-Eating Xue’s arena, follow the uphill route through the orange-lit rock passage and continue past the wooden lookout.
Enter the next cave and follow it to the open area at the far end.
Defeat the enemy near the exit and collect the story item before crossing the broken wooden bridge towards Moji’s Cenotaph.
Book Above the Red Caves
Requires Bashpole. From the Main Encampment Gate bell, break through the floor and follow the red-lit caves.
Pass the incense burner and climb the ladder back into the daylight. Collect the book from the wall directly ahead before continuing into the camps.