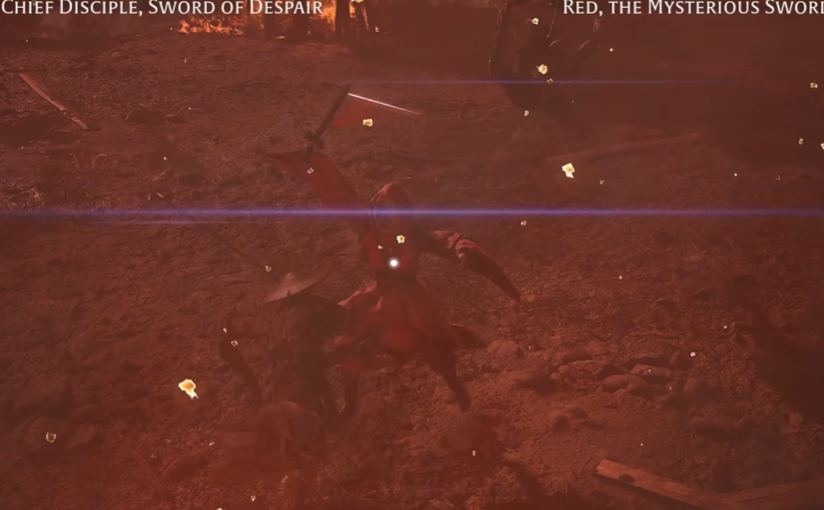
Red, the Mysterious Swordswoman and the Chief Disciple of the Seven-Stars Formation are two connected encounters in the Mandate Encampment.
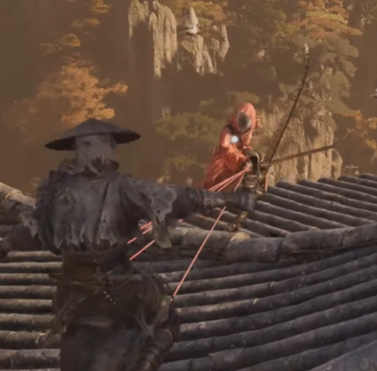
Red is first encountered alone on top of the Dovecote tower, while the Seven-Stars Formation is fought later near the Tower Rear Exit. The important part is that these encounters can directly affect each other.
Important: Do not defeat Red during her first encounter on the Dovecote tower if you care about the missable rewards and her associated Tale. Instead, disengage by using the hanging chain and leave her alive. If spared, Red later joins the Chief Disciple during his second phase.
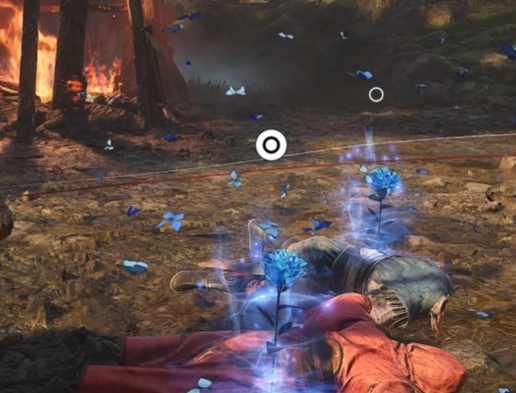
Defeating Red early gives you no meaningful item reward and can lock you out of the Twin Fish Pendant, a Memory Flower tied to her storyline, and the continuation of Daughter of the Dark Sect.
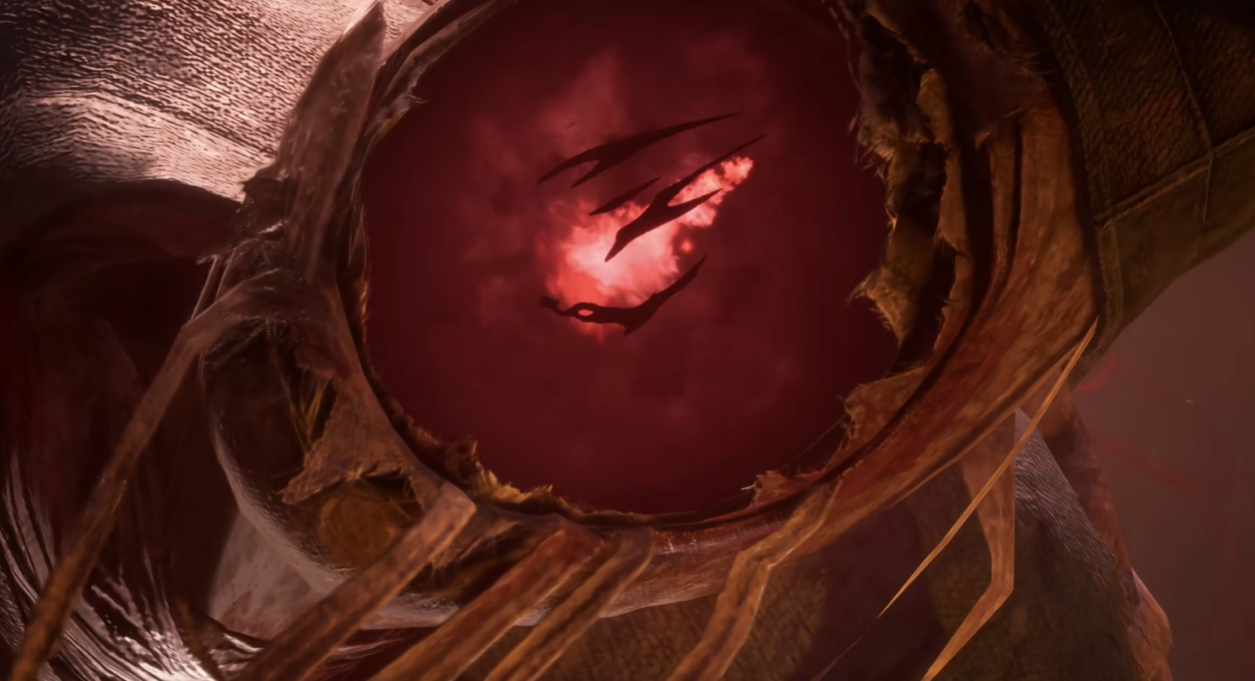
The Seven-Stars encounter itself has two phases, with the second transforming the Chief Disciple into Sword of Despair.
This guide was written and tested on Hellwalker difficulty.
Red, the Mysterious Swordswoman
Red's initial rooftop encounter is a fast one-on-one duel built around mobility, sudden gap closers, kicks, sword strings, and Red attacks.
However, unless you are deliberately trying to see this version of the fight, I recommend not finishing her here.
How to Spare Red
Fight her if you want to learn her moveset, but before killing her, use the hanging chain beside the rooftop arena to disengage and cross away from the tower.
This advances her storyline and allows her to return later during the Seven-Stars Formation encounter.
There is very little reason to kill her during the rooftop encounter on a completion-focused playthrough.
Fast Sword and Kick Strings
Red is extremely mobile and frequently combines sword slashes with aerial kicks.
Her individual attacks are not particularly complicated, but she moves around the rooftop quickly enough that losing track of her can make the fight feel much more chaotic.
Most of her regular strings can be parried, so stay composed and focus on the rhythm rather than chasing her every time she disengages.
Backflip Attacks
Red frequently uses a backflip to create distance, after which she can transition into several different attacks.
She may throw projectiles, immediately rush back toward you, or begin another sword string.
Do not automatically chase the backflip.
Wait to see what follow-up she chooses, then respond.
Red Thread Attacks
One of Red's most recognizable mechanics involves her red threads.
She can fire the threads toward you before quickly closing the distance with another sword attack.
The attack can look visually messy because the thread effect partially obscures her movement, but the actual follow-up is fairly consistent once you know it is coming.
Focus on Red herself rather than the visual effect.
Aerial Dive
Red can leap onto the upper section of the tower before diving back toward you.
Keep moving once she disappears upward and prepare to dodge the dive rather than trying to stand underneath her and track the exact landing point.
Seven-Stars Formation Phase 1
The first phase is not a normal duel.
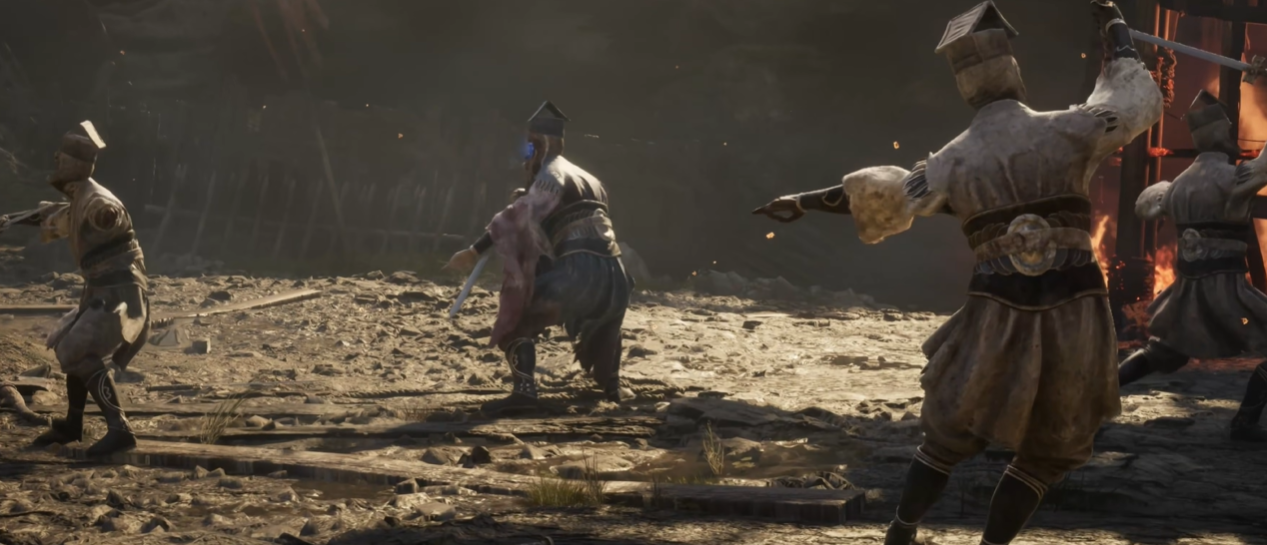
The Chief Disciple fights alongside six other swordsmen, forming the Seven-Stars Formation around the arena. The additional disciples constantly reposition and can attack together, so awareness and positioning matter just as much as parry timing.
Focus the Chief Disciple
Your main target should almost always be the Chief Disciple.
The other swordsmen have enough durability that trying to individually kill all six wastes a huge amount of time. Their main purpose is to create pressure and enable the formation attacks.
Keep moving around the outside of the group and look for openings on the Chief rather than allowing yourself to become surrounded.
Formation Attacks
The disciples can perform several coordinated attacks with the Chief Disciple.
Some sequences use the other swordsmen almost like extensions of his moveset, creating ramps or formations that let him launch himself toward you.
These attacks look complicated, but many are still parryable.
Instead of trying to track every disciple individually, watch the Chief's movement and treat the surrounding swordsmen as part of the attack animation.
Synchronized Strike
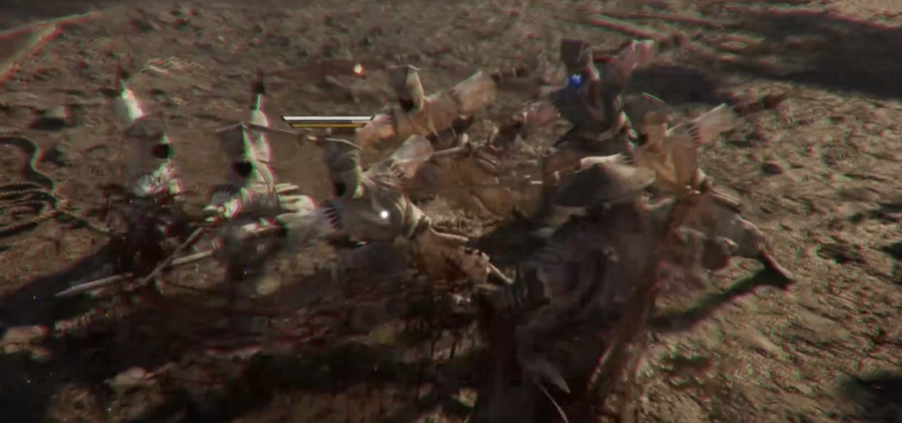
One of the most dangerous mechanics is the synchronized attack where several disciples attack together.
The combined hit can deal enormous damage if it catches you cleanly.
This is not something you want to simply block. Either get out of the attack entirely or use the correct Perfect defensive timing to counter it.
Blue Crescent Projectiles
The Chief Disciple can also send blue crescent waves across the arena.
These are especially dangerous when several other swordsmen are already pressuring you, since they can arrive from outside your immediate focus.
Keep the Chief somewhere on-screen whenever possible, even while repositioning around the formation.
Phase 1 Strategy
Phase One is mostly about not getting boxed in.
Stay near the outer edge of the formation and keep repositioning so that most of the disciples remain on one side of you.
Attack the Chief whenever he separates from the group, but do not remain in the center trying to trade with the entire formation.
Once you learn to treat the six disciples as environmental pressure rather than six separate enemies you need to kill, this phase becomes much easier.
Phase 2: Chief Disciple, Sword of Despair
After defeating the first phase, the encounter changes completely.
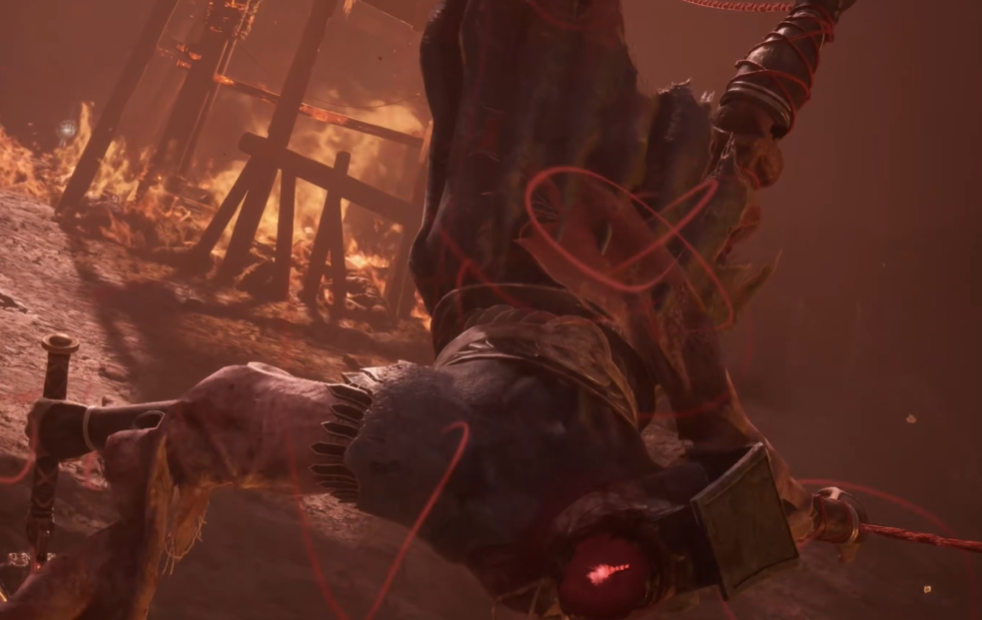
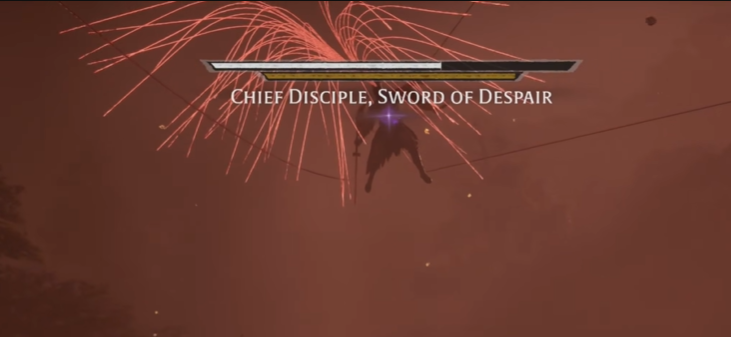
The Chief Disciple returns as Sword of Despair, suspended and controlled by red threads. The formation itself is gone, but his moveset becomes much more aggressive and gains several dangerous ranged attacks.
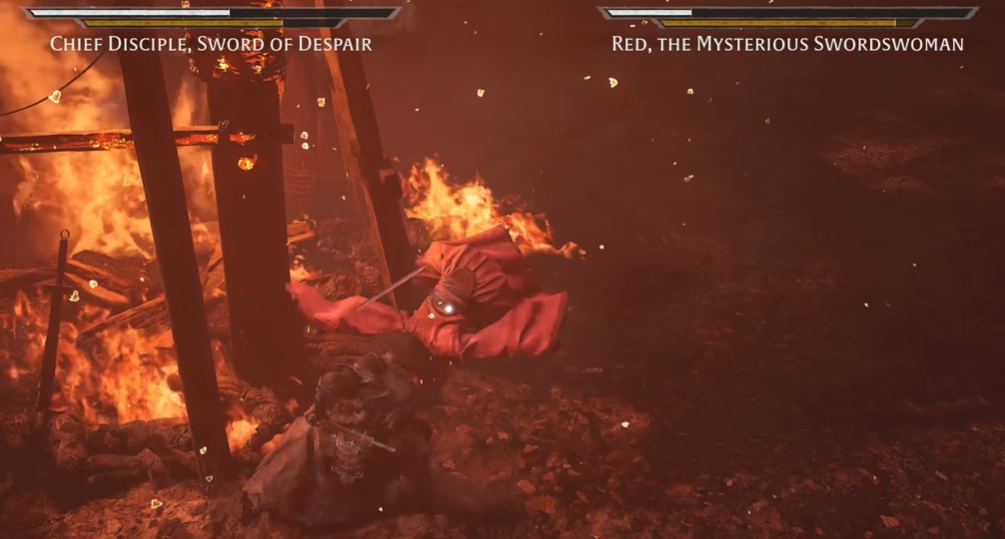
If you spared Red earlier, she will also enter this phase once the Chief Disciple reaches roughly half HP.
Puppet String Attacks
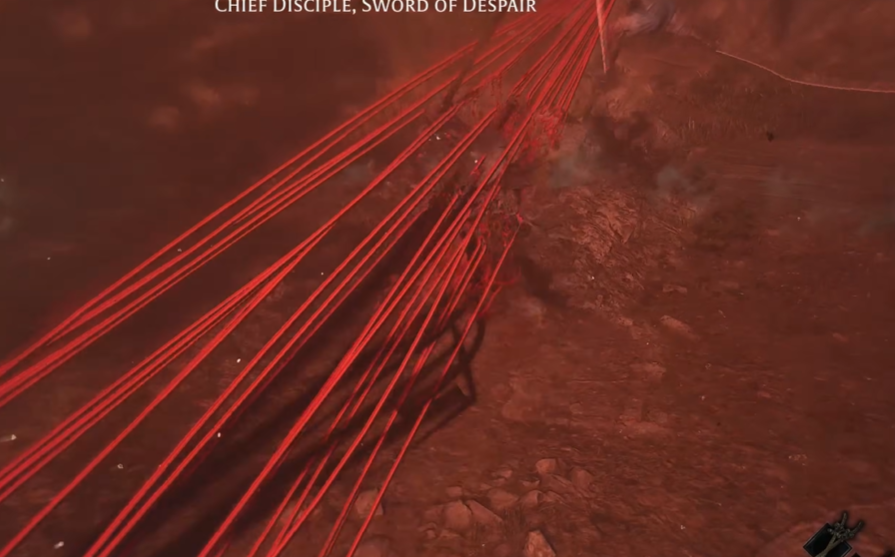
Sword of Despair can release large groups of homing red strings toward you.
These projectiles can track surprisingly well and are difficult to simply block through.
Run perpendicular to the boss as the swarm approaches rather than retreating directly backward. If some strings continue tracking toward you, dodge through the final part of the sequence.
Ranged Red Attacks
He also gains a dangerous ranged attack where his strings glow red before firing toward you.
Watch the color change and prepare to dodge rather than trying to block it.
Successfully avoiding the attack gives you a much cleaner opportunity to regain control than trying to tank it.
Projectile Barrage
One of his most dangerous Phase Two attacks fills the area with numerous small red projectiles.
Each individual hit may not look devastating, but getting caught in several consecutively can kill you extremely quickly.
Do not stop moving until the barrage has completely finished.
Melee Strings
His close-range attacks are actually much easier to read than the ranged pressure.
Several strings end with a Blue Flash attack, making them reliable Sha-Chi punish opportunities once you recognize the sequence.
Do not attack too early just because the first few swings seem slow. Wait for the actual finisher and counter it properly.
When Red Joins the Fight
If you spared Red on the tower, she appears during the second half of Phase Two.
This turns the encounter into a chaotic two-on-one fight, but it is also the route you want for the additional rewards and storyline progression.
Focus Red First
Once Red enters, I recommend switching your target to her immediately.
Her Sha-Chi regenerates quickly enough that trying to slowly wear her down through normal pressure is inefficient. Instead, focus on clean parries and take advantage of the openings immediately after successful counters.
You also need to keep the Chief Disciple visible while attacking her.
They frequently overlap their attacks, and tunnel-visioning Red can easily result in getting hit by a projectile or sword string from outside your camera.
Coordinated Attacks
Red and the Chief can attack almost simultaneously.
This can make certain strings look much harder than they actually are.
Do not immediately retaliate after parrying one attack. Wait until the full combined sequence has ended, then take your punish window.
This is especially important on Hellwalker, where committing to an attack half a second too early can get you caught by the second boss.
Red Can Support the Chief
Red is not just additional damage pressure.
If she remains alive long enough, she can contribute to keeping the Chief Disciple in the fight, which is another reason to remove her first.
Once Red is gone, the encounter becomes a much simpler one-on-one against Sword of Despair.
After Red Falls
Once Red is defeated, the Chief Disciple becomes more aggressive.
He can transition into a longer multi-hit sword combo that ends with another Blue Flash, giving you a consistent counter opportunity if you remain patient.
Do not let the increase in aggression make you start panic-blocking.
His attacks remain readable, and the Blue finisher gives you one of the best ways to finish the fight.
Why You Should Spare Red
For a normal or completion-focused playthrough, there is essentially no reason to kill Red during the rooftop encounter.
Killing her there provides no important boss reward and prevents the later version of the encounter.
By sparing her and defeating her alongside the Chief Disciple, you can obtain the normal Seven-Stars rewards while also preserving the missable content tied to Red, including the Twin Fish Pendant and her Memory Flower.
The Chief Disciple normally rewards the Swordsman's Summon Phantom Edge and the Training Grounds Key.
General Strategy
This encounter is really three different challenges.
Against Red on the rooftop, learn her movement and attacks, but disengage instead of killing her.
During Seven-Stars Phase One, focus on positioning. Keep the formation in front of you, attack the Chief Disciple rather than wasting time on the six other swordsmen, and avoid being surrounded.
During Sword of Despair, prioritize avoiding the ranged string attacks and wait for his easier Blue Flash finishers.
Once Red joins, kill her first, but keep the Chief Disciple visible at all times.
The duo portion is easily the most chaotic part of the encounter, but once Red goes down, the remaining fight becomes significantly more manageable.