Whether you are new to Elden Ring or a returning player, having a refresher is always handy. This guide will serve as both an introduction and a beginner's guide for players of all levels.
Inside this guide, you will find information about gameplay, how to level, how to decide your starting class, how to choose a weapon, how to get through the early parts of Limgrave, and general tips that will help your gameplay improve!
To start this journey, we have to create our first character, which comes with some tough choices. First, we have the Starting Classes.
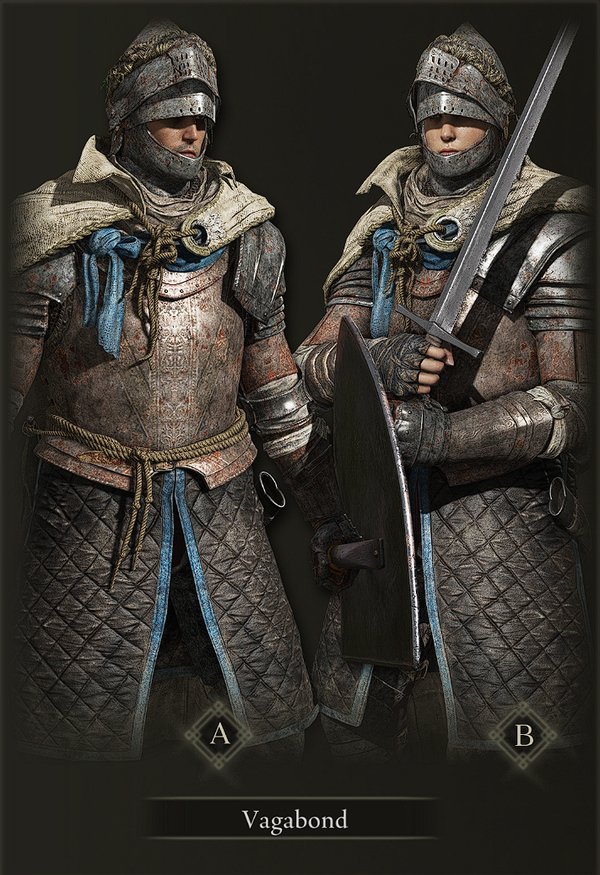
Vagabond
Vagabond is the jack-of-all-trades. It is the most well-rounded starting class. It starts with two weapons, a shield, good armor, a good amount of HP, and well-rounded stats if you decide to change your build later. I recommend this class for all beginners because it's the most beginner-friendly, with a larger health pool than other starting classes.
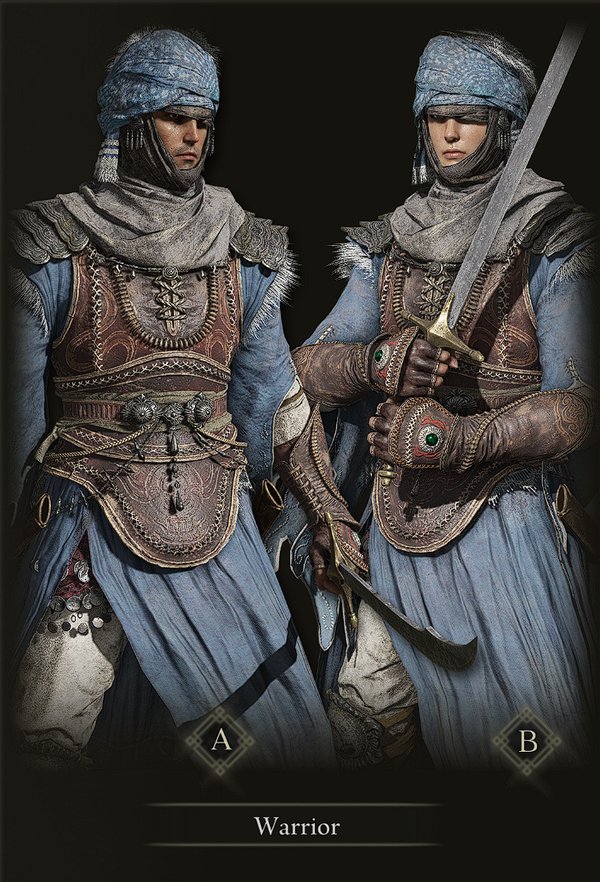
Warrior
Warrior is the starting class if you decide to play a bit more aggressively, starting with dual blades that make for good rushdown but a riskier playstyle. It starts with decent stats, but a lot less HP than the Vagabond, for example. It does make up for this with an above-average Dexterity start, making it the perfect starting class if you decide to play for a Dexterity-scaling weapon.
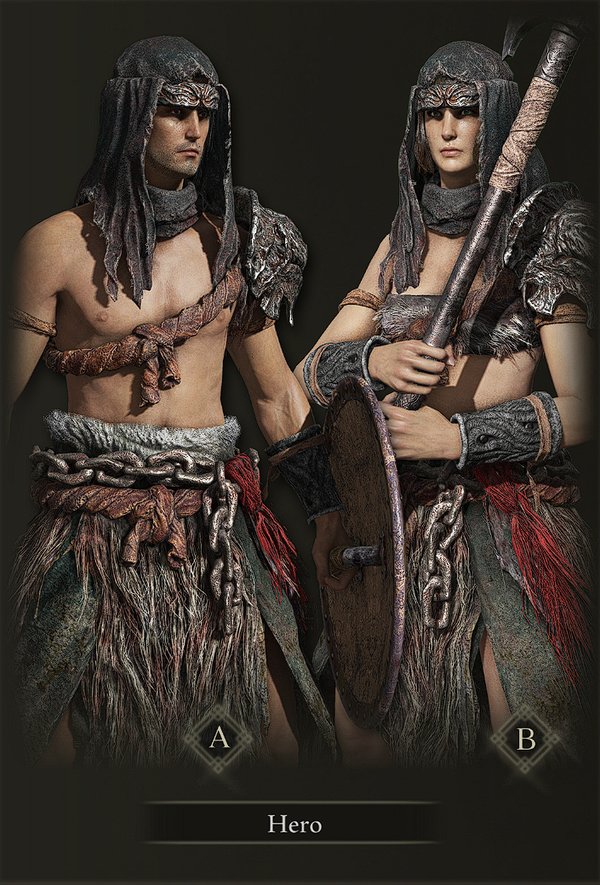
Hero
Hero fits the role of a Barbarian, wielding heavy, slow but hard-hitting weapons rather than the fast-paced weapons of a Warrior, for example. It does start with a decent amount of Vigor and an above-average amount of Strength, making it a good starting point for any Strength build. It does, however, lack any spellcasting stats.
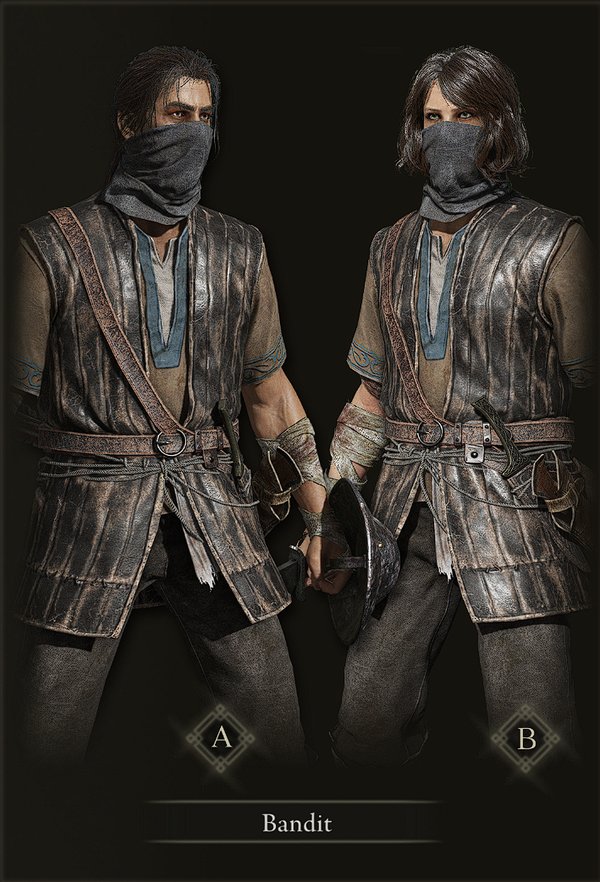
Bandit
Bandit is a very good starting point for a bleed build because of its high starting Arcane, with the rest of the stats being average or below. It makes up for this by being one of the only classes that starts with a Bow, which can be used in a lot of different situations. Bows can be used for ranged attacks, distractions, or destruction of items from a distance.
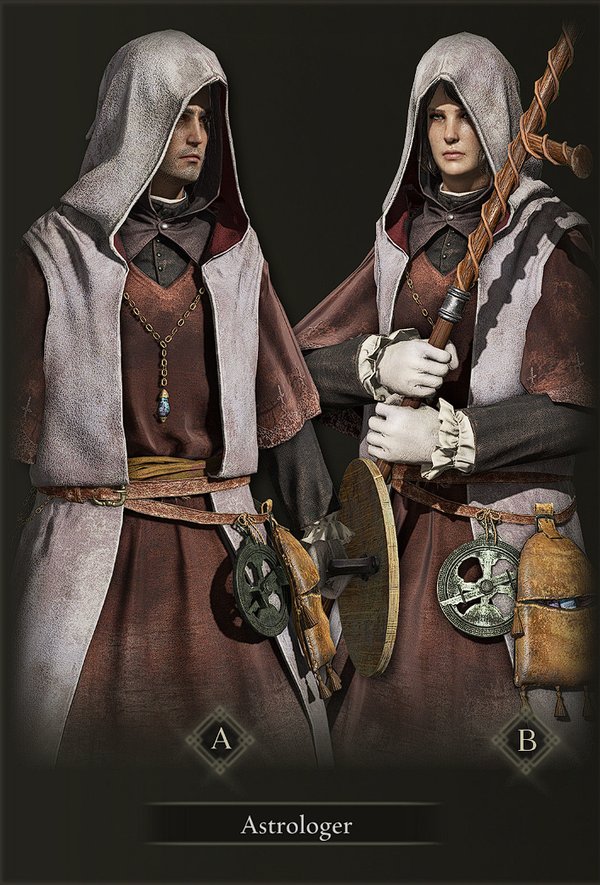
Astrologer
Astrologer is the perfect fit for any spellcaster; it starts with above-average Intelligence, which is their most important stat. They also have an above-average Mind to cast more spells but start with every other stat being below average as compensation. They are also one of 2 classes that start with a staff for their spellcasting.
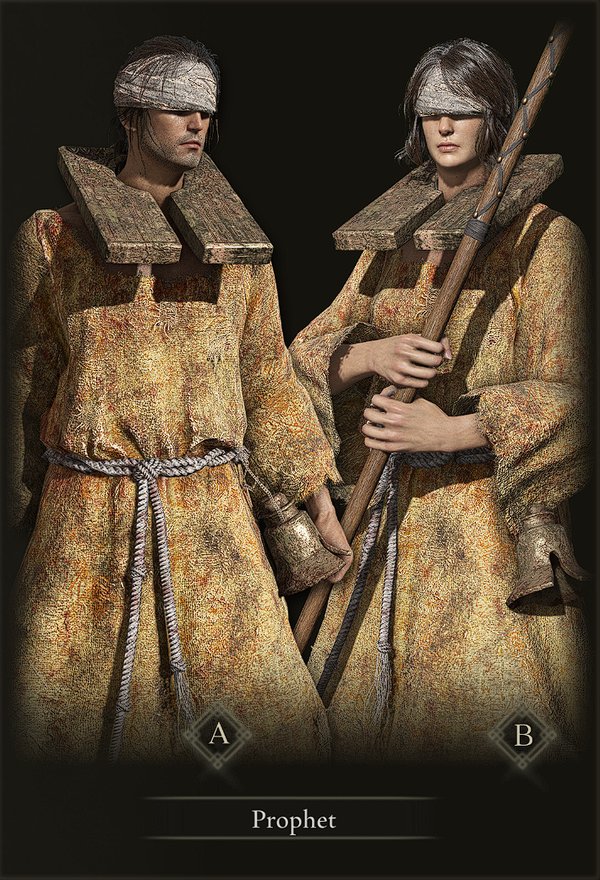
Prophet
Where Astrologer is the starting class for spellcasters, Prophet is that for Incantation users. Similar to the Astrologer, Prophet starts with above-average Faith and Mind for their spellcasting, with the rest being below average. They are also one of 2 classes that start with a Sacred Seal to cast Incantations with.
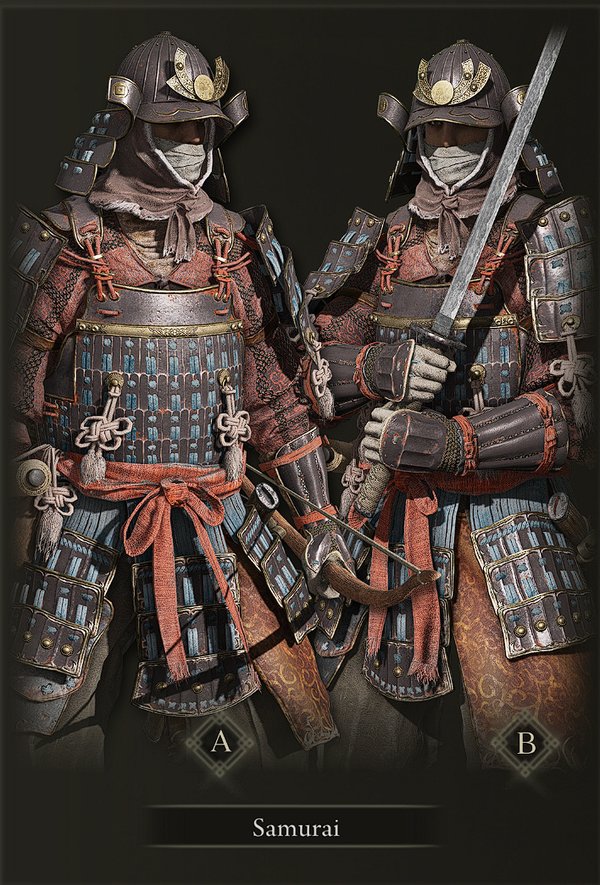
Samurai
Samurai has the best starting weapon of any class, the Uchigatana. This is an A+ tier weapon at the very least and is a big allure for why speedrunners start with this class. It has very good stats across the board, with an above-average Dexterity. Next to the Bandit, this is the only other class that starts with a bow. If you aren't starting as a Vagabond, this would be my second recommendation.
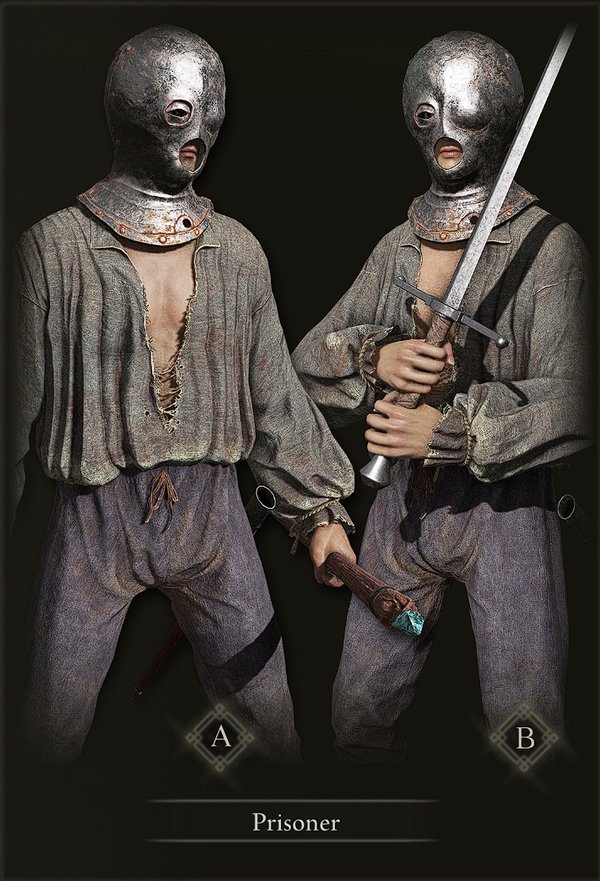
Prisoner
Prisoner is another class with very good stats across the board and is mostly intended as a fighting mage. Being the second class that starts with a staff, it is the perfect balance between melee combat and spellcasting. If you are looking to do a hybrid spellcaster, this would be your perfect class.
Confessor
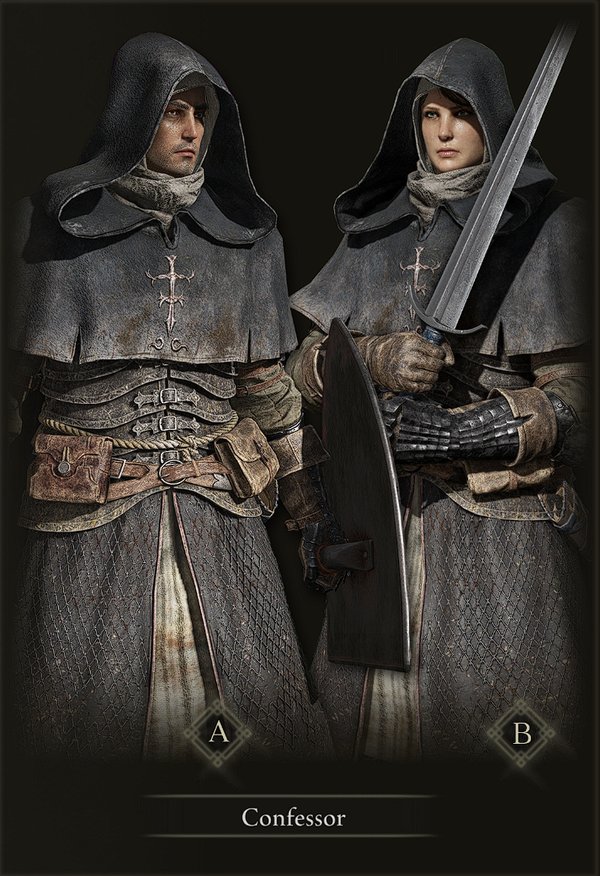
Pretty similar to the Prisoner, Confessor is another hybrid class between Melee and Incantations, being the only other class to start with a Sacred Seal. It also starts with very good base stats, making it a good starting point for someone looking for a faith melee build.
Wretch
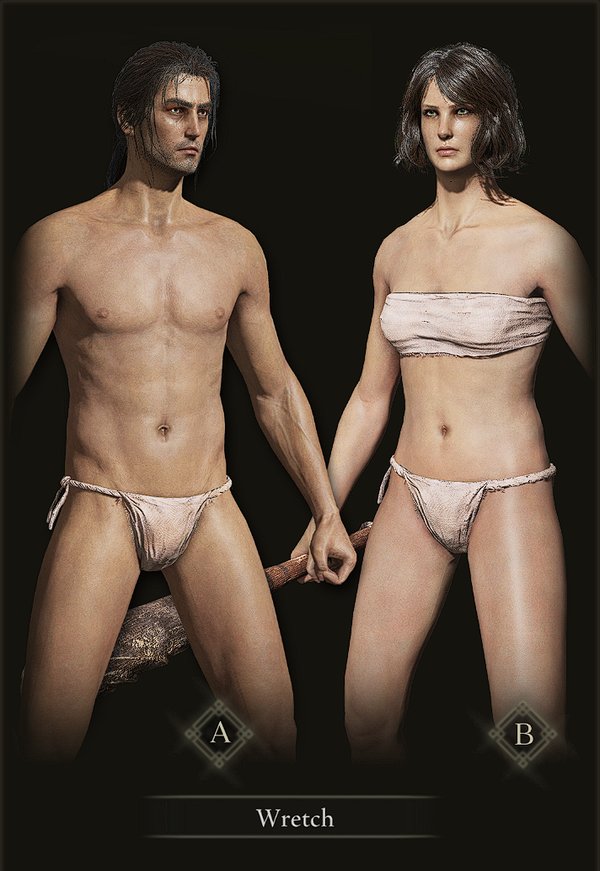
The Wretch starts at level 1 with balanced attributes but almost no equipment. This gives you plenty of freedom when deciding how to build your character, but the lack of starting gear makes the the early game less forgiving. For that reason, the Wretch is generally better suited to experienced players than first-time players.
Character Creator
Having made the tough choice of your starting class, we do have some more choices to make.
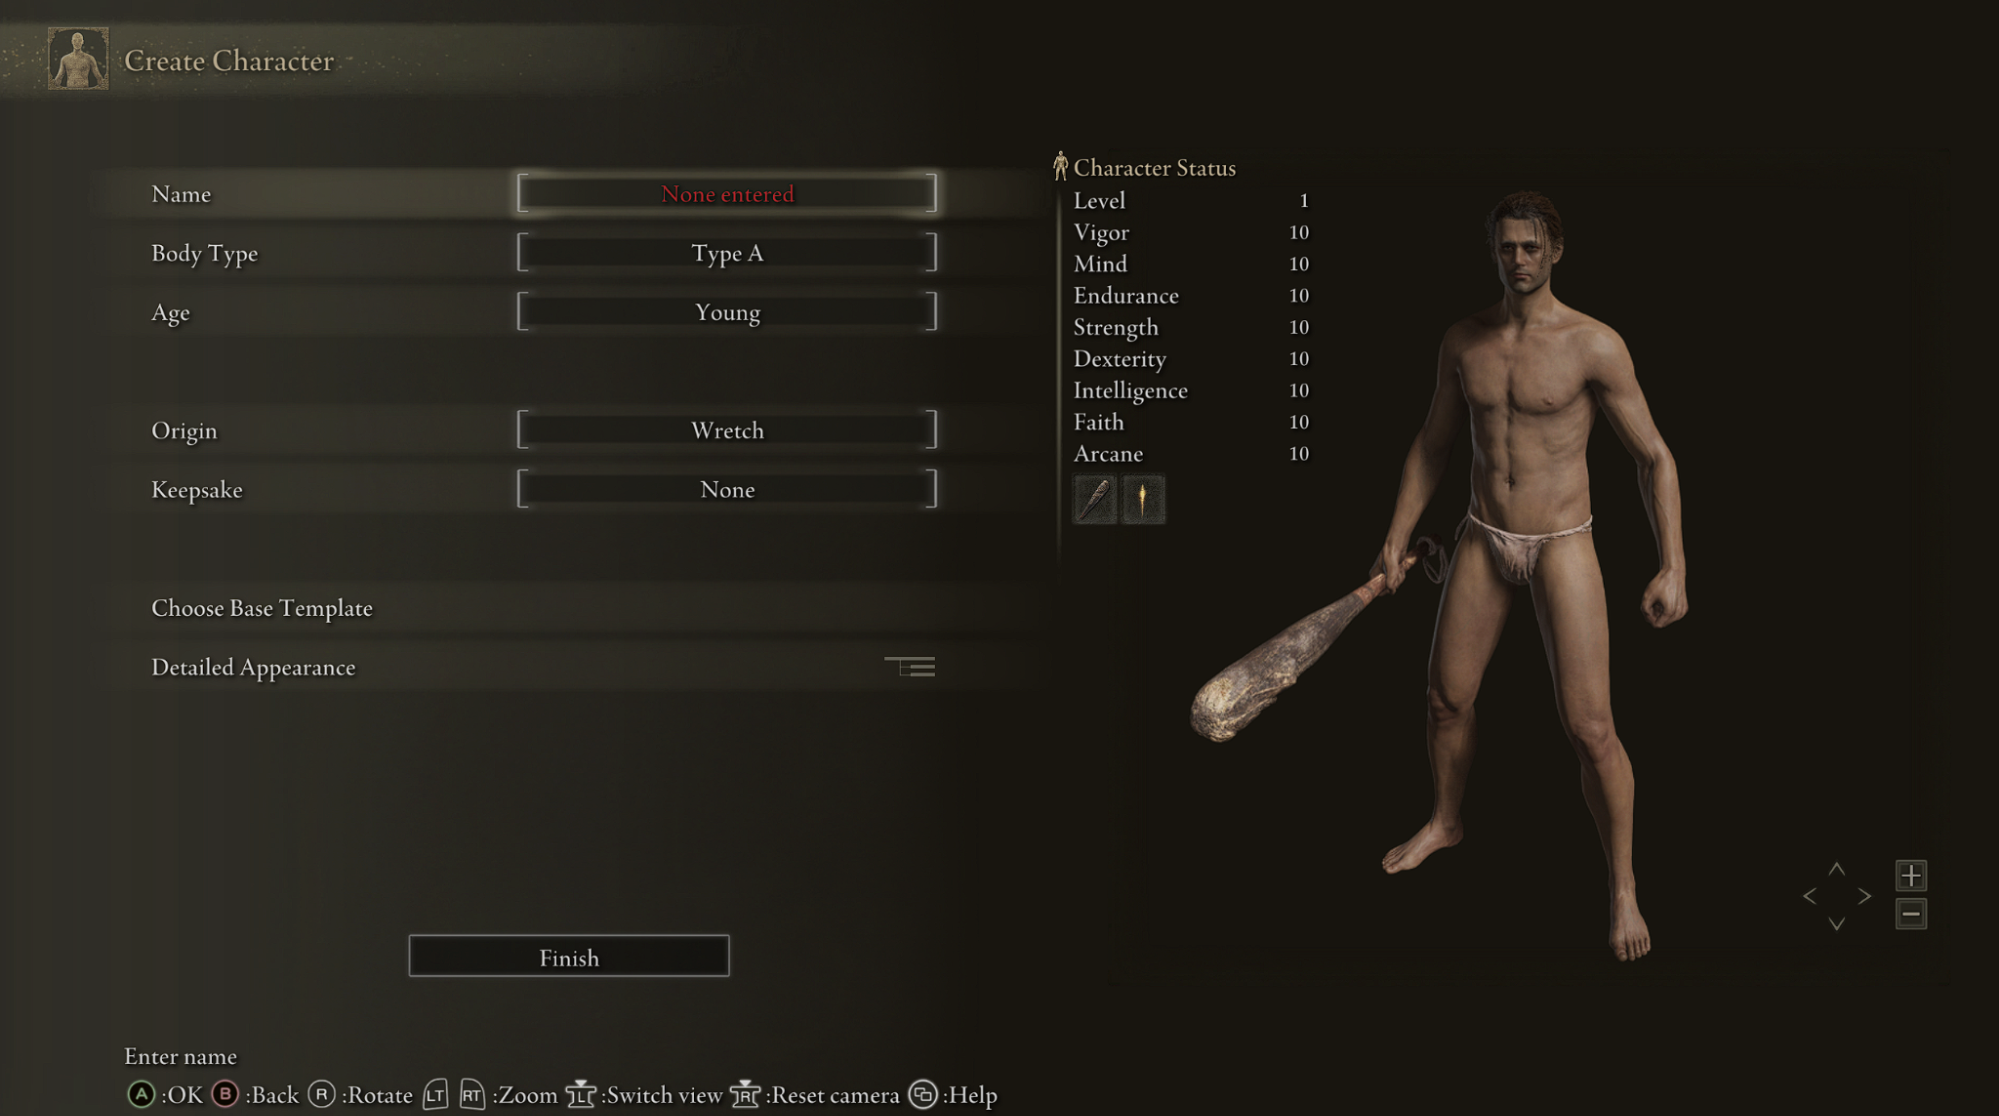
Upon entering the Character Creator, you are met with this screen.
You can enter your character name, select your body type (male or female), and select your age at the top.
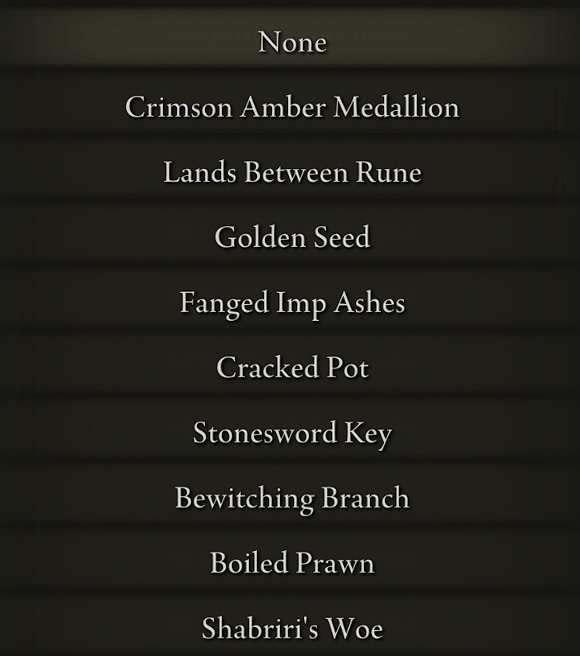
The choices I will mostly help you with here are your Origin (starting class, as discussed before) and Keepsake. Every keepsake has its pros and cons.
Crimson Amber Medallion is a Talisman that increases Max HP by 6%; you can also find this a bit later in the game, however.
Lands Between Rune is a rune you can consume for a decent amount of souls.
Golden Seed is used to increase your healing flask amount.
Fanged Imp Ashes is a summon you can use early game; however, this is found later in the game as well.
Cracked Pot is an item used for crafting pot items, which are consumables that can be used to damage enemies.
Stonesword Keys are items that are used to open Stonesword Imp Statues. These may contain good items, dungeons, or NPC’s.
Bewitching Branch is a consumable that can be thrown at enemies to charm them.
Boiled Prawn is a consumable that can be used to boost your physical damage negation(take reduced physical damage)
Shabriri’s Woe is a talisman that attracts enemy aggression(DO NOT CHOOSE)
All of these have their uses (except for Shabriri’s Woe), but for any beginner, I recommend the Golden Seed. This will increase your survivability in the early game.
After this, you can move on to choosing your base Template and Detailed Appearance, which change the look of your character. I will not advise on this; this is your character. Customize it towards how you would like your character to be! This has no influence on gameplay.
Stats
Leveling in Elden Ring requires you to level up your stats. Every level is also guaranteed to increase your Defense Power, Body Power, and Attack Power, ensuring you get stronger with each level.
About these level-ups
Leveling up increases your Defense Power, which in turn makes you more resistant to damage types as the game goes on. This means if you enter an area at level 20, you will take a lot more damage than when you enter at level 90.
You also level your Body while doing this. This, in turn, makes you more resistant to Poison, Rot, Hemorrhage (bleed), Frostbite, Sleep, Madness, and last but not least, Deathblight.
Leveling specific stats like Strength and Dexterity levels your Attack Power as well, increasing your damage.
There are a couple of stats in Elden Ring that you can level; all have their purpose, and some will be useless for particular builds, so let’s explain them all! But first, we will explain Soft Cap and Hard Cap.
Soft Cap is the level where a stat will give you less value.
Hard Cap is the level where the value a stat gives will drastically lower to the point where leveling is no longer worth it. This is not necessary, but it is handy to know when leveling your character.
Vigor
Arguably the most important stat in the entire game, Vigor levels your hit points. It also increases your resistance against Fire and gives a bonus to your Immunity stat.
The Soft Cap = 40, Hard Cap = 60
Mind
Mind increases your FP, which is used to cast Spells or Weapon Skills. It also increases your Focus stat.
Soft Cap = 50, Hard Cap = 60
Endurance
Probably the second most important stat, Endurance increases some of the most important stats. It gives you, as the name suggests, more Stamina, allowing you to run longer, attack longer, and roll longer. It also increases your Max Equip Load, which is used for your Armor and Weapons you have equipped at the time. It also increases your Robustness.
Soft Cap = 30, Hard Cap = 50
Strength
Strength is one of four damage stats. This increases the damage you deal with physical/strike/slash/pierce attacks and provides Attack Power scaling for weapons that utilize the stat. The Soft Caps are 55/80, with the hard cap being 99. When two-handing, you increase your Strength by 1.5 times.
This means 66 Strength gives you 99 when two-handing.
Dexterity
Dexterity is another damage stat. This boosts the attack power of dexterity-scaling armaments, reduces the casting time of Spells, softens fall damage, and makes it harder to be knocked off your horse.
The Soft Caps are 55/80, with the hard cap being 99.
Intelligence
Intelligence is used for spellcasting in every sense. It increases spell damage, Intelligence-scaling weapon damage, Magic Resistance, and player Magic Defense.
The Soft Caps are 55/80, with the hard cap being 99.
Faith
Faith is the only way to cast Incantations. Leveling this increases Incantation damage and Faith-scaling Weapon damage. The Soft Caps are 55/80, with the hard cap being 99.
Arcane
Arcane is probably the most interesting stat, giving you a ton of stats. It is one of the only ways to increase your Item Discovery and increase your Holy and Deathblight resistance. It increases the chance and damage of status effects like Bleeding, Poison, Madness, and Sleep when the weapon has Arcane scaling.
Controls
Gameplay is the biggest part of Elden Ring and can be quite intimidating for new players.
That is where I come in. In this guide, we will cover the controls with controllers in mind. I will be referring to PlayStation controls. If you play keyboard and mouse, you can still follow along, but we will not be writing those controls.
Playstation Controls
Xbox Controls
Control Info
Left Joystick
Left Stick
Move Character
Right Joystick
Right Stick
Move Camera
L3
LSB
Crouch
R3
RSB
Lock On Target
X
A
Jump
□
X
Use Item
△
Y
Interact
O
B
Roll
O + hold
B + hold
Sprint
R1
RB
Normal Attack
R2
RT
Heavy Attack
L1
LB
Block
L2
LT
Weapon Art
Dpad Up
Dpad Up
Scroll Through Spells
Dpad Down
Dpad Down
Scroll Through Items
Dpad Left
Dpad Left
Scroll Through Left Equipped
Dpad Right
Dpad Right
Scroll Through Right Equipped
Start
Start
Menu
Select
Select
Map
△ + R1
Y + RB
Two-Hand Right Equipped
△ + L1
Y + LB
Two-handed Left Equipped
△ + Dpad Up
Y + Dpad Up
Use Pouch Up
△ + Dpad Down
Y + Dpad Down
Use Pouch Down
△ + Dpad Left
Y + Dpad Left
Use Pouch Left
△ + Dpad Right
Y + Dpad Right
Use Pouch Right
Gameplay Mechanics
Now that you know the controls, let's get into the mechanics of the game.
The game has a few different mechanics, so we will divide them into sections.
Combat Mechanics
Basics
First, it's important to understand all the controls, so if you don't, look at the scheme above or go into the game's settings. That way, everything will be much easier to understand! Once you understand the basics, we can move on!
Shield/Parry
The shield is a versatile weapon you can use offensively and defensively. On defence, you can use it to block enemy attacks, which will either reduce or fully negate the damage depending on the type of shield you are using. You can also use it offensively by parrying enemy attacks; however, this is not recommended for beginners because the timing can be very tight.
Regular Attacks
Regular attacks are your primary way of dealing damage. You can use Normal Attacks for faster attacks that deal a bit less damage, or Heavy Attacks for hard-hitting attacks that take time to charge. This is up to personal preference, but some enemies or bosses do not give you time to rest, so charging a Heavy Attack can leave you vulnerable to damage. You can also two-hand your weapon to increase the damage from attacks.
Dodging Attacks
There are 2 ways of dodging attacks. Those are rolling and jumping. Jumping can dodge ground attacks or lower attacks, while rolling can be used on everything, but the timing can be tight for ground attacks.
Spells
Spells can be cast either defensively or offensively. Some spells give buffs, but most are projectiles that deal heavy ranged damage to enemies. Each spell has its own charge-up time, damage, and FP cost. Some are ranged, and some are even melee. Finding your preferred type of spell comes through experimentation! Everybody has their own playstyle.
Ashes of War
Ashes of War are used to complement each player's playstyle. These are often extra attacks, buffs, or spells that can be bound to a weapon, often giving it access to different scaling and allowing you, for example, to put Bleed onto a Strength weapon. This gives access to a huge variety of build options!
Stealth
In the open world of Elden Ring, there are many different enemy camps. These camps can be fought head-on, but this will usually end with you becoming overwhelmed. So the smart choice is to use the Stealth system of the game. This allows you to sneak past undetected, making you harder to detect and maybe even backstabbing enemies. Once you have thinned out the enemy's lines, you can storm in to kill the rest!
Spirit Ashes
Spirit Ashes are helpful companions that can be summoned to fight bosses. There is a large roster of different Spirit Ashes to choose from, all of which suit different occasions; some offer weaker but larger groups of summoned helpers, while others offer one really strong helper!
Jump combos
Jump attacks are underused but super strong attacks that can easily guard-break an enemy. A guard break occurs when the posture of an enemy is worn out; this allows you to critically attack the enemy. The best weapons to use for Jump attacks are heavier weapons because they do more posture damage!
Roll Attacks
Roll attacks are also interesting attacks that are often not used. Especially with Ultra Greatswords, these can be powerful attacks. After you roll and instantly attack, you will perform a roll attack, and with an Ultra Greatsword, this will be a fast stab forward that deals a lot of damage!
Stats
Keep your eyes on your health and stamina. Running out of either can mean death. Heal once you get low on health, but ensure you are at a safe distance from your enemy or boss because, if they react in time, the heal can be interrupted and can mean death instead. Running out of stamina can have the same effect because you won't be able to dodge attacks, or block attacks for that matter. Try to conserve Stamina and always have some saved in case of an emergency.
Kicks
Kicks are fast, low-damage attacks that are available as a Weapon Art on some weapons. Many people will think this is useless because of the damage, but this is the perfect attack for dealing with shields. Kicking a shielded enemy can give you an instant critical attack!
Upgrades
Upgrades are an important part of Elden Ring, and there are 3 major upgrades in the game. I will explain all of them below.
Weapons
There are two different types of weapons: Smithing Stone weapons and Somber Smithing Stone weapons; both have a bit of a different upgrade path.
Smithing Stone weapons can be upgraded to Level 25, requiring 12 of each Smithing Stone to fully upgrade them, whereas Somber Smithing Stone weapons can be upgraded to Level 10, requiring only one of each Somber Smithing Stone.
However, there is one big difference between the two. You cannot add Ashes of War to a Somber Smithing Stone weapon.
You can find these Smithing Stones in mines, on corpses, and from merchants.
Spirit Ashes
Spirit Ashes are similar to weapon upgrades, having two different types. You have Grave Glovewort upgrades and Ghost Glovewort upgrades, both upgrading Ashes of War up to Level 10
These are often found inside Catacombs, Hero’s Graves, or purchased from NPCs.
Sacred Flask
Sacred Flasks have two different upgrades as well. Sacred Tears and Golden Seeds. Golden Seeds are used to increase the number of flasks you have, whereas the Sacred Tears increase the amount of health or FP they restore. Sacred Tears can be found in churches throughout the Lands Between, whereas Golden Seeds are drops from some bosses, looted from specific corpses, or most commonly looted from small Erdtrees.
Buffs and Debuffs
Spells and Weapon Skills can be used to either buff yourself or debuff enemies.
Buffs come in the form of Spells, Weapon Skills, and Consumables, which can either increase your stats or add a damage type to your weapon.
Debuffs are far more limited and are only found on a few items of the same types.
These can complement a build, but it can be overstimulating for beginners having to do a lot of different things before combat even starts.
Status Effects
There are seven major status effects; let's discuss them.
Poison
Poison is a debuff that deals a small amount of damage over a long period. The damage and duration depend on the source.
Scarlet Rot
Scarlet Rot is a debuff that deals much more damage than poison over a long period. The damage and duration depend on the source.
Blood Loss
Blood Loss is a stacking debuff that builds when an enemy with Bleed keeps hitting you; once the bar is full, you will take a large amount of Bleed damage.
Frostbite
Frostbite is a debuff that, once active, deals a considerable amount of damage, reduces your resistance, and reduces your stamina recovery speed. This debuff can instantly be cured by receiving fire damage.
Sleep
This debuff, once activated, puts the target to sleep. It can be situationally very strong against the right enemy and in PvP.
Madness
Madness is a debuff that stacks quickly, dealing a considerable amount of damage once activated and briefly stunning the target. It is practically useless in PvE but insanely useful in PvP.
Deathblight
Deathblight kills you instantly, but you don't lose your Runes permanently; it's like a normal death, but instant.
Weapon Types
Now that we know a bit about combat and mechanics, let's go into the different types of weapons and what makes them good or bad. There are a lot, so sit back.
Daggers
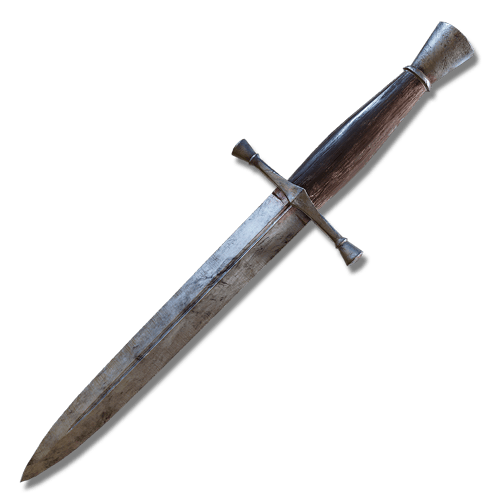
Daggers have an extremely short range but make up for that with their fast attack speed and high Critical Damage, which makes them the best for parry builds and Backstabbing with the stealth mechanic.
Straight Swords
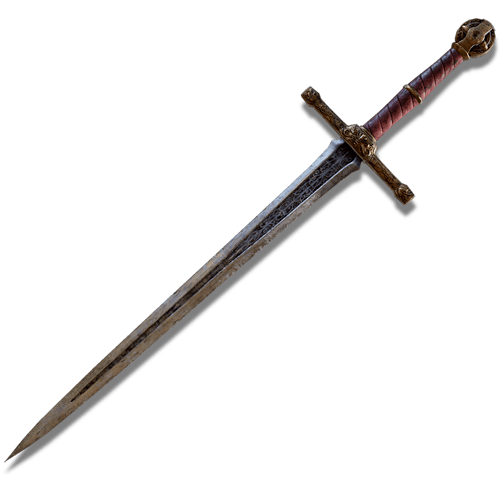
Straight swords are reliable, well-balanced weapon that has a standard range and provides both slashing and thrusting damage. They attack at a decent speed, which makes them very good in combination with a shield for fast follow-up attacks.
Greatswords
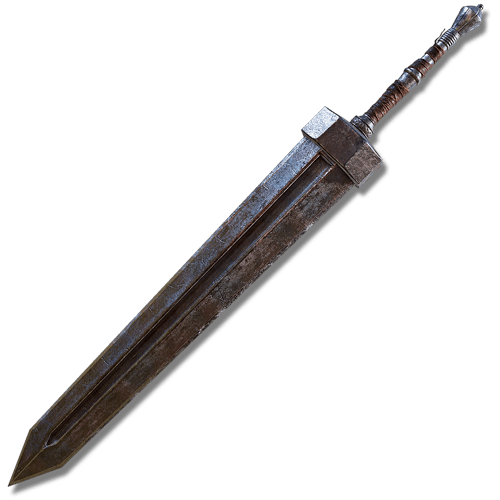
Greatswords are the larger counterpart to Straight Swords. They are capable of inflicting massive amounts of damage but sacrifice mobility and attack speed, leaving you more open to attacks. In combination with a shield, they can be heavily utilized for Guard Counters (more on this later).
Colossal Swords
The biggest weapons in the game, often oversized, with the highest range in the game together with the Heavy Thrusting Swords. They are extremely heavy and slow, but make up for that with the highest range and massive damage output with each hit. You do need a large amount of Strength to wield these.
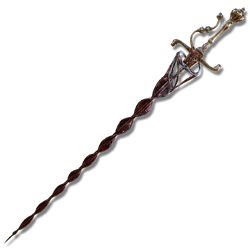
Thrusting Swords
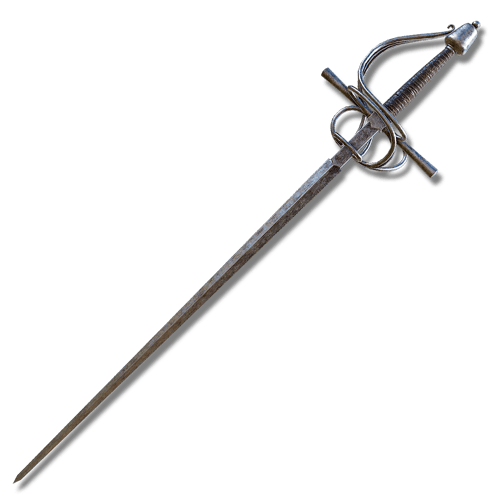
Thrusting swords have decent damage, fast attacks, and good range, while mostly doing piercing and slashing damage. They are very balanced weapons with a ton of variety in weapon scaling.
Heavy Thrusting Swords
The direct counterpart to the Thrusting Sword focuses purely on piercing damage and is best used as a counter or follow-up on an enemy’s attack. They weigh a lot more than the normal thrusting sword but pack a bigger punch and give even more range.
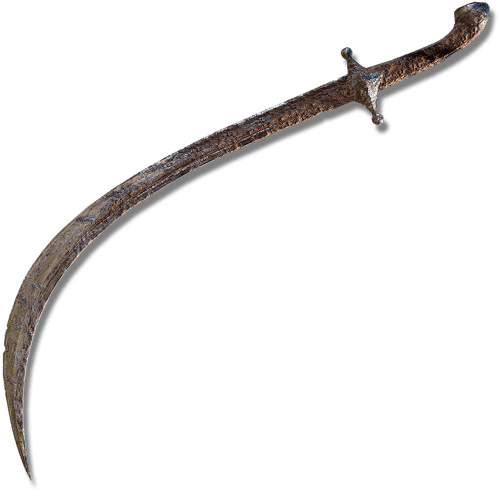
Curved Swords
The perfect rushdown weapon, curved swords specialize in slashing attacks which can deal a good chunk of damage with their high attack speed. Dual-wielding these can also make you a monster in PvE, especially when you put status effects onto them.
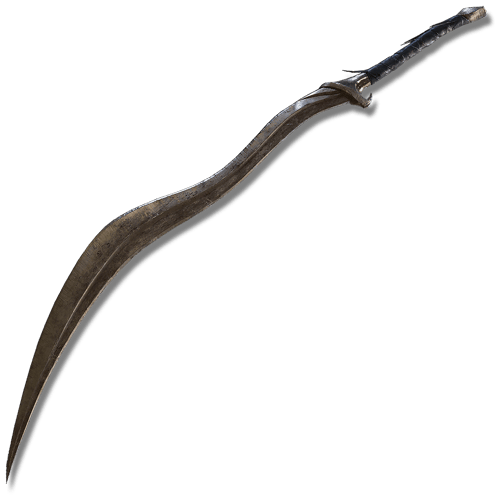
Curved Greatswords
Still specialising in slashing attacks, the Curved Greatswords have a much slower attack speed and mobility as a sacrifice for their increased damage per slash. These, however, are not recommended to dual-wield in comparison to the normal curved swords.
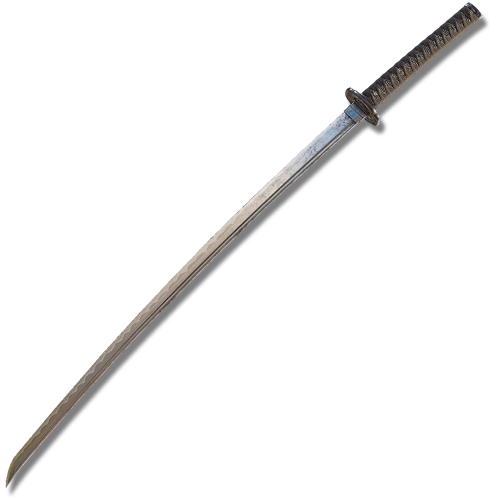
Katanas
Probably the most used weapon class in Elden Ring, and for good reason. Katanas are weapons that specializes in mid-range combat and can inflict heavy bleed damage through the Hemorrhage status effect, which can deal massive amounts of damage. They also strike a perfect balance between attack speed and damage, making them easy to use and widely loved.
Twinblades
Finally making their comeback from Dark Souls 2,, the Twinblades are weapons that can be pretty difficult to wield when first picked up. Their Strength comes in two-handing the weapon, however. This makes these weapons AoE damage machines able to delete crowds of enemies like it's nothing. They specialize in slash damage with a very fast attack speed once two-handed.
Axes
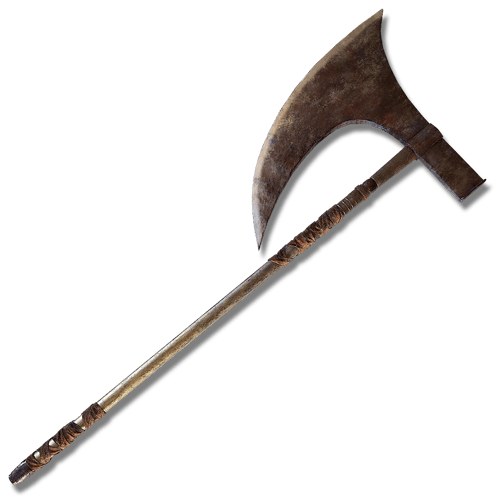
Axes are close-combat heavy-hitting Strength weapons. They do good damage and attack at a fast pace, making them fine weapons in combination with a shield, pretty similar to the Straight Sword.
Greataxes
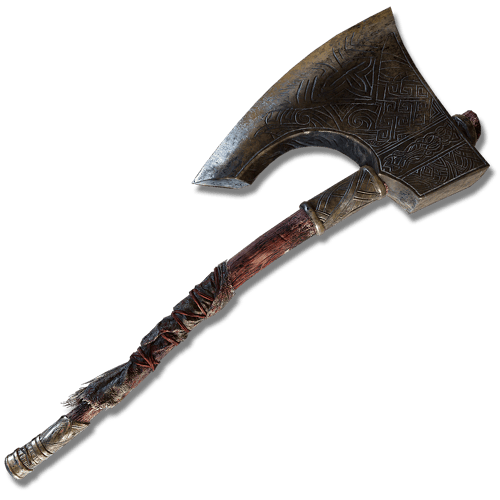
Far heavier than normal axes, Greataxes can easily break guards while dealing massive amounts of damage. They are, however, very slow, leaving you open to attacks. They also require a large amount of Strength to wield, like the Colossal Swords.
Hammers
One of the most underrated weapons in Elden Ring is the Hammer. They specialise in destroying heavily armoured enemies, destroying shields, and breaking guards. They do have a slower attack than normal weapons to make up for this, however.
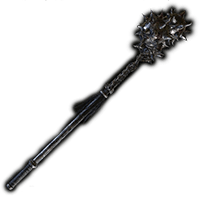
Flails
Flails are very unique since they cannot be parried. They are slow, long-reaching, heavy-hitting weapons that have a unique sweet spot mechanic if you hit the enemy with the ball of the weapon, which will deal a lot more damage.
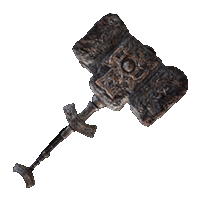
Great Hammers
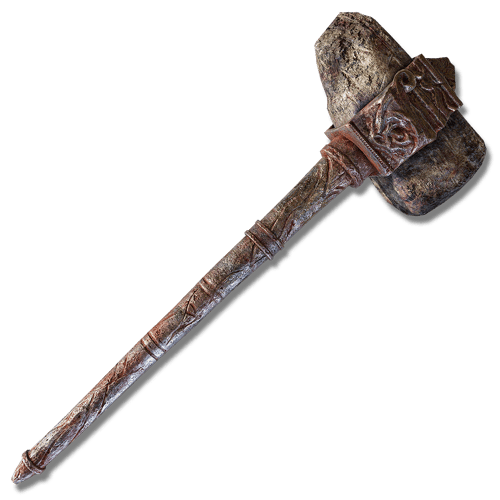
Like their smaller counterpart, the Great Hammers are great at destroying heavily armored enemies and shielded enemies. However, you will need a lot more Strength for this because they deal a ton more damage.
Colossal Weapons
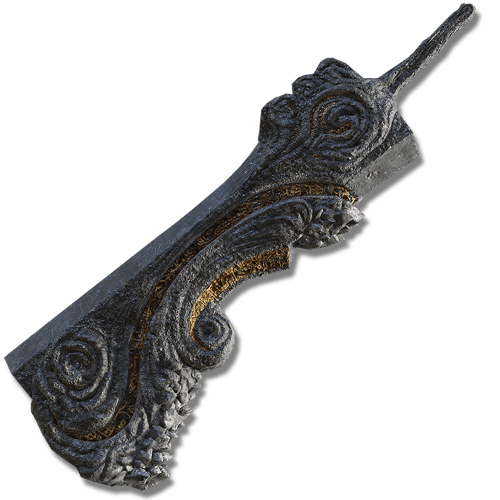
Colossal Weapons are more unique than Colossal Swords while still requiring very high Strength to wield properly. They can still inflict massive damage, but they are very slow weapons.
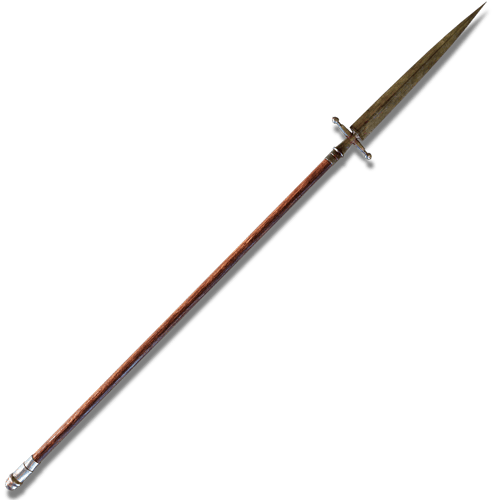
Spears
Spears are very safe long-distance piercing weapons that allow for attacking while keeping your shield raised, making them the best defensive weapon. They are also superior to most weapons on horseback because of their range advantage. They do deal a bit less damage than most weapons as a trade-off.
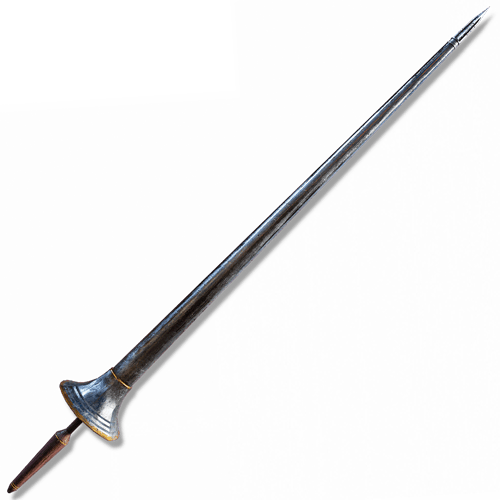
Great Spears
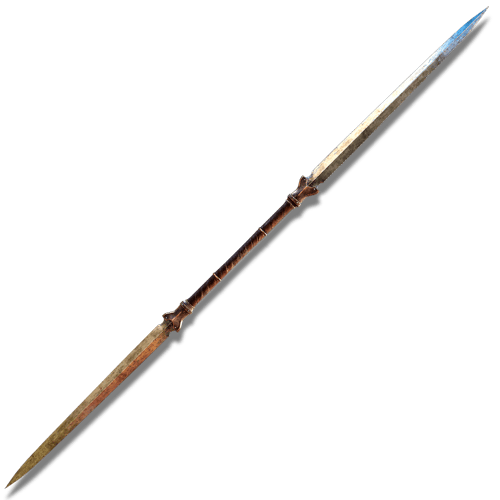
Like the normal Spears, Great Spears are very safe long-distance piercing weapons that are defensive monsters. They deal a lot more damage than normal spears but trade their attack speed and immense weight for it. Only the Lance among the Great Spears can be modified with an Ash of War, making these weapons very rigid and not flexible.
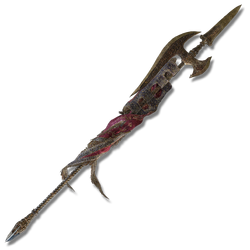
Halberds
Halberds are quite different from Spears because they specialize in Strike and Thrust damage. They still have good damage and a long reach, making them good poking weapons; however, they cannot be used behind shields like the spears.
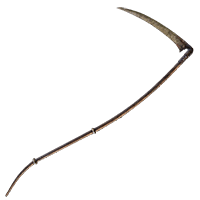
Reapers
Reapers have a very unique sweeping moveset with a sweet spot at the scythe part of the weapon. They have long reach and good damage, but are very scarce, having only 4 weapons in this weapon class. They are also very good for dealing with shields, allowing the user to bypass them thanks to the sweeping attacks with proper spacing.
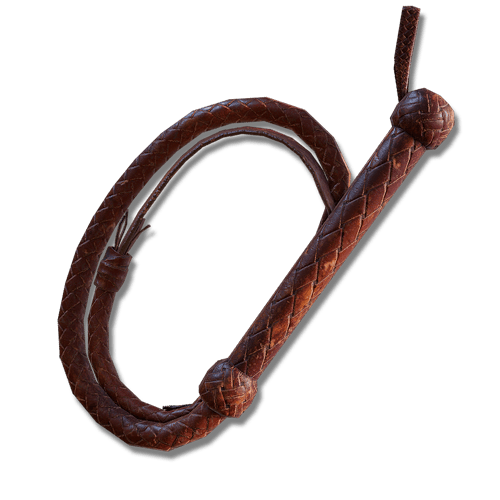
Whips
Whips are very unique weapons because, like the Flail, they cannot be parried. Whips have a lot of downsides, however. They perform very badly against heavily armored enemies, inflict below-average damage, and cannot be used for critical attacks. They do have long reach, which does not make up for all the downsides.
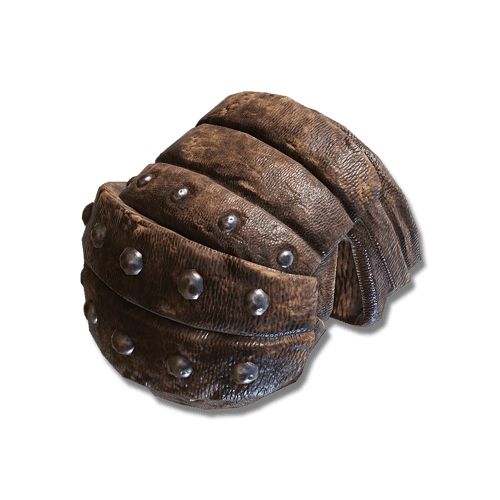
Fists
Fists are the shortest-ranged weapons in the game. They do, however, have the fastest attack speed in the game and can be used to inflict Status Effects at an insanely fast pace.
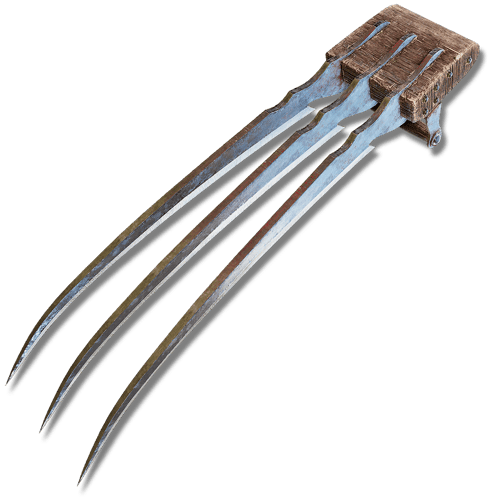
Claws
Claws are fast, short-range weapons that excel at aggressive, multi-hit combat. Two-handing a Claw equips it to both hands, allowing you to use its paired moveset without needing a second copy. Many Claws work well with Dexterity, but their scaling can vary depending on the weapon and affinity used. They are particularly effective at quickly building status effects such as Blood Loss or Poison.
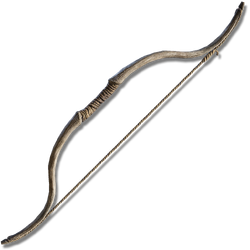
Light bows
Moving on to the ranged weapons, Light Bows are used to fight an enemy from a distance. What makes the Light bows unique from the other bows, however, is that you can quickly fire an arrow immediately after rolling, sprinting, or jumping, allowing more aggressive use of this weapon.
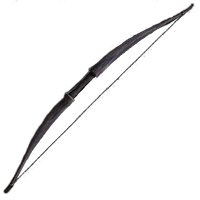
Bows
Bows are the larger counterpart of Light bows, dealing more damage but being unable to use the quick-fire that the Light Bow can. They can, however, still fire mid-jump.
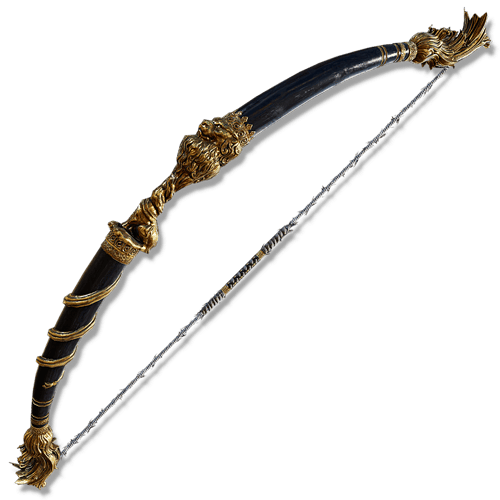
Greatbows
Greatbows are the ultimate long-range Bows that can be used to deal heavy damage and easily break guards. They use Great Arrows as ammunition, unlike the other Bows. However, you cannot shoot mid-jump with this bow.
Crossbows
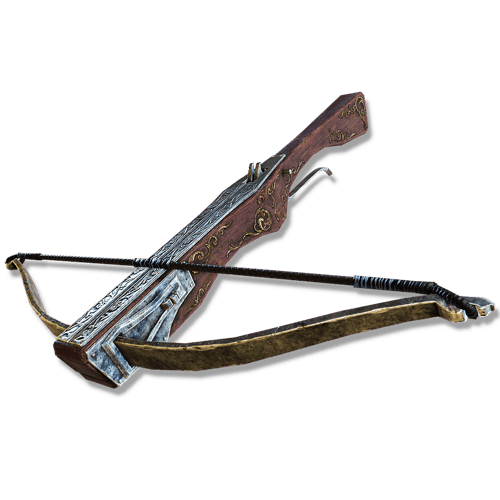
Crossbows deal serious damage from a distance. Unlike Bows, however, they need to be reloaded before each shot. This, in turn, means you can reload beforehand and instantly fire a shot without a draw animation.
Ballistas
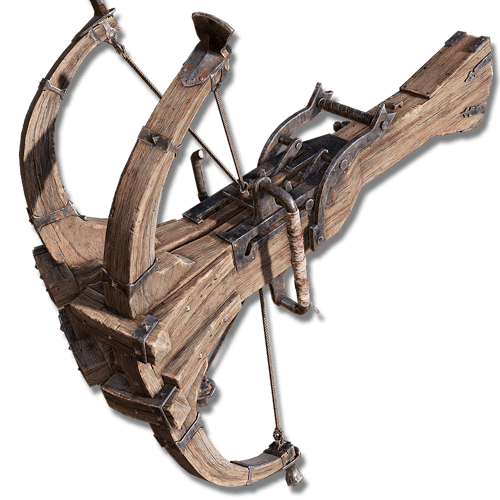
Ballistas are large ranged weapons that fire Ballista Bolts and Greatbolts. They are extremely slow to fire and reload but compensate with high damage, range, and strong knockback. Due to their weight and slow attack speed, they are generally better suited for specific situations rather than regular combat.
Glintstone Staffs
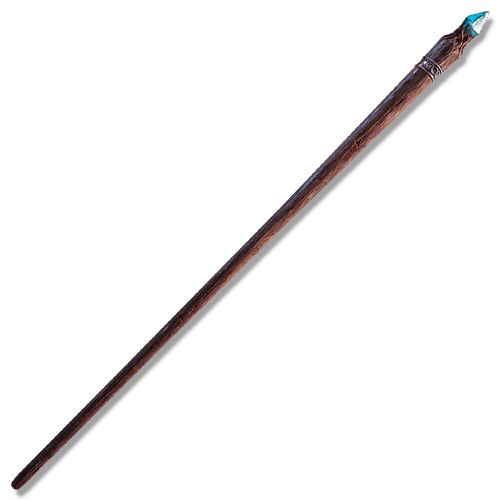
Glintstone Staffs are required to cast Sorceries. This is also their only purpose. Some Staffs give a bonus to certain Sorcery types, making them much more suited for that specific spellcasting.
Sacred Seals
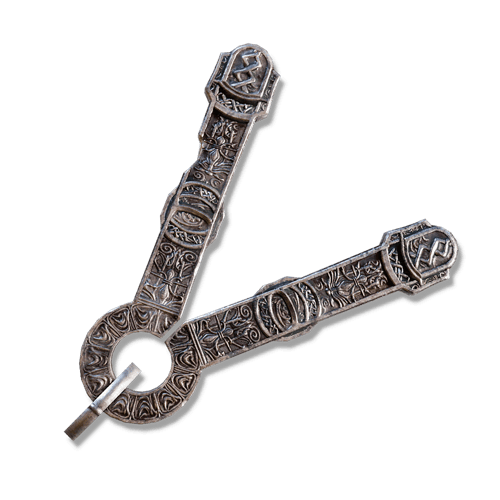
Sacred Seals are required to cast Incantations. Like the Glintstone Staff, some Sacred Seals buff specific Incantations, making them suited for that specific purpose.
Torches
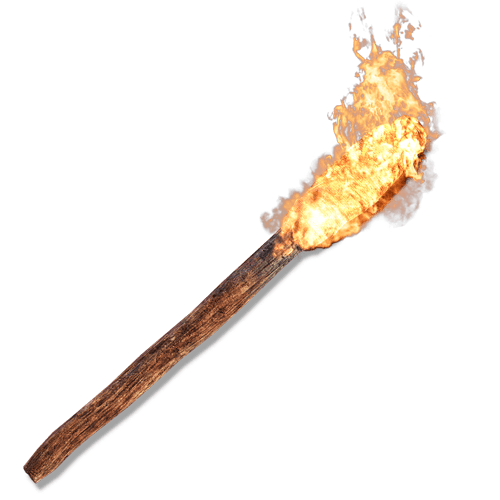
Torches aren't weapons, but they can be used as one. Their main use is to scare off unwanted beasts like rats and light up a cave to make it easier to explore.
DLC Weapon Types
Light Greatsword
Light Greatswords combine the reach of Greatswords with faster and more fluid attack chains. Their Light and Heavy Attacks flow naturally into each other, making them excellent for aggressive and mobile playstyles.
Great Katanas
Great Katanas are larger versions of regular Katanas, offering greater reach and damage at the cost of attack speed. They also commonly feature Blood Loss buildup and work well with both slashing and thrusting attacks.
Backhand Blades
Backhand Blades are fast weapons held with a reverse grip. Two-handing them equips a blade in each hand, giving them a quick paired moveset focused on mobility and rapid attacks.
Hand-to-Hand Arts
Hand-to-Hand Arts allow you to fight using martial arts instead of conventional weapons. They use fast punches and kicks with highly mobile attack chains and equip to both hands when two-handed.
Beast Claws
Beast Claws are aggressive paired weapons with fast and feral attack animations. Their moveset allows you to quickly close the distance and overwhelm enemies with repeated attacks.
Throwing Blades
Throwing Blades are unique ranged weapons that can be thrown repeatedly using regular attacks. Unlike bows and crossbows, they don't require ammunition and can seamlessly combine ranged attacks into their moveset.
Perfume Bottles
Perfume Bottles release elemental powders in front of the player rather than directly striking enemies. Different bottles deal different elemental damage and can cover a relatively large area with their attacks.
Thrusting shields
Thrusting shields combine the defensive capabilities of a shield with the attacks of a weapon. They can be used to block incoming damage while also performing thrusting attacks, making them useful for defensive playstyles.
Combat Tips
With the weapons out of the way, you might have chosen what weapon type would suit you! Now we need to discuss some combat-specific stuff that will help you out in the game, along with general tips to improve your gameplay!
Rolls
Rolls can save your life if timed correctly; however, they can also cost you your life if timed incorrectly. The game has a mechanic called Input Delay. This happens when you are mid-roll, for example, and input another button; this will be buffered and used after the animation ends. This is the cause of many deaths and will most likely cause some of yours too. This, however, does bring up one topic of discussion: **Panic Rolling**. Panic Rolling is a term used to describe when people are being attacked, and instead of timing their rolls, they will spam the button in good faith; it's like gambling and won't always work. I also recommend not getting into the habit of spam-rolling because it's hard to break.
Know when to attack
Attacking is your only way of dealing damage inside Elden Ring, which is why people often prioritize it above anything else. This does tend to make people more on the aggressive side, making you vulnerable to counterattacks. The better way to attack is to wait and sit back, and learn your enemies' attack patterns. Each enemy and boss has unique attacks that can be studied. Once you know them, you can also deal much better with them.
Use Guard Counters when using a shield
Shields have a lot of advantages; one of them is the Guard Counter. This happens when you quickly perform a Heavy Attack after blocking an enemy attack. This does heavy posture damage and more than normal damage to an enemy, making it a great tool against specific enemies and boss attacks. It works especially well when wielding heavier weapons.
Don’t be afraid to cast Spells and use Ashes of War
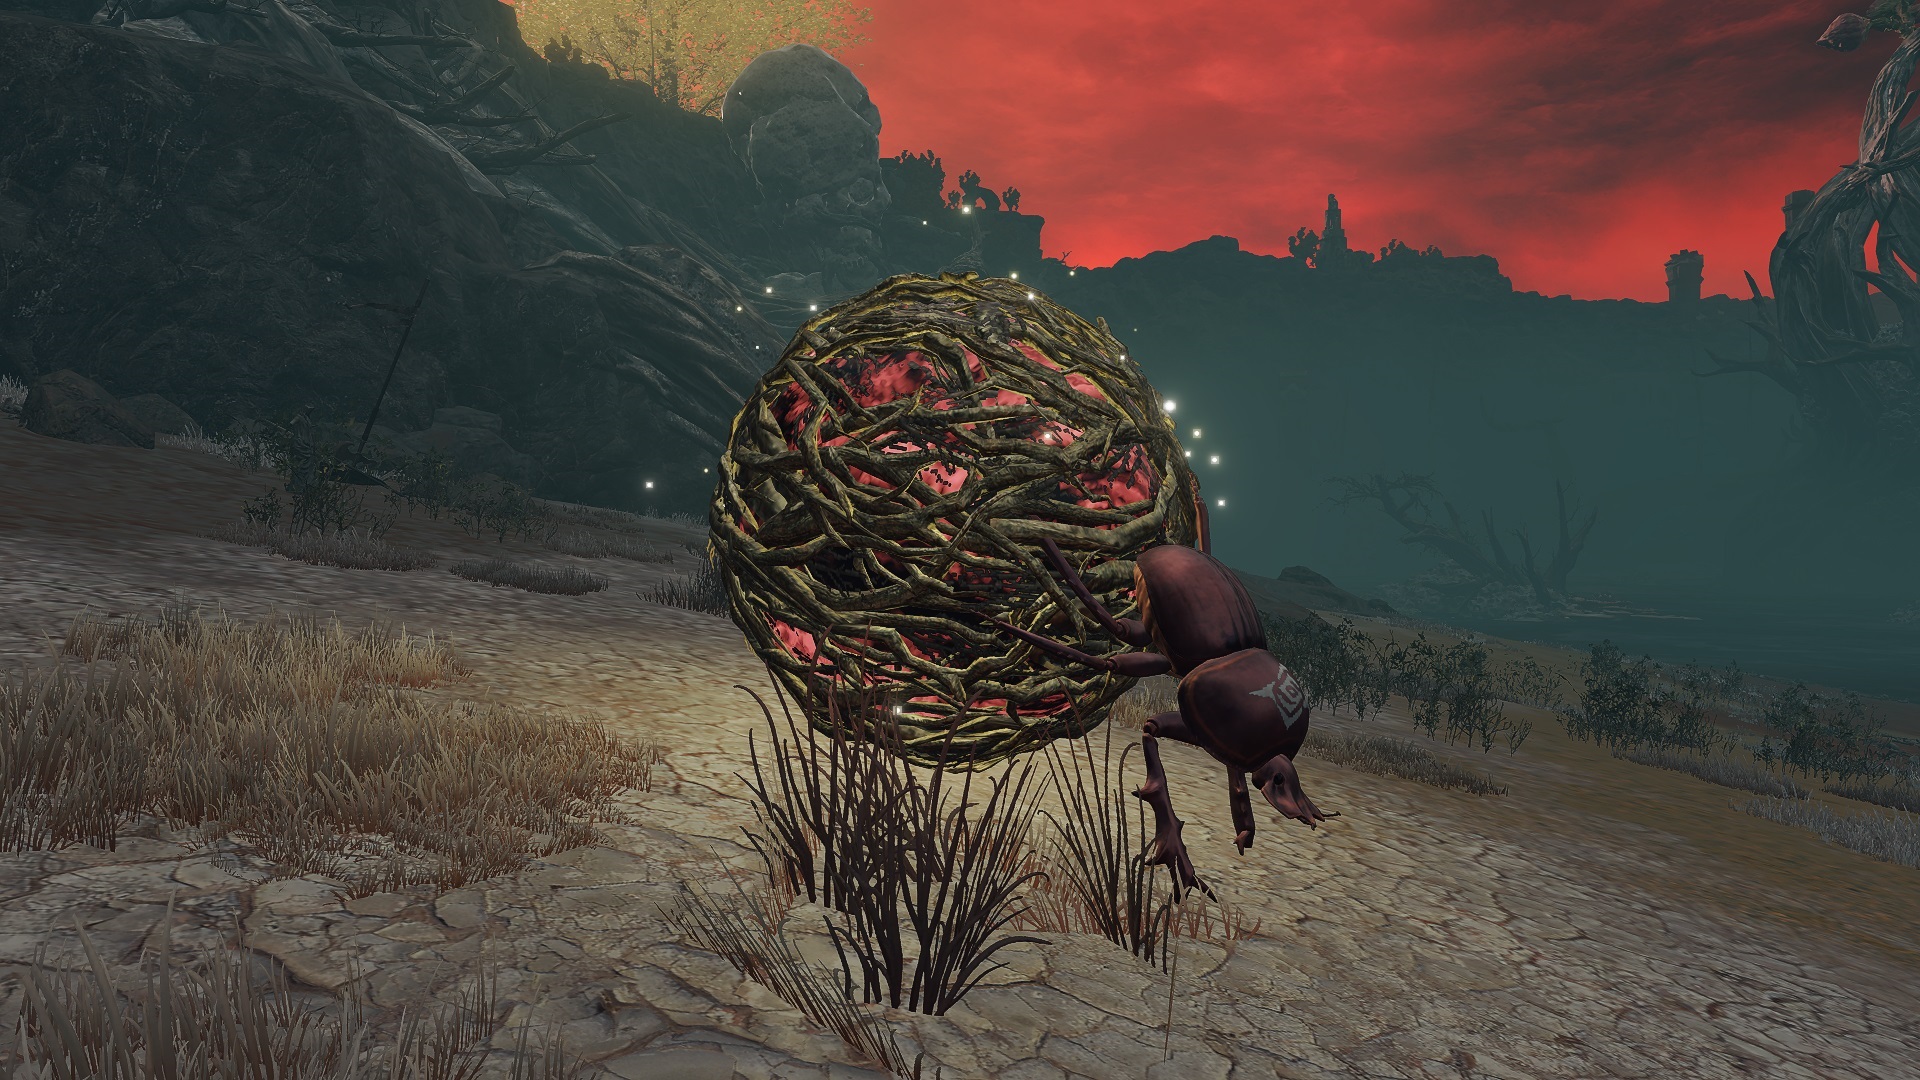
Spells and Ashes of War both cost FP, which is finite, requiring you to rest after a while to replenish it. Elden Ring developed a system to help you in the overworld, however. After defeating larger groups of enemies, you get flasks back. You also get flasks back by killing Teardrop Scarabs. These creatures have a golden glow and give you Sacred Flasks back upon killing them. You can use your Ashes of War and spells as aggressively as you want, and use these ways to replenish them without respawning every enemy in the area.
Equipment
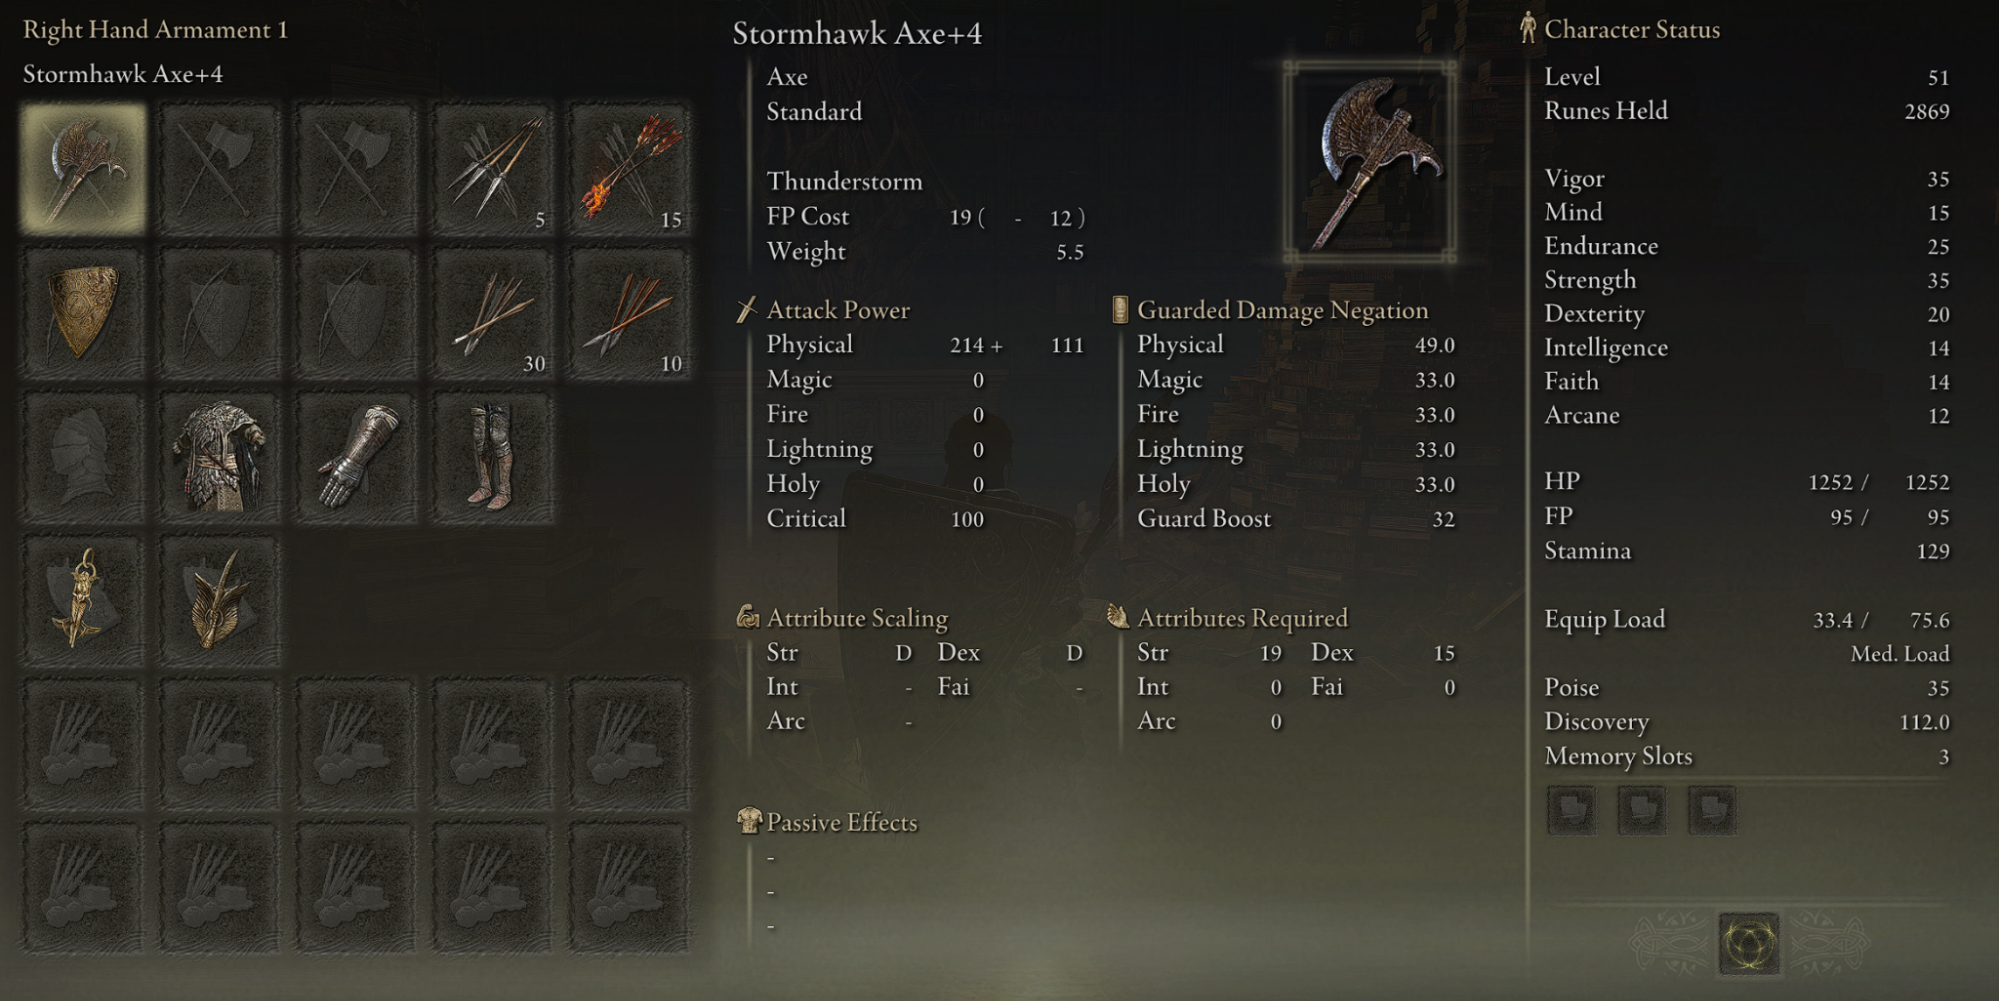
Here is the Equipment Menu. This is where you set everything up to make your character play the way you want!
We'll go through it slowly, so no stress.
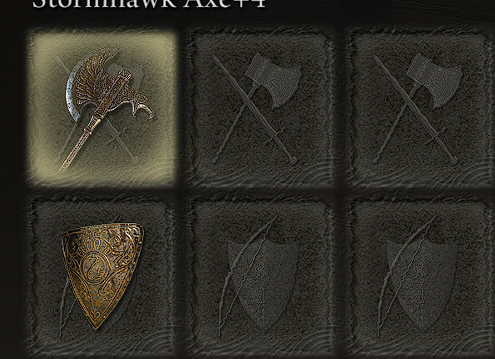
Here are the two most important sections. Your weapons and off-hand equipment. In your offhand, you either put: a second weapon, a shield, a torch, or a ranged weapon.
You can equip multiple weapons at the same time and swap between them; however, this increases your Equip Load, which will make you roll slower and eventually be unable to sprint.
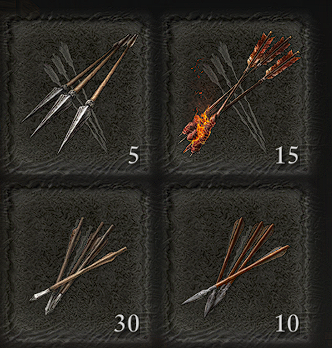
Here, you equip both your arrows for your bows and Greatbows and your bolts for your crossbow.
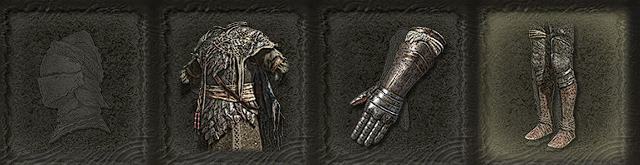
In this section, you can equip your desired armor, mix, and match to make your most fashionable character!
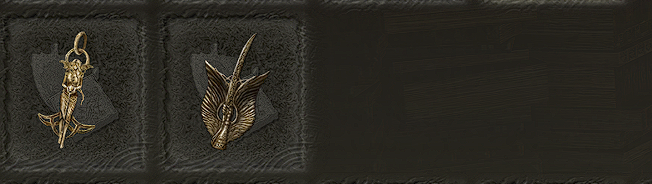
Talismans are an important section of the game. These complement your build by giving you increased stats, more damage, or other effects that can improve your build!
They can often be found behind Stonesword Gates or in dungeons. Some even drop from bosses.
Last but not least are your consumable slots. Here you can equip craftable items, Sacred Flasks, Torrent's Whistle, or any other consumable items.
Early Game/Limgrave
Now that you have all the knowledge about how to play the game, it’s time I give some advice on the the early game that will help you get through it better!
Don’t be afraid to run from a fight!
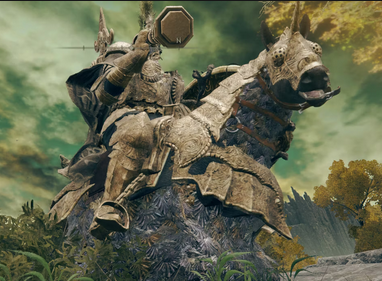
Elden Ring is an open-world game, and some foes can be very daunting the first time you encounter them. Don’t let this scare you off. If you have trouble beating a foe, don't fight them! This might sound counterproductive, but there is a reason it’s an open-world game! Explore the game, get leveled up more, and return once you are stronger. They don't get stronger; you do! We know plenty of players who lost their wits against this guy below.
Explore Dungeons
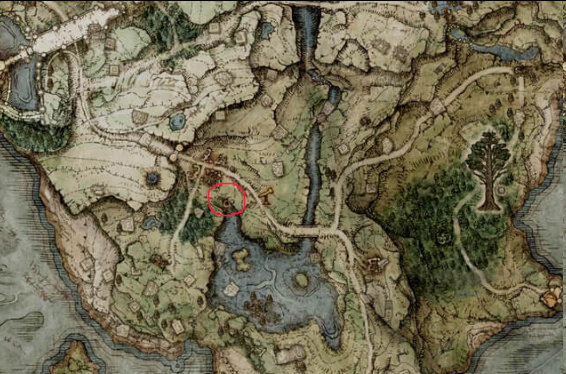
There are a ton of dungeons in Elden Ring. Limgrave alone has 29 bosses! This means there is plenty of room to get stronger and plenty of loot to collect! You just need to know where to go. Some dungeons can be easily spotted, like Mines, because they are displayed as black holes with a red outline on the map, like below. Others are a bit harder to find but can be found by exploring the map!
Don’t sit on your runes too long
Dying happens in Elden Ring. Whether you are a beginner or a veteran, you will die. But for beginners, it’s much easier to die while trying to get to your Runes. This is why we recommend spending your runes and not sitting on them for too long. You will have plenty of runes you can consume from the runes in your inventory. Use these to buy items from shopkeepers so that, when you die, you won't be heartbroken about all the hard-earned runes that you lost.
Take your time
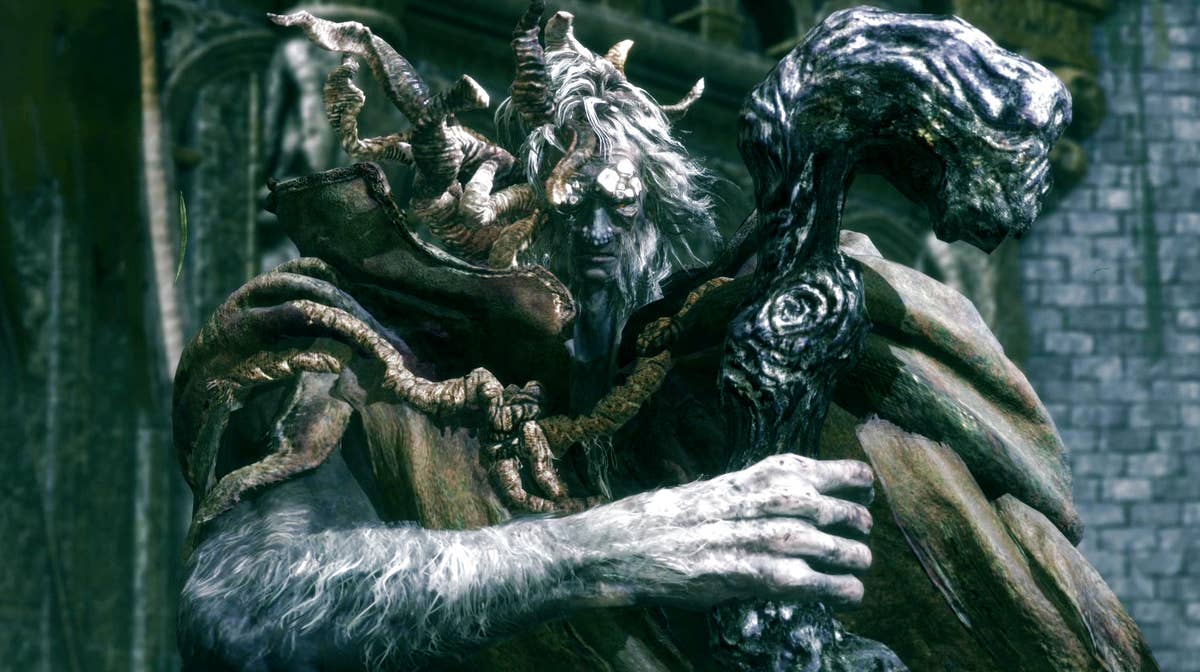
Elden Ring is a huge game, and it will take upwards of 60–70 hours at minimum to complete your first playthrough and upwards of 100 hours or more if you want to do everything! This means you shouldn't hurry or go somewhere you are not supposed to be if you find yourself facing a difficult opponent, like, for example, the boss guarding the first major dungeon, Margit the Fell Omen. If he is tough, like we said before, take a step back, get stronger, and return to him once you are confident you can beat him!
Conclusion
Elden Ring can feel overwhelming when you first enter the Lands Between, but you don't need to understand every system immediately. Explore at your own pace, experiment with different weapons and Skills, and don't be afraid to return to difficult enemies after upgrading your character and equipment.
Once you're comfortable with the basics covered in this guide, you can start experimenting with more specialized builds, Talismans, Ashes of War, spells, and the additional weapons and challenges introduced in Shadow of the Erdtree.