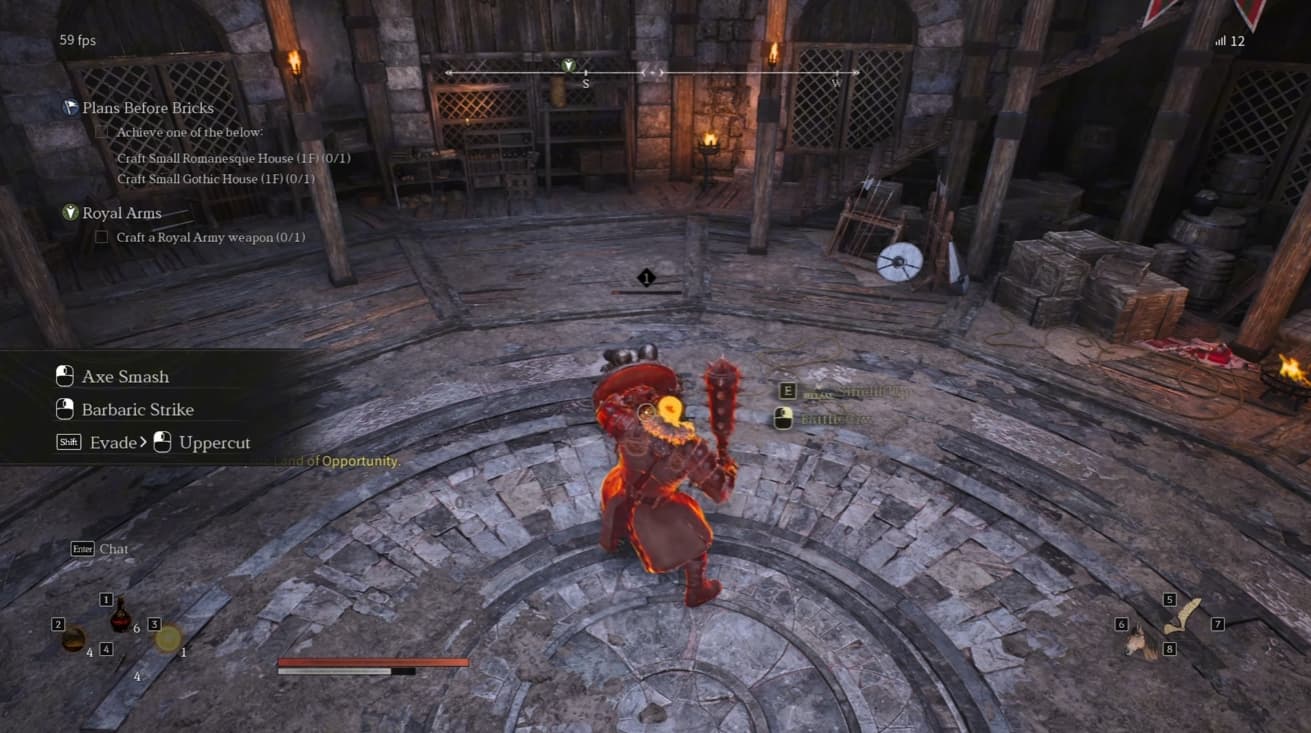
This Berserker build in ArcheAge Chronicles uses Axe and Shield to block attacks, knock enemies back, and chain into Tremor Strike. Battle Cry and Shield Slam provide reliable follow-ups, while later talents improve your healing, stamina efficiency, and attack combinations.
The early setup focuses on creating openings for Tremor Strike while keeping enough SP available for dodging and counterattacking.
Battle Cry
Battle Cry knocks enemies back, grants stagger immunity, and reduces incoming damage during the shout. Use it after blocking to set up Tremor Strike.
Tremor Strike
Tremor Strike is the main damage skill for this setup. It becomes available after knockback, allowing you to follow attacks such as Battle Cry and Uppercut with a powerful strike.
Axe Smash
Axe Smash is your light attack combo. Use it to finish weakened enemies or take advantage of a short opening, while keeping enough SP for your main skills.
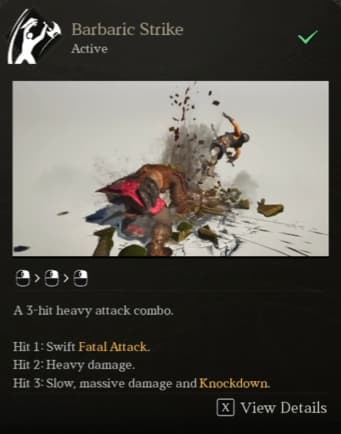
Barbaric Strike
Barbaric Strike is your heavy attack combo. Its longer sequence makes it harder to complete safely early on, although later talents improve its speed and damage potential.
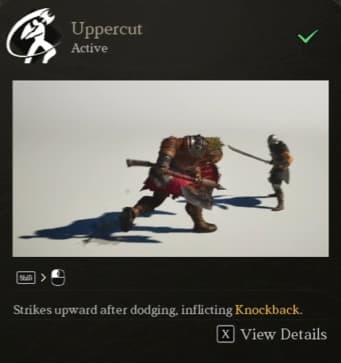
Evade, Uppercut and Tremor Strike
After evading, use Uppercut to inflict knockback and unlock Tremor Strike. This gives you an offensive follow-up to your dodge.
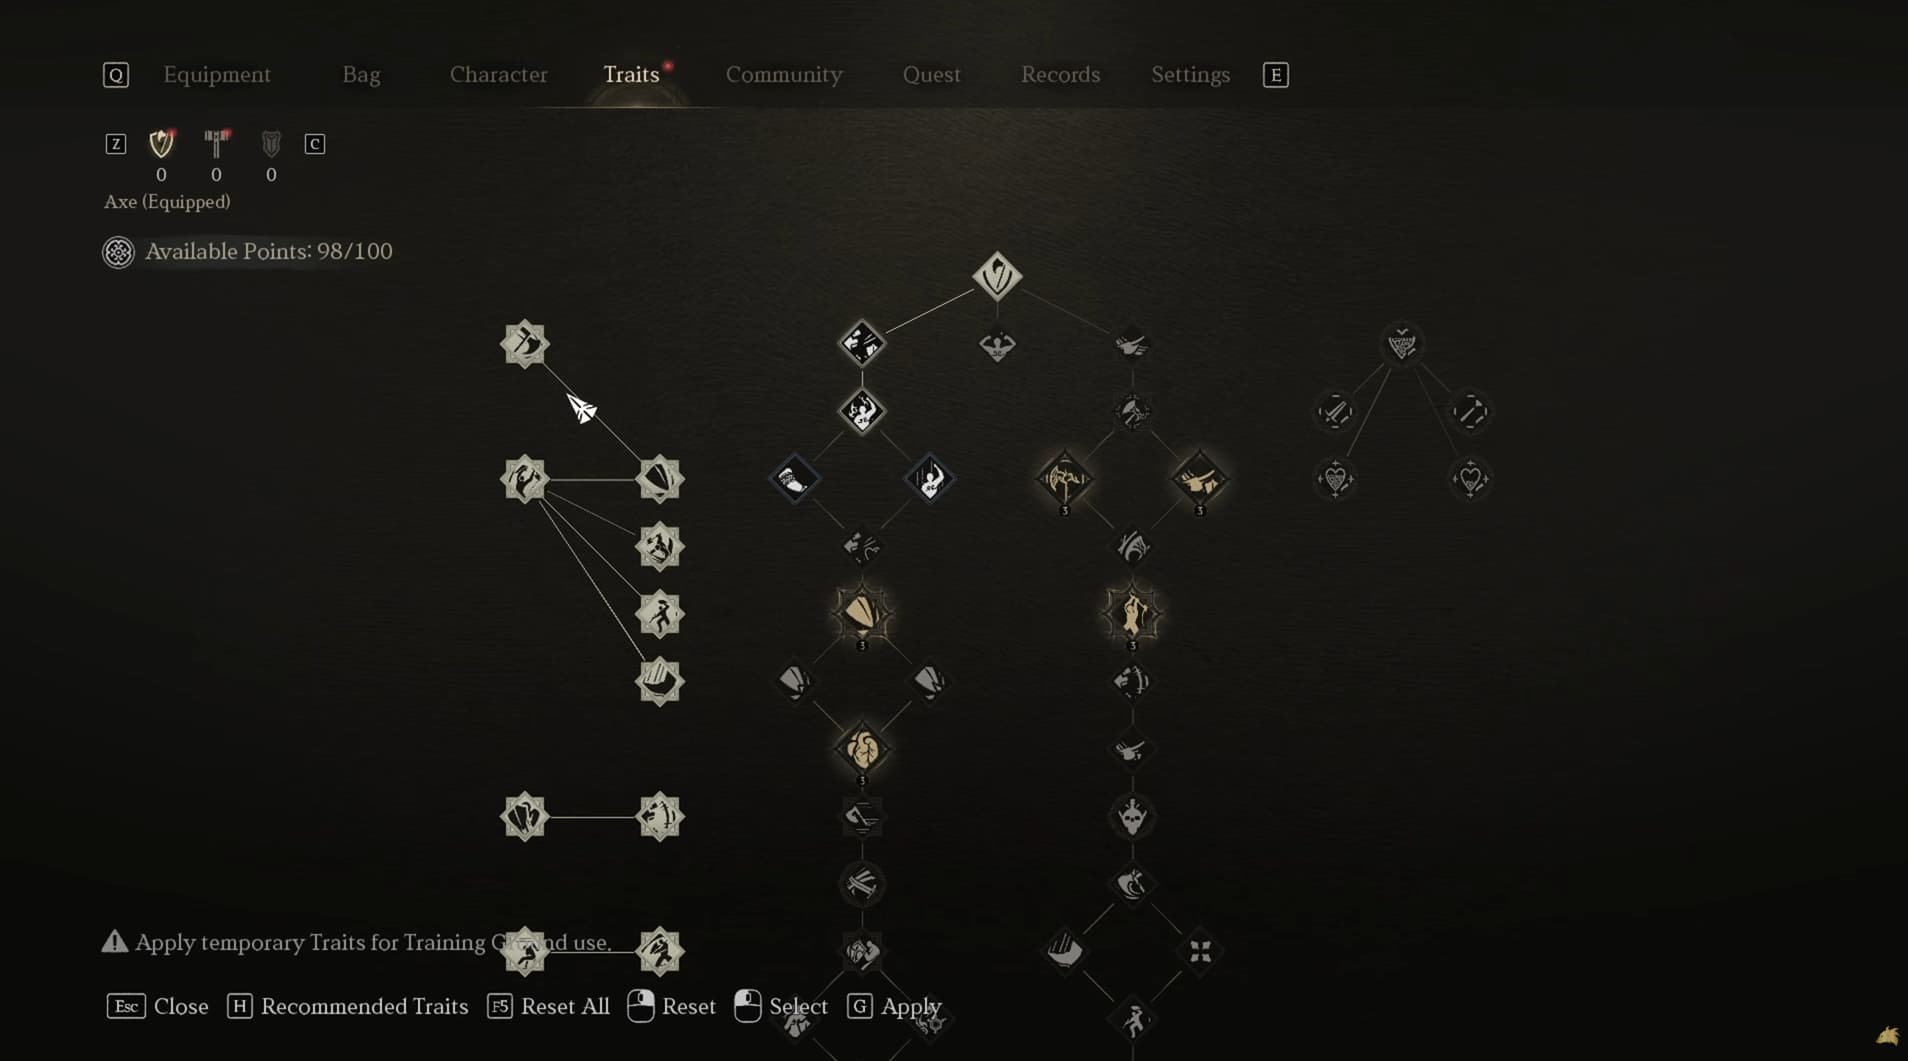
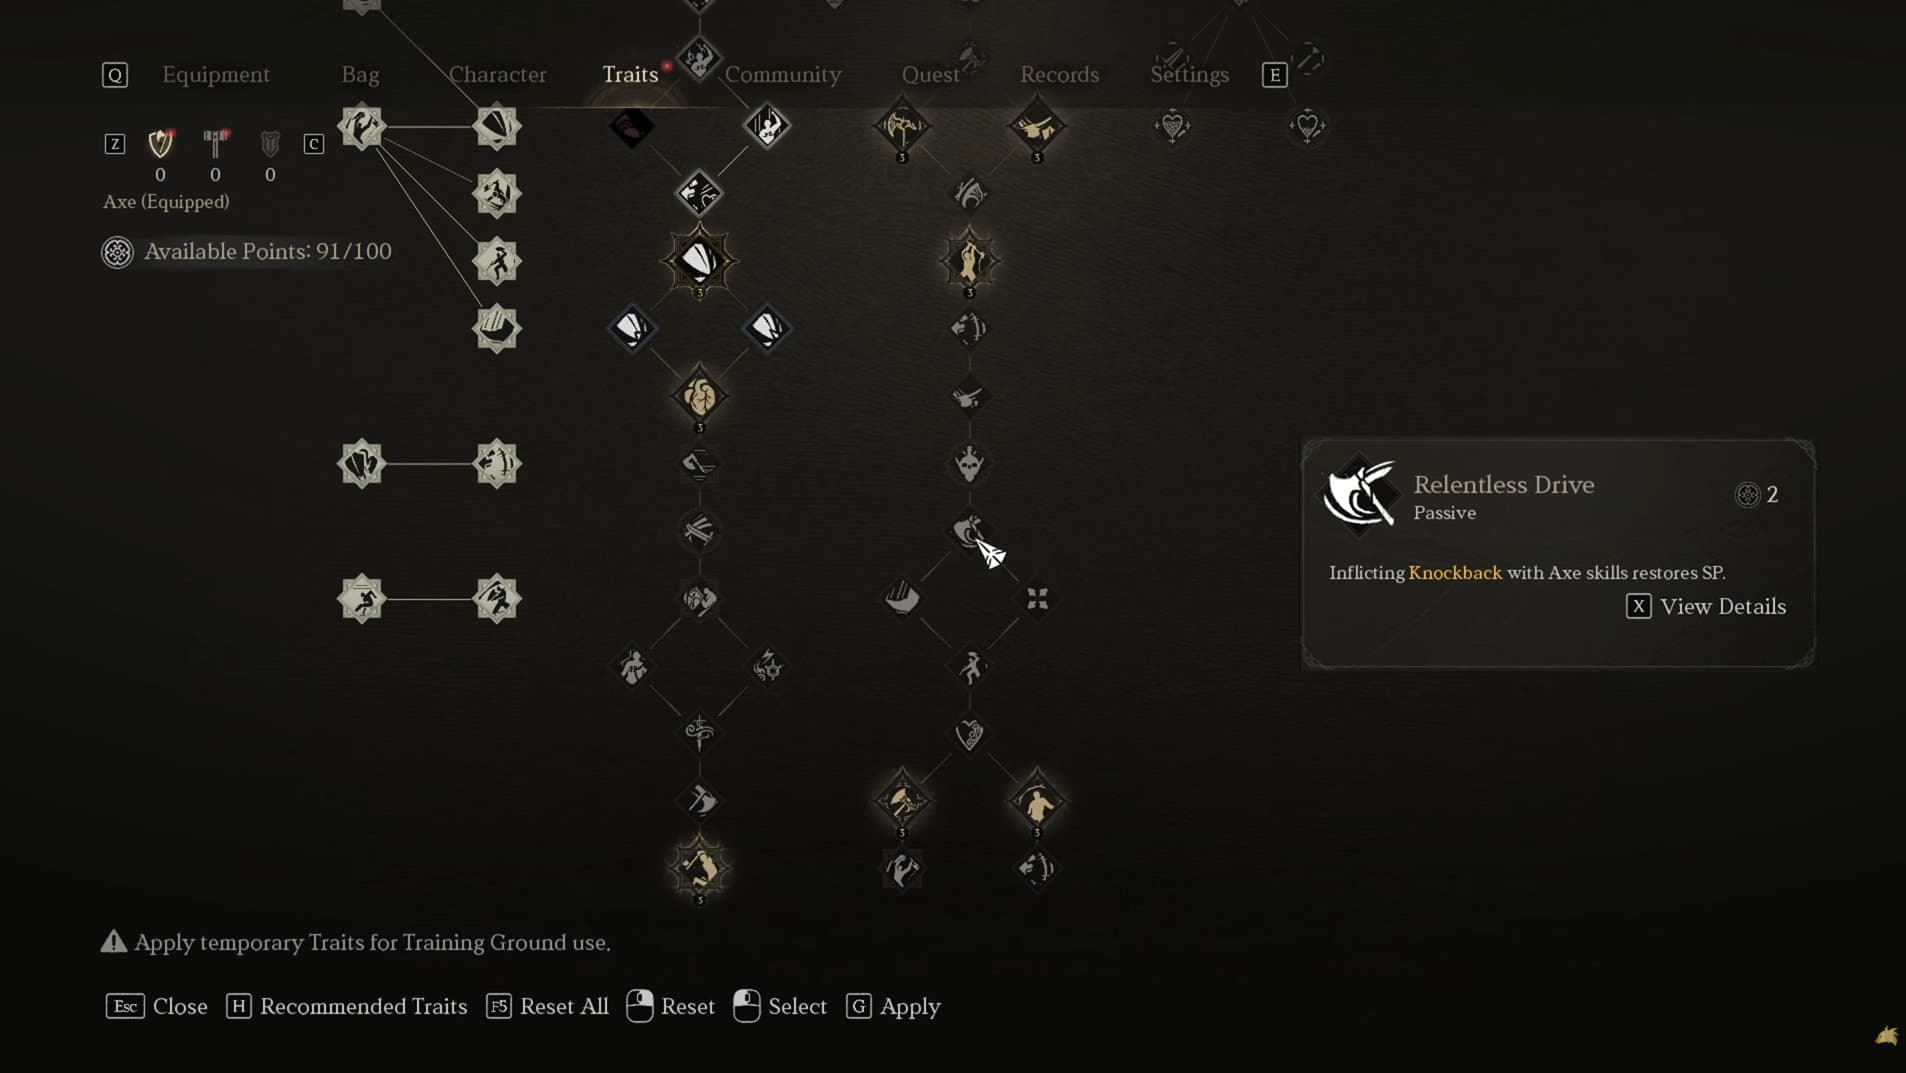
Battle Cry and Shield Skills
Strengthen Battle Cry and Shield Slam to create openings for Tremor Strike. This branch also adds healing, defensive bonuses, and party support.
Giant’s Bellow: Battle Cry reduces damage taken and increases Physical Amplification for eight seconds.
Triumphant Cry: Allows Battle Cry after Barbaric Strike’s third attack.
Rally: Battle Cry increases your party’s damage for 12 seconds.
Brutality: Increases Battle Cry’s damage and makes it hit twice.
Resounding Roar: Increases Battle Cry’s damage at 70% HP or higher, stacking with Brutality.
Shield Slam: Inflicts knockback, allowing a follow-up Tremor Strike.
Shield Slam Stun: Adds damage and Stun buildup to Shield Slam after blocking.
Shield Crash: Adds damage and knockdown to Shield Slam after blocking.
Twin Pulse: Repeated Battle Cry uses activate healing over time.
Reel In: Pulls an enemy toward you and applies Root.
Physical Crit: Improves your physical critical stats.
Brutal Crash: Follows Shield Slam with knockback, damage reduction, and stagger immunity.
Doombringer: Lets you repeat Heavy Hitter’s fully charged third attack, triggering Overpower with each additional attack.
Attributes
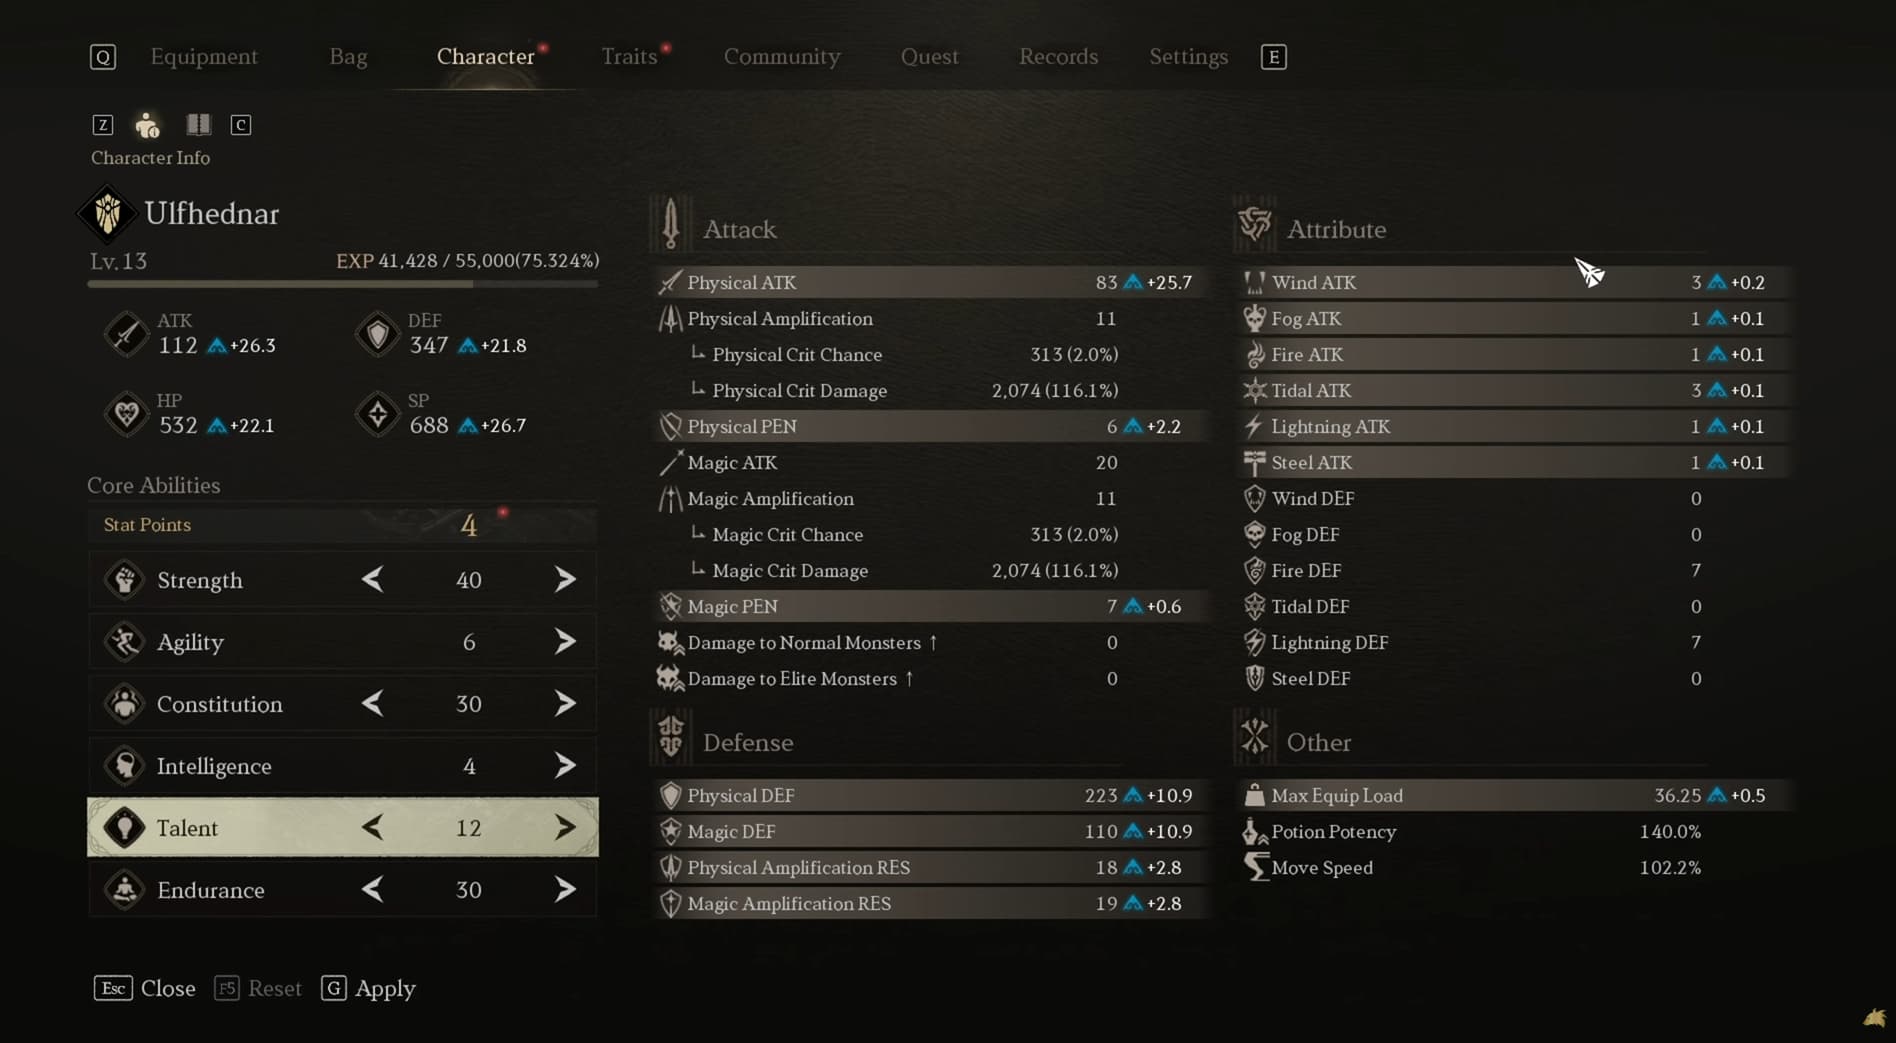
Prioritise Strength, followed by Endurance. Add Constitution when you need more health, and consider Talent later as your equipment develops.
Strength: Your main offensive investment for increasing physical damage.
Endurance: Increases SP and defence, helping you maintain attacks and defensive actions.
Constitution: Increases maximum HP for additional survivability.
Talent: Increases maximum equipment load and provides secondary defensive and elemental benefits.
The setup does not specify a fixed point split. Focus on damage and stamina first, then adjust according to what is limiting you in combat.
Gear and Equipment
Early Weapon Choice
Bloodfeast is a useful early axe to look for. Despite its mace-like appearance, it belongs to the axe weapon category and supports this build’s skills.
It can drop from Malchuk, the boss at Silent Crossway. The drop is not guaranteed, so continue using your strongest suitable axe if you do not receive it immediately.
Its initial +1 enhancement requires one Tempering Stone and has a 100% success chance. Check the displayed costs and chances again before attempting higher upgrades.
Armour Bonuses
For an early setup, favour maximum SP on your headpiece and gloves, with movement speed on your body armour and boots.
The additional stamina supports your combos and defensive actions, while movement speed helps you stay close enough to connect with melee attacks.
Maximum HP pieces are an alternative when survival is the greater problem. Compare the bonuses available on your equipment rather than waiting for a particular named armour set.
Accessories and Bag
Use the accessories available from quests and Hersander’s Towers, favouring useful bonuses such as maximum HP, SP, and relevant defences. Early accessory options are limited, so a perfect combination is not necessary to make the build work.
For a bag upgrade, complete Hands to Spare for Rufus at Watcher’s Village. Gather the required 10 logs and return to receive the Bluesalt Rucksack.
Combat Rotation and Stamina Management
Your main goal is to create a knockback opening and follow it with Tremor Strike. Use the sequence that fits the situation:
Opening an encounter: Forceful Lunge, then Tremor Strike.
Following a dodge: Evade, then Uppercut, then Tremor Strike.
Responding to an attack: Successfully block, then Battle Cry, then Tremor Strike.
Using your shield traits: Shield Slam, then Tremor Strike, with Brutal Crash available as an additional link once unlocked.
Keep enough SP available to react to the next enemy attack. Before unlocking the later light-attack traits, avoid spending your entire stamina bar on repeated Axe Smash or lengthy Barbaric Strike chains.
Those attacks still have uses when an enemy is nearly defeated or leaves a longer opening. The priority is choosing a sequence you can finish safely.
Use Stomp when an enemy is downed and the follow-up is available. Against players, vary your timing: the delay between Forceful Lunge and Tremor Strike can give an opponent time to dodge.
Death Ward provides an emergency defensive window, granting Immortal and stagger immunity for 15 seconds. Immortal prevents HP from falling below 1; it does not stop you from taking damage. Its five-minute cooldown makes timing important.
Practise the short combos first, keep stamina available for defence, and add the longer chains as your trait investment grows.
Useful Consumables for Boss Fights
Throwing Daggers are a useful ranged option because of their quick animation. Javelins, Lightning Spikes, and Fire Orbs provide other ways to deal damage when you have an opportunity to use a throwable.
Vigorflow Potions temporarily increase maximum SP for 60 seconds, making them useful when you want more stamina available during a boss encounter. Keep Lifeflow Potions accessible for healing.
Prepare your quick slots before entering the fight so you can use these items without searching through your inventory under pressure.