menu
MobalyticsUse your favourite features in-game with our Desktop App
Gamebase Guide

ArcheAge Chronicles Beginner Guide

Guides
By Ulfhednar
LIVE
Updated on Nov 4, 2026
Nov 4, 2026

Overview

Your first hours in Auroria are about exploring the world and learning how your character grows. This ArcheAge Chronicles beginner guide covers the essentials to help you get started.

We’ll explain the early quests and upgrades worth prioritising, how the main progression systems work, and how to unlock your first glider and mount.

If you’re starting as a Berserker, our Berserker build guide covers the skills, talents, attributes, and early gear for an Axe and Shield setup.
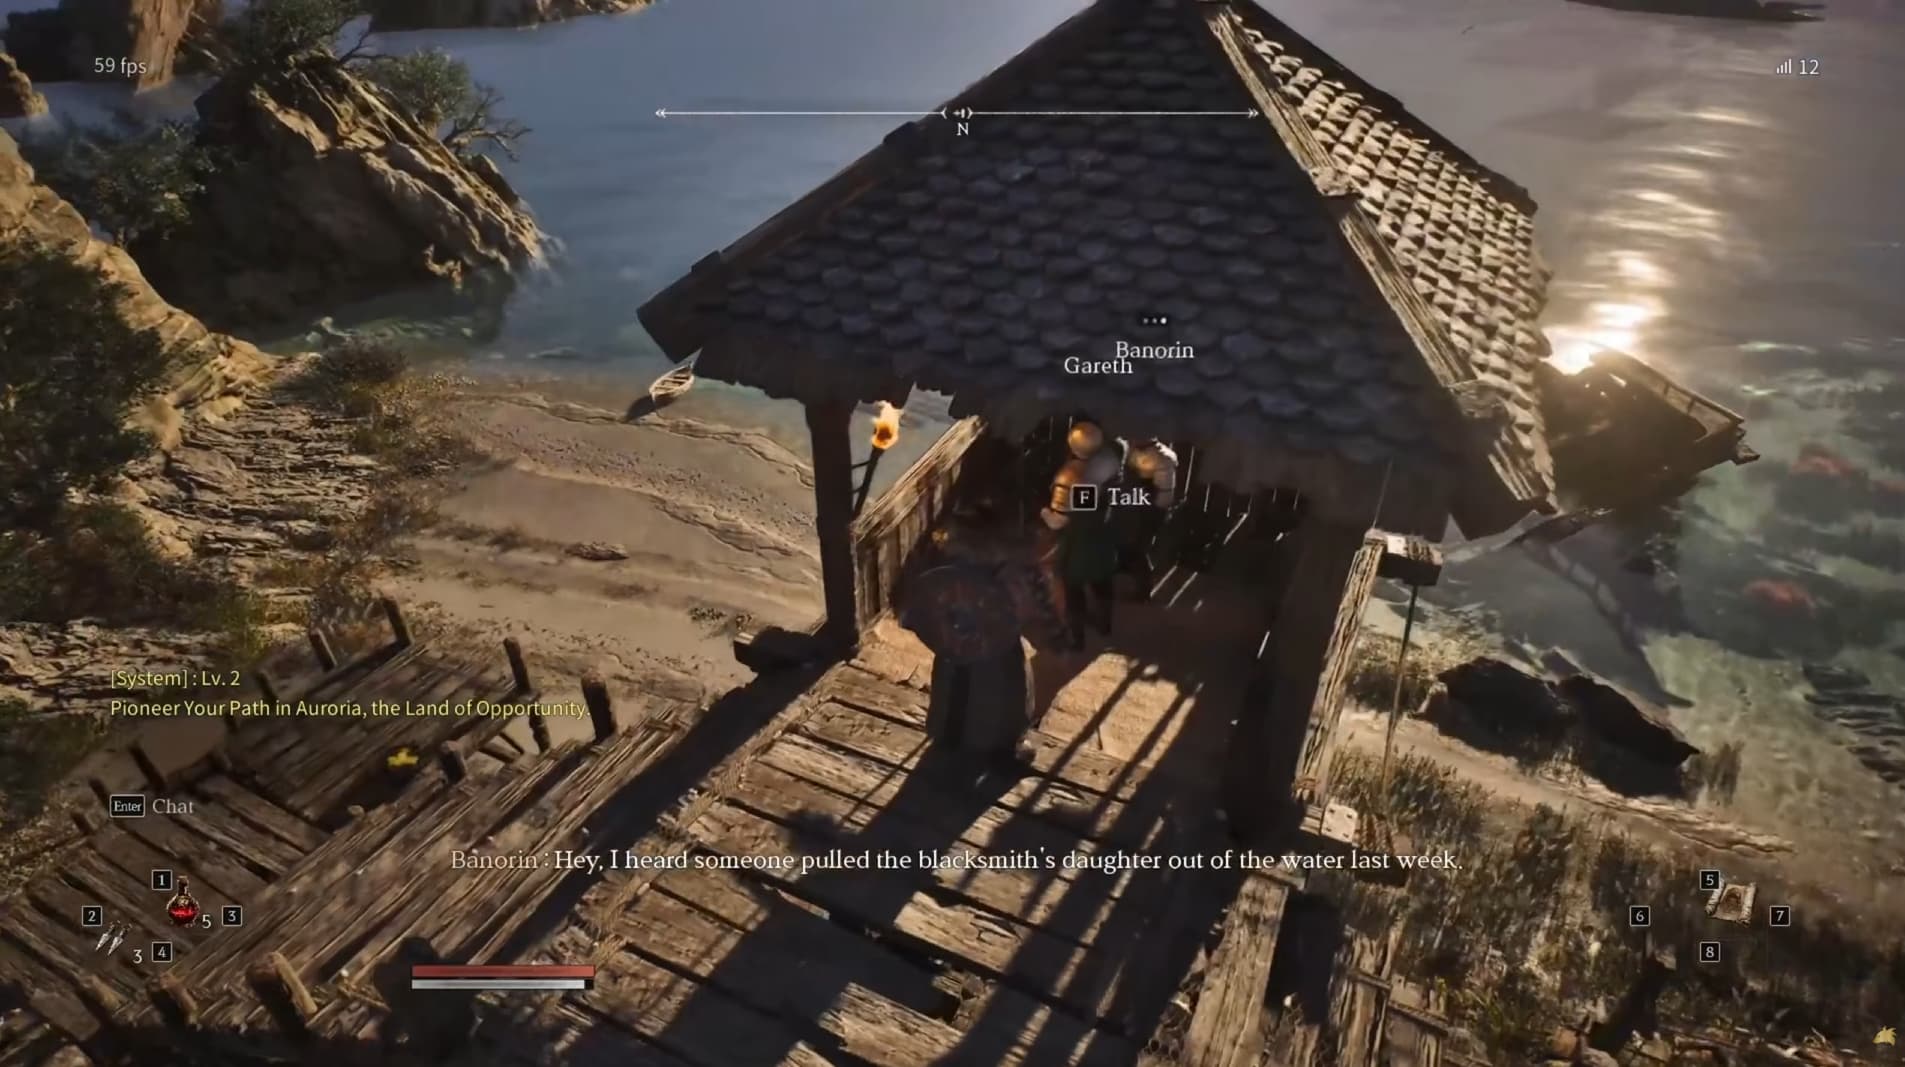
Explore Beyond Quest Markers

Some quests begin when you discover a location or interact with an object, so checking your map alone can leave useful rewards undiscovered. Search caves, investigate unusual items, and speak to characters around the places you visit.

You can put this into practice almost immediately at the Watchtower of Hope after completing the tutorial:

  1. Find the guard Gareth and note his location.
  2. Head down the nearby stairs and through the opening leading towards a cave.
  3. Interact with the pirate inside to receive a ledger.
  4. Return to Gareth, accept the related quest, and complete the hand-in.

This gives you an early injection of experience and gold, which helps with your first equipment upgrades.

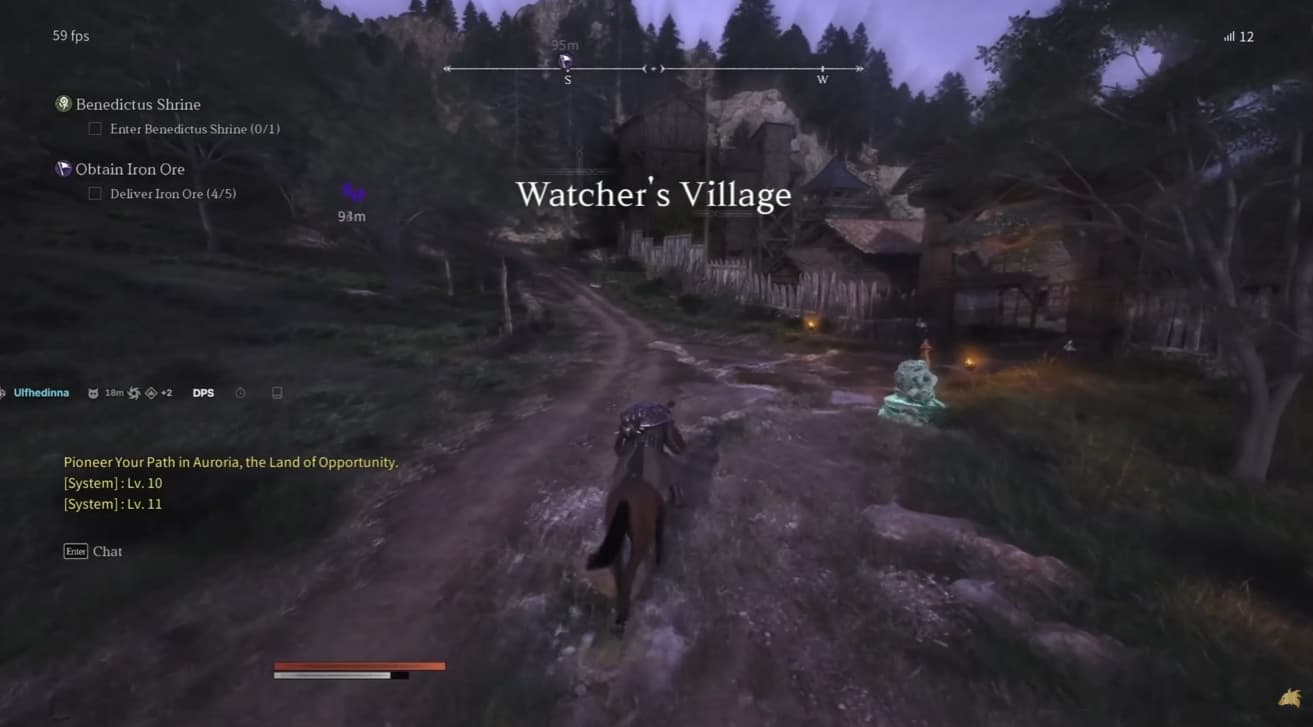
Read item descriptions as well. A wine-related discovery at Benedictus Shrine, for example, points you towards another character and opens a further questline. If an item names someone or explains where it belongs, treat that description as a clue.

Unlock Your Glider Early

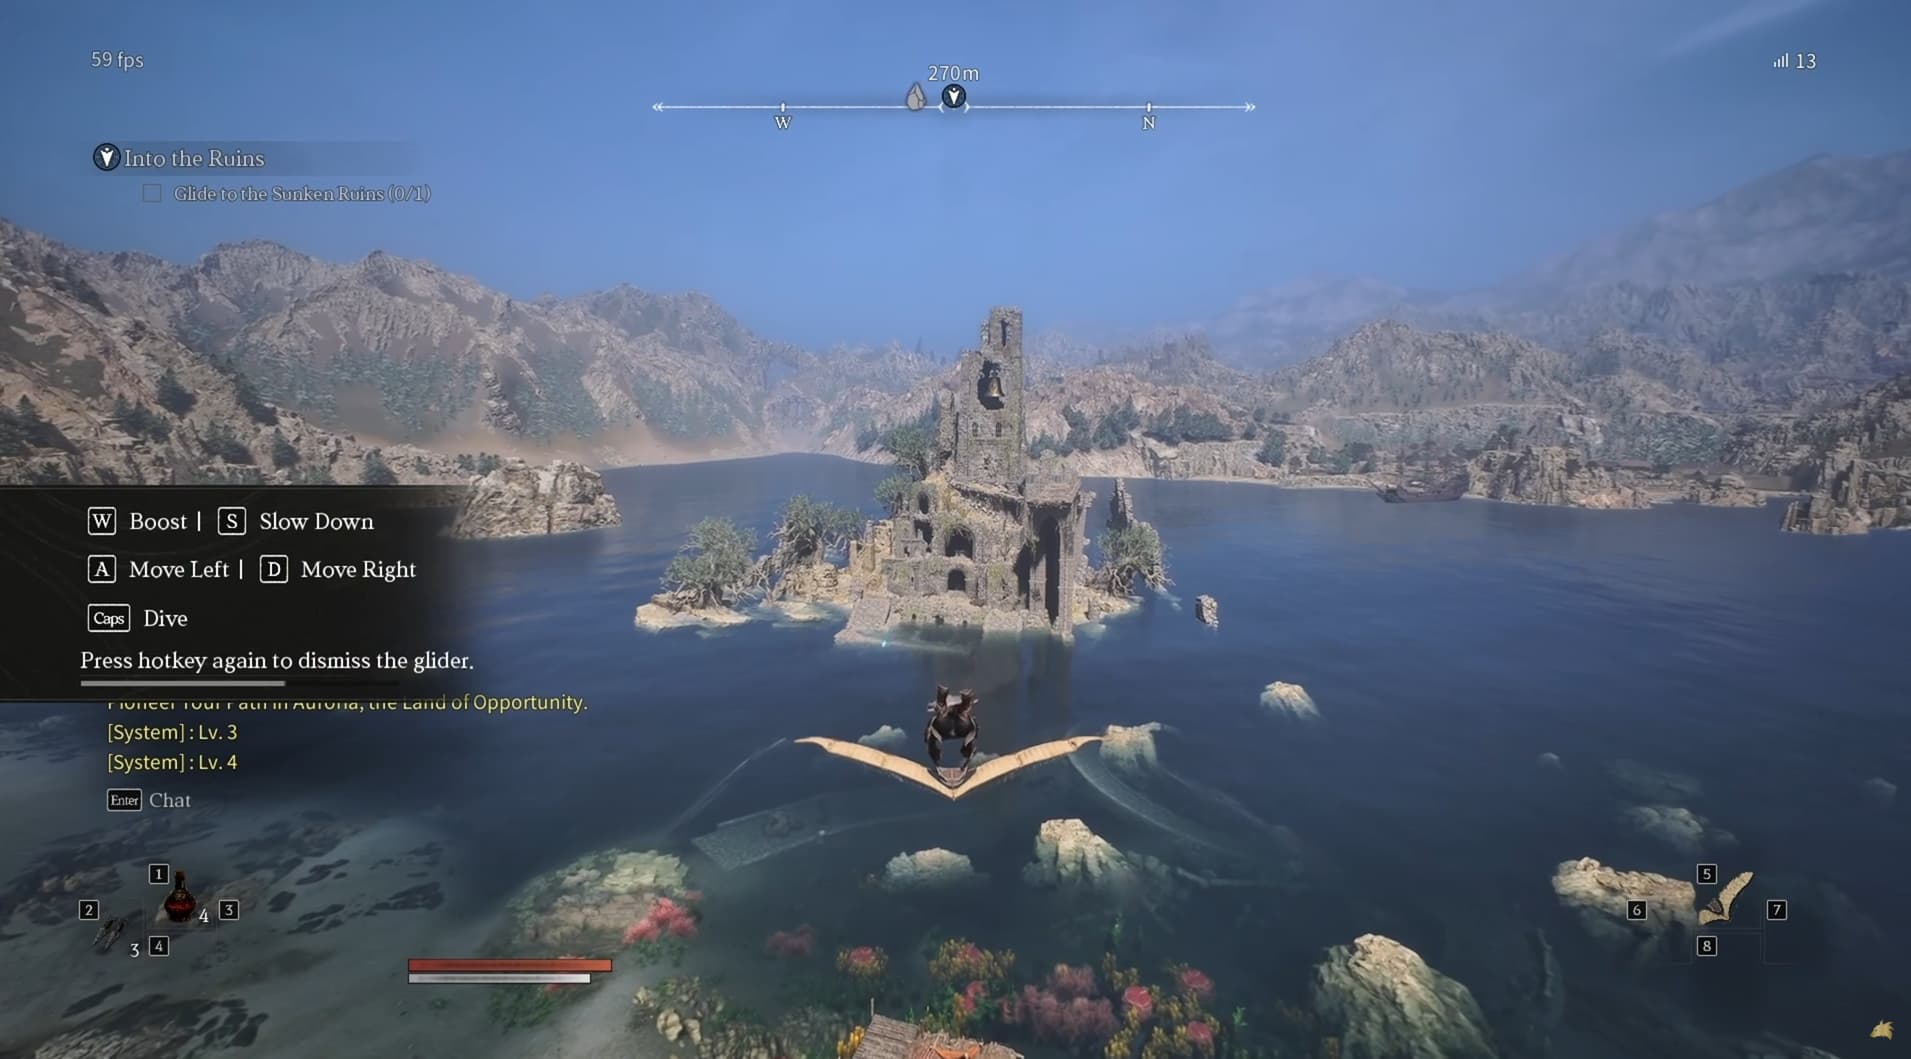
Your glider is an early exploration unlock worth prioritising. Progress through Aeon’s quests at Seaglass Beach until you reach Into the Ruins, which involves equipping Flite’s Prototype Glider and flying to the Sunken Ruins.

Once you receive the glider, open your inventory and assign it to a quick slot so you can activate it when needed. Receiving it alone does not put the controls within easy reach.

Explore the landing area before moving on. There is a Nui Statue to interact with and a Nui Tear to collect along this early gliding section.

Take care around crowded launch points. Other players can obstruct your movement, making it easier to fall into the water before you get a clean takeoff.

Enhance Your Gear and Compare Its Bonuses

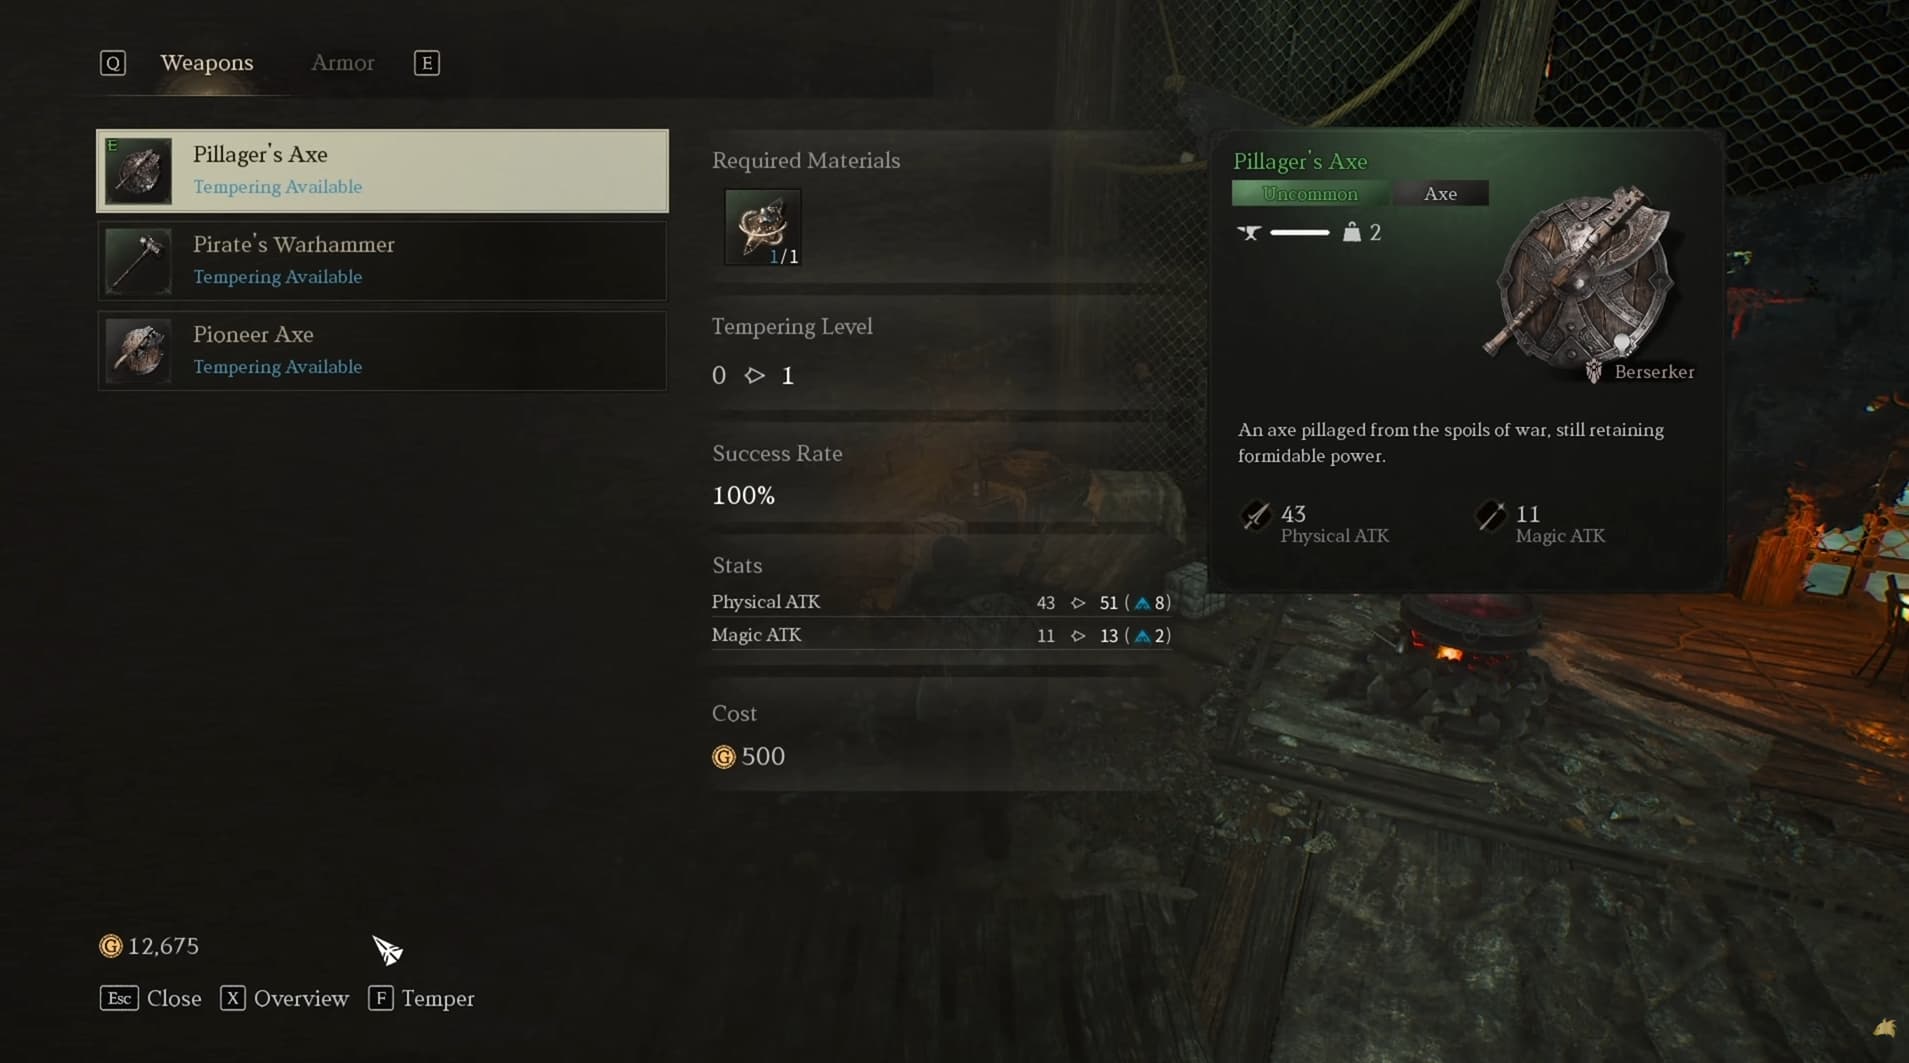
Visit blacksmiths to improve your equipment instead of saving every upgrade material indefinitely. You will encounter them during progression, including near some boss encounters, where you can also repair your gear.

A basic +1 enhancement uses one Tempering Stone, alongside the required gold. Tempering Stones for weapons and armour can be found while exploring, making modest upgrades practical early investments.

Higher enhancement levels have lower success rates. Check the chance and material cost displayed before attempting another upgrade, and prioritise equipment you are actively using.

Also compare the bonuses on different armour pieces. Depending on the item, these can include movement speed, penetration, or maximum SP. SP is your stamina, so extra SP can help you manage the resource used by skills and dodging. Choose bonuses that support how you fight rather than looking only at an item’s enhancement level.

Spend Stat Points to Support Your Build

Leveling gives you stat points to distribute across six attributes. Preview the changes on the character screen before confirming them so you can see what each investment actually improves.

The main uses of each stat are:

  • Strength increases physical attack.
  • Agility improves critical hit chance and contributes to physical attack.
  • Constitution increases maximum HP and resistance to critical hits.
  • Intelligence increases magic attack.
  • Talent supports magic attack and equipment load.
  • Endurance increases stamina and defence.

Start with the offensive stats that suit your weapon, then address the problems you encounter in combat. If you struggle to survive hits, consider Constitution. If you repeatedly run short of stamina for skills and dodges, look at Endurance.

Avoid spreading points evenly just to raise everything. Give each investment a purpose, whether that is improving your damage, surviving an encounter, or keeping enough stamina available to react.

Improve Your Maximum Health and Potions

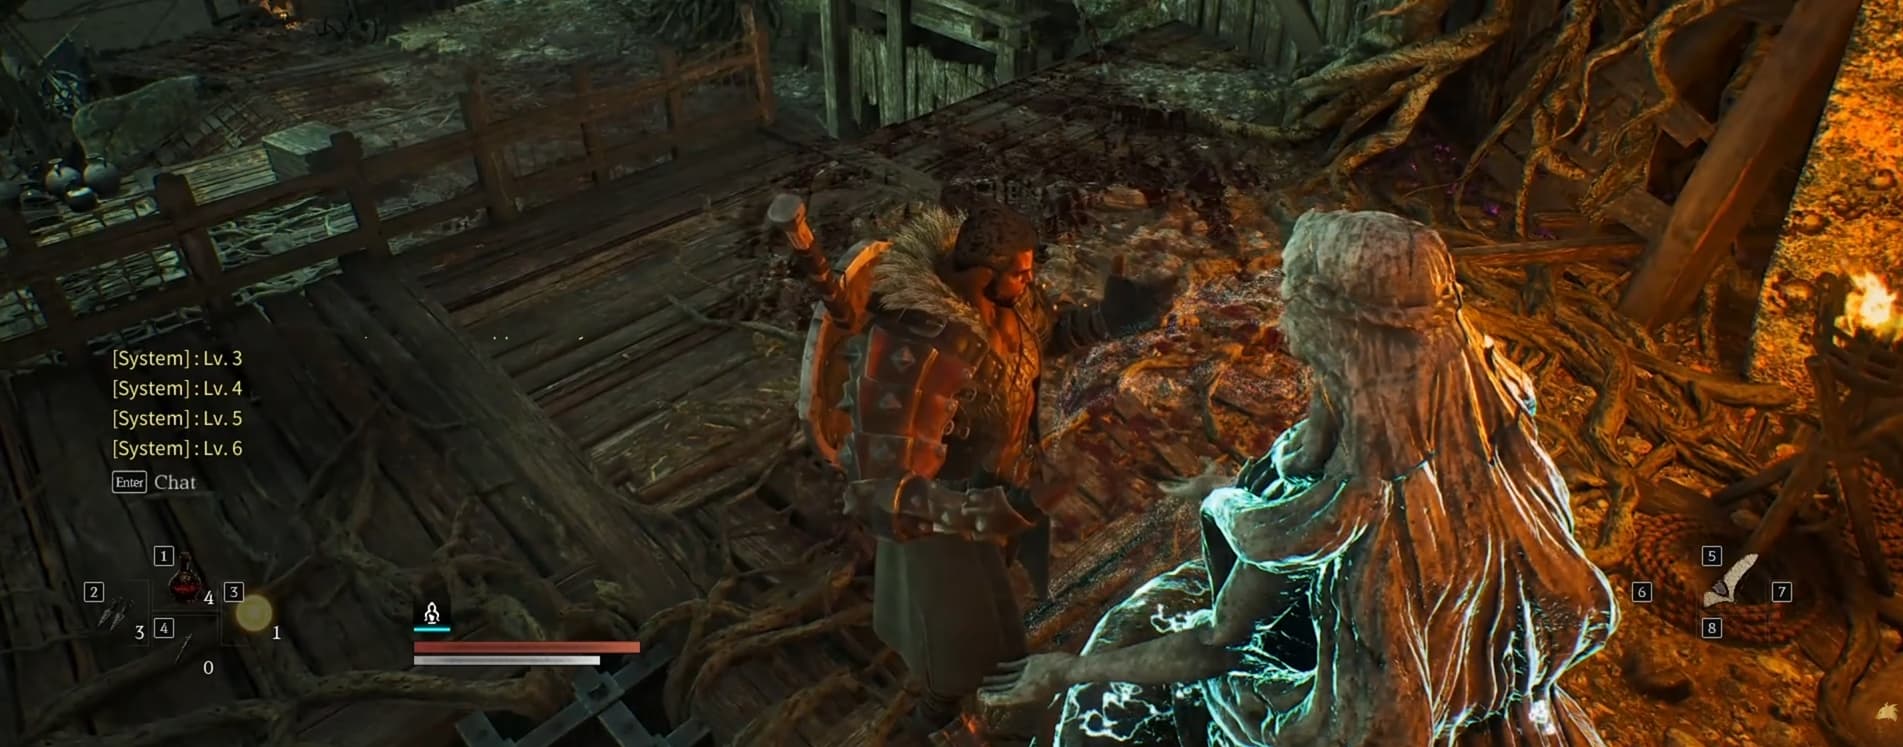
Collect Nui Tears whenever you find them and bring them to a Nui Statue to increase your maximum HP permanently. Later upgrades require more tears, so keep collecting them as you explore new areas.

Nui Statues also serve as fast travel points. Interact with the ones you encounter so returning to previously visited areas is more convenient.

Another useful exploration reward is a Book of Perdita, which permanently improves potion potency. These strengthen your potions and are worth picking up alongside the health upgrades from Nui Tears.

Both systems help you become more resilient without relying entirely on finding replacement equipment.

How to Get Trait Points

Stat points and trait points serve different purposes. Leveling improves your attributes, while trait points come from Raeven’s Coilstones, which are guarded by bosses.

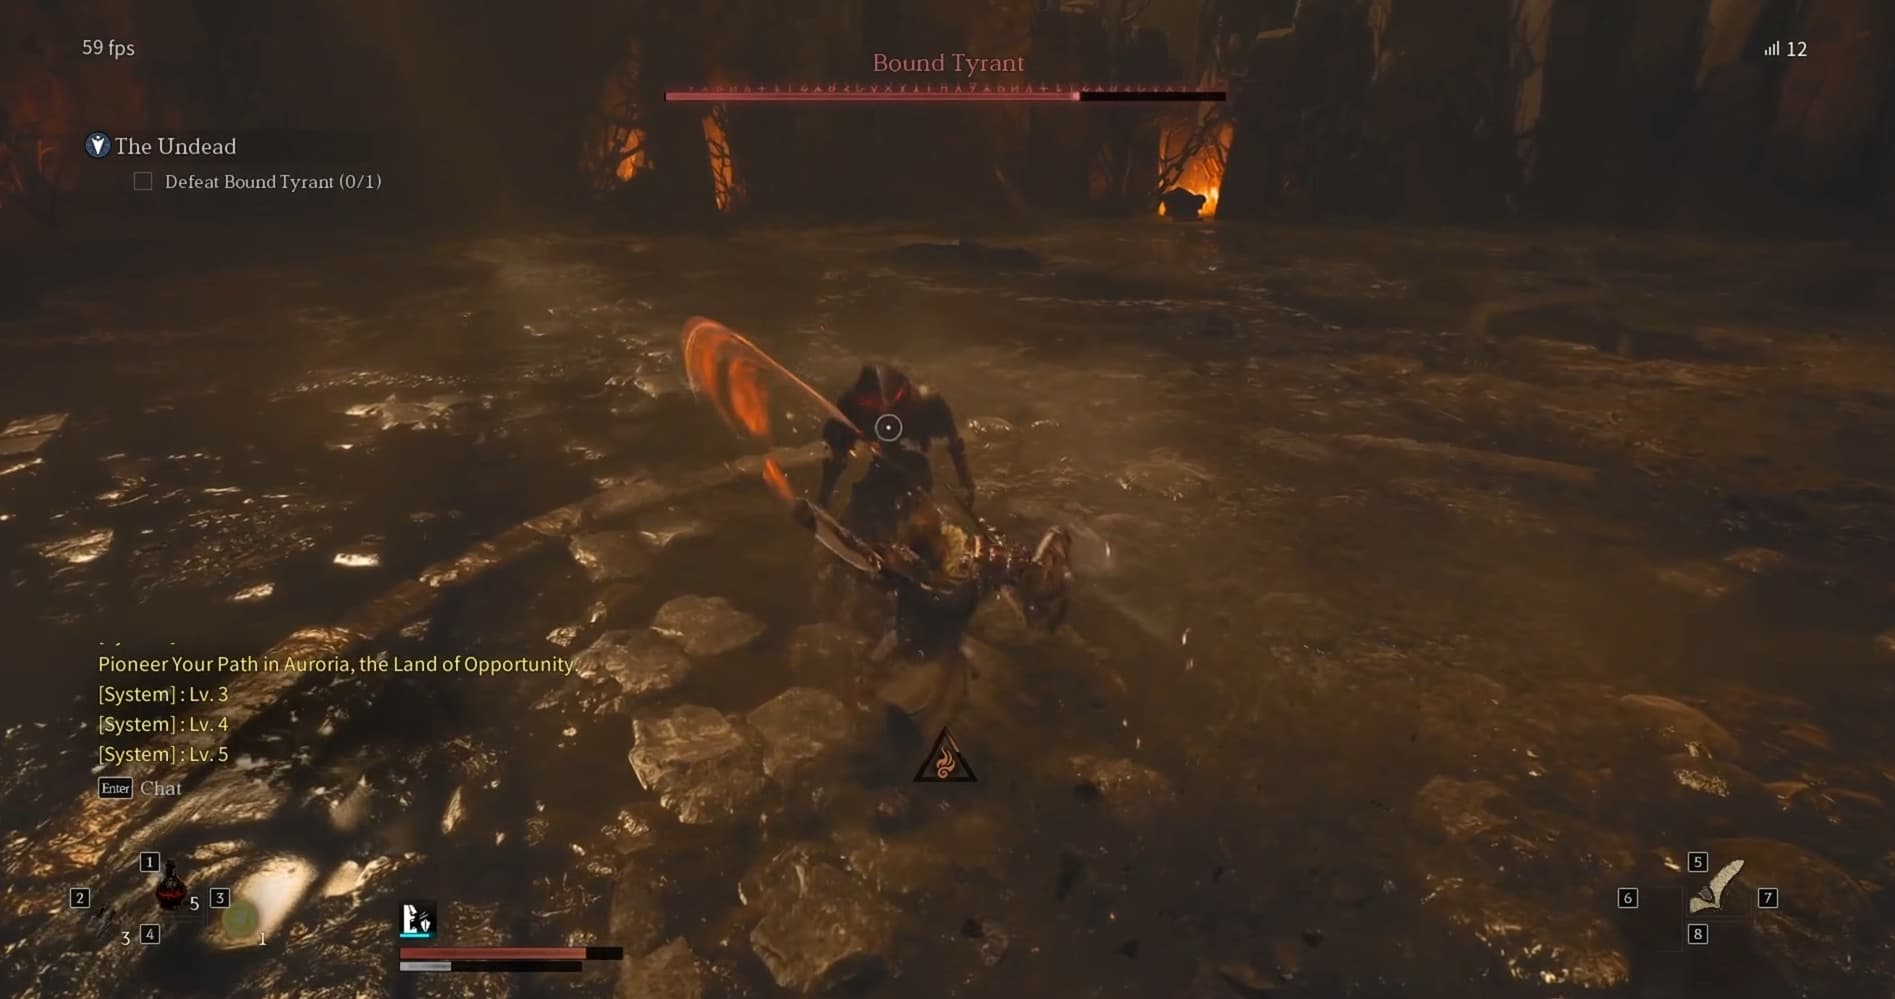
After defeating a guardian, check the area and interact with the Coilstone before leaving. Winning the fight and collecting its progression reward are separate steps.

Spend those points in the Traits menu to develop your weapon’s options. Weapon types have their own trait trees, so check which tree you are investing in before choosing a path.

If a boss is giving you trouble, review your unspent points before making another attempt. An available trait upgrade may be more useful than repeating the fight with the same setup.

Read the Riddles at Hersander’s Towers

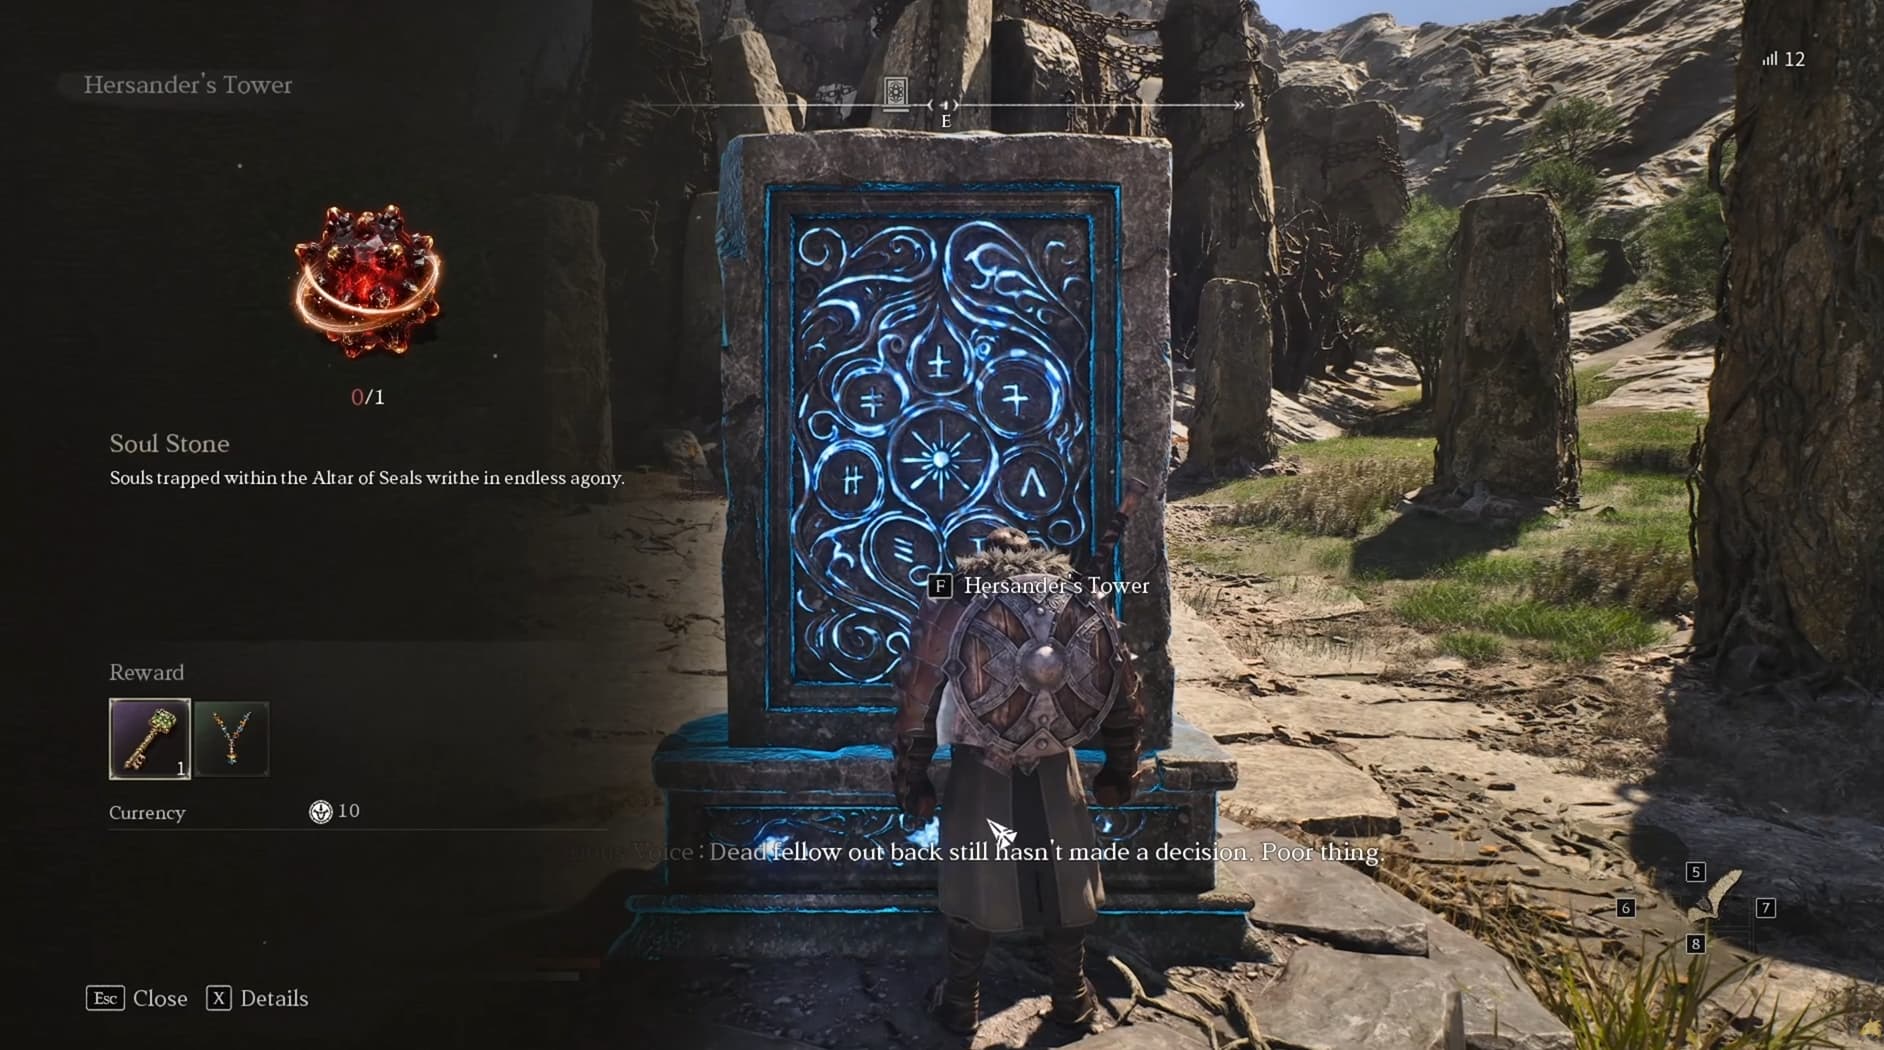
Hersander’s Towers ask you to find offerings described through riddles. Interact with a tower and read its request before searching the surrounding area.

An early tower requires a Soul Stone obtained by clearing a nearby point of interest. Investigate the area, complete its encounter, and return with the required offering.

Do not assume every tower uses that same solution. Each request is a reason to pay attention to the places and objects around you.

Completing a region’s set of towers rewards a unique accessory and unlocks the Hereafter Challenge. For a beginner, the immediate priority is understanding the riddles and making progress on the offerings as you explore.


Choose Your Channel Carefully

ArcheAge Chronicles has Peace and Conflict channels. Conflict channels enable open PvP and offer an experience bonus, but other players can attack you while you are trying to progress.

The extra experience is only useful if you can keep completing activities. Fighting other players or repeatedly getting interrupted can make a supposedly faster option less productive, particularly when you are alone.

Start in a Peace channel if you want to learn the combat, finish quests, and explore with fewer interruptions. Move into Conflict when you actively want PvP and are comfortable with the additional risk.

Progress the Bluesalt Brotherhood Quests

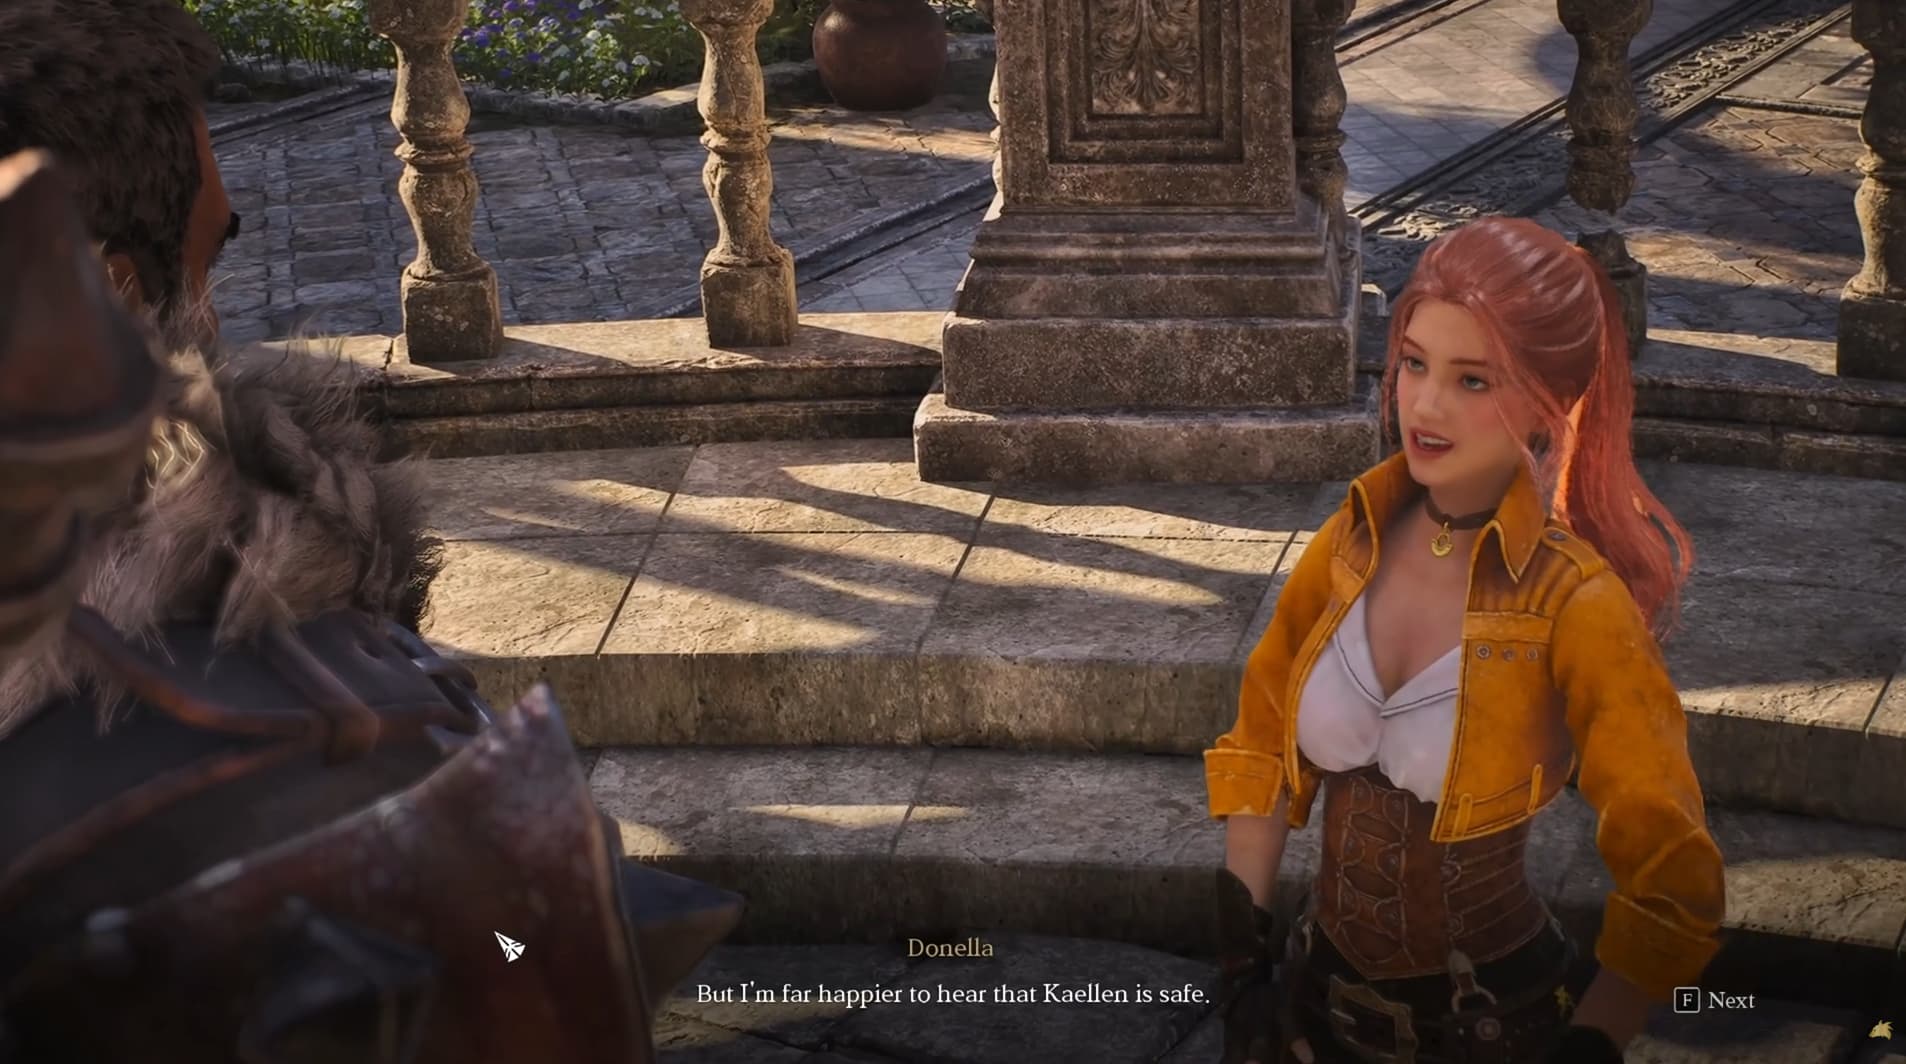
Follow Donella’s quests to get involved with the Bluesalt Brotherhood and unlock its board. The board helps you build your standing with the organisation and introduces activities beyond fighting enemies.

This progression connects with useful systems such as trading and housing, so it is worth following even if your immediate focus is combat.

Keep checking Donella’s follow-up quests as you advance. Simply finding the board does not mean you have completed the introductions needed for its associated activities.

You do not need to develop every life skill immediately, but opening these systems gives you more options for earning gold and establishing a home later.

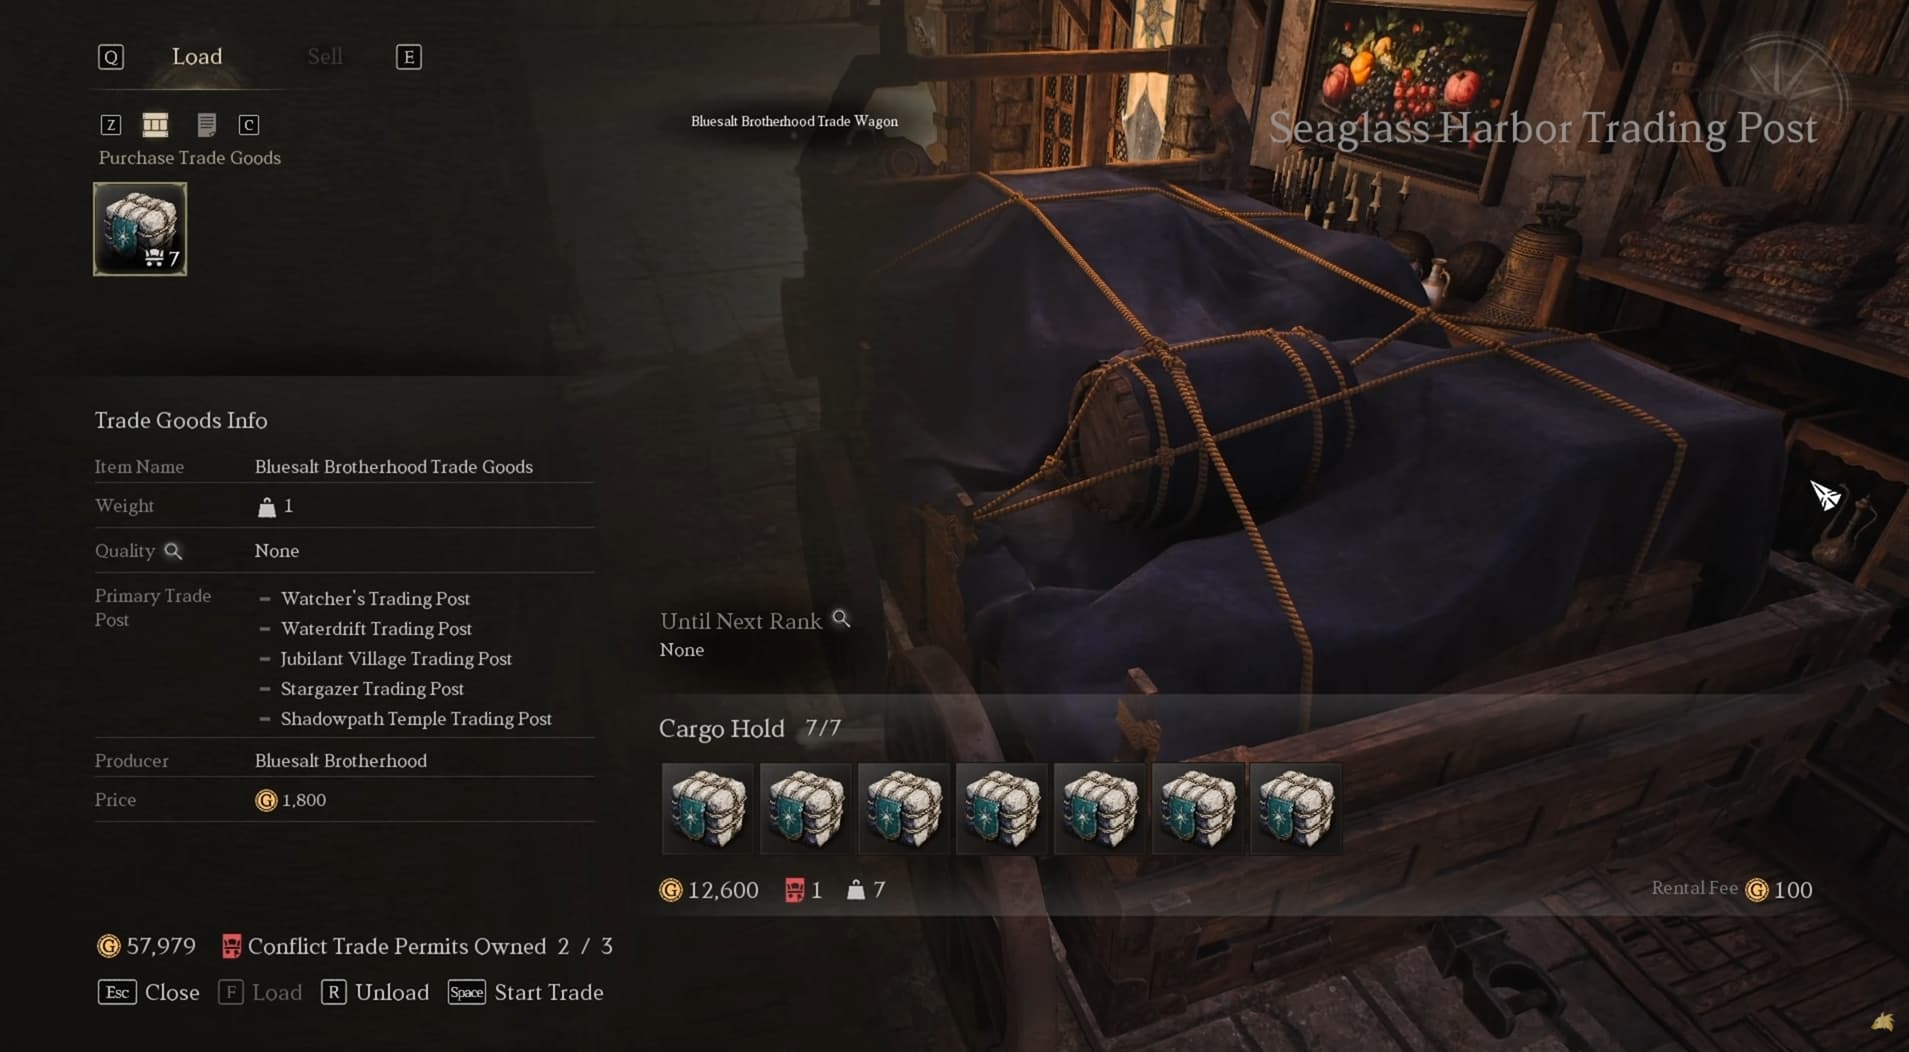
Earn Gold by Trading Goods

The trading introduction teaches you how to transport goods between locations and exchange them for a reward. It is a useful opportunity to learn the process while following an existing quest.

Get onto the transport vehicle and follow the indicated road route to the destination. Take your time with the steering while you learn how it handles.

Once you arrive, complete the goods-selection and hand-in process. Reaching the destination is only part of the delivery; you still need to trade in the cargo.

Use this first journey to understand where goods are delivered and how the exchange works. Check the reward for each delivery rather than assuming every cargo pays the same amount.

Check Crafting Recipes Before Farming Materials

Crafting uses different workstations for different jobs, including weapon and armour workbenches, smelting facilities, engineering, cooking, and alchemy.

Before collecting materials for an item, open its recipe and check the complete requirements. Some ingredients need processing first. A weapon recipe that requires ingots, for example, also involves using the appropriate smelting station.

Enemy drops can supply other ingredients. Shattered Blades are one example used in weapon crafting, with materials obtainable from enemies such as pirates and other humanoids.

Crafting also costs gold, so check both the ingredients and the currency requirement before committing to a new item. Compare the result with your current equipment to decide whether crafting it is a useful next upgrade.

How to Get Your First Mount

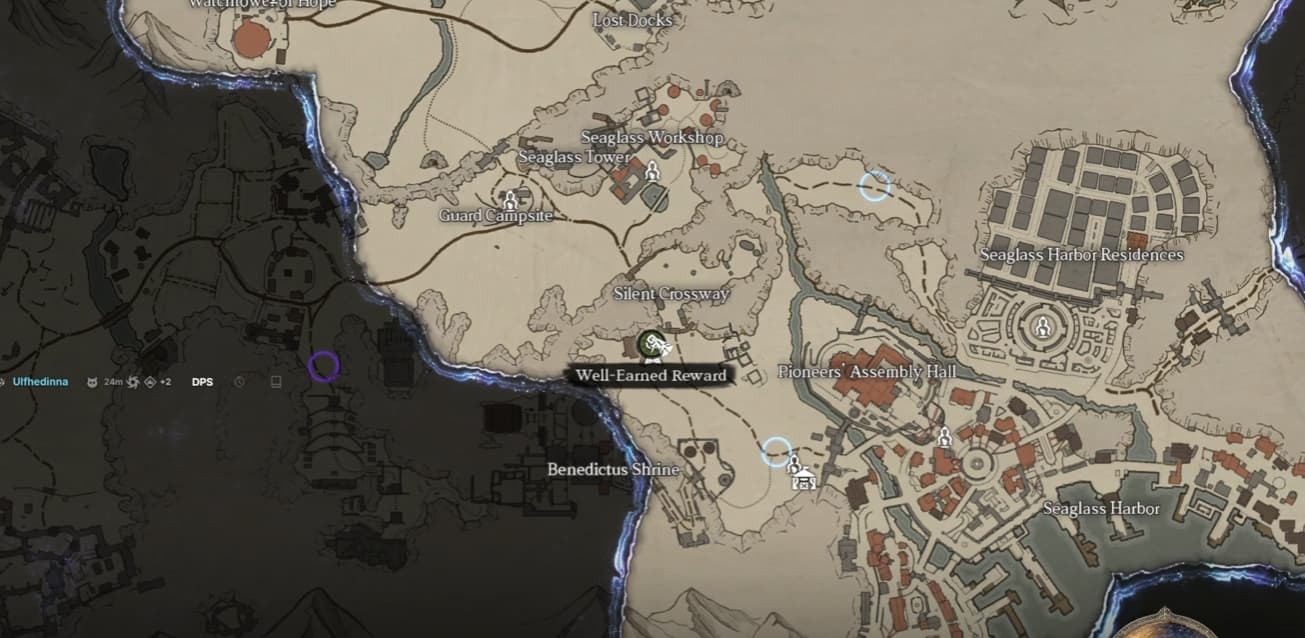
Your first mount comes through the early quest progression leading to Well-Earned Reward. Keep following the quests around Silent Crossway, including clearing the bandit camp and defeating its boss, then continue through the follow-up conversations.

When Well-Earned Reward becomes available:

  1. Speak to Edward at the Pioneer’s Assembly Hall.
  2. Follow the objective directing you to the stable.
  3. Speak to Juan to receive your horse.

The bandit encounter is part of the progression towards this reward, so continue the questline rather than expecting the mount immediately after the fight.

With your horse unlocked, longer journeys become easier to manage alongside your glider and discovered fast travel points, leaving you better equipped to explore the next part of Auroria.

Comments

0

Video