League of Legends
 Teamfight Tactics
 Valorant
 Lost Ark
 Destiny 2
 Diablo 4
 Download APP
 Collapse
Fracture Map Guide
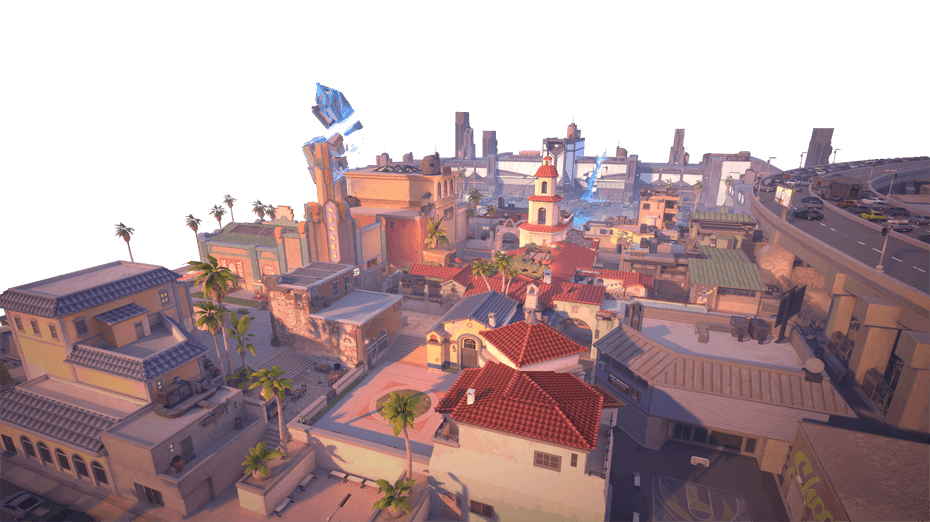
Fracture is VALORANT’s newest map that released at the end of Episode 3, Act 2.
Similar to the ingenuity behind Icebox and Breeze, Riot developers have aimed to be creative and take a bunch of unconventional twists when designing Fracture.
The map released before this, Breeze, wasn’t exactly everyone’s cup of tea. Maybe Riot heard the community out on this one since there are quite a few stark differences.
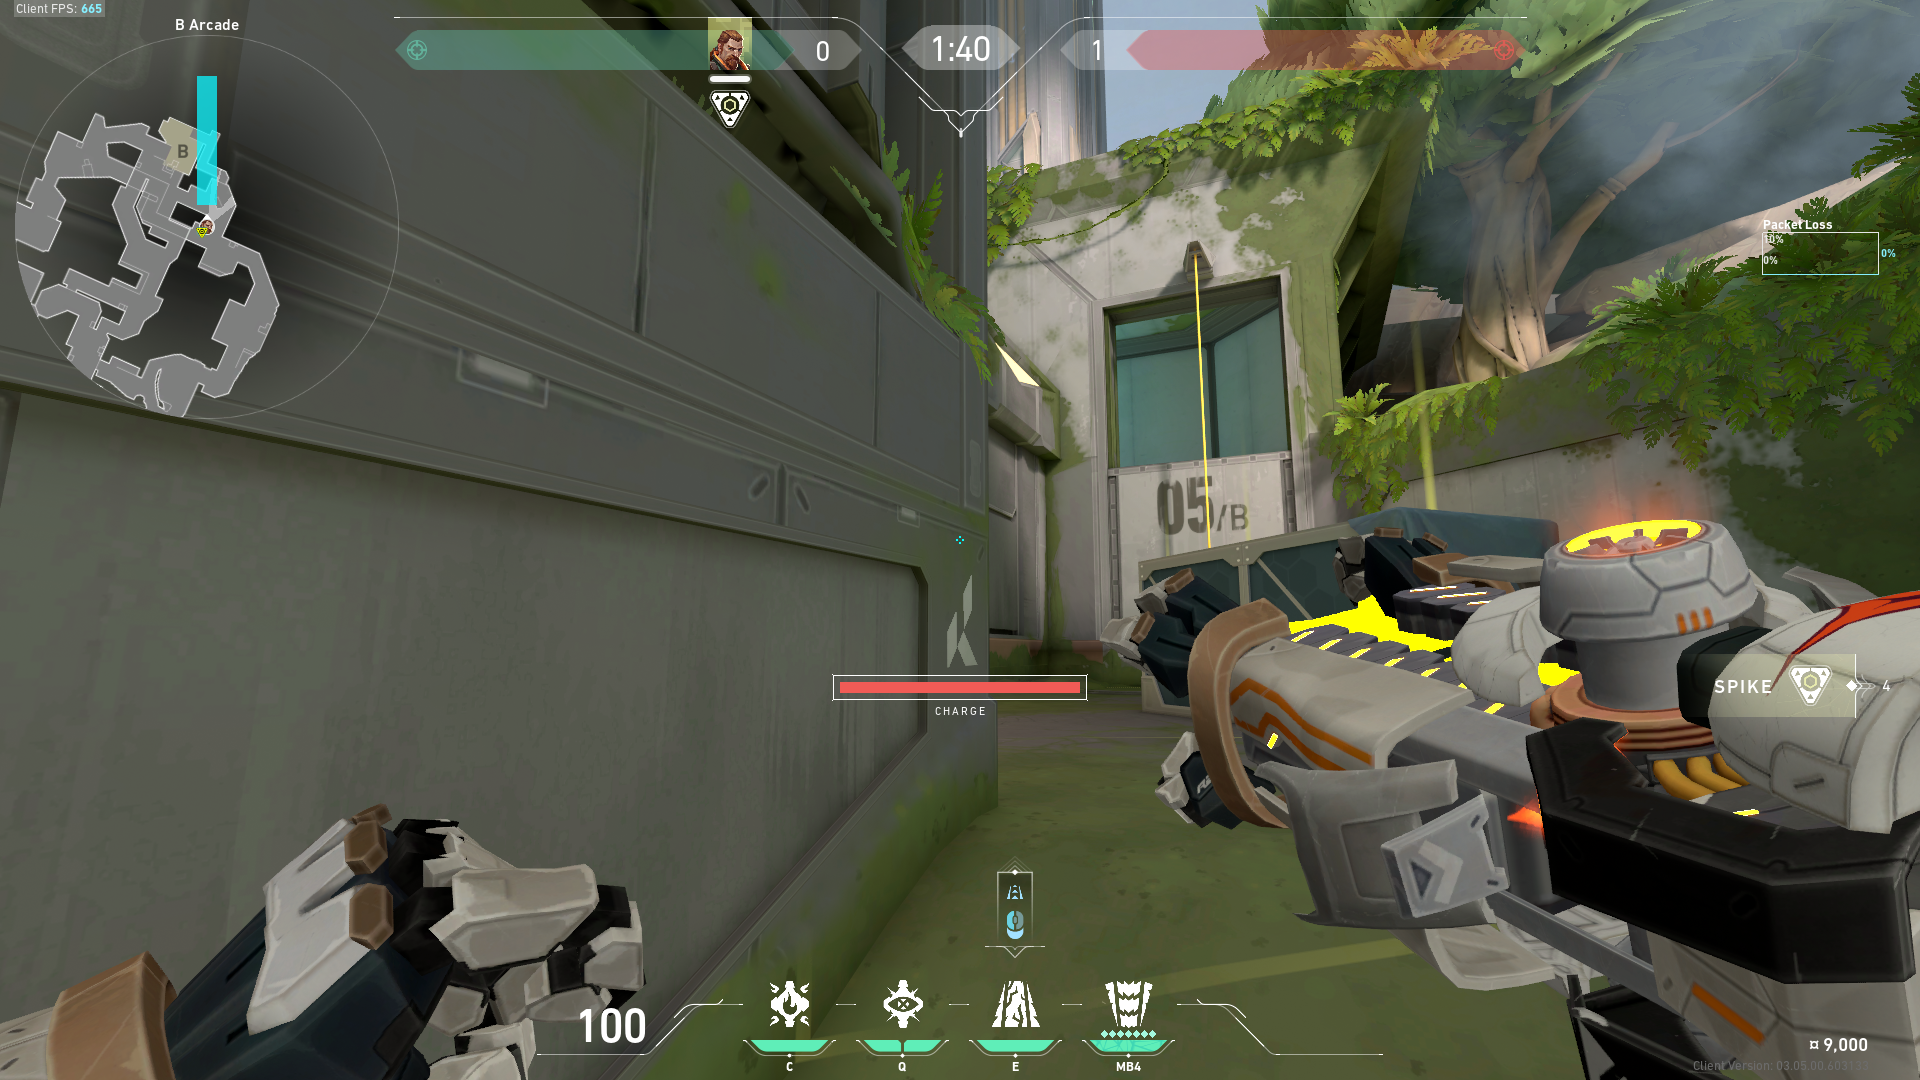
Oppositely to Breeze, Fracture is a smaller map so it involves a lot more close-quarters contact.
Breeze was very open and spacious with minimal cover on each bombsite, this led to a Marshal and Operator heavy meta.
On the flip side, Fracture looks like it will be filled with confined spaces that have plenty of cover and angles to take short-medium range gunfights.
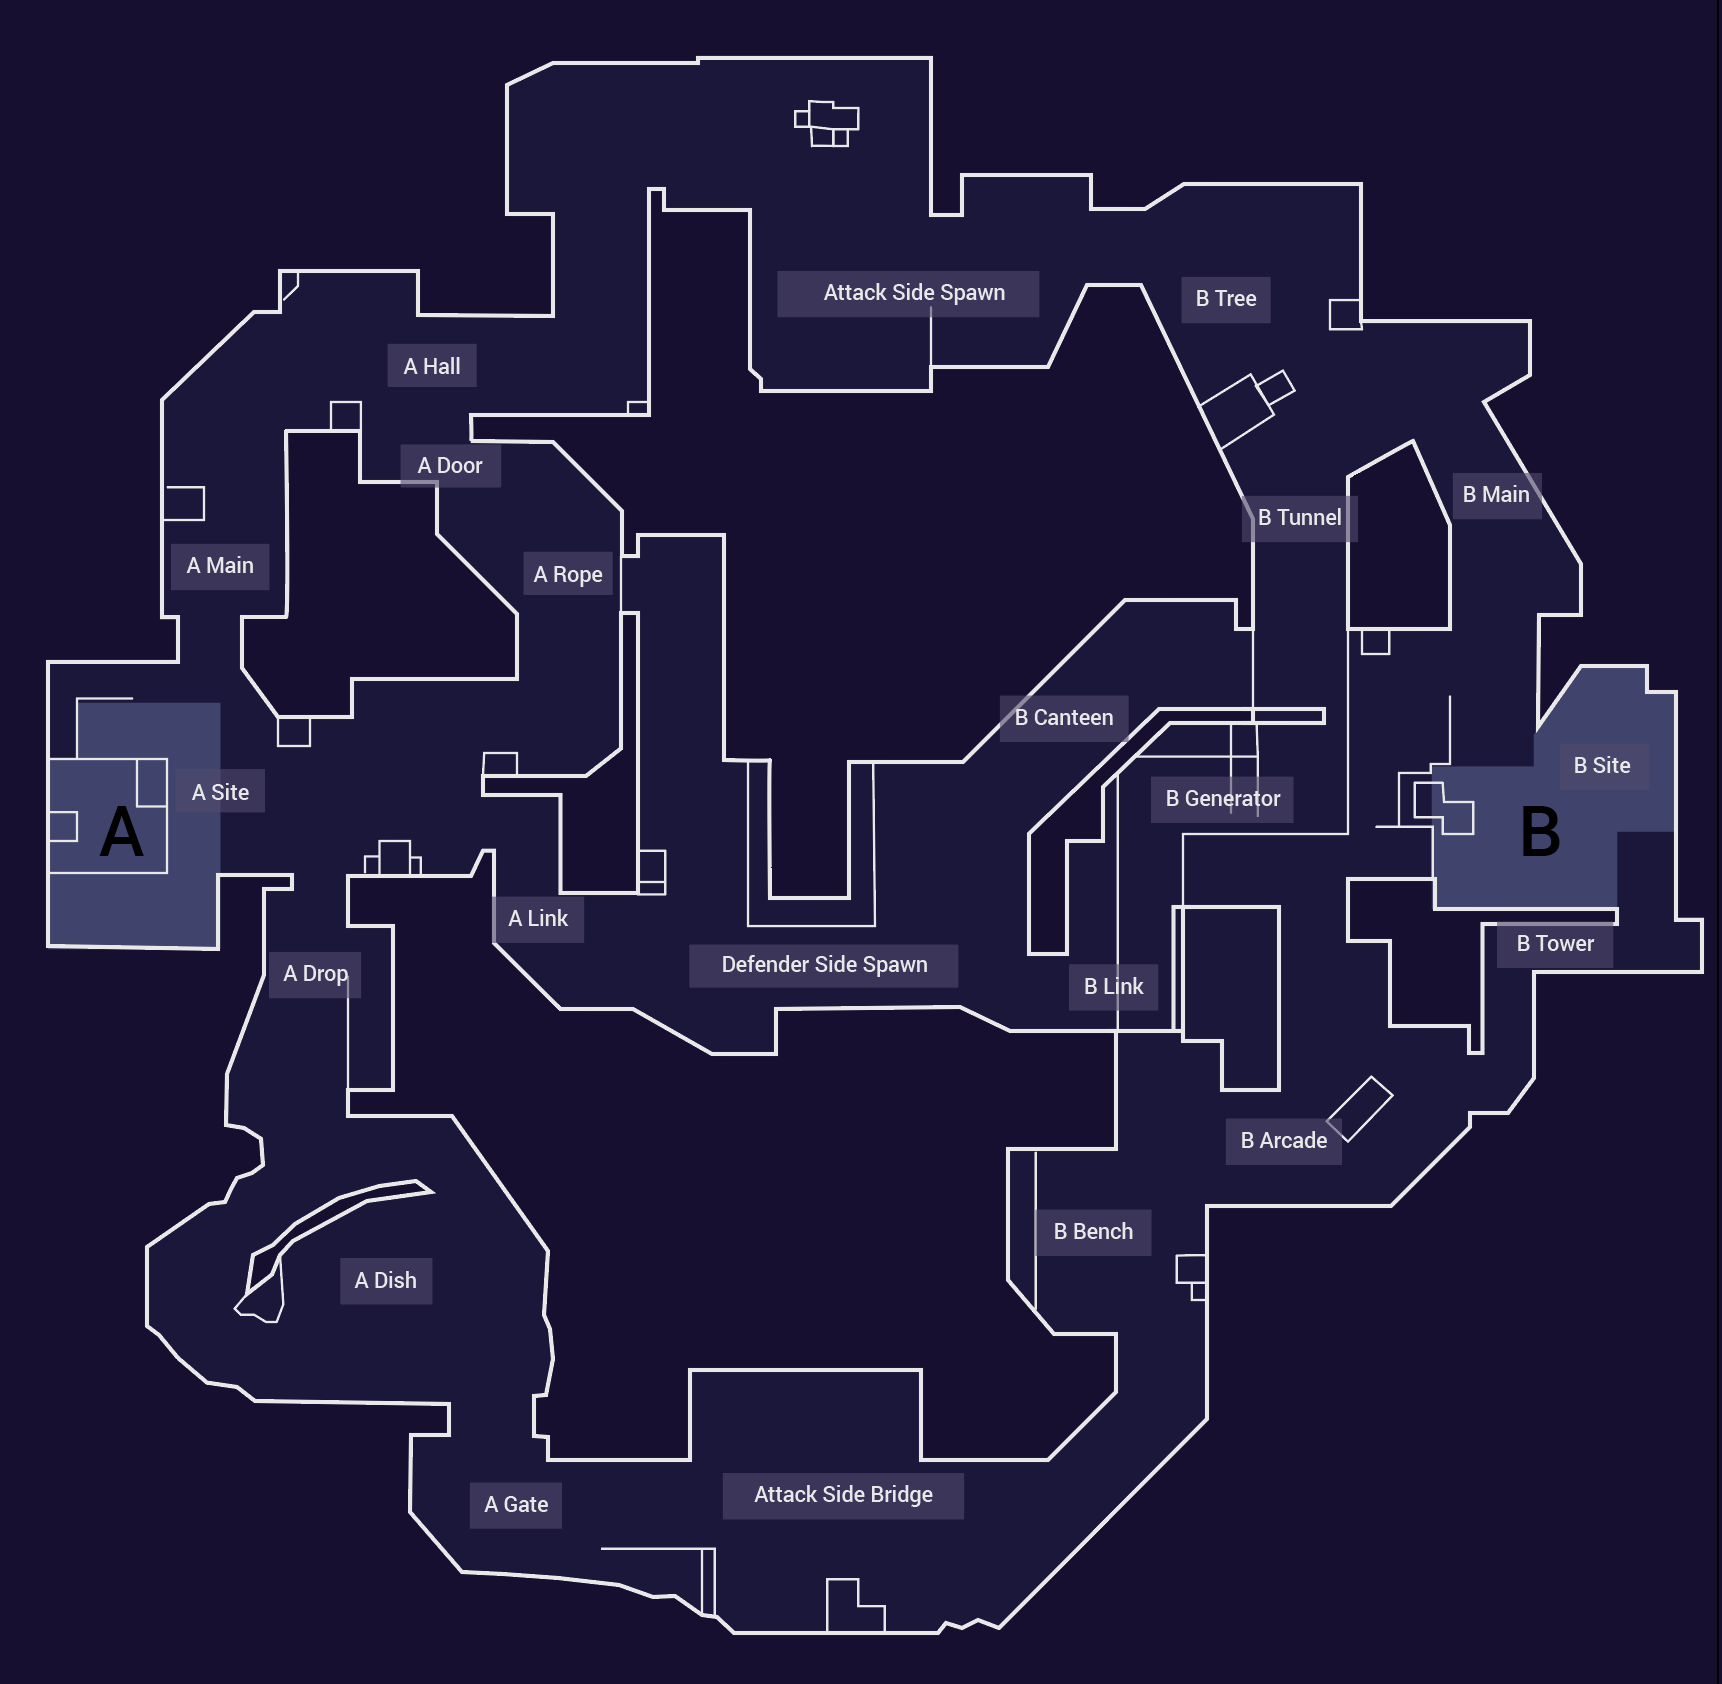
The Layout
Every map in Valorant feels like it is challenging the norms of tactical shooters and FPS games in general.
Haven has 3 bomb sites, Bind has weird teleporters that help you navigate the map, Breeze seems like it would better be suited to an 8v8, Icebox has so much unusual verticality, and here we are with Riot’s latest unorthodox creation, ‘Fracture’.
The layout of Fracture is mind-boggling. It traps defenders in its middle third (the middle third can be likened to the crossbar in the capital letter H).
The defenders kind of feel stuck here and Riot is really wishing them a satirical GLHF by empowering the attacking team with the ability to start on two sides of the map.
Most FPS maps prior to VALORANT have stuck to a very standardized and safe formula when it comes to attackers and defenders.
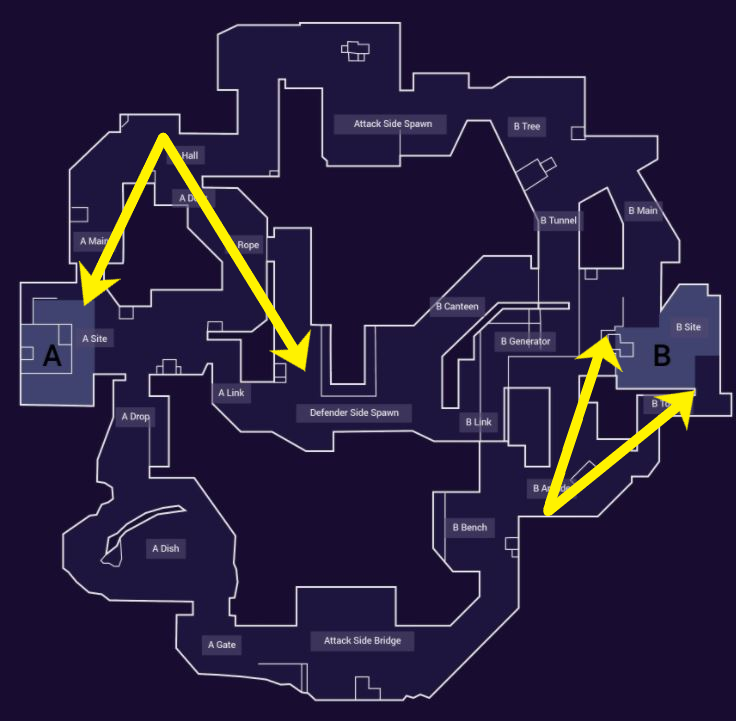
This design really throws defender favouritism out the window and puts some control back in the hands of the attackers. Two massive zip lines run across the middle of the map connecting one Attacker side spawn to the other.
This really allows the attackers to be unpredictable round to round. Defenders are going to have a really hard time reading what the attackers are planning at the start of each round since ultimately there are four main lanes they can approach bombsites A and B from.
It looks like it is going to be really easy for attackers to fake sites and rotate to the other whilst defenders have a lengthier route to take down the middle. This may just be one of the first maps which heavily favours attackers, but we will have to wait and see how the gameplay pans out in Episode 2.
Popular assumptions don’t always turn out true. For example, the majority of people thought KAY/O was going to cause massive meta shifts with his ability suppression yet he seems to be underutilised at this moment in time. Therefore, it is ultimately a great unknown as to what this unusual layout is going to mean for both defenders and attackers.
Usually there are three crucial chokepoints for defenders to hold, i.e. A, mid and B however this introduces a fourth, with the points being on either end of both A and B. It may be safe to assume that defenders are going to have a tough time watching their flanks on this map.
Hence, agent’s with abilities that can reveal opponents such as Cypher’s Spycam and Trapwire may just be essential utility for this map. That leads us onto the next part of this article which discusses ideal team compositions for Fracture.
P.S. Here is a look at the crazy zip lines which connect the two attacker side spawns to each other. Don’t worry you can’t jump off the zipline to your death so you don’t have to worry about teammates trolling.
Potential Plays
A Site Executions
Gaining control over A Rope is going to be crucial for both attacking the site as well as holding down the post-plant.
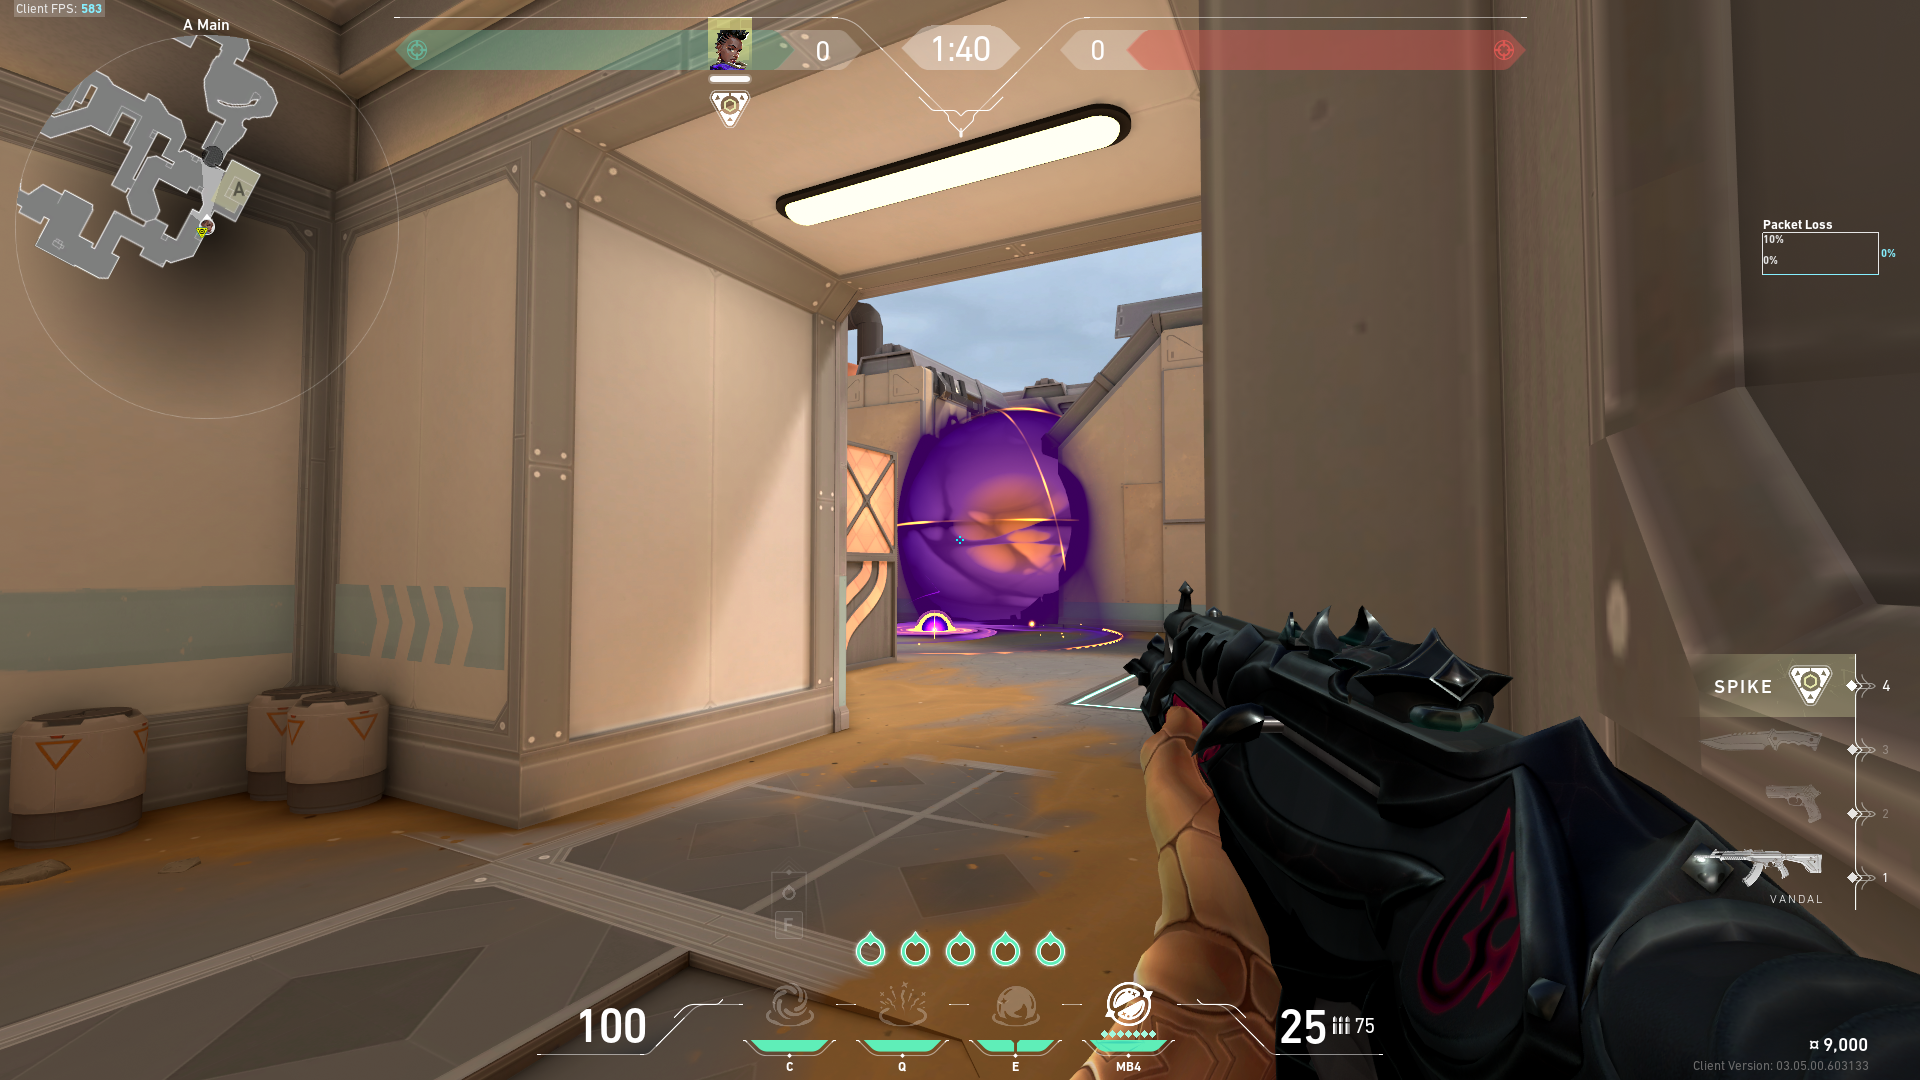
Funneling yourself through A main as attackers without gaining control over A Rope is going to leave you vulnerable to quick flanks from defenders coming through A Door.
Moreover, if you manage to enter the site through A Hall you will have no control over A Link and will be forced to hold A Drop, A link and A Rope for incoming defenders.
These are 3 spread-out angles that you will be exposed to. If you make the smarter decision to split your team through Hall and Rope, those that went Rope will gain a line of sight into Defender Side Spawn.
Holding down this part of defender spawn will safeguard your teammates on site from being pushed from A Link, as well as gain crucial information on sound queues if anyone is flanking Hall.
- The attacker’s controller agent should smoke off A Drop and the middle of Defender Side Spawn in this situation.
- Defenders that are trying to retake from A Drop should have a really difficult time entering the site if it is smoked off and your utility is on standby.
A Advice summarised
- Gain control of A Rope and A Main before executing A site.
B Site Executions
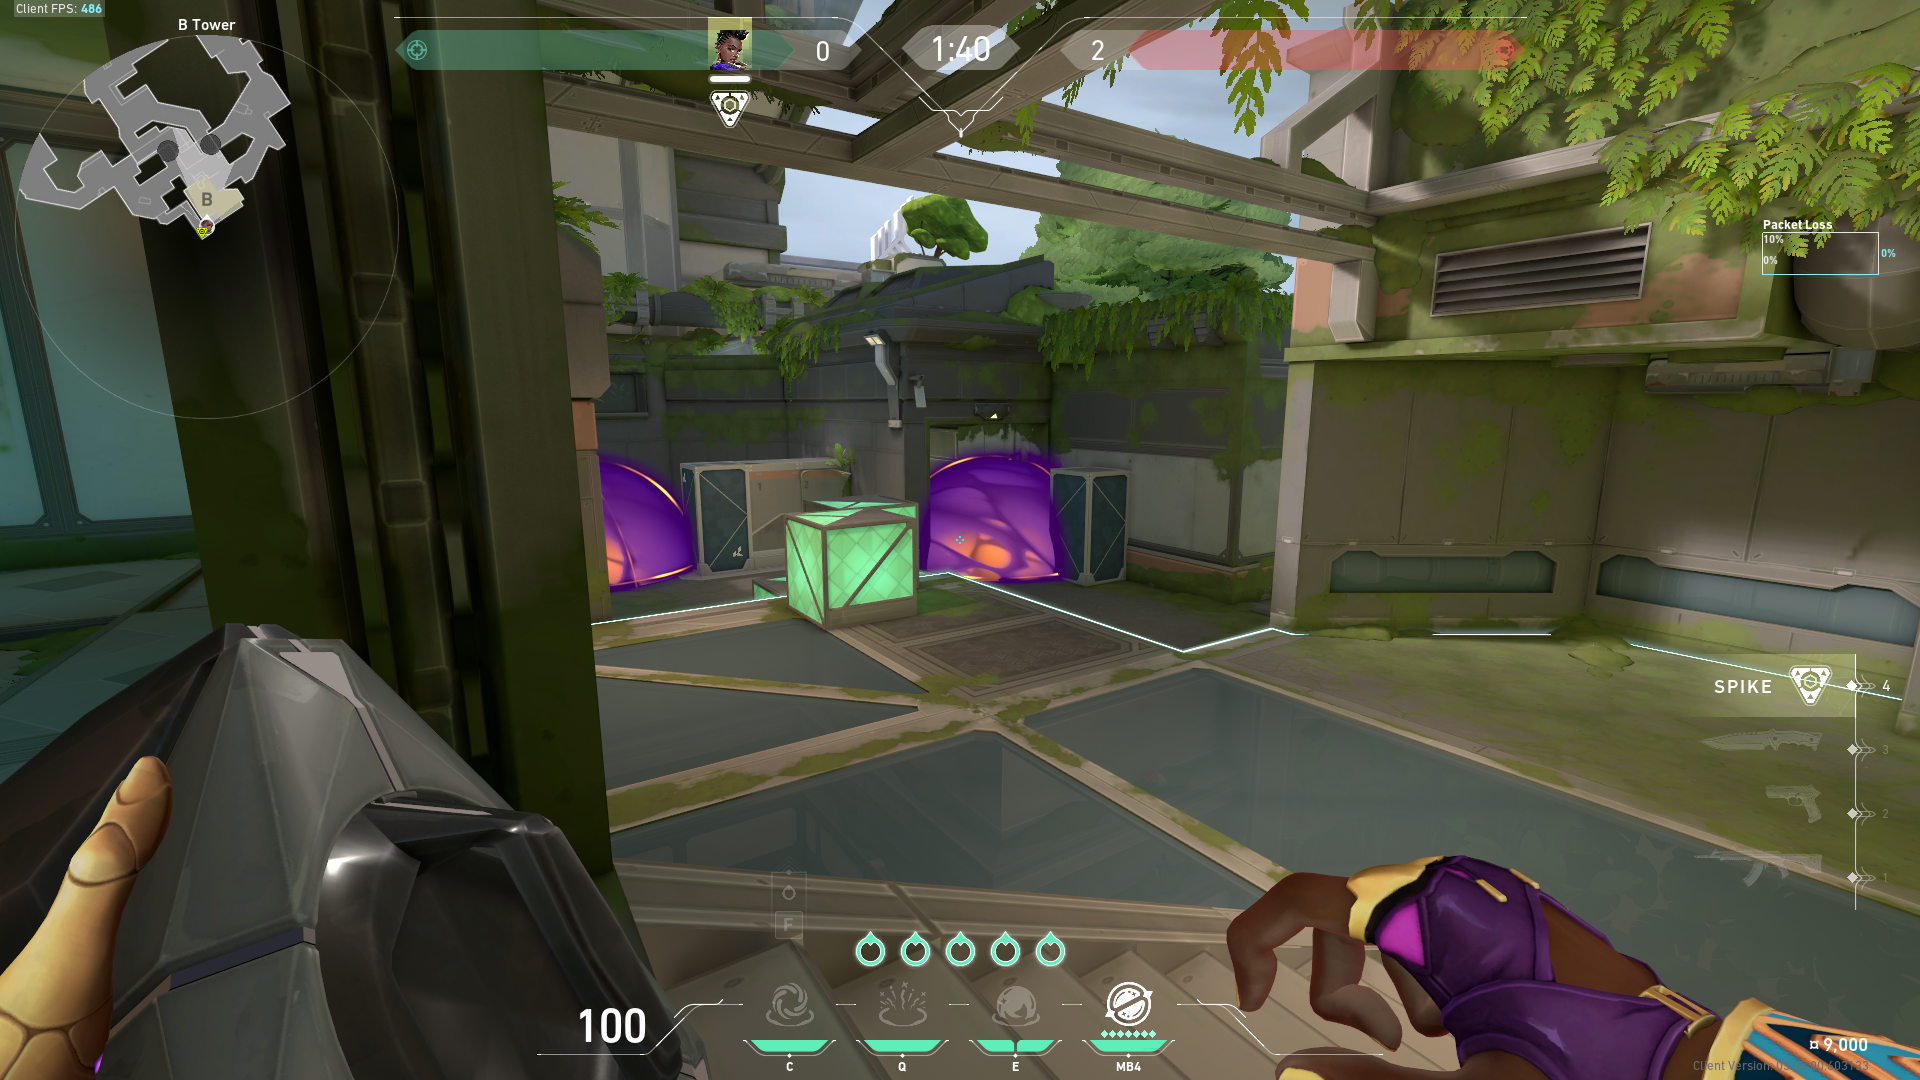
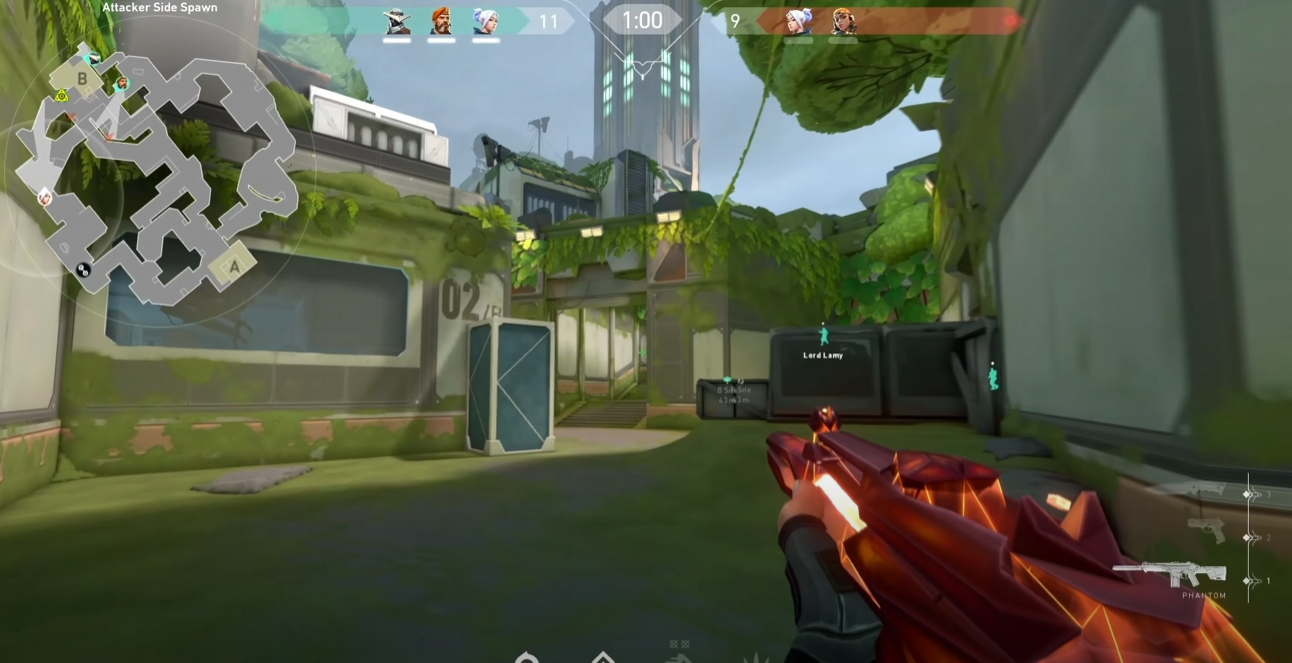
For B site, it is recommended to gain control over B Tower. It is likely that across this Episode this will become the stock standard, high percentage play when it comes to executing this Site.
Committing to B Site without having cleared B Tower can be likened to planting on B Site Ascent without ever having cleared back site.
Gaining control over B Tower can be quite tricky if you aren’t coordinating utility with your teammates.
You definitely want to clear it out with some sort of disabling ability, Breach’s Fault Line would be very effective.
After gaining control of B Tower it would be best to time your entrance to site alongside your teammates that are pushing B Arcade, as this would pressurize opponents from multiple angles, and allow you to trade each other out if need be.
If you opt to start from both Attacker Side Spawn and Attacker Side Bridge; as a team you push B Main, B Arcade and B Tower, then your main concern in a post-plant would be enemy defenders attempting to retake from mid. Knowing this, you could potentially smoke like this.
B Advice summarized
- Gain control over B Tower if entering from Attacker Side Bridge.
Be unpredictable!
This map is perfect for faking out defenders. Well planned out deception and trickery by attackers will pay off on Fracture as the defenders are given a massive task at the beginning of each round. They are stuck in the middle of attackers that can come from a vast array of passages from both sides of the map.
Knowing this, controlling the tempo of the game as attackers will be sure to confuse your opponents.
Hard executing B Site through Rope and Main control one round and then spreading around all 4 corners of the map to slowly contest for orbs the next may leave the opponents second-guessing their predictions in following rounds.
Defenders are already handed the colossal task of defending bomb tasks that have more entry points than ever before.
I can’t imagine what it would be like defending without agents that can provide information for your team.
It will be a necessity for defenders to gather intel on attackers whereabouts; where exactly they are prodding and pushing. This leads us into the next section which theorizes the most appropriate agents for Fracture.
Which agents are good on Fracture?
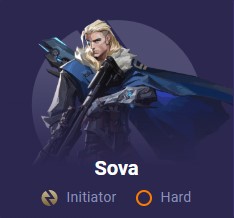
Cypher & Sova
It is going to be crucial to gain information on the location of the enemy, particularly when you are defending and are sandwiched between attackers that can approach from both sides.
Attempting to hold every angle as a defender may be too difficult at times. In such scenarios it would be ideal to have your Trapwires set up on passages you aren’t holding.
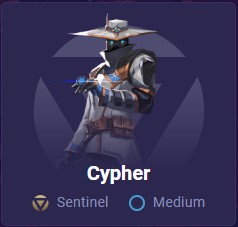
Moreover, there is minimal cover on both A and B sites, this may lead to defenders resorting to play retake more often than not.
Abilities like Cypher’s Spycam and Sova’s Recon Dart will play a major role in successfully retaking sites.
On top of there being minimal cover on sites, much of the cover provided by Radianite boxes, for example, makes for easy wallbangs from incoming attackers.
A lone defender opting to hold a site that is revealed by a Recon Dart won’t survive long with all the wallbang opportunities for attackers.
Breach
With the buff to the width of both his signature ability Fault Line and his ultimate, Rolling Thunder, Breach will be able to easily clear out all of the narrow passages on Fracture.

The bomb sites are quite small and cramped so his Rolling Thunder will be able to easily quake, knock up and daze any defenders on site.
On Attack, if a Breach has gained control of B Tunnel, B Main, or B Arcade and then gains information that a defender is playing in compact areas like B Tower or B Canteen, you can almost guarantee his Fault line will successfully daze these squished defenders.
Skye
Flashes which lack mobility such as Phoenix’s Curveball and Reyna’s Leer may not be as useful on Fracture as Skye’s Guiding Light.
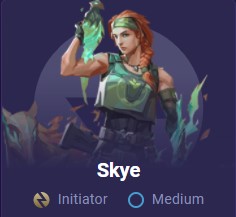
There are a vast array of angles that need to be cleared by attackers when entering the site and a simple Curveball may fail to flash defenders deep on site.
The range at which Skye’s birds can travel will not only allow for more convincing flashes but the audio queue she receives may provide attackers with exact positionings of defenders despite never making visual contact.
KAY/O
This might be one of the best-suited maps for KAY/O. As mentioned multiple times, information gathering is more important than ever on this map, and KAY/O’s signature ability ZERO/POINT is one of the best abilities in the game at unveiling the who and the where.
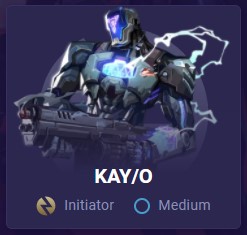
The radius of his knife can cover the whole of A and B site with ease, the same can be said for the radius of his ultimate, NULL/CMD.
Preventing defenders like Breach or Astra from funneling utility your direction will ease your claustrophobic concerns on this map as an Attacker, allowing you to execute entries much more safely.
Raze
The Boombot, Paint Shells, and Showstopper are going to be very strong on Fracture.
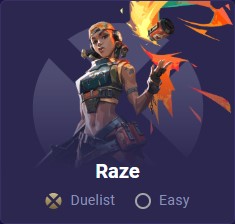
Paint shells will buy time for rotations on defense, whilst also clearing out common defender positions when attacking.
Her Boombot will play a pivotal role in claiming control of confined spaces similarly to how the Boombot is a necessity when trying to seize Hookah on Bind.
Astra
Astra’s utility excels in tight laneways. Even just the presence of her stars on narrow passages may be enough to deter attackers from pushing.
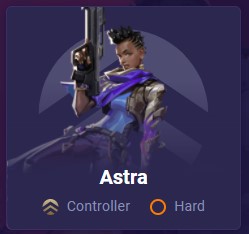
Further, Astra excels at widespread map control since she can place stars anywhere on the map whilst in Astral Form.
This will work in favor of attackers since she can dissipate stars to confuse defenders.
Oppositely, as a defender she may be the best controller at dealing with the sense of unpredictability attackers are imbued with on this map.
The fact she can activate her Gravity Well and Nova Pulse for one bombsite whilst playing the other is going to give her the upper hand against other controllers like Brim or Viper on this map.
Yoru?
Well renowned Yoru main, Red, from NA has stated that this may just be one of the best maps suited to Yoru.
He discusses how there is a lot of opportunity to incorporate verticality when rebounding flashes.
Additionally, Yoru’s Ultimate Dimensional Drift will be able to clear out the entirety of these small bomb sites with ease.
His Gatecrash and Fake Out encourage deception, lurking and trickery which plays well into the maze-like layout of Fracture.
Rotating through mid is not exactly a quick process for Defenders and so Yoru’s Gatecrash may very well be an important ability to provide instantaneous player reinforcement.
Jett
Despite there being lots of close-quarters combat on Fracture, there do exist some lines of sight which are surprisingly long. This may make the Operator a viable choice on defence when holding these long angles.
From B Tree, to B Main and B Canteen there is quite a bit of distance between these areas. An experienced Jett on the Operator that plays B Main stairs may just be a strong way to prevent attackers from gaining control of that side of the map.
Even other areas like Attacker Side Bridge have quite long angles that open up opportunities to bring out the Operator.
In saying this, Jett is by far the best agent to be using this high risk high reward weapon since her dash synergises very well with it.
Additionally, Jett’s dash is one of the best ways to infiltrate bombsites and create space for fellow team mates.
A site looks like it has a lot of awkward middle ground between the cover on site and the entry points for attackers. Jett will be able to close this gap with her dash and seize regions of site that other agents will have a much harder time reaching.
Nevertheless, it is early days and these are just hypothetical scenarios and assumptions, who knows… maybe Cypher’s Trapwire setup on A site will prove to be all too much for Jett players.
Taking this all into account, here is a potentially strong team composition for Fracture:
- Cypher
- Sova/KAY/O
- Astra
- Jett/Raze/Yoru
- Breach/Skye
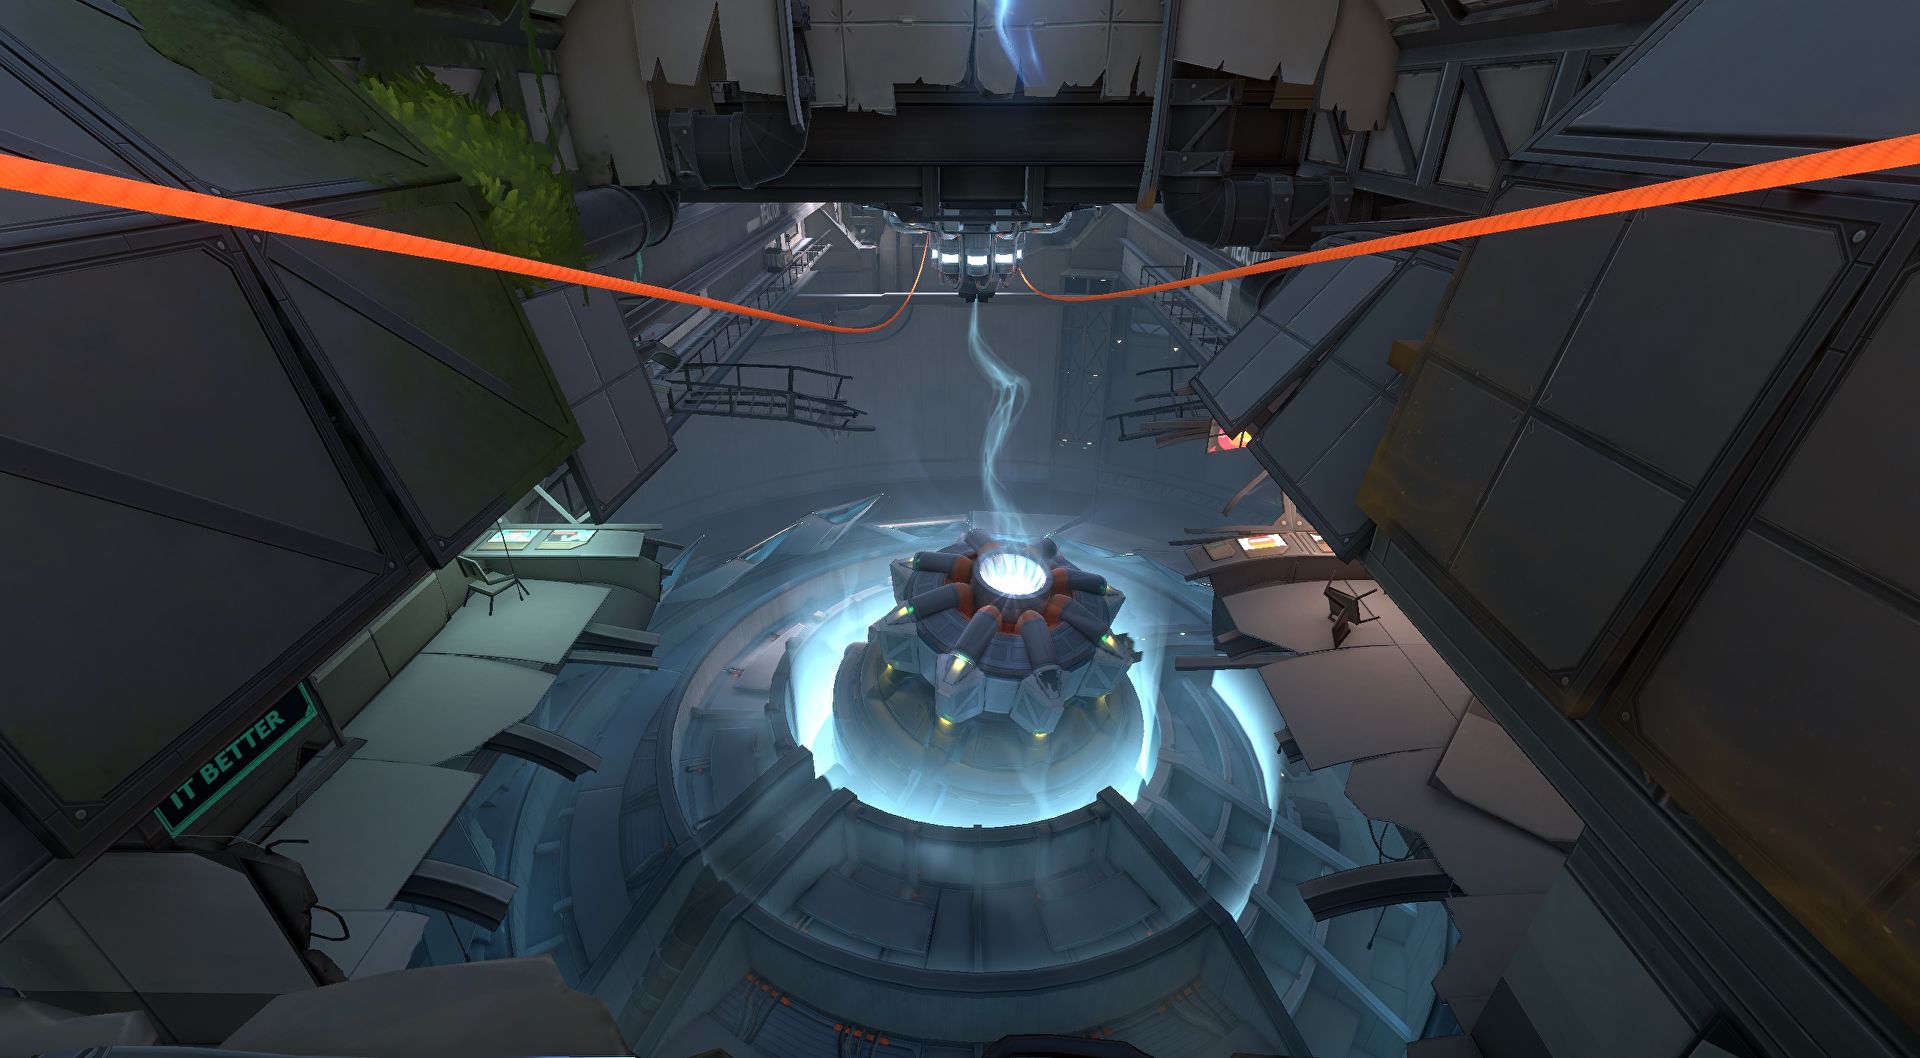
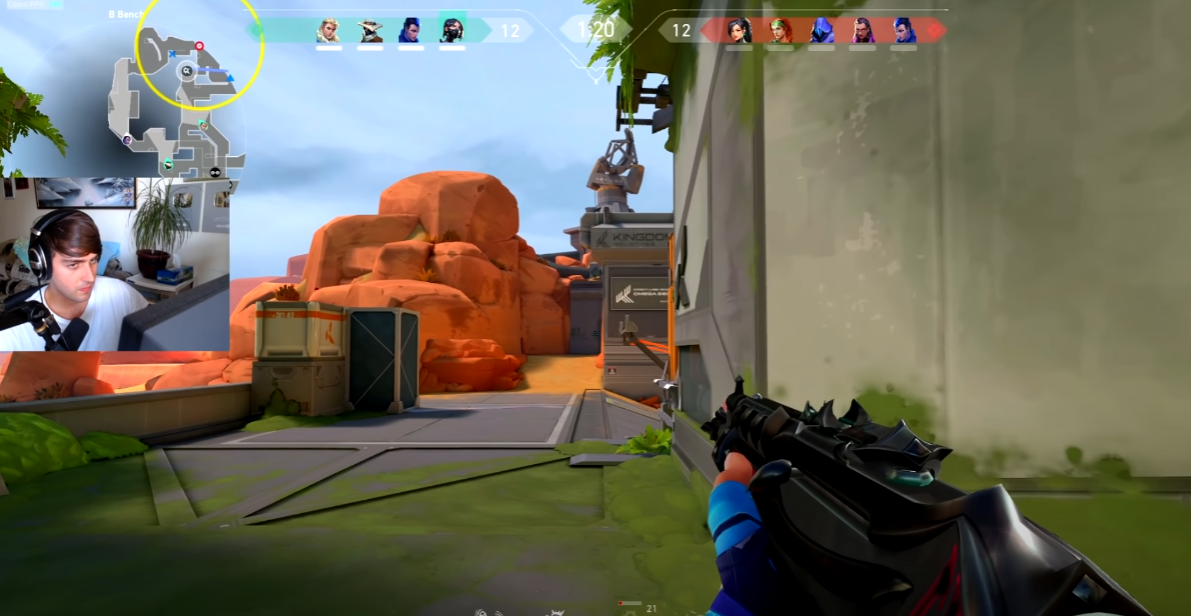
Orb Locations
As usual the location of ultimate orbs are in very open, awkward spots that can be contested by both attackers and defenders.
Interestingly there will be double the number of orbs on Fracture in comparison with previous maps.
By doing this Riot might be encouraging heavy ability usage on this map as well as inviting players to farm orbs.
Considering this, you will need to pay attention to the number of orb points your enemies have and make sure you aren’t giving away free ultimates.
Aesthetics: The beauty of each new map is ever-increasing
Riot seem to continuously be upping their game especially with the artistry behind the environment designs.
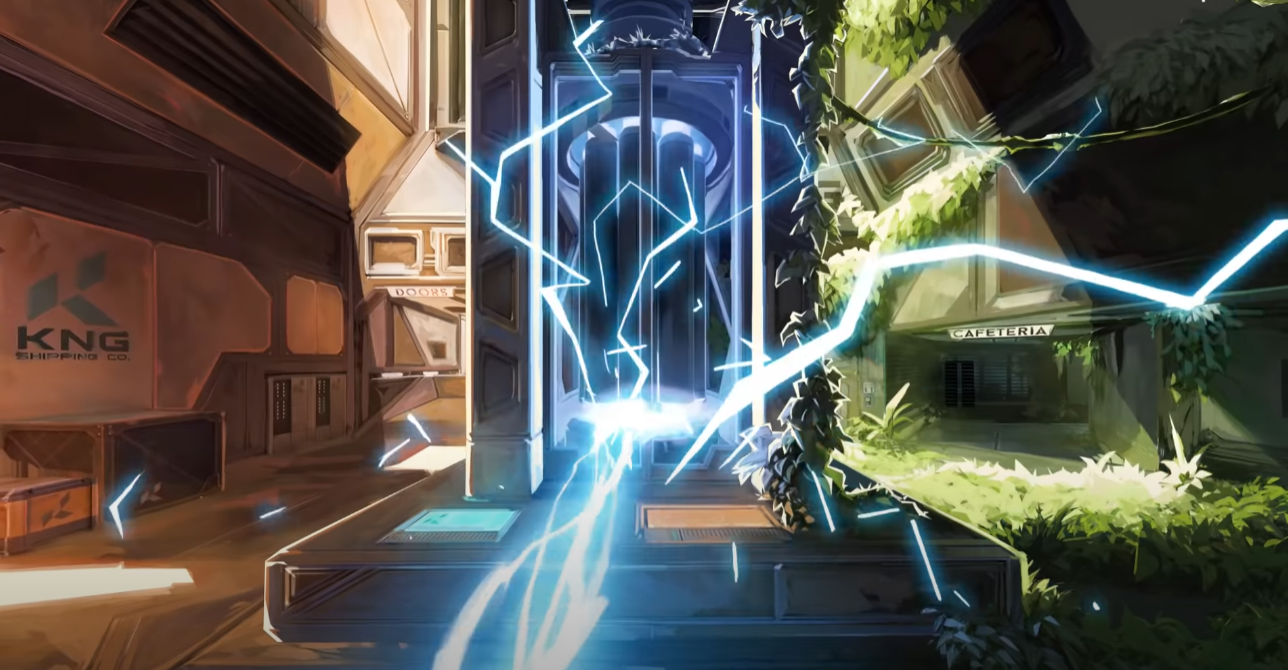
The map is literally suffering from a ‘fracture’ right in its centre which splits it into two separate and unique landscapes.
This map is no tropical paradise like Breeze with picturesque beach scenery but I must say something is very aesthetically pleasing about this map despite it being rundown after a central Radianite explosion.
On one half of the map, there is greenery in abundance; vegetation is overgrowing in every nook and cranny. Mossy greens cover the ground, stair sets and crevices whilst foliage and branches help mother nature reclaim authority over man-made metal structures.

It reminds me a bit of the atmosphere from The Last of Us series. It does an excellent job exhibiting how beautiful overgrowth can be. The little intricacies in design set the scene well and intensify the contrast between the two biomes.
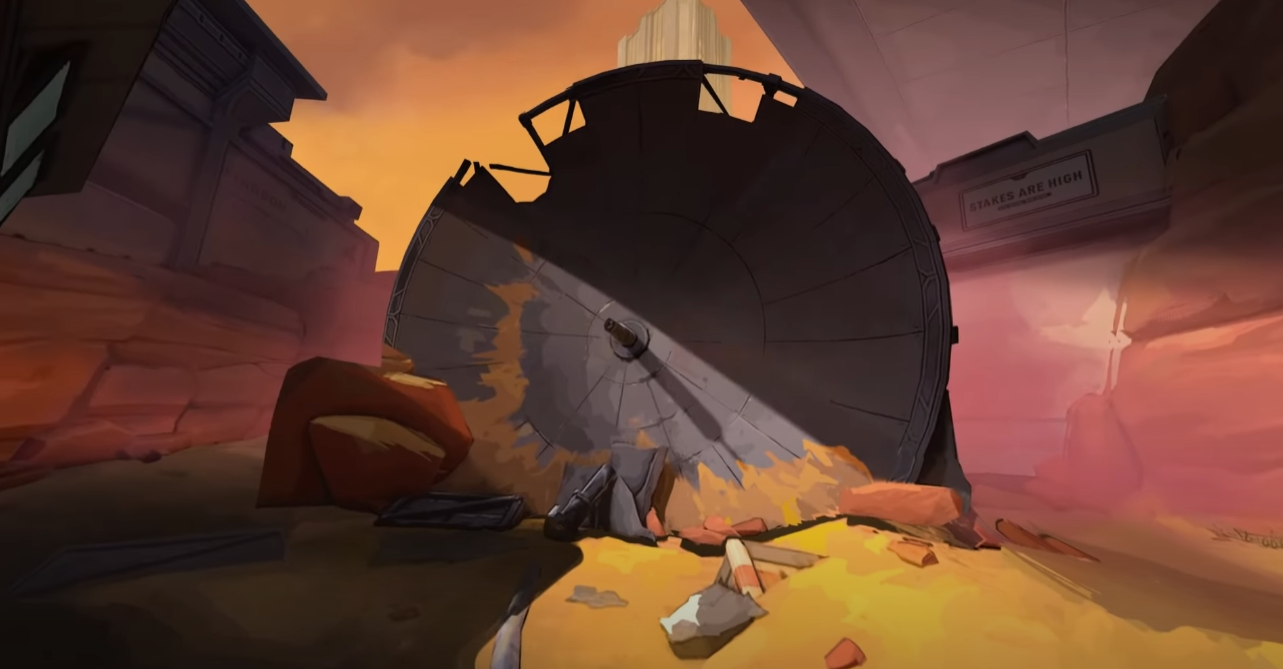
On the contrary, the second half is very arid and its rocky and sandy environment is shaded distinctively with orange tones.
Lighter shades of orange make up the Radianite boxes which have up to date always been a jade green, and the boulders and desertscape have burnt orange tints.
Final Thoughts
It is going to be really interesting to see whether this map will favour attackers or defenders.
I wonder whether all the narrow passages will change the gun meta on this map, maybe the Phantom, Spectre, and Judge will be highly used weapons with all the close-quarters combat.
There are a lot of unknowns but one thing is for sure, there is quite a bit of hype right now about this map. Hopefully, it lives up to everyone’s expectations.
Fracture won’t be in the competitive queue until the 2-week mark of Episode 2.
So make sure to get comfortable with it first by playing the ‘Fracture only’ game mode for the first two weeks before it is introduced to the competitive queue.
Good luck with your future games, happy climbing.
For more map insights, head to our Valorant Maps feature. To keep up with our updated recommended agent comps, head to our Valorant Agent Tier List.