League of Legends
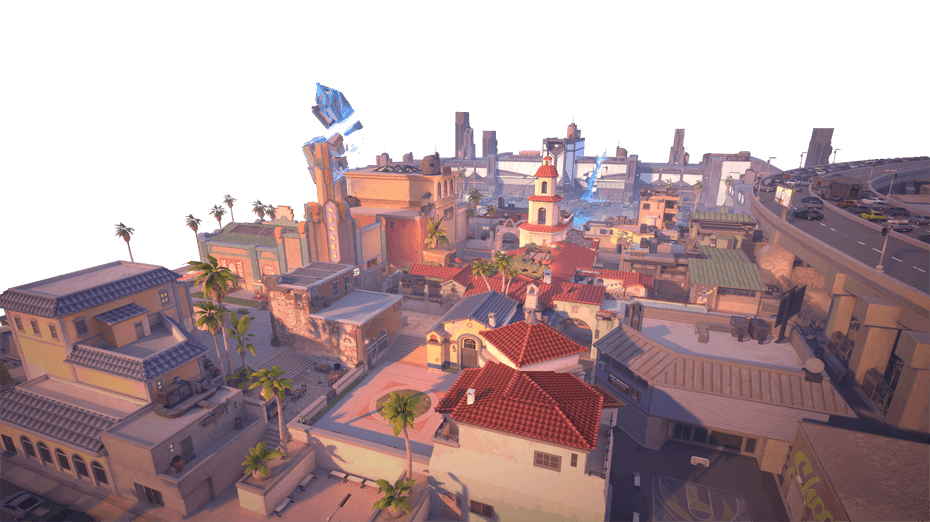
 Teamfight Tactics
 Valorant
 Lost Ark
 Destiny 2
 Diablo 4
 Download APP
 Collapse
Patch 7.09 Cypher Update: What You Need to Know
With the release of Episode 7, Act 3 Cypher received major buffs to his Trapwires. This change will increase his usage greatly, and may even make him a staple pick in the meta.
This guide will go over what exactly has changed with Cypher, how to play as Cypher with the changes, and how to counter and play around a Cypher on the enemy team going forward.
Cypher’s Buffs
The recipient of the buff was in Cypher’s Trapwires. Not only did these receive a massive buff in their own right, Fade’s Prowler, Skye’s Trailblazer, and Raze’s Paint Shells had their interactions changed with the Trapwire so they do not counter it as well. The changes made to the Trapwires are the following:
- Decreased the time until the trap concusses a captured enemy 3 >>> 1.5 seconds.
- After concussing an enemy or an enemy in the trap being killed, the Trapwire (C) no longer destroys itself but instead re-arms after 0.5 seconds, allowing it to ensnare another enemy.
- Duration of tag slow when hit by the trap increased 0.75 >>> 2 seconds
The changes to Fade, Skye, and Raze’s utility are the following:
- Trailblazer
- Adjusted Trailblazer’s collision so that it goes under Trapwires placed at mid-height. This won’t affect the hitboxes for weapon damage
- Prowler
- Adjusted Prowler (C) collision so that they go over Trapwires placed at foot height and under Trapwires placed at head height. This won’t affect the hitboxes for weapon damage
- Paint Shells
- Primary grenade explosion radius 6m >>> 5.5m.
- Secondary grenades explosion radius 6m >>> 5.25m.
- Primary grenade explosion minimum damage 15 >>> 1.
- Secondary grenades explosion minimum damage 15 >>> 1.
- Damage multiplier to enemy utility 250% >>> 100%.
With Patch 5.12 sentinel utility was changed to have 20 hp. This makes this Raze change important for Cypher. Previously when a Raze threw a grenade she’d often destroy a Trapwire without intending due to the minimum damage and area of the grenade. Now that the AoE, the minimum damage, and the damage multiplier to utility are all reduced this is far less likely to happen. With the Skye and Fade changes these two pieces of utility are far less likely to catch a Trapwire at standard height when used.
Using Cypher’s New Trapwires
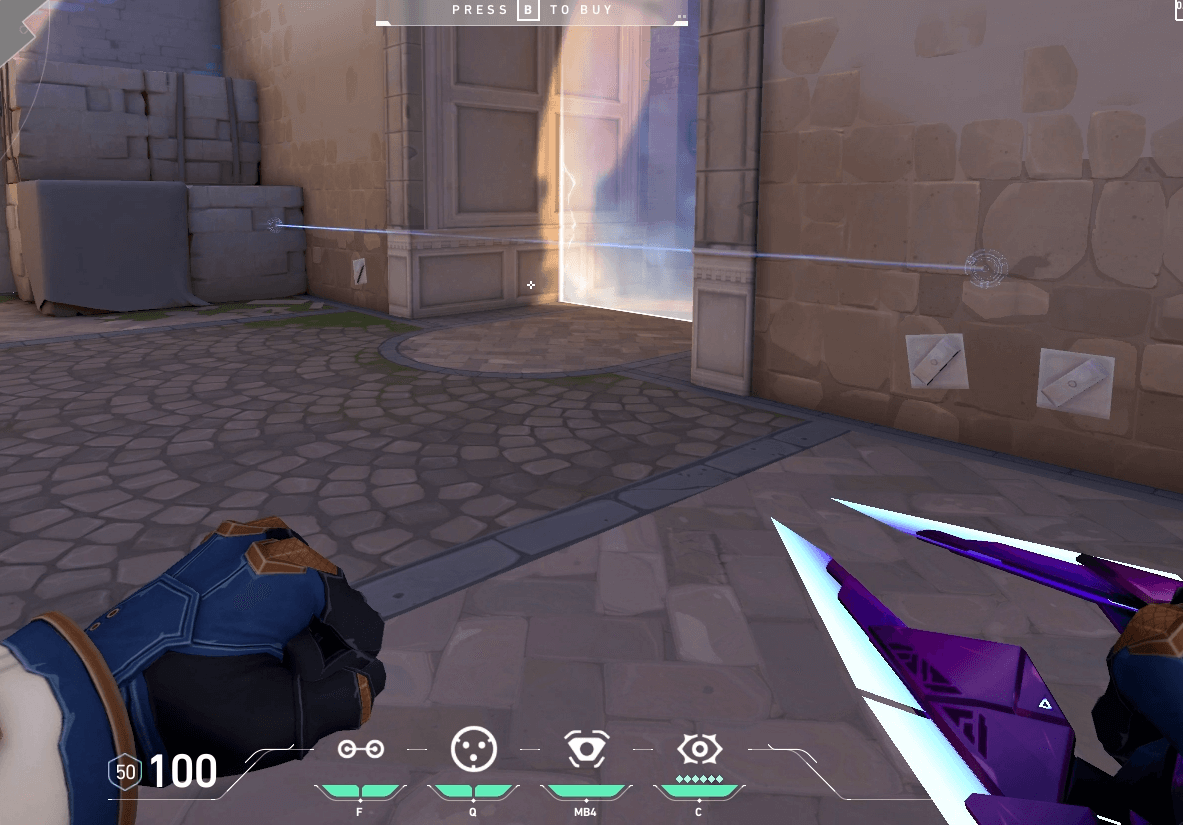
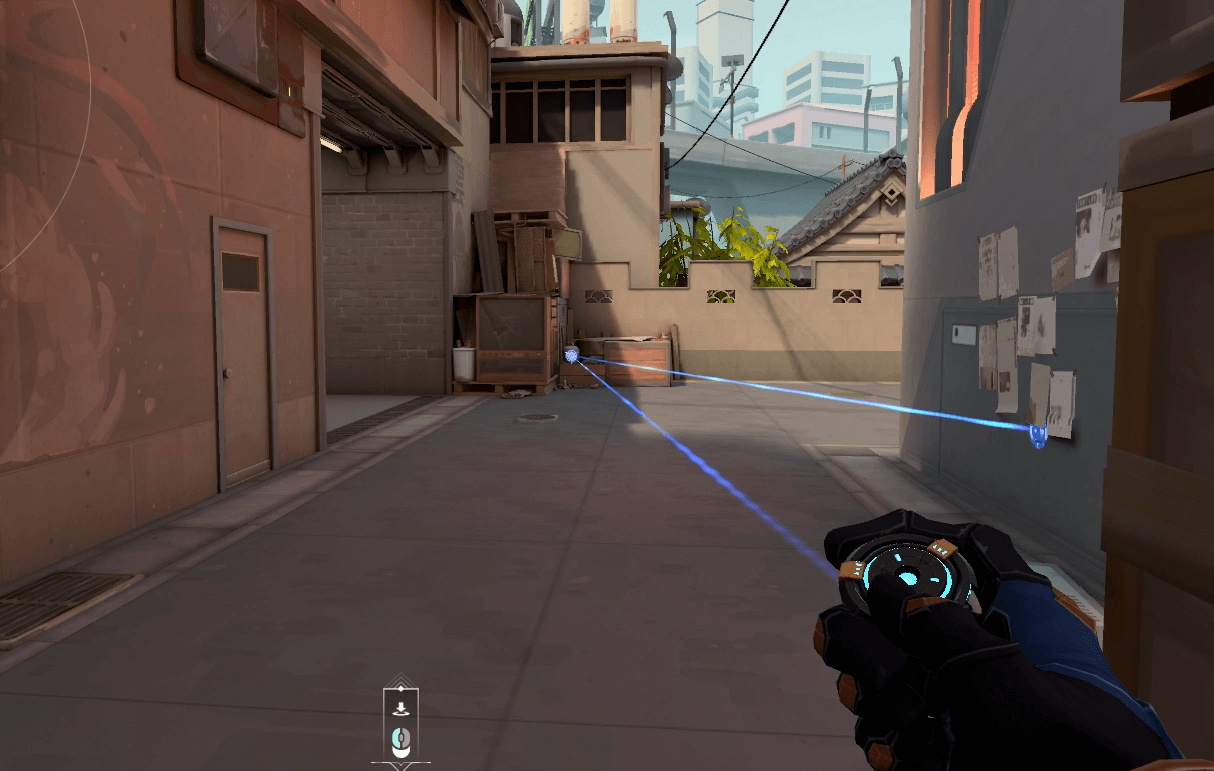
With the changes to Cypher’s Trapwires, they can only be destroyed with utility or shooting the anchor. The key to playing Cypher after patch 7.09 is to utilize the length of the Trapwires to make them as difficult as possible to hit. Do this by placing the Trapwires just beyond the choke point rather than in the chokepoint itself. For example, on Ascent A Site if you place the Trapwire in the arch itself, an enemy can walk up to it, see the red outline, and then destroy it. If it is placed just outside the choke like in the picture below they can’t do that. The only way they can destroy the trip with a weapon is by walking out in the open. An enemy must completely expose themself to destroy it or it’s far out enough that they won’t notice it.
This latter scenario is ideal as the trap will re-arm itself once they are killed or stunned. Not only is the Trapwire further away meaning the enemy is committed to hitting the site when they set off the trap, but the Trapwire is wider which makes it more difficult to find the anchor when it catches a player. This takes us into utilizing his Cyber Cages.
Kill Trips
Both traps do not need to be committed near the chokepoint. One should to alert of an entry and the other Trapwire can be used to set up a kill on site or to gain passive information in another area of the map. Set up a kill trip by placing it in a commonly traversed area where an enemy is completely committed to the site. Utilize a wall bang or the cover of a cage to shoot the highlighted enemy. Kill trips are even stronger with the changes to Cypher due to them re-arming half a second after a kill so they can be used multiple times.
When using kill trips take note of common enemy pathing. For example, if you are setting up a kill trip on Ascent B site in Lane you are exposing yourself to the stairs back site. The protocol for this is to watch the area that is exposed with a camera or weapon out and quickly turn to an area that has a trip to activate a Cage and/or shoot an enemy that runs into your kill trip. Here are some example kill trips:
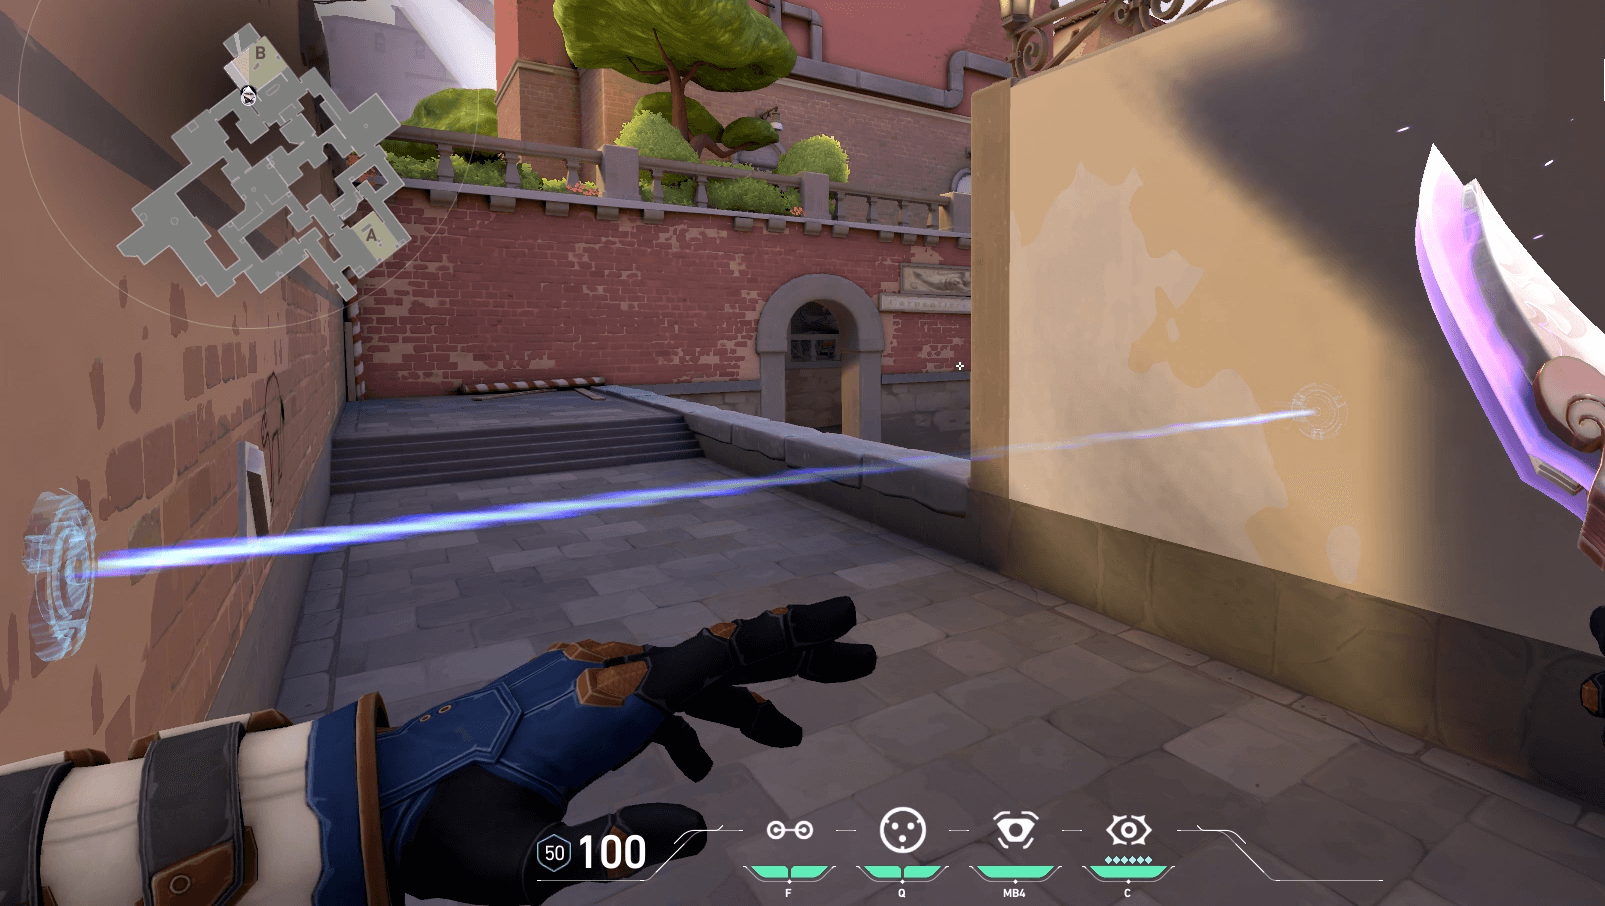
Ascent – Stand on the box on the opposite side of the wall and wall bang a player hit by the trip
Bind – Shoot an enemy with the cover of a cage near default or wall bang from inside tube or behind green box
Split – Wall bang from box to the right of Cypher in the picture or back site
Flank Trips
Watching the flank is more or the same with Cypher after the changes. There is little need to dedicate more than a trip to a certain area for flank. The only thing to make certain of is placing the trip at the proper height and position where it can not be jumped over or hit by Prolwers or Trailblazers. To do this crouch and place the trip at eye level. At this height a Fade or Skye using utility to clear an area won’t activate the trip. This is important in watching flank because if the trip is hit by utility that flank is unwatched early into the round. Retain map control with properly placed trips that will not get hit by these pieces of utility.
Using Cyber Cages
Cyber Cages are still great for one-way setups. But now that the Trapwires are longer and reset the Cages are great for covering up the anchor points of the cage. Place a Cyber Cage in the area where an enemy is most likely hit by the Trapwire and activate the cage they won’t be able to see the anchor points to free themself. This will let the trap persist for it to re-arm and hit another enemy.
This same thing can be accomplished with smokes from teammates. Viper and Brimstone smokes are very strong at this because they are not hollow, and seeing the Trapwire anchors is very difficult when inside one.
With the improvement of Cypher’s trips being better for kill trips, Cyber Cages are better suited for relocating within the site after landing a kill. If you play in a one-and-done spot for a trip kill you can utilize Cages to relocate to stall longer and avoid getting traded out. This is a great use of cages even if you aren’t in a one-and-done spot, and can do it to avoid getting spammed or swarmed. In the example below if Cypher sets up a trip to get a kill front site through the box, Cypher can activate two cages to relocate to the generator or behind the box at the edge of site.

Countering New Cypher
The ways to get rid of Cypher’s new trips are the following:
- Shoot the anchor with a weapon
- Deal 20+ damage to an anchor with utility
- Suppress Cypher (reveals the trap and disarms it temporarily)
The other means of playing around traps is to utilize characters who are able to avoid them. Both Yoru and Omen can teleport past them and Raze and Jett can get over them.
Shooting Traps
If the trap is poorly placed then shooting it is the easiest option. Cyphers typically play passively and wait to react to a Trapwire getting hit. This opens up being able to walk up to a trap to check its location. Shoot the anchor if it is exposed. There is no need to commit to hitting the site after that. You can back away if you do not have support as your location is known. If teammates are near you can hit the site or back away.
Destroying Traps with Utility
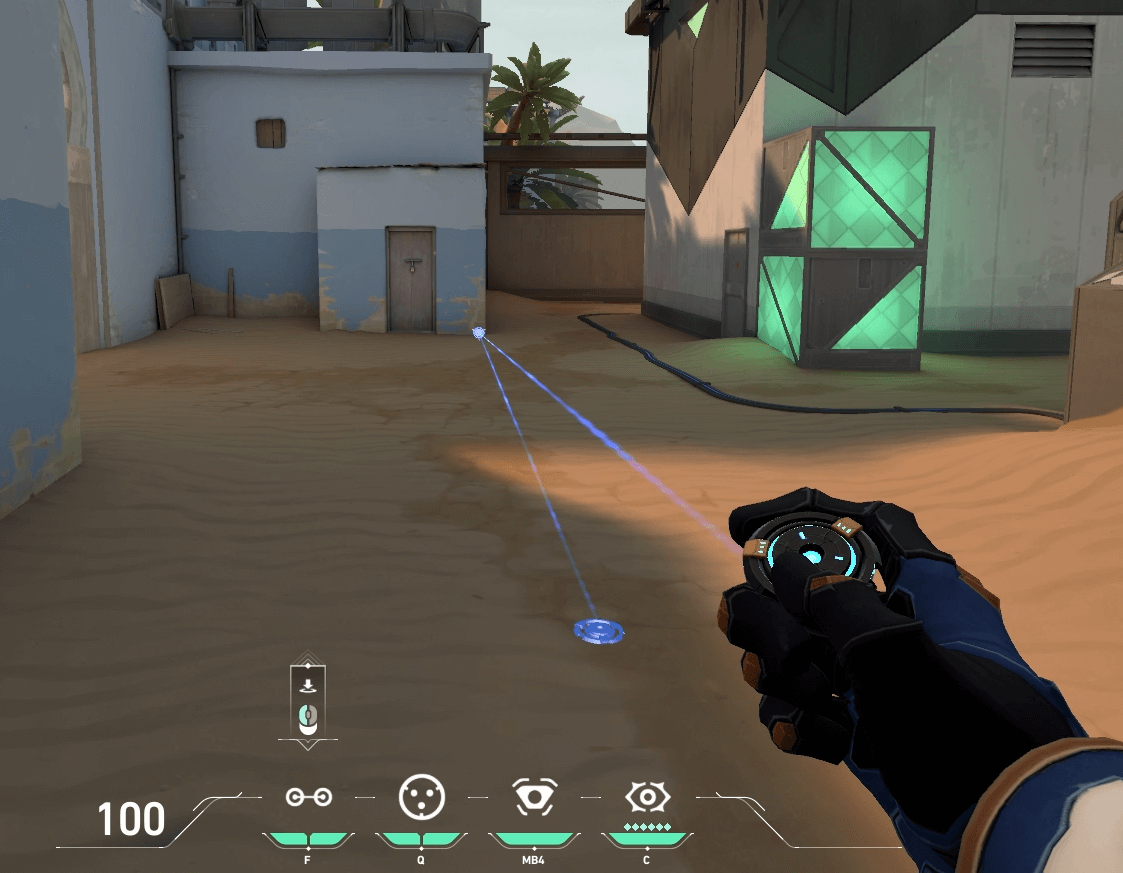
If the trap is well-placed and you are unable to shoot it, then using utility is the best option. Utility is the safer option in general. Sova is the best to do this with Shock Darts. The area is rather forgiving and if need be he can bank the dart into the anchor. He can also scout the Trapwire locations and run into them with Owl Drone. Sova is a great counter to Cypher and will most likely see play increase alongside Cypher. When destroying a Trapwire listen for a distinct noise that is made to ensure it was destroyed.
Suppressing Cypher
The final means of ridding a Trapwire is through suppressing Cypher. KAY/O and Iso are the only agents who can suppress an agent. Typically a Sentinel will be holding a site alone or with minimal help. If you ult Cypher as Iso or KAY/O, the site with Cypher will be very easy to hit. The Trapwire is only temporarily down if Cypher is suppressed, but they can be destroyed in this state. During this point where the traps are exposed, it also gives great information about where Cypher places his traps to destroy in later rounds.
Using Movement
The final counter doesn’t destroy the traps, but it puts immense pressure on Cypher. Using Omen’s Shadowstep, Yoru’s Gatecrash, Jett’s Updraft, or Raze’s Satchel Packs these agents are able to get around or over Cypher’s Trapwires. Good scouting with a Trailblazer or Owl Drone is important to do before diving in with one of these abilities. Scouting should confirm there isn’t a stack, no players are playing up close where the dive will happen, and that there are no trips where the player is diving to. This is best paired with a flash or Paranoia to blind Cypher and his Spy Cam.
Closing
Cypher is much stronger now and is worth trying out for yourself. Even if you don’t play Sentinel, it is worth knowing how to play around Cypher as he will be present in many more lobbies. Check out more Cypher setups and trips to use in your games here.