League of Legends
 Teamfight Tactics
 Valorant
 Lost Ark
 Destiny 2
 Diablo 4
 Download APP
 Collapse
42 Intermediate Tips for Countering VALORANT Agents
When playing VALORANT it is important to consider the agents you are versing and their risks to you and your team. In each game the team composition of the enemy is different and thus you are facing a different risk each game.
Rather than mindlessly playing your agents the exact same way every match. There is definitely an aspect to VALORANT that requires you to be mentally focused.
Forward-thinking and planning will work in your favour immensely. If you alter your style of play according to the agents you face I can assure you that you’ll eventually see improvements in your game.
Functionally there are only so many things each agent can do with their abilities. This leads to each agent having their own sort of map related tricks and play styles.
For example, the way you use your Barrier Orb as Sage on Split is something that you can most likely expect most others are also doing.
This article will aim to showcase to you popularised tricks, cheeses or general strategies that you can aim to be aware of in your own games.
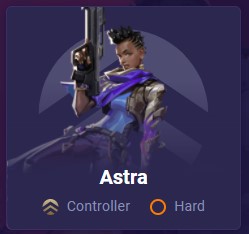
Astra
Tip #1: Don’t overreact to star placements
Don’t force your team to over-rotate just because you saw a star in an area that is common to smoke, I.E Haven A Heaven. It is very easy for Astra to recall her stars and use them to fake a site.
If it is midway through a round, and you see stars begin to be spammed onto your site, that is a different story, probably best to alert your teammates then.
Also, stars that are placed down on an area with the intent to suck or concuss are generally faked less than those placed in smoking positions. You should avoid playing on top of these, I.E a star placed on the floor of garage, Haven.
Tip #2 Look out for Gravity Well combos
If a Gravity Well has been placed on the ramp of A main/heaven on Split and the enemy team also has a Jett or Raze, you should care for a fast A execute and dash/satchel up towards the Astra suck.
Tip #3: Watch the corners of Cosmic Divide
When the enemy Astra has used their Cosmic Divide (ultimate) you should care for any enemies deciding to push this divide from its very corners.
Many teams try to cheese picks by swinging the very edges of the ultimate hoping to catch you/ your team off guard.
It is best for you and your team to wait the wall out as opposed to push it if you haven’t communicated any clear strategy, (given that you can afford to wait out its duration).
On the other hand, if you do decide to push through her Cosmic Divide it can catch the opponents off guard to double updraft and drift through the divide (with knives) since they won’t have the audio queue and most likely won’t notice you high in the air, (the same can be said for a Raze double satchel that can reach a good height (preferably with ultimate also).
Brimstone
Tip #4: Look out for the Brimstone/Killjoy combo
Make sure to escape an enemy Killjoy’s ultimate in a way where you do not get funnelled into a sure death by Brimstone Ultimate.
For example, when an enemy Killjoy uses her ultimate in the cubby of A main on Ascent, a portion of heaven and hell is left outside the ultimate.
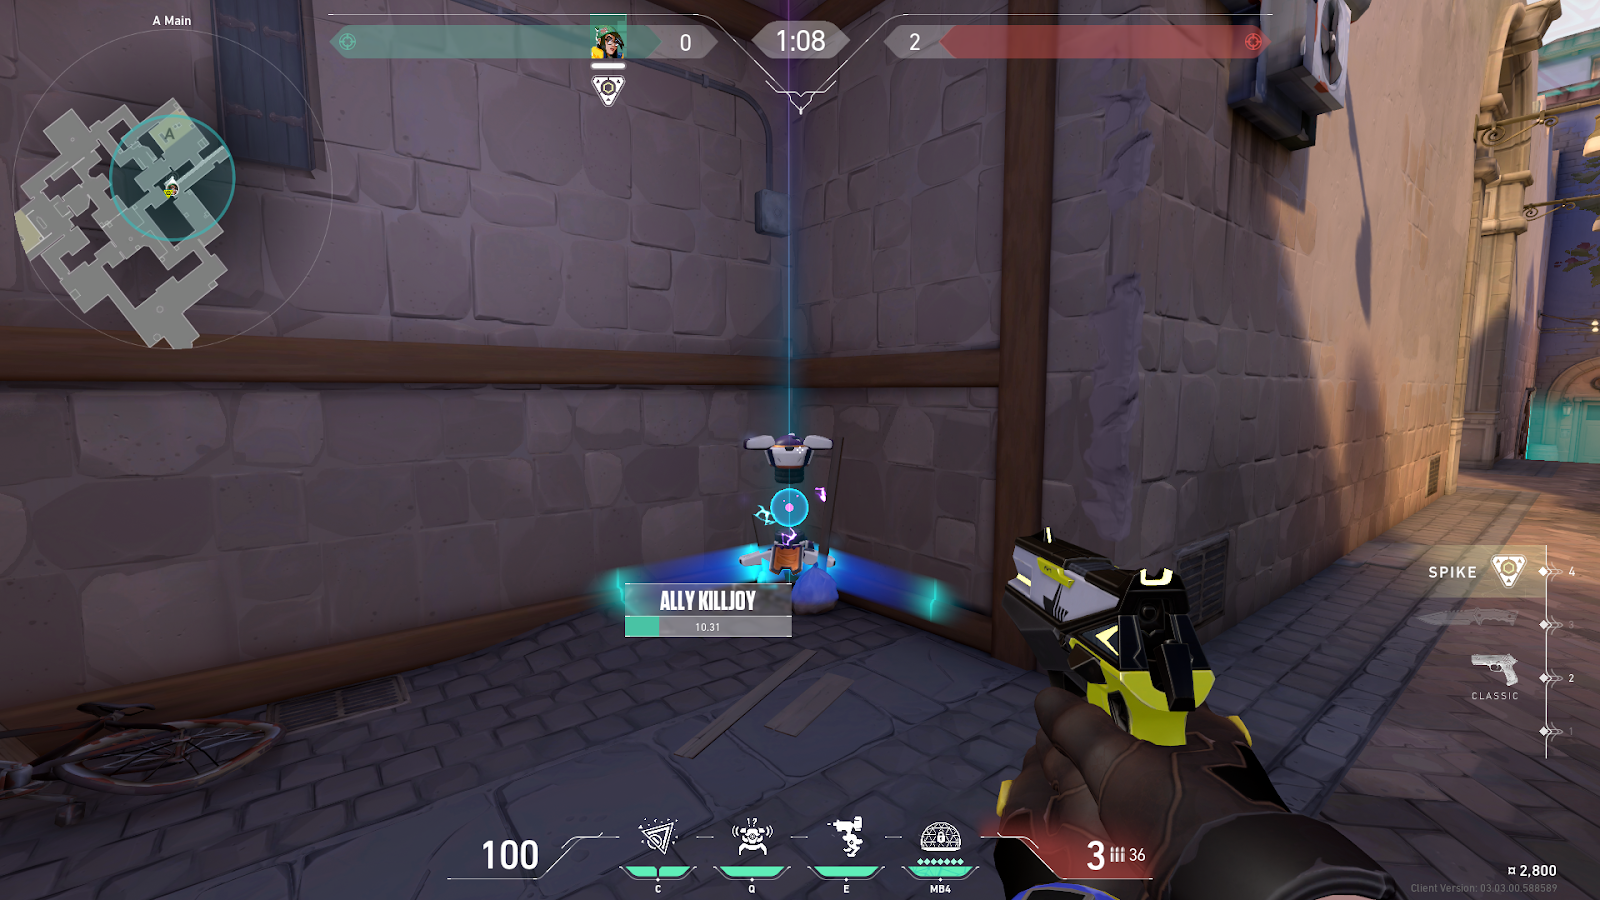
If you notice that the enemy has a Brimstone ultimate as well, it is probably safest to run towards spawn.
Tip #5: Learn how to counter molly lineups
Here are my thoughts when it comes to countering a Brimstone with molly lineups. Half defusing is crucial. If you find yourself in a 2v1 situation with a teammate vs a Brimstone that is off-site for lineups it is best to have one of you carefully half defuse.
What I mean is to take into consideration the timing of everything. The Incendiary lasts 8 seconds, and it takes 7 seconds to defuse the spike (3.5 to defuse it to halfway).
If you know the molly only has 2 or so seconds left, if you are full health you can begin halfing it for example. If the molly is still bouncing you may be able to also get halfway whilst only being dealt partial damage.
As a Brimstone player myself, I have lost rounds when I am solo playing post-plant because one opponent sacrificed themselves to halve the spike. One last tip in regard to being in a 2v1 against one lone enemy Brimstone, is that you can have your teammate body block the molly if you two are aware of its trajectory.
Tip #6: Try to bait out Brimstone’s smokes early in the round
One smart thing you can do to make your life easier against an enemy Brimstone is force out his smokes early in the round.
Brimstone only has 3 smokes and after using them his powers as a ‘controller’ are close to useless.
Faking out sites against a Brimstone can be worthwhile since later in the round he won’t be able to provide his teammates any smokes.
Prodding and playing slow is likely to work out in your favour since he can’t re-smoke like Astra, Viper or Omen.
Additionally, if you notice a Brimstone is playing on A site Haven for defence repeatedly, this could allow you to search for picks on C given the fact his Sky Smokes don’t have the distance to go across the map.
Breach

Tip #7: If Breach has ult, consider playing retake
If you can see that an enemy Breach has ult it might be best to communicate to your team that you will play retake until it has been used. Sometimes there is just nothing you can do and you find yourself falling victim to his ultimate’s concussion.
In these situations using your utility as a last-ditch effort to prevent attackers from entering the site can go a long way to swinging the round back in your favour.
Whilst you are dazed you may have enough time to throw a molly at the choke point or try and flash the enemy, potentially making it easier for your teammates to retake.
Tip #8: Avoid narrow passages
Avoid pushing narrow passages such as A long & C long Haven, or B long Icebox if you have not used utility to prevent defenders from peeking. These narrow passages are dangerous when versing an experienced Breach who can easily line up his signature daze ability to concuss you and your teammates.
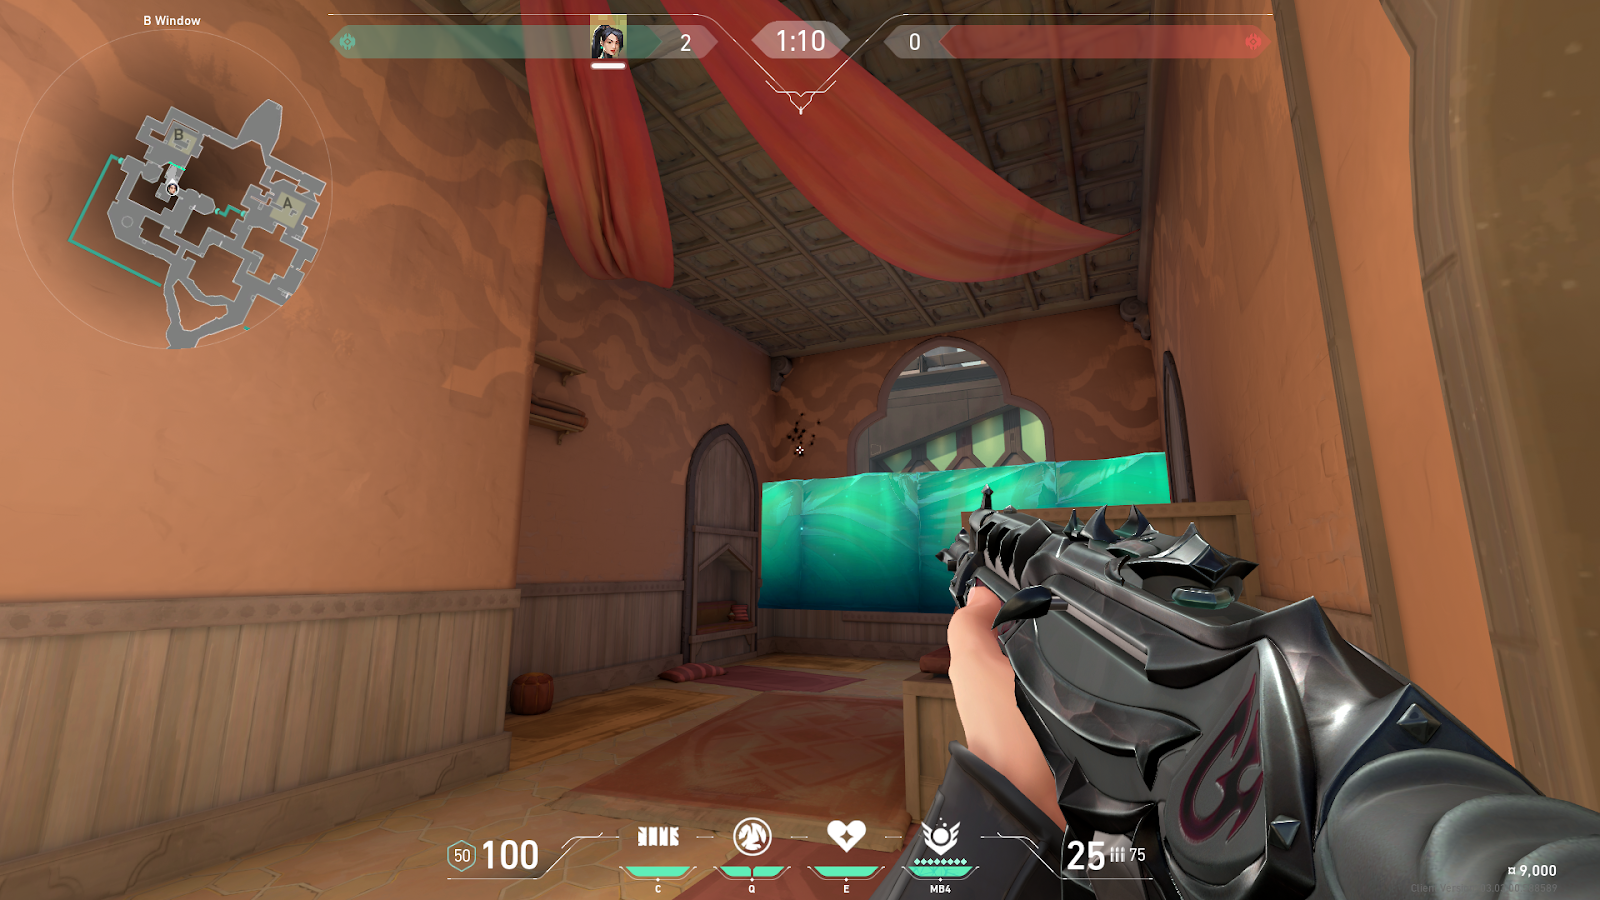
If your team hasn’t thrown Raze Paint Shells, Kayo FRAG/MENT or Skye’s Guiding Light or something else that will pressure and prevent the enemy from peeking you run a serious risk of being an easy pick with Breach daze, flash and peek.
Tip #9: Keep track of patterns in Breach’s ability usage
Sometimes Breach players go through the motions of Fault Lining the same areas and flashing the same walls. Remember what the enemy Breach has been doing because this might make it easier for you to mentally prepare to turn flashes and surprise the enemy for some picks.
Cypher
Tip #10: Anticipate common Camera placements
Anticipate Cypher’s Trapwire and Camera set up on B site Bind. There is commonly a trip to look out for in the window of hookah and another set up on the archway of the garden/site.
Cypher’s camera is commonly set up above hookah or above the garden archway.
Tip #11: Use abilities to clear Trapwires
Sova’s shock darts, Raze’s Boombot and nade, and Skye’s dog are just some of the utilities that can be used to destroy or reveal Cypher’s Trapwires.
Tip #12: Take initiative when Cypher ults
When Cypher’s ultimate pops it might be your best bet to swing right as your location is revealed. I recommend this if you have no utility left and know you will only be peeking one opponent.
As the Neural theft bleeps and reveals your location sometimes this can be quite disorientating for opponents as they for a split second see double of you.
Playing Cypher myself I have run into this problem a few times where the location reveal has thrown my shot off and made it a lot more difficult to focus on the head.
Jett
Tip #13: KAY/O’s ult stifles Jett’s knives
If you have a Kayo on your team you can save his ultimate for when Jett has ultimate to prevent her from being able to use her knives.
Tip #14: Reyna Leer takes two knives to destroy
If you are playing Reyna in a 1v1 situation against a Jett, your Leer is going to be very powerful.
Depending on how many knives Jett has remaining she might not even be able to destroy your Leer.
She will need 2 knives to destroy it and obviously more to be able to kill you.
Tip #15: Understand how to deal with an OPing Jett
Gaining intel on where Jett is playing is the first step in avoiding being sniped and picked off.
When rifling it is much easier to turn away from flashes in comparison to when you are using the Operator. Thus, using your utility against a Jett who you know is holding lines of sight with the OP is crucial.
Using utility should come as a first priority ahead of jiggling corners with your knife out, jiggling should be your last resort.
Preferably you and your team should clear out common Operator angles like A & C Long Haven, Icebox A site rafters, with a utility like Sova’s Owl Drone, Skye’s Guiding Light, and Kayo’s ZERO/POINT for example.
Also, using Yoru ultimate is quite an effective way of closing the distance between you and the Jett with the Operator. Getting right up in her face makes her vulnerable and uncomfortable and can commonly lead to the opening pick.
KAY/O
Tip #16: Watch out for early defensive knives
KAY/O’s on defence commonly knife early to find out whether there is going to be a hard push onto site by the attackers.
Waiting out this knife can be valuable in deceiving your opponents, what might help trick them further is having someone lurk on the opposite side of the map to make noise, I.E an Omen with ultimate or Yoru with Gatecrash (so that they can return with the team quickly).
Tip #17: Watch out for lineup patterns and be ready to destroy his knife
Remember that KAY/O’s ZERO/POINT (knife) can be destroyed if shot. KAY/O’s commonly have learned a few lineups that work for them and continuously throw their knife the same way round to round.
Take note of this and if it is safe attempt to shoot the knife to deny the enemy team information.
Tip #18: Headshots do not apply to a downed KAY/O
If you have managed to down KAY/O when he is ulted remember that he has a massive 850 hp when in this downed state.
Headshots do not apply when he is downed so it takes quite a lot of bullets to actually confirm your kill.
This can waste your ammo and displace your crosshair from where it should be, leaving you vulnerable to other enemies that were likely to push with him.
More often than not, unless you can know for sure that the KAY/O was lurking, it is best to let him die after the 15-second timer.
Killjoy
Tip #19: Don’t forget Killjoy’s ability radius
This may seem obvious but remember that if you see Killjoy use her turret she has to be within a certain radius to deploy it. I point this out because you immediately know that Killjoy is there and that you should anticipate a potential push.
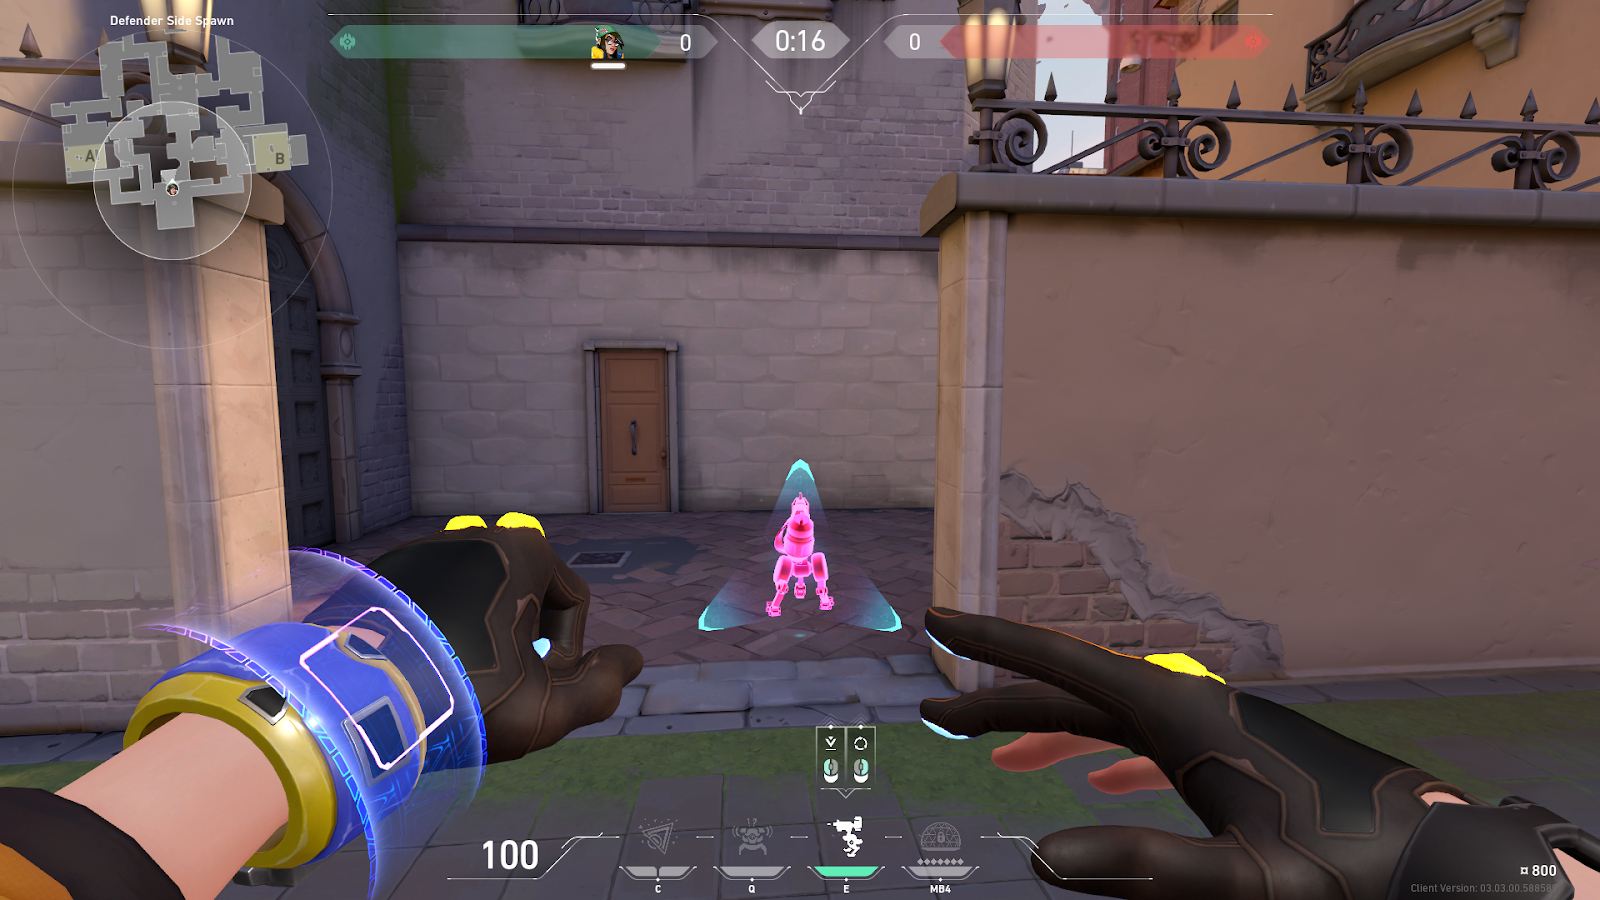
Some Killjoy players decide to use their turret aggressively to gain information on where you are playing and then swing to catch you off guard. Sometimes opportunities arise where you can outplay a Killjoy that is making this play.
Check out this old clip of Liquid Jamppi that showcases quite well how the turret takes a moment to activate after being placed down.
Nevermind the absurdity of the pre-nerf Judge here let’s focus on the way he silently swings. This opens up a small opportunity for you to catch the enemy off guard if you were initially close the way Jamppi was.
Tip #20: Understand the different ways you can destroy Lockdown
If you see a Killjoy with ultimate, or one-off, always anticipate an enemy push. Communicate to your Sova or Brimstone save their ultimates to be able to easily destroy her Lockdown.
Sometimes it is worth spraying the wall between you and the Lockdown since bullet penetration often works a lot better than you think, check out this clip.
Omen
Tip #21: Listen closely to Shrouded Step
There is an audio queue at the start of Omen’s Shrouded Step and at the end. There is a whisper-like noise that is very subtle which reveals where omen used his Shrouded Step, only if you are close enough.
Really focusing on the audio in these moments can reveal whether omen has faked his Shrouded Step or not.
Tip #22: Look out for the Sage + Omen combo
This is a very niche tip but be careful if you are versing an Omen and Sage as they can pull off some aggressive plays when combining their abilities. If the enemy team is executing an attack on B site Ascent, just make a mental note whether Sage has walled up in B main where the ult orb is.
Not only does this open up the opportunity for them to peek at you or your team through the upper window, but Omen can actually use his Shrouded Step to teleport to the middle of site on top of the Radianite boxes. This may catch you off guard if you are unaware.
Tip #23: Understand how to play against Paranoia
If you have fallen victim to Omen’s Paranoia, generally you find yourself in a very sticky situation that might often get you killed.
Sometimes though, if you are playing close enough to Omen at the time of his Paranoia you should be able to see his bullets spraying amidst the purple screen you have.
This may give you a small window of opportunity to spray him down. Additionally, what I have learned from trying to hit a lucky spray on an Omen that has blinded and pushed me is that you should spray your shots a lot wider than you would expect from the corner they’re pushing.
After an Omen is aware of your location, uses Paranoia and he is confident that he has blinded you, he is most likely just going to W key and wide swing you.
If you have no form of escape and have to take the mega unfavourable fight in this scenario, try to readjust your crosshair expecting a wide swing. (I.E. You have been blinded by an Omen from catwalk whilst playing an off-angle in the middle of tree room).
Phoenix

Tip #24: Use mobile agents to catch Phoenix at the end of Run It Back
Sometimes opportunities arise where you can outplay the Phoenix that has just used their Run It Back.
Champs like Raze or Jett make it a lot easier to close the distance and catch Phoenix off guard. I.E. the clip below:
Tip #25: Look out for double flashes in lower ELOs
Sometimes, more so in lower ELOs, a Phoenix might flash you but not push or swing you.
Instead, they might opt to flash again before deciding to push, you should make a mental note that the Phoenix player is there and has one more flash… Prepare yourself to be able to turn it and catch him off guard by being ready to challenge him.
Tip #26: Practice turning away from flashes
If you struggle to turn away from flashes and repeatedly find yourself to be a sitting duck when a flash comes around a corner, it might be worth finding someone who has the same problem and getting into a custom game.
It may only take five or ten minutes for you to accustom yourself to how you need to navigate your mousepad and flick your mouse away quickly.
Turn cheats and the invulnerability on in settings so you and your friend don’t take any damage.
Get your friend to stand behind a wall and send flashes towards you so that you can get used to turning them.
Turn on infinite abilities so that you can get lots of reps in, this will help you know exactly how to move your mouse away and then readjust your crosshair to the area where the flash came from.
Phoenix players, especially in lower ELOs, generally swing mindlessly after using a flash.
Raze
Tip #27: Look out for early Paint Shells
When versing a Raze, it is best to avoid early round damage from her Paint Shells.
A lot of Raze’s try to get lucky with some quick damage by hurling their nades as soon as the barrier drops.
Whilst on Attack, it may be best to avoid W keying areas like mid link Ascent, B Main Ascent, Icebox A site ground level and Split A main. It may be best to wait a few moments to be sure a nade isn’t coming your way.
Tip #28: Use KAY’O’s ult to stifle Raze’s rocket
Whilst on defence, if you have a KAY/O on your team it may be worthwhile saving his ultimate until Raze decides to use hers. KAY/O’s ultimate pulse radius is quite large and may be able to cancel her Showstopper and save the team from lethal damage.
Tip #29: Spread out your team when Raze has ult on defense
Whilst playing attack against a Raze who has ultimate on the defender site, it may be worthwhile to spread your team around and play default until she no longer has her Showstopper.
Clumping together in areas behind the barrier before it drops like, Split A main and Ascent A main could lead to multiple deaths on your team at the hands of her ult.
Reyna
Tip #30: Be ready for early aggressive peeks
When versing an enemy Reyna it is important to be aware of potential aggressive peeks she may take when the barrier drops.
Experienced Reyna players know how to make the most of their Dismiss ability and can pick off opponents whilst avoiding being traded out.
You should care for her early peek which often involves angles in between the attack and defence barrier. I.E. Hookah and mid-link Bind.
Tip #31: Make the most of crossfire situations
If you find yourself in a situation where you are 2v1 or 3v1 against a Reyna that is last alive it is best to crossfire with each other at all times.
Reyna’s Dismiss makes her the optimal agent for clutch situations with her abilities. Be sure to communicate this to your teammates to prevent the round from being thrown.
Sage
Tip #32: Be ready for Sage to play on her walls
Be careful for Sages to play on top of their walls. I am sure you have heard of this before but it must be said. Grimm on Youtube is continuously providing the community with absurd Sage walls. This can lead to you finding an enemy Sage in very unusual spots that might catch you off guard.
I recommend fully clearing potential parts of her Barrier Orb that she could be hiding. On B site Bind for example, if you are attacking and see Hookah is walled off I suggest spraying in hope that you might get a free pick on her.
Tip #33: Kill the Sage before the ally that’s resurrecting
If you have a line of sight on an enemy that has just been Resurrected (and is still in the animation process) it is best that you still hold your line of sight and crosshair where the enemy Sage could potentially peek.
This is because the resurrected teammate is stuck in animation for roughly 2 seconds. If you begin to immediately shoot the enemy that is being resurrected you may fall victim to the enemy Sage’s bait since it might be hard to flick back to Sage.
So, hold the line of sight where Sage may peek for 2 seconds, if Sage never peeks then obviously take your free kill on the revived enemy.
Skye
Tip #34: Conceal info when clearing Seekers
If you are in a position where you can see more than one Seeker from Skyes ultimate communicate to your teammates that you will shoot it for them so that they don’t have to reveal their location.
The whole point of Skye’s Seekers is to provide information and pressure the opponent, so if you can keep your teammates’ location a secret you may just have created enough of a diversion for them to catch the enemy off guard.
Tip #35: Have confidence to shoot Skye’s birds
Be confident to shoot Skye’s birds before they pop off, they are very low health and it may just keep you alive since sometimes shooting is easier than turning around in a pressured situation.
Tip #36: Understand aggressive bird tactics
Skye recently received a buff where she can much more fluidly switch from activating her Guiding Light flash and her gun, so be careful for aggressive instantaneous peeks off of her birds.
It is quite common also for agents with flashes like Skye to congregate with teammates in smokes and send a quick flash out, so make sure you are mentally alert if holding a smoke as opposed to daydreaming or slacking off just cause you haven’t heard anything.
Sova
Tip #37: It’s generally better to hide from drone than destroy it
Do your absolute best to hide from Sova’s drone as opposed to exposing yourself to shoot it.
Not only do you deceive the enemy by pretending you weren’t somewhere when you actually are, but you may have just saved yourself from dying. Sova’s drone is debatably one of the most overpowered abilities in the game.
If you were tagged by it there aren’t too many walls in the game that will protect you, and this is across all maps. Most walls are highly penetrable and this could very well lead to your death, especially if the enemy Sova has ultimate.
Tip #38: Sounds obvious, but be ready to shoot Recon Dart
Be alert to shoot the Recon Dart that comes your way.
Denying information is crucial, failing to do so can lead to enemies gaining map control at no cost.
Viper
Tip #39: Understand how Viper’s ult spreads to track her location
Viper recently received a tiny nerf to the functionality of her ultimate. Now she cannot aim and deploy her ultimate from a small radius around her, it must always spread out exactly from where she is standing.
This means you may be able to more accurately gauge where she is if you manage to be at the right place at the right time where you see her activate it. Spray and pray it may work out more often than you think.
Tip #40: Know her common post-plant locations to deny lineups
Viper is known for her strong post-plant potential with her Snakebite lineups.
If you know that this is what she is doing, it might be best to push her with a teammate if possible.
Here are a few potential places you may find her,
- Icebox A site: she is most likely just beside Nest, on top of or just behind Belt. For Icebox B site, she is most likely in the second B cubby, next to B green.
- Bind B site: she is probably playing at the fountain, For A she is probably on the elevated cubby, showers side of A short. For A site Haven she is probably up on the Sandbags at the back of A long,
- C site on Haven: she is probably where the barrier drop is beside C lobby.
Yoru
Tip #41: Yoru usually operates away from his team
Be aware that experienced Yoru’s are often lurking since his kit is best suited to this.
If you notice a Yoru is prodding one side of the map but you don’t see any of his teammates this could reveal that the enemy team plan on executing the site opposite of the Yoru (since Yoru can very easily use his Gatecrash to teleport back to them, whilst faking out the site you saw him on with his footsteps etc)
Tip #42: Be aware of teleport trickery when playing Bind
If you see Yoru’s footsteps come through a teleporter on Bind and you don’t see Yoru, this could all be a part of his trickery. The sound that Yoru’s footsteps make through the teleporter is the exact same noise as if he went through it himself.
A cheese play that Yoru’s make is walk in the teleporter themself (1 audio queue), activate the footsteps which leave the teleporter, then hide from you on the sides of the teleporter.
Letting you believe that it was just his footsteps when in reality he is there waiting to get free picks on you and your teammates when you are all entering hookah.
Unless a teammate has confirmed that they have seen Yoru on A site, you must play as if he is in the teleporter to avoid cheap deaths.
Closing Thoughts
Quite a few of these tips involve game sense and forward-thinking. Being mentally prepared for your opponent’s next move will help you assess risks and play safer.
Moreover, many tips involve your decisions as an entire team, not just you alone, so be confident to IGL for your team sometimes if you believe you know what is best.
You can briefly make your team aware of the risks at hand and how you guys should best avoid or counter it.
IGLing is a complicated ordeal on its own, a matter to discuss another time, but I’ve noticed that one or two concise sentences sometimes get the best sort of response from teammates.
Something not over the top since there is a fine line to balance in regards to preventing your teammates from being toxic or annoyed at you.
Ultimately, VALORANT is a tactical shooter and you have to respect its ‘tactical aspect’.
Being aware of strategies that opponents may use is integral to your success and I hope that you have a few takeaway points from this article that may help you in your games. Best of luck with your climb!
To understand the best agents in the current meta, check out our VALORANT agent tier list.