 League of Legends
 Teamfight Tactics
 Valorant
 Lost Ark
 Destiny 2
 Diablo 4
 Download APP
Vykas Phase 1 Guide – Lost Ark Legion Raid (Phase 1)
Now that you’ve beaten Argos and Valtan, welcome to our Phase 1 Vykas guide, the second Legion Raid in Lost Ark.
It is a Tier 3 raid that requires 1430 gear score to start and has a hard mode at 1460 (check out our end game guide if you’re still progressing your Gear Score).
Just like Valtan, the Vykas raid has no resurrections, only restarts.
Vykas is challenging content, so you have to pay attention to every detailed mechanic written in this guide.
After clearing Vykas, you will be able to craft the relic/artifact gear set, and this is the gear set you will be using for a long period of time, until we have the hard mode of 4th legion (Brelshaza).
Vykas raid introduces the “Charming” mechanic to Lost Ark. In short, it means you can get charmed by Vykas, meaning you will lose control of your character and start killing your teammates.
Once you beat Phase 1, head to our guides on Vykas Phase 2 and Vykas Phase 3.
Phase 1 Overview
- Required Gear Score (Normal mode): 1430
- Required Gear Score (Hard mode): 1460
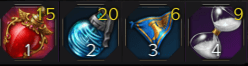
- Recommended Battle Items:
- Healing Potions
- Whirlwind Bomb
- Swiftness Cape / Marching Flag
- Time Stop (for Hard mode)
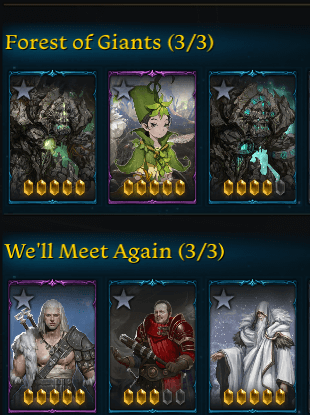
- Recommended card sets
- We’ll meet again and Forest of Giants: Provide universal defense bonuses.
Vykas Phase 1 Obtainable Rewards
Normal loot comes at the end of each phase, and you can acquire extra loot by buying the bonus loot box for some extra gold.
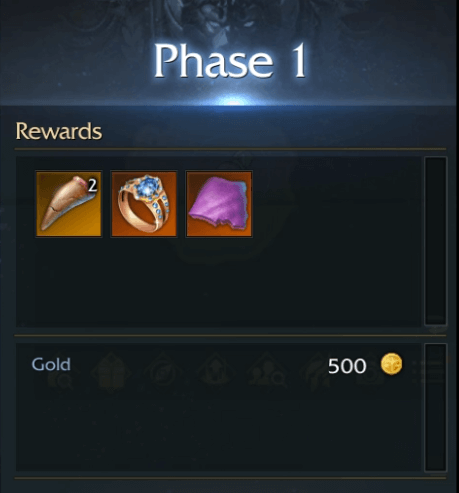
Normal Mode
- Legendary gear materials
- Relic type accessories
- 1 Vykas wing
- 500 gold
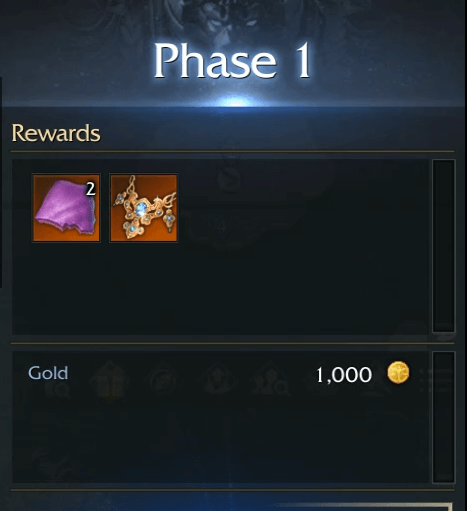
Hard Mode
- 2 Vykas wings
- Relic type accessories
- 1000 gold
Phase 1 Fight Overview
Sidereal
Can be used after charging their gauge to perform their special move. The raid helpers gauge charges over time during the fight, performing the fight mechanics correctly will greatly increase it.
During the Vykas raid, you will have the help of the following 3 raid helpers:
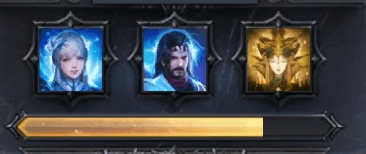
- Nineveh (Ctrl+Z)
- Deals the highest damage
- Wei (Ctrl+X)
- Deals an insane amount of stagger and some decent damage.
- Innana (Ctrl+C)
- Creates a magic shield. For the duration of its action, the shield gives immunity to the effect of stagger and knockbacks and partially absorbs damage and gradually reduces the charming bar (in Phase 3). When the shield disappears, it will restore the HP of all the players who are in it.
Boss Transitions
In Vykas Phase 1, you will be fighting the two boss forms (human form and demon form) with each boss separated.
The raid party will split into two parties, each will fight one of those two bosses (randomly) on their own and switch parties at x30.
Certain mechanic indicators happen at the 1st boss, and must be called to the 2nd boss team to warn them from what is coming so they can dodge it, so communication is mandatory during Phase 1.
Total HP of 1st Phase is:
- Normal mode
- Human form
- 770,936,857
- Demon form
- 859,891,110
- Human form
- Hard mode
- Human form
- 1,570,502,095
- Demon form
- 1,752,282,957
- Human form
Differences between the two forms
- Human form
- Has less HP but more mechanics.
- The wipe mechanics during this boss can eliminate the other team as well.
- Demon form
- Has less mechanics but more HP.
- Also, all the random attack patterns are inverted, which means the safe spot is always the blue marked area while anywhere else is dangerous.
Let’s discuss some of the major/wipe mechanics during the fights starts when reaching some certain HP thresholds.
Key Mechanics

Boss Split (X50~52)
X50~52
Boss will teleport to the center, splitting 2 parties apart. Each party will face 1 form of the boss.
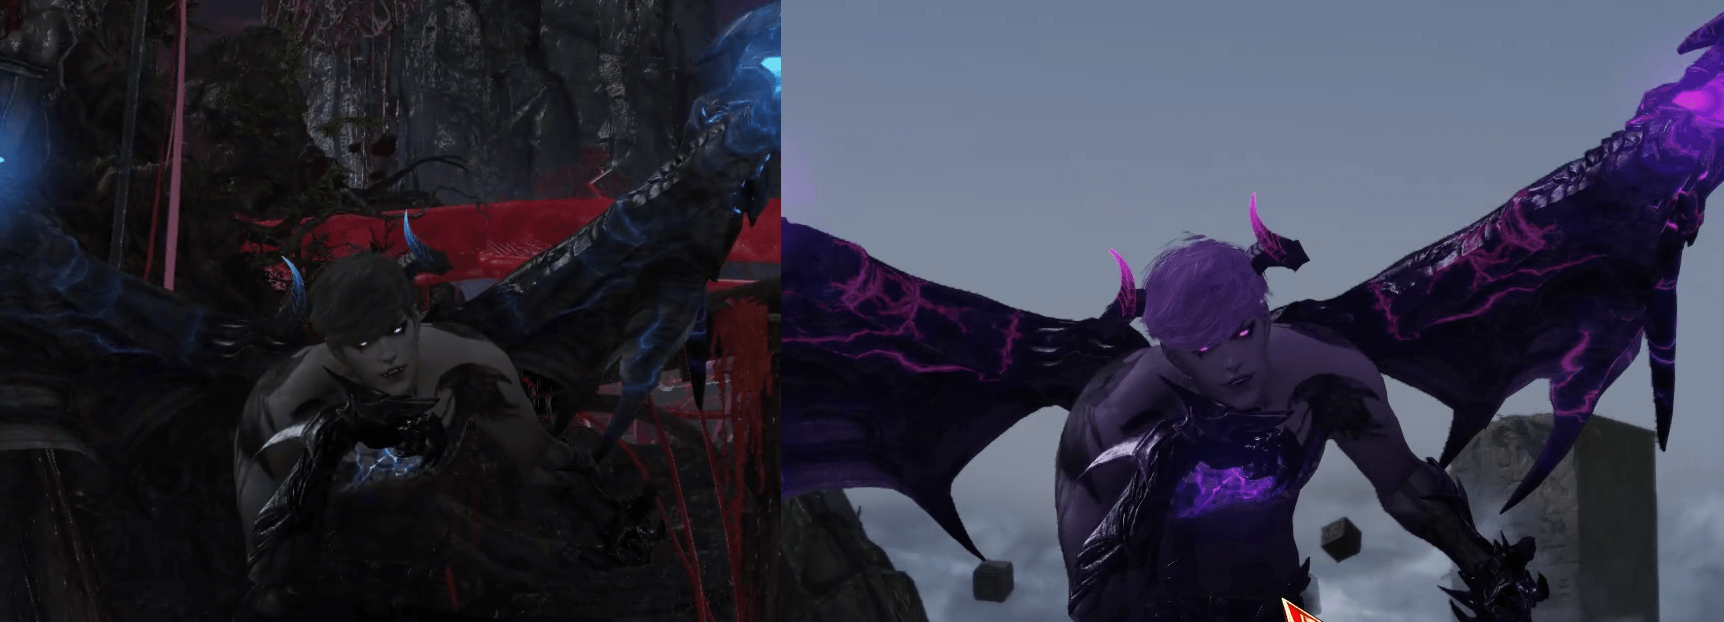
If the boss looks normal, you’re facing the human form (more mechanics).
If the boss looks purple, you’re facing the demon form (more HP – harder hits).
Human Form Wipe Mechanics
Portals (x50~47)
After splitting, when the human boss hits x50 HP bar, he will teleport to the center summoning a white circle. A few seconds later, portals mechanic will start to appear.
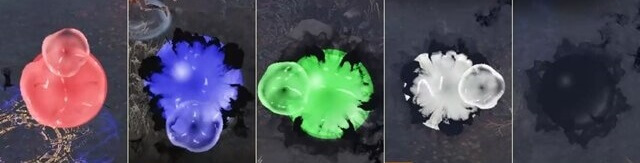
Four portals will appear in each corner and an orb that changes color will spawn near each portal.
All you need to do here is lure the orb by staying a bit close to it and when it starts following, you should lure the orb to the portal when its color matches the portal color:
- If the orb touches you, it will disappear (fail mechanic and wipe).
- If the orb touches the boss it will disappear (fail mechanic and wipe).
- If the orb touches the portal in the wrong color (deals big damage to the nearest player, fail mechanic & wipe).
Vykas Portal Color Mechanic Strategy
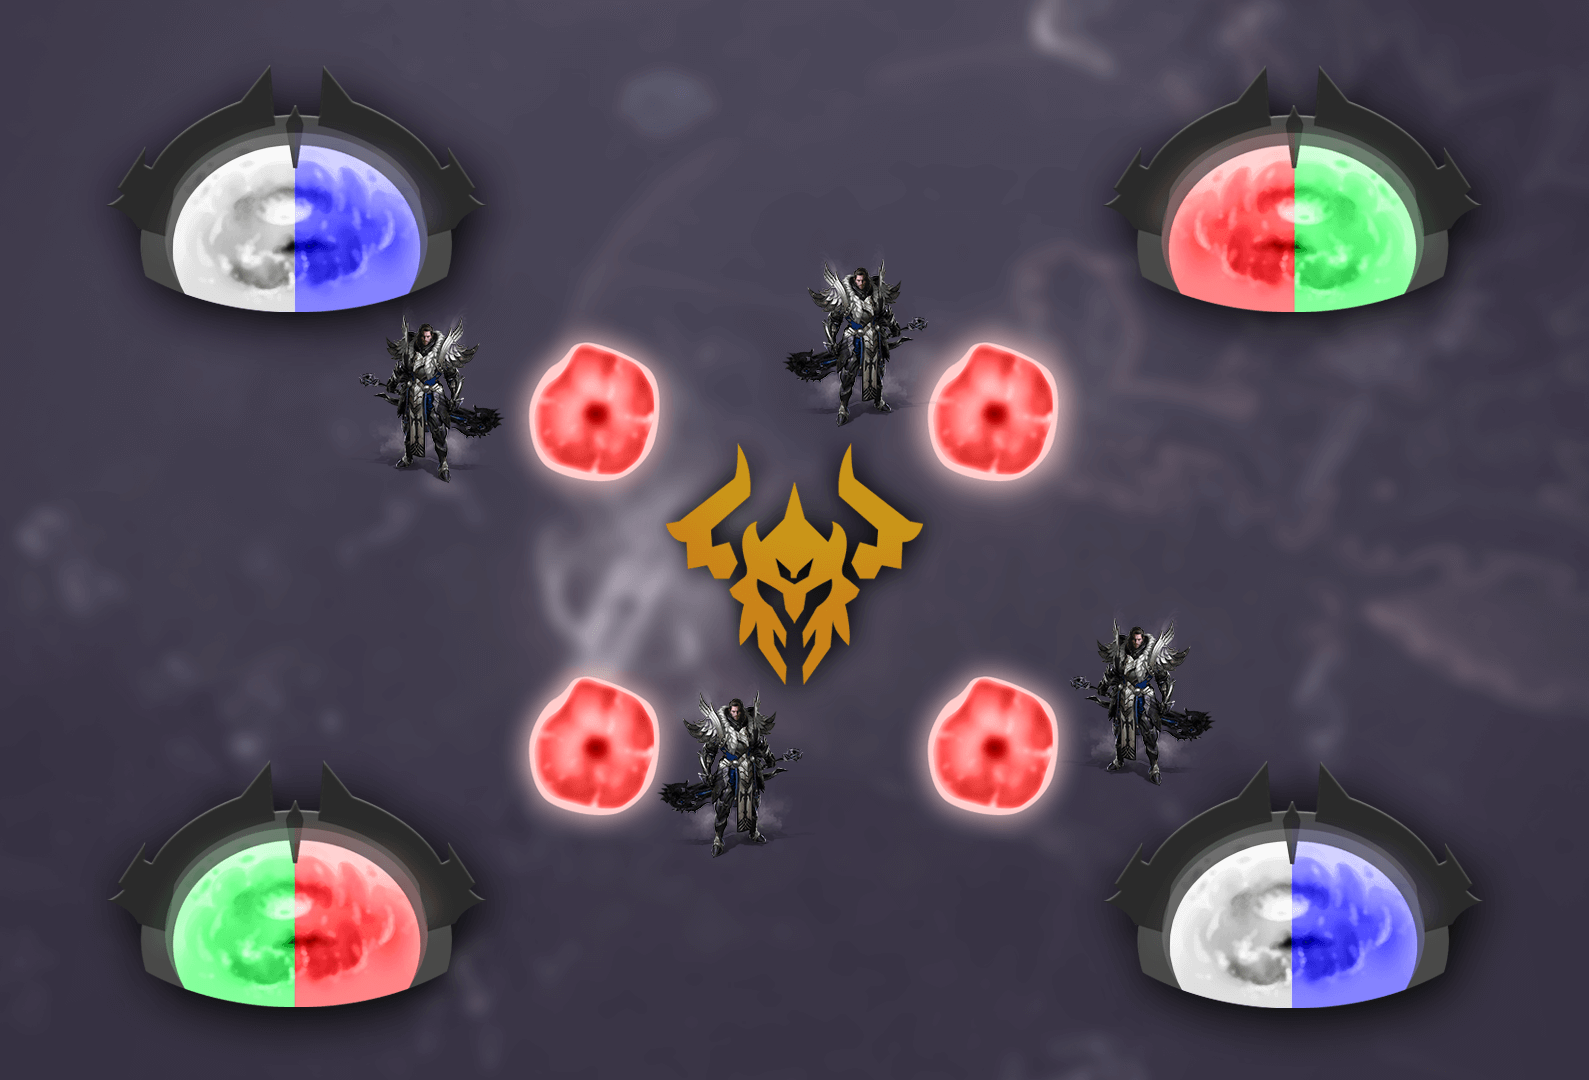
Before you start this phase, everyone should assign a position on each corner.
Every party member should memorize the orbs pattern.
The orb cycle will rotate on each color two times before the whole mechanic fails, so if you miss the portal color, you can keep running until the color changes again for the correct color before you make the orb hit the portal.
Portal colors
- Northeast portal: Always red or green.
- Northwest portal: Always blue or white.
- Southeast portal: Always blue or white.
- Southwest portal: Always red or green.
Here is a sample of suggested positions where players should stand:
Fail Tolerance
- Normal Mode:
- 1 orb fail is allowed, 2 orbs failed will wipe.
- Hard Mode:
- 1 orb fail is allowed, 2 orbs failed will wipe.
Once your party successfully performs this mechanic, the boss will break.
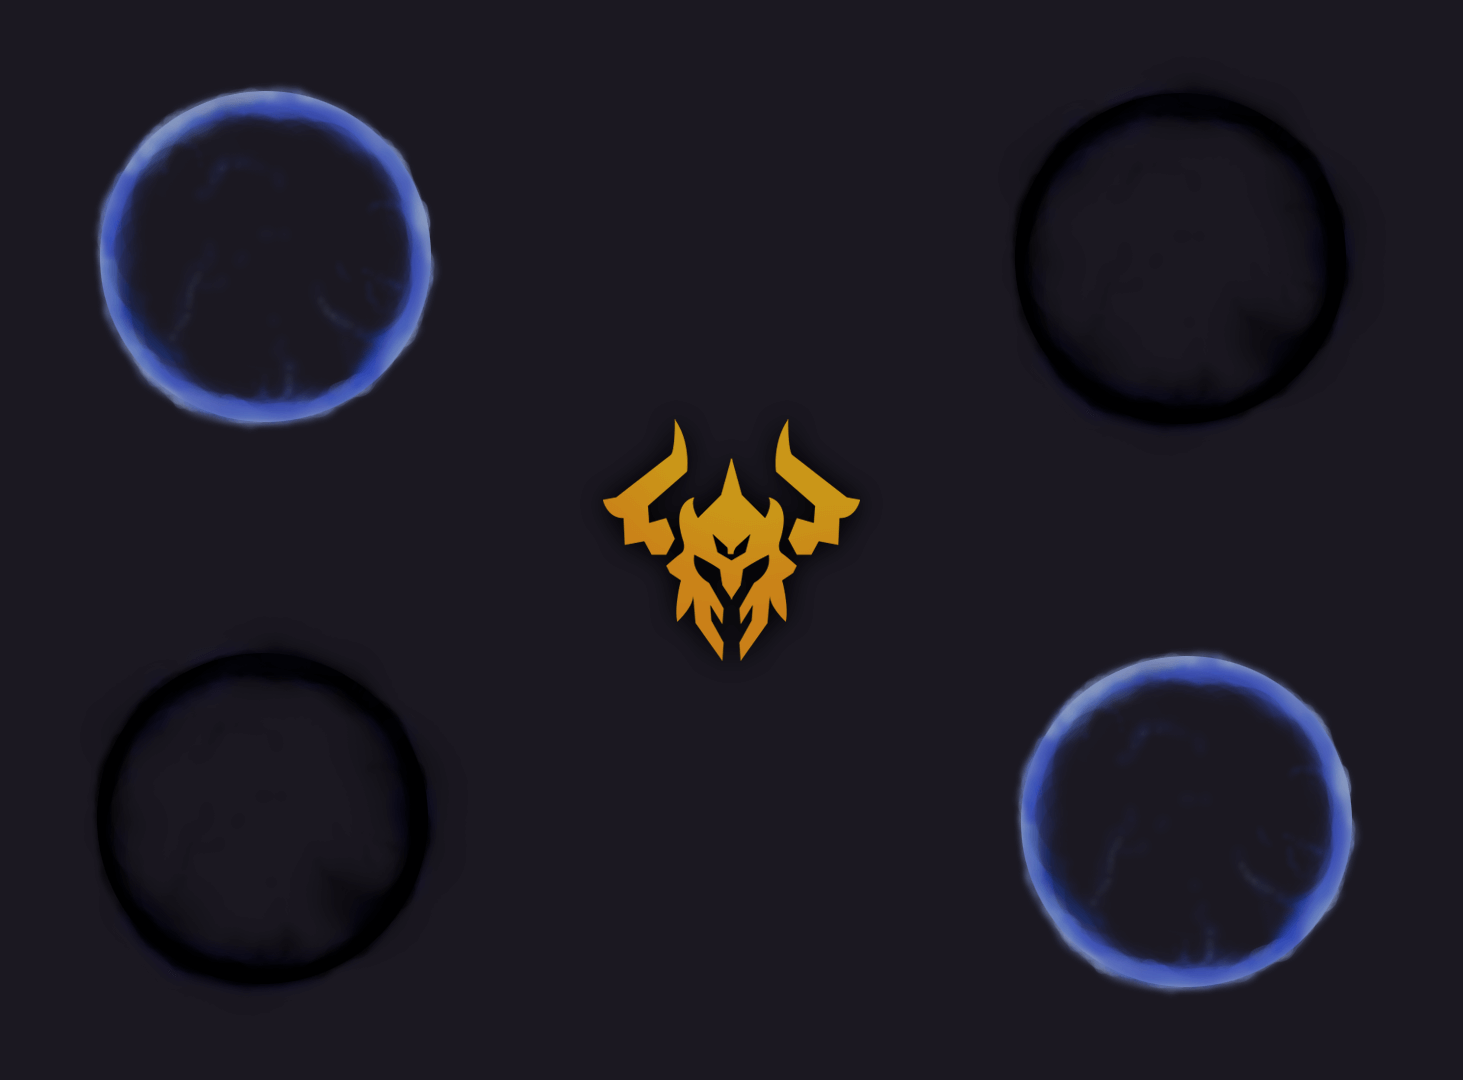
Energy Spheres (x37~35):
The boss will teleport to the center and start gathering energy spheres. You must stagger the boss 1st, then a pattern of spheres will appear.
Each party member at the human form boss will have a blue or black mark on the top of their head.
Everyone should take a position depending on the color they get:
- If blue, you will need to stand northwest or southeast.
- If black, you will need to stand northeast or southwest.
This is where player should stay depends on their mark color:
Then, a pattern sequence will appear on the ground. Pay attention to the pattern that matches your sphere color.
A few seconds later orbs will start to come out in the same order, you must prevent the orbs from reaching the boss.
- Normal mode tolerance
- 5 orbs
- Hard mode tolerance
- 2 orbs
Once you successfully perform this mechanic, an indicator of a big AoE that will wipe the other team will appear on the ground. The safe spot is in or out (for the other team), you will be able to see it clearly.
Safe inside example (human form POV):
Safe outside example (human form POV):
Quickly tell the other team where to stand otherwise they will all die.
Safe inside example (Demon form POV)
Safe outside example (Demon form POV)
Switching Parties (x30)
When each boss reaches x30 HP bar, they will take very low damage and your team will need to wait for the other team to get their boss to x30 top. Then, both parties will switch places.
Once you’re teleported to the other boss, stay away from the boss for three seconds because he will do a big AoE explosion.
Demon Form Safe Spot (x25~22)
Boss will teleport to the center and four circles will appear at (north – west – south – east). All you need to do is to identify the bright white circle and tell the other team where it is.
The team who is fighting demon form will need to stand on the correct spot to prevent wiping.
Human form POV
Demon form POV
Energy Spheres (x15~13):
Same as x35 pattern, the boss will teleport to the center and start gathering energy spheres. You must stagger the boss first, then a pattern of spheres will appear. Each party member at the human form boss will have a blue or black mark.
Everyone should take a position depending on the color they got.
- If blue, you will need to stand northwest or southeast.
- If black, you will need to stand northeast of southwest.
Then, a pattern will appear on the ground. Pay attention to the pattern that is matching your sphere color.
A few seconds later, orbs will start to come out in the same order of the previous pattern.
You need to take all those orbs and now allow any of it to reach the boss.
- Normal mode tolerance
- 5 orbs
- Hard mode tolerance
- 2 orbs
Boss Elimination (x0)
When the boss you’re fighting hits x0 HP and does not die, this means the other team is still fighting. Both teams must reach x0 HP to complete this phase.
Human Form’s Random Mechanics
Three Clones
Boss will target someone and spawn clones shooting lasers towards a player.
Blue Arrows
Boss will shoot blue slow arrows that will explode at the outer range of his red AoE.
Jump
Boss will jump, throwing one dart from above on each player. It can easily be avoided, but before the boss lands, a big blue circle will show where he will land, avoiding that spot too.
Forward Slashes with Cross
Boss will move forward, slashing everything in front of him, ending up his move with a ground smash that causes a cross that knows up everyone on its lines.
Dash and Smash
Boss will target a player, dashes forward toward him, then will end it up with a cone-shaped kick.
Shadow Claws:
Boss will slash forward two times and ending it up with big AoE shadow claws in front, safe spot is at his back.
Summoning Darts
Boss will hit the ground with hands a few times, causing black darts to fall from above. Move away from your teammates since he ends it up with a big AoE explosion around the boss. The safe spot is very close to the boss or very far away from it.
Forward Claws
Same as the Elberhastic Guardian Raid’s random move, the boss throws a slash forward and it moves back again, safe spots are the sides.
Velganus Pizza (Hard mode-only mechanic):
Remember Velganus’s last stage pizza mechanic? It also happens here but to everyone on their own, the same indicator as Velganus.

During this mechanic, you should be positioned in the same position as a portal mechanic.
The boss will teleport to the center with all area red AoE.
Go to the safe spot near the boss, wait for the explosion, then four orbs will appear that auto-follow a player.
You will need to lure this orb to your position and start performing a pattern.
If you succeed, you will get a shield buff to prevent the massive damage that will be done by the boss a few seconds later.
If you failed, you have two options to avoid getting yourself killed here:
- Big shield from the Support in your team (Bard/Paladin Awakening).
- Time Stop Potion (should be used after 11 seconds from the time orbs spawned).
Demon Form Mechanics
It’s recommended to use Nineveh on Demon Form since it has higher HP.
Note that there is no wipe mechanic from Demon form.
Some of the “Demon Form” random mechanics indicators are reversed, for example, the “strips” mechanic safe spots are inside the blue strips not behind the boss.
Blue Darts
Boss will shoot blue slow arrows that will explode at the outer range of his blue AoE (safe spot is inside the blue circle indicator).
Blue Stripes
Boss will teleport at the back of the targeted player and draw blue stripes followed by a blue cone on the floor, the safe spot is inside the blue strips and blue cone.
Dash and Smash
Boss will target a player, dashes forward towards him, then will end it up with a cone-shaped kick. Safe spot inside the blue cone.
Donuts
Boss levitates in the air, and two blue circles will appear around him. A few blue darts will fal from above on the players.
All the area outside those 2 circles are exploding, all you need to do is keep running inside those circles, to avoid the darts and the explosions outside.
Summoning Darts
Boss will hit the ground with hands a few times, causing black darts to fall from above, move away from your teammates, he ends it up with a big AoE explosion around the boss, the safe spot is the inner blue circle around the boss.
Good luck with Vykas Phase 1!
If you’ve completed Vykas Phase 1, head to our guide for Vykas Phase 2!