 League of Legends
 Teamfight Tactics
 Valorant
 Lost Ark
 Destiny 2
 Diablo 4
 Download APP
Lost Ark Kakul-Saydon Legion Raid Guide (Phase 3)
If you’ve beaten Phase 1 and Phase 2, you’ve come to the right place to learn how to beat Kakul Saydon Phase 3!
This is one of the most complicated and frustrating Legion Raids yet, but we’ve got you covered with everything you need.
Our guide covers Kakul-Saydon Phase 3 rewards, key mechanics, random attack patterns, and more.
Lastly, if you aren’t sure about something, please ask in the comments and we’ll reply!
For more help with a different raid, check out our other Lost Ark raid guides.
Phase 3 Overview
- Required Gear Score (Normal Mode): 1475
- Required Gear Score (Rehearsal Mode): 1385
- Total HP for Phase 3: 1.737.574.913 (1.7b)
- Bingo HP : 2.534.363.409 (2.5b)
- Recommended Battle Items:
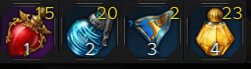
-
- Healing Potions
- Whirlwind bombs
- Marching Flag/Swiftness Cape
- Panacea
- Obtainable Rewards
- Normal loot comes at the end of each phase and you can acquire extra loot by buying the bonus loot box for some extra gold.
- When clearing Normal Mode, you will obtain both rewards for Normal and Rehearsal.
- Relic Type Accessories
- Ability Stone
- 2 Kakul-Saydon Trumpets
- 16 Fused Leapstones
- 1 Stone of Chaos
- 100 Badges of Madness
- 2500 gold
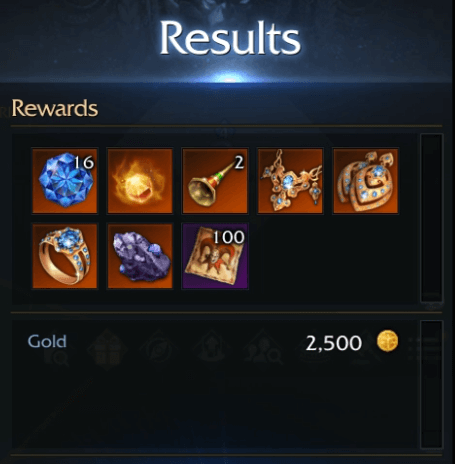
-
- Rehearsal Rewards
- 100 Badges of Madness (no gold or materials)
- Rehearsal Rewards
Key Mechanics
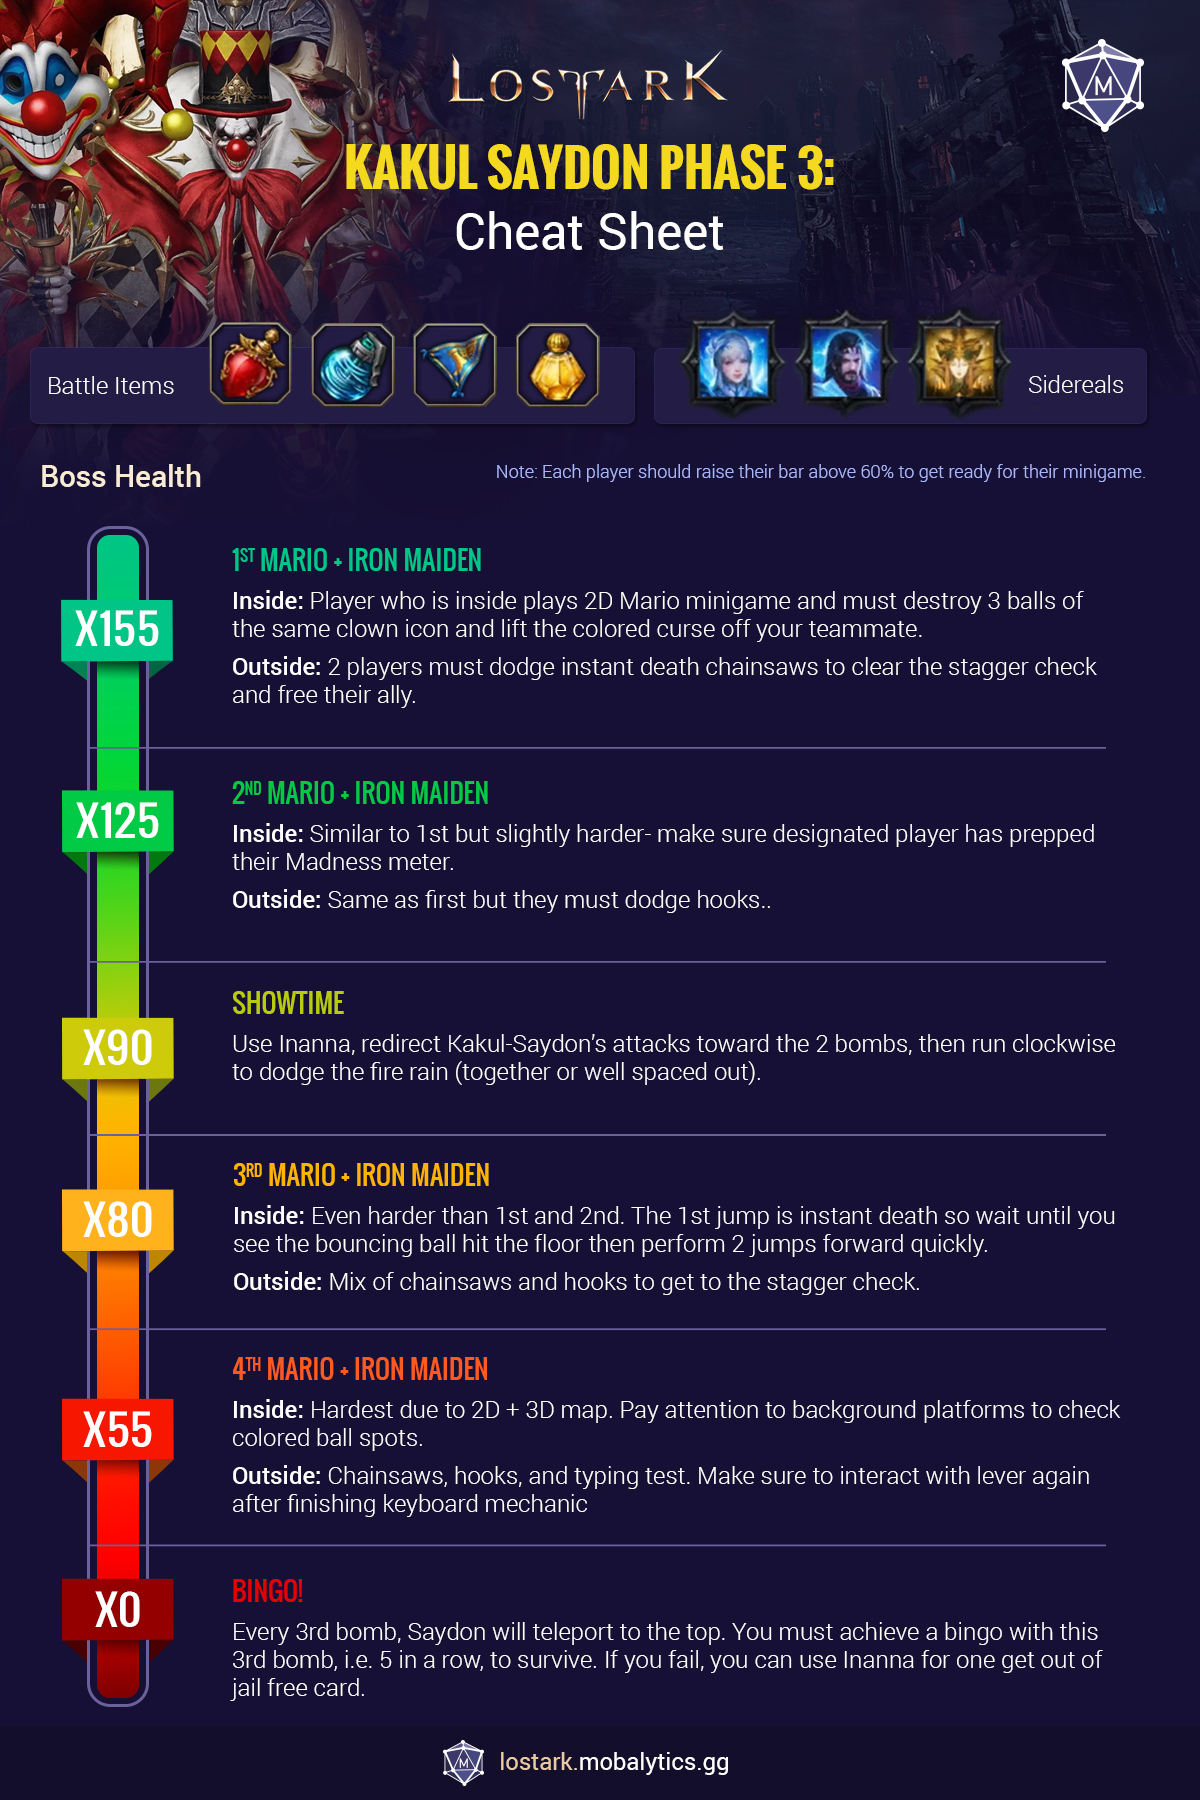
During Kakul-Saydon’s Phase 3, each player should transform to a clown during a certain HP bar of the boss to perform the minigames.
- Each player can only do only 1 mini-game, If the same player tries to do 2 mini-games it’s a wipe.
- If you’re next in line, fill your Madness gauge to 50%+ and get ready.
- The 2 headed clown is useful during this phase, because his flames increase your Madness gauge when you need it during the mini-games mechanics.
Tower of Madness
This is a new object that is summoned throughout Kakul-Saydon’s phase 3. It helps anyone that steps in its radius to gain Madness gauge quickly, but after a certain time, it will explode.
Be careful and don’t forget to kill if you don’t need it.
x155: 1st Mario Minigame
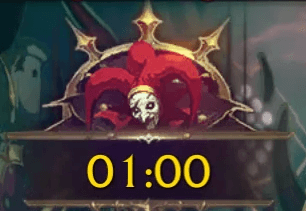
The 1st player transforms into a clown and then jumps into the rainbow portal in the center to be teleported to a 2D world.
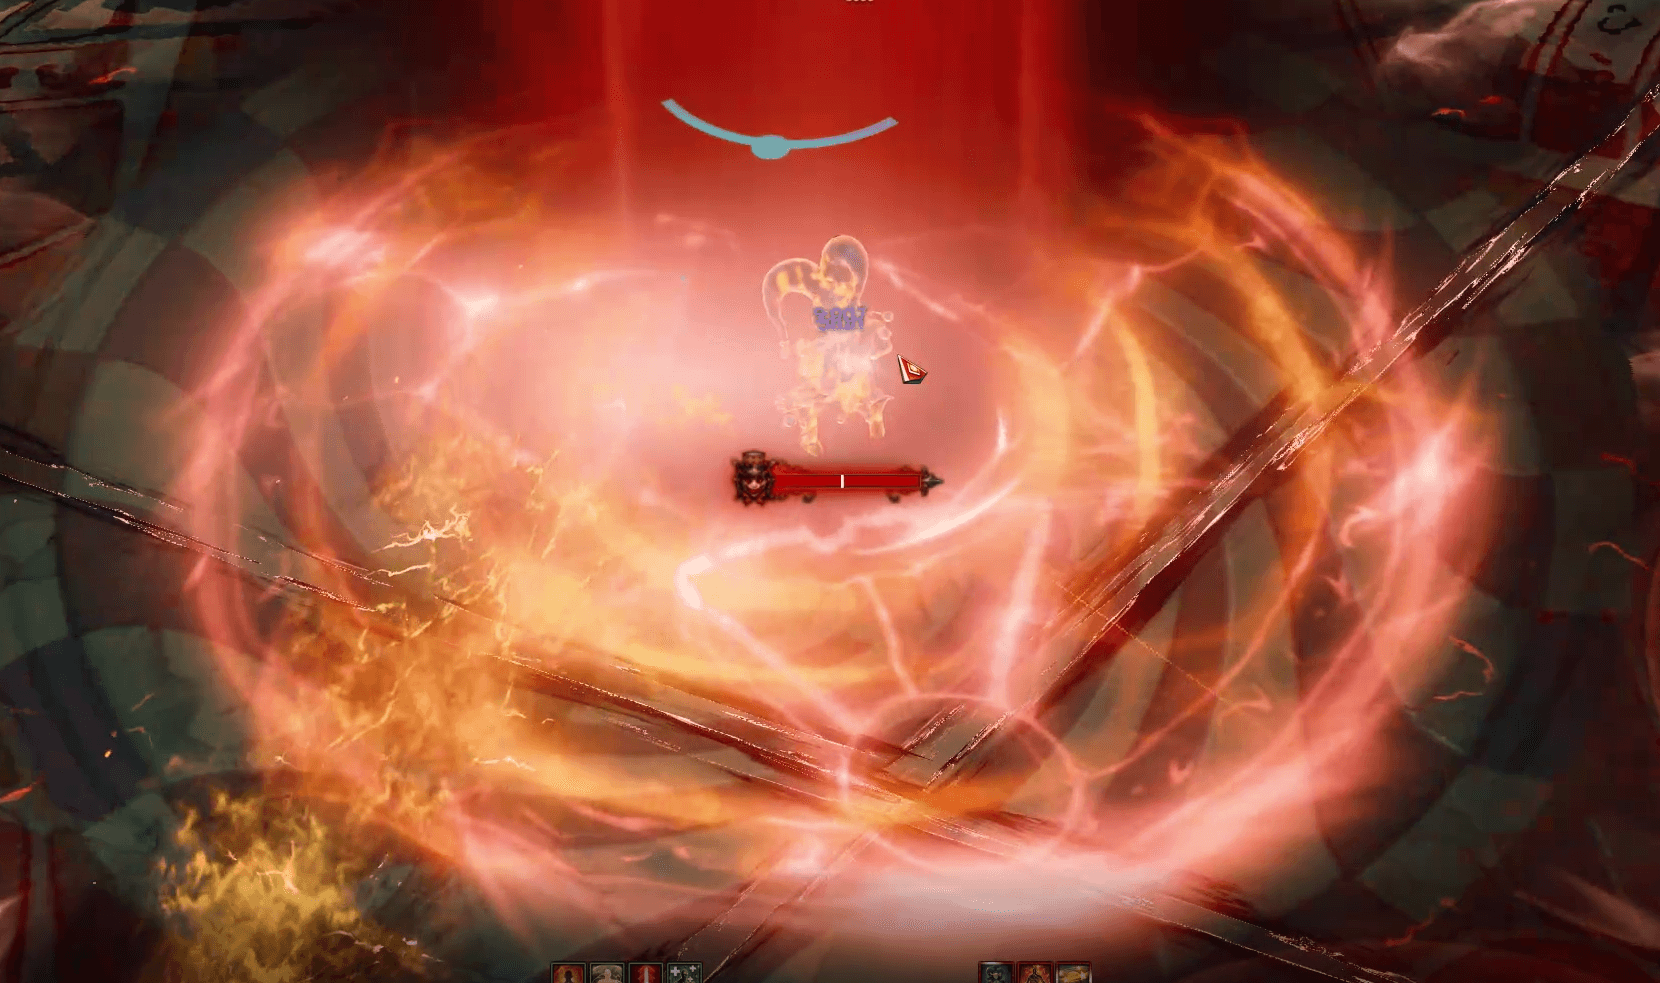
You have only 1 minute to finish your mini-game.
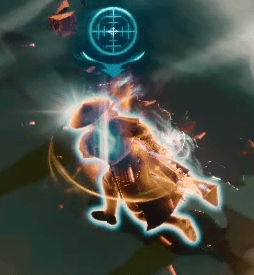
One player outside will have the Madness curse, indicated with a clown icon. This player will need to inform his teammate who is performing the mini-game what the color of the icon is.
![]()
The player who is inside, must destroy only the balls with the same color.

You need to destroy 3 balls of the same color to lift the curse of your teammate.
If destroying a different color ball, it stuns a player and deals damage.
Once a player is inside, skills will be changed to these 2 skills:
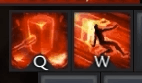
- Q Skill: A smashing hammer that destroys enemies and the colored balls.
- W Skill: Jump.
WARNING: Do NOT press Space to jump over, it will NOT work and you will die.
Players outside will have different mechanics to deal with. A few seconds after the 1st player teleports to their mini-game, curtains will close and re-open with the following actions:
1 random player will be imprisoned in an iron maiden. The 2 players left must free them. To do that, both players need to reach Saydon and stagger him.
During this, there a chainsaw will move toward the imprisoned player slowly. If the 2 players who are free fail to stagger the boss, this chainsaw will kill the imprisoned player.
The 2 free players will need to pass through some chainsaws to reach Saydon, if any chainsaw touch a player, it will kill them instantly.
x125: 2nd Mario Minigame
Same as the 1st mini-game, a 2nd player must step in – their mini-game will be slightly harder.
Players outside will have the same mechanic as 1st mini-game but with one change – instead of chainsaws running around, it will be hooks.
If they touch a player it will drag them to the very edge of the battlefield.
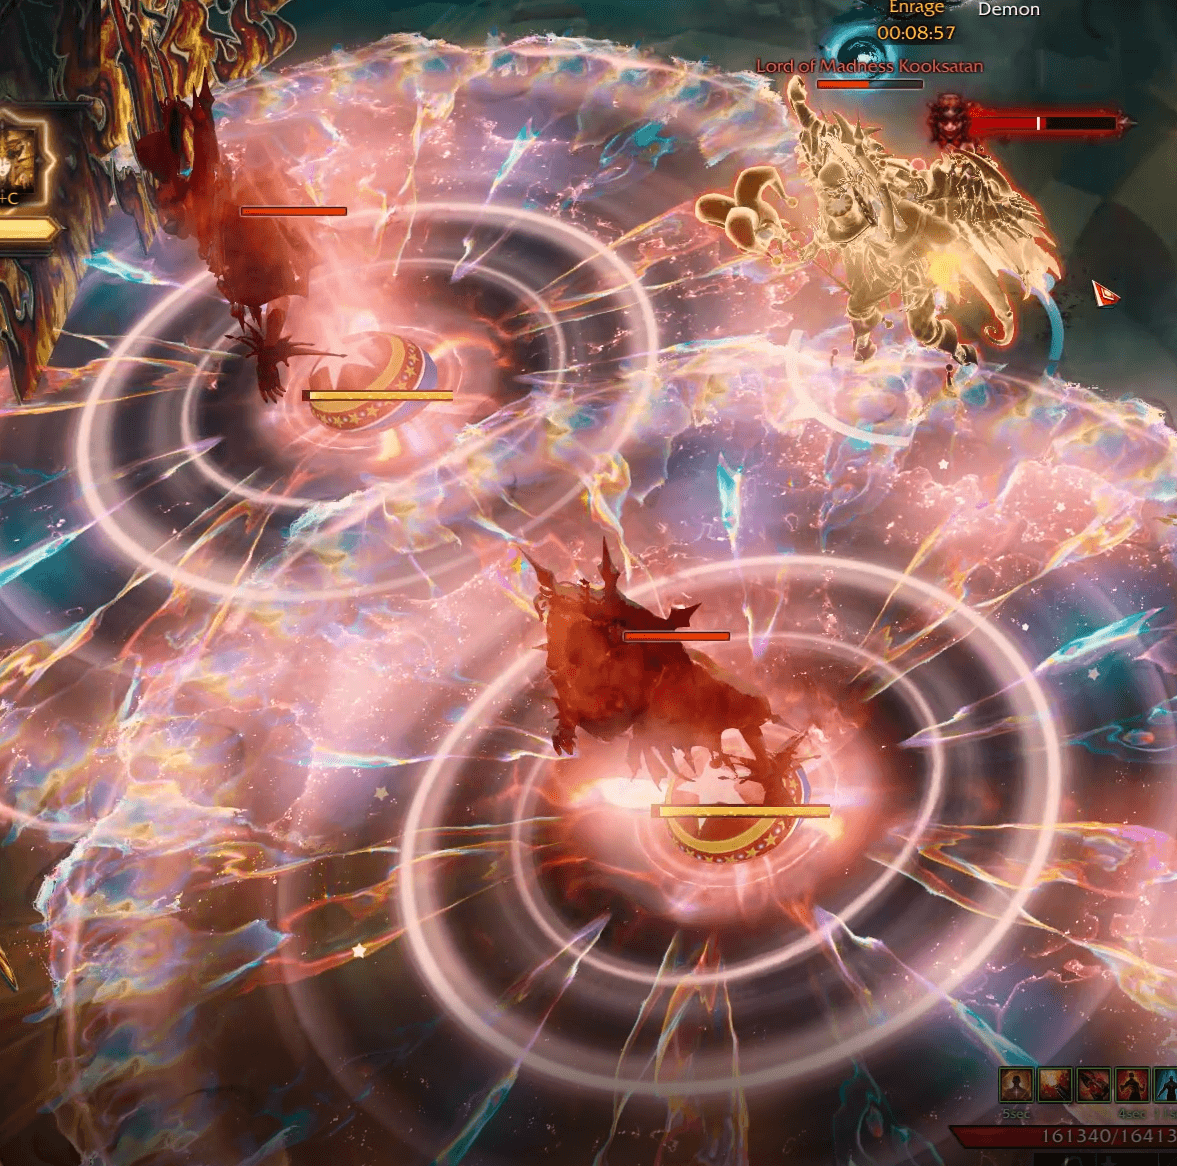
x90: Showtime!
When Saydon hits x90 HP bar, he will get a huge defense buff, teleport to the center of the battlefield, and start the Showtime mechanic.
It starts with 2 players with target marks on their head. Fire bombs that leave DoT damage on the ground will be shot at them, so the two players must be ready to run away and dodge.
After that, Saydon will start slowly spinning while shooting bullets that staggers players with a big yellow circle attack (this increases Madness gauge. It’s advised to use the Inanna Sidereal here – a few seconds later, 2 big bombs will be dropped. You must redirect Saydon to face the bombs and shoot them, otherwise it’s a wipe.
When Saydon is done, he will jump to the side of the battlefield and start shooting everyone. Each player will have big marks orb following them and if it touches a player, it will instantly kill them.
So, either you run together as a team, or each player takes 1 corner and runs clockwise (use a Marching Flag if you will be running together).
Full Showtime mechanic footage:
x80: 3rd Mario Minigame
Same as 1st and 2nd minigames but once again, a bit harder.
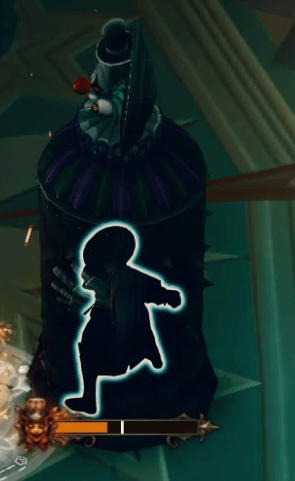
The 1st jump can be tricky because if you get hit by it, it’s instant death. Wait until you see the bouncing ball hit the floor and perform 2 jumps forward really quickly to avoid it.
Now, players outside will have a mix between chainsaws and hooks.
x55: 4rd Mario Minigame
This one should be the hardest, because it is 2D in a 3D map. A player should pay attention to the background platforms to check the colored ball spots.
Players outside will have even harder mechanics to deal with. This time it will be chainsaws, hooks, and 2 leavers with key input mechanics to deal with before staggering Saydon.
Do not forget to interact with the leaver once again after finishing your keyboard mechanic.
x0: Bingo!
After getting Saydon HP to 0 and getting the finishing animation/music for the raid, Saydon will break it and send all the remaining players to another platform to play bingo.
The boss timer resets to 14hour, HP bar reset to 77 bar (2.5b HP)
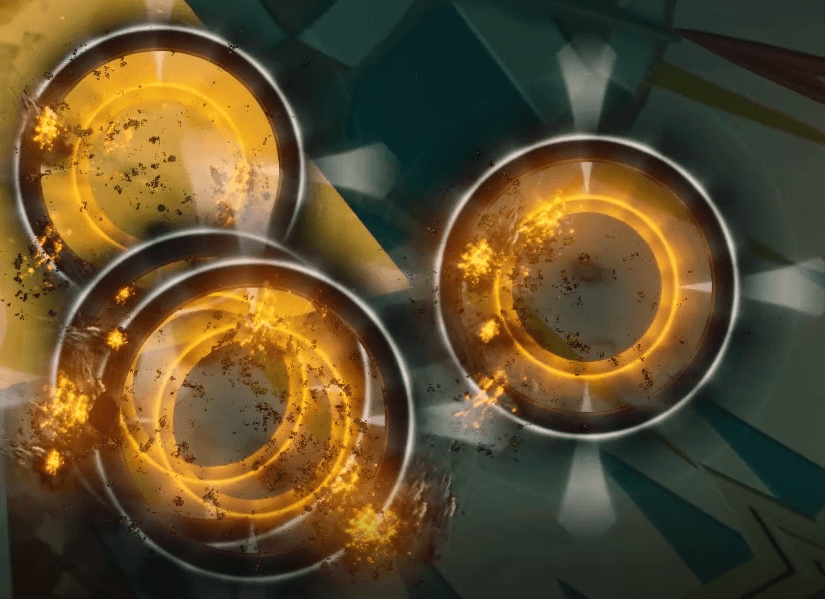
The platform will have 2 skull icons on it and every few seconds, a random player will have a bomb icon on their head, you need to place it on a tile to hit bingo!
Each bomb drop causes 5 tiles to flip (the tile you step on, and 4 cardinal tiles around you).
You will have 3 of those bombs before Saydon start performing his elimination mechanic.
If you line up 5 of the Skull icons on the floor in 1 line, bingo! Now you have 10 seconds of being invincible.
If you hit a bingo, it will prevent the wipe mechanic and instead of that, Saydon will be damaging himself.
If you failed to hit a bingo, you can use Inanna to prevent the wipe mechanic, but you will still need to perform more bingo hits later.
Barrel Attack
During this phase, a barrel attack can happen any time. It’s instant death – neither a shield nor Time Stop can help you if you stand in its way.
The indicator is clear on the floor:
Sometimes, a player must sacrifice themselves if they must place a bingo bomb in a position where a barrel attack will happen.
Things to mention:
- Each successful bingo deletes 12 bars of Saydon HP.
- Stepping to a Skull tile will stun you and massively fill the Madness gauge, you will need to spam spacebar to get out of it.
Fear
This only happens during the bingo phase – Saydon teleports to a targeted player and turns his back toward them. Then, he casts a blue beam forward – if any player is facing Saydon’s face, he will be feared and blinded by darkness. Make sure to look away!
Random Mechanics
Most of the random attacks are the same as gate 1, we will explain here the extra few ones.
Electric Shock
Saydon casts 3 shots of lightning to a targeted player, it deals damage and paralyzes them.
Split
Saydon splits into 4 clones, 3 of them take 0 damage, 1 is real.
Puke
Saydon pukes on a targeted player, debuffing him with Madness circle.
Laser of Fear
Saydon will perform his laser of fear from gate 1, but this time it will be turning around to fear anyone it touches.
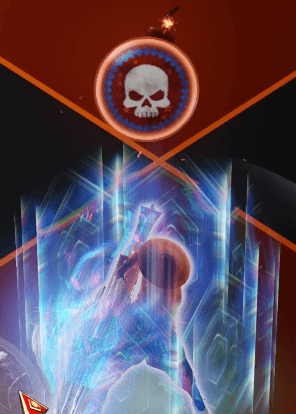
Curse
This one is a very dangerous mechanic. Saydon curses a few or all players with a debuff that lasts for 15. At the end of it, your HP will reverse, meaning that if you’re full at HP it will reverse it to 0 and you will die. You can see the curse debuff above your mana bar.
![]()
It’s recommended to run to the edges and take damage from the fire to reduce your HP. When the curse ends, it reverses your HP 80~90% HP.
Usually. this mechanic has a follow-up, the Kakul face mechanic.
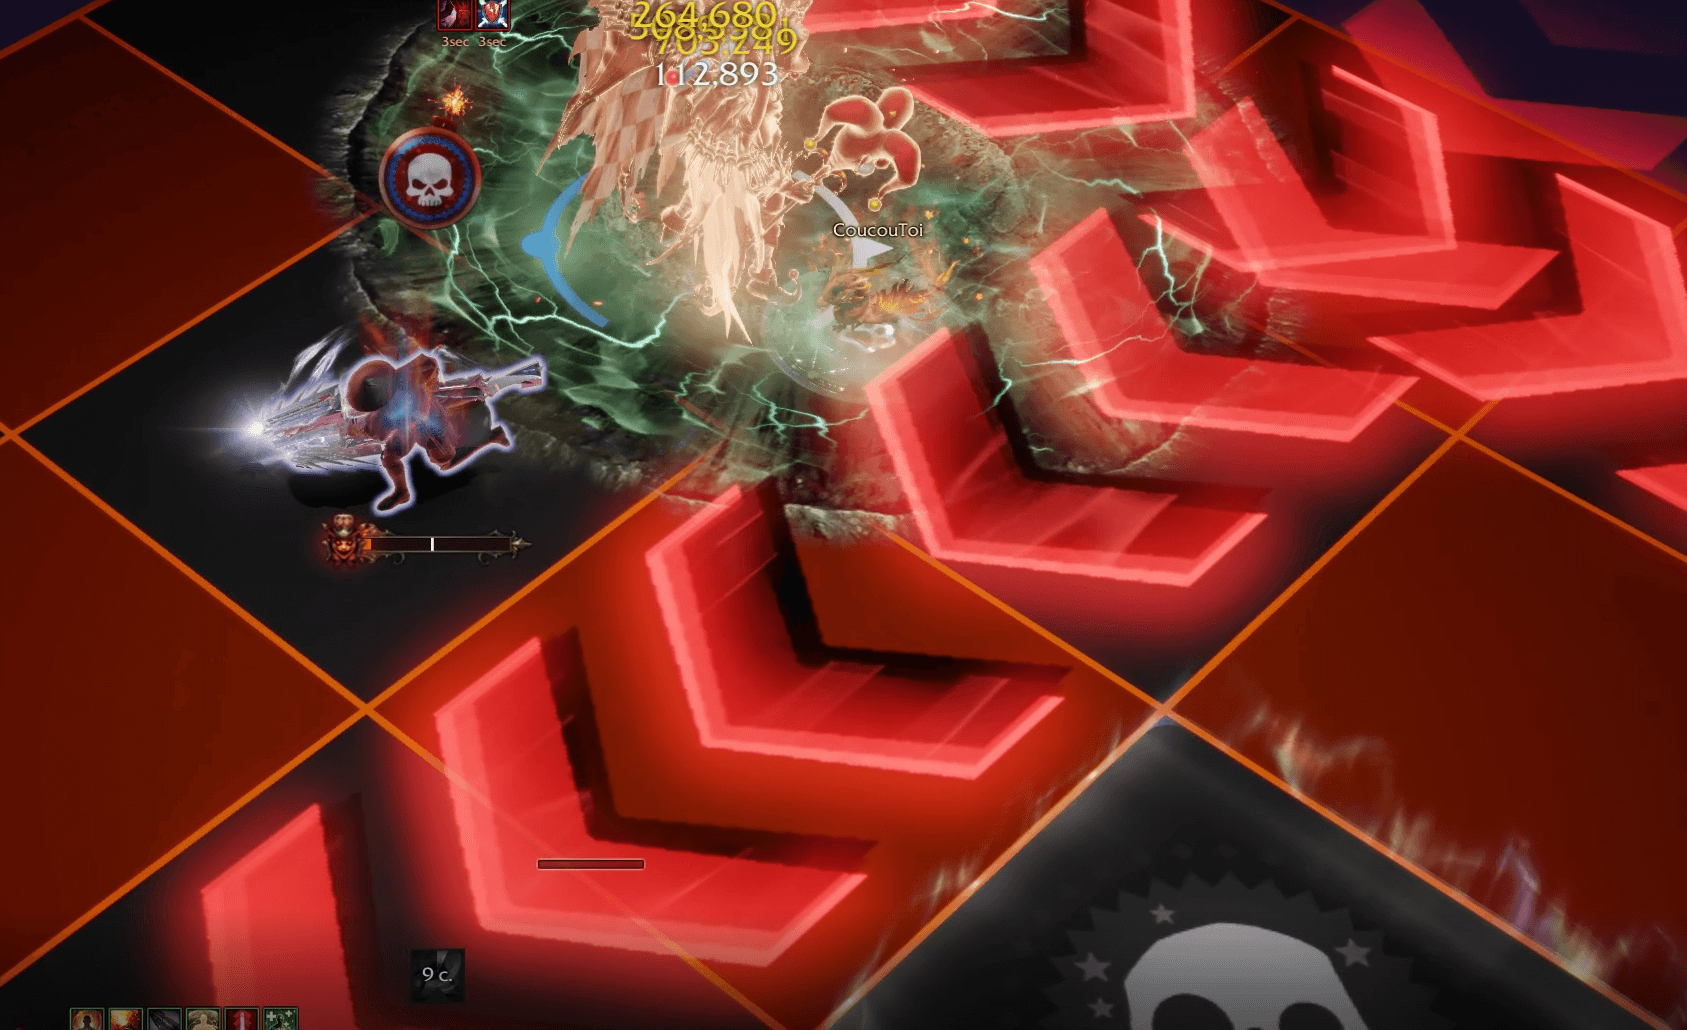
Kakul’s Face
After finishing the curse mechanic, Kakul’s face will be all over the floor.
Saydon will be invincible and all battle items/skills will be disabled.
Depending on the transformation penalty stack the boss has Saydon will perform waves of anger, dealing fixed damage to everyone but it increases with every wave.
![]()
If the boss has 5 stacks, it’s a wipe.
Electric Jump
Saydon jumps off the battlefield, targeting 1 player with lightning (it has blue telegraph) x 3 times. Then, he will land with 4 yellow slices of smash.
Clap of Death
Saydon will clap twice. When this happen, expect 1 of 2 things:
- Random hooks coming from everywhere
- Random Chainsaws moving around.
Don’t stand near the edges, go to the center.
Fighting at the edge during clap of death:
Check out our other Lost Ark raid guides or take another look at Kakul-Saydon Phase 1 or Phase 2.