First Encounter – Substratum Guide
The first encounter, Substratum, starts you off in a large room with 6 entrances to nearby chambers. The rooms contain conduits, and plates that are connected to each other with an orange wire.
To start the encounter, pick up the resonance in the central room and deposit it into the chest. Upon doing so, the 4-minute-long wipe mechanic countdown begins, the encounter starts, and 2 random doors will open, spawning ads.
Your job is to split into 2 teams of 3 – each team will enter the open rooms and clear ads. You need to pay attention to the following ads:
- Minotaur
- Gatekeeper – killing this Major will open the doors for the opposite team.
- Overload Minotaur – killing the Champion will spawn Tormentor in the middle room.
Once you are done with the first round of clearing rooms – meet in the center and kill the Tormentor. After killing the Tormentor, ads (especially Supplicants) will begin to flow into the central room.
Take care of them and repeat the process of killing the ads in the rooms, and a second Tormentor. This time, however, each team should pay attention to two things:
- Open conduit (ending plate)
- Glowing plate in one of the rooms (starting plate)
Your job is to designate 2 players from each team to stand on the plates and generate resonances. This is done by stepping on and off the plates once they begin to “charge.” Every time you send energy via plates, resonances will spawn in:
- Central room
- Starting plates rooms
- Ending plates rooms
Generate and pick 3 resonances each – the players not on the plate duty should help with ad clear and pick up resonances in the central room, while the players on plates should pick resonances in their rooms in between stepping on and off the plates.
Keep in mind that if you pick 4 resonances – you will instantly die. Another thing to remember is that picking up a resonance gives you a countdown debuff – once it expires, you will die. However, you can always refresh your timer by picking up another resonance.
Once everyone picks up their resonances – it is time to close the conduits and proceed to the last step. You can close conduits by shooting an open conduit while you have a resonance buff on you, and after that stepping on the plate one more time as if you were still generating resonances.
It is important to remember that if you mess up the timing of stepping on the plate – Subjugators will spawn in the plate rooms and the plates will be disabled until said Subjugators are dead.
Once the conduits are closed, everyone should gather in the central room, clear ads, and kill the Subjugator that will spawn in the middle. Once it is done, a chest will spawn, and you can deposit your resonances into the chest to extend the timer of the wipe mechanic to a maximum of 4:20.
Repeat the steps above 2 more times, and the encounter is cleared. Now you can proceed to the Herald of Finality boss fight.
Recommended Builds and Weapons
For this encounter we recommend high ad clear potential builds and weapons. Don’t forget to bring anti-overload weapons or artifact mods!
For the builds, it is recommended to use:
- Tether for Days on Hunter
- Thunder + Stasis Nukes on Titan
- Necrotic Scales on Warlock
For the weapons, the best options are:
Second Encounter: Herald of Finality Boss Fight Guide
Similar to the first encounter, you will find 2 pairs of plates in the middle, right, and left of the boss arena. Your fireteam will now split into 3 pairs, covering the 3 sides respectively.
To start the encounter – shoot the blight in the middle. Once the encounter starts, you will notice the same wipe mechanic countdown, only now you have around 2 minutes to get the damage phase before you wipe.
Players need to kill the ads that spawn on their sides – especially focusing on Taken Knights, upon the killing of which, 1 miniboss on each side will spawn. For the middle – Taken Phalanx, for the left side – Taken Witch, for the right side – Taken Ogre. Kill the minibosses to enable the plates.
Around the time when minibosses spawn, 3 random players will be called into the center of the boss room to “fight” with the boss. Once 3 players are there, keep an eye on taken blights across the entire boss room – destroying them will allow the 3 players inside to damage the boss in the weak spot (head).
Upon doing enough damage to the Herald’s weakspot 3 of the players will get a buff called “Stolen Favor.” This buff will allow you to see symbols on the conduits – this time it’s either a Pyramid or a Sphere.
The main difference from the previous encounter here is to shoot the conduit while you have the correct buff, as bouncing energy between the plates, just like in the first encounter of Salvation’s Edge will spawn resonances – this time 2 types: Pyramidal or Spherical. Other than that – the mechanics in this step are the same:
- Bounce energy between plates to generate resonances.
- Pick up 3 resonances each.
- Close the conduit by shooting it while having a resonance buff that corresponds with the symbol you saw earlier on the conduit.
- Once done – go to the end of the room and deposit your resonances into the chest.
Doing this will start a damage phase, for which, at the time of writing, we heavily recommend you to go with the swords. Unleash your damage, rinse, and repeat until final stand.
The final stand is not difficult, but be wary of multiple Taken Ogres that spawn during it.
Recommended Builds and Weapons
You want major killing power, survivability, and DPS.
Recommended builds are:
For DPS weapons, at the time of writing, we recommend:
- Falling Guillotine
- The Lament
- Ergo Sum with Wolfpack Rounds.
Third Encounter – Carve a Path
The third encounter utilizes the same mechanics of plates and conduits, as the previous ones, however this time you move forward by doing this in 3 rooms.
Again, you will find 6 plates – two per each side of the rooms. Left, middle, and right. Your job is to split into 3 teams of two, generate resonances, pick up resonances, and close the conduits with the correct resonance buff.
To start the encounter, deposit the resonance into the chest in the first room. This will spawn ads and 3 Tormentor bosses. Kill the tormentors – whoever gets the final blow on the Tormentor will get a “Stolen Favor” buff that will allow the player to see the symbols on the conduits, just like in the previous encounter. This time, we have a new type of resonance – a Cube.
Upon killing the Tormentors, be wary of the Cabal Turrets spawning across the room and eliminate them as soon as possible, as they’re probably going to cause major inconvenience due to their high damage output.
Once you read all the conduits – start generating resonances by stepping on and off the plates. Generate and pick up 3 resonances and… FAIL the last bounce of energy between plates.
Yes, you read that right. This is, by far, the easiest method to complete the encounter, because you need to align your buff with the correct conduit. So the players on end plates will have to swap according to their buffs.
Upon failing the bounce – 3 Subjugators will spawn. Kill them immediately, as they’re the reason for plates being temporarily deactivated. Once it is done, align players according to their buff and the conduits symbols you saw earlier.
Do the last bounce and close the conduits. This will spawn a chest in the middle of the room, as well as respawn Cabal Turrets – kill them ASAP, deposit your resonances, and proceed to the end of the room, where ads, alongside a Champion will spawn. Clear the ads, kill the Champion, and proceed to the next room.
You will need to repeat the same process for this and the last room:
- Kill Tormentors
- Read the symbols on the pillars
- Generate and pick up resonances
- Fail the closing bounce
- Kill Subjugators
- Swap the team members for closing
- Close the conduits
- Deposit resonances
Upon doing so in the last room – the encounter will be cleared. However, be warned – the plates in the 2nd and 3rd rooms are crossed over.
For the second room, the left’s starter plate corresponding plate is now in the middle, and for the third room the left’s starter plate corresponding plate is now in the middle, the middle’s starter plate counterpart is now on the right, and the right’s one is on the left.
Recommended Builds and Weapons
This is an ad clear encounter, so survivability and ad clear potential matter the most.
For builds, we recommend:
For weapons, the obvious choices can be:
Fourth Encounter – Verity
Now, we’ve finally reached the Vault 2.0 – Verity, an encounter that quickly became notorious with the Destiny 2 player base due to stopping the best raiders and streamers for hours upon hours during the contest mode.
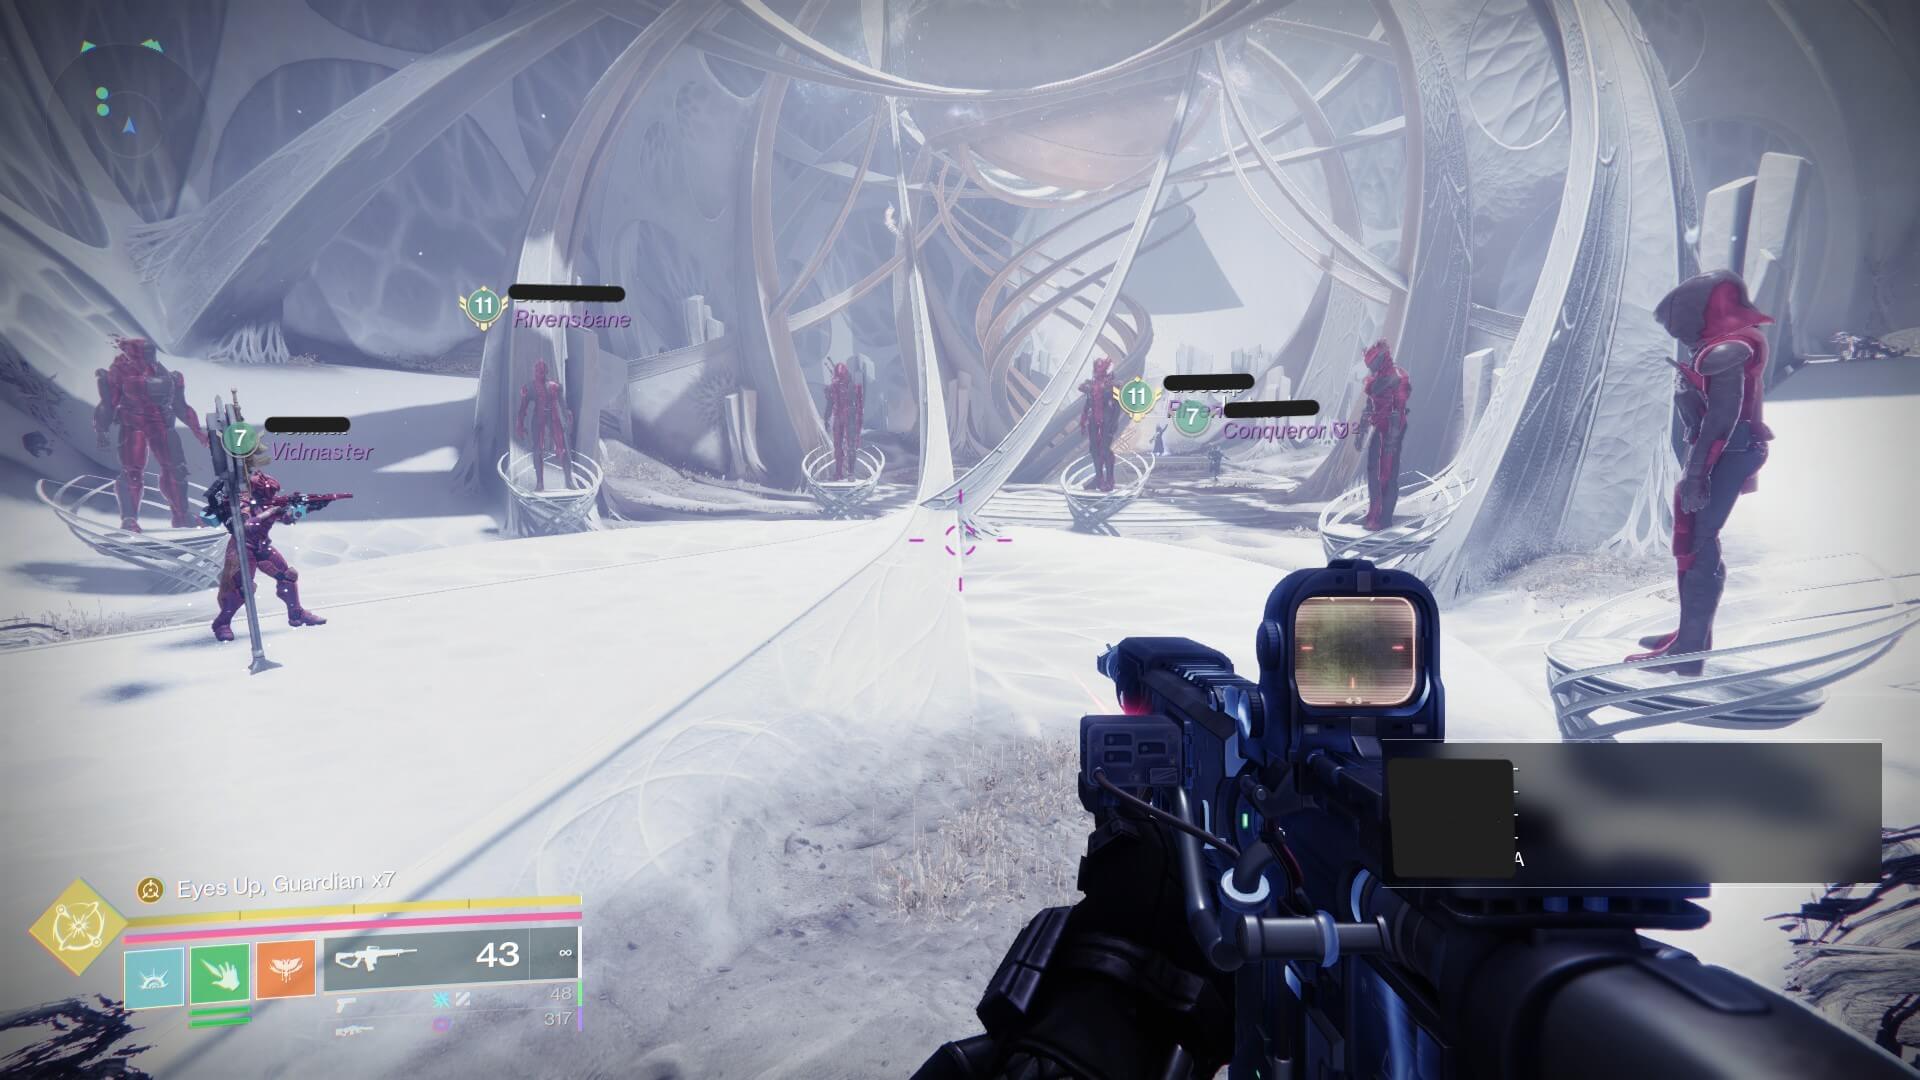
When you enter the room, you will see 6 statues on the front. These statues mimic your fireteam – specifically, the armor you have on you at the time. If you walk past the statues, you will see 3 more statues – these statues are supposed to represent the fireteam members who will at the start of the encounter teleport into “solo rooms” often referred to as “Inside.” Keep in mind that these 3 statues rotate, so you can choose who goes inside initially.
The fireteam will be forcefully split into 2 teams – the inside team, and the outside team.
In a nutshell, the goal of the inside team is to escape the room through a glass wall by combining 2D shapes that the statue of their Guardian is not holding into a 3D shape, while the goal of the outside team is to dissect the 2D shapes from the three statues outside in a way that the 3D shapes that the three statues are holding do not contain the shape that the respective Guardian’s statue inside is not holding. Don’t worry, we will break it down!
To start the encounter, you need to interact with one of the 3 statues outside.
Inside – Mechanics and Goal
At the beginning of the encounter, 3 fireteam members, as shown by 3 statues, will be teleported into inside rooms. Each member will be alone in their room. Each member will see 3 statues in their rooms – these statues represent the Guardians that got teleported inside.
The first thing you need to do is to look at the statues – each statue is holding a shape – either a triangle, a circle, or a square. One person needs to call out the shapes from left to right. For example, if the 3 statues from left to right are holding Circle, Square, and Triangle, then the callouts would be “CST”.
The next thing you need to do is to look at the wall behind the statues, identify the 2 rotating shapes, and remember them.
The goal of the fireteam members in the inside room is to make it so that the shapes on the wall rotate between two 2D shapes that their Guardian’s statue is not holding. For example, if the statue of your Guardian is holding a Square, your goal is to make it so that the shapes on the wall rotate between a Circle and a Triangle.
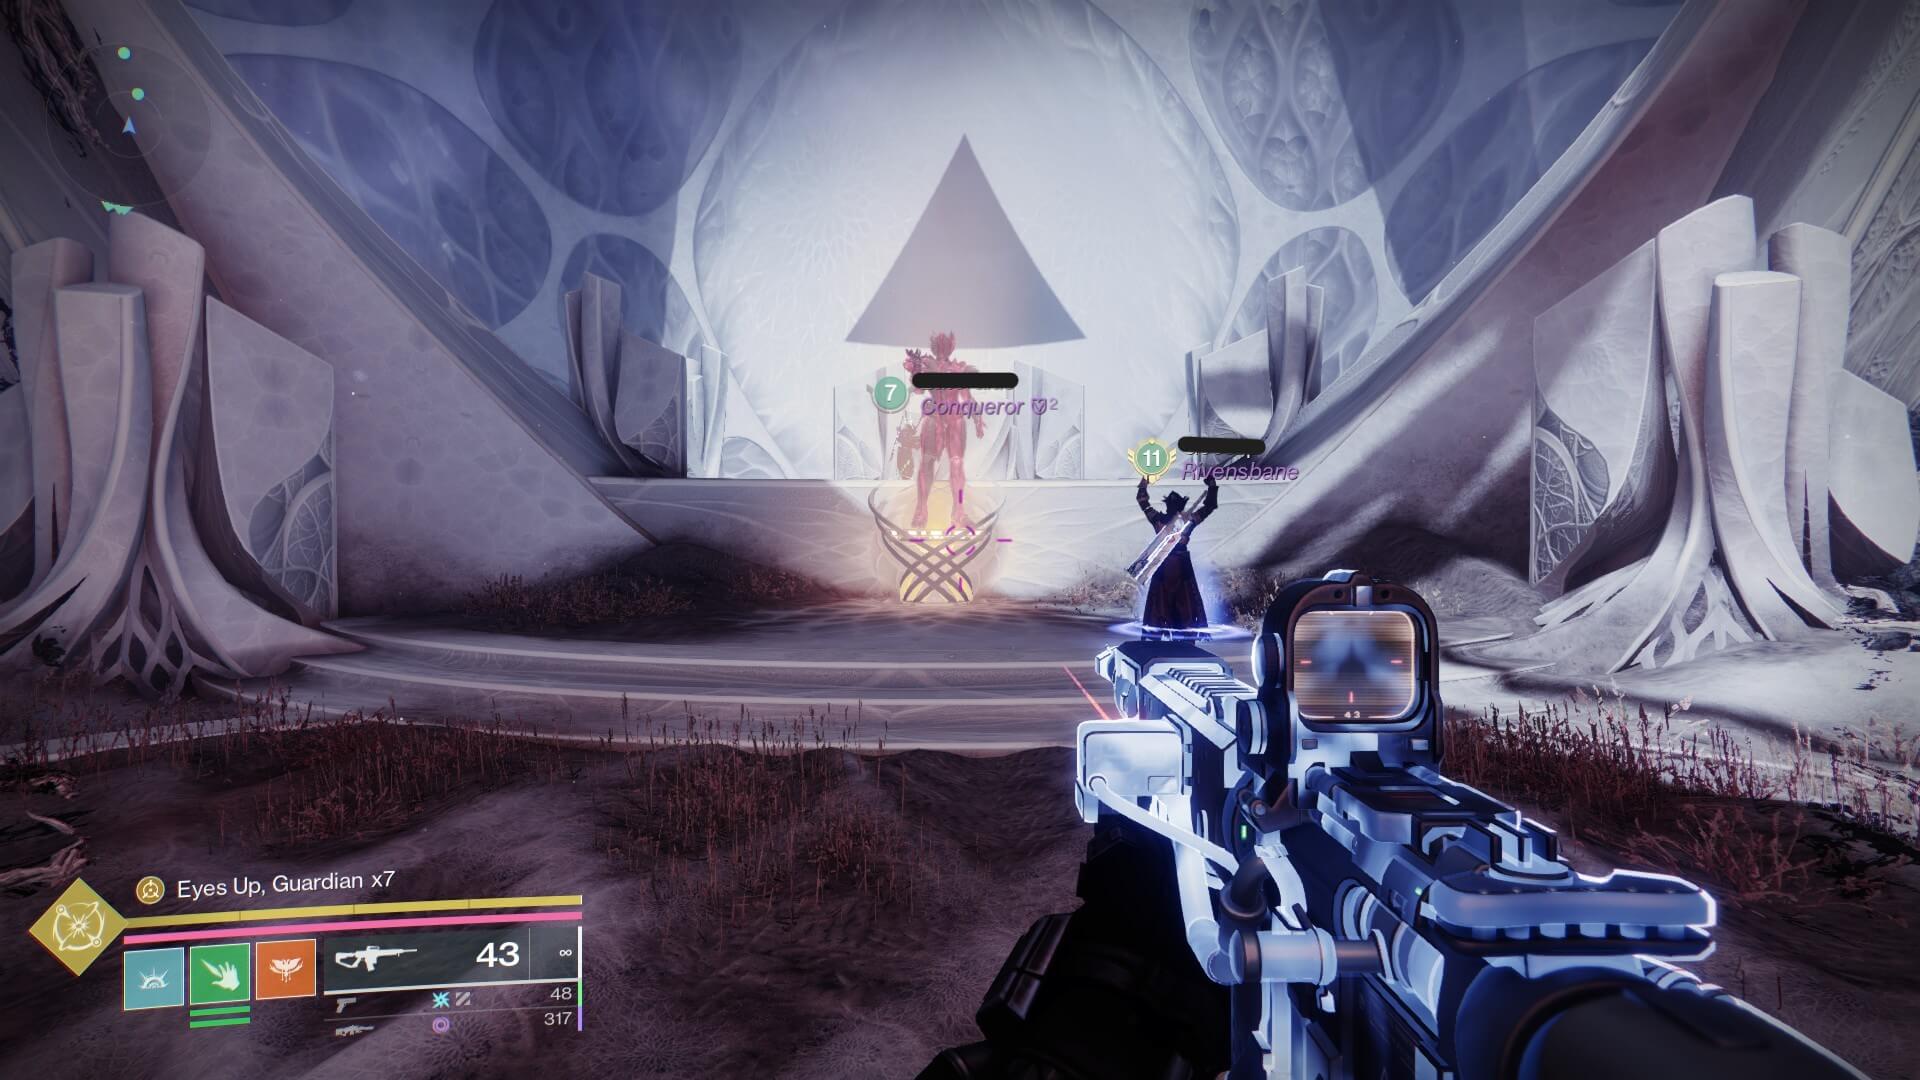
The goal is for the shapes on the wall of your inside room to rotate between two 2D shapes your statue is not holding.
This is done by killing Hive Knights that spawn in the back corners of the inside room called Splintered Curators. Upon defeat, they drop 2D shapes that you can interact with.
There can be only 2 Knights at the time and the shapes they drop depend on the rotating shapes on the wall. Say, if you have a Circle and a Triangle on the wall – the first Knight will drop a Triangle, and the second knight will drop a Circle. Upon picking up a shape, you will get a corresponding buff and now will be able to interact with one of the statues inside.
Keep in mind that after killing 2 Knights an Ogre will spawn that you will have to defeat in order for the other 2 Knights to spawn.
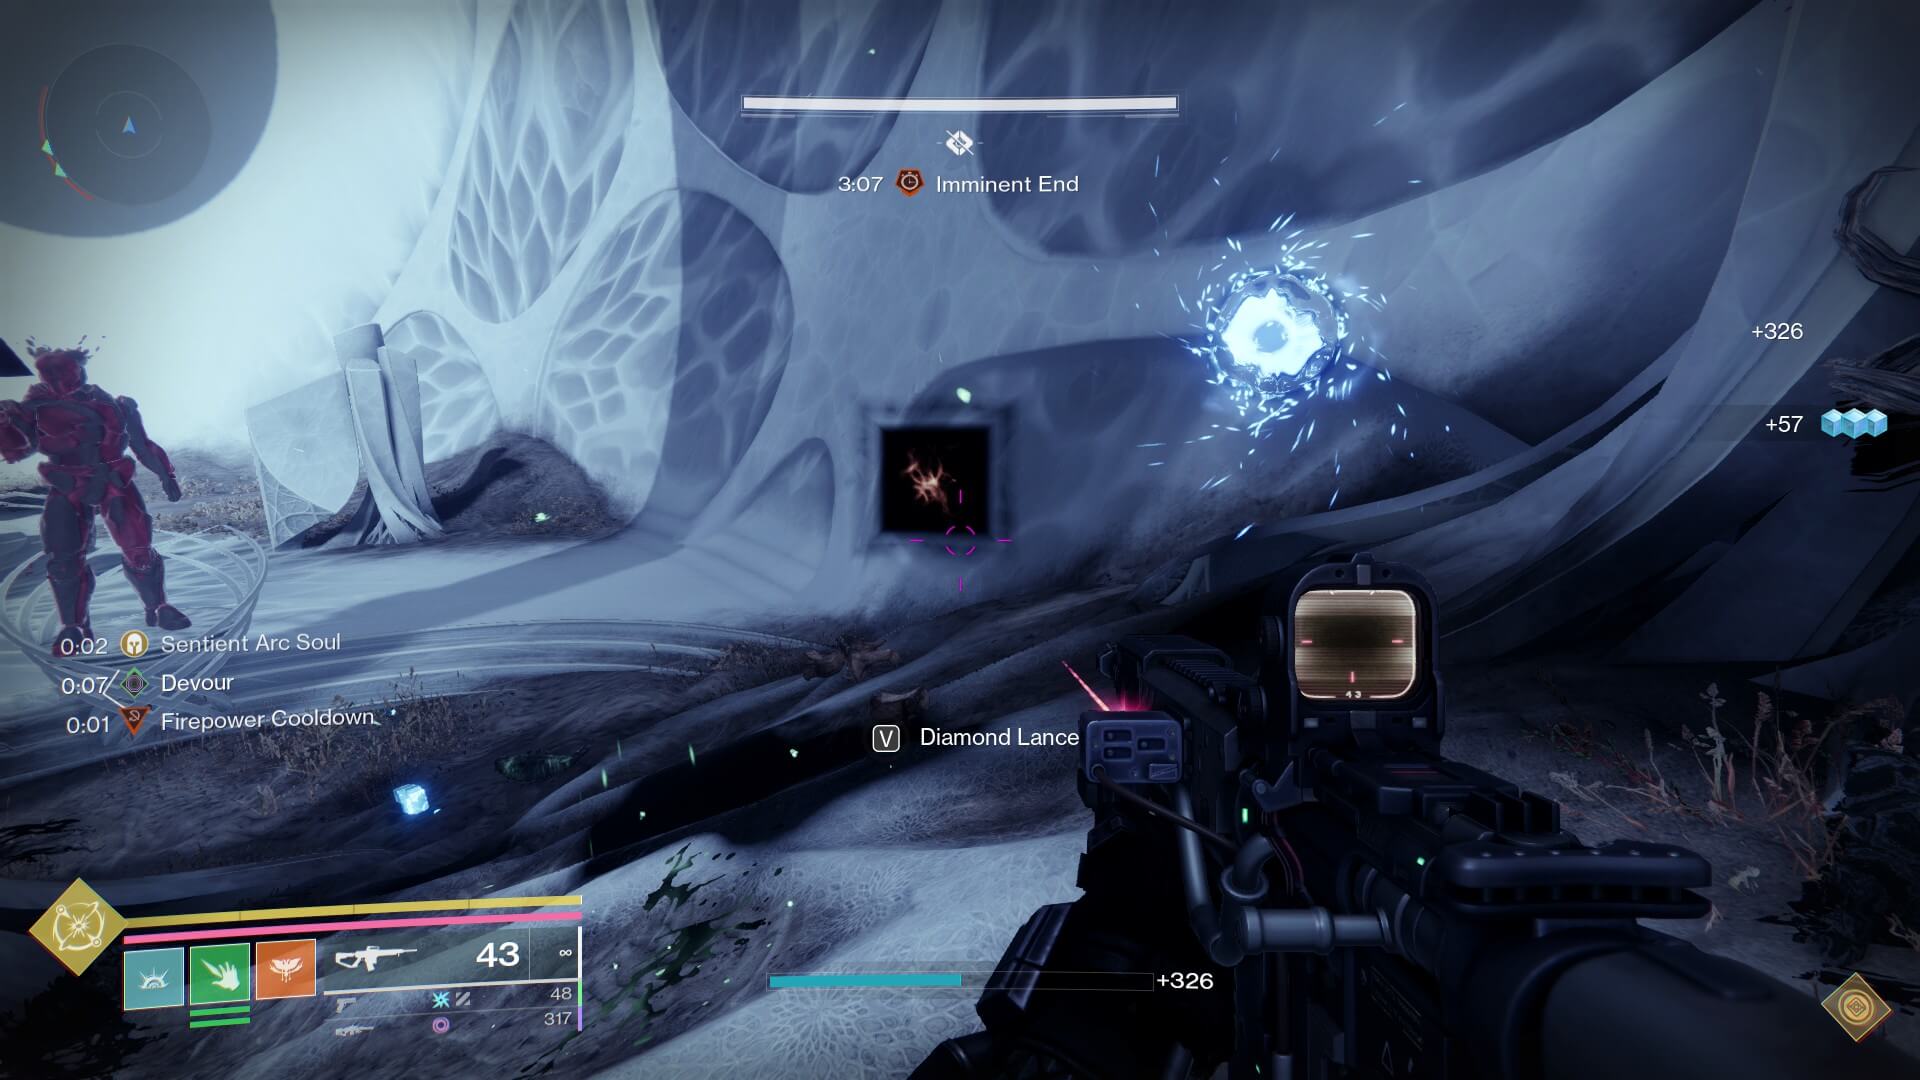
Upon dying, the Hive Knights drop 2D shapes you can interact with and pick up as a buff, which will allow you to interact with the statues.
The encounter is on a countdown, so if you are not able to do the mechanics in time – your entire team will wipe and you will have to start over again.
The easiest way to complete the mechanics for the inside room is:
- Identify the 2D shape that your statue is holding.
- Identify the rotating 2D shapes on the wall.
- Get rid of the shapes your Guardian is not holding by killing Knights, picking their 2D shapes one at a time, and depositing them to the corresponding statues. For example, if you pick a Circle – deposit it to the statue that is holding a circle. Do NOT pick your own shape, as it will slow down progress significantly.
- When done correctly by all 3 fireteam members in their inside rooms, your wall should display the 2 shapes that your statue is holding. Don’t worry, this is intended.
- Now, you will need to start passing correct shapes to each other’s statues. Kill the Knights, pick up your shape, and deposit them to the statues clockwise. If done correctly, you should see the shapes on the wall that do not correspond with the one your own statue is holding.
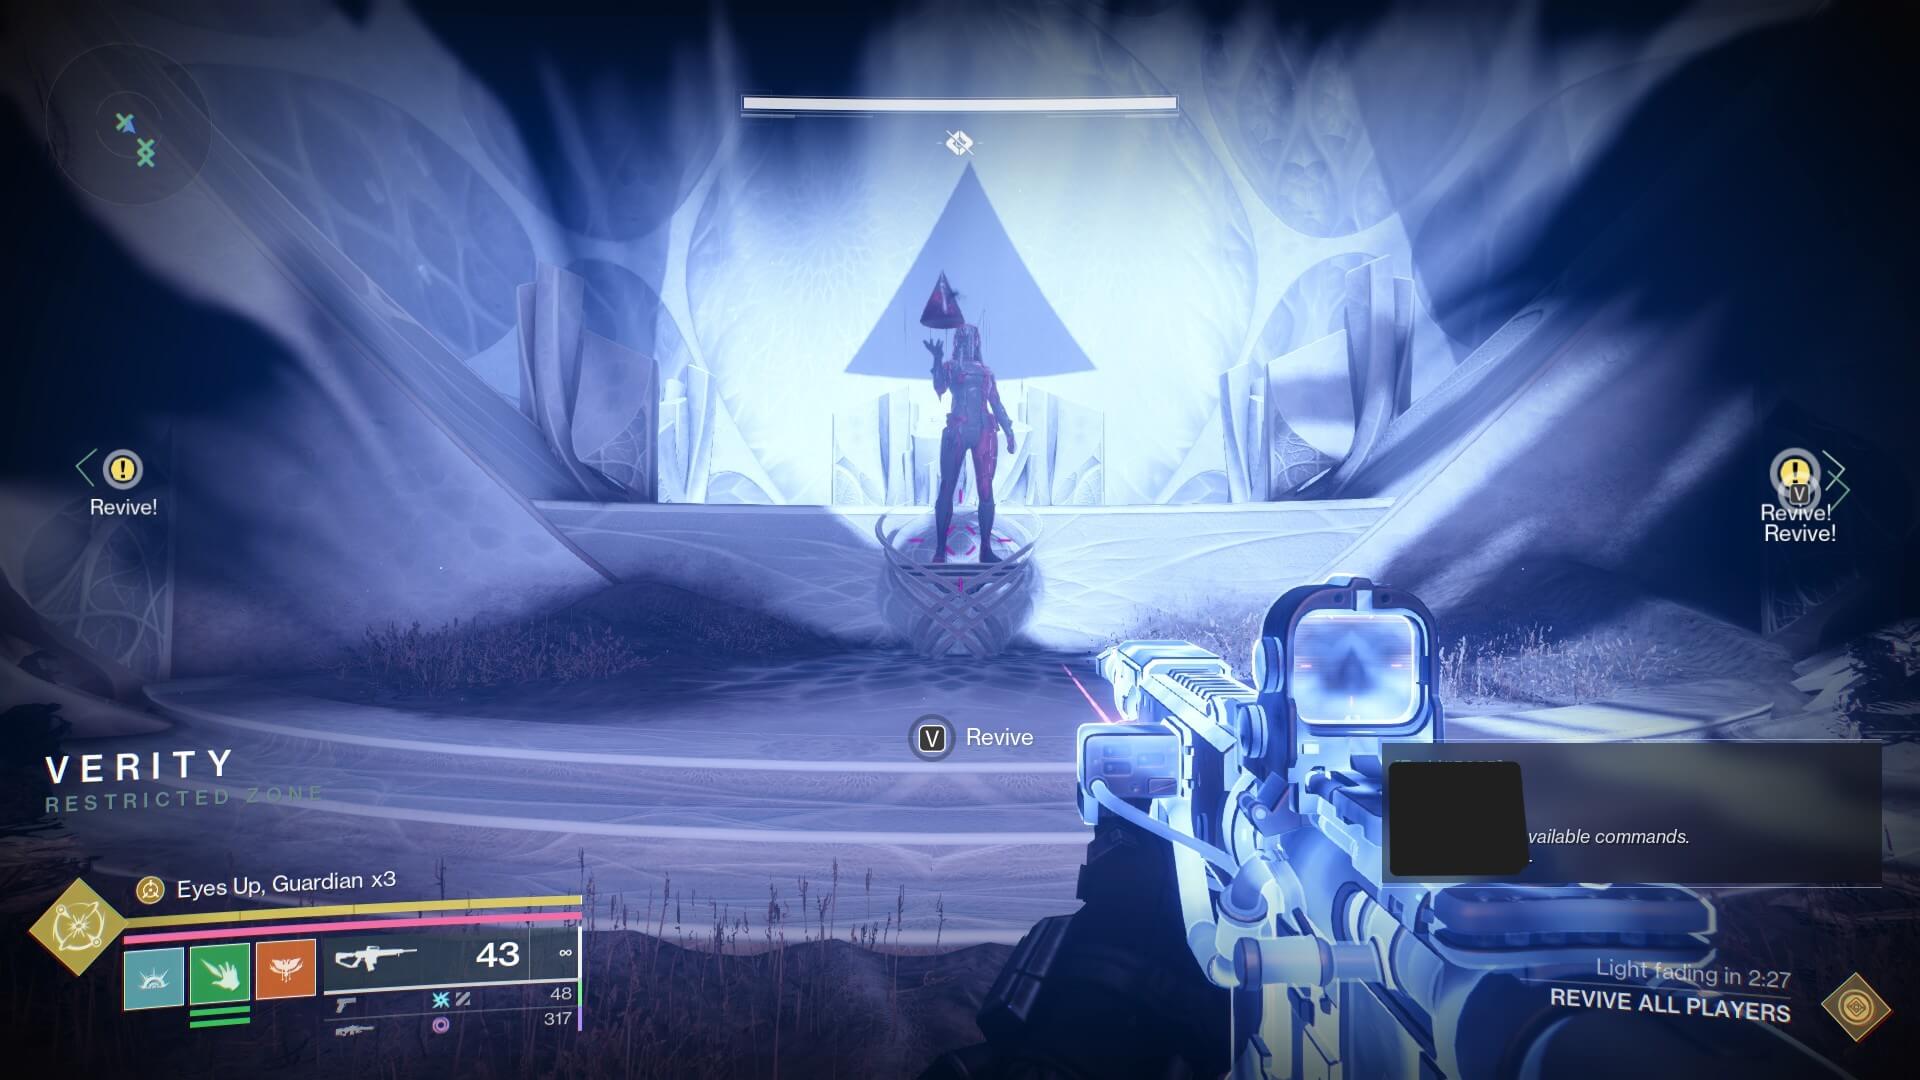
- At this point, you will get a notification that The Witness has noticed your efforts and after a brief period of time your Guardian will die. This is an intended mechanic, so do not worry. At this point, the team outside will need to pick up your Ghosts and deposit them to the correct statues at the front of the outside rooms in order to resurrect you.
- Once resurrected, you will be back in your inside room. Kill the Knights again, and pick up their shapes without depositing. Picking up two 2D shapes will transform a buff into a 3D shape – the one that doesn’t include the 2D shape that your statue is holding. At this point, you’re done with the inside mechanics and ready to pass through the glass wall if the outside team has done everything on their side.
Outside – Dissection Guide and Goal
As the 3 Guardians will get teleported into inside rooms, the rest of the fireteam will stay in the outside room. This is where things get complicated and tricky. The 3 statues of the teleported Guardians that you find in the outside room will hold 3D shapes. The job of the outside team is to dissect the wrong shape by swapping 2D shapes between statues.
This is done by killing a Hive Knight, picking up their 2D shapes one at a time, and interacting with a statue from which you want to remove the 2D shape. Then pick up another buff, and interact with the statue with which the previous 2D shape will be swapped. The possible combinations of the 2D into 3D shapes are as follows:
- Circle + Circle = Sphere
- Square + Square = Cube
- Triangle + Triangle = Pyramid
- Circle + Square = Cylinder
- Circle + Triangle = Cone
- Square + Triangle = Prism
The easiest explanation of how to do the dissection is as follows:
- Identify the shapes on the statues and check in with the inside team on what their 2D shapes are.
- If the fireteam members on the inside from left to right have Circle, Triangle, and Square as their 2D shapes, you need to make sure that their statues on the outside hold the 3D shapes that do not include their respective Guardian’s 2D shapes.
- For example, if your fireteam member’s inside statue’s shape is a Triangle, you need to make the outside statue of this fireteam member hold either a Sphere, Cube, or Cylinder. In other words, the 3D shapes that don’t include the Triangle 2D shape in them.
The steps of the dissection are as follows:
- Kill Hive Knights and get their buffs one at a time.
- Interact with the statue which contains the 3D shape that contains the 2D shape you picked up – this is a starting statue.
- Pick up the shape from a dead Knight and interact with another statue that contains your current 2D shape – this is the end statue.
- Now, the 2D shapes you “dissected” out of both statues will swap. Say, you have a Cylinder and a Pyramid. If you picked up a Circle and dissected it out of a Cylinder and then picked up a Triangle and dissected it out of a Pyramid, you will end up with 2 new 3D shapes – a Prism and Cone.
- Do this for 3 statues, coordinate with the inside team on their progress and resurrections, and at this point, you all should be able to progress to the resurrection stage.
Important to know: upon killing Knight in the outside room, unstoppable Ogres will spawn. Kill them in order to spawn the Knights again.
Tip: if you’re struggling with dissection, you can use this recently developed dissection tool.
Another method you can use is to simply brute force the dissection:
- Kill the Knight
- Pick up a shape
- Dissect from the statue that has this 2D shape in its 3D shape
- Rinse and repeat until you’ve achieved the results needed.
Resurrection Stage
Once the inside Guardians are out, gather at the front of the room and kill ads, as well as 2 unstoppable Ogres.
Once you’re done with your enemies, The Witness will kill 5 random Guardians – do not worry, this is intended.
The goal of the last remaining Guardian is to identify the Ghost shells of the dead Guardians and deposit them into the correct statues of corresponding Guardians to resurrect them.
Once this is done, you will have to repeat the same mechanics 2 more times and the encounter will be complete!
Recommended Builds and Weapons
For this encounter, we heavily recommend you to lean into builds and weapons that offer good ad clear, can stun unstoppable champions, and provide much-needed survivability.
Recommended builds:
Recommended weapons:
Fifth Encounter – Zenith – The Witness Boss Fight Guide
We have now come to the last encounter, perhaps the coolest, and the hardest raid boss fight in Destiny 2 – The Witness.
Players have struggled with this boss fight on Contest Mode for hours upon hours, upon hours, as this fight is a DPS check, movement check, and ad clear check.
2 or 3 people will need to do the mechanics, while the rest of the team should heavily lean into ad clear, prioritizing Screebs, Weavers, and Attendants.
How to Start the Damage Phase
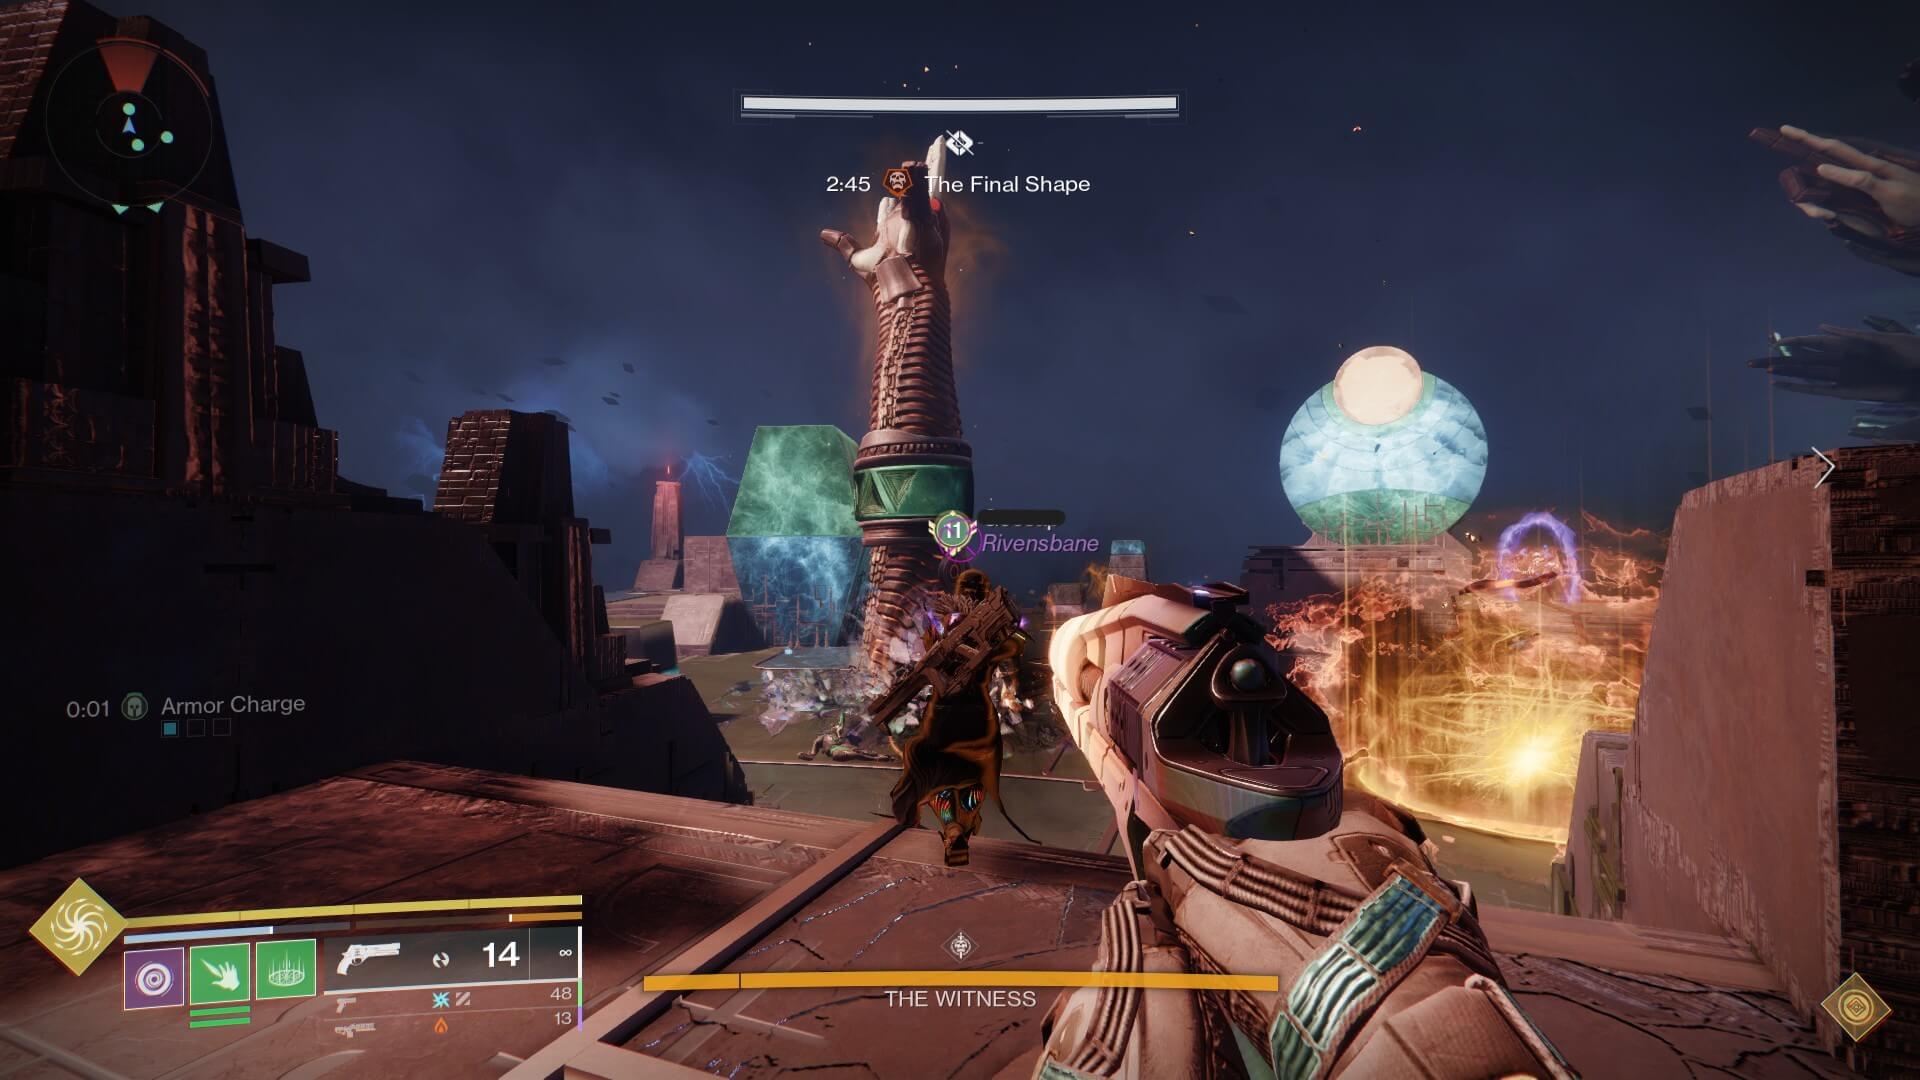
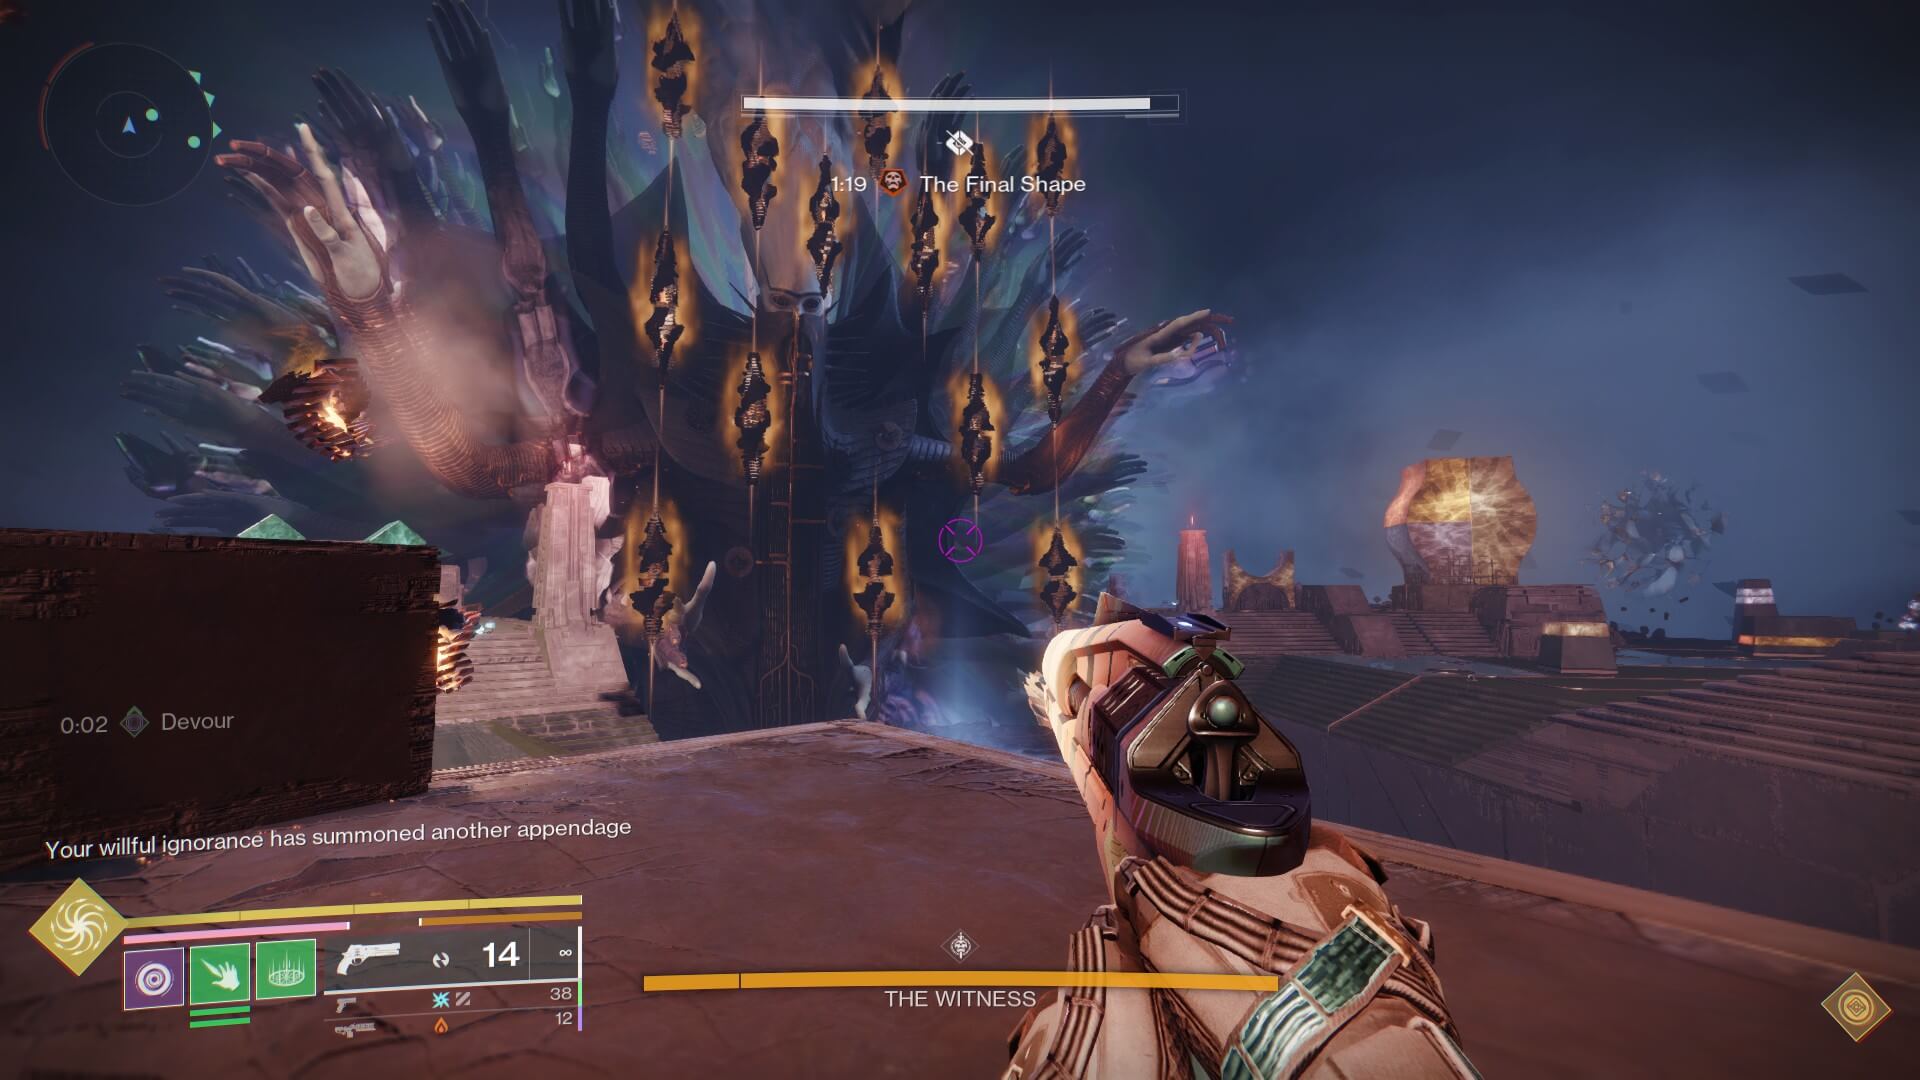
Upon starting the encounter, you will notice 3 types of The Witness’s hands spawning across the arena. In order, your job is to:
- Break the wrist on the hand by standing in the corresponding hand attack area long enough to get the corresponding resonance buff, but not too long as these attacks hurt:
- Triangle area for hands floating from above.
- Circles are for hands emerging from the ground.
- “Wall” area for hands that is directed parallel to the floor.
- Upon breaking the wrist, it will reveal the buff needed to destroy the hand. Say you damaged the wrist of the Ground Hand and the bracelet shows a rectangle buff – you now need to go to the Parallel Hand’s attack area, get its resonance buff, come back to the circular area, and shoot the wrist again, which will destroy the hand.
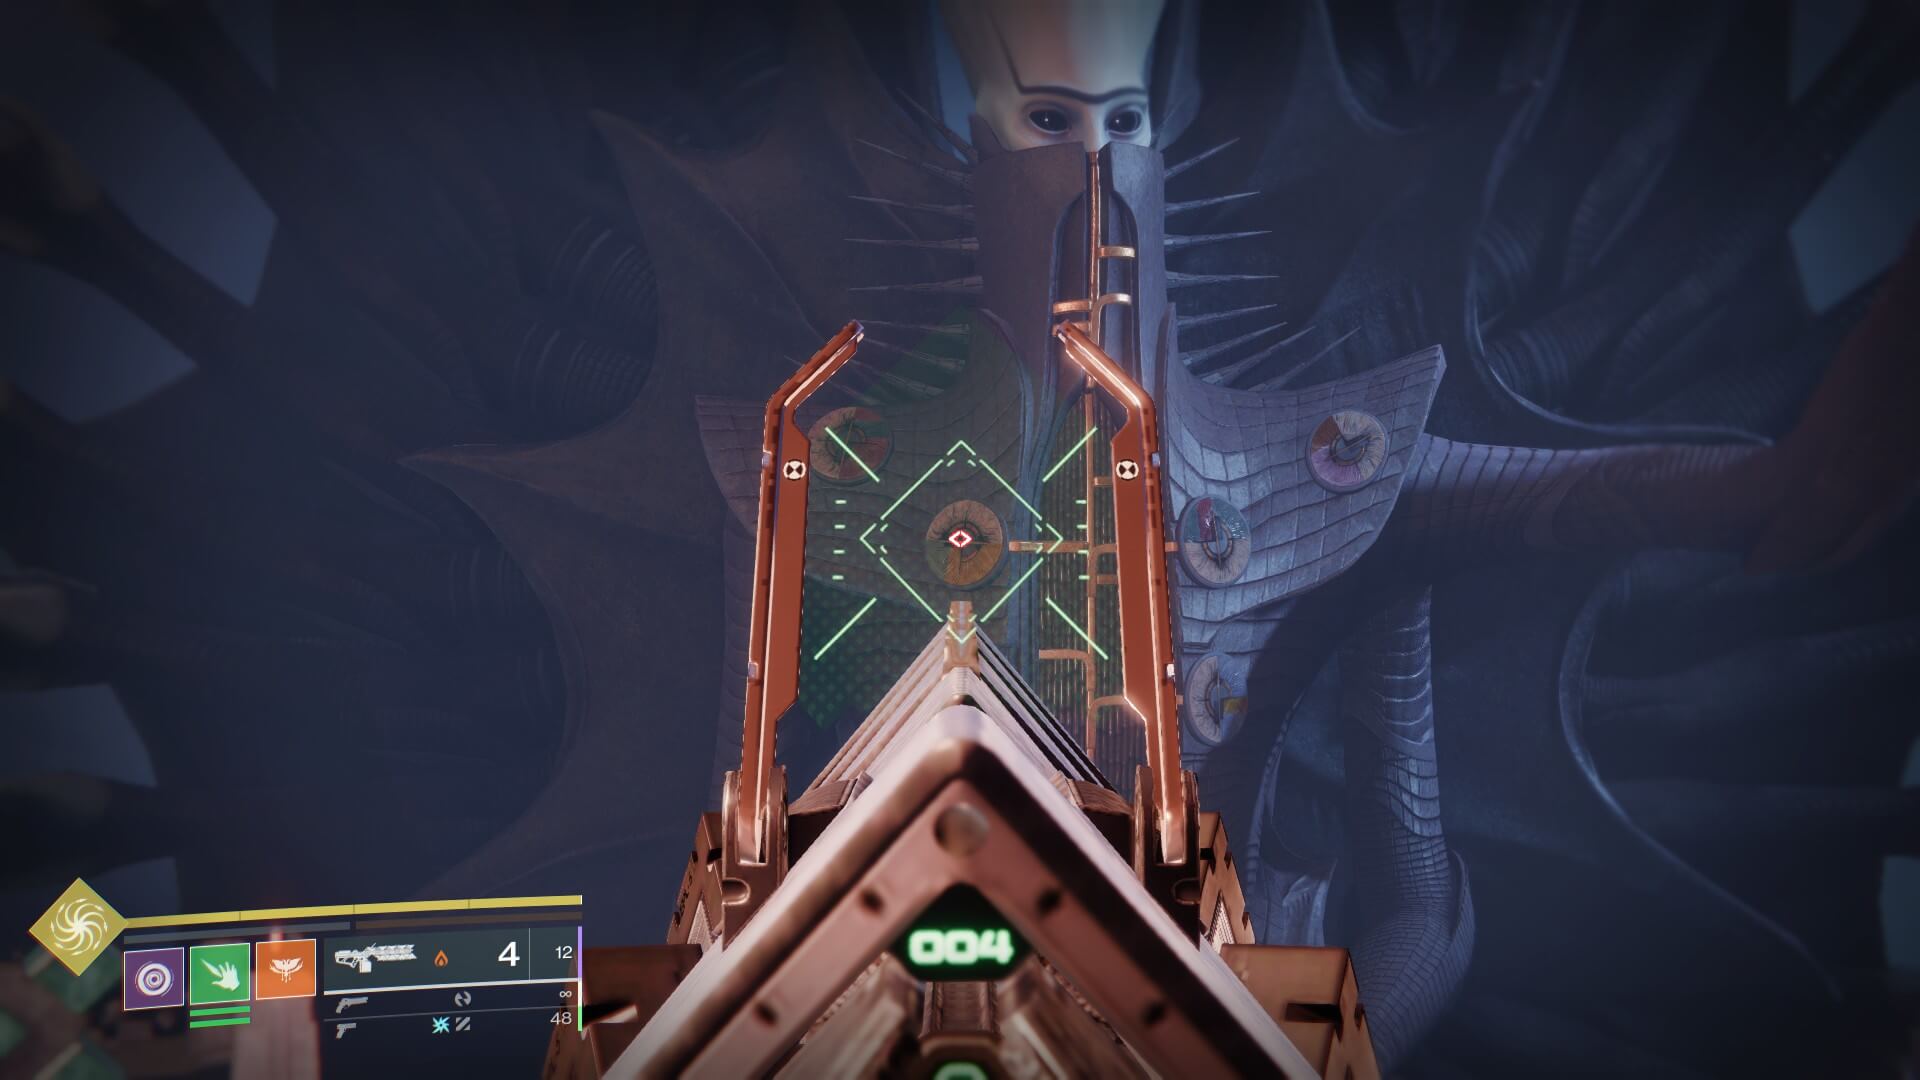
- Destroying the hand will give you a “Glyphbreaker“ buff, which will allow you to destroy one of 6 Glyphs you will see on the boss’s chest.
- IMPORTANT: Destroying the hand will sometimes emit a golden explosion instead of a normal one. This is your cue for the wipe mechanic avoidance we will discuss later.
- Coordinate your Glyphbreaker buff with the team, meet on the middle island, and shoot the Glyphs, destroying them.
- Cleanse your resonance buffs while you’re in the middle, as you will need to repeat the process 1 or 2 more times, depending on how many players run the mechanics.
- Once all Glyphs are destroyed – gather in the middle island, and start the DPS. However, we recommend that one player calls out the attacks of the boss, as they can easily wipe your entire team during DPS.
How to Avoid Wipe Mechanic
Sometimes, when you break a hand, you might fall into a trap – a clever wipe mechanic. Be ready when you see the message, “The Witness tests you…”
The hand that got destroyed with a golden explosion is your cue to which shape you need to make by destroying the resonance crystals that will spawn in front of The Witness.
Depending on the type of hand that got destroyed, destroy the crystals in a way that the remaining crystals will form a shape: a triangle, a sphere (in this case it’s closer to a rhomboid) or a rectangle.
Upon completion, get ready to jump in the air, as The Witness will unleash a devastating attack that might kill players who still remain on the ground. If done correctly, your team will not wipe and you can proceed with mechanics.
Recommended Builds and Weapons
This fight is a survivability and DPS check, so we recommend the following build that will shine:
As for weapons, you cannot go wrong with:
Table of contents
- First Encounter - Substratum
- Second Encounter: Herald of Finality Boss Fight
- Third Encounter - Carve a Path
- Fourth Encounter - Verity
- Inside - Mechanics and Goal
- Outside - Dissection Guide and Goal
- Resurrection Stage
- Fifth Encounter - Zenith - The Witness Boss Fight
- How to Start the Damage Phase
- How to Avoid Wipe Mechanic
 Download APP
 Collapse