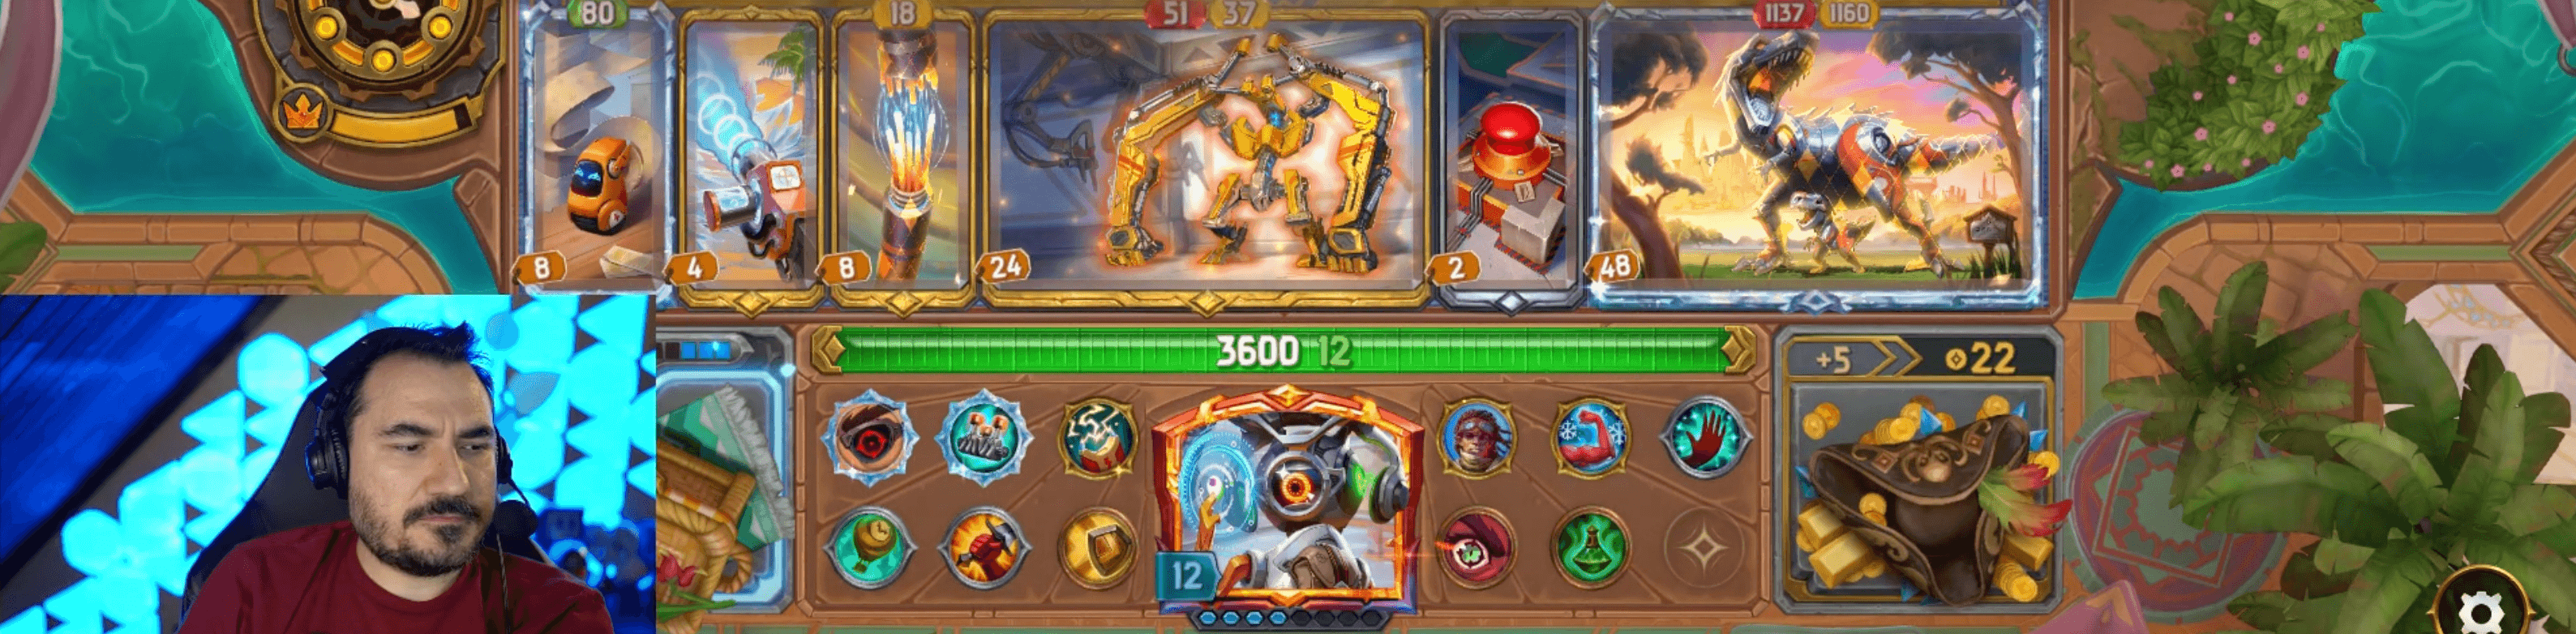
Charging Towards Destruction!
One of the things that should stand out is the lack of a starting Core. Unlike most Dooley builds that look to scale by spamming the Core, instead the game plan is to simply take the opponent out of contention.
By destroying a portion of the enemy board, that can often be enough to dismantle their strategy entirely. With key items out of the way, it's just a matter of time before 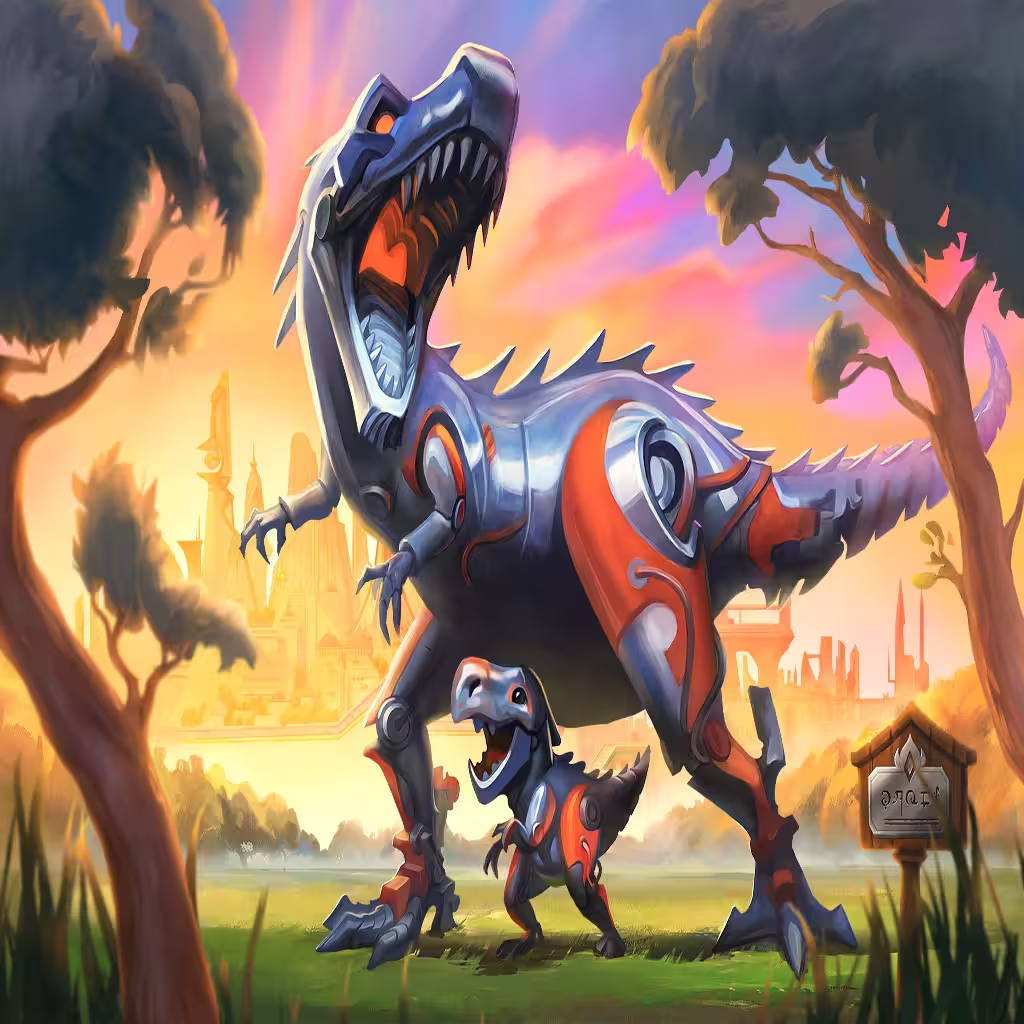 Momma-Saur cleans up.
Since Momma-Saur isn't available until Gold tier, this is typically a build that you pivot into more than plan around. When given the opportunity it can be a powerful pickup, and it doesn't take too many extra components to support it effectively.
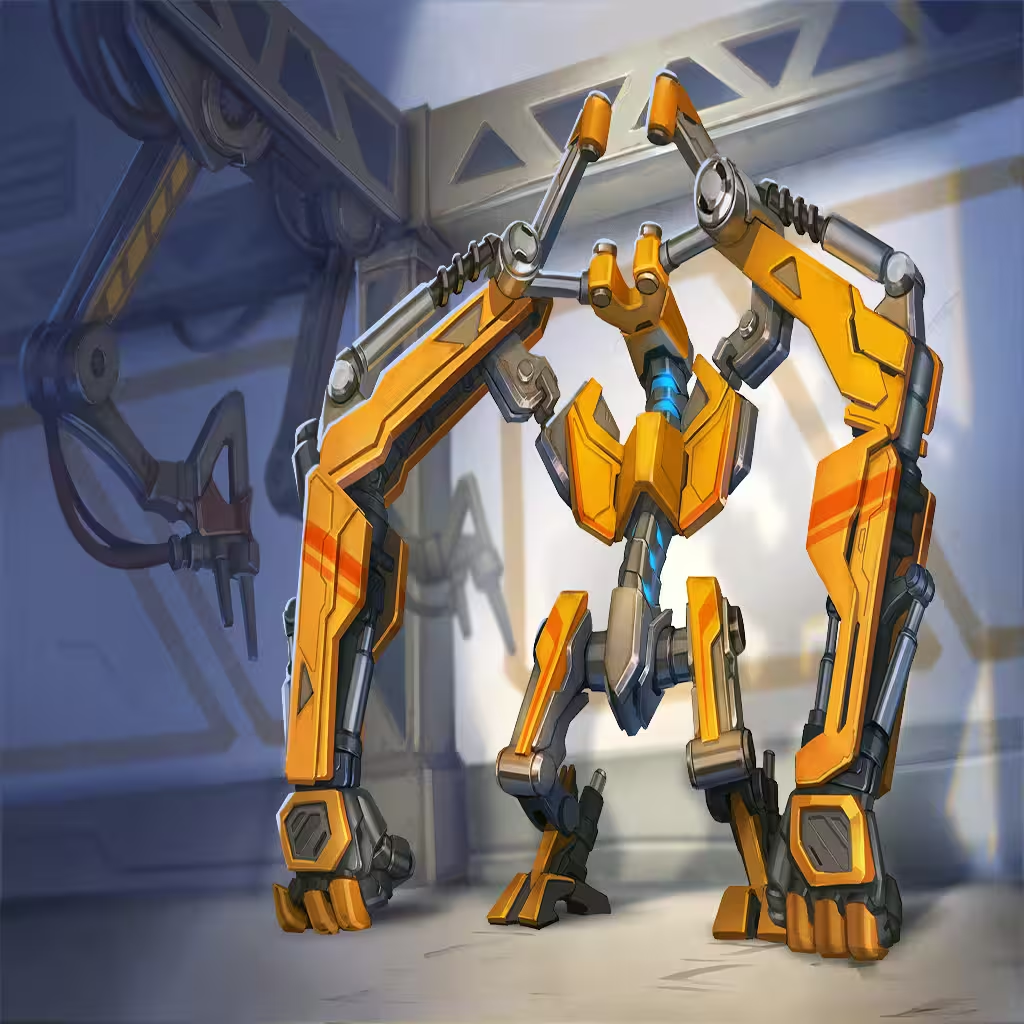
Momma-Saur
Momma-Saur's main issues are its speed and initial base Damage. It will take a bit of time to scale up, but it's not too difficult if you're able to destroy multiple items per fight. Choosing PvE Encounters that have a large quantity of items can help if you're falling behind in Damage.
As for its speed, the remainder of the build should be assembled in a way that best accelerates Momma-Saur. Getting off that first activation is most important as that can potentially thwart the opposing build, but you'll definitely still want a continuous source of Charge and/or Haste for attack #2 and beyond.
There's a very significant difference between the Gold and Diamond Momma-Saur. Upgrading it lowers the item restriction from a minimum of five items to a minimum of four, so make it your top priority to get it to Diamond.
Kripp found a Shielded Momma-Saur from Pearl's Dig Site. While the enchant gives a nice bonus to survivability, it's by no means mandatory for the build to work.
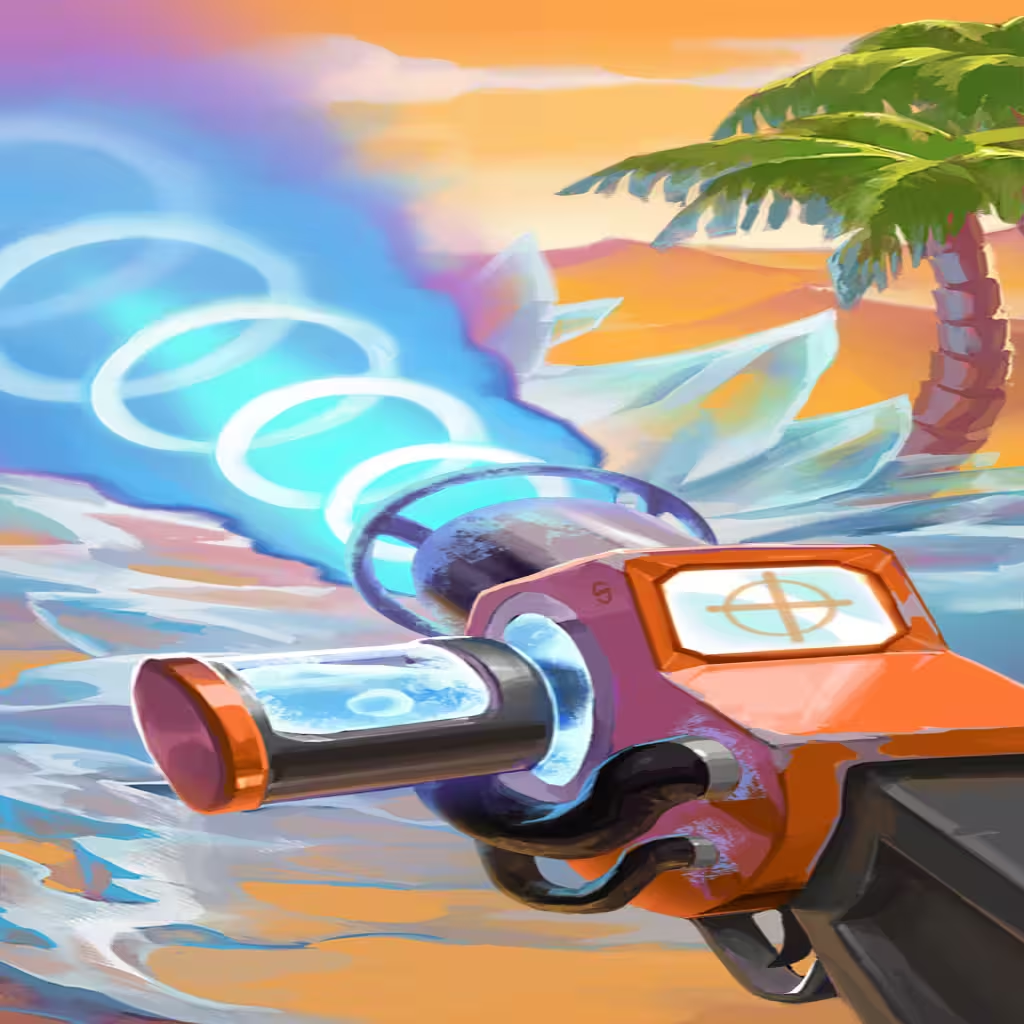
Fiber Optics
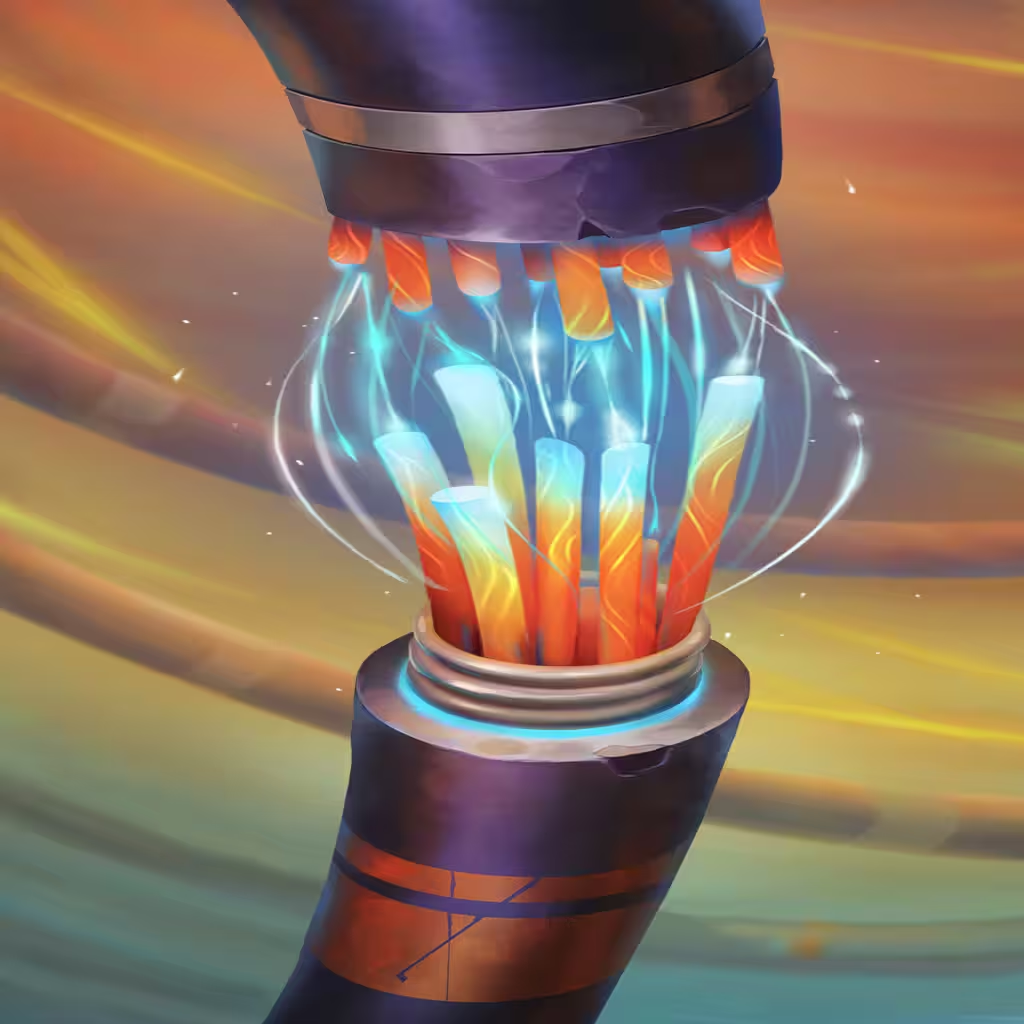 Fiber Optics has finally been re-enabled. This is arguably Dooley's best item, and is absolutely perfect alongside Momma-Saur. You can position your fastest item as the leftmost, allowing it to repeatedly Charge the Dino.
This is part of why the Core isn't ideal. On many occasions the Core needs to be positioned further to the right (if not rightmost) in order to benefit from more Charges. With Fiber Optics you need Momma-Saur to be on the right side, which can mess up a lot of positional requirements and render the Core useless.
Fiber Optics should be the next priority for upgrades after Momma-Saur. Going from Gold to Diamond improves the Charge rate from one to two seconds. This is a big difference to its efficiency, and ensures the destruction happens ASAP.
Kripp happened to also acquire a Shielded Fiber Optics from Kev's Armory. The enchantment is irrelevant in this case.
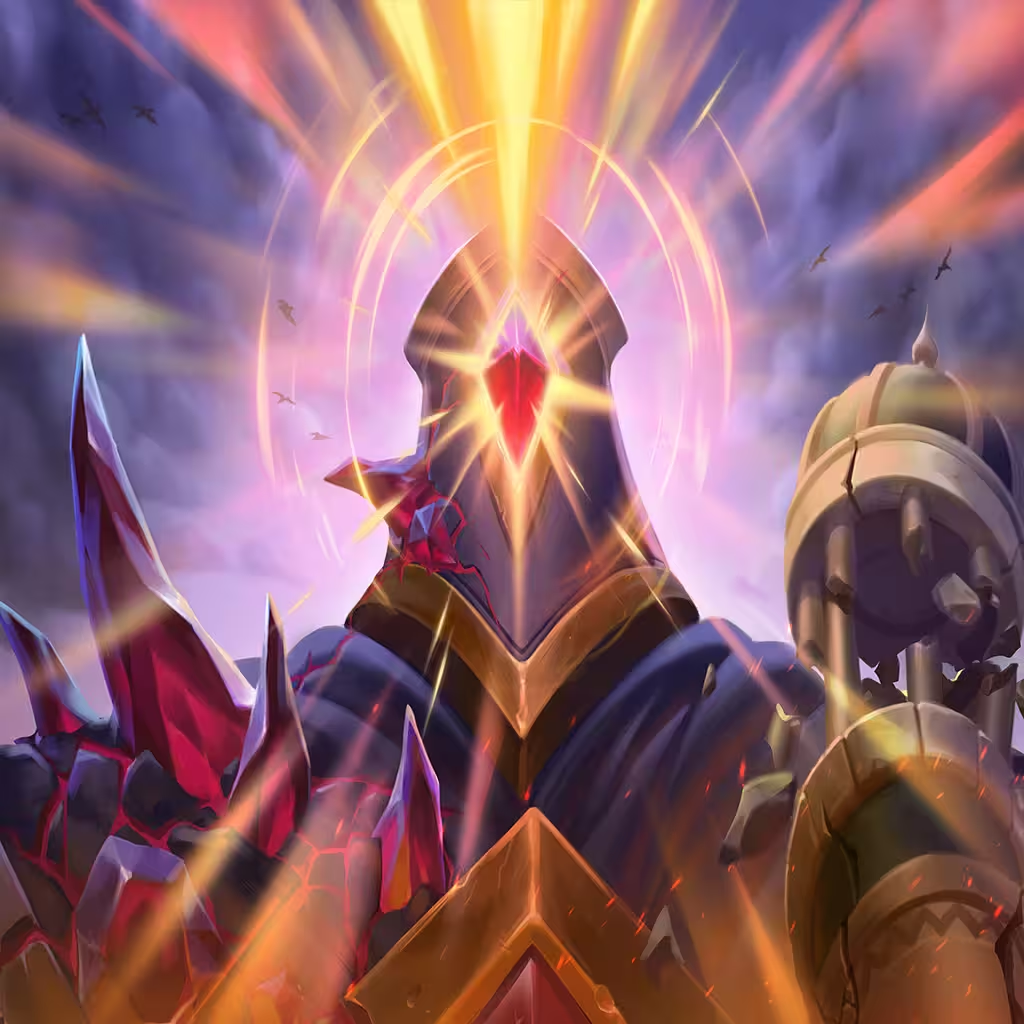
Combat Core
 Combat Core replaces the starting Core in this build, giving it a reliable form of scaling. While Momma-Saur can certainly hit for a chunk of Damage, it's not necessarily the strongest of Weapons.
Having this allows a secondary scaling source of Damage, while also having a solid line of defense. Depending on the other items you have you can adjust the positioning further left to improve your rate of Shield. However, as you'll see with the next item, there's a very specific reason it is where it is.
Kripp selected Combat Core to receive a random enchant from "The Artist" upon level-up, ending up with Heavy. This was a decent roll, but you really can't go wrong with whatever you get, as Combat Core's scaling works great with many enchants.
 Eye of the Colossus,