
The Trial of Chaos is a multifloor dungeon that players can complete to achieve their Class Ascendancy, that also provides an option for endgame farming strategies. The Trial of Chaos can be used to farm Currency as well as special socketable Soul Cores
 Use your favourite features in-game with our Desktop App
Overview
Trial of Chaos Location
The Temple of Chaos can found within the Chimeral Wetlands in Act 3.
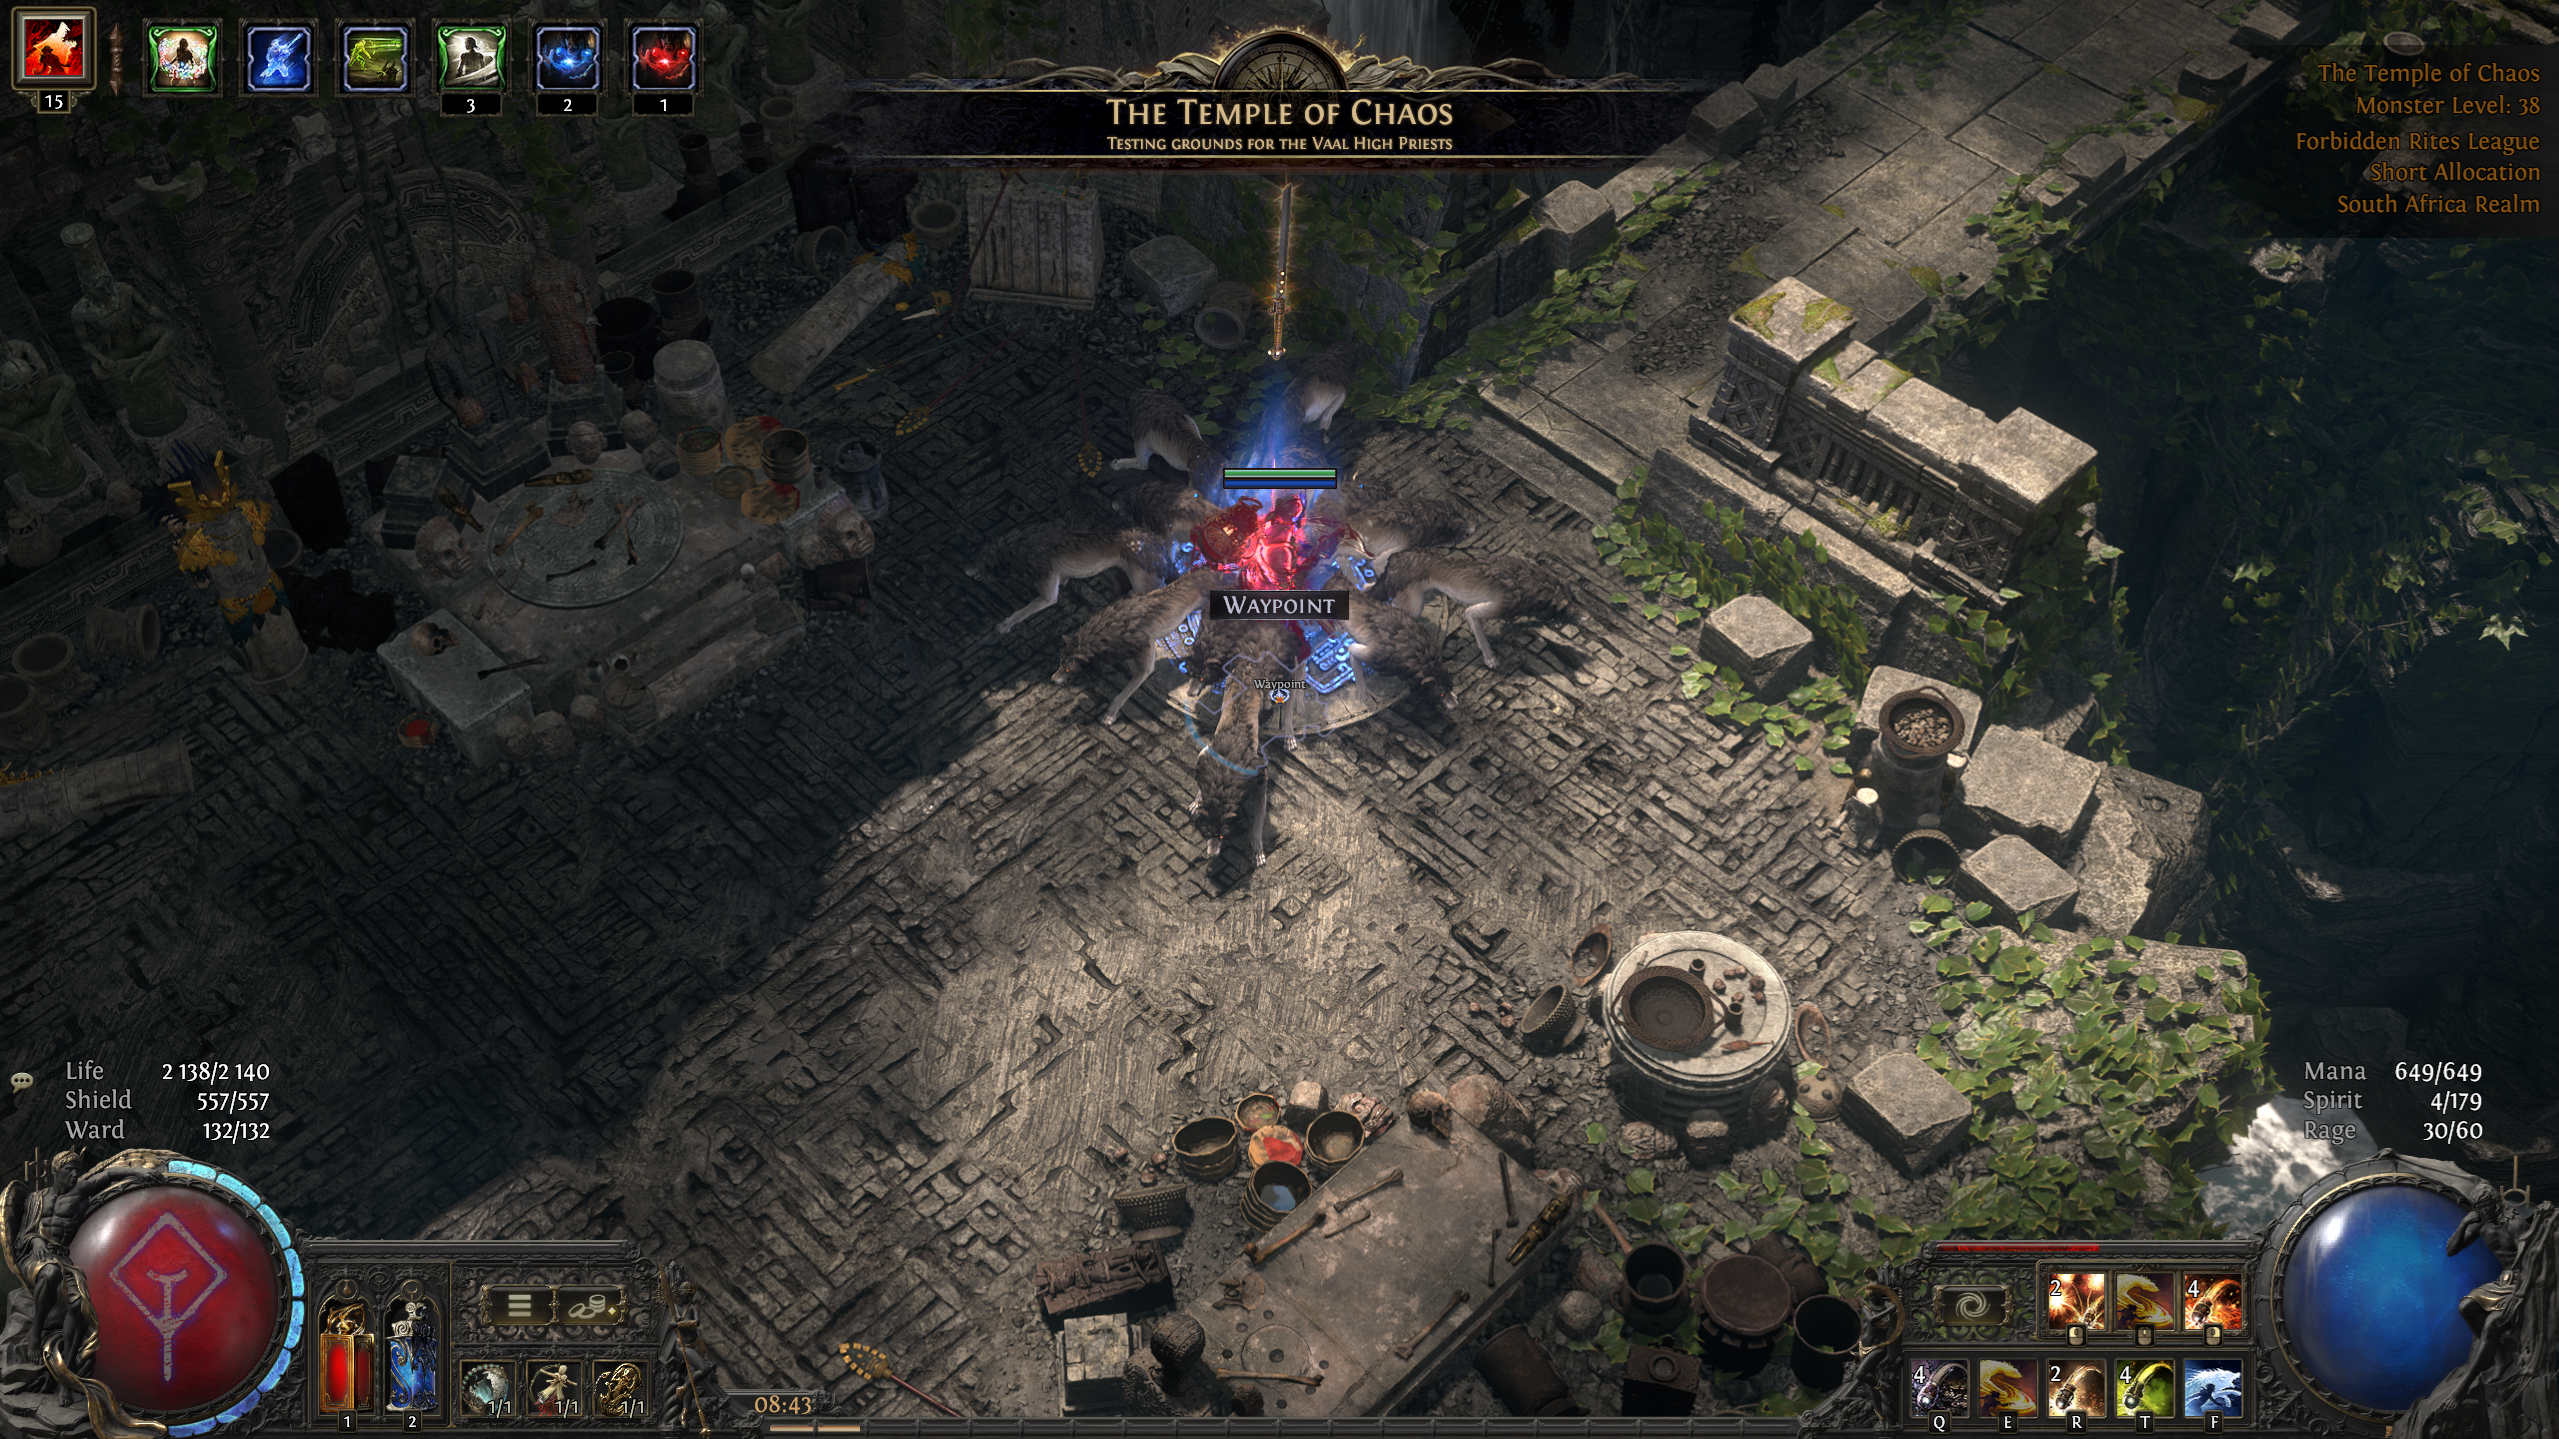
A Trial of Chaos run can be started by placing an Inscribed Ultimatum into the Temple Offering within the Temple of Chaos. You will find your first Inscribed Ultimatum by defeating the boss Xyclucian within the Chimeral Wetlands
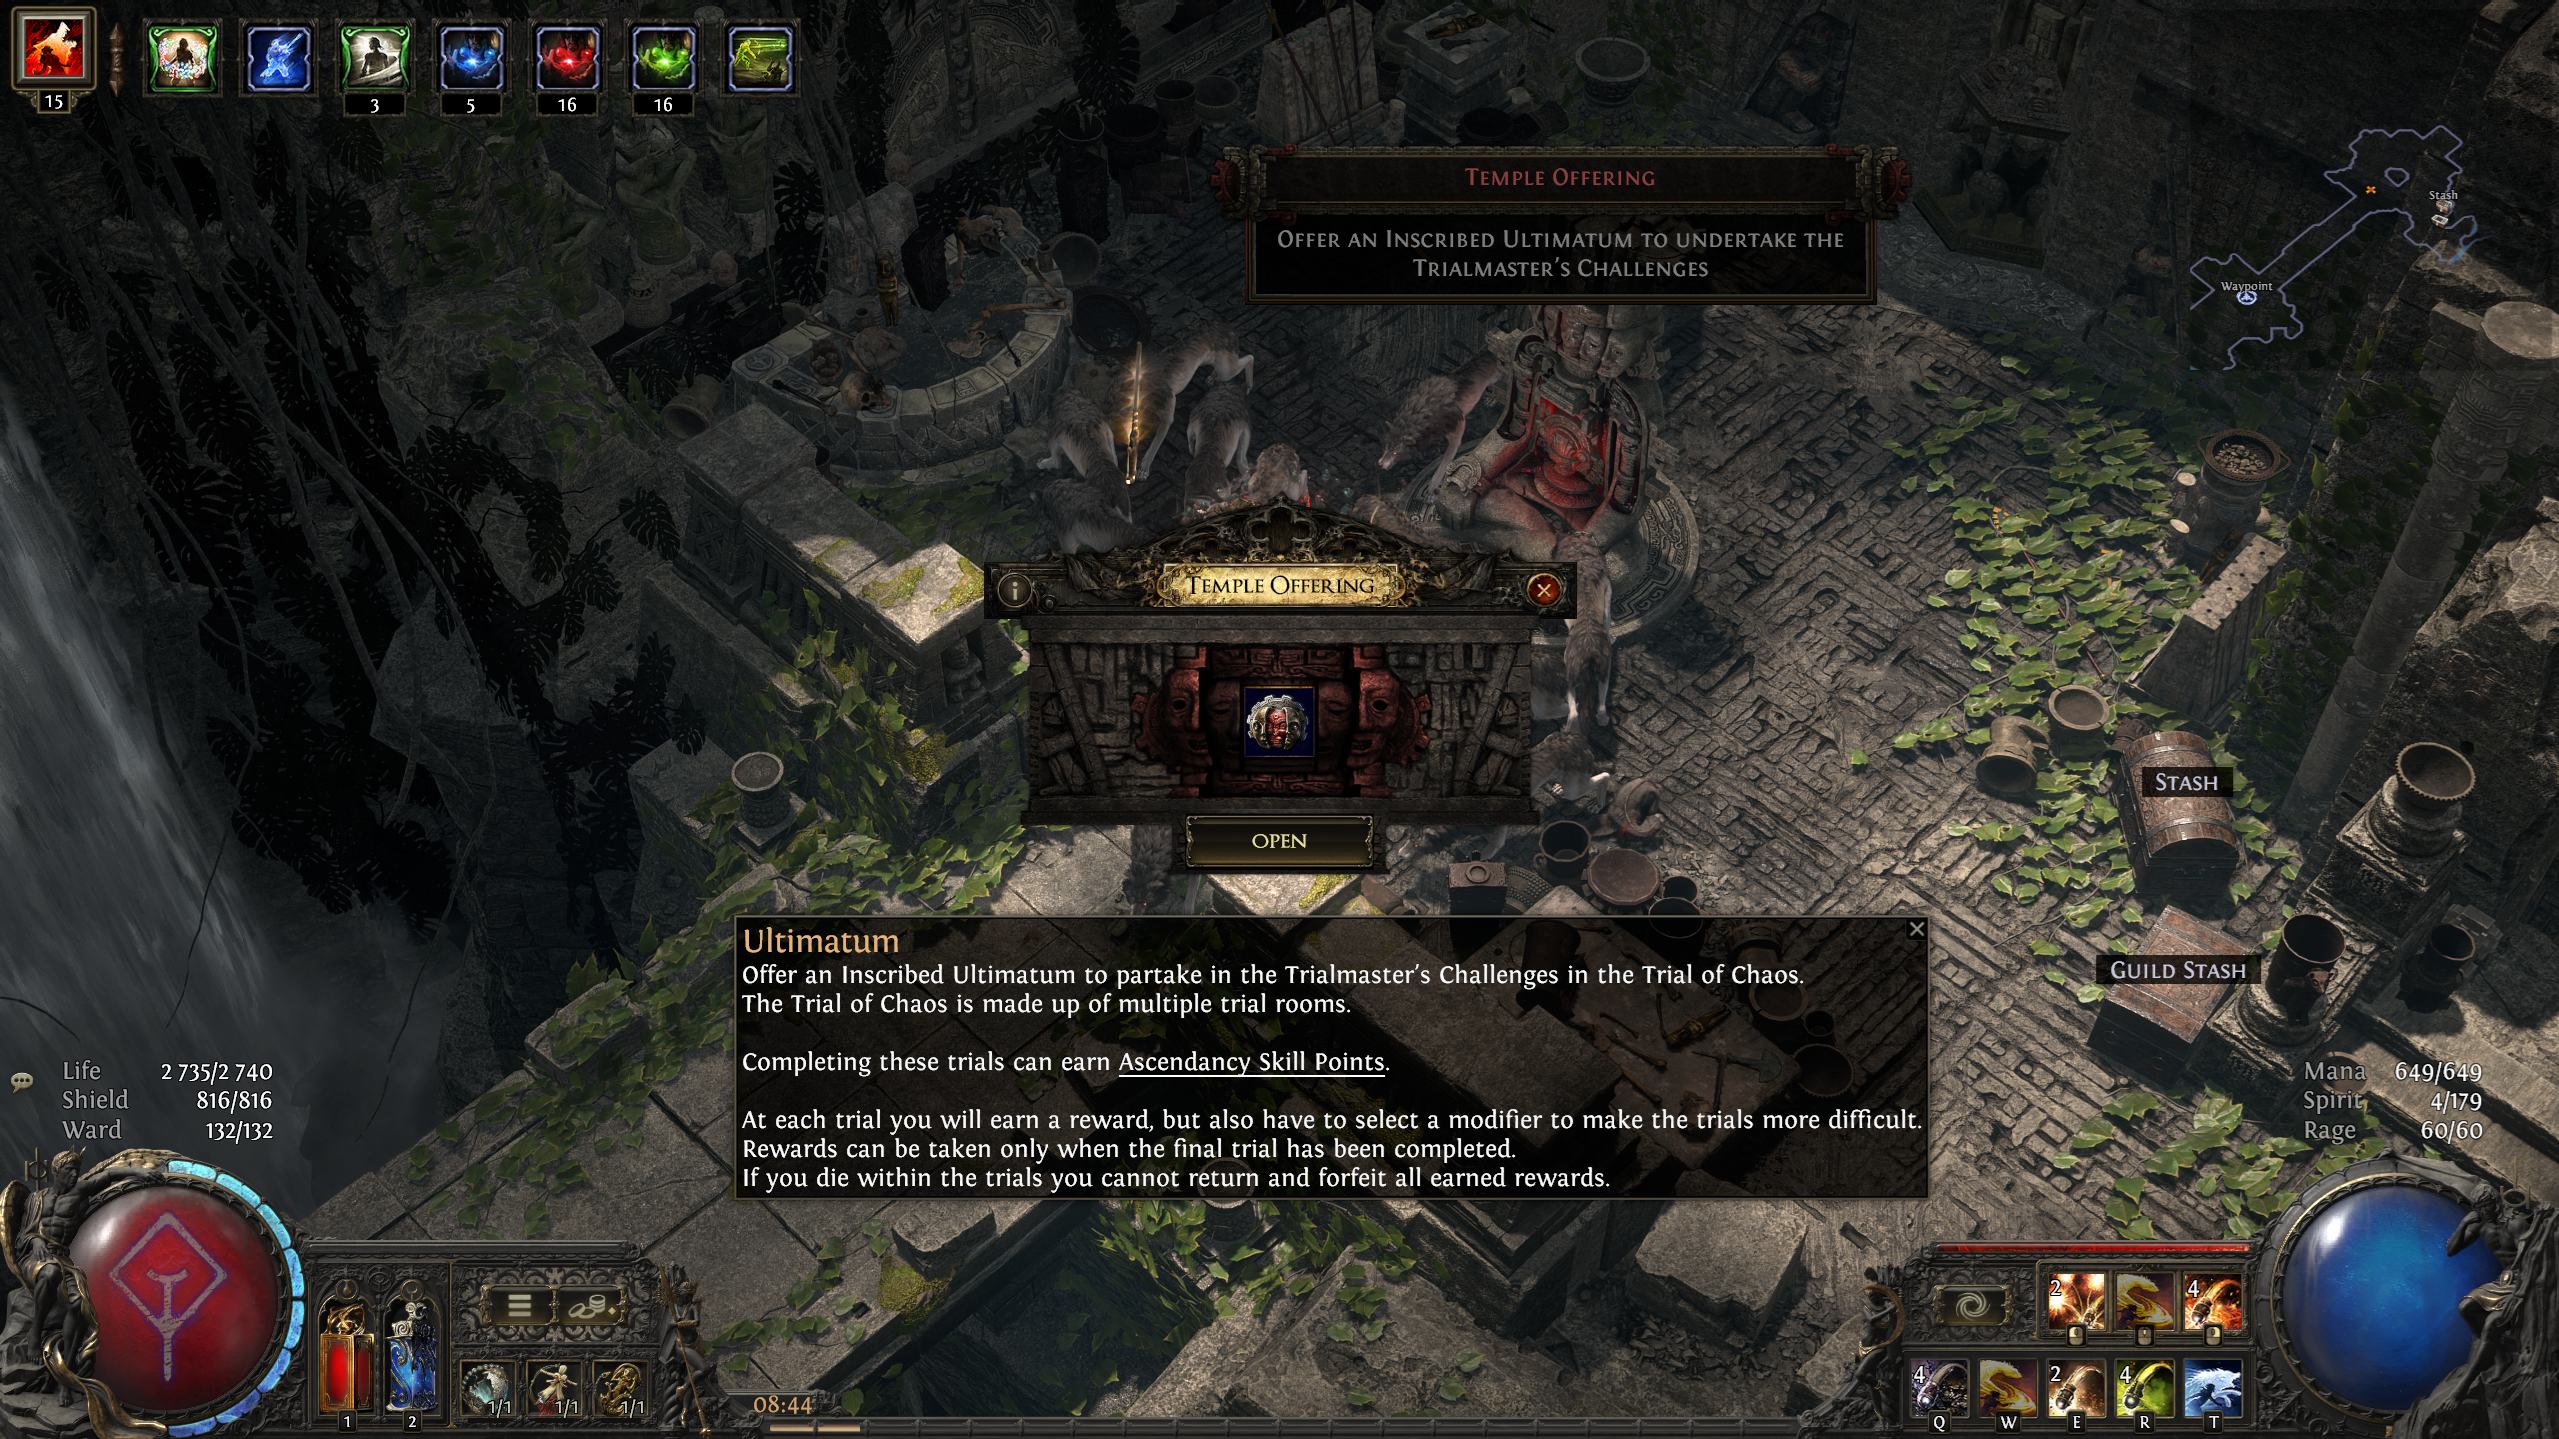
Trial of Chaos Challenges
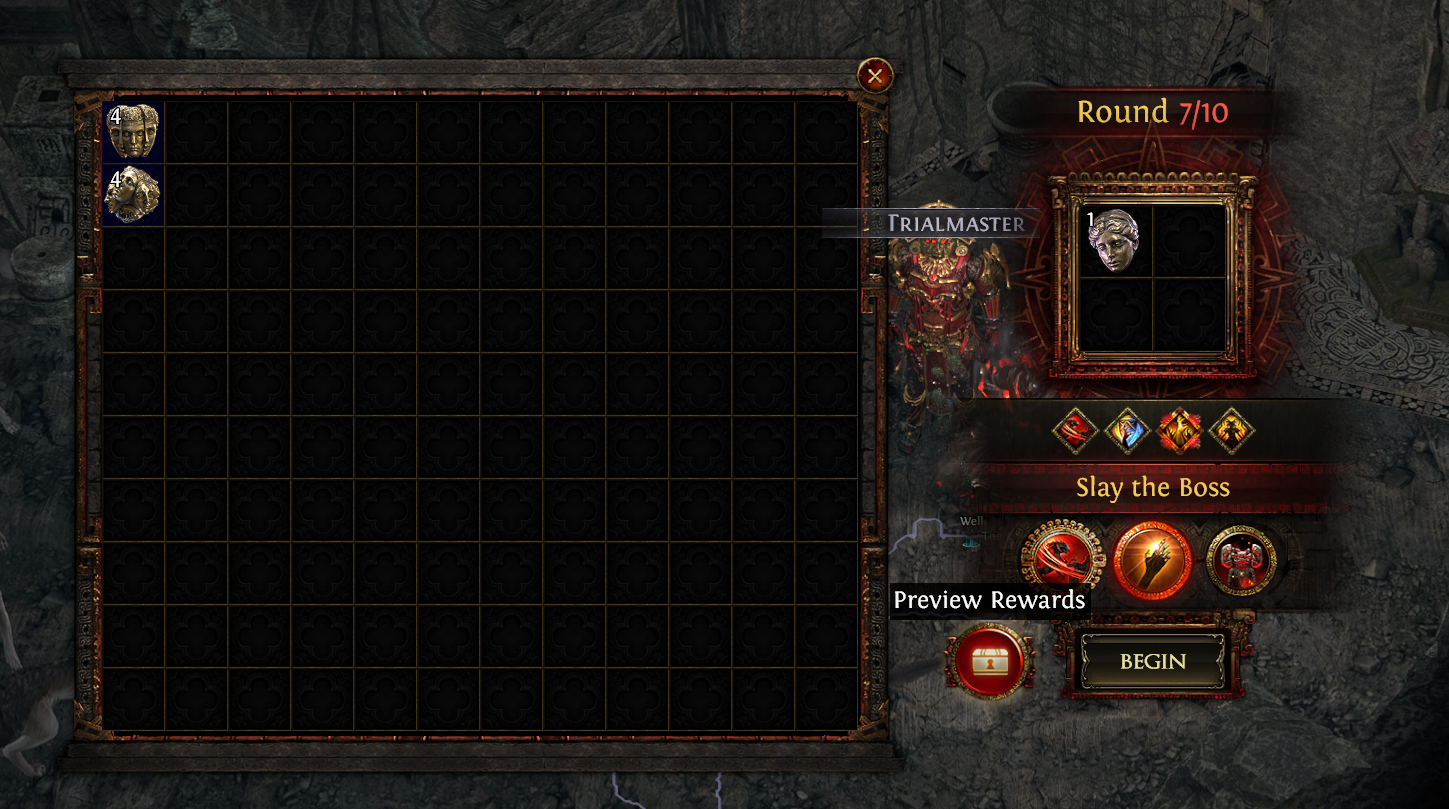
After beginning a Trial, players will be introduced to the Trial Master who will present them with a reward that they can receive after completing the entire Temple. Along with this, players are forced to select an additional modifier that will apply to the rest of the Trial, making it more difficult for the rest of the run, but also granting an Item Rarity bonus. These modifiers can stack and also increase in Tier, making a single modifier even more detrimental and challenging
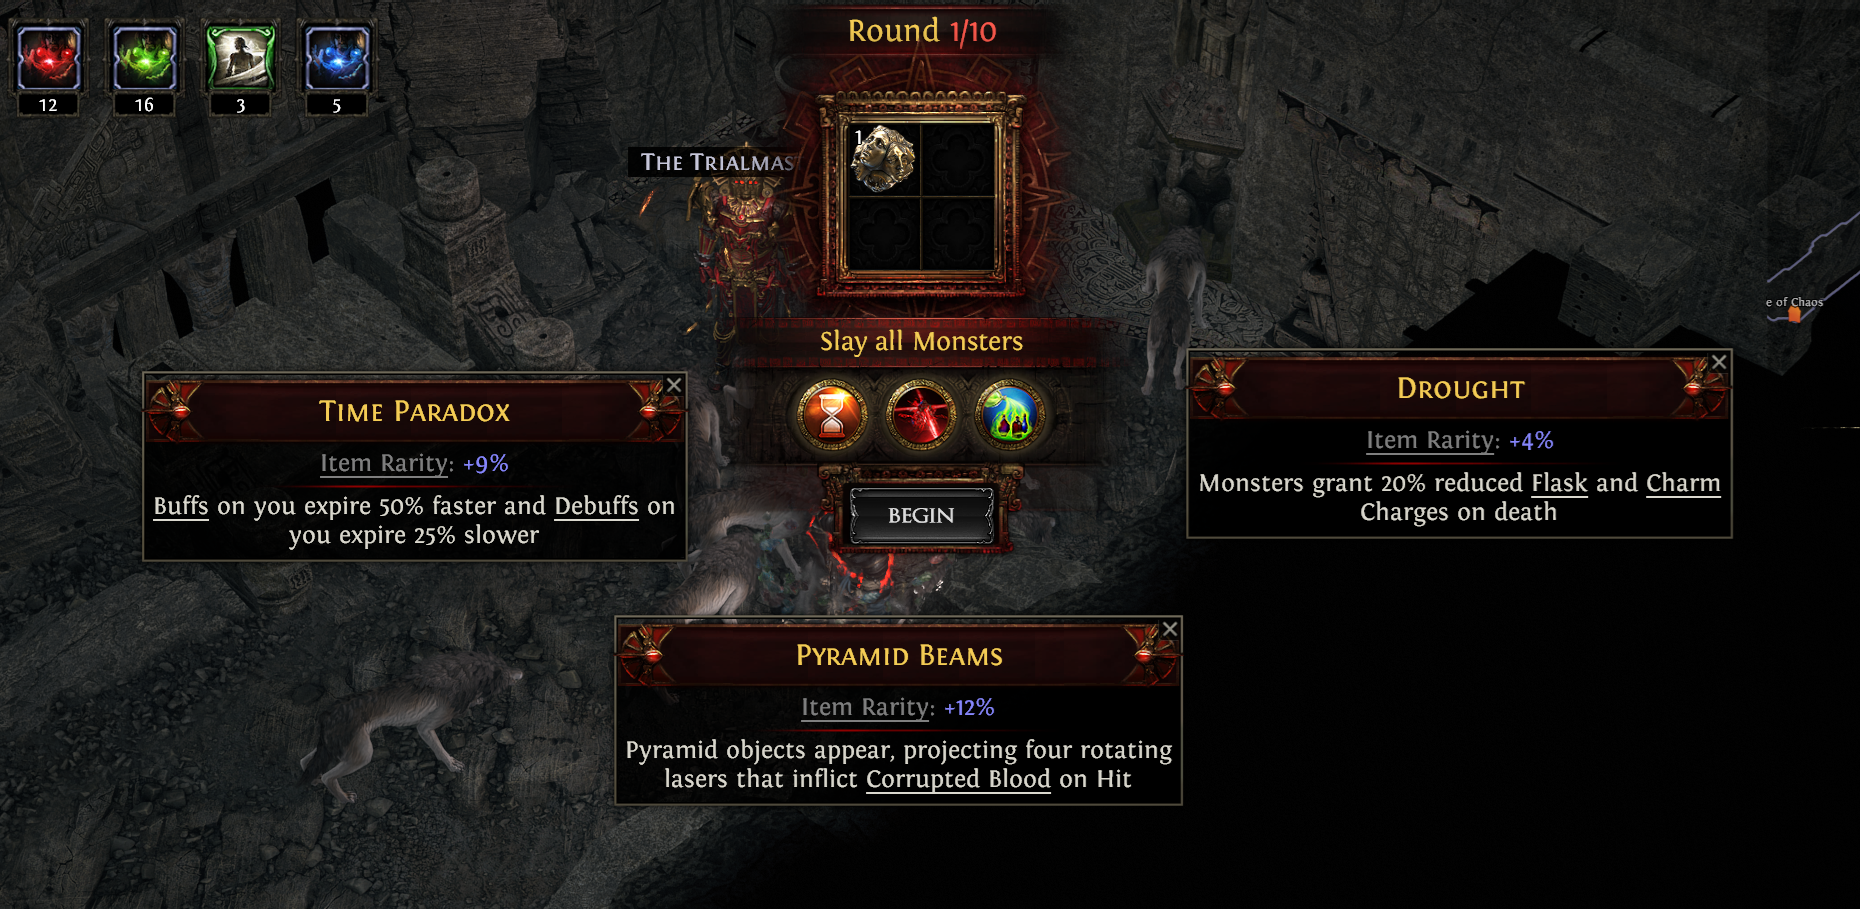
After selecting a modifier, players will be allowed access into the next room, which they will have to complete to reach the next Round where they will be presented with another reward option and modifier choice. Rewards can only be obtained once reaching the 10th and final room of the Trial.
Room Types
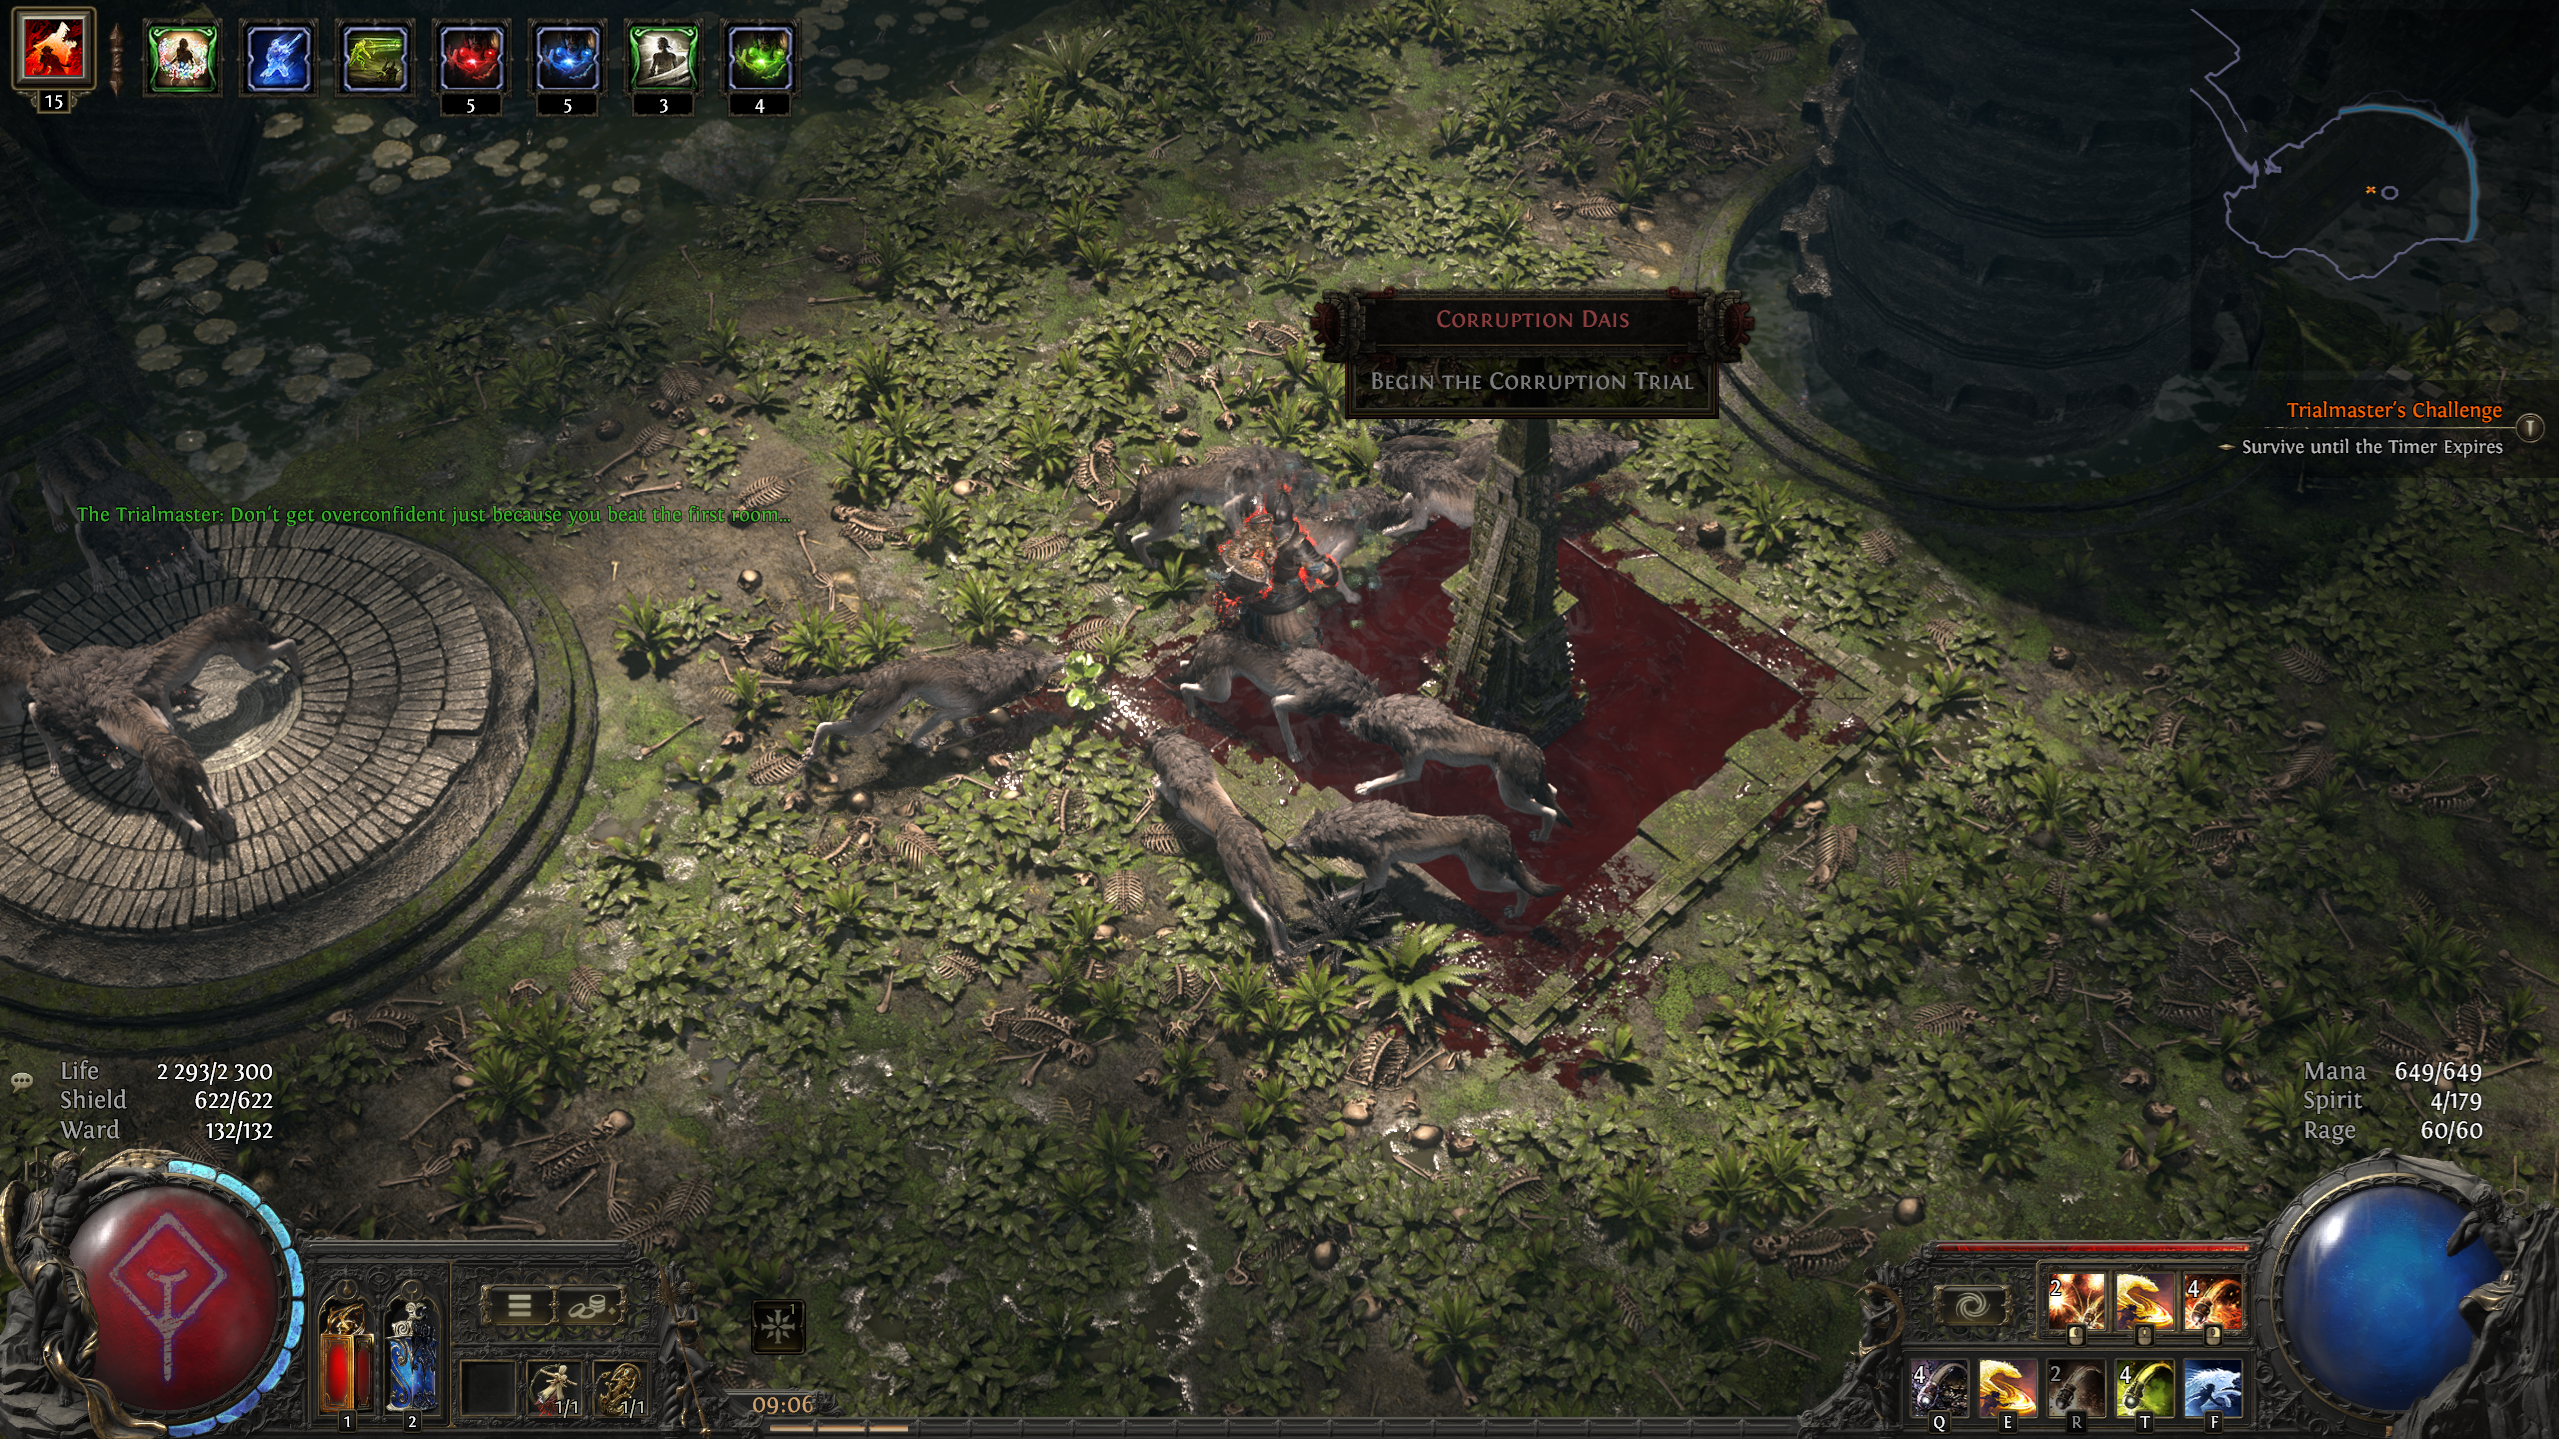
There are several different challenge room types that exist within the Trial of Chaos
Room Type | Requirement |
|---|---|
Slay all Monsters | Defeat all monsters within the area to progress |
Escort | Escort a Vaal Beacon to the other side of the arena |
Place Soul Cores | Collect and place Soul Cores scattered throughout the arena |
Sacrifice | Defeat monsters within rings placed within the arena |
Survive | Defeat waves of enemies until the timer runs out |
Boss | Defeat the boss of the area |
Modifier List
Each of these modifiers has multiple tiers that will increase their difficulty, change their function and increase the Rarity bonus that they grant. The tiers can be increased by selecting the same modifier at future round selection rooms and with Wagers, which are discussed next
Modifier | Icon | Description (Ranges describe increases across Tiers) |
|---|---|---|
Blood Globules |
| Globules of blood manifest nearby, tracking you. When above you they will fall, dealing Physical damage Generally not that scary and easily avoided. The second tier leaves behind ground that deals damage over time that can be annoying |
Burning Turrets |
| Challenge area contains Fire turrets that will periodically fire Projectiles ahead Can be very dangerous, especially when combined with Reduced Resistances. The Fireballs the Turrets use can be hard to avoid in the midst of fighting |
Chaotic Monsters |
| Monsters gain 5-17% of damage added as extra Chaos damage Free for players using |
Damaged Defences |
| 20-80% less Armour, Evasion and Energy Shield Potentially extremely deadly, especially at higher tiers as this can almost entirely negate your defences |
Deadly Monsters |
| Monsters have 100-500% increased Critical Hit Chance Potentially deadly for players without Critical Mitigation. Free for Gemling Legionnaires using |
Drought |
| Monsters grant 20-80% reduced Flask and Charm Charges on death Fairly free for the first few Tiers, but at Tier 4, the 80% reduced Flask charges gained can be problematic for builds that rely on their Flasks for recovery |
Enraged Bosses |
| Bosses have 30-100% increased Toughness and 10-30% increased Damage Free if you have damage that can clear bosses extremely quickly. Most scary on Bahlak, the Sky Seer boss |
Escalating Damage |
| In each encounter room, damage taken will increase by 1% every 2.5-1 seconds, up to 50% Can be risky, especially when combined with other modifiers. The first Tier isn't too scary |
Heart Tethers |
| Bloody hearts appear that apply tethers, Slowing you for 3-5 seconds. Breaking the tether will Stun you and cause you to take 5-15% increased damage for 3-5 seconds Can be annoying and dangerous, especially in certain arenas as they limit your movement and can stun. Can be mitigated with Slow and Stun reduction with items such as |
Impending Doom |
| Rings of Doom appear on the ground which grow over time, exploding for Physical damage once they reach a maximum area Easy to avoid, but extremely deadly if you're not standing in the centre of the ring when it explodes. |
Lessened Reach |
| 20-80% less Area of Effect and Projectile Speed Free on some builds, but ones that rely on AoE and Projectile Speed will struggle with this modifier |
Lethal Rares |
| 30-100% increased Rare Monsters. Rare Monsters have an additional Modifier at Tier 3 Completely free and an easy choice when presented |
Monster Speed |
| Monsters gain 10-20% increased Skill Speed and Movement Speed Not particularly challenging, but can be deadly on certain bosses if you're not able to take them down quickly enough |
Petrification Statues |
| Challenge area contains several statues that Petrify you if you stand within their gaze for a duration Can be easy to avoid, but if they catch you out, it can be game over as you'll be unable to act while Petrified |
Reduced Recovery |
| 20-80% reduced Life, Mana, and Energy Shield Recovery Rate Fairly free at lower Tiers for most builds, but as it progresses, it will decimate the recovery layers for many builds |
Reduced Resistances |
| -15-45% to Elemental Resistances. -5 to -15% to Maximum Elemental Resistances at Tier 3 to 5 If you're extremely overcapped on Resistances, this can be fine to take, but if not, this is extremely deadly |
Monster Resistances |
| Monsters have +10-50% to all Resistances Not particularly challenging and actually a buff to players using Rakiata's Flow. If your damage is very low, you will notice this more |
Shielded Monsters |
| Monsters gain 10-50% of maximum Life as Extra maximum Energy Shield Not particularly challenging to builds with high damage or builds dealing Chaos damage |
Shocking Turrets |
| Challenge area contains Lightning turrets that will periodically fire Projectiles ahead Can be annoying to deal with in the heat of battle while trying to pay attention to monsters |
Stalking Shade |
| An invulnerable shade stalks you, inflicting Ruin with its hits, it gains additional skills at higher tiers Early Tiers are extremely easy to avoid and makes this free. This is only annoying on Soul Core rooms |
Stormcaller Runes |
| Runes will appear that will call deadly Lightning storms if you remain in them Can be dangerous at higher tiers, but fairly easy to avoid at lower tiers |
Time Paradox |
| Buffs on you expire 50-200% faster and Debuffs expire 25-100% slower Free for some builds, build-breaking on others. If you rely on the uptime of specific buffs, this will effectively disable those at higher Tiers. If you're using Rend, it will expire very quickly |
Toxic Monsters |
| Monsters have 10-50% chance to inflict Bleed or Poison Free for |
Unstoppable Monsters |
| Monsters have 30-75% reduced Slowing Potency of Debuffs on them and 30-75% increased Stun Threshold Free for most builds unless they rely heavily on Stuns and Slows |
Vaal Omnitect |
| An ancient Vaal machination will deploy attacks against nearby intruders Easily avoidable at lower Tiers |
Volatile Fiends |
| Monsters have a 10-50% chance to release deadly Volatiles on death. Rare monsters leave larger ones At low Tiers, the infrequency of Volatiles spawning is easily avoided, but this one will keep you on your toes at higher Tiers and can be deadly if a pile of Volatiles all explode on you at once |


Wagers
There are also special meta modifiers that can be selected that alter the rewards of the Trial, but also increase the difficulty.
Wager of... | Icon | Effect |
|---|---|---|
Chaos |
|
or
At time of writing, this seems to be bugged, but once it functions, having additional rewards granted per Room can be a huge benefit, especially if this Wager is found early in the run |
Danger |
|
|
the Future |
|
Potentially an incredible Wager, especially when combined with Wager of the Present. This differs from Wager of the Present in that it only doubles the Stack Size of future Currency Rewards, and not Pending Currency Rewards |
Mysery |
|
You will no longer be able to see the modifiers selected, meaning that this is potentially extremely deadly. Additionally, the effect of Rewards being Lucky (rerolled twice and the better option is selected) seems inconsistent |
the Present |
|
Incredible if you already have many Divines or valuable Currency items in your Pending Rewards, but will increase the difficulty of the rest of the run |
Rarity |
|
Can be useful later into the run if your Pending Rewards aren't valuable |
Rerolling |
|
Useful if Pending Rewards aren't valuable |
Ruin |
|
|
Upgrades |
|
Makes the Trial much more difficult and is very inconsistent. If you have Divines pending, you can get lucky and get an additional one, but the chances are fairly slim. Only take this if you're certain you'll be able to succeed, no matter which modifier is upgraded |

Pending Rewards
Pending Rewards are all Rewards selected up until that point in the run. If you have found several Divine Orbs, it's not a good idea to select a Wager that rerolls all Pending Rewards
Trial of Chaos Progression
Campaign Trial of Chaos
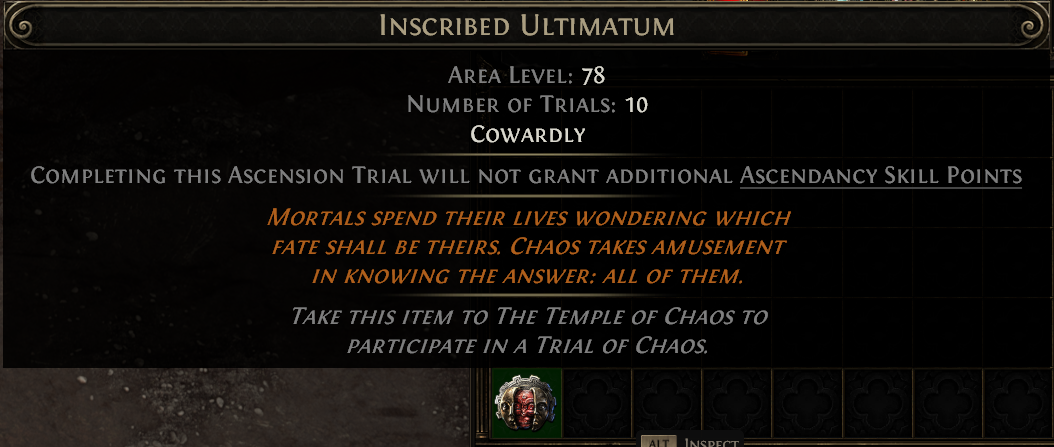
During the campaign, the Trial of Chaos will only contain a few floors, with a boss found at the end of the sequence. After defeating the boss, players will be able to Ascend. Information on the Inscribed Ultimatum will determine whether or not it is high enough level to grant additional Ascendancy Points
Endgame Trial of Chaos
With the use of higher Area Level Inscribed Ultimatums found withing the Endgame, players will need to run 10 floors before reaching the final room where they will encounter The Trial Master where they can collect their accumulated rewards. Within the 10 Rooms, players will encounter three different boss encounters and build up Pending Rewards as well as modifiers that will increase the difficulty of the Trial
Floor 30 - Continuing the Challenge
In endgame Trial of Chaos, after reaching the first Reward Room, players can opt to continue the Trial for another 10 Rooms. If they do so, they will be unable to collect the rewards, and the existing modifiers accumulated up until that point will apply to future Rooms.
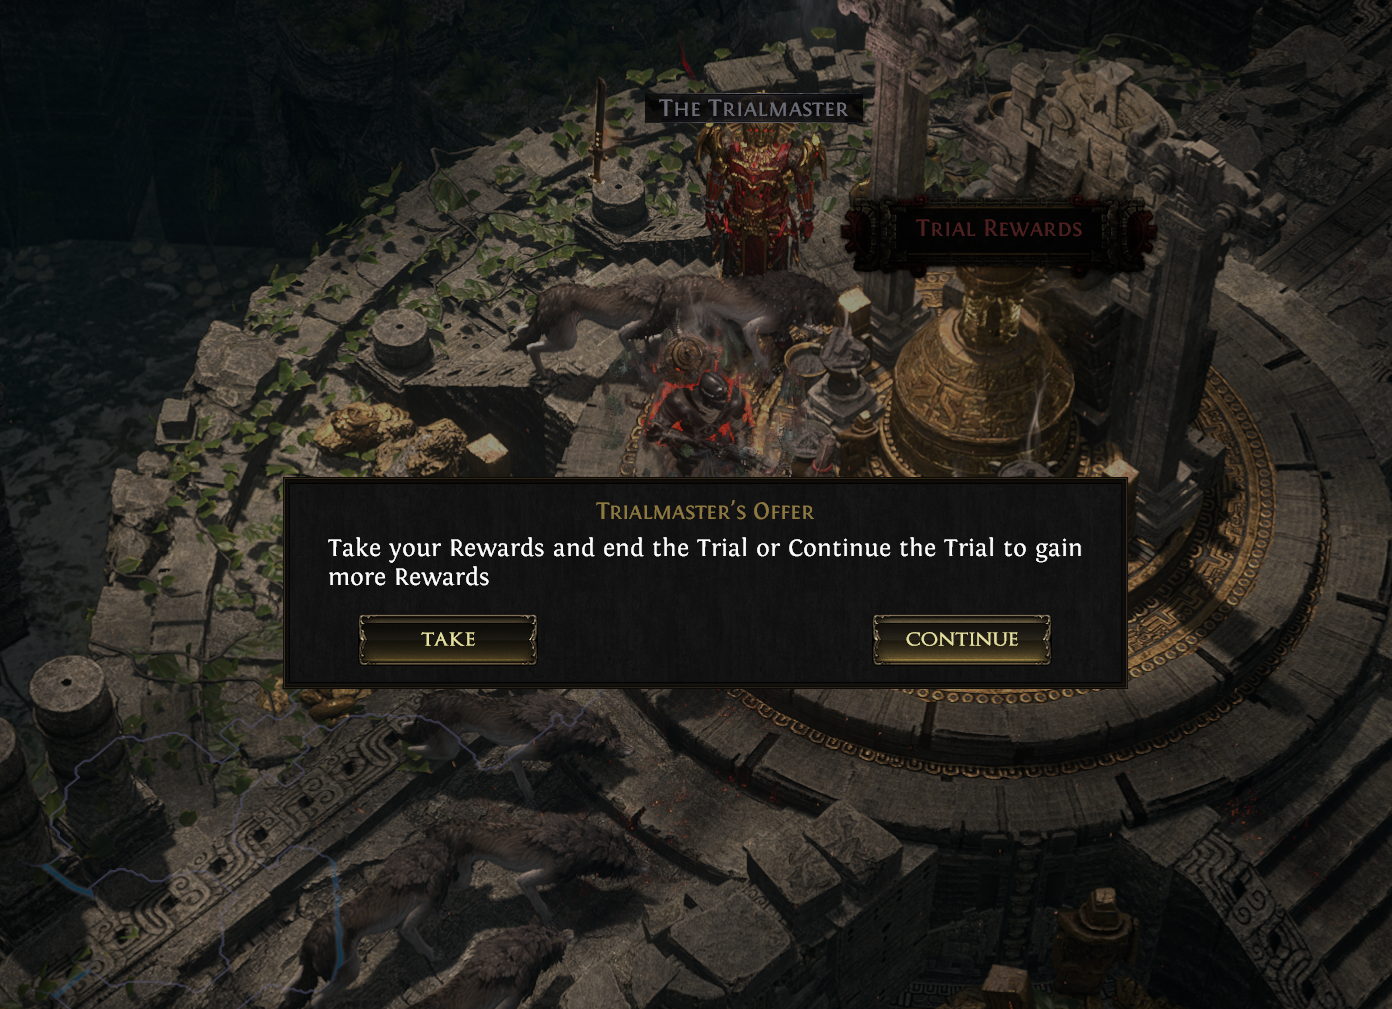
This can be done a second time, making for a full 30 Room Trial of Chaos, at the end of which, players can collect all of their rewards. The risk is that across 30 Rooms, several negative modifiers will be stacked, but the rewards and Wagers along the way can make it worth it. If for any reason a player dies before succeeding, all Pending Rewards will be lost.
Reward Room
Within the Reward Room, players will find The Trialmaster, the Reward Chest from which they can collect all Pending Rewards, as well as the Ascension Altar where they can Ascend.
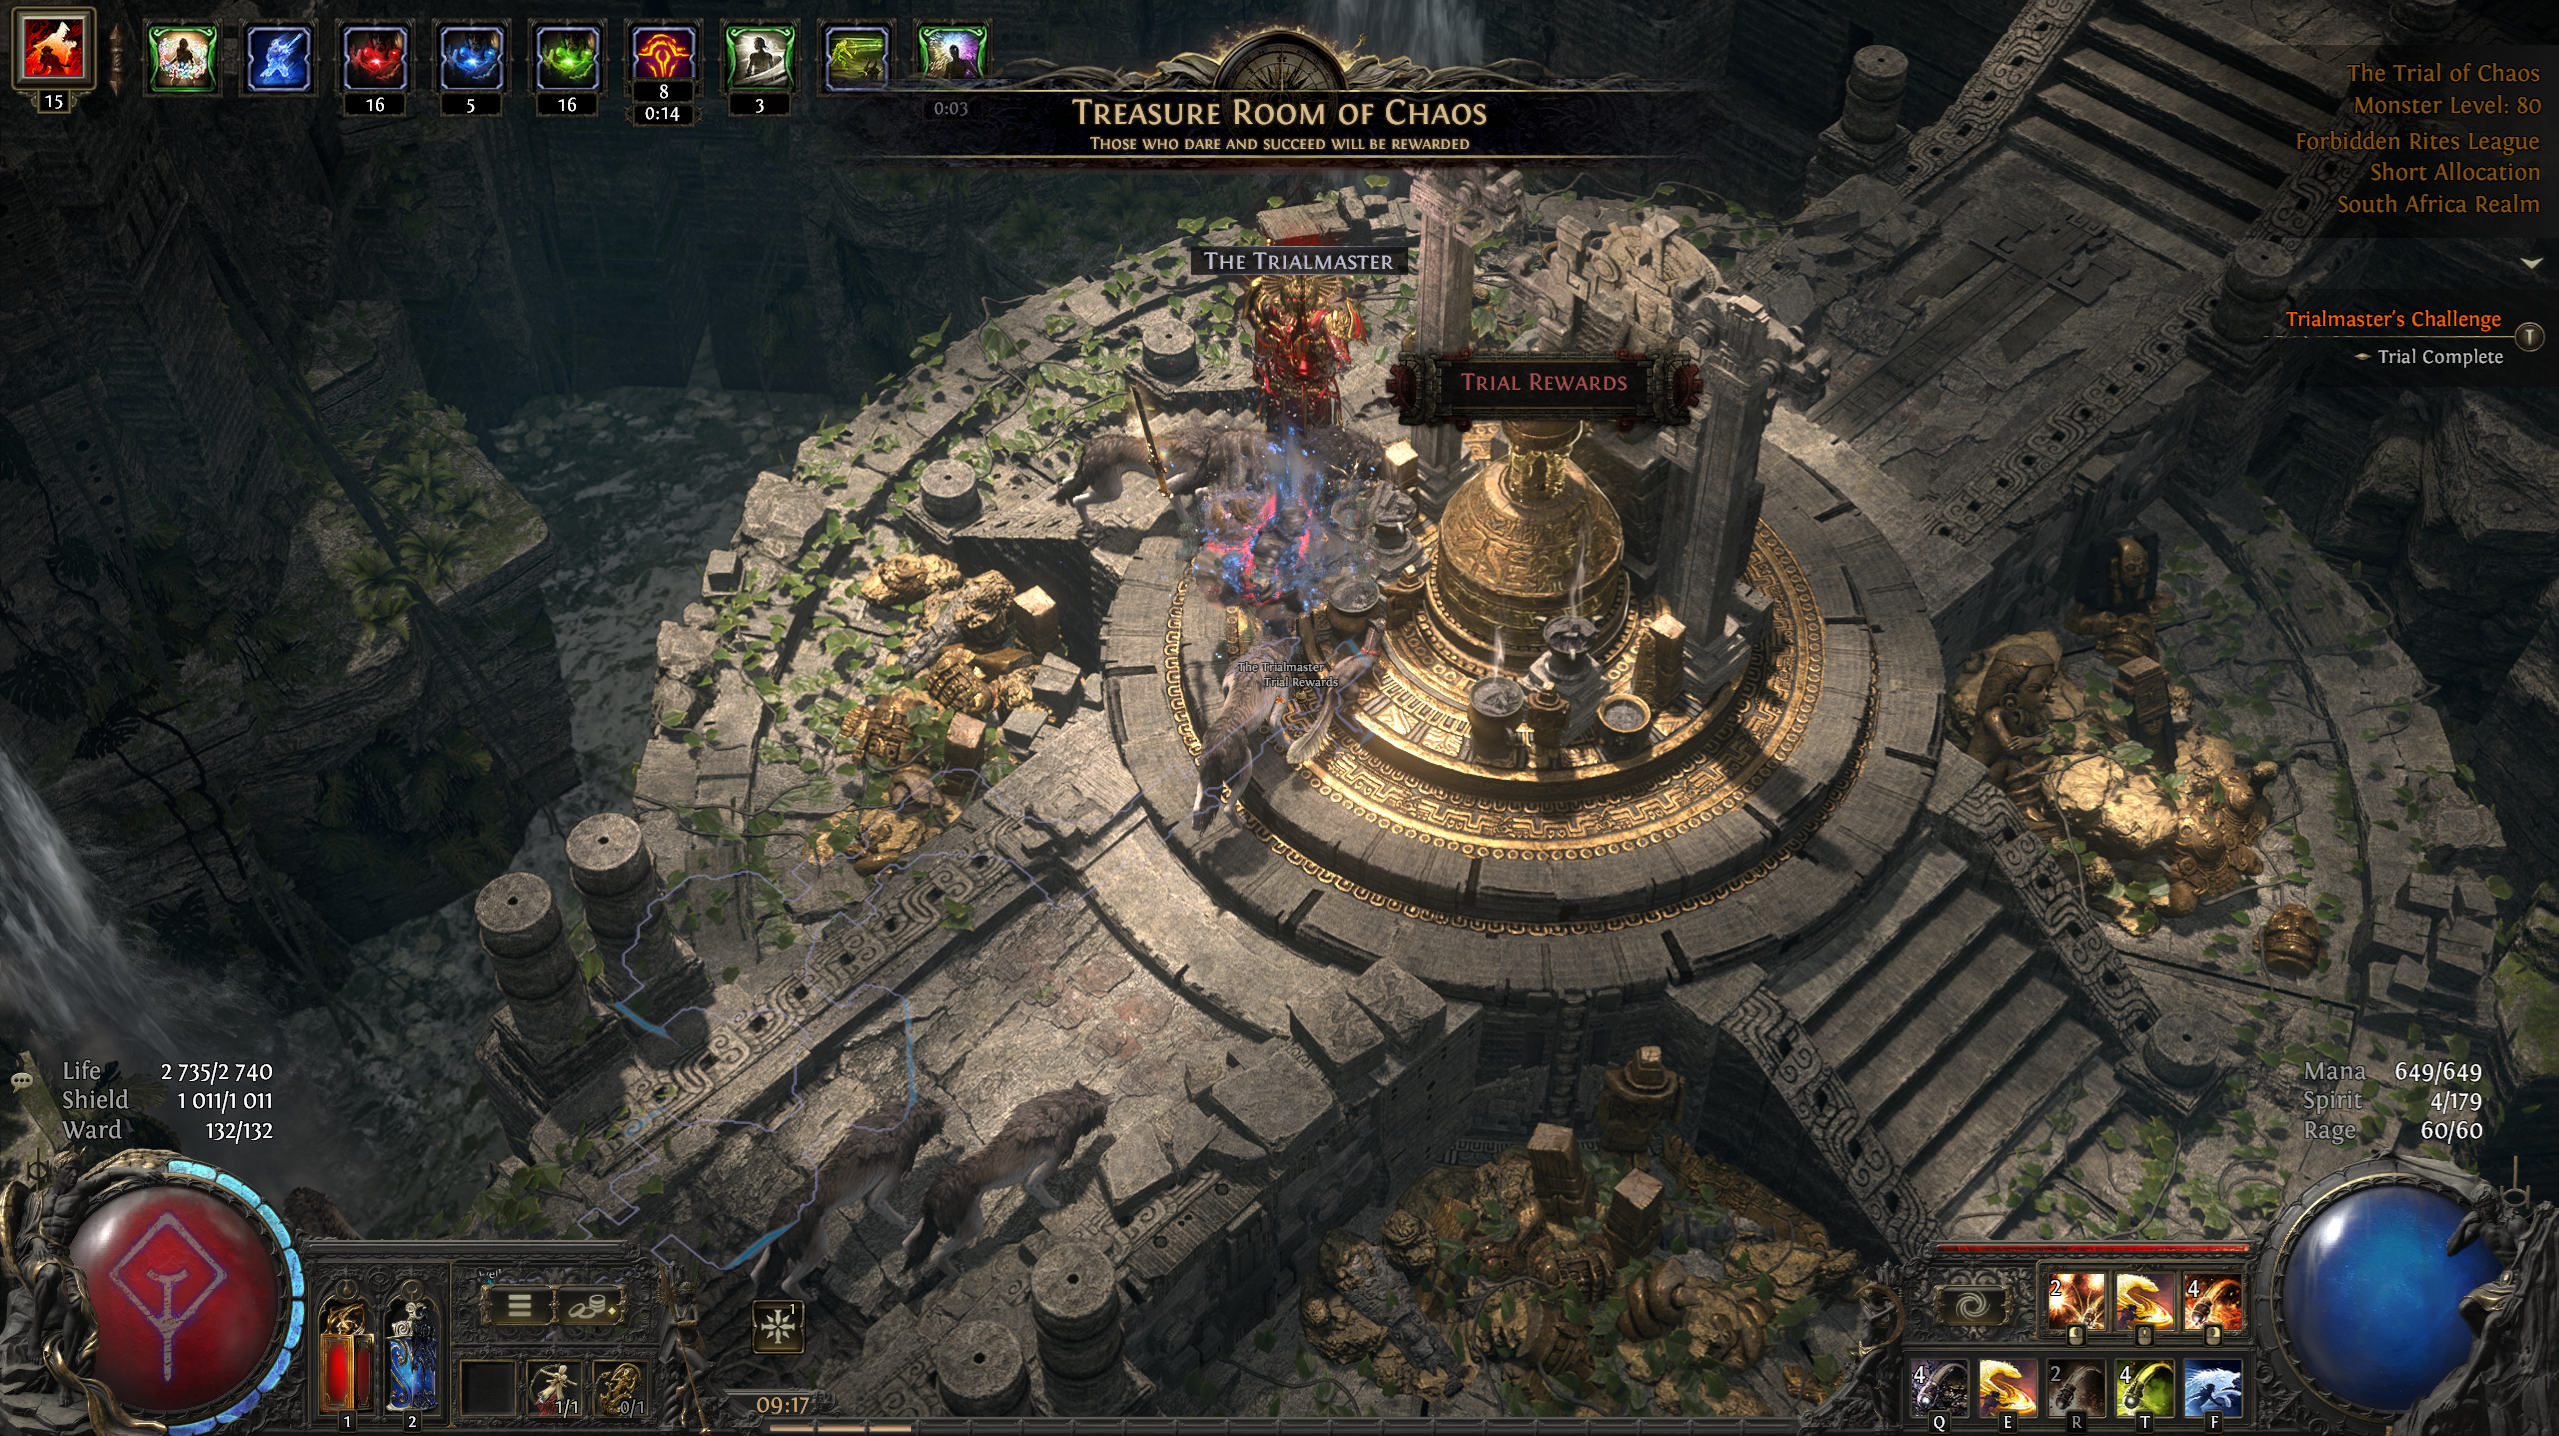
Additionally, if players decide to continue their run, they will be offered another type of Wager, where they can place a stack of Currency of a specific type, which will then be doubled if they successfully complete the run.
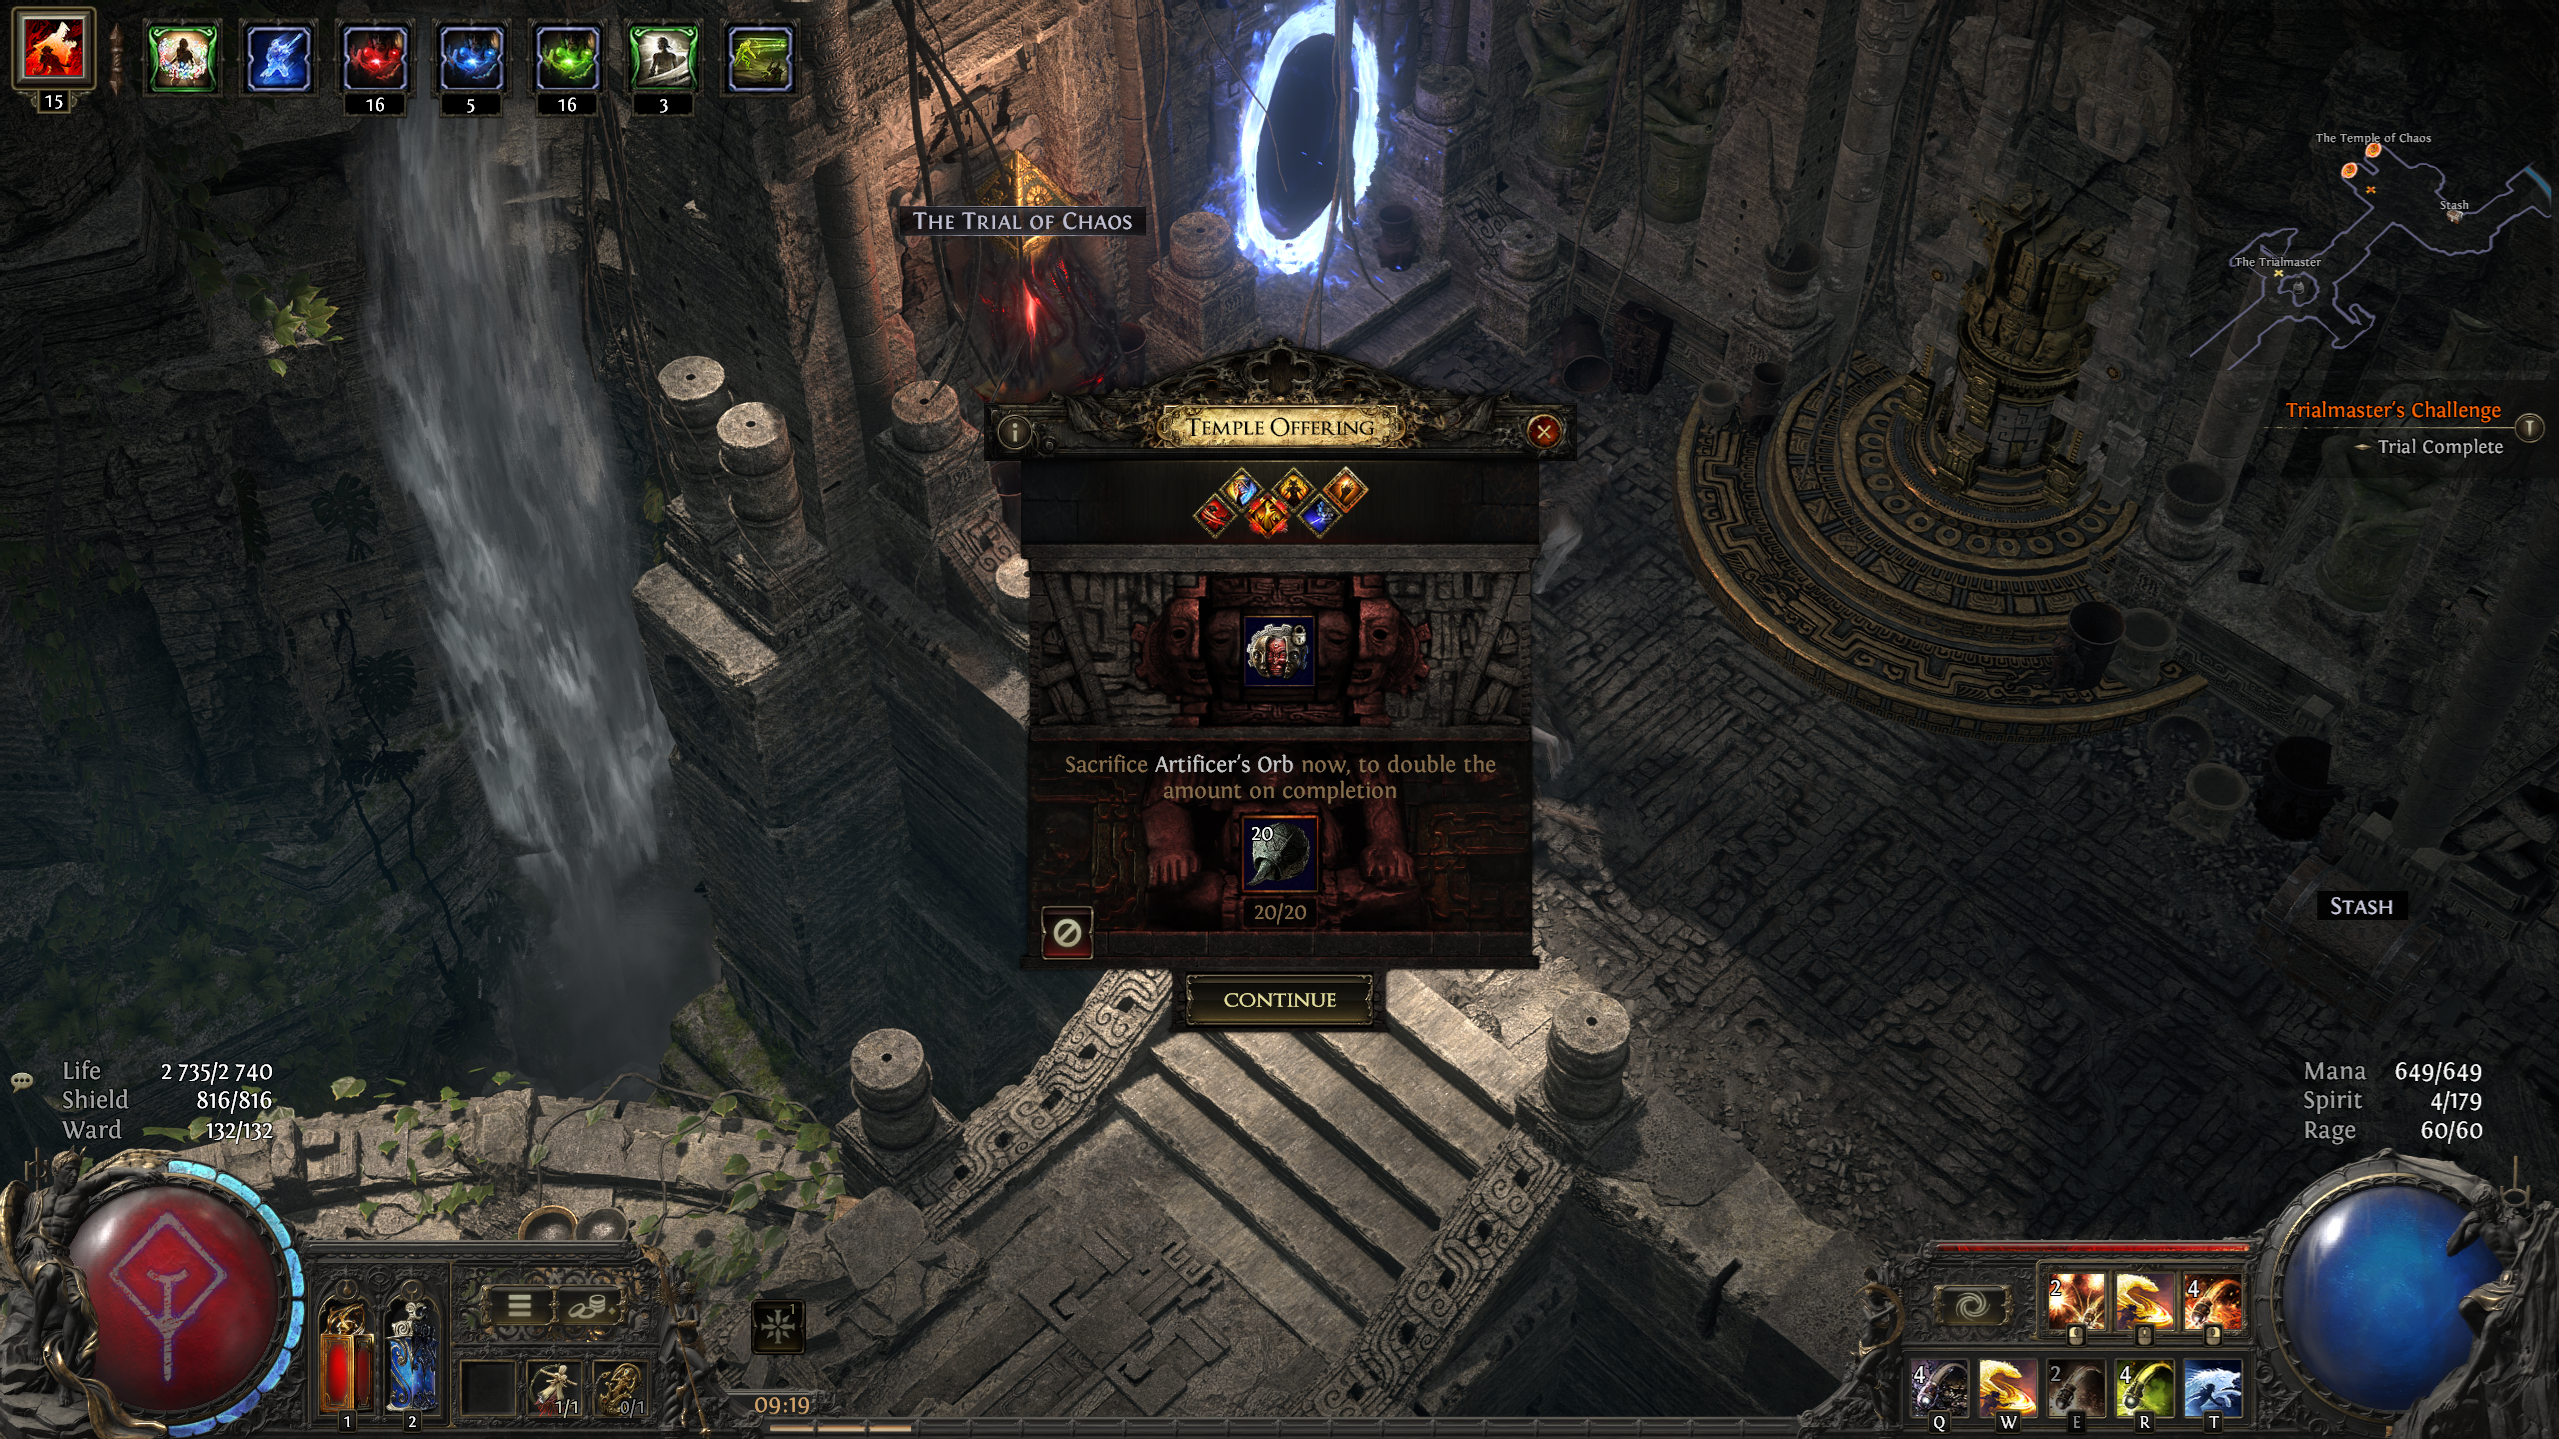
Finally, there is the Boss Room where players can face off against the Trialmaster himself. By collecting and placing a Deadly Fate, Cowardly Fate and Victorious Fate into the slots on the door, players can begin the fight against this boss. If players haven't achieved their fourth and final Ascendancy, completing this fight will grant them the maximum number of Ascendancy Passive Points.
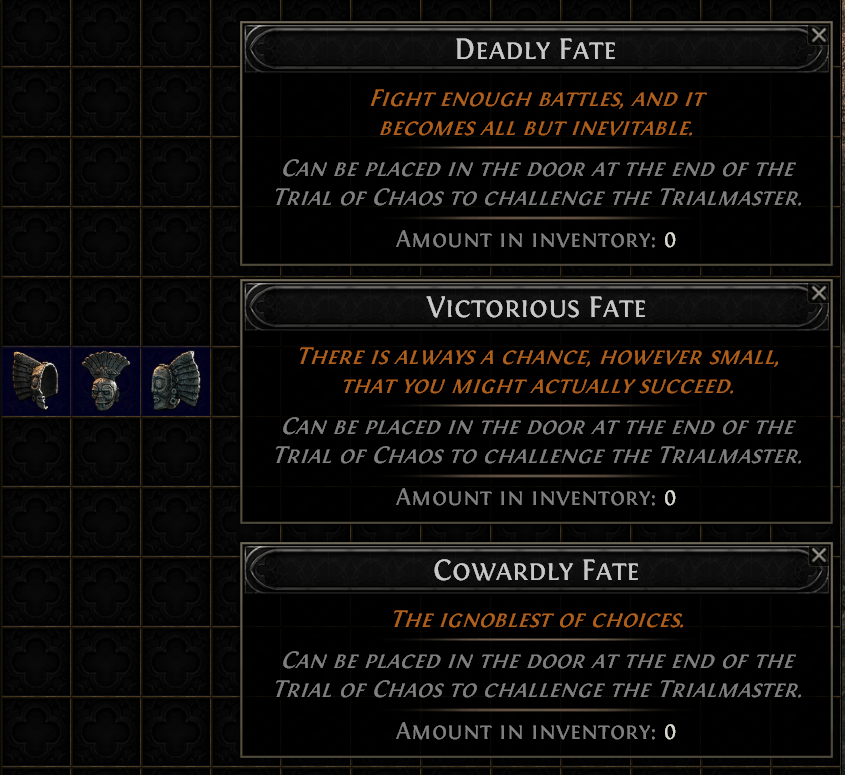
Deadly, Cowardly and Victorious Fate can be collected from the Boss in the 10th Room at the end of each set of floors during a Trial of Chaos. Players that complete all 30 Rooms will be granted one of each, guaranteeing an opportunity to fight the Trialmaster at the end
Trialmaster Boss Fight
The Trialmaster can be a challenging battle, but we have a guide for him here: Trialmaster Boss Fight Guide
Further Reading
To learn more about Path of Exile 2, or to find a build that can run Trial of Chaos, check out some more guides here:
If you'd like a build that was used to comfortably farm all 30 Floors of the Trial of Chaos, check out my Grenade Gemling Build below