PoE 2 Build Monk
Monk Invoker
[0.3] HOLLOW PALM WAVE / TEMPEST FLURRY FARM - MONK ENDGAME
0.3 TTE
End Game
Creator
Build Overview
This build is perfect for farming maps and leveling up calmly without needing to take too many risks, since we can keep our distance thanks to
Strengths and Weaknesses
- Great farming
- T15+
- Good AoE
- Movement speed dependant
Build Variants
- This will be the full endgame build based on my current level, which is above 90… But you can perfectly use it at lower levels, starting from 70 and onward…
- The foundations are similar or almost the same as my previous Ice Strike build… The gear doesn’t vary too much, the main changes will be in the tree and in the skill and support gems.
- FOR MORE INFO CHECK OUT THE VIDEO ON MY CHANNEL!
Skill Gems
Support Gem Requirements:
Str 40
Dex 115
Int 50
1
Elemental Expression
2
Crackling Palm
3
Storm Wave
4
Tempest Flurry
5
Charged Staff
6
Hand of Chayula
7
Tempest Bell
8
Herald of Thunder
9
Herald of Ash
10
Wind Dancer
11
Ghost Dance
Gem Priority

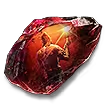
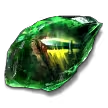
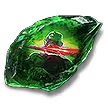

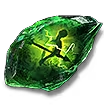
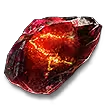
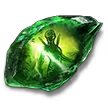


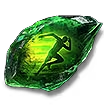
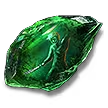



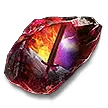
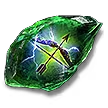

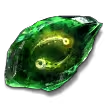

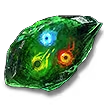



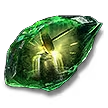
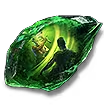




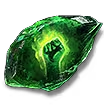


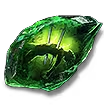


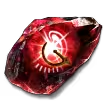
+41
- To use
 Herald of Ash, we’ll only need a level 4 support gem, nothing more. That’ll be enough to benefit from it.
 - The important skills will be
 Hand of Chayula to gain Power Charges, which we’ll use with
  Charged Staff.
  Storm Wave and
  Tempest Flurry will be our main damage-dealing skills.
- If you have enough Spirit, prioritize Cannibalism II over Clarity I.
Passive Tree
main:
123
123
set 1:
20
20
set 2:
20
20
How it Works
HOW IT WORKS
- Okay my monks, we’re going to explain step by step in a simple way how this build works.
We’ll start by using Hollow Palm, so we’ll scale our Energy Shield and Evasion, not just to survive, but to deal more damage thanks to this new node.
For this build, the most important damage resources will be Crit, Attack Speed, and Lightning Damage or Elemental, which also works. I’ll show more details about the gems, tree, and gear later.
So in this section, I’ll show the most important skills and how we should play them for a more optimized gameplay so you can pass high levels without problems. In the background, you’ll see gameplay from a Tier 15 map. - We’ll start by talking about Storm Wave. Storm Wave is a melee, lightning, and AoE skill.
It will be one of our main damage skills. With this skill, we can clear maps easily without risking getting close to enemies, so it’s a safe way to clear and gain experience. - It can also work for bosses.
But in this case, we’ll use our next skill, which is Tempest Flurry.
This skill is more for close combat, although it can also be used for farming if you want, in certain situations, like killing an elite with a lot of life or very resistant.
That’s why we’ll also use Tempest Bell, which is a skill that deals a lot of single-target damage. Plus, Tempest Flurry has a huge attack speed, so bosses will melt and won’t be a problem when we’re farming. - Now we’ll talk about these two skills, Hand of Chayula and Charged Staff.
I just want you to pay attention in this part to how they work together. I want to explain how we’ll generate those charges so Charged Staff can work.
First, we have Hand of Chayula, which we’ll equip with Sniper Mark. Sniper Mark leaves a mark on enemies that on the next critical hit will give us a Frenzy Charge. So with this, we have our first charge generator, although something else is still missing. At this moment, the Resonance node from our skill tree comes into play, which converts Frenzy Charges into Power Charges. And Charged Staff consumes Power Charges to be used. - So my monks, we have the charge generator and the converter, so we’re guaranteed to have enough charges to use Charged Staff.
Changelog
We’ll remove  Voltaic Mark since you can only have one active skill, and it’ll be
  Sniper's Mark to generate charge
Video Guide
Table of Contents
1. Build Overview This build is perfect for farming maps and leveling up calmly without needing to take too many risks, since we can keep our distance thanks to ... And for bosses, we’ll make the most out of + . 2. Strengths and Weaknesses3. Equipment4. Skill Gems5. Passive Tree6. How it Works HOW IT WORKS7. Changelog We’ll remove since you can only have one active skill, and it’ll be to generate charge
Featured Builds
Become a Creator
Want to earn rewards by sharing your builds with your community?


