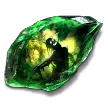
Poisonburst Arrow &
  Toxic Growth make for insane damage and a lot of fun! Plus explode entire screens with
  Herald of Blood!
We stack as much DEXTERITY as we can to gain extra Accuracy, Attack Speed & Extra Life
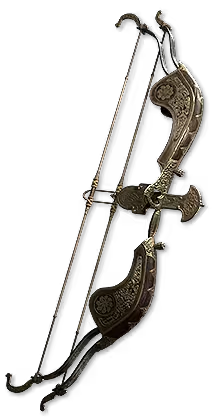
We use an ![]() Amazon because we get an insane amount of flat physical damage by having large rolls of Accuracy Stats on our Bow. On top of the flat physical damage, we also gain crit chance by stacking extra accuracy on other items and the tree.
Amazon because we get an insane amount of flat physical damage by having large rolls of Accuracy Stats on our Bow. On top of the flat physical damage, we also gain crit chance by stacking extra accuracy on other items and the tree.
We do not need to scale poison magnitude or poison stacks. We scale Critical Strikes and allow the big hits to do the damage. We don't worry about scaling poison really at all.
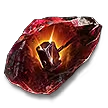
Once you reach late game and have a good bow with Physical Damage, Accuracy, and Critical Chance you can switch to the BLEED-POP version and get massive screen clear with Herald of Blood
Leveling Video Guide - https://www.youtube.com/watch?v=MjGLa5E12Lc&t=75s
**MODS TO LOOK OUT FOR**
DAMAGE:
- Physical Damage
- Physical Damage to Attacks
- Accuracy
- Dexterity
- Attack Speed
- Critical Strike Chance
- Critical Strike Damage
SURVIVABILITY:
- Evasion
- Deflect
- Life
**MODS TO LOOK FOR ON JEWELS**
- Critical Strike Chance For Attack (Priority)
- Attack Speed (Priority)
- Accuracy
- Blind
- Mana on Kill
**HOW THE BUILD WORKS**
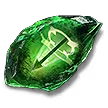
We use Poisonburst Arrow for mapping and killing mobs, while occasionally working in  Vine Arrow if enemies are charging towards us too quickly.
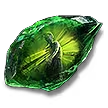
During the fights with Bosses and tough Rares/Mobs, we want to throw out one Toxic Growth & 2 Poisonburst Arrow to detonate our Toxic Growth for Huge damage. Rinse & Repeat.
During a boss fight, you can cast  Toxic Domain to apply more growth pustules directly to the target with Poisonburst Arrow & Toxic Growth if the projectile directly impacts the target.
If using  Mirage Archer, roll at the start of the boss phase to try and get shock on the boss for bigger damage.
If using  Rhoa Mount, you will be applying shock yourself with
  Stormcaller Arrow. Apply as needed
We scale Shock not Wither for our damage multiplier
Herald of Blood is how gain awesome screen clean in the late game. Just make sure to have Bleed III Socketed into Poisonburst Arrow
* Switch to the BLEED-POP Version once you have a good PDPS bow with Critical Chance and Accuracy.
**Quality of Life**
Blind is extremely helpful to add to the build if you are having survivability issues and synergizes well with Evasion/Deflect
You need a bit of Increased Poison magnitude (Early) in your build to help with detonating Toxic Growth. Once you have good physical damaghe output, you can lose it.
**UNIQUE ITEMS**
No Necessary Uniques items
After Level 90 (Unique Jewels)
-  Controlled Metamorphosis
- Medium-Large Ring (Early)
- Massive Ring (Late)
-  Megalomaniac - Whatever you can find in your budget that is related to: Critical, Physical Damage, Blind, Accuracy, Poison, Evasion, Deflect
-  Headhunter is a lot of fun and helps with clear but is generally quite pricey (Not Necessary)
-  Heart of the Well with good mods
- Recovery max life when killing poisoned enemies
- Critical Strike Chance
- Mana on Kill
**LEVELING GEMS**
Poisonburst Arrow > Rapid Attacks I > Corrosion > Bursting Plague
Toxic Growth > Concentrated Area > Rapid Attacks I > Long Fuse I
**ASCENDANCY ORDER**
1.  Predatory Instinct
2.  Critical Strike
3.  Penetrate
4a.  Azmeri Brew
4b.  Stalking Panther if Evasion on body armor is low.