menu
MobalyticsUse your favourite features in-game with our Desktop App
NTE Character

Sakiri Build Guide

presentationSakiri
Updated on Jul 8, 2026
Jul 8, 2026

Character Profile

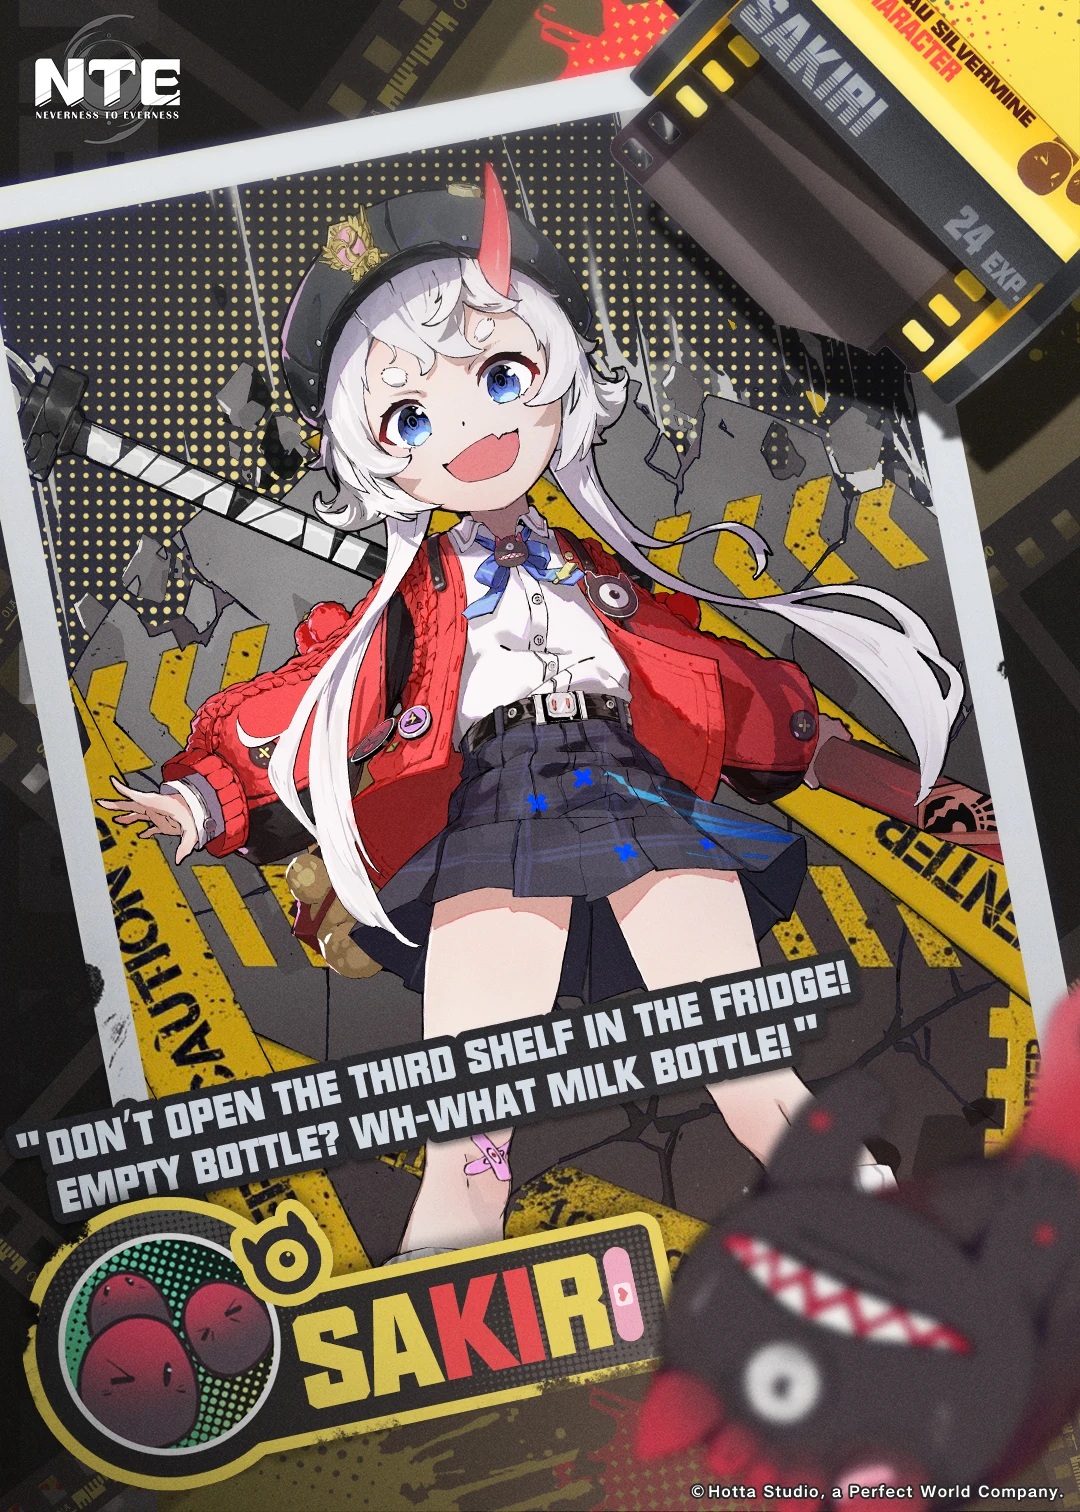
Sakiri is an S-Class, Incantation, Gas character. Sakiri is one of the "Standard" characters, meaning they are accessible through the gacha system permanently.

You can also choose to pick Sakiri with a Standard Selector once you progress enough in the game.

Sakiri is the only S rank ATK buffer in the starting Roster, meaning she’s an easy slot in any team with elements neighboring Incantation. Her DPS is low, but her passive buffs Scorch damage, she pairs well with Anima, and she has strong CC against smaller enemies.

S-ClassRarity
IncantationElement
GasArc

Build Overview

Weapon
Best-in-SlotGood Boy's Grand Adventure
F2PFailing You, Heavy in My Heart
Cartridge
RecommendedSpeedy Hedgehog (S)
Main StatBreak Intensity
Recommended Stats
StatBreak Intensity
StatUniversal DMG%
StatCRIT Rate
StatCRIT DMG

Console

Increases Incantation DMG Bonus by 9% for each Type III Module equipped

Skill Overview

Skills
Basic AttackKiroumaru Headbutt
SkillDevour Whole
UltimateFeast of Gluttony
Support SkillSquash!
Passives
Passive 1Can I Eat This?
Passive 2Impish Trick
Life SkillNo Work, No Reward

Best Teams

As a support, Sakiri instantly slots easily into teams:

Blossom Team

Nanally Jiuyuan Sakiri Zero

An easy comp to maximize Nanally damage. Instantly charging Esper Meter with Zero, and swapping into Anima characters (Nanally and Jiuyuan) to proc blossom. After Nanally finishes her rotation, she swaps to Sakiri with full bar to proc Hexed. Sakiri also provides ATK buffs to the entire team, and DEF reduction on enemies.

Charged Team - Nanally, Zero, Hathor, Sakiri

Nanally Zero Hathor Sakiri

Same as previous Blossom team, but adds Hathor (Lakshana) as second dps, and enabler of Remora and Charged reactions. Sakiri is strong here because she buffs two DPS characters instead of one. And Hexed reaction replicate a portion of all Anima damage (from Nanally and from Blossom)

Scorch Team

Baicang Daffodill Haniel Sakiri

Lacrimosa Adler Sakiri Baicang/ Fadia/ Haniel

Sakiri is the core of Scorch team, because if her stacking DoT Multiplier based on number of DoT on enemy. Max possible DoT count is four: (Scorch - Lacrimosa's Nightmare - Adler's Skill - Baicang's Ultimate).

It's very difficult to keep all four at the same time, because Lacrimosa's Nightmare has 3 seconds duration, and Baicang need to take field time to regenerate energy for his Ultimate. So in Lacrimosa team, we can opt to three stacks of Sakiri buff, and add a Psyche character in last slot such as Fadia pr Haniel

Full Burst DPS/ Quick Swap Team

Baicang Daffodill Sakiri Jiuyuan

Same as the previous Scorch team with Baicang, but adds a Hexed reaction between Sakiri and Jiuyuan (Anima), instead of going for Charged and Nova. A team with more grouping, and burst rotations.

Best Weapons

  • BiS: Good Boy's Grand Adventure (F2P)
  • Early Game F2P: Failing You, Heavy in My Heart

All Standard characters can obtain their Signature Weapon through the overworld later in the game. For Sakiri, Good Boy's Grand Adventure is the perfect compliment.

She gets Charge Efficiency, and upon using Ultimate, this Arc gives the entire team an ATK buff for a massive 20 seconds. Against small enemies who gets controlled by Sakiri Ultimate, the buff grows even further.
For the early game, Failing You, Heavy in My Heart is a good pick for an A-Class Arc. If you don't have it, don't worry about it too much and wait until you can obtain S-Classes later in the game.

Best Cartridges & Modules

  • Cartridge: Speedy Hedgehog (S)
  • Cartridge Main Stat: Break Intensity
  • Substats: Break Intensity / Universal DMG% / CRIT Rate CRIT DMG

For Gear on supports such as Sakiri, you only have to activate the 4-piece Set effect of Speedy Hedgehog (S) on the Cartridge. At two pieces, she gets Ultimate charge efficiency, and at 4 pieces the entire team gets ATK buff after Sakiri uses Ultimate.

The DPS stats are less important, as Sakiri will not output high damage anyway. So the first and foremost priority is set bonus, then Break Intensity, as Break DMG is a sum of the entire team, not personal stat. Sakiri is the safest character to build full Break, because she has the least effect on team DPS and survivability, and her buffs is not affected by Cartridge and Modules stats.

In Lacrimosa Scorch team, make sure Sakiri has less Cycle Intensity than Lacrimosa (Preferably zero). This way, Lacrimosa takes ownership of Scorch, and her high Crit Damage takes effect on Scorch.

Skill Priority

Ultimate > Skill > Basic Attacks = Support Skill

Awakenings & Resonance

Awakenings
A1A1: Diffusive Haze
A2A2: Dextrous Separation
A3A3: Adhesive Grip
A4A4: Wishful Reliance
A5A5: Sensory Collapse
A6A6: Gluttonous Dissolution
ResonanceResonance: Insatiable Appetite
ResonanceResonance: Fog Penetration

A4 < Everything

Sakiri doesn't care about most DPS Awakenings, and as final stages in Beyond the Rails have only bosses and no small enemies, team doesn't make good use of CC Awakenings. So her her only and best option is A4, which doubles her ATK buff.

How to Play

Sakiri is very simple to play, with minimum field time:

  • She swaps in, uses Ultimate if available.
    • Applies brief crowd control that affects non-boss enemies
    • Shred Def of enemies affected by CC
    • Applies team-wide ATK buff
  • Uses hold skill to gather enemies and apply more CC
  • Swaps out before she finishes animation to avoid interruption

Release Date

Sakiri released alongside the official release of Neverness to Everness, which will be April 29th, 2026 for global players, with China slightly earlier on April 23rd, 2026.

Portrait

nte sakiri portrait