menu
MobalyticsUse your favourite features in-game with our Desktop App
Gamebase Guide

Valheim 1.0 - Deep North Progression Guide

Guides
Valheim
Updated on Sep 12, 2026
Sep 12, 2026

Intro

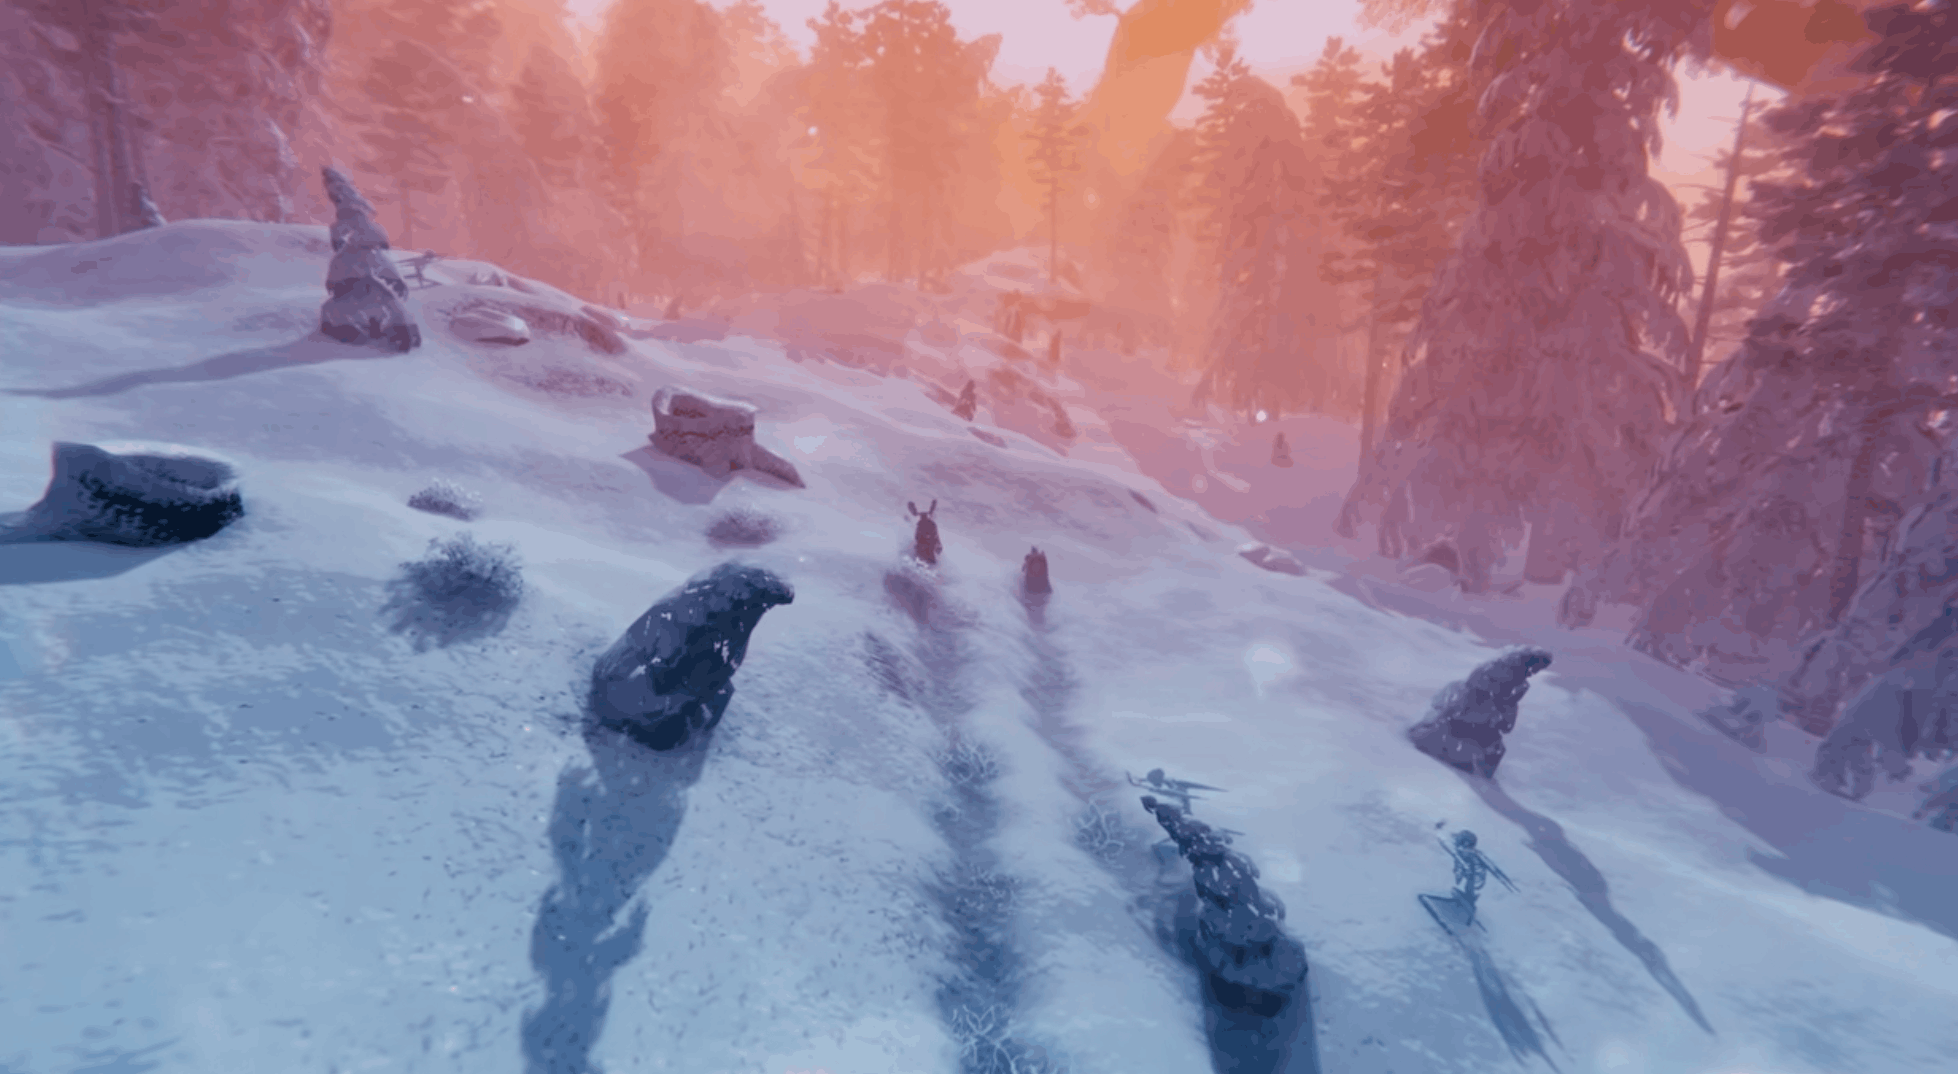
Deep North

The Deep North is Valheim's final biome and the last major stage of progression introduced with the 1.0 release. Unlike most earlier biomes, progressing through the Deep North involves much more than simply gathering a new metal tier and locating the next boss.

The biome introduces a longer progression chain built around new resources, Winding Tunnels, crafting stations, Mörkhalla dungeons, Jotun Invasions, and several new equipment systems. Many of these mechanics are connected, meaning you will need to complete certain objectives before the next part of the biome becomes available.

In this guide, we'll cover what you should prepare before entering the Deep North, the order in which you should complete its major progression steps, which resources and upgrades are worth prioritizing, and how to eventually unlock the path toward Valheim's final boss.

We will not cover the Kall Fimbulbringer fight itself in this guide, as the final boss has several unique phases and mechanics that are covered in a separate guide.

This guide is therefore focused on getting you from the end of the Ashlands all the way to the point where you are ready to enter the Aesir Passage and face the final challenge.

What to Do Before Entering the Deep North

Before heading into the Deep North, you should finish most of your Ashlands progression and prepare a few specific things in advance. The biome is heavily progression-gated, and you can't get one important resource there.

Defeat Fader First

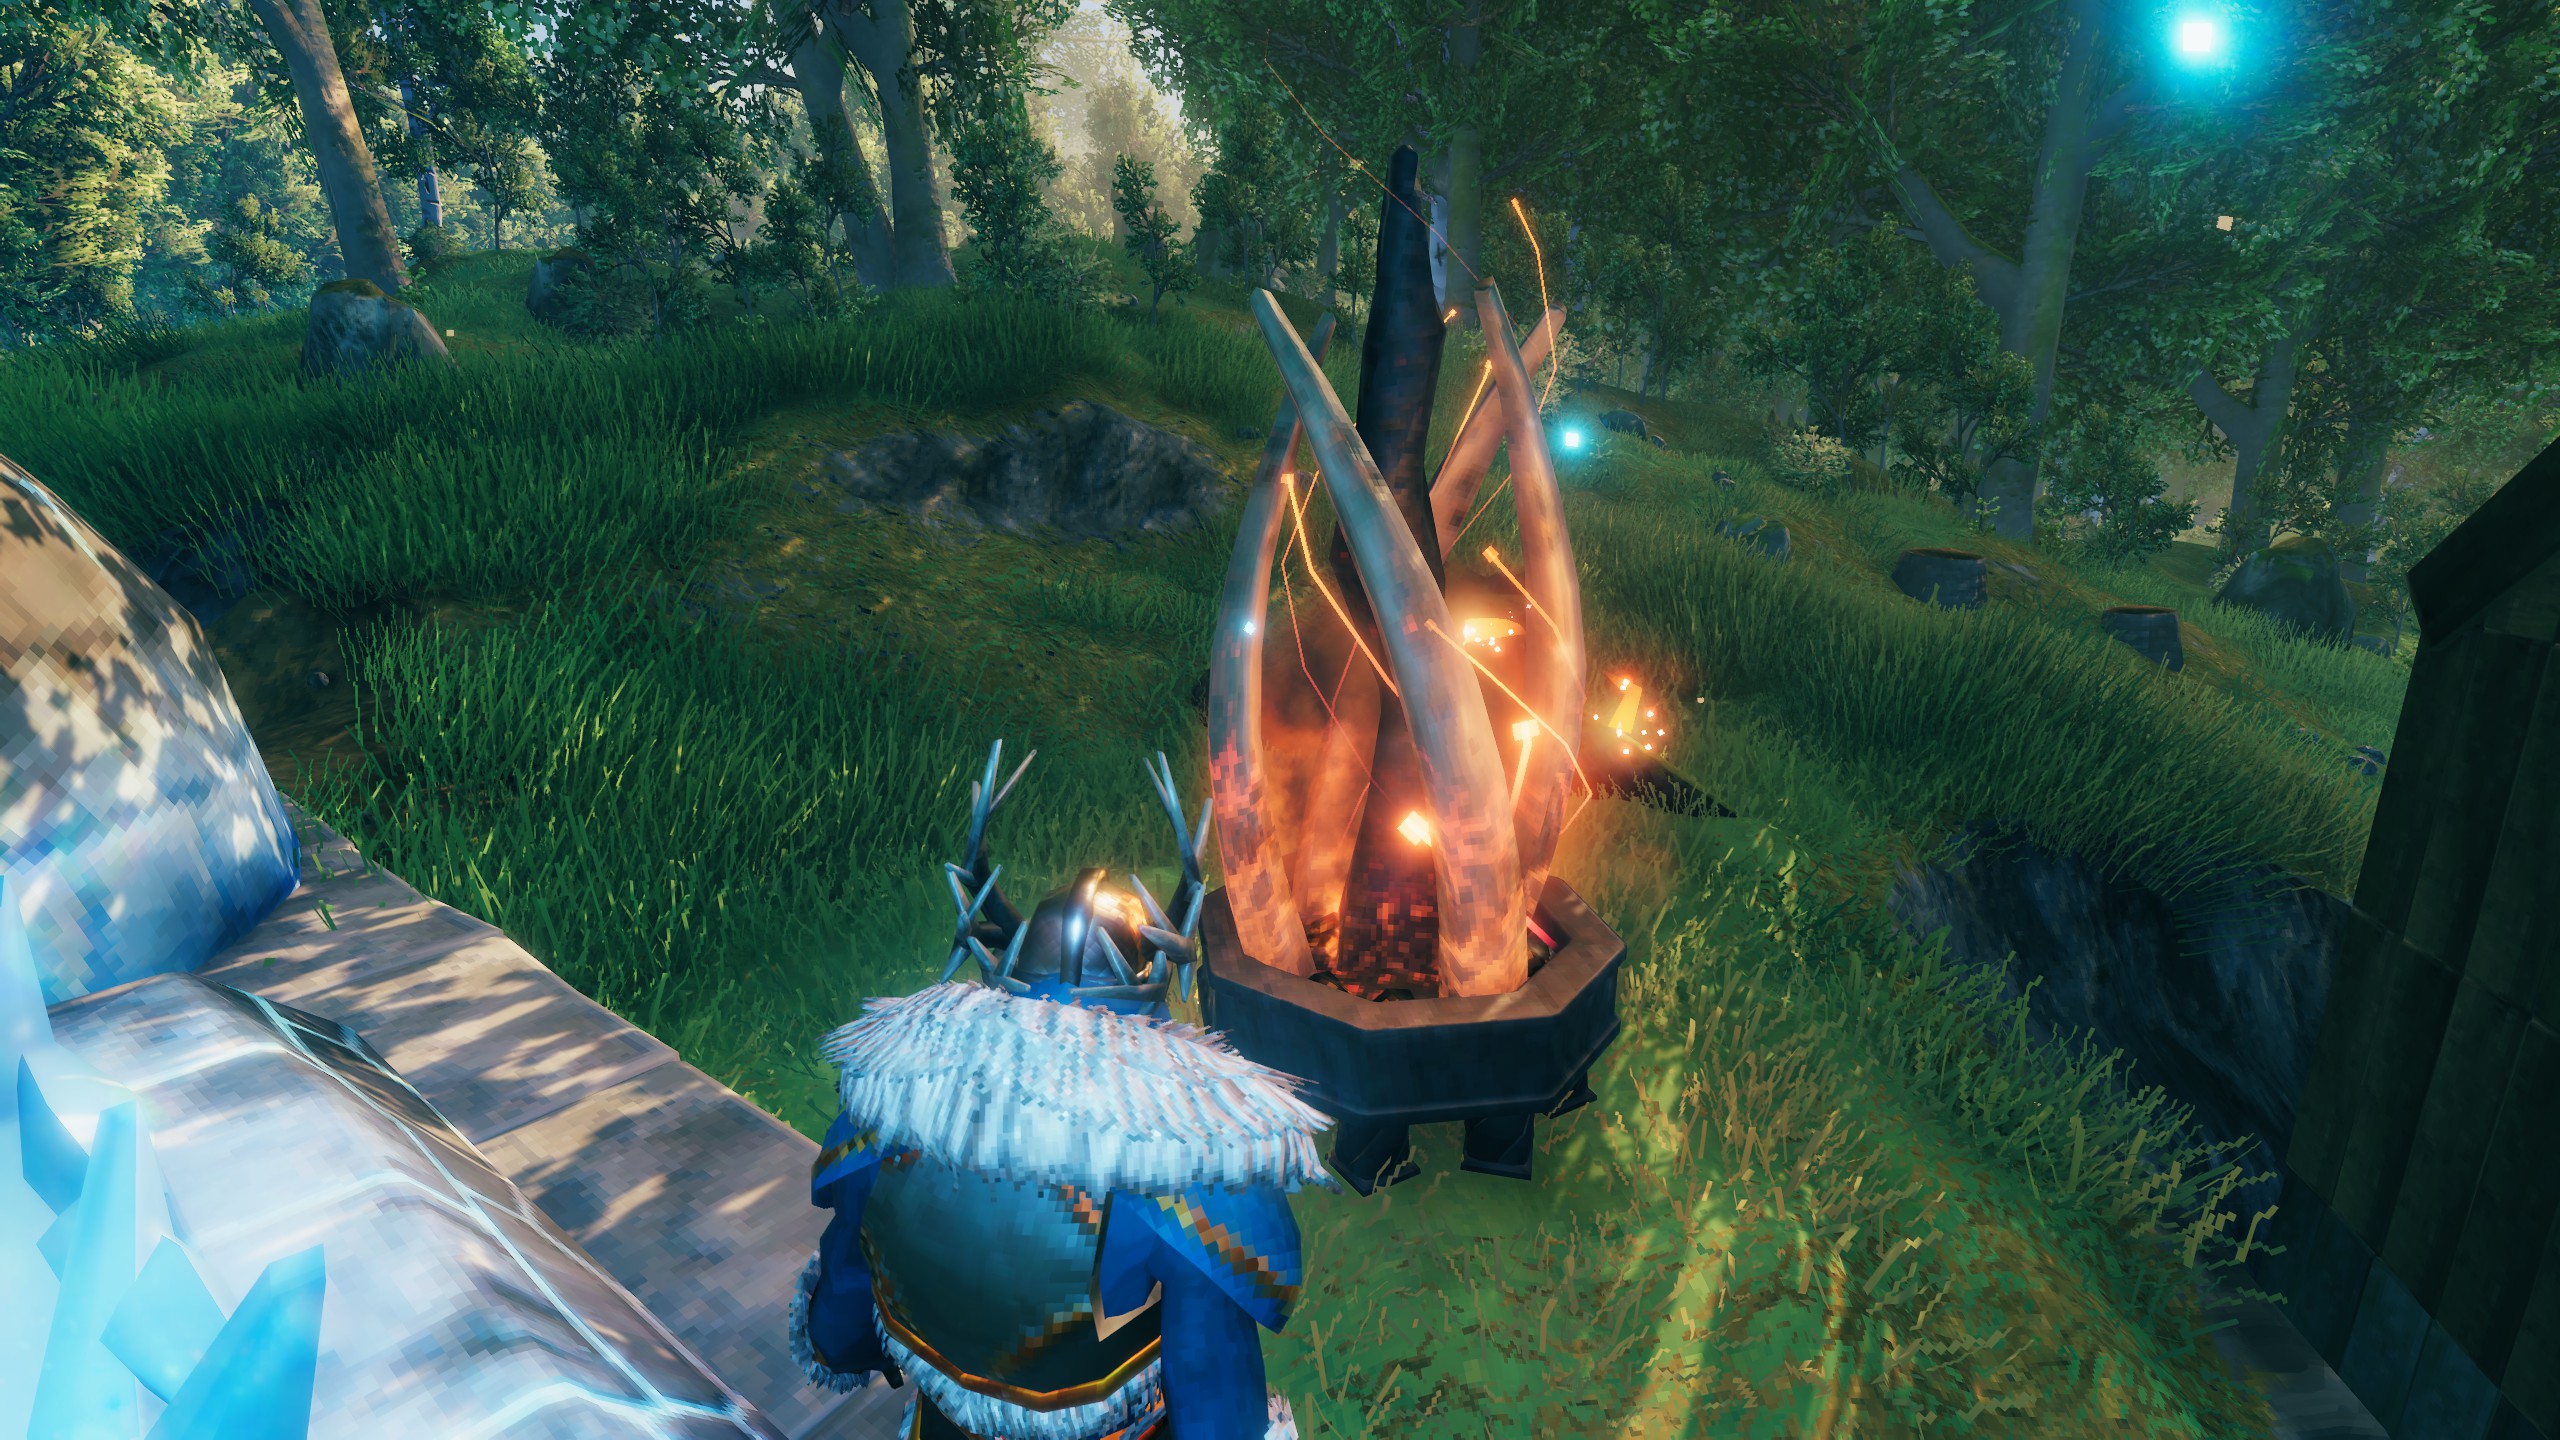
Eternal Pyre

Your first major requirement is defeating Fader, the Ashlands boss.

Fader's drop is used to build the Eternal Pyre, which is important because it attracts Embers. Embers are required for Deep North progression, and unlike most biome resources, you can't get them inside the Deep North itself.

Because of this, build an Eternal Pyre before leaving for the north and begin collecting Embers in advance.

Bring Strong Ashlands-Tier Gear

The Deep North is the final biome in Valheim, so enemies are balanced around players arriving with strong endgame equipment.

You should ideally bring upgraded Ashlands-tier armor and weapons, strong food, healing consumables, and the Rested buff. A reliable ranged option is also useful, even if you primarily play melee.

You do not need a completely finalized build before entering, since the biome introduces its own equipment progression, but arriving undergeared will make the first stage much harder than necessary.

Buy the Inventory Upgrades From Haldor

Valheim 1.0 added permanent inventory upgrades sold by Haldor.

Wider Pockets becomes available after Moder and adds one inventory row, while Deeper Pockets unlocks after defeating The Queen and adds another. Together they give you 16 additional inventory slots.

They are not strictly required to enter the biome, but the Deep North introduces a large number of new resources, moulds, dungeon items, food materials, and equipment. Having both upgrades makes longer exploration and dungeon runs considerably more manageable.

Prepare a Portal Setup

Bring enough materials to establish a Portal shortly after arriving.

Deep snow can interfere with where you can build, so your first landing location matters. Flat coastal ice can provide a convenient place to establish your initial connection home before pushing deeper inland.

As usual, keeping an unused Portal ready at your main base makes this much easier.

Bring Your Existing Crafting Infrastructure

Deep North equipment does not completely replace your earlier crafting progression. Several new resources still interact with crafting stations from previous biomes.

In particular, you will eventually need access to equipment such as your Black Forge and Blast Furnace, alongside the new Deep North crafting stations you unlock later.

You do not need to physically relocate your entire base north immediately. A strong home crafting setup connected through a Portal is perfectly fine while you establish yourself.

Stock Up Before You Leave

Before your first serious expedition, bring enough food, healing, arrows or bolts if needed, Portal materials, and basic building resources to survive longer than a quick scouting trip.

You will eventually unlock substantially better Deep North food and gear, but your first few trips still depend almost entirely on your Ashlands equipment.

Once Fader is defeated, you have Embers available, your inventory is expanded, and your equipment is ready, you can begin the actual Deep North progression.

Deep North Progression

Once you have finished your Ashlands preparation, your first real goal is to establish yourself in the Deep North and start collecting the materials that unlock the biome's new crafting chain.

Unlike most earlier biomes, the Deep North does not let you immediately craft its strongest equipment. Progression is much more gated, and several resources need to be obtained in a specific order before the next step becomes available.

Establish a Safe Foothold

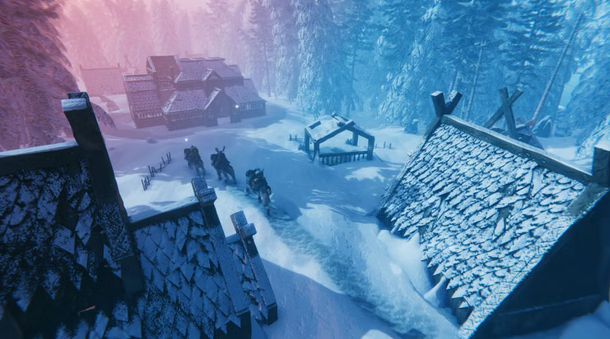
Base Deep North

When you first arrive, focus on finding a reasonably safe area where you can place a Portal and basic shelter.

Deep snow can make building awkward, while the frozen terrain and new enemies can make a bad landing much more dangerous than it first appears. Clear the immediate area before pushing deeper into the biome.

Your first few trips should mostly be about scouting, marking important locations, and collecting new materials rather than trying to complete the entire biome immediately.

Find Ice and Frost Cores

Two of the first resources you should start looking for are Ice and Frost Cores.

Ice can be gathered from frozen formations and creatures throughout the biome, while Frost Cores are mainly tied to the Winding Tunnels.

You will eventually need 20 Frost Cores in total for the two main Deep North processing stations:

10 Frost Cores for the Frigid Kiln

10 Frost Cores for the Frost Foundry

Because of this, Winding Tunnels should become one of your main early exploration targets.

Explore Winding Tunnels

The Winding Tunnels are one of the most important Deep North dungeon types.

They contain Frost Cores, moulds used for new equipment, and eventually the moulds required to create Intricate Keys.

These tunnels can be confusing to navigate, so it helps to mark your route as you move through them. Even something as simple as placing light sources facing back toward the exit can make it much easier to avoid getting lost.

Do not assume one tunnel will give you everything you need. You will likely need to clear several before you have enough Frost Cores and the moulds required for later progression.

Hunt Gammeltrolls and Start Your Bloodgold Progression

Once you have started clearing Winding Tunnels and collecting Frost Cores, the next major step is unlocking Bloodgold.

Bloodgold is one of the core Deep North crafting materials, but unlike earlier metals, you do not mine it directly from the ground.

Defeat Gammeltrolls

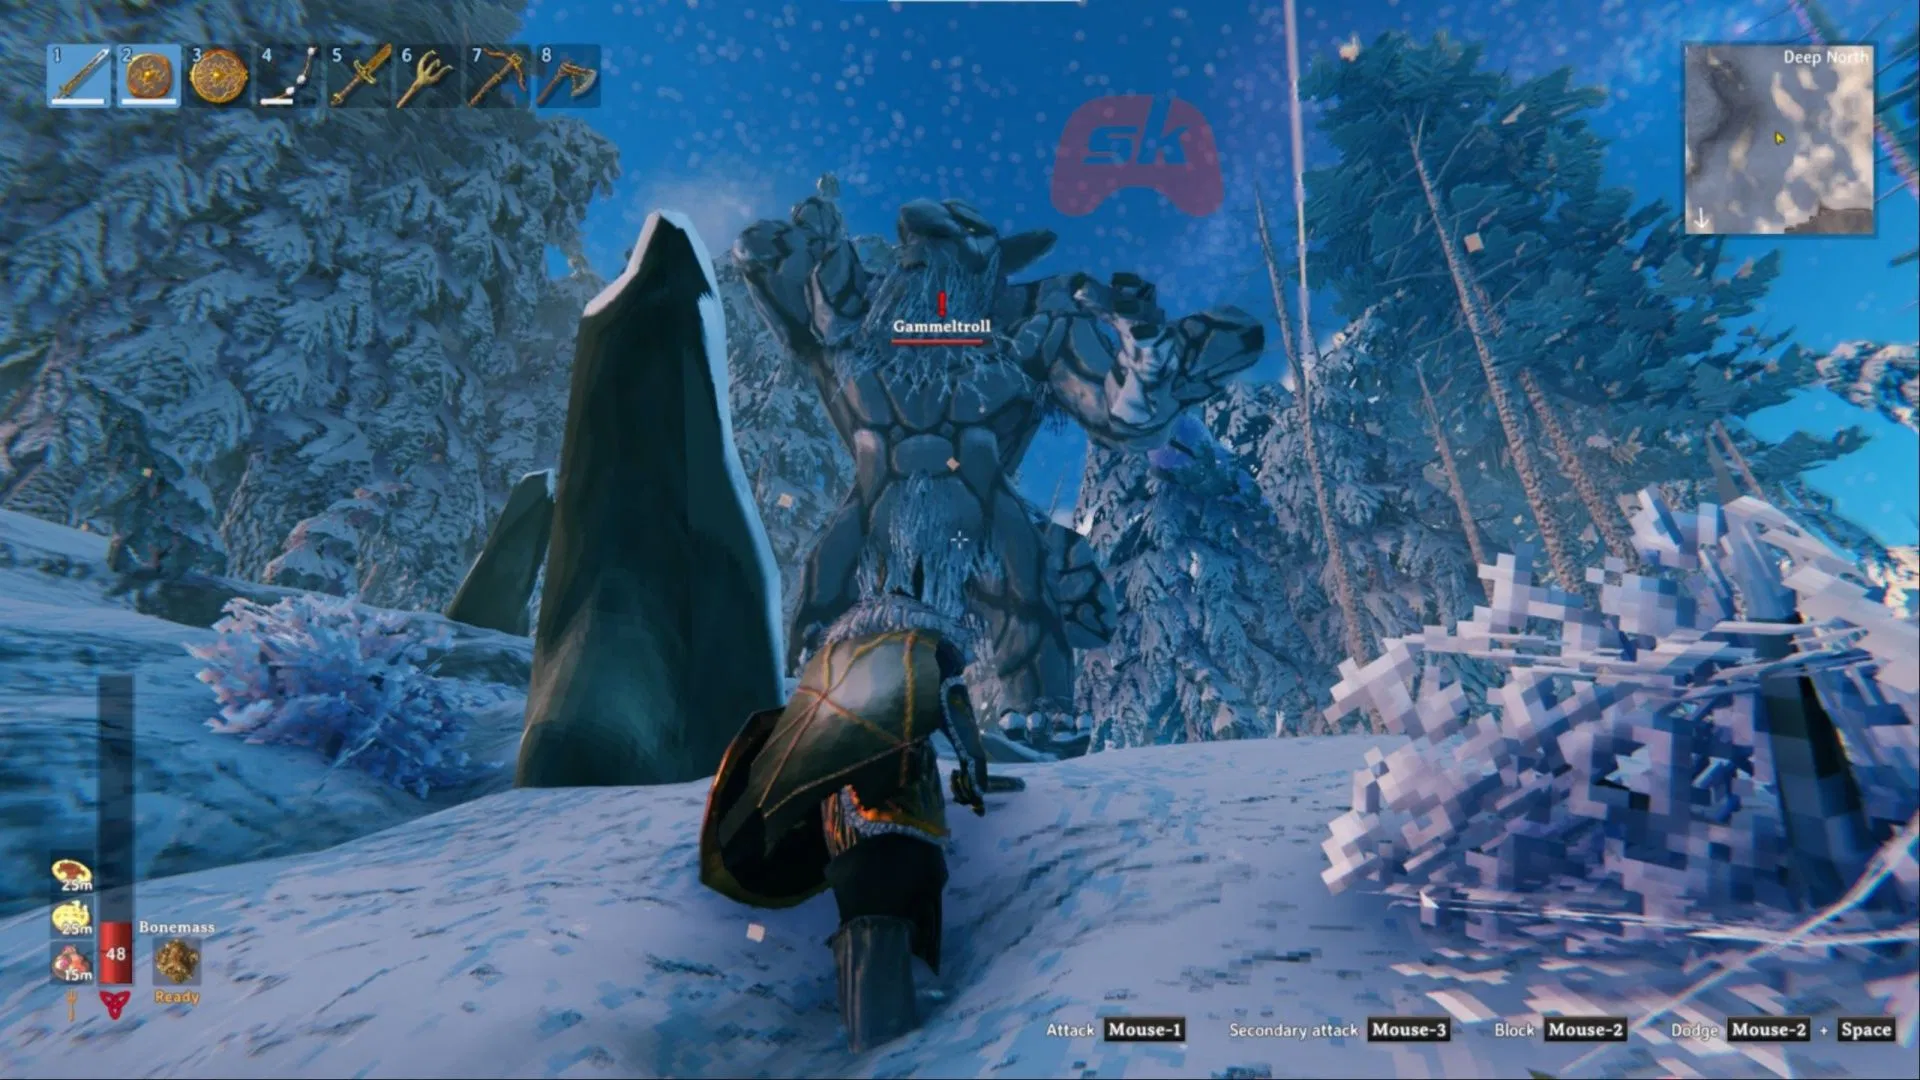
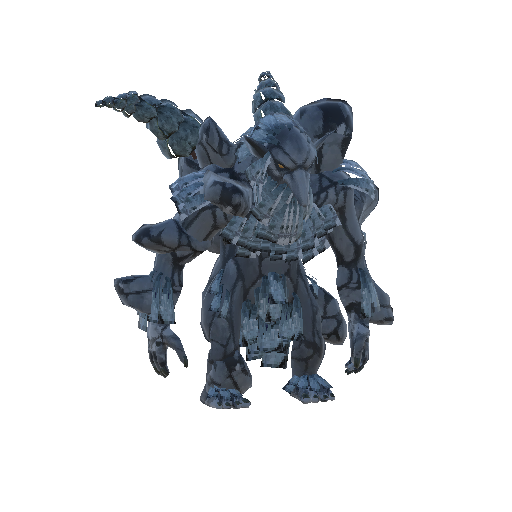
Gammeltroll

Gammeltrolls are enormous enemies that roam the Deep North.

When you defeat one, it does not simply leave behind normal loot. Instead, its body becomes a Petrified Gammeltroll.

You cannot mine this petrified body with a normal Pickaxe. To break it apart, you need Ember Charges.

Craft Ember Charges

Ember Charges are crafted using Embers and Seal Pelts.

This is why collecting Embers from the Eternal Pyre before entering the Deep North is important. Seals can be found around the Deep North coastline and provide the other material you need.

One craft gives you multiple Ember Charges, so it is worth preparing several before specifically hunting Gammeltrolls.

Break the Petrified Gammeltroll

Petrified Troll

After killing a Gammeltroll, throw Ember Charges at the petrified body.

Targeting the lower legs or ankles is the most reliable approach. Breaking the statue causes it to collapse and allows you to collect Petrified Tissue from the remains.

Petrified Tissue is extremely heavy, so plan around your inventory and transport capacity before farming large amounts of it.

Turn Petrified Tissue Into Bloodgold

Take the Petrified Tissue back to a Blast Furnace and smelt it with Coal.

This produces Bloodgold, which is used throughout Deep North equipment progression.

Bloodgold is not a normal ore tier where you simply turn the metal directly into a weapon. Instead, it becomes part of a new crafting process involving Moulds, Casts, Liquid Frost, and the Frost Foundry.

Build the Frigid Kiln and Frost Foundry

While exploring Winding Tunnels, you should work toward collecting at least 20 Frost Cores.

You need:

10 Frost Cores for the Frigid Kiln

10 Frost Cores for the Frost Foundry

The Frigid Kiln also requires Stone and Ice, while the Frost Foundry requires Stone and Iron.

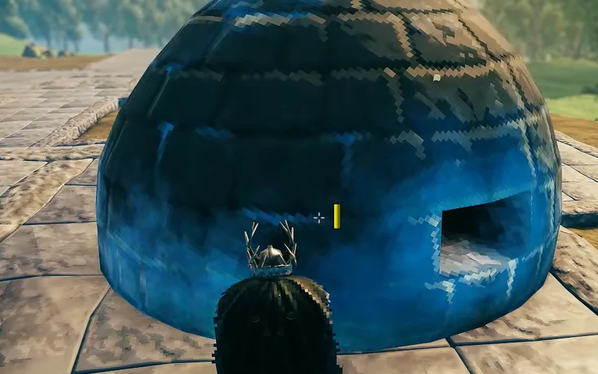
Frigid Kiln

Frigid Kiln

The Frigid Kiln converts Ice into Liquid Frost.

Every batch of Liquid Frost consumes Ice, so continue collecting Ice even after you have built the Kiln. Liquid Frost becomes the fuel used to finish Deep North equipment inside the Frost Foundry.

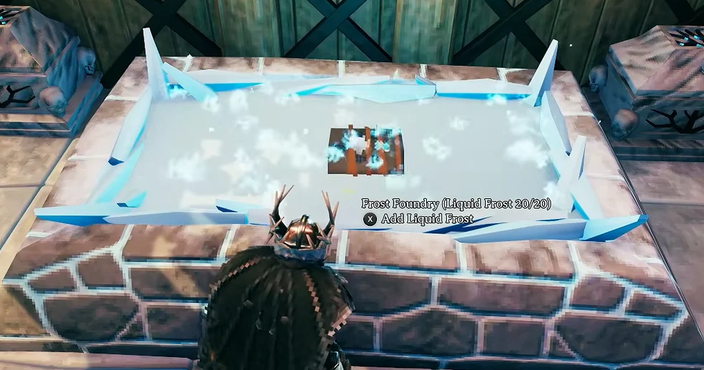
Frost Foundry

Frost Foundry

The Frost Foundry is where your Deep North equipment is finally completed.

The basic crafting process works like this:

Find a Mould → combine it with Bloodgold and the required materials to create a Cast → place the Cast in the Frost Foundry → add Liquid Frost → receive the finished item.

This system is used for weapons, armor, shields, and several important progression items.

Start Crafting Deep North Gear

Once you have Bloodgold, Moulds, the Frigid Kiln, and Frost Foundry available, you can finally start replacing your Ashlands equipment with Deep North gear.

You do not need to craft every item immediately. Moulds are consumed when used, Bloodgold takes time to farm, and Liquid Frost requires a steady supply of Ice.

Prioritize equipment that directly improves your current build before spending resources on items you are unlikely to use.

This is also the point where the biome starts opening up properly, because the same crafting system used for your gear is also required for the Intricate Keys needed for the next stage of progression.

Craft Intricate Keys and Enter Mörkhalla

Once you have your Deep North crafting setup running, the next major progression step is unlocking Mörkhalla, the biome's second important dungeon type.

To enter, you need an Intricate Key. Unlike normal keys, this one is consumed when you use it, so you will eventually need more than one.

Find the Intricate Key Mould

The Mould: Intricate Key is found in the Winding Tunnels.

It drops from specific enemies inside the tunnels, so you will probably need to clear several dungeons before getting enough moulds for the full progression route.

You need three Intricate Keys in total for normal progression, which also means three separate key moulds.

Craft the Intricate Key

Each key requires:

1 Mould: Intricate Key

5 Bloodgold

At a Level 4 Black Forge, combine these to create a Cast: Intricate Key.

The cast then needs to be processed in the Frost Foundry using Liquid Frost, after which you receive the finished Intricate Key.

Because each key costs 5 Bloodgold, you need 15 Bloodgold in total if you want to complete all three required Mörkhalla runs.

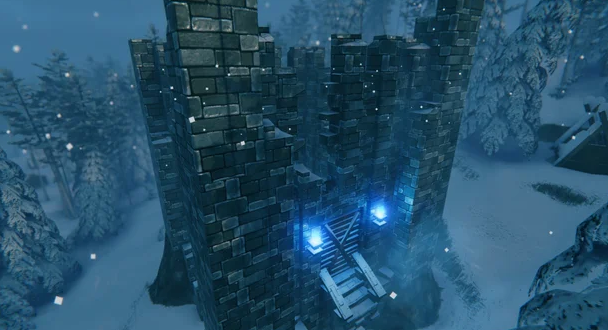
Find the Gates of Mörkhalla

Mörkhalla Gates

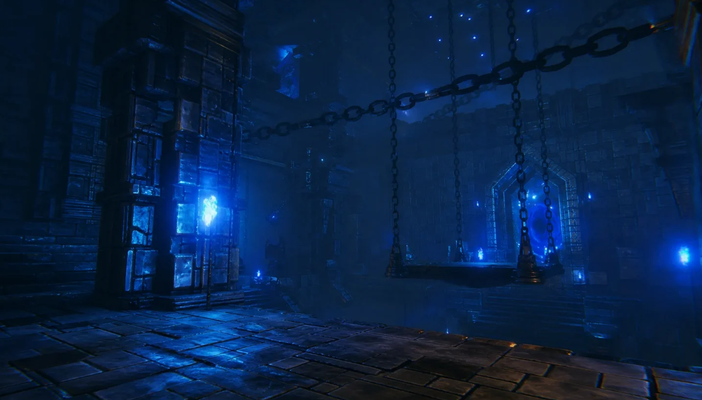
Mörkhalla appears as a large stone tower structure in the Deep North.

Getting inside is part of the challenge. The entrance is elevated, so you generally need to use a Grappling Hook or another way of reaching the upper section of the structure.

Once inside, make your way down toward the chained door and use your Intricate Key.

Remember that the key is consumed when the door opens, so one key only gives you access to one Mörkhalla.

Clear Mörkhalla

Mörkhalla

Mörkhalla contains several dangerous Jotun enemies and is noticeably more demanding than the Winding Tunnels.

Your main objective is to reach the bottom of the dungeon, where you will find a structure called Malicious Ice.

Break the Malicious Ice to trigger the next stage of Deep North progression.

Before leaving, also keep an eye out for Memorial Coal and other dungeon loot. Memorial Coal becomes useful for upgrading some of your Deep North weapons later.

You Need to Clear Three Mörkhalla

This is the part worth making very clear in the guide.

You need to repeat this process three times:

Find a Key Mould → spend 5 Bloodgold → craft the Cast → finish the Intricate Key → enter Mörkhalla → break Malicious Ice

Each destroyed Malicious Ice begins a separate Jotun Invasion, which is where the next progression item comes from.

So don't stop after crafting your first key. You will eventually need:

3 Intricate Key Moulds

15 Bloodgold

3 completed Mörkhalla runs

Stop the Jotun Invasions

Breaking the Malicious Ice at the bottom of Mörkhalla triggers the next major stage of Deep North progression.

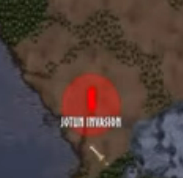
Once the ice is destroyed, you will receive the Jotun Advance message, and a new Jotun Invasion marker will appear somewhere on your world map. The invasion does not necessarily happen anywhere near the Deep North. It can appear back in older biomes, which makes an established Portal network extremely useful at this stage.

Travel to the Invasion

Invasion Marker

Head toward the red invasion marker on your map.

As you approach the area, you will begin encountering Krigen and Hexen outside the Deep North. These enemies are part of the invasion and can appear throughout the affected area while you work your way toward the center.

Do not rush directly into the middle if several enemies are already active. Clear enough of them to give yourself space, then continue toward the center of the marker.

Destroy the Malicious Ice

Malicious Ice

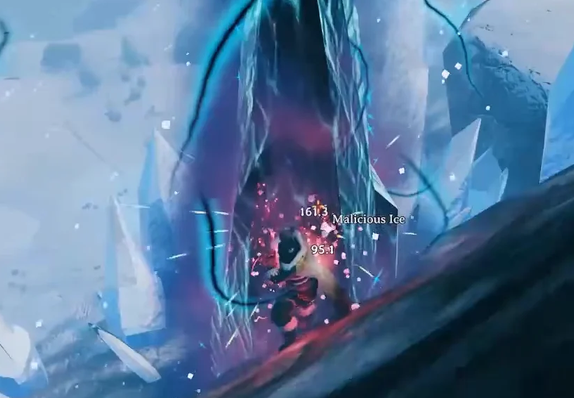
At the center of the invasion, you will find another large formation of Malicious Ice.

Your goal is to break through the formation and destroy its central core. Once the core is destroyed, the invasion ends, and you receive one Malicious Blood.

Malicious Blood is the final key progression item you need before reaching the last boss.

Repeat the Process Three Times

One Malicious Blood is not enough.

You need three Malicious Blood in total, which means repeating the entire Mörkhalla and invasion loop three times.

That means your overall progression looks like this:

Craft an Intricate Key → clear Mörkhalla → destroy the Malicious Ice → travel to the Jotun Invasion → destroy the invasion core → collect Malicious Blood

You then repeat this until you have all three.

Since each Mörkhalla requires another Intricate Key, this is why you need three Key Moulds and 15 Bloodgold for the complete progression route.

Find the Aesir Passage

Aesir Passage

While exploring Mörkhalla, you can find a Vegvisir that reveals the location of the Aesir Passage on your map.

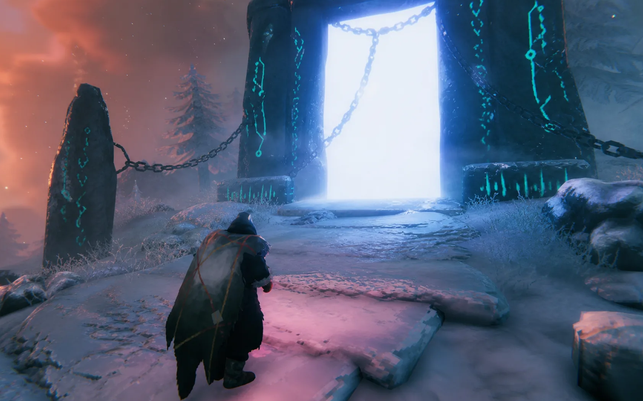
The Aesir Passage is the final destination of the Deep North progression chain and serves as the entrance to Valheim's last major encounter.

You can find the Passage before collecting all three Malicious Blood, but you will not be able to open it yet.

Open the Aesir Passage

Once you have collected three Malicious Blood, travel to the Aesir Passage.

At the entrance, you will find a Strange Bowl. Place the three Malicious Blood into the bowl to unlock the Passage.

At this point, you have completed the main progression of the Deep North.

Before entering, make sure you have finished any equipment upgrades you want, prepared your strongest food and consumables, repaired your gear, and refreshed the Rested buff.

The encounter beyond the Aesir Passage is Kall Fimbulbringer, Valheim's final boss, covered in our boss guide.

Deep North Tips

The Deep North is much easier once you understand a few of its unique mechanics. Some of these are not required for progression, but they can save a lot of time and make exploration considerably safer.

Bring a Snow Shovel

Deep snow can interfere with building and make establishing a base more awkward. A Snow Shovel lets you clear it quickly, which is especially useful when placing Portals or creating a more permanent outpost. Iron Gate specifically designed deep snow as something you are expected to manage in this biome.

A recent hotfix also removed the old ability to clear snow by punching it, making the shovel the proper tool for the job.

Watch Your Step on Ice

Frozen lakes and coastal areas are useful for travelling and building, but the ice is not always completely safe. Some frozen surfaces can crack or give way, so avoid treating every stretch of ice as perfectly stable terrain.

It is especially worth being careful when carrying heavy resources or trying to escape enemies.

Keep Your Portal Network Organised

Deep North progression repeatedly sends you between different locations, especially once Jotun Invasions begin appearing elsewhere in the world.

A good Portal network can save a huge amount of travel time. Keep important destinations clearly labelled and consider leaving one Portal unconnected for temporary exploration links.

This becomes even more useful during the three Mörkhalla and invasion runs required for progression.

Use the Grappling Hook

The Grappling Hook is useful well beyond the Mistlands.

It can help you traverse cliffs, reach elevated structures, and reduce the danger of awkward terrain. This is particularly useful around Deep North ruins and structures where the normal route may involve climbing or risky jumps.

Practice using it somewhere safe before relying on it during combat or while climbing a dangerous structure.

Do Not Ignore Petrified Bone Piles

Killing Gammeltrolls is one way to obtain Petrified Tissue, but it is not your only option.

Petrified remains scattered throughout the biome can also provide the material without requiring a Gammeltroll fight. If you find one, mark it on your map. These can be an easier source of additional Bloodgold when you are still upgrading your gear.

Save Your Moulds for Gear You Actually Want

Deep North Moulds are part of a more resource-intensive crafting system than most earlier equipment.

Because Moulds are consumed during crafting, avoid automatically turning every one you find into an item. Decide which weapons or armor pieces actually fit your build first, especially while Bloodgold and Liquid Frost are still limited.

The same applies to Intricate Key Moulds. You need three of them for the mandatory progression chain, so do not confuse them with ordinary equipment moulds.

Collect Memorial Coal

Do not leave Mörkhalla immediately after completing the main objective.

Memorial Coal is used at North Memorial Places to access additional weapon progression. It can eventually provide Frostfire Essence and Thunderblood Essence, allowing you to further specialise certain Deep North weapons.

These upgrades are not required to reach the final boss, but they are worth pursuing if you want to maximise your build before entering the Aesir Passage.

Upgrade Your Food

Do not spend the entire biome using Ashlands food just because it is already familiar.

The Deep North introduces more than 20 new food items, including stronger Health, Stamina, and Eitr options. Once you have the required ingredients and cooking upgrades, improving your food can be just as important as replacing your weapons or armor.

For difficult dungeon runs and the later stages of progression, use food that actually matches your build rather than simply choosing the three foods with the highest Health.

Use Your Extra Inventory Space

If you bought both pocket upgrades before entering the biome, take advantage of them.

The Deep North introduces a large number of materials, Moulds, food ingredients, dungeon drops, and equipment items. Keeping a few inventory slots open before entering a Winding Tunnel or Mörkhalla can prevent you from having to abandon useful loot halfway through the run.

Do Not Rush the Final Encounter

Once you have three Malicious Blood and have located the Aesir Passage, there is no reason to immediately go inside.

Finish the Deep North equipment you actually want, upgrade your food, collect any weapon essences you plan to use, repair everything, and make sure you have a safe Portal nearby.

The Aesir Passage is the end of Valheim's main progression, so treat it as the point where you finish preparing your build rather than simply the next objective marker.

Table of Contents

See More

Valheim 1.0 - Deep North Progression Guide
Updated on Sep 12, 2026
Valheim 1.0 - Kall Fimbulbringer Boss Guide
Updated on Sep 12, 2026
RuneScape Dragonwilds 1.0: Building Guide
Updated on Sep 12, 2026
RuneScape Dragonwilds 1.0: Beginner’s Guide
Updated on Sep 12, 2026
RuneScape Dragonwilds 1.0: Crafting Stations Guide
Updated on Sep 12, 2026

Like our guides?

Add Mobalytics as a preferred source on Google!