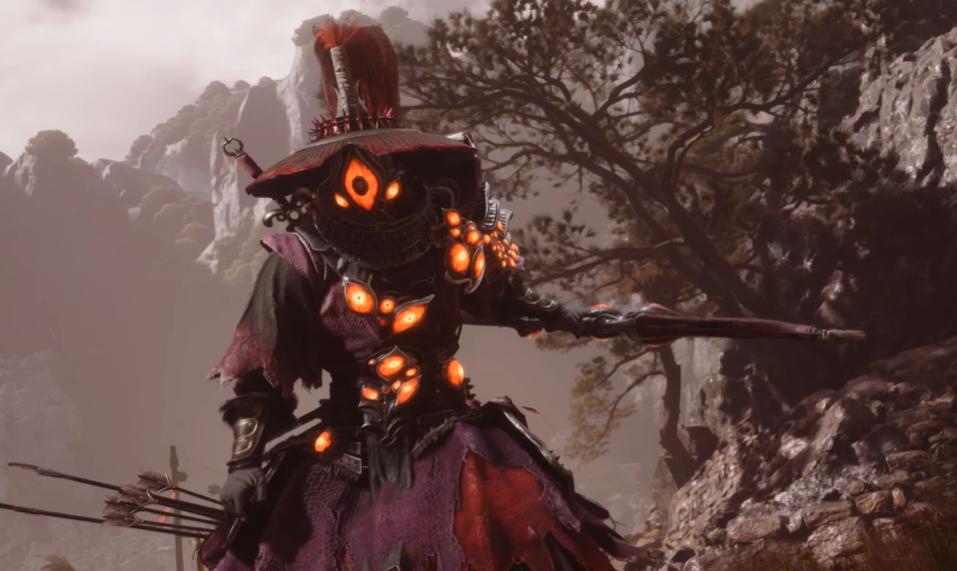
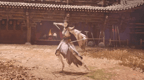
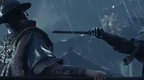
One-Eyed Archer is an optional boss found on the eastern island of Meigu Lake, near the One-Eyed Isle Dock. He is a master of both bow and sword, and the entire encounter is built around constantly switching between long-range projectile pressure and sudden close-range aggression.
Unlike many ranged enemies, simply reaching him does not solve the problem. Once you get close, he immediately switches to fast sword strings, wide sweeps, and attacks designed to force you back out again.
He technically has one phase, but once his HP drops further the arena and several of his attacks become much more aggressive, with far heavier use of his Crimson Eye lasers.
This is one of the harder fights in Meigu Lake, especially on Hellwalker difficulty, because a single mistake can quickly snowball into several consecutive hits.
Defeating him rewards the One-Eyed Bow, a ranged Phantom Edge that can also be used to shoot down certain hanging objects outside combat.
This guide was written and tested on Hellwalker difficulty.
Boss Mechanics
Constant Arrow Pressure
The defining mechanic of the fight is simple: One-Eyed Archer almost never stops shooting at you.
Whenever he has distance, expect another arrow.
He can fire single shots, short volleys, and longer sequences that force you to remain defensive while approaching.
Do not sprint directly toward him in a straight line.
A much safer approach is to move laterally while closing the distance, then block or parry individual arrows whenever necessary.
Trying to rush him usually results in taking one hit, losing your rhythm, and immediately being hit by the next shot.
Red Line Shots
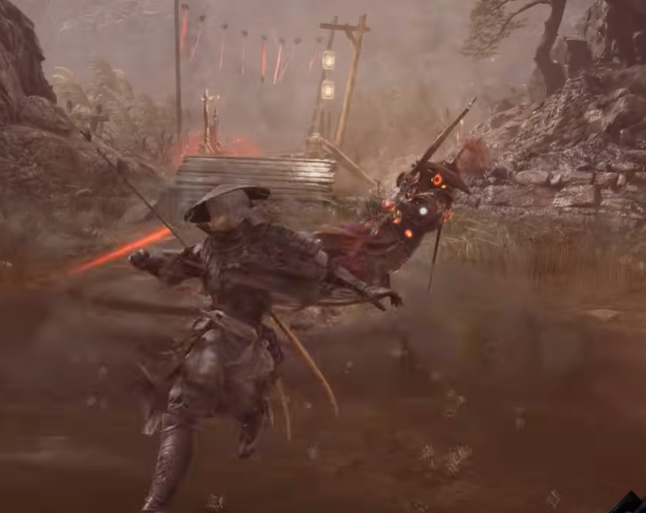
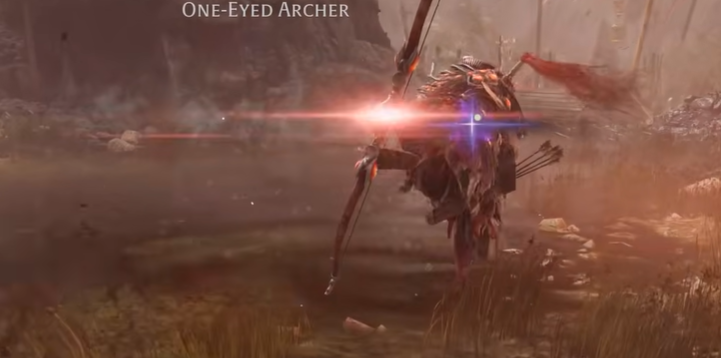
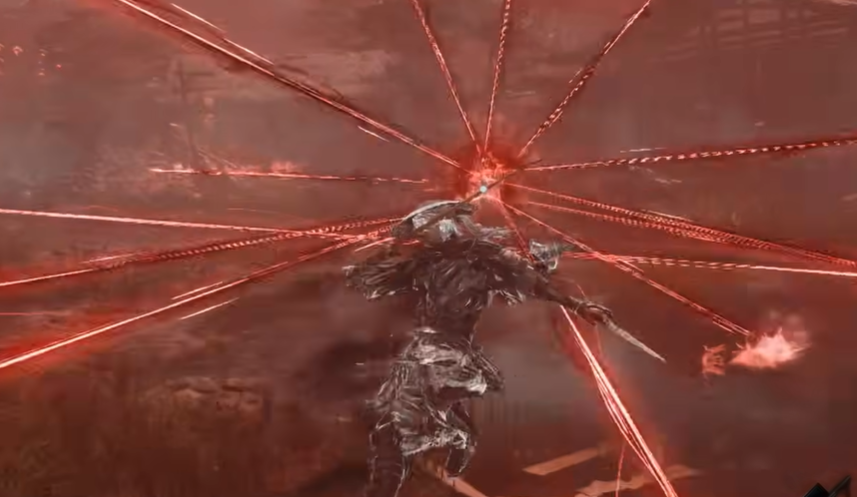
Several of his stronger shots are preceded by a visible red targeting line.
This line is your main warning that a high-speed arrow is about to come.
Do not react to the line itself.
Wait for the actual release, then defend.
Dodging too early can leave you exposed when the arrow finally fires, especially because the targeting animation can last slightly longer than expected.
These shots deal heavy damage and are one of the main attacks you need to learn consistently.
Closing the Distance
Getting close to One-Eyed Archer is important, but you should not treat it as your main win condition.
He is fully capable of fighting in melee.
Once you reach him, he can immediately draw his sword and transition into fast strings before creating distance again.
The fight therefore follows a repeated loop:
Approach under fire → Deal with the melee string → Punish → He disengages → Approach again
Understanding this loop makes the fight feel much less random.
Sword Attacks
Fast Sword Strings
At close range, One-Eyed Archer uses surprisingly quick sword combinations.
These are much faster than his bow animations and can catch you if you mentally relax after finally reaching him.
Do not immediately dump a full combo into him.
Let him start his melee sequence, defend through it, then punish once the string has clearly ended.
His sword pressure is much easier to handle when you respect it as a separate part of the fight rather than treating it as something he only does to escape.
Crescent Sweep
One of his most deceptive melee attacks is a large crescent-shaped sweep.
The range extends noticeably beyond what the sword itself suggests.
This can catch you even if you think you have already stepped outside normal melee distance.
Dodge properly rather than trying to barely outrange it.
Bow Thrust
He can also use the bow itself at close range, including a forward thrust with more reach than expected.
This is another reason not to stand at awkward mid-range.
Either stay close enough to clearly read his melee attacks or create enough distance that you can properly deal with his ranged patterns.
The middle distance is often where his attacks become hardest to judge.
Crimson Eye Attacks
The Crimson Eyes growing around One-Eyed Archer and his bow are what turn the fight from a normal ranged duel into something far more dangerous.
These attacks become especially important later in the encounter.
Red Laser Barrage
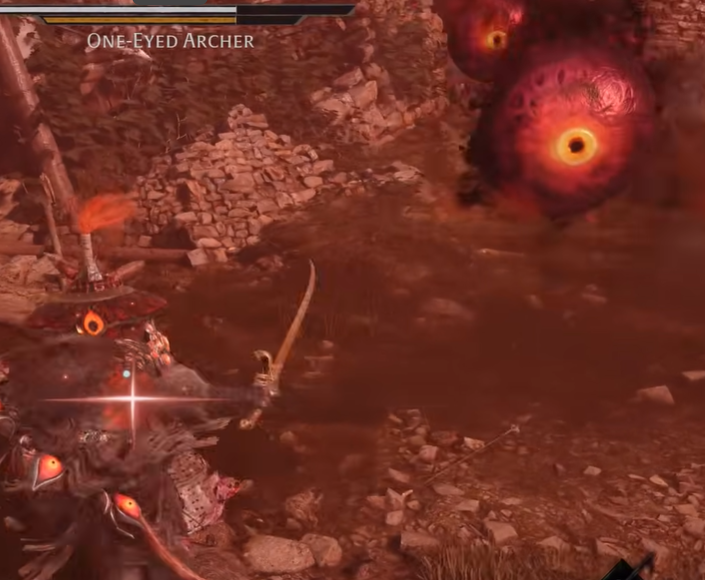
His most dangerous attack begins when he moves toward the center of the arena and starts charging multiple red beams.
When you see this happen, immediately move toward the outer edge of the arena.
Once released, the lasers spread outward across the battlefield.
At the edge, you have more time to see the pattern develop and can jump over the beams as they reach you.
Do not remain close to the center.
The beams overlap much more tightly there and become significantly harder to avoid.
This is easily one of the most dangerous mechanics in the entire encounter.
Arena Turning Red
Later in the fight, the arena can become visibly redder and more hostile, signaling the more aggressive portion of the encounter.
At this point, expect the Crimson Eye attacks to become much more prominent.
The fight can become visually overwhelming, but do not let that make you abandon the fundamentals.
You still want to:
watch the Archer himself, respect the red targeting lines, and move early when he begins the large laser sequence.
Do Not Panic Block Everything
Blocking is extremely useful in this fight because of how many arrows he fires.
However, relying entirely on block can eventually become a problem if your Sha-Chi is already under pressure.
Use blocking for normal arrows when necessary, but try to parry the more predictable shots and melee strings when you are comfortable with their timing.
The goal is not to Perfect Parry every projectile.
The goal is to avoid letting the constant ranged pressure slowly destroy your defensive resources.
Healing Windows
Healing can be awkward because One-Eyed Archer can punish you from almost anywhere in the arena.
One of your safest opportunities is when he has created a large amount of distance and has just finished a ranged sequence.
Do not heal simply because he is far away.
Wait until you have seen him finish an attack first.
He can shoot quickly enough that trying to heal the moment he disengages often results in immediately eating another arrow.
Best Positioning
The most uncomfortable place to stand is often mid-range.
From there, One-Eyed Archer can still hit you with:
bow shots
wide sword attacks
bow thrusts
sudden gap-closing attacks
Try to commit to one of two positions.
Stay close when you are actively fighting his melee strings, or stay far enough away that you can clearly see his projectile animations.
Do not hover between the two unless you are actively approaching.
General Strategy
One-Eyed Archer is difficult because he never really gives you a comfortable range.
At long range, he overwhelms you with arrows.
At close range, he switches to fast sword pressure.
Later in the fight, the Crimson Eyes add large-scale laser attacks on top of both.
The safest approach is to treat the encounter as a repeated cycle.
First, approach patiently under arrow pressure.
Once you reach him, do not immediately attack. Let him show you whether he is going into a sword string.
Defend the string, punish the recovery, then expect him to disengage again.
When he moves to the center and begins charging his Crimson Eye attack, abandon offense completely and run toward the edge of the arena.
That attack is not worth trying to squeeze damage through.
The hardest part of the fight is maintaining discipline. Because he constantly retreats, it is very tempting to chase aggressively. That is exactly when his arrows and long-range attacks become most dangerous.
Recommended Approach on Hellwalker
On Hellwalker, I would prioritize consistency over greed.
You do not need to punish every opening.
Missing one small damage window is much less dangerous than getting caught while chasing him and losing half your HP to a sequence of arrows.
The fight becomes much more manageable once you are comfortable spending several seconds doing nothing except approaching safely.