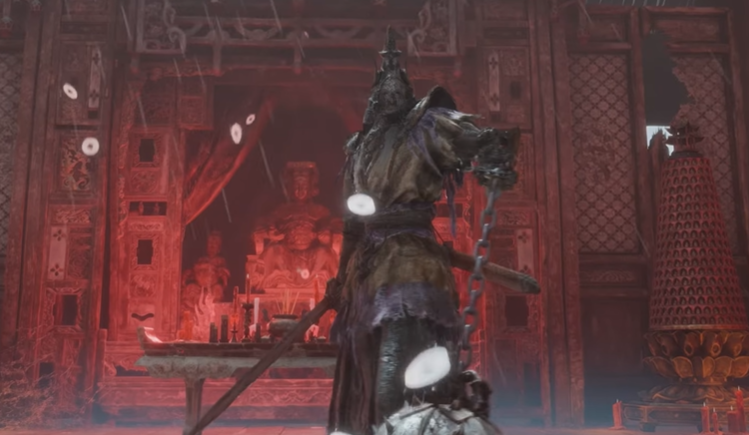
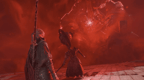
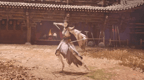
Huangxing, the Kunlun Renegade is a major boss encountered near the summit of the Mountain of Imprisonment, inside The Lady's Shrine.
He is one of the harder bosses in the region and has two full phases, with the second transforming him into Huangxing, the Whirling Executioner.
The first phase is especially exhausting because Huangxing has an enormous amount of HP and Sha-Chi. On Hellwalker, he can take a long time to bring down even when you are consistently winning exchanges, so the biggest challenge is maintaining clean defense without becoming impatient.
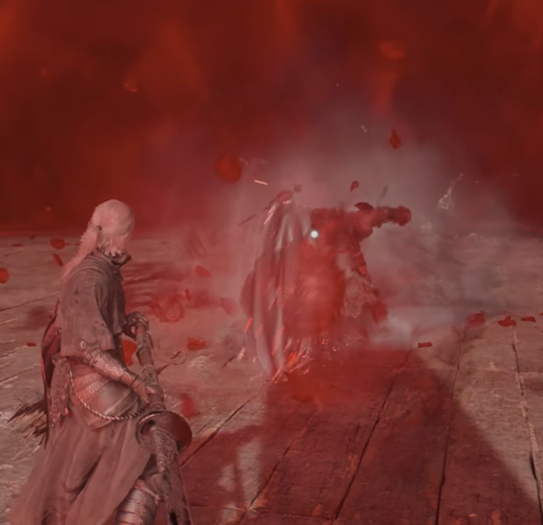
Phase Two changes the fight significantly. Huangxing becomes far more aggressive, gains much stronger spinning pressure, and starts chaining Blue and Red attacks together in ways that punish early reactions.
As with other multi-phase bosses in Phantom Blade Zero, once Phase One has been defeated, later attempts begin from Phase Two instead of forcing you to repeat the first health bar.
This guide was written and tested on Hellwalker difficulty.
Phase 1 Mechanics
Phase One revolves around Huangxing's Flying Guillotine, a chained weapon with huge reach and several attacks that can cover most of the room.
His attacks are not especially fast compared to some later bosses, but their range and delayed timings make them awkward to read at first.
The bigger problem is simply how long the phase lasts.
Huangxing has roughly 139,680 HP and a very large Sha-Chi pool on higher difficulties, so this phase rewards consistency much more than burst damage.
Flying Guillotine Strings
Most of Huangxing's normal pressure comes from wide Flying Guillotine swings.
The weapon travels in large arcs around him, giving several attacks much more range than you would expect from his body position alone.
Do not assume that standing several meters away automatically makes you safe.
Some swings are delayed enough that dodging too early will simply cause the weapon to catch you on its return path.
The safest approach is to focus on the weapon itself rather than Huangxing's arms.
Watch when the Flying Guillotine actually begins moving toward you, then react.
Accelerating Spin
One of his most recognizable attacks begins with Huangxing repeatedly spinning the Flying Guillotine around himself.
The attack becomes progressively faster as the sequence continues and eventually transitions into a Red attack.
Do not rush into the spin.
Either stay outside the weapon's radius or use the arena geometry to avoid the sequence, then prepare for the Red finisher.
The final Red attack gives you one of the cleaner opportunities to turn his pressure into a punish.
Use the Pillars
The pillars around the room are not just decoration.
They can be used to create space during Huangxing's wider Flying Guillotine attacks, particularly during the longer spinning sequences. Some versions of the fight even allow you to jump or move around the pillars to escape attacks that would otherwise cover most of the room.
Do not remain trapped between Huangxing and a wall.
The arena becomes much more dangerous when you lose lateral movement.
Try to keep at least one clear escape path available whenever he starts a long animation.
Flying Guillotine Grab
One of Huangxing's most dangerous attacks is his Flying Guillotine grab.
He throws the chained weapon toward you and attempts to trap you inside it.
This attack is particularly dangerous because the animation can look similar to some of his normal ranged pressure until the weapon is already moving toward you.
Do not stand directly in front of him when he begins a large Flying Guillotine wind-up.
Create an angle and prepare to dodge rather than trying to block through everything.
Ranged Options Are Not Free Damage
Trying to sit at long range does not completely trivialize Phase One.
On higher difficulty settings, Huangxing can react to ranged pressure by spinning his Flying Guillotine to deflect incoming shots, then immediately transition back into offense.
Because of this, ranged tools are better used during clear recovery windows rather than spammed constantly.
Treat them as supplemental damage, not as a way to bypass the fight.
The Real Difficulty of Phase 1
Phase One is not difficult because of one particular attack.
It is difficult because Huangxing is extremely tanky.
Even when you are consistently parrying correctly and dealing good damage, the phase can still take long enough that small mistakes begin to add up.
This is exactly the kind of boss where impatience becomes the real enemy.
Do not change your strategy just because his HP bar is moving slowly.
Keep taking the same safe punish windows and let the phase end naturally.
Phase 1 Strategy
The safest way to approach Phase One is to treat it like a long consistency test.
Stay away from his frontal line whenever the Flying Guillotine is fully extended.
Parry or avoid the easier chain swings, move around the pillars during the larger spinning attacks, and take your damage after clear recovery animations.
Do not try to force a faster kill just because his HP bar feels enormous.
On Hellwalker, trying to speed the phase up is usually what causes otherwise clean attempts to fall apart.
Phase 2 Mechanics
After defeating his first form, Huangxing becomes Huangxing, the Whirling Executioner.
The fight moves into a completely different arena, and Huangxing's moveset becomes far more aggressive and focused around spinning blade pressure, rolling attacks, and tightly chained Red and Blue counters.
Phase also has even more HP and Sha-Chi than Phase One, but the fight generally feels faster because Huangxing spends much more time directly attacking you.
Rolling Attack
One of his most distinctive Phase Two attacks has Huangxing rolling directly toward you along the ground.
The safest response is to wait until he is actually close before dodging.
Dodging too early gives him enough time to correct his path and catch you anyway.
This is one of those attacks where patience matters more than reaction speed.
Let him commit, then dodge at the final moment.
Wind Slash Sequence
Huangxing has an important sequence involving two wind slashes followed by a sword slash.
After those attacks, he transitions into a Blue attack, which can then be followed almost immediately by a Red attack.
The Blue timing is extremely important.
A clean parry can interrupt or bypass the dangerous follow-up and gives you one of your best opportunities to damage his Sha-Chi.
If you miss the timing, be prepared for the Red attack instead of trying to attack back immediately.
This sequence is probably one of the most important things to learn in the entire fight.
Whirling Blade Pressure
Phase Two earns its name from Huangxing's much heavier reliance on large spinning blade attacks.
The weapon can cover an enormous amount of space around him, and several sequences continue longer than they initially appear to.
Do not move back in after the first rotation.
Wait until the blade has fully stopped or until you have successfully countered a Flash attack.
The fight heavily punishes players who assume a spinning animation has ended half a second too early.
Blue Into Red Pressure
A major difference from Phase one is how often Huangxing begins chaining Blue and Red interactions together.
The fight is designed to make you react correctly rather than simply memorize one button for each sequence.
Parry the Blue attack.
Then immediately be ready to dodge if the sequence continues into Red.
The transition is fast enough that trying to punish the Blue too early can get you hit by the Red follow-up.
This is one of the biggest adjustments you need to make between the two phases.
Darkness Phase
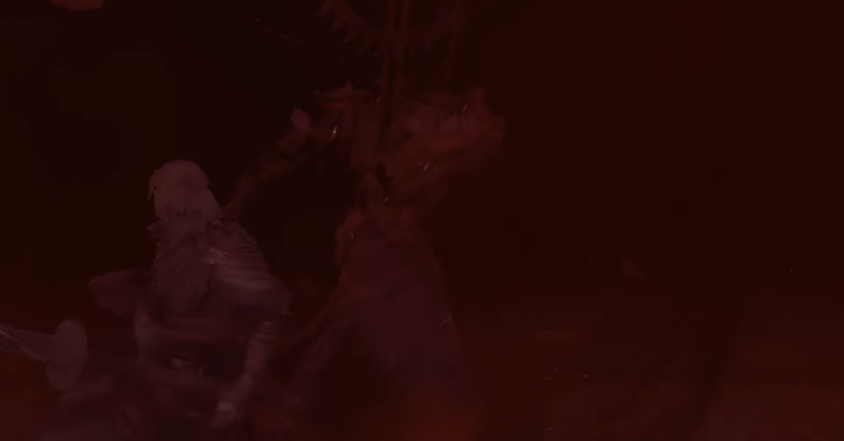
At certain points during Phase Two, Huangxing can cover the arena in near-total darkness.
During this sequence, he begins rapidly blinking in and out of view, attacking from different positions before disappearing again almost immediately.
This part of the fight is not really about dealing damage.
Huangxing spends so little time visible after each attack that trying to chase or punish him is usually not worth it. By the time you reach him, he has often already vanished and started the next sequence from somewhere else.
Instead, treat this as a survival phase.
Focus entirely on reading his appearances, defending each attack, and keeping enough Sha-Chi available to avoid getting broken while the darkness is active.
Do not run after him every time he disappears. Hold a relatively central position, turn toward him when he reappears, and prepare for the next attack.
His attacks during this section can come in quick succession, so the biggest danger is losing your rhythm after the first hit and then getting caught by several follow-ups.
If you miss a parry or dodge, reset your defense instead of trying to retaliate immediately.
Once the darkness ends, Huangxing returns to his normal Phase 2 moveset and becomes properly punishable again.
Phase 2 Strategy
Phase Two is much more about timing and defensive discipline than raw endurance.
During his normal moveset, focus on learning his spinning sequences, rolling attack, and Blue-to-Red transitions.
However, once the arena becomes dark, completely change your approach.
Stop trying to deal damage and focus on survival.
Huangxing will repeatedly blink toward you, attack, and disappear again before you have a meaningful chance to punish him. Trying to chase him only makes the sequence more chaotic.
Stay composed, let him come to you, defend each attack, and wait for the arena to return to normal before resuming your offense.
The most important things to learn in Phase Two are:
the late dodge timing on his rolling attack
the two wind slashes into sword slash sequence
the Blue counter that can immediately transition into Red
when his spinning attacks have truly ended
how to survive the darkness sequence without chasing him
Once these become familiar, Phase Two feels much more controlled.
General Strategy
Recommended Weapons and Damage Types
Huangxing is reported to be relatively vulnerable to Lightning, with Frost also performing well.
That makes weapons such as the Baishan Stormswords particularly attractive if you already have them.
Phase One is so tanky that even a small elemental advantage can save a noticeable amount of time over the full health bar.
I would prioritize:
Lightning damage first. Frost as a strong alternative. Good Sha-Chi damage over pure burst.
The fight rewards breaking his defensive resources consistently more than gambling everything on short DPS windows.
General Strategy
Huangxing is difficult for two completely different reasons.
Phase One tests your patience.
His Flying Guillotine has huge range, the room can feel cramped, and his HP pool is large enough that the phase can drag on even when you are playing well.
Do not allow that to change your rhythm.
Use the pillars, avoid the frontal grab, and punish only after clear recovery animations.
Phase Two tests your execution.
His attacks become faster, his spinning pressure becomes much more oppressive, and his Blue and Red attacks begin flowing directly into one another.
Your main goal is no longer simply surviving the Flying Guillotine.
You need to correctly recognize where each sequence ends and avoid attacking during false openings.
The fight is long, but both phases become much more manageable once you stop trying to rush them.