menu
MobalyticsUse your favourite features in-game with our Desktop App
Gamebase Guide

Greatsword Withered Knight (Solo) Build Guide - Mistfall Hunter

By Oli
Updated on Aug 13, 2026
Aug 13, 2026

Overview

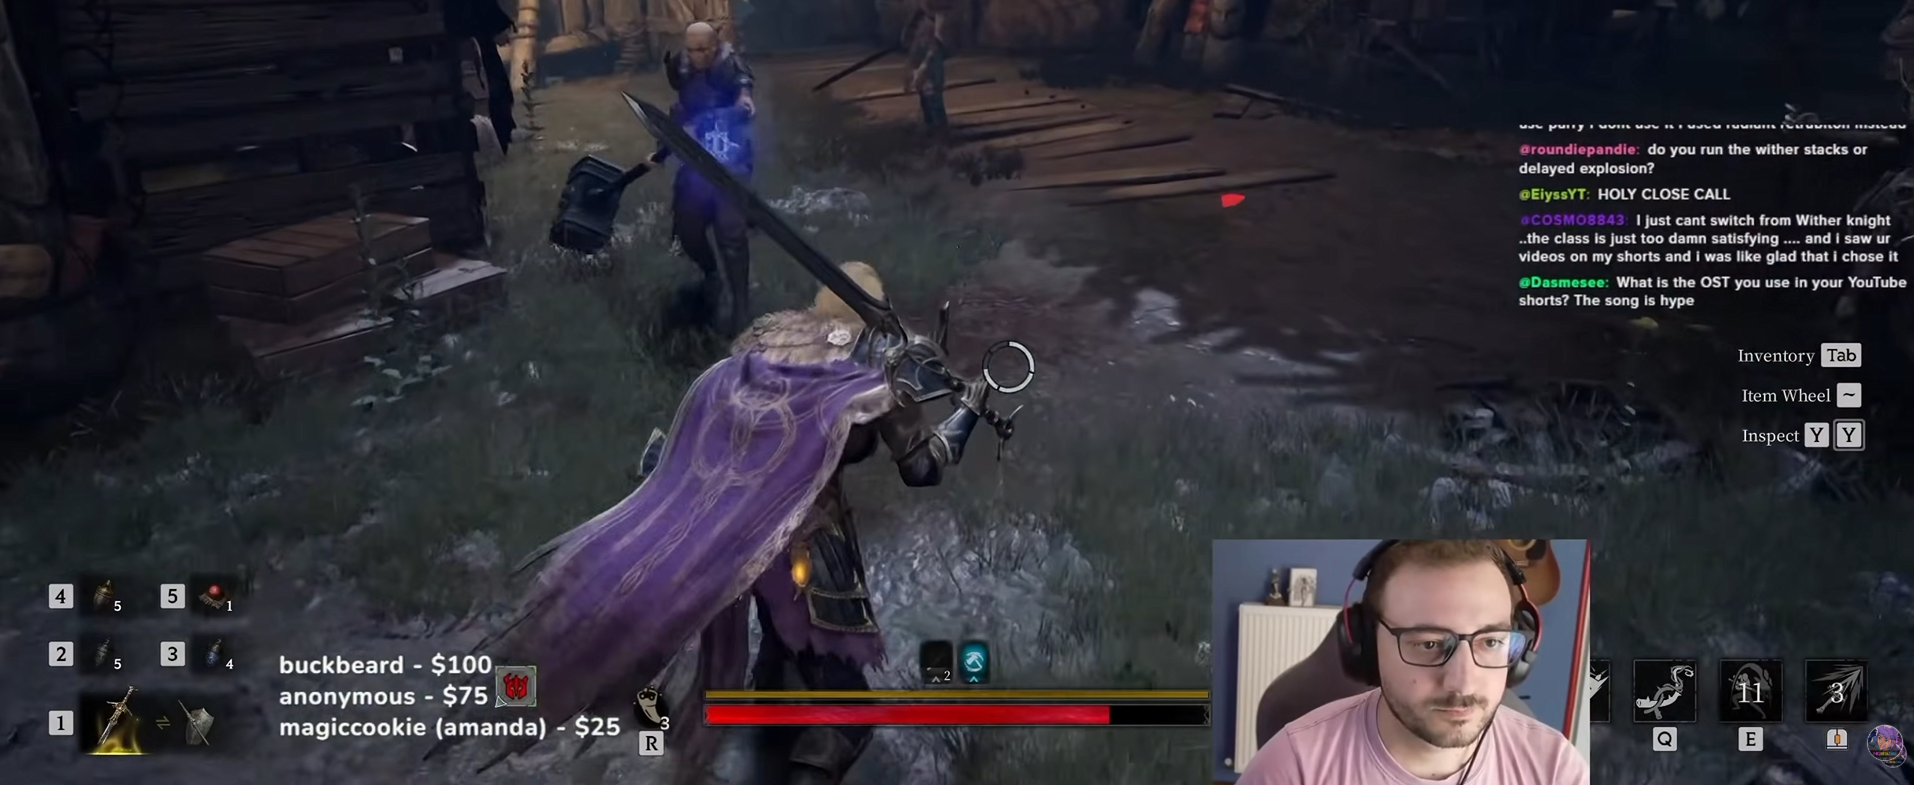
This Withered Knight (Greatsword) build is an extremely aggressive setup designed to overwhelm enemies with massive damage from Wither, Detonation and heavy attacks.

Rather than investing heavily into defense, the build uses Wrath and several other offensive affixes to become even more dangerous as your Health falls. The goal is to pressure opponents so heavily that they panic, retreat or attempt to heal, giving you the opportunity to finish them with only a few attacks.

Made in collaboration with NoBS Game Guides Check out his video for more information and demonstrations of this build!
More Mistfall Hunter Builds

Browse builds for all the classes

Gear

There are two versions of this build depending on your available gear:

  • Blue Loadout Code: 0jUJasvCTxt1bkrM9UWySagaeKQRvTIfjkgughQ4Flaw5oM4J6
  • Purple Loadout Code: 1HDaxdUqOK2WY6sSdmTPsVxLEr4j7Pj96oiILMvtketk

These codes allow you to copy the items and gems required for each version of the build. To import a code, simply do the following:

  • Open the Prepare tab in the character screen when in base.
  • Select Manage/Import at the bottom left.
  • Navigate to Import Loadout and paste the code.

Affixes

Purple Loadout

  • Valor 7 – Increases your Attack while also providing Defense Penetration. This greatly improves the damage of your Greatsword attacks and helps you cut through heavily armored targets.


  • Stoic 5 – Increases your Physical and Magic Resistance when your Health falls below 50%. It also restores Health after falling below 30%, providing some protection during the build’s aggressive all in fights.


  • Wrath 5 – Increases your Physical and Magic Damage while below 50% Health. This is perfect for the build’s playstyle, as you become more dangerous as your Health gets lower.


  • Fervor 5 – Repeatedly hitting an enemy increases your Physical and Magic Damage. Detonation attacks can quickly provide multiple stacks, allowing your damage to ramp up extremely quickly.


  • Strife 5 – Provides 6% increased Physical and Magic Damage, followed by another 2% for each nearby enemy. Even during a one versus one fight, the first stack brings the total increase to 8%.


  • Vitality 5 – Increases your maximum Energy and protects you against Energy Overdraft. This is extremely important because the build constantly uses dodges, Breakthrough Charge and Greatsword attacks to maintain pressure.

Victory Wine:

Valor +2 Stoic +1 Fervor +2 Strife +1 Vitality +2

Your Purple gear only needs Valor 5, Stoic 4, Wrath 5, Fervor 3, Strife 4 Vitality 3. Victory Wine then provides the remaining levels needed to complete the setup shown above.

This setup focuses heavily on damage while still receiving some protection from Stoic. Valor, Strife, Wrath and Fervorr make every successful hit extremely threatening, while Vitalityprovides the Energy required to maintain constant pressure.

Blue Loadout

The cheaper Blue setup is built around Valor, Strife and Wrath. It concentrates its available gear and gem slots on these three core damage affixes.

Use Victory Wine to increase whichever of these affixes still requires additional levels. The exact distribution will depend on the affix levels already provided by your equipment.

Skills

Withered Knight can normally use two Greatsword skills. However, Greatsword Specializationprovides an additional slot, allowing this build to equip all three of the following abilities.

Greatsword

  • Thorn Guide
  • Parry
  • Breakthrough Charge

Thorn Guide is the build’s Hook ability and allows you to pull an enemy towards you. Avoid using it against someone who is freely moving from side to side, as this makes it much harder to land.

Instead, wait until the enemy dodges. They will briefly be locked into the end of their animation, giving you a much more reliable opportunity to land Thorn Guide and continue your pressure.

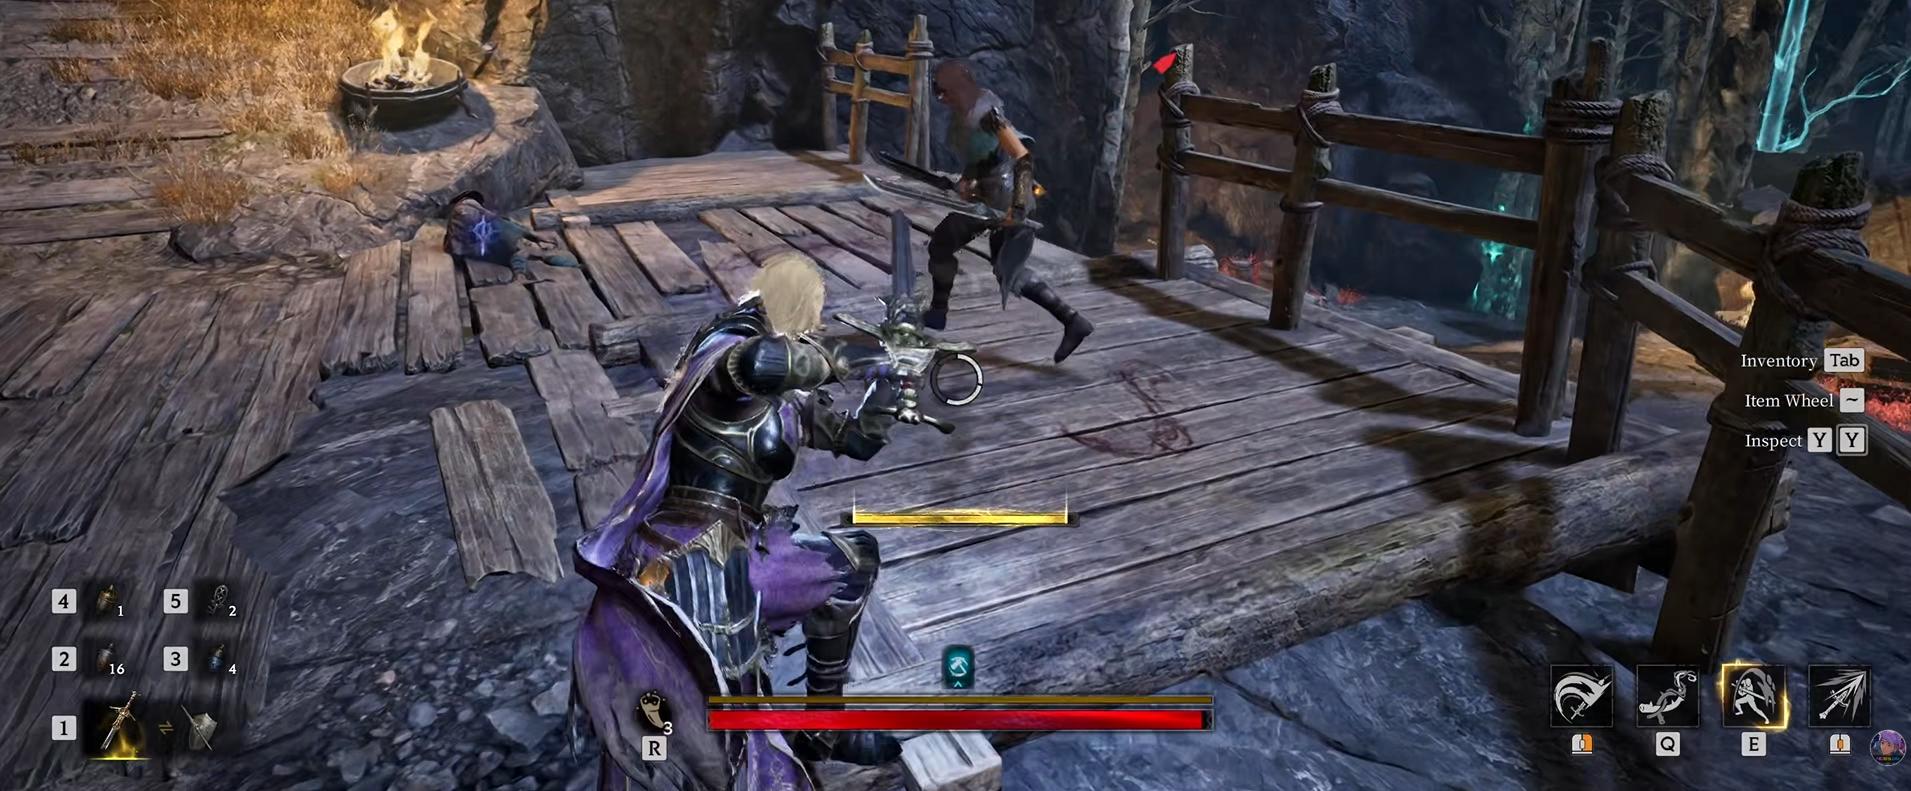
Parry is one of the most important parts of the build. After successfully parrying an attack, immediately Riposte and follow it with a fast heavy attack. The follow up is not guaranteed, but acting before your opponent can recover gives it a much better chance of landing.

Breakthrough Charge is your main way to begin fights. Its second-stage sweeping attack gains Super Armor through Dominance and can immediately execute Wither through Cataclysm.

Use Breakthrough Charge to enter melee range and begin applying pressure before your opponent has time to prepare.

Talents

These talents improve the build’s Greatsword skills, strengthen its Wither effects and make its aggressive combinations much harder to interrupt:

  • Crime – Greatsword executions no longer consume Wither and instead extend its duration, allowing you to continue building Bad Karma’s linked debuffs.
  • Bad Karma – Wither applied by your Greatsword also inflicts an additional linked debuff. Repeated executions add further effects, including reduced Movement Speed, increased Vulnerability and damage over time.
  • Greatsword Specialization – Provides an additional Greatsword skill slot, allowing you to equip Thorn Guide, Parry and Breakthrough Charge together.
  • Momentum – Fully charges your Greatsword with Judgment Energy after using Breakaway, helping you immediately return to the fight with access to a powerful follow up attack.
  • Tactical Prep – Successfully parrying an attack greatly reduces Parry’s remaining cooldown. This allows you to use it more frequently during prolonged fights.
  • Unstoppable (Withered Knight) – Grants Super Armor to your branched counterattack after a successful Parry, making your Riposte much harder for the enemy to interrupt.
  • Dominance – Grants brief Super Armor during the second stage sweeping attack of Breakthrough Charge.
  • Cataclysm – Allows the second-stage sweeping attack of Breakthrough Charge to immediately execute enemies affected by Wither.

Tips & Tricks

  • After landing a successful Parry, Riposte immediately and follow it with a heavy attack as quickly as possible. The faster you perform the combination, the less time your opponent has to dodge or counterattack.
  • Wrath makes you more dangerous after falling below 50% Health. Continue applying pressure instead of immediately abandoning a winnable fight, but heal if both players disengage and the encounter fully resets.
  • Begin fights with Breakthrough Charge, then pressure the enemy using dodge light attacks. These attacks are faster, safer and consume considerably less Energy than relying on slow dodge heavy attacks.
  • Try to use Thorn Guide after the enemy has dodged. Be patient and wait for the recovery animation rather than gambling the ability against someone strafing from side to side.
  • The build is intentionally vulnerable due to its lack of defensive affixes. Your best defense is forcing the opponent to dodge, retreat or attempt to heal before they can properly attack you.

Video

Table of Contents

See More

Mistfall Hunter Class Builds
Updated on Aug 13, 2026
Magic DPS Seer Trios Build Guide - Mistfall Hunter
Updated on Aug 13, 2026
Greatsword Withered Knight (Solo) Build Guide - Mistfall Hunter
Updated on Aug 13, 2026
Tanky Hammer Mercenary (Solo + Trio) Build Guide - Mistfall Hunter
Updated on Aug 13, 2026
Mistfall Hunter Class Tier List
Updated on Aug 13, 2026

Like our guides?

Add Mobalytics as a preferred source on Google!