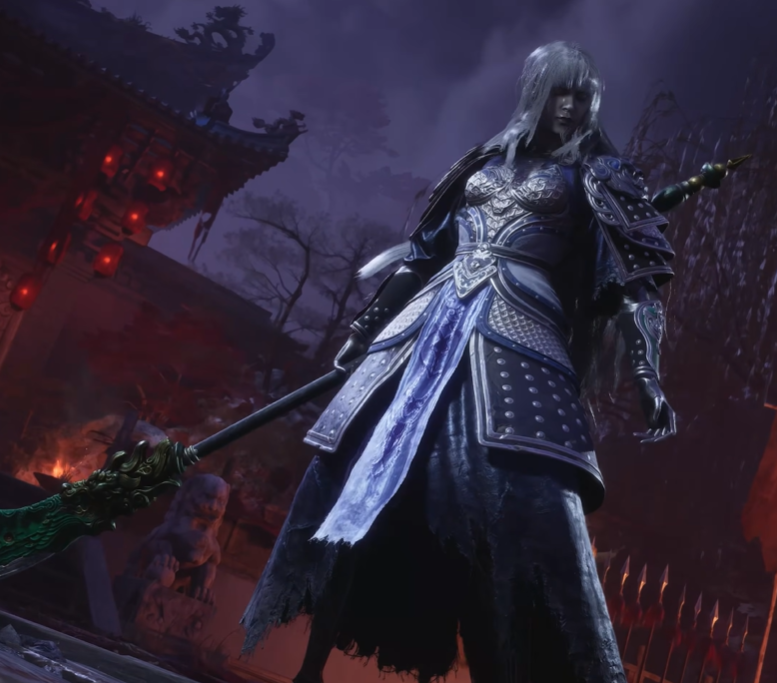
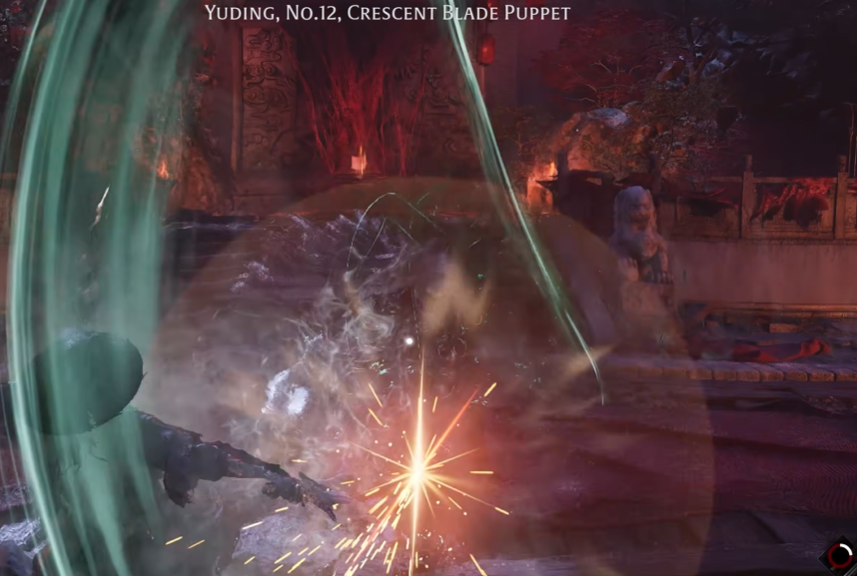
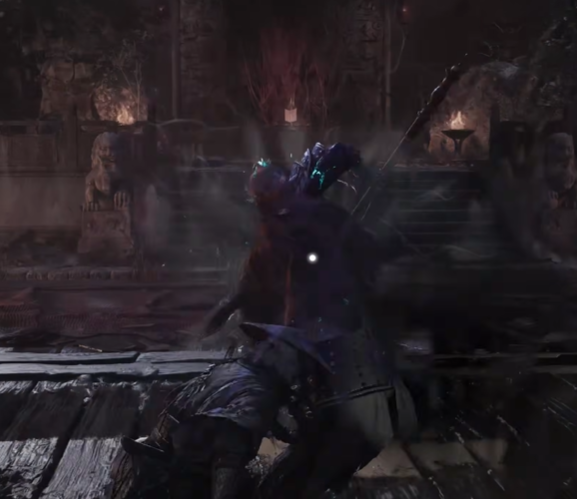
Yuding, No. 12 Crescent Blade Puppet is a mandatory boss found in the Mirage Estate, near the Training Grounds. Before she appears, you first need to clear several waves of enemies in the training yard. Once those waves are defeated, Yuding enters the arena herself.
She fights with a massive Crescent Blade, giving her some of the widest melee attacks in the game. Her moveset combines broad sweeps, spinning attacks, ranged crescent waves, fast thrusts, and several attacks that punish poor spacing.
Yuding only has one phase, but once she drops into roughly the final quarter of her HP, she gains an extremely dangerous execution grab that can instantly end the attempt.
This guide was written and tested on Hellwalker difficulty.
Boss Mechanics
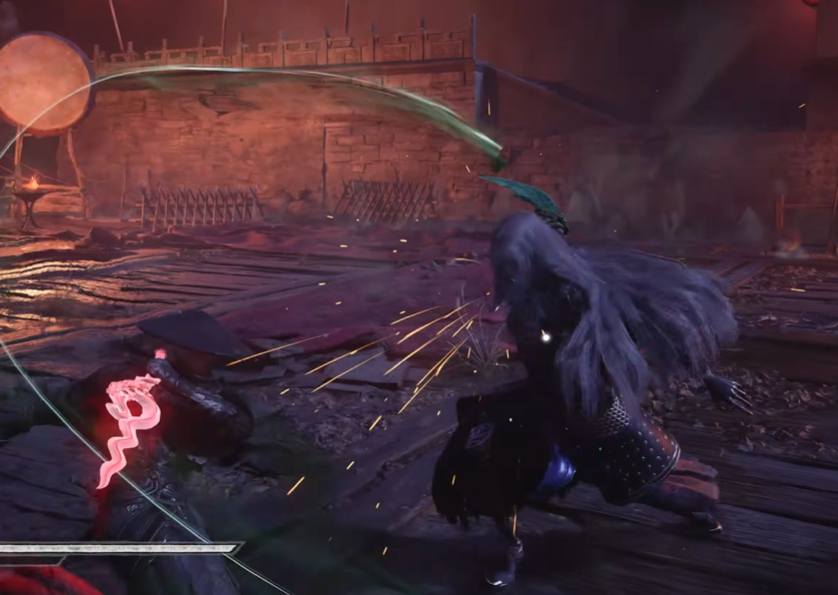
Crescent Blade Sweeps
Yuding's most common attacks are large horizontal and diagonal sweeps with her Crescent Blade.
These attacks cover an enormous amount of space in front of her, and many of them come in short strings of two or three hits.
Because of the weapon's reach, standing at medium range can actually be more dangerous than staying close.
If you hover near the edge of her attack range, the tip of the Crescent Blade can still catch you while making the timing harder to read.
The sweeps themselves are generally straightforward to block or parry, so once you learn their rhythm they become one of your main opportunities to damage her Sha-Chi.
Do not immediately attack after the first sweep.
Several strings continue into another swing, and attacking too early is an easy way to get clipped.
Spinning Sweep
Yuding can rotate with the Crescent Blade extended, creating a full circular attack around herself.
This move covers every direction, so trying to move behind her does not make you safe.
The best response is to back completely out of the attack's range and wait for the spin to finish.
Do not try to trade through it.
The attack lasts long enough that getting hit once can easily lead into another part of the rotation.
Once the spin ends, Yuding has a short recovery window that you can use to move back in.
Leaping Slam
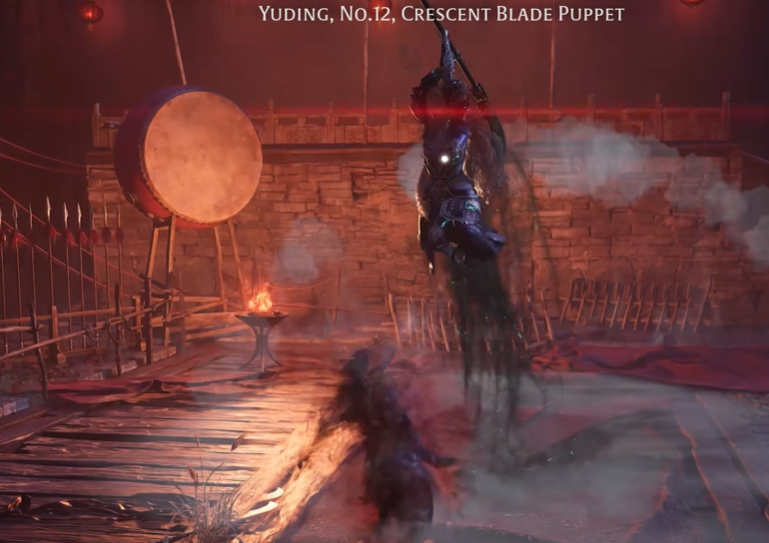
Yuding can jump high into the air before bringing the Crescent Blade down onto your position.
The jump gives you plenty of warning.
As soon as she leaves the ground, move away from where she is going to land rather than trying to parry the impact.
The slam creates a clear recovery afterward, making this one of her safest punish windows.
Do not immediately run underneath her while she is airborne.
Give yourself enough room to clearly see the landing point first.
Crescent Wave
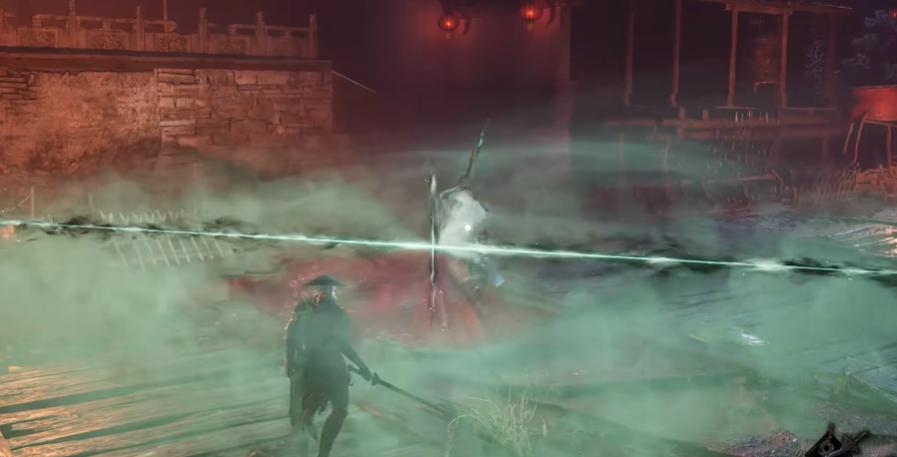
At longer range, Yuding can send a green crescent-shaped wave across the ground.
This lets her continue applying pressure even when you create distance.
The projectile itself is not especially complicated, but it prevents you from treating long range as automatic safety.
If she creates distance, stay ready to move rather than immediately healing or resetting.
Dodging sideways is generally safer than retreating directly backward.
Green Rift
One of Yuding's stronger attacks creates a burst of green energy around her, followed by a noticeable recovery.
This is one of the better attacks to dodge completely rather than trying to block through it. Some launch guides refer to this as Green Rift.
Avoid the initial burst, then use the recovery to move behind or beside her and take a heavier punish.
Because Yuding normally recovers quickly from her standard sweeps, these longer animations are especially valuable.
Red Thrust
Yuding also has a fast Red Flash thrust.
The Crescent Blade briefly glows before she quickly launches the weapon forward.
This attack comes out much faster than her normal wide swings, so it can catch you if you become too comfortable with her slower rhythm.
Watch for the Red Flash rather than relying entirely on the weapon animation.
Once you recognize it, this becomes another reliable counter opportunity.
Black Flash Attacks
One thing that makes Yuding particularly punishing is her access to Black Flash attacks.
These attacks cannot be treated like normal parryable strings, and taking one can completely destroy your Sha-Chi.
If you see the Black Flash cue, prioritize avoiding the attack instead of trying to maintain your parry rhythm.
This is especially important if your Sha-Chi is already low.
Getting broken against Yuding is dangerous because her huge weapon range makes it difficult to recover once she has momentum.
Repositioning Dashes
Yuding frequently uses quick repositioning dashes between her attack strings.
These are not damaging by themselves, but they can suddenly change the effective range of the next attack.
Do not automatically chase her when she dashes away.
She may immediately follow with a crescent wave, thrust, or another large sweep.
Let her show you the follow-up first, then decide whether to close the gap.
The Last-Quarter Execution Grab
The most important mechanic in the entire fight appears once Yuding reaches roughly the final quarter of her HP.
At that point, she gains a grab where she hooks the Crescent Blade behind your neck and forces you down onto one knee.
If this connects, there is no normal recovery.
The execution animation plays and the attempt ends.
That means the final part of the fight should be played more carefully than the rest, not more aggressively.
This is where a lot of otherwise clean attempts can fall apart.
Do Not Greed at Low HP
Once Yuding is nearly dead, it is extremely tempting to rush her and finish the fight.
That is exactly when her execution grab becomes available.
Do not change the rhythm that got you this far.
Keep your spacing, continue reacting to her attacks normally, and wait for a clean punish window.
The grab only becomes dangerous if you let the low HP bar convince you to stop respecting her offense.
Sha-Chi Pressure
Despite her large weapon and intimidating animations, Yuding is very manageable if you consistently parry her standard sweeps.
Her normal strings are relatively readable, and repeated clean parries can deal significant Sha-Chi damage.
The safest pattern is:
Parry the standard sweeps → Avoid the large spin or Black Flash → Punish the recovery → Reset
Do not try to force Sha-Chi breaks by attacking into her strings.
Let her give you the defensive opportunities instead.
General Strategy
Yuding is mostly a fight about spacing and discipline.
Her Crescent Blade covers enormous areas, but many of her attacks are relatively straightforward once you stop standing at awkward medium range.
Stay close enough that you can clearly read her normal sweeps, parry the safer strings, and move out completely when she starts the spinning attack.
Against her leaping slam and Green Rift, prioritize dodging first and use the recovery afterward for heavier damage.
The biggest adjustment comes in the final quarter of the fight.
Once the execution grab becomes available, stop thinking about how little HP she has left.
Treat her exactly the same way you did at full health.
A safe punish will end the fight eventually.
One greedy attack can end your attempt instantly.
Recommended Approach on Hellwalker
On Hellwalker, I would play the first three quarters relatively aggressively once you are comfortable with her sweep timings.
Her Sha-Chi can be pressured effectively through parries, and her larger attacks create decent punish windows.
Once she reaches the final quarter, slow the fight down.
Do not stay directly in front of her longer than necessary, and never commit to a long animation unless you are certain she is recovering.
The execution grab is simply too punishing to gamble against.