
This build is focused on the Harp Crossbow and it's multi projectile effect. This is fast clearing and high damage, and easy to gear.
 Use your favourite features in-game with our Desktop App
Overview
Strengths And Weaknesses
- High Damage Bossing
- Fast Mobbing
- Good Survivability
- Infinite Arrows
- Easy Gearing
- Need special choices VS enemies that you cannot hit with arrows
- Peak damage is much more effect roll specific
Weapons
Ranged
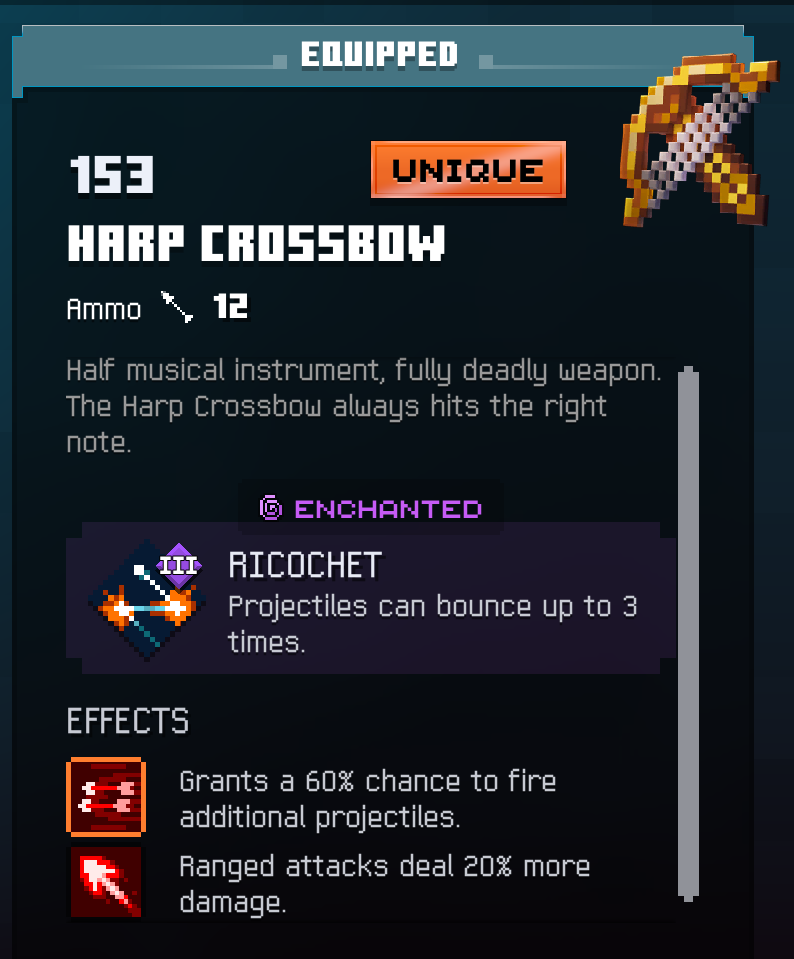
This weapon is used for the multiple projectiles and even more projectiles from the effect. When paired with ricochet effects it also allows for fast mobbing
Melee
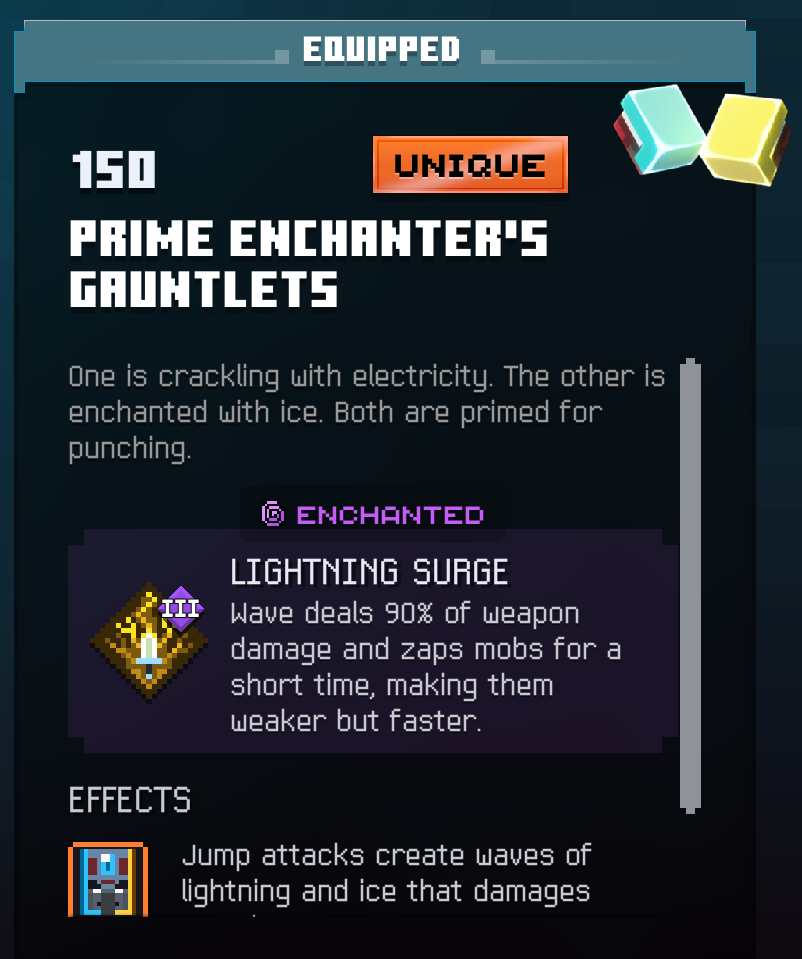
A big downside of ranged builds is not being able to easily take care of enemies that cannot be hit with arrows. Using a meta weapon like the Prime Enchanter's Gauntlets allows for quick killing of them.
Armor
The armor choices here are purely focused on boosting ranged weapons as much as possible
Helmet
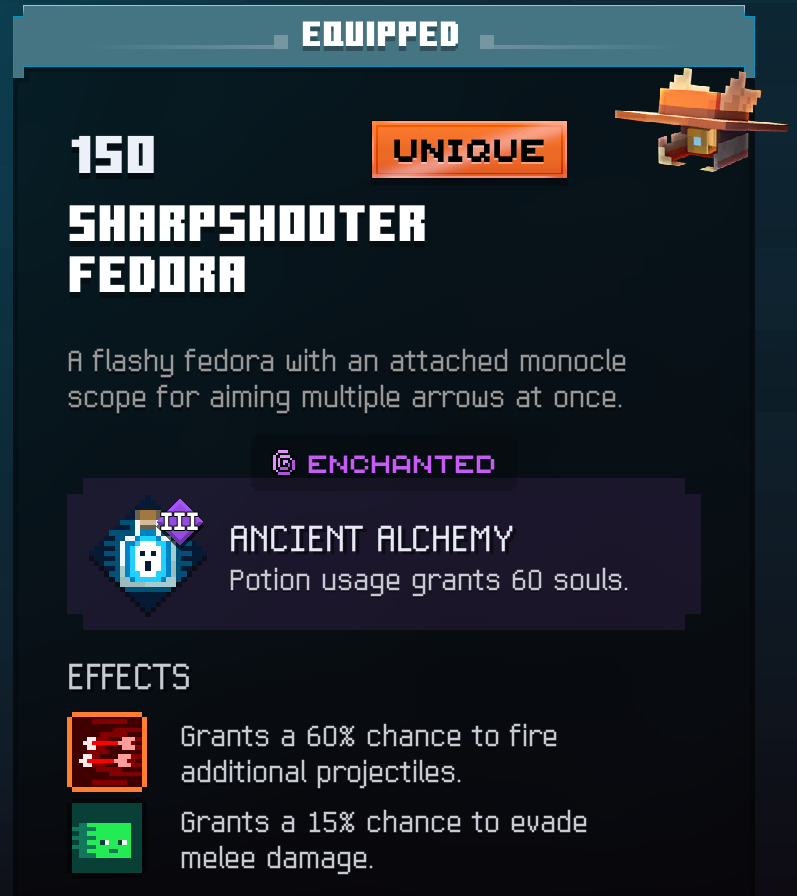
The Sharpshooter Fedora allows for 100% (technically 120%) uptime on 2 additional projectiles
Chestplate
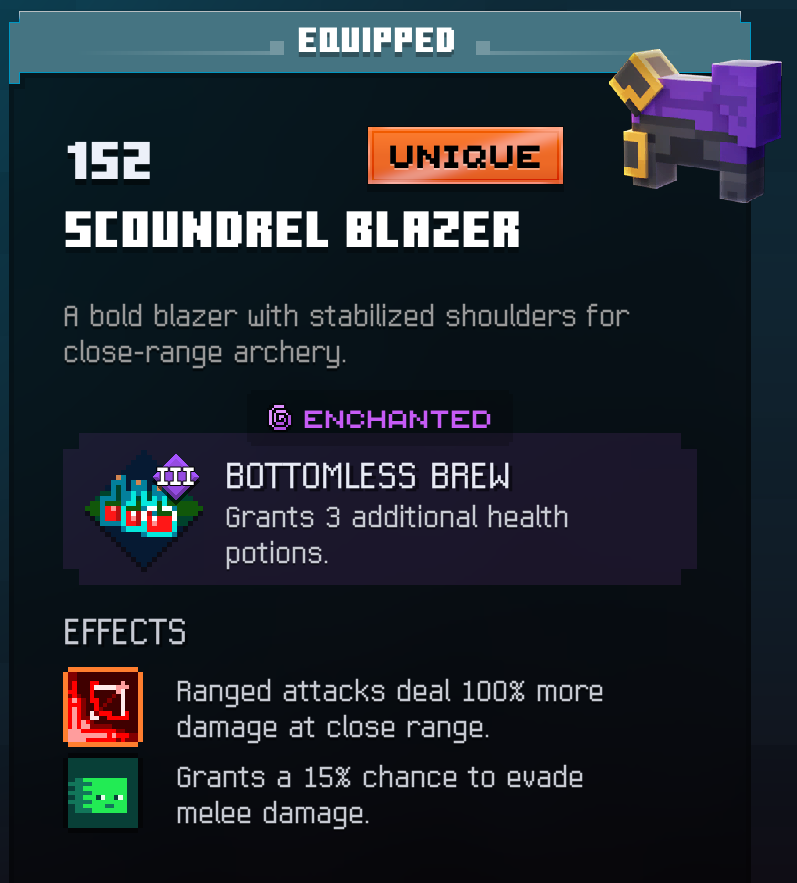
The Scoundrel Blazer gives a huge mult bonus to ranged attacks. Since you want to get as close as possible to enemies anyways for all projectiles to hit, you should always get full or close to full bonus.
Pants
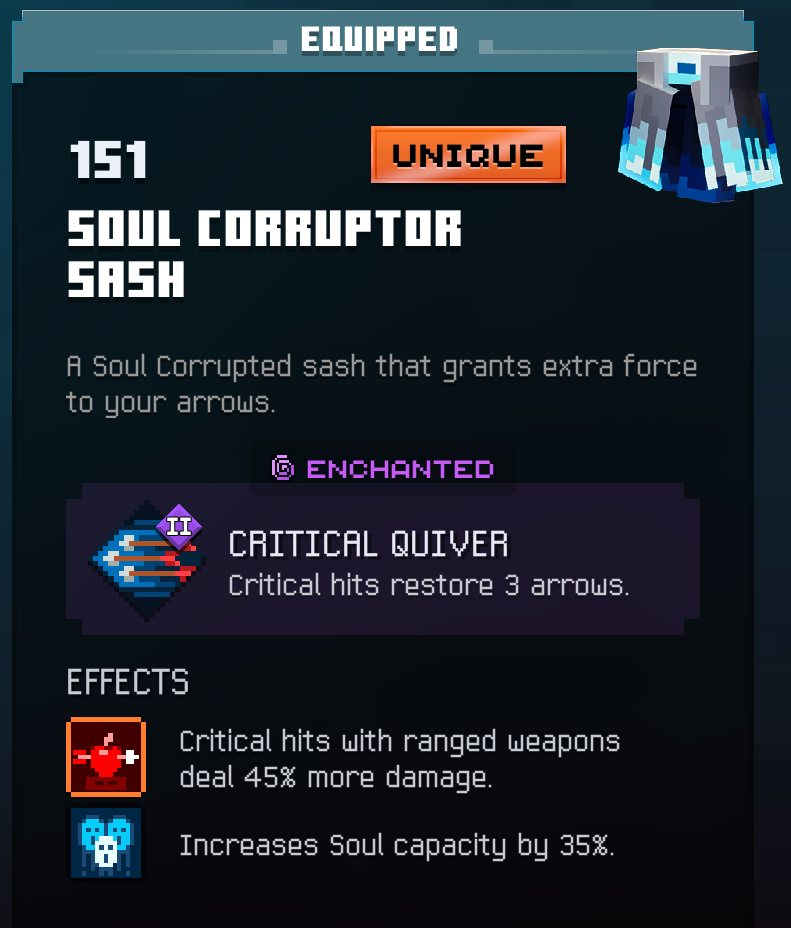
The Soul Corruptor Sash gives an easy damage bonus since we have permanent uptime on crits with the Fighter's Flute
Boots
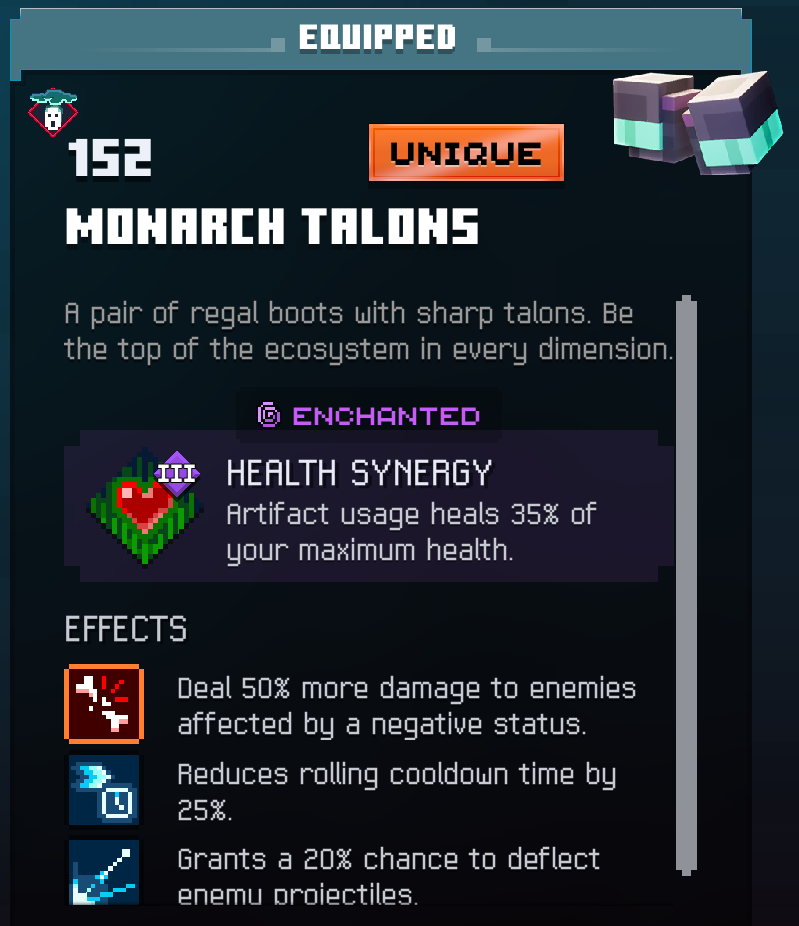
Monarch Talons gives an easy damage mult from applying Lightning Surge status to enemies with the melee weapon.
Artifacts
The artifacts used are mostly focused on crit damage but also an option of an easily big mult or a harder to gain damage boost depending on what you want.
Fighter's Flute
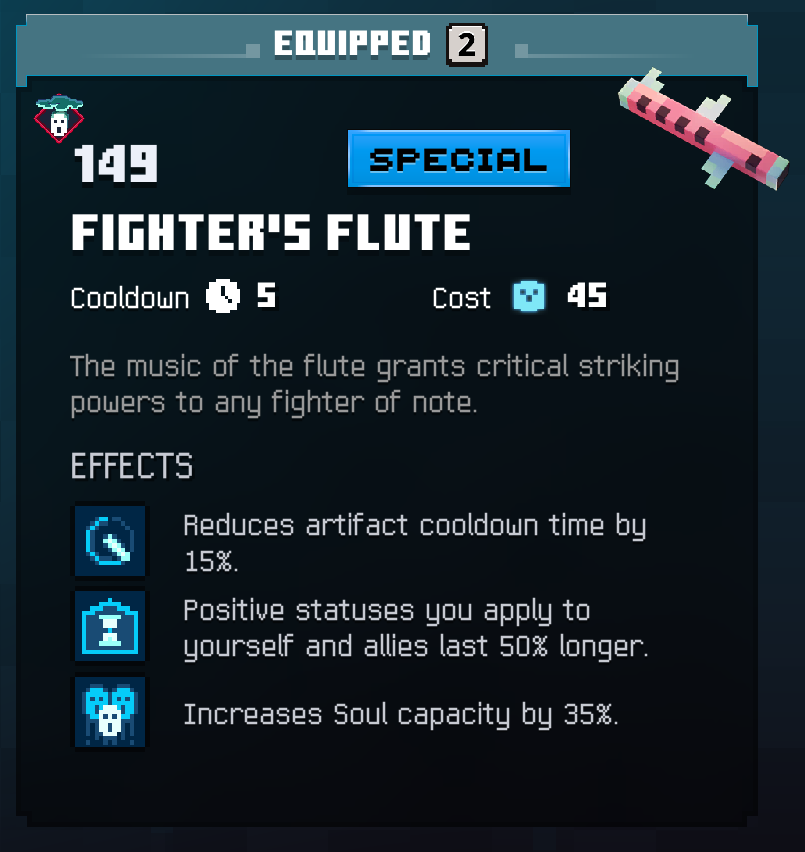
This makes all our shots crit allowing for more damage boosts to be available.
Warrior Drums
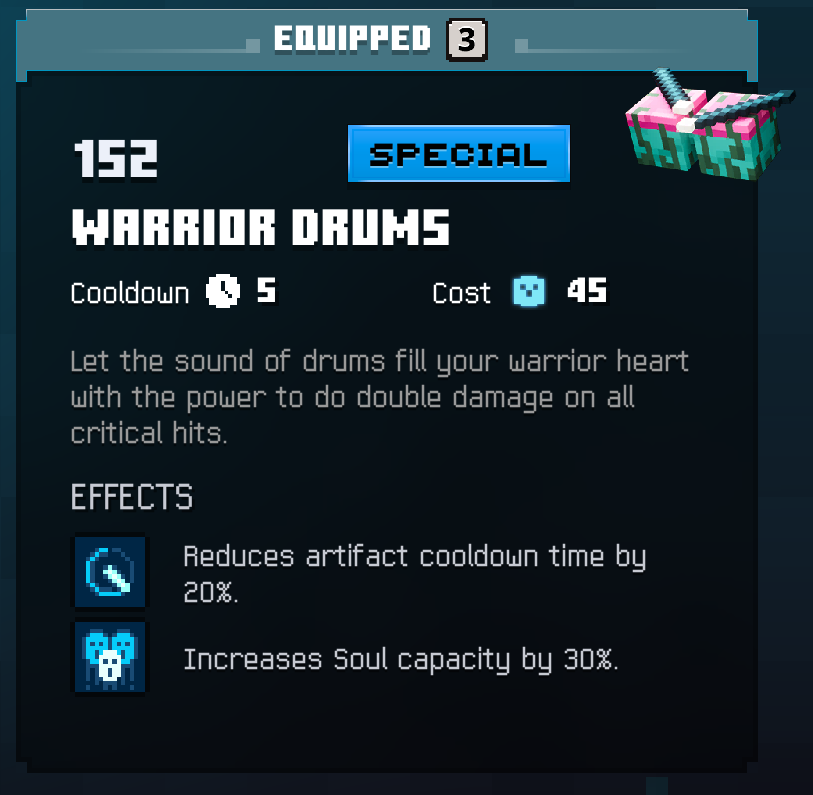
This gives a huge bonus to crit damage which is easy to keep up since Fighter's Flute gives perma crit
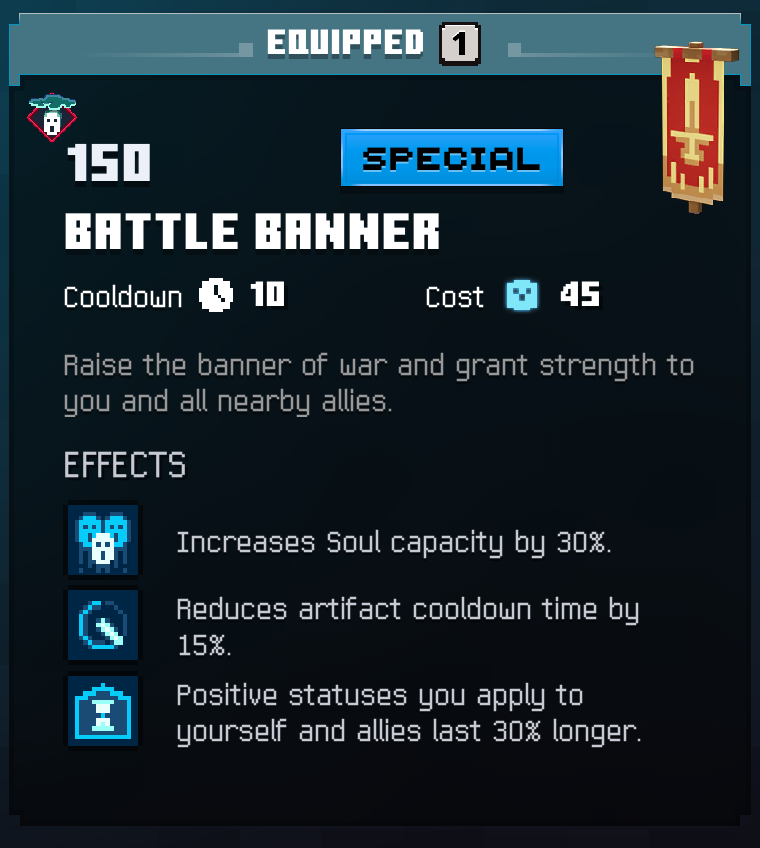
Battle Banner
This gives an easy 100% damage mult to everything
Quivers
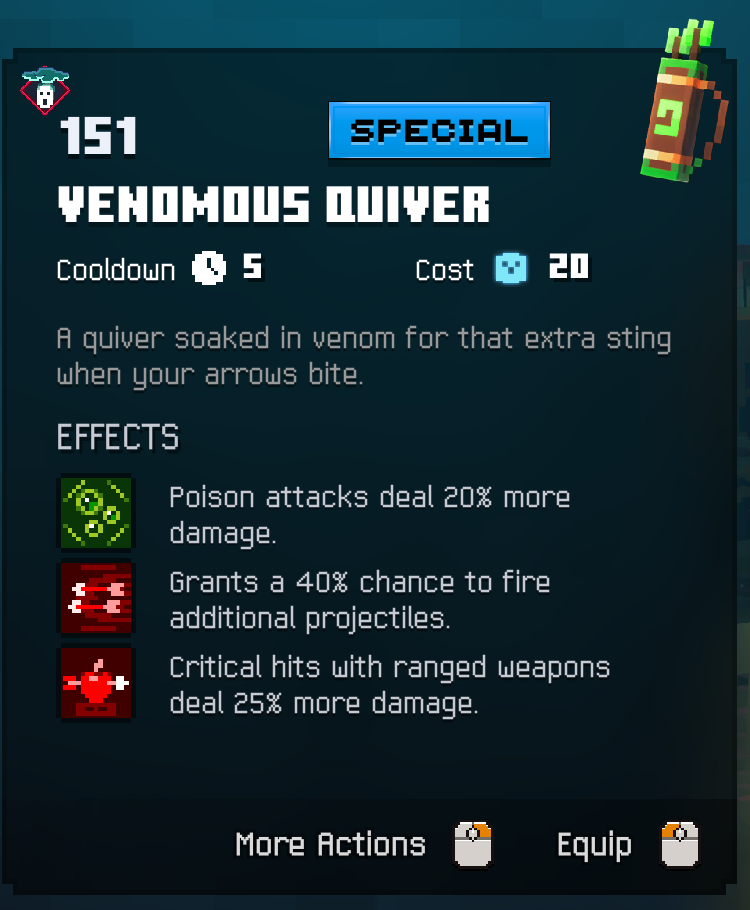
This is also an option instead of Battle Banner. This requires more specific rolls as you need to get element rolls that pair with the element of the quiver. The exact quiver element doesn't really matter.
For example: you would need 100% poison damage to match Battle Banner (not including the bonuses that can roll on the quiver)
Upsides
- higher peak damage (not really needed)
- opens up helmet slot for something else
Downsides
- more effect roll specific
- less uptime compared to Battle Banner
- Less damage VS Endermen. Battle Banner also boosts our melee which boosts our downside
Effects
A lot of the effects on gear aren't that good and mostly towards survivability since that's what they roll
Weapons
For both melee and ranged you want the wording "X attacks deal X% more damage" as these are multipliers. This goes up to 30%
Armor
Most rolls are utility. Getting rolling cooldown and movement speed are prob the best options for survivability and movement. If it can roll Soul Capacity then that helps a lot.
If you are using quiver then get Element attacks deal X% more damage
Artifacts
Soul Capacity is very important and easy to get on Artifacts even if it can roll on other item. Using the main 3 artifact combo you want at least 135 souls to be able to use all at once. Getting more is useful for utility.
Reduces Artifact Cooldown and Positive Status Effects last longer are both helpful for keeping up artifact bonuses. You either spam your artifact more often or have your bonuses last longer so you don't need to use artifacts as much. If you have 3rd slot available then you can get both of these.
If you are using quiver then get Element attacks deal X% more damage
Enchantments
Critical Quiver
Because of Fighter's Flute you can keep up arrows infinitely. You only need 1 or 2 level of Critical Quiver as all the projectiles spawned will crit and restore arrows.

Ricochet
This is a mobbing tool on your Crossbow. This ends up being better than a survivability option like Healing Smite. Hitting more enemies means killing more enemies. And dead enemies can't hit you.

Lightning Surge
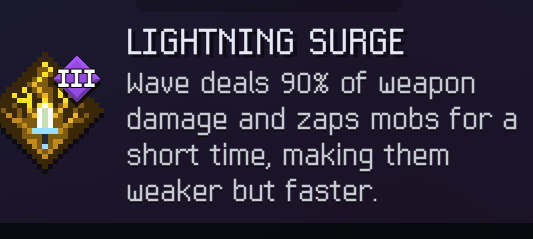
This is used on your Melee for the 25% damage mult you gain for all damage.
Bottomless Brew
These additional potions will be used for healing directly from the potion and from enchantments used below

Ancient Alchemy
With the additional potions you can get back souls easily when you aren't able to naturally regain them.

Health Synergy
Since we can spam our artifacts more often we can also heal more often. This way healing isn't just reliant on potions. This allows for a consistent cycle of healing and souls gain from potion and artifact

Bottomless Brew, Ancient Alchemy, and Health Synergy allow for a constant cycle of Souls and Health regain.
Pendants
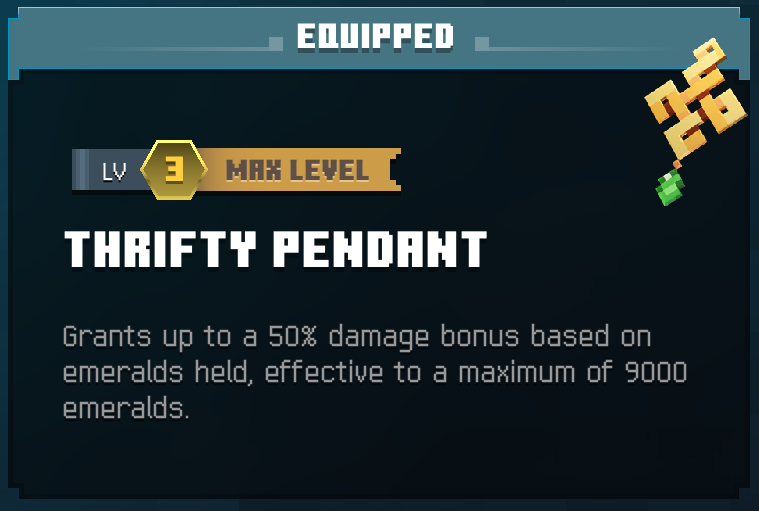
Thrifty Pendant
This is going to be the highest damage mult you can get from Pendants. You will always have high/max emeralds so this condition is no problem.
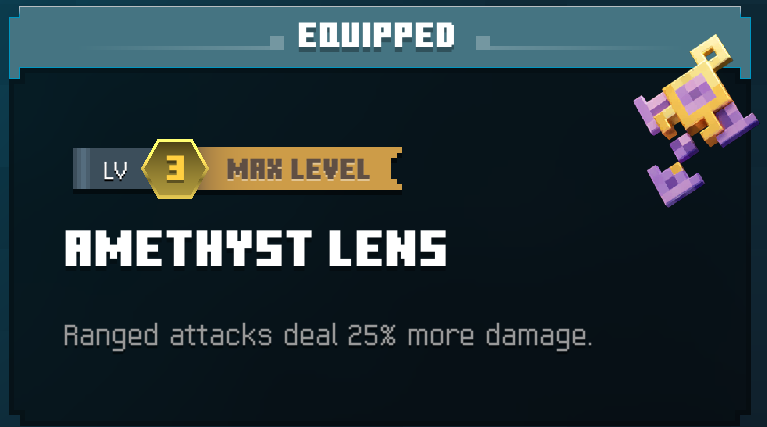
Amethyst Lens
This is a consistent damage bonus to Ranged attacks.
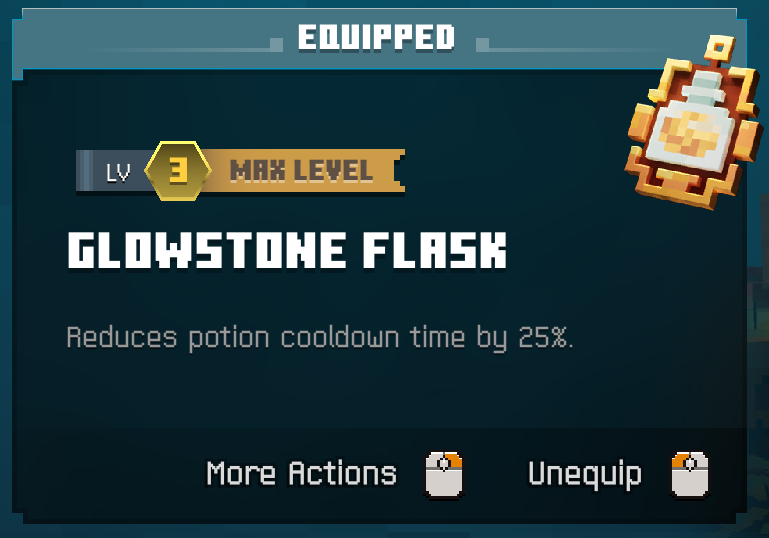
Glowstone Flask
The decreased potion cooldown is nice when spamming it is part of the build. You can also go Sigil of Beeswax for 35% increased health for simple survivability if you get surrounded. Then you can take more hits at once.
Tendrils of the Sprout is not used as it is bugged and only applies to melee attacks.
Gameplay Loop
- Activate artifacts for buffs. Fighter's Flute at minimum for the auto crit for infinite arrows
- Shoot arrows until buffs end
- Use Potions to restore souls if you have not naturally regained them by now
- When you're health is low use potions or artifacts
- When bossing you will also want to use your slam attack to apply Lightning Surge
Table of Contents
1. Overview2. Strengths And Weaknesses3. Weapons Ranged Melee4. Armor Helmet Chestplate Pants Boots5. Artifacts Fighter's Flute Warrior Drums Battle Banner Quivers6. Effects Weapons Armor Artifacts7. Enchantments Critical Quiver Ricochet Lightning Surge Bottomless Brew Ancient Alchemy Health Synergy8. Pendants Thrifty Pendant Amethyst Lens Glowstone Flask9. Gameplay Loop
See More




Like our guides?
Add Mobalytics as a preferred source on Google!