League of Legends
 Teamfight Tactics
 Valorant
 Lost Ark
 Destiny 2
 Diablo 4
 Download APP
 Collapse
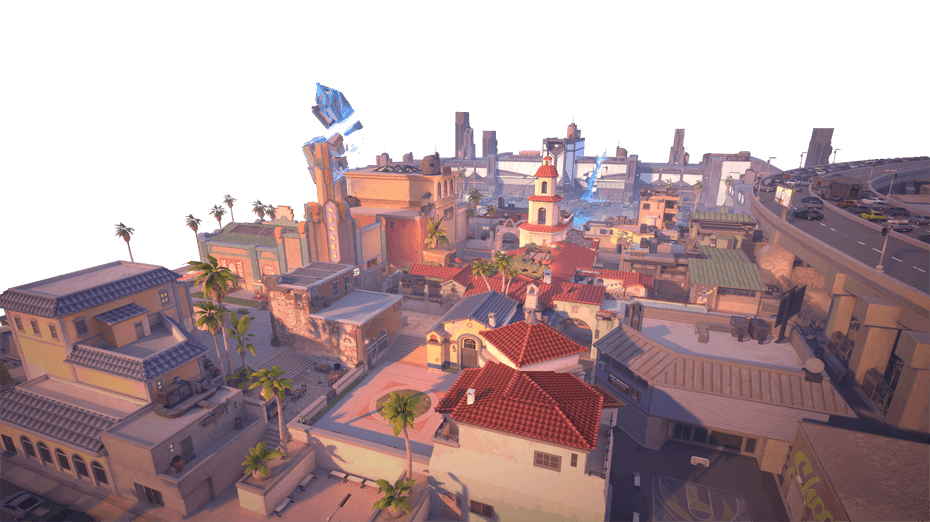
VALORANT: Lotus Map Guide
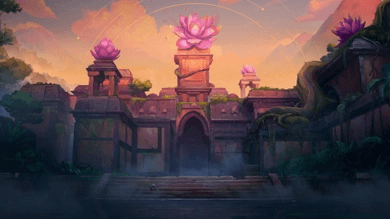
Welcome to Lotus, the newest Valorant map coming with Episode 6 Act 1.
Lotus is a 3 Bomb Site map with new door mechanics and unique geometry. Below is the map outline with intractable doors being marked.
A Door and C Door are pink ovals, the destructible door is in yellow, and the ultimate orbs are the green stars.
For more tips and tricks, check out our other VALORANT map guides and breakdowns.

Map Mechanics
The “gimmick” to Lotus is its unique doors. There are two revolving doors that are controlled by a switch on both sides of the door. The doors spin the same direction every time and destroy any utility that is placed within the area they spin within such as a Sage Wall, Killjoy Lockdown, or Sova Dart.
When opened, these doors make noise and are highlighted on the map when they are in motion. The door icon pops up on your minimap no matter where you are, so be sure to pay attention to it as it can give very valuable information on the other side of the map.
The other unique door is a destructible door between A Main and B Site. The color of this door reflects how much health it has remaining, and once it is broken, it remains broken and makes a noise heard in the area of the door.
How to Play the Map
Due to the positioning of the spawn barriers and the size of the map there is the potential for many early fights just a few seconds after the rounds starts. The primary hotspots of the map will be A Rubble/A Main and C Mound. A Main and Rubble gives attackers access to both the A and B sites while C Mound gives attackers access to B and C Main. Fighting early for these portions of the map as Defenders will severely limit the attackers options.
This map will also be a lurker’s dream due to how many connections there are and how easily an attacker can sneak into the defender’s spawn area. Lurkers need to be cognizant of not making too much noise using the doors, and take advantage of alternate routes such as A Main to A Stairs to backstab A or B Site or going from C Main to C Waterfall if Defenders are playing deep into the C Site or have rotated off.
Similar to Haven, the 3 bomb sites will make this map retake heavy. The first major difference with this map is that the bomb sites are smaller with less coverage, so playing everyone on site during a retake won’t be the ideal play. Instead, sending a player or two to loop around the site to catch players retaking the site off guard or to backstab them with good timing.
The second major difference between Lotus and Haven is that both maps have the same amount of lanes for defenders to worry about, but Lotus requires attackers to utilize the doors, and give defenders information on their location in order to access certain lanes. This is definitely a map design improvement which will help lessen attacker win rates compared to Haven by balancing the increase in lanes and sites to worry about with giving defenders passive information when attackers access these excess lanes.
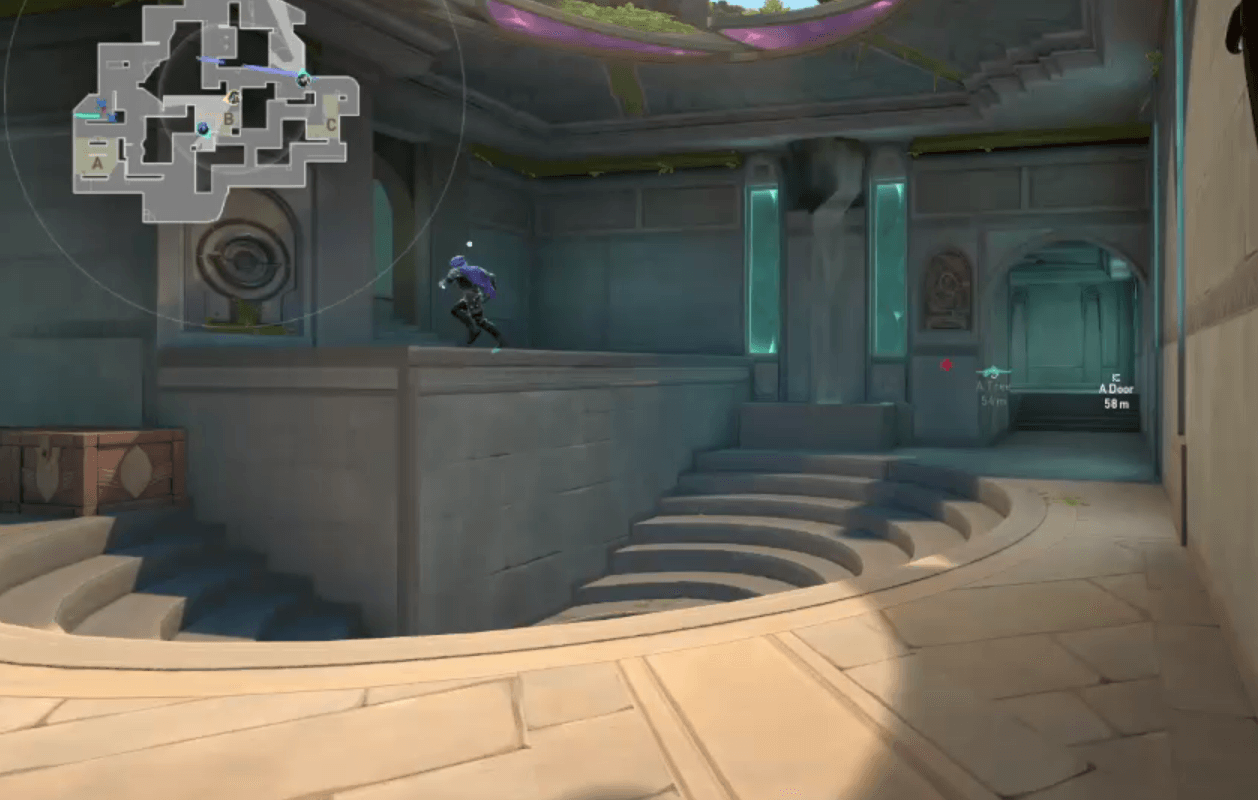
A Site
The main aspects of the map to point out are Hut in the center of the map, the rope to A Top, and A Drop in the back corner. A player can slide down A Drop without making any noise. When taking site, executes can go through A Tree and/or A Main.
A Tree offers more cover from players rotating from other sections of the map, but the Door needs to be opened which gives away position. Pushing up to A Top is a great way to take control beyond the site for extra map control.
B Site
This site is arguably the smallest of any map in the game. There are very few places for defenders to hold, but there are 4 entry points into the site. This site will be retake heavy, and when holding a post plant, the attacking team will need to take control of these entry ways, otherwise they will be bombarded with utility, and give up the site easily.
When defending there are two attacker side entry points, but to access one of them, the destructible door must be broken. Focus on the main entry point at B Main, and only dedicate utility and attention to the A Link entry point if the door is broken. In the center of site are sunken stairs which offer cover for planting the spike and can be used as a headshot angle for players on site.
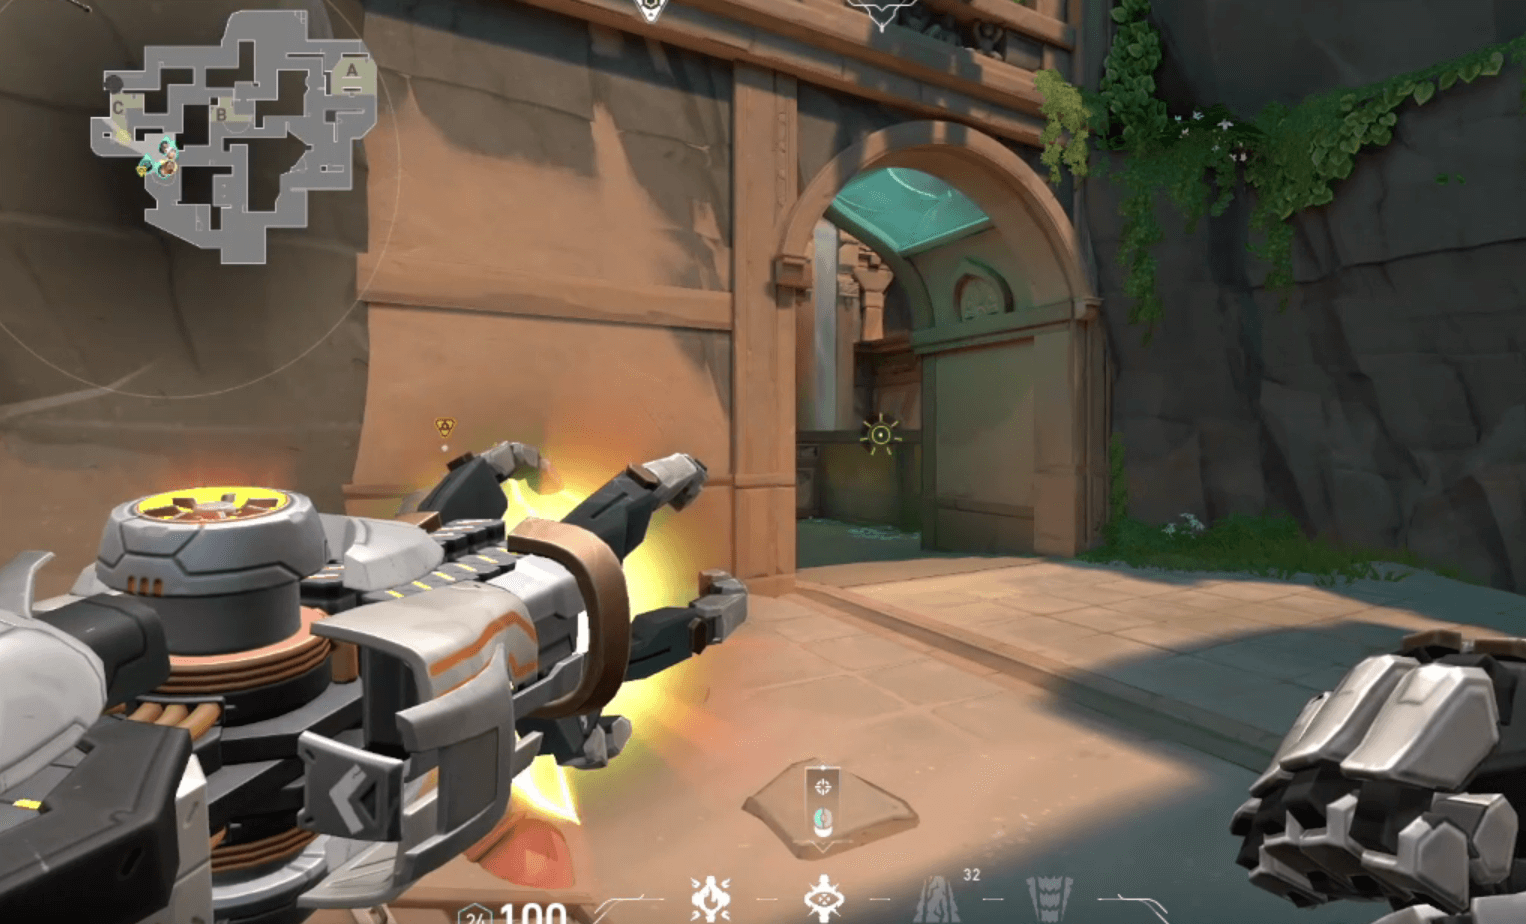
C Site
This site has very unique geometry, and the area in which the spike can be planted is elevated. C Main is the only way for attackers to get onto site, without passing through B Site, and is a rather tight choke point. Defenders with good stalling utility will best be served playing this site alone to stifle pushes. The elevated area has a slight lip which can be shot through and used to send Breach flashes through. The lower area of C and the sides of the steps back site are covered in water, which can help identify where a player is when listening to footsteps.
Agents to Play on Lotus
The map has many tight areas and is a compressed version of Haven. The agents to play will most likely be agents who best work around the small angles and tight spaces the map has.
Duelist
- Jett
- She will be useful as a primary operator user here. Jett can post up, and watch C Mound and A Rubble to take early map control as defenders. The sites are smaller, so her space making ability won’t be as useful as other, more open maps.
- Raze
- Blast Packing to create space won’t be as imperative as it is on other maps similar to Jett’s dash, but Raze’s explosives will be great for clearing out the small spaces and narrow hallways of Lotus.
No surprise with these options as they are the two strongest duelists in the meta. Although the sites are small, both can make good space for teammates while other duelist options don’t have the same capabilities. All sites have heights that these two agents can get on top of that other duelists cannot. Neon might be able to find her way in this map due to her Relay Bolt getting great value in the tight hallways and small site spaces. With some creative use, Yoru can get value here due to many Gatecrash lineups being able to get deep into sites and the map. The main issue is not being able to get information near the Gatecrash, and having a good chance of leading to an int when teleporting.
Initiator
- Fade
- Typically the smaller and tighter a map is the more useful Fade is over Sova. Lotus plays into Fade’s strengths as her Prowlers can clear close angles, Seize can stall out choke points or be used to take early map control at A Root, and Haunt is more likely to get value as opposed to Recon Bolt which is more likely to have its vision blocked by the tighter angles of the map.
- KAY/O
- With small site sizes, KAY/O has a good chance of suppressing Sentinels on site making an easy site take. The map also has overlapping walls, giving knife value for information. FRAG/MENT will be a good stall tool for the tight choke points of the map.
- Breach
- The narrow hallways and ability to take early map control with Fault Line may be enough to make Breach a solid pick on this map. The overlapping walls also give great opportunities to flash and fault line for teammates while in a different portion of the map.
Most teams will definitely have at least 2 Initiators due to their relative strength in the meta. KAY/O and Breach will be the primary agents with flashes for Lotus, and Fade will most likely be the intel gathering initiator due to the advantage of having a Haunt and two Prowlers. Sova can definitely step into a role in this map if good Recon Dart locations and lineups become commonplace.
The map has high roofs and enclosed spaces, making Haunt and Recon Bolts difficult to get exactly where you want them to be. Skye will most likely not find a spot on this map as the other initiators are able to provide more value due to the geometry of the map. The closed multiple ceilings and tight areas will make her flash tough to get value from.
Controller
- Astra
- The map being wider with 3 sites gives an advantage to Astra who can lurk anywhere on the map while supporting a site hit. Early map control is important, and an Astra recall smoke between A Root and A Rubble similar to the default Recall smoke on B Ramp on Pearl is a strong tool to have when defaulting. This will be a great way to take A Main and A Tree if an Operator is at A Stairs. With small sites, Gravity Well and Nova Pulse have a good chance of affecting defenders, and will be able to stall pushes through the small choke points of the map.
- Omen
- He is meta on Haven, which makes sense why he’d be a good pick on Lotus. Paranoia will be able to hit the vast majority of area on all the sites. Having rechargeable smokes is great for Omen, as a 3 site map will lead to many fakes, and rotations that other Controllers may run out of smokes during. Similar to what an Astra recall smoke accomplishes at A Root and A Rubble, an Omen Shrouded Step can accomplish the same thing by passing this sight line which will be a common spot watched by Operators.
A one way smoke near C Mound for defenders and some type of recall smoke Near A Rubble and A Root will be very common early round smokes for Controllers. Only Astra and Omen can consistently take advantage of these areas. Harbor definitely has potential as a secondary controller due to Cascade taking early control of A Main and C Mound. His main issue of lack of stopping power will still remain though.
This is where Viper may come in as a secondary controller. She won’t be able to be a primary controller due to the site geometry not allowing her to smoke off the defender entry points into sites. Brimstone will most likely run into the same issues as he does on Haven of running out of smokes and not being able to reach the far sides of the map.
Sentinels
- Killjoy
- Having two passive utility pieces will be great for Killjoy getting information on defense. The small hallways and choke points will be good for Nanoswarms getting good value. Lastly Lockdown will cover huge areas of the map for site takes and retakes with no longer running the risk of Breach destroying the ultimate.
- Chamber
- He took a massive hit to his strength, but there are enough locations on this map where Chamber can fight aggressively and get to safety while a Trademark is active. This allows Chamber to be the primary Operator and hold a good chunk of the map like his good ol’ days.
Killjoy will most likely be the main Sentinel pick on Lotus, and will get a lot of value on both Attack and Defense. Chamber might find his way into team compositions due to the aggression he can apply early in the round, and the map design allowing him to do so in a safer manner.
Cypher will be able to cover the most area due to not being limited by range, and can use a cage for the role of the recall smoke at A Rubble and A Root. These aspects and his ability to Lurk the best of any Sentinel may propel Cypher above Chamber as the alternate Sentinel pick for those who do not opt to play Killjoy.
Sage will be able to do a great job stalling and defending the B Site, but her main issue is not being able to get passive information like the other Sentinels.
Closing
Lotus will be available at the start of Episode 6. Use these tips and tricks to get a head start on getting your bearings on the new map.
Be sure to check back for in-depth guides on Lotus once VCT play begins and the meta of the map becomes more defined.
For more tips and tricks, check out our other VALORANT map guides and breakdowns.