menu
MobalyticsUse your favourite features in-game with our Desktop App

WoW Forever Upper Blackrock Spire Dungeon Guide - Bosses, Loot & Quests

Beginner
Mechanics
By PhaseShifter
Updated on Nov 21, 2026
Nov 21, 2026

Upper Blackrock Spire (UBRS) Overview

Upper Blackrock Spire (UBRS) is a level 59–60 dungeon inside Blackrock Mountain, sharing its entrance with Lower Blackrock Spire. It is the stronghold of Rend Blackhand's Dark Horde and the Black Dragonflight, with a route through seven distinct areas before reaching General Drakkisath.

The dungeon is designed for a full group of up to 10 players. Expect large elite packs, dangerous casters, waves of enemies in the arena and several fights where positioning is critical.

Upper Blackrock Spire (UBRS) Quest Loot & Rewards

General Drakkisath's Demise

Quest Giver: Marshal Maxwell
Coordinates/Location: (84.4, 68.3) Morgan's Vigil, Burning Steppes
Required Level: 60
Reward: XP & Silver

Marshal Maxwell sends you to defeat General Drakkisath in Upper Blackrock Spire. This is part of the Alliance's Blackhand's Command quest chain.

Drakefire Amulet

Quest Giver: Haleh
Coordinates/Location: Winterspring, Mazthoril
Required Level: 50
Reward: Drakefire Amulet

This is the final part of the Alliance Onyxia attunement chain. Defeat General Drakkisath and collect the Blood of the Black Dragon Champion. Return it to complete the quest and receive the Drakefire Amulet.

Doomrigger's Clasp

Quest Giver: Mayara Brightwing
Coordinates/Location: (84.4, 68.3) Morgan's Vigil, Burning Steppes
Required Level: 55
Reward: XP & Silver

Find Doomrigger's Clasp inside Doomrigger's Coffer in the Rookery. Return it to Mayara Brightwing.

Eye of the Emberseer

Quest Giver: Duke Hydraxis
Coordinates/Location: Azshara, on the island of the Duke Hydraxis
Required Level: 56
Reward: XP & Silver

After progressing through the Hydraxian Waterlords quest chain, defeat Pyroguard Emberseer and collect the Eye of the Emberseer. Return it to Duke Hydraxis.

Mother's Milk

Quest Giver: Ragged John
Coordinates/Location: Burning Steppes, near Blackrock Mountain
Required Level: 55
Reward: Ragged John's Neverending Cup

Allow Mother Smolderweb to poison you inside Blackrock Spire, then return to Ragged John while the poison is still active. He will collect the venom for his research.

En-Ay-Es-Tee-Why

Quest Giver: Kibler
Coordinates/Location: (65.8, 22.0) Flame Crest, Burning Steppes
Required Level: 55
Reward: XP & Silver

Collect 15 Spire Spider Eggs from the Rookery in Blackrock Spire and return them to Kibler.

Kibler's Exotic Pets

Quest Giver: Kibler
Coordinates/Location: (65.8, 22.0) Flame Crest, Burning Steppes
Required Level: 55
Reward: Worg Carrier

Use the Empty Worg Pup Cage on a Bloodaxe Worg Pup inside Lower Blackrock Spire. Return the captured pup to Kibler.

The Demon Forge

Quest Giver: Lorax
Coordinates/Location: Winterspring, Frostwhisper Gorge
Required Level: 55
Reward: Demon Forged Breastplate

This quest chain requires you to bring an Unforged Rune Covered Breastplate into UBRS. Defeat Goraluk Anvilcrack, use the Blood Stained Pike on his corpse and complete the forging steps as instructed. The final reward is the Demon Forged Breastplate.

Mea Culpa, Lord Valthalak

Quest Giver: Bodley
Coordinates/Location: Near the Blackrock Spire entrance, Burning Steppes
Required Level: 60
Reward: XP & Silver

This is part of the Dungeon Set 2 upgrade chain. After completing the required preparations, use the Brazier of Beckoning in the Furnace to summon Lord Valthalak. Defeat him and use Lord Valthalak's Amulet on his corpse.

Upper Blackrock Spire Boss Loot

Boss

Loot

Pyroguard Emberseer

• Emberfury Talisman
• Flaming Band
• Gauntlets of Elements
• Tablet of Flame Shock VI

Solakar Flamewreath

• Polychromatic Visionwrap
• Dustfeather Sash
• Devout Mantle
• Schematic: Hyper-Radiant Flame Reflector

Goraluk Anvilcrack

• Mastersmith's Hammer
• Handcrafted Mastersmith Girdle
• Handcrafted Mastersmith Leggings
• Flame Walkers
• Plans: Arcanite Champion
• Plans: Masterwork Stormhammer
• Bottom Half of Advanced Armorsmithing: Volume I

Gyth

• Tribal War Feathers
• Dragoneye Coif
• Gyth's Skull
• Pauldrons of Elements
• Recipe: Flask of Chromatic Resistance

Warchief Rend Blackhand

• Felstriker
• Band of Rumination
• Warmaster Legguards
• Feralsurge Girdle
• Battleborn Armbraces
• Spaulders of Valor

The Beast

• Pip's Skinner
• Blademaster Leggings
• Seeping Willow
• Lightforge Spaulders
• Book of Ferocious Bite V

General Drakkisath

• Blackblade of Shahram
• Tooth of Gnarr
• Painweaver Band
• Spellweaver's Turban
• Draconian Deflector
• Brigam Girdle
• Pattern: Red Dragonscale Breastplate
• Vest of Elements
• Beaststalker's Tunic
• Magister's Robes
• Devout Robe
• Dreadmist Robe
• Wildheart Vest
• Shadowcraft Tunic
• Lightforge Breastplate
• Breastplate of Valor
• Recipe: Flask of the Titans

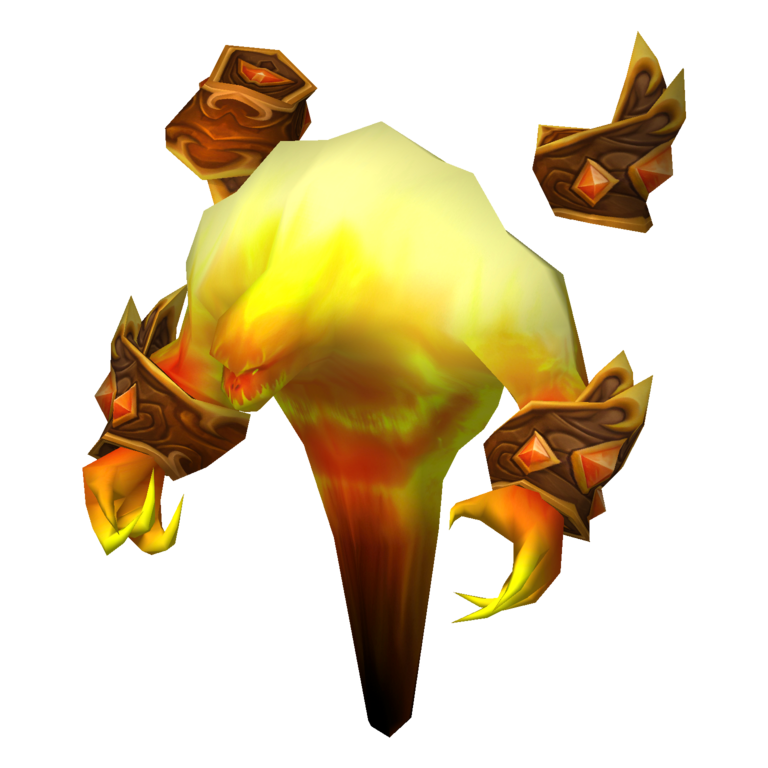
Pyroguard Emberseer

Pyroguard Emberseer is bound in the Hall of Binding, surrounded by Blackhand Incarcerators. Killing the Incarcerators frees him and starts the encounter. He uses Fire Nova to damage nearby players and Flame Buffet, which deals fire damage and increases the fire damage its target takes for 45 seconds.

Tank

  • Be ready to pick up Emberseer as soon as he is released.
  • Keep him positioned away from the rest of the group to limit Fire Nova damage.
  • Watch Flame Buffet stacks and be prepared for increased fire damage.

Healer

  • Keep the tank healthy as Flame Buffet stacks.
  • Watch the rest of the group for Fire Nova damage, especially anyone standing close to Emberseer.
  • Be ready for a sharp increase in incoming damage as the fight progresses.

DPS

  • Kill the Blackhand Incarcerators first to release Emberseer.
  • Once he is free, switch to the boss and stay out of melee range where possible.
  • Avoid standing close together around the boss.

Important: Do not kill the Incarcerators until everyone is ready. The encounter begins as soon as Emberseer is released.

Solakar Flamewreath

Solakar Flamewreath is an optional encounter in the Rookery. Using Father Flame starts an event that sends waves of Rookery Hatchers and Guardians into the room before Solakar appears. The eggs around the room hatch whelps when players approach them, while Solakar uses War Stomp to damage, knock back and stun nearby players for five seconds.

Tank

  • Keep the waves controlled in the centre of the Rookery, away from the eggs.
  • Pick up the Hatchers and Guardians as they arrive.
  • Be ready for Solakar's War Stomp, which can interrupt your positioning and threat generation.

Healer

  • Stay with the group in the centre of the room.
  • Watch for damage from the waves and the whelps if eggs are accidentally triggered.
  • Be prepared for the group to take damage during War Stomp.

DPS

  • Focus down Rookery Hatchers first, as they can activate the eggs.
  • Stay away from the eggs and avoid running around the outer edges of the room.
  • Switch to Solakar when he appears.

Important: Keep the group together in the centre of the Rookery. Walking near the eggs can hatch additional whelps and make the event much harder.

Goraluk Anvilcrack

Goraluk Anvilcrack is the armoursmith found in the Hall of Blackhand. He uses Head Crack to reduce his target's Stamina, Backhand to stun for two seconds and Strike for increased melee damage. His corpse is also needed for The Demon Forge quest.

Tank

  • Keep Goraluk facing away from the group.
  • Be ready for Backhand to stun you and interrupt your threat generation.
  • Watch your health after Head Crack reduces your maximum health.

Healer

  • Be aware that Head Crack reduces the tank's health pool for 20 seconds.
  • Keep the tank healthy and be ready to compensate for the additional damage from Strike.
  • Do not assume the tank's normal health buffer is still available after Head Crack.

DPS

  • Attack from behind and avoid pulling threat while the tank is stunned.
  • If someone is completing The Demon Forge, make sure the Blood Stained Pike is used on Goraluk's corpse before it is looted.

Important: Do not loot Goraluk before the Blood Stained Pike has been used if anyone is completing The Demon Forge quest.

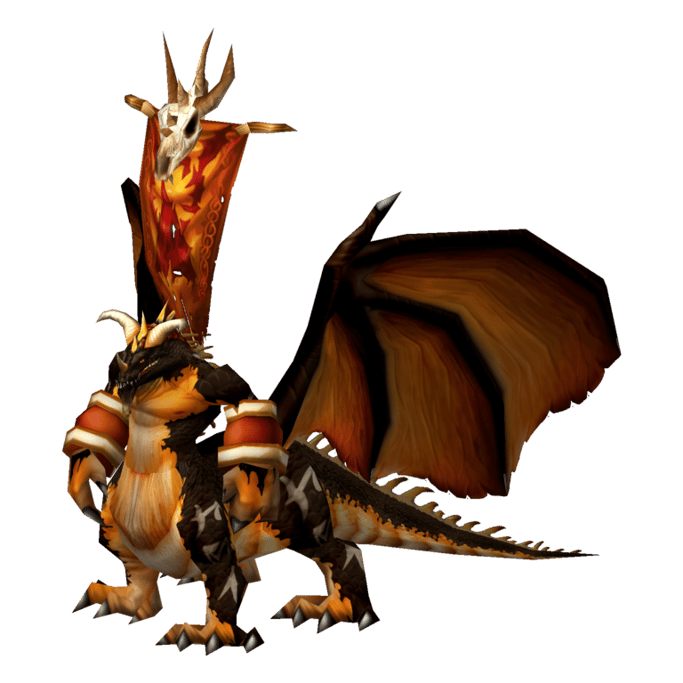
Gyth

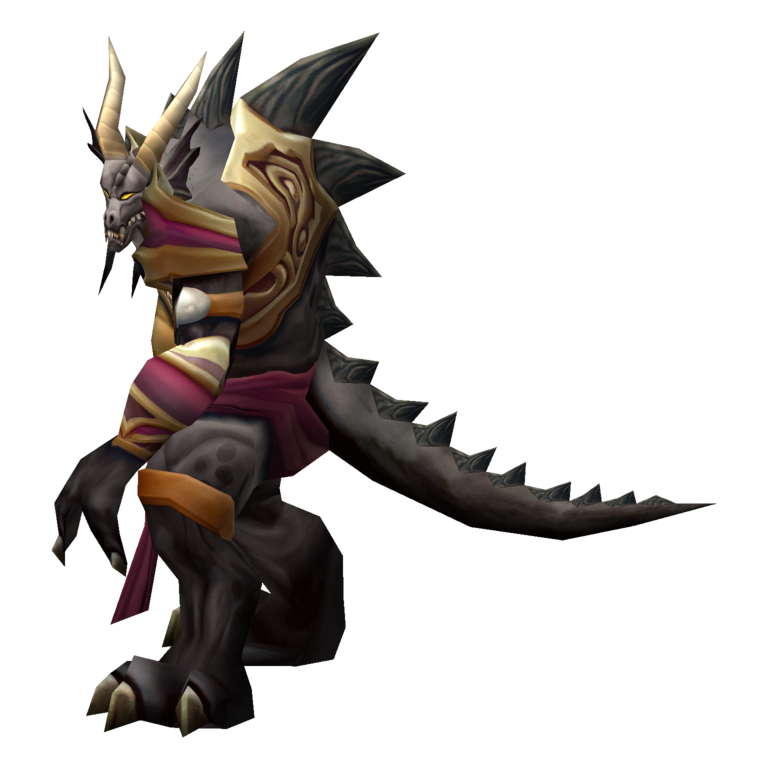
Gyth is the black dragon that carries Warchief Rend into the Blackrock Stadium event. His main threats are Flame Breath, Corrosive Acid Breath and Freeze, all of which hit players in a cone in front of him. Corrosive Acid Breath reduces armour and deals ongoing Nature damage, while Freeze stuns its targets and continues dealing Frost damage. Gyth also uses Knock Away against his target.

Tank

  • Keep Gyth facing away from the group at all times.
  • Position yourself with enough space behind you to avoid being knocked into other players or additional enemies.
  • Use defensive cooldowns if you are taking heavy damage from the breaths.

Healer

  • Keep the tank healthy through the breath attacks.
  • Watch for the ongoing damage from Corrosive Acid Breath and Freeze.
  • Be ready to recover the tank after Knock Away.

DPS

  • Stay at Gyth's sides or behind him to avoid his frontal attacks.
  • Do not stand in front of the dragon while switching targets.
  • Be ready for Rend to join the fight when Gyth's health is low.

Important: Gyth's breath attacks are frontal cones. Only the tank should ever be standing in front of him.

Warchief Rend Blackhand

Warchief Rend Blackhand is fought in the Blackrock Stadium after a series of enemy waves. Chromatic Whelps, Chromatic Dragonspawn and Blackhand Dragon Handlers enter the arena before Rend arrives riding Gyth. The Dragon Handlers can heal the dragons, so they should be killed quickly. Once Rend dismounts, he uses Whirlwind, Mortal Strike, Cleave and Enrage. Mortal Strike reduces healing received by 50% for five seconds, while Enrage increases his attack speed and physical damage.

Tank

  • Use one tank on Gyth and have a second tank ready to pick up Rend when he dismounts.
  • Keep Rend facing away from the group to avoid Cleave.
  • Be ready for Mortal Strike to reduce the healing you receive.
  • Use defensive cooldowns when Rend enrages.

Healer

  • Conserve mana during the waves so you have enough for Rend.
  • Watch the active tank closely after Mortal Strike reduces healing received.
  • Be ready for increased damage during Enrage.
  • Keep the second tank healthy and ready to take Rend when he dismounts.

DPS

  • Kill Blackhand Dragon Handlers quickly because they heal the dragons.
  • Clear the waves before focusing on the bosses.
  • Melee players must move out of Whirlwind rather than continuing to attack.
  • Avoid standing in front of Rend once he is on foot.

Important: The arena event is a sustained encounter, not just a single boss pull. Manage mana during the waves and make sure a second tank is ready for Rend.

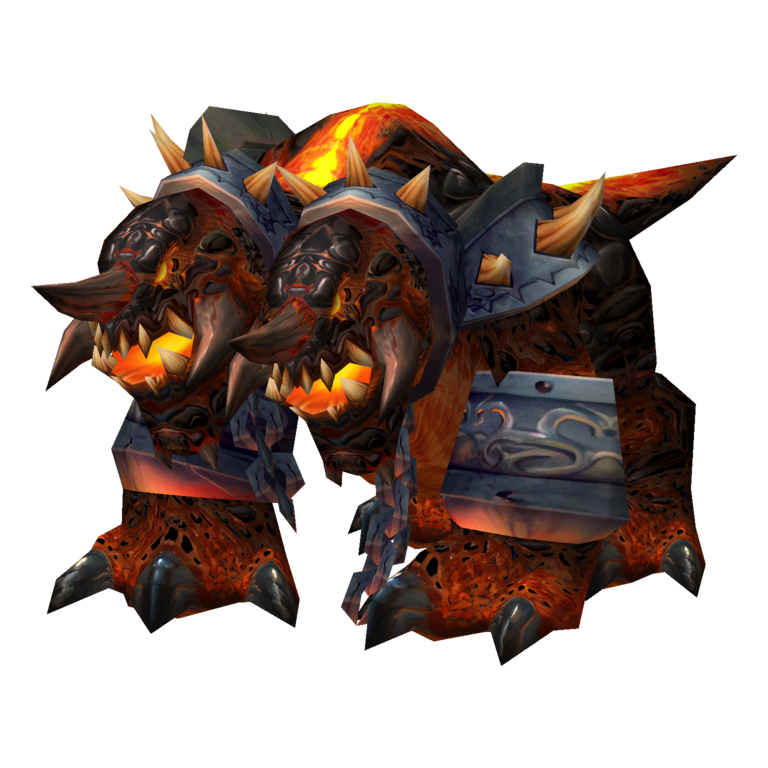
The Beast

The Beast is a powerful core hound found in the Furnace. He hits extremely hard and uses Terrifying Roar to fear nearby players. He can also use Berserker Charge to knock a player back, Flamebreak to damage and knock back nearby enemies, and fire attacks such as Immolate and Fire Blast. His Summon Player ability can pull a player into the fight and disrupt the group's positioning.

Tank

  • Keep The Beast on you at all times. Losing threat can be deadly for cloth-wearing players.
  • Use fear protection such as Fear Ward where available.
  • Re-establish control quickly if he charges or pulls another player.
  • Keep him positioned so the group has room to react to Flamebreak.

Healer

  • Stay close enough to continue healing the tank if Terrifying Roar fears you.
  • Watch for the ongoing damage from Immolate.
  • Be ready to heal players who are charged or pulled into the fight.

DPS

  • Do not pull threat from the tank.
  • Stay spread enough to avoid taking unnecessary damage from Flamebreak.
  • Use fear protection where available and return to your position quickly after being feared.

Important: Threat control is essential. The Beast can kill a lightly armoured player very quickly if he turns away from the tank.

General Drakkisath

General Drakkisath is the final boss of UBRS and is found on the Spire Throne with two Chromatic Elite Guards. The group must deal with the guards while keeping Drakkisath controlled. He uses Conflagrate to set a player on fire, causing them to panic and deal fire damage to nearby allies. He also uses Thunder Clap to slow nearby players and Cleave to hit multiple targets in front of him.

Tank

  • Use two tanks if possible. One tank should keep Drakkisath away from the group while the other helps control the guards.
  • Kill the two Chromatic Elite Guards before focusing on Drakkisath.
  • Swap tanks if one is affected by Conflagration, allowing the burning player to move away from the group.
  • Keep Drakkisath facing away from the party to avoid Cleave.

Healer

  • Stay well away from the tanks so Conflagration does not spread fire damage into the healer position.
  • Be ready to heal the tank through Thunder Clap and Cleave.
  • If you are affected by Conflagration, move away from everyone immediately.
  • Watch the tanks carefully during the guard phase.

DPS

  • Focus the Chromatic Elite Guards first while the other tank keeps Drakkisath away.
  • Once the guards are dead, attack Drakkisath from behind.
  • If Conflagration affects you, move away from the group immediately rather than running through other players.

Important: Conflagration is the key mechanic. Anyone set on fire must move away from the group, as the flames also damage nearby players.

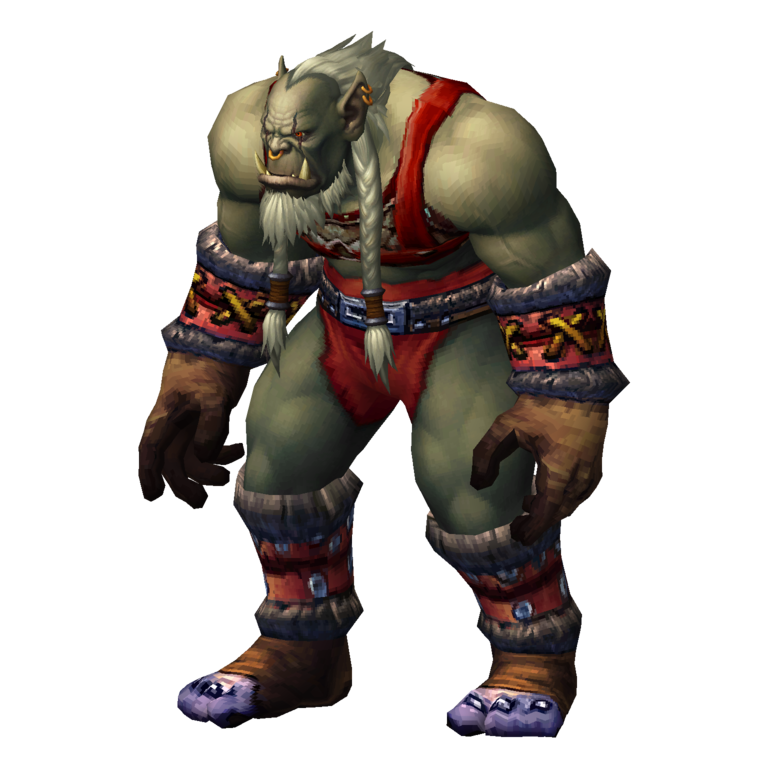
Jed Runewatcher (Rare)

Jed Runewatcher is a rare orc who can appear in the Hall of Blackhand or near The Beast. He is not guaranteed to spawn. His abilities include Shield Charge, which knocks a player back, Shield Bash, which interrupts spellcasting, and Strike, which deals increased melee damage.

Tank

  • Keep Jed facing away from the group.
  • Be ready for Shield Charge to knock you backwards.
  • Maintain threat while the healer avoids his interrupt.

Healer

  • Stay out of Jed's melee range where possible.
  • Shield Bash can interrupt your casts, so keep your distance and be ready to reposition.
  • Watch the tank for increased damage from Strike.

DPS

  • Attack from behind and avoid standing in front of Jed.
  • Interrupt his abilities where possible.
  • Be ready for him to charge players who are standing at range.

Important: He is a rare spawn, not a guaranteed encounter. If he is present, keep the healer out of Shield Bash range.

Lord Valthalak (Quest-Summoned)

Lord Valthalak is an optional boss summoned in the Furnace as part of the Dungeon Set 2 quest chain. He does not appear during a normal clear. The group must complete the required quest steps and use the Brazier of Beckoning to summon him.

Tank

  • Be ready to establish threat as soon as Valthalak appears.
  • Keep him facing away from the group.
  • Save defensive cooldowns for periods of heavy damage.

Healer

  • Be prepared for a full boss encounter rather than treating him as an ordinary quest target.
  • Keep the tank healthy and watch for damage on the rest of the group.
  • Make sure you have enough mana before the brazier is activated.

DPS

  • Wait until the group is ready before activating the brazier.
  • Focus on Valthalak and follow the tank's positioning.
  • Use interrupts and crowd control where appropriate.

Important: Do not activate the Brazier of Beckoning until the entire group is ready. Valthalak is a summoned quest encounter, not part of the standard route.

Table of Contents

See More Dungeons

Alcaz Prison Dungeon Guide - Bosses, Loot & Quests
By PhaseShifter ∙Updated on Nov 21, 2026
Beginner
Mechanics
Beginner
Mechanics
Gnomeregan Guide - Bosses, Loot & Quests
By PhaseShifter ∙Updated on Nov 21, 2026
Beginner
Mechanics
Beginner
Mechanics
The Deadmines Guide - Bosses, Loot & Quests
By PhaseShifter ∙Updated on Nov 20, 2026
Beginner
Mechanics
Beginner
Mechanics
Sunken Temple Dungeon Guide - Bosses, Loot & Quests
By PhaseShifter ∙Updated on Nov 20, 2026
Beginner
Mechanics
Beginner
Mechanics